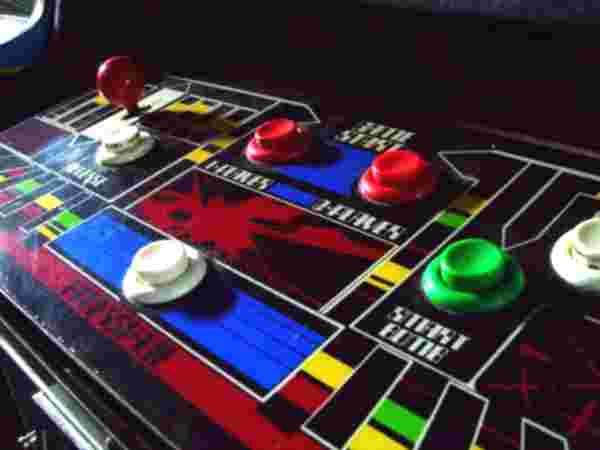
Hi Guys.
I bought this cab a few weeks ago. It was working but looked well tatty. It's the first one I've ever owned and overhauling it seemed a bit too daunting but the monitor packed up so I had nothing else to do except look at. I decided to get stuck in.
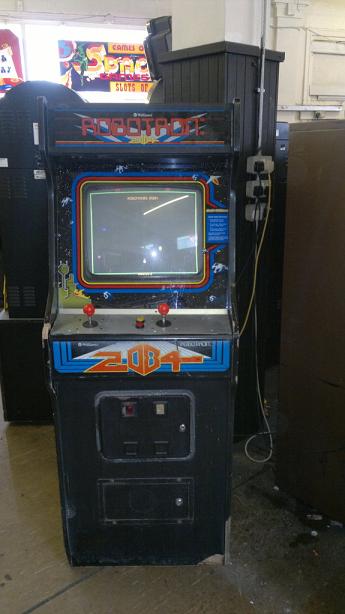
This is what it started out like.
(I knicked this pic off forcefulfil's arcade clearance thread as that's where I got the cab from.)
First I stripped it down to the bare cab.


It was minging inside and took ages to clean out.
The control panel was completely butchered!
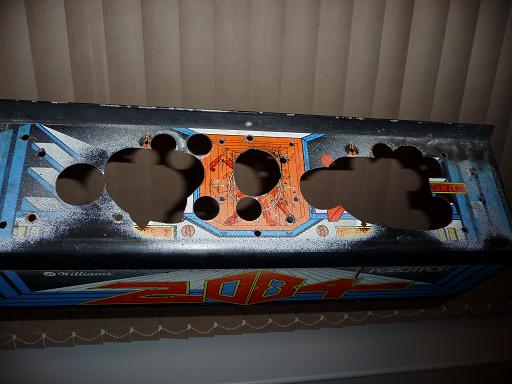
But my mate sorted it out.

So here it is getting some TLC in my conservatory. There's a few spare parts on the table lol.

I ripped all the old wiring out and the transformer then rewired out to the joysticks. The PSU was already in there, I just mounted it neatly.
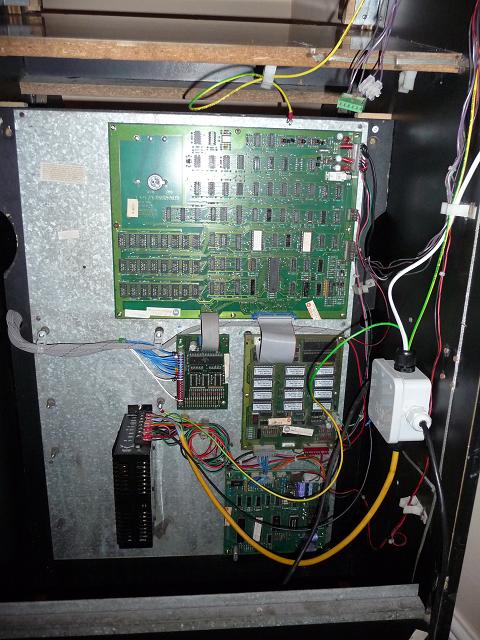
Phil helped me source a new monitor (Many thanks mate) and I had some bumpers made for around the bottom where it was well battered. A local printer did me a new overlay for only 25 quid and I had the coin doors and surrounds shot blasted. I sprayed all the metalwork black and fitted some new T-moulding. This is the end result. Not entirely back to original but not bad for two and a half weeks work.
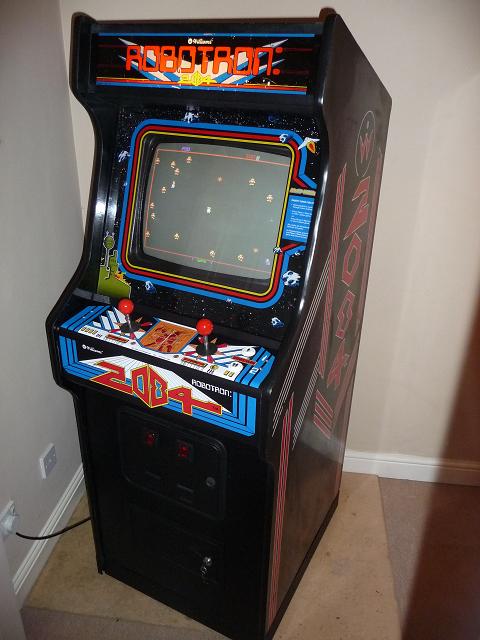

Now I have to learn to play the thing.
Thanks for looking.

I bought this cab a few weeks ago. It was working but looked well tatty. It's the first one I've ever owned and overhauling it seemed a bit too daunting but the monitor packed up so I had nothing else to do except look at. I decided to get stuck in.
This is what it started out like.
(I knicked this pic off forcefulfil's arcade clearance thread as that's where I got the cab from.)
First I stripped it down to the bare cab.
It was minging inside and took ages to clean out.
The control panel was completely butchered!
But my mate sorted it out.
So here it is getting some TLC in my conservatory. There's a few spare parts on the table lol.
I ripped all the old wiring out and the transformer then rewired out to the joysticks. The PSU was already in there, I just mounted it neatly.
Phil helped me source a new monitor (Many thanks mate) and I had some bumpers made for around the bottom where it was well battered. A local printer did me a new overlay for only 25 quid and I had the coin doors and surrounds shot blasted. I sprayed all the metalwork black and fitted some new T-moulding. This is the end result. Not entirely back to original but not bad for two and a half weeks work.
Now I have to learn to play the thing.
Thanks for looking.