Phils Arcade Thread - Workshop build

Phils Arcade

Senior Member
vacBacker
Feedback
10 (100%)
Credits
1,416CR
Hi all,

I'm added this thread in as a reference point for all that I'm trying to do as far as gaming related whatever's are.

I'm currently converting my small(ish) workshop into an entertainment/gaming space. Moving a lot of tooling into the add-on to the workshop and building out, I hope, a larger workshop gaming area.

I've a lot of projects I'm looking to do along the way, and if interested, you can follow along here.

I'm also looking to do some, shudder, YouTube vids, post some stuff to a website, if I can figure out how to do that, and add something to Twitter.

So wish me luck, and follow along.
smiley1.gif
 

Phils Arcade

Senior Member
vacBacker
Feedback
10 (100%)
Credits
1,416CR
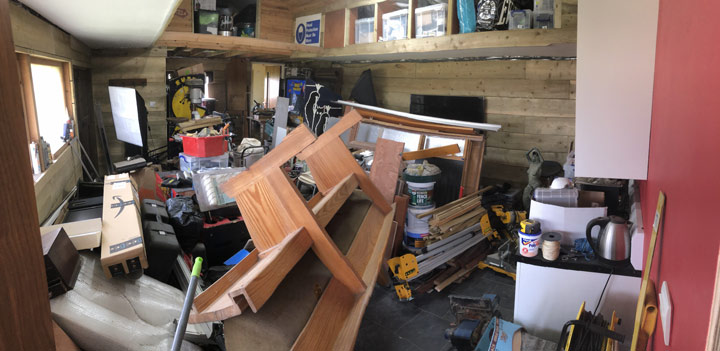
So first up is the mess that was my workshop.

This has been turned into a dumping ground for everything.

Yes there are some cabs at the back, that I'd love to be playing, and a Hook pin under all that guff at the front.

Workshop001.jpg


First thing I need to do is get rid of what I don't need/want to be in here.

I managed to tack a second hand conservatory onto the side of the workshop and that is what I'm going to be using as my temporary workshop for now.

Workshop002.jpg


Need to get the floor levelled and get some more of that window frosting added along the back. Once done I'll get some underfloor heating installed and floor the place out properly.

In the meantime, I also need to to get a second small shed built to house some of that crud from the workshop and free up some valuable space.

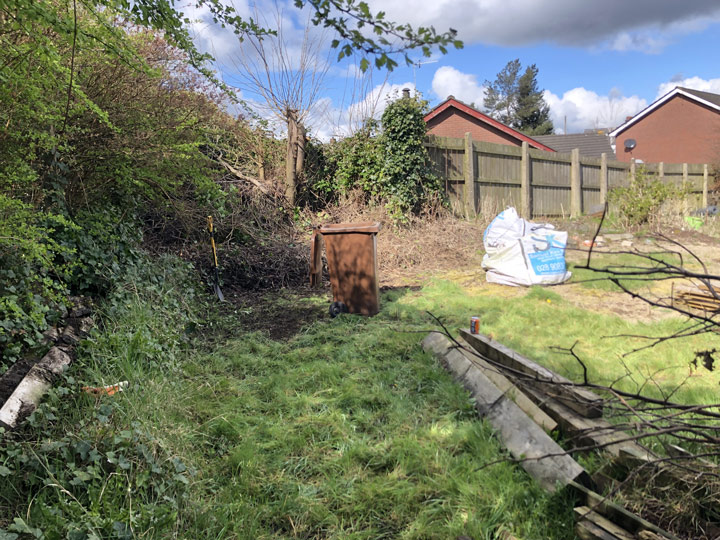
So now that the sun has finally appeared, starting to clear the space for the small shed. Hopefully I'll get the weed barrier, stone and block bases installed and levelled. If time is good, might even get a floor down.

Workshop003.jpg


Yup, lots to get through.

Wish me luck!
 

Phils Arcade

Senior Member
vacBacker
Feedback
10 (100%)
Credits
1,416CR
Thanks for that.

On Saturday I managed to get the ground sorted, floored and the walls framed, then the heavens opened, typical lol.

Workshop004.jpg


Sunday it was time for the walls to go up. Starting to take shape. Roof next and to be felted so at least make it weather resistant a bit.

Workshop005.jpg


Can't wait for this to be completed and start clearing out.
 

Phils Arcade

Senior Member
vacBacker
Feedback
10 (100%)
Credits
1,416CR
So it's been a wee while since I updated this.

First, the overflow shed has been completed and electrics added. It is now filled with all sorts of stuff that was in the old workshop, now games room, or at least getting there.

ShedBuild04.jpg


Looks even better as night draws in.

ShedBuild05.jpg


Now that the wee shed has been filled with all sorts, it's time to get started back into my old workshop. The tools, saw table, planner, drill press, etc have now been shifted into the tack on conservatory at the side. The space is a lot smaller but will do the job for now.

Started to get things organised, now that I've freed up the space.

Gamesroom05.jpg


The machines have been pulled out from under the mess and are now in a semi working condition. They need a certain amount of work still needing done to them, but they'll do for now.

The Hook pinball still isn't running right, but that'll have to wait until way later.

The roof section I created cupboards to store a large number of PCBs, and other arcade bits'n'bobs. It's amazing the STUFF you collect over time.

Rather than looking at boxes in cupboards, I've got a number of gaming posters and used them to cover the doors, which makes it look a lot better.

Gamesroom06.jpg


Next up was the simple T.V. gaming area. Nothing fancy, just a few machines, old style T.V.s, and somewhere to park my ass on, lol. The gaming posters for that side has been finished. Just need to get the other side done.

Gamesroom07.jpg


The gardening equipment is still stored in here, so that'll need to go into it's own wee shed/toolbox style area, which will free up more space.
 

Phils Arcade

Senior Member
vacBacker
Feedback
10 (100%)
Credits
1,416CR
I have finally managed to get planning permission to build a proper workshop. This will mean so much more space and the ability to get a number of larger machines in. Can't wait for this to get completed. It will mean that the various storage units/locations, for the arcade cabs can finally be moved into a single location, and give me time and space to get stuck into restoring them.

WorkshopBuild000.jpg


Just started this weekend to break ground and first thing I find buried is a load of rubbish, just my luck, couldn't have been buried treasure. Just hope I don't hit a backed up sewer line.

First steps will be to clear and level the area and get the foundations dug out. Even withe the digger and dumper, it'll take a while. I've also to shift 660 10 newton weight concrete blocks from the front of the house to the back to be used for the foundation walls. Not looking forward to it.
 

Phils Arcade

Senior Member
vacBacker
Feedback
10 (100%)
Credits
1,416CR
Okay, thought I'd give a wee bit of an update on how I'm getting along trying to get the workshop built.

End of November the weather was absolutely atrocious when the digger and dumper was hired, just typical, though you wouldn't think it looking at the photo.

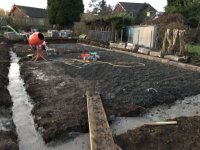
All that rain just turned the place into swampy, icky, sticky mess. That isn't just muck you see there, that's proper Northern Irish red clay, and believe you me, that stuff just clings to everything.
Eventually did manage to get the grounds levelled and the foundations dug out. Next is checking the levels and marking heights for the foundations.

WorkshopBuild001.jpg


As is typical when it rains, everything fills up with water and the dog just loves to be in the middle of it.

With it being clay, takes an age for it to eventually drain away, just in time for the next batch of rain to fill it up again.

WorkshopBuild002.jpg


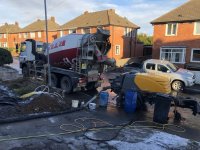
So rather than rain, it decided to snow the day the concrete arrived for the foundations.

I wasn't about to shift 3.5 tons of concrete in wheelbarrows, so hired a pump to get the stuff round the back, and what a good job it was.

WorkshopBuild003.jpg IMG_1030.jpg


After about an hour and a half, the founds were poured and levelled off.

Next up was to start getting the hardcore down over the muddy areas and help stabilise it. About 30 tons of stones, all moved by wheelbarrow this time.

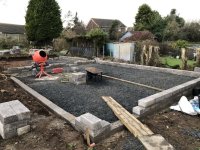
Once the concrete had been given time to set, the framing walls went up. This is a dwarf wall which the framing will be fixed to.
Also added conduit for mains, hopefully 3 phase electric, drainage and fresh water supply.

WorkshopBuild005.jpg


Thought I was making good progress only for it to snow, and stay like this for a couple of weeks.

WorkshopBuild007.jpgWorkshopBuild006.jpg


Once defrosted it was time to get stuck back in. More walls going up and stone moved.

WorkshopBuild009.jpg


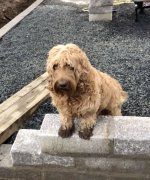
At least I did have a wee helper to keep me right 😊

WorkshopBuild008.jpg


Next will be getting the walls finished, boiler room and store floors laid down, central block wall started and taking delivery of hundreds of lengths of wood and 6"x6" posts for the framing.

Not looking forward to that lot, but needs done.
 
Last edited:

Phils Arcade

Senior Member
vacBacker
Feedback
10 (100%)
Credits
1,416CR
BlogTitle005.jpg


Well, it’s been a while since my last post regarding the workshop and the main reason was getting my back hurt and being out of action for a number of months. Nothing to do with the build, thankfully, but other reasons. At least there has been progress and now that I’m on the mend, hopefully this and the updates will progress quicker.

Grand Central​

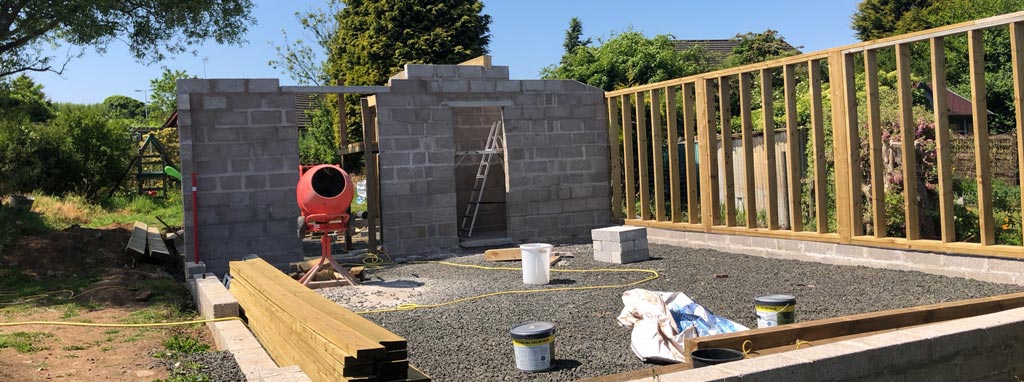
So last time I had managed to get the foundations done, stone for the flooring moved and started on the walls. This took and age to get laid down. It was four layers in height, allowing for the 4″ of stone, 4″ of floor insulation and 4″ of poured reinforced concrete. Once the outer walls were finished and measured for level, I was less than 5mm out from end to end, so really happy with that.

Next up was the central wall. Unfortunately there are no photos of this process due to the fact that my phone broke and was replaced and many of the photos taken on it was lost, typical. Well let’s, just say that there was an enormous effort put into it. Part of the central wall also includes a store room and boiler room.

The store room will be to hide the compressor, and hopefully with the thick walls and maybe some sound insulation, the noise will be kept to a minimum. The boiler house is obvious. It’s for the matter transformation device. Nope! It’s for the heating system. A large workshop like this will really need some form of heating for the Autumn and Winter months.

WorkshopBuild015-768x576.jpg
|. |
WorkshopBuild017-768x432.jpg


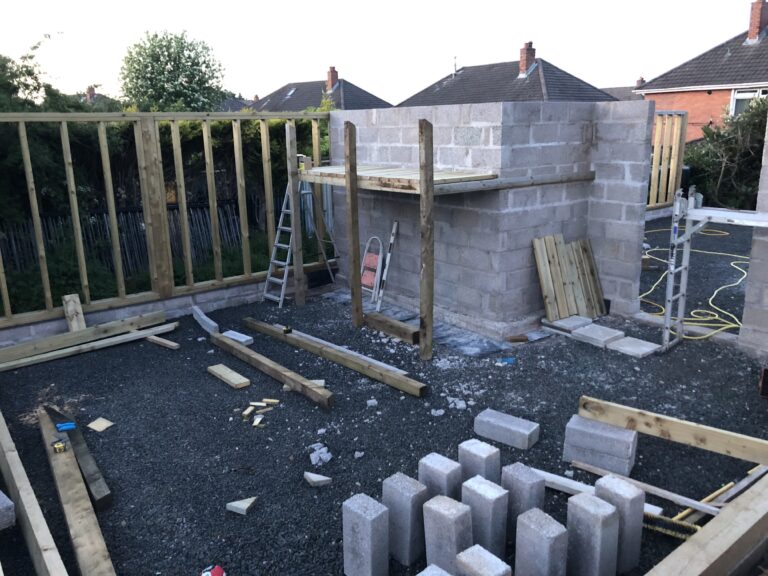
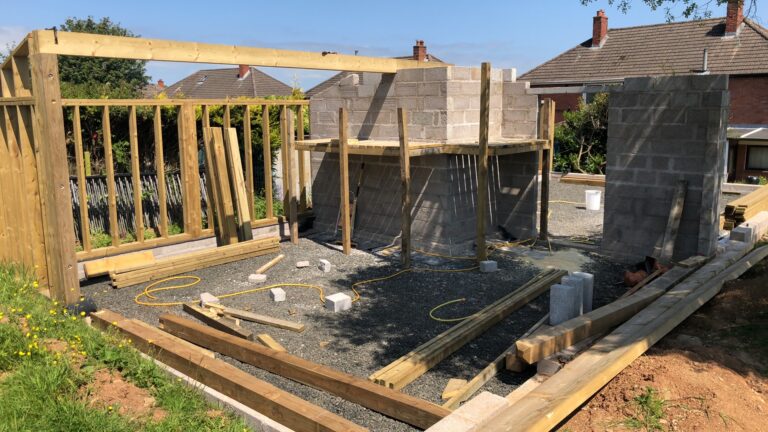
As the central wall increased in height, there was a need for a stable platform to work from. Those blocks are HEAVY. So as can be seen from the photos above, a walkway was created. This helped a lot.

The walkway allowed for a number of blocks to be lifted securely up and a bucket of cement so there was less need to keep climbing up and down ladders.

The framing went up fairly quickly along the back. The heavy posts are bolted to the walls as well as the footer plate, all sitting on a heavy damp proof course. This creates a very sturdy structure, especially needed when we reach the front of the building as this will be a lot taller due to the sloping roof.

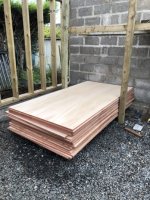
The roof beams on the smaller side of the workshop are now going in and will help support the side wall during construction. Next up will be the rest of the framing on that side and the second roof beam, and finally the rafters. Once complete we can see about boarding that section out with good heavy gauge 18mm plywood. The whole building will take over 2 bails of boards, so a lot more hauling in the future. I’d like to get the framing and the rest of the central wall completed by the end of this month.
 

Akira99

Active member
vacBacker
Feedback
1 (100%)
Credits
632CR
I'm glad your doing okay now and that is amazing progress on your workshop, its gonna be amazing I'm envious of all the space you will have, for all those cabs:)
 

Phils Arcade

Senior Member
vacBacker
Feedback
10 (100%)
Credits
1,416CR
I'm glad your doing okay now and that is amazing progress on your workshop, its gonna be amazing I'm envious of all the space you will have, for all those cabs:)

I've cabs stuck in garages, storage units and sheds, so this will hopefully pull them altogether in one place that will allow me to work on them, and the tools and space needed to properly retro parts.
 

Phils Arcade

Senior Member
vacBacker
Feedback
10 (100%)
Credits
1,416CR
So the weather has actually been more spring like, especially since it's now October. Nice thing is it's been decent for the last number of days so I've managed to get out to do a bit more work on the workshop.

With not being out over the summer the weeds had basically taken over, with the back of the workshop area covered in nettles, thistles, and many other nasty stingy green shoots. This was all cleared allowing me access to start boarding out the walls.

IMG_0393 Medium.jpeg IMG_0378 Medium.jpeg IMG_0396 Medium.jpeg


This is 18mm plywood, painted with a wax based paint to help protect it over the next couple of months before getting a weatherproof covering, and final log effect outer covering. The roof will be covered with the same 18mm ply with a bitumen adhesive and heavy gauge roofing felt.

IMG_0399 Medium.jpeg IMG_0390 Medium.jpeg


There are 2 sets of double beams to create the smaller roof section. This is probably overkill here as a single one would do, but better safe than sorry. These are bolted together to form a single heavy beam to support the roof. One end is on the block wall and the other end rest on 12" x 6" posts bolted into the block base. This makes for a very secure and strong connection. The other main workshop area will have steel beams as it's a much wider expanse and I'm looking to use beam trollies clamped to the beams to help move heavier loads.

IMG_0408 Medium.jpeg IMG_0406 Medium.jpeg


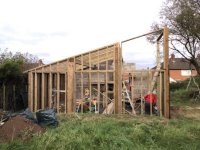
With the good weather holding out, I've managed to get most of the side framing done, just the upper right to finish off, and now started on the front. We have a door frame, just. Again heavy 6" x 6" corner posts, bolted to the block work. Only a small section at the front remains which will include windows for the main area and toilet to be completed. With that out of the way I can start the last roof section rafters for the smaller end.

If the weather keeps up over the weekend, I'm hoping to get the all the framing finished off, panelling done and maybe, just maybe, get started on the roof.
 
Last edited:

Phils Arcade

Senior Member
vacBacker
Feedback
10 (100%)
Credits
1,416CR
So the good weather has managed to hold out for a few more days, and I've been out at the workshop with whatever time I can spare.

Unfortunately you do need food and sleep from time to time.

IMG_0414 Medium.jpeg IMG_0415 2 Medium.jpeg

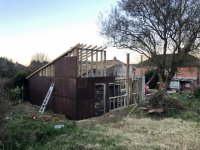
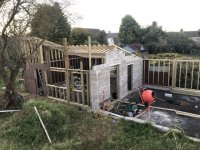
As you can see, made good progress over the weekend. Most of the side panelling had been done, and managed to squeeze in a fair amount of the lower front framing. That main post in the front middle had to be tied back to the roof beams to help support it, but once the top plate and rafters go in, it'll be so much stronger.

Trying to get the 8' x 4' plywood panel lifted into place on the side took a bit of thought. These are really heavy, and if the wind catches it, it'll blow you over. Did manage to hook up a hoist system that was bolted to the back of the board going up and over the roof. This allowed the rope to be pulled lifting the board up roughly into place, before finally being fixed into position. Will be using the same process to lift the front boards.

IMG_0486.jpg


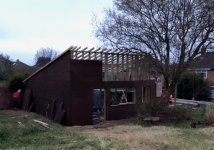
So kept on pushing through at the start of the week, and as you can see, the workshop is starting to look the part. All the panels are now in place on the side. The framing at the front has been completed along with the top plate, rafters and the front panels are now going in.

It's great to see it starting to come together. The panelling going on is now making it look more of a solid shape.

I'm going to hold off until Storm Babet has passed before continuing on, so if the rains hold off, the weekend. It'll be fun trying to get those boards up onto the roof, never mind tarring and felting.
 
Last edited:
Top