You are using an out of date browser. It may not display this or other websites correctly.
You should upgrade or use an alternative browser.
You should upgrade or use an alternative browser.
Barn Raid Mr.Do!
- Thread starter Purity
- Start date
Purity said:Been a busy boy with the Mr.Do
The monitor bezel artwork was competely wrecked:
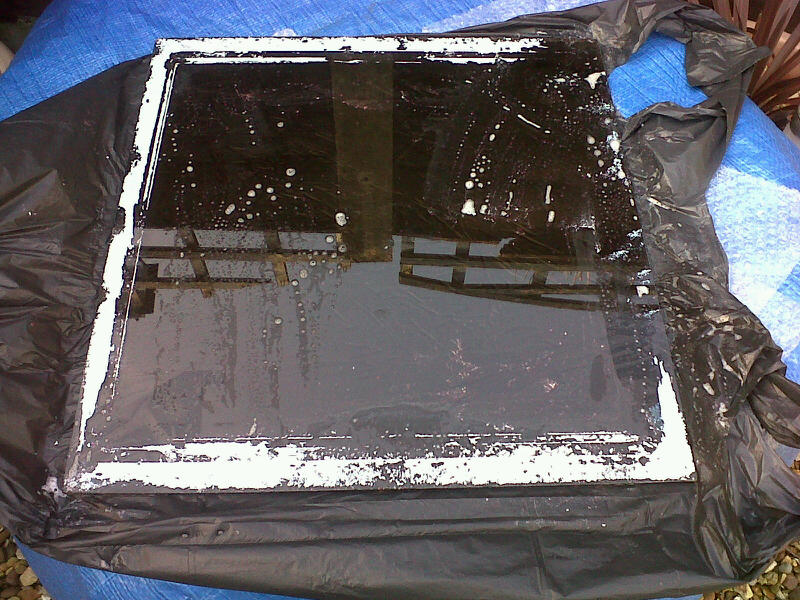
So I decided to remove it and will replace it with a repro perspex one, but will use the original glass below as it comes up really nice when clean, with the crumbling paint removed:
Olly (MuddyMusic) was working on an Electrocoin midi monitor bezel (to replace the flaking painted one). I don't know how far he's got with it, but he's an order thread open at the moment.http://www.ukvac.com/forum/flexi-marquee-cpo-artwork-order-open_topic337861.html
Not looking too shabby at all now
 :
:
Just need to do the following:
1) apply the CP overlay
2) rebuild the CP - clean screws, replace buttons etc
3) first coin mech is not working, nor is the light so need to take a look at that
4) give the sides a better clean, I noticed a few paint marks still
5) I need to replace the rubber matting on the bottom of the cab, but that's not urgent
but definately getting there
I just went back and had a look at the first pics, it's come a hell of a long way!
Cheers dude. Yea it's definately at a more acceptable level now ")
I'm just glad the monitor is behaving itself at the moment. Its been pretty much impossible finding another tube at a decent price, so I'm glad this one seems to be back to normal after some repairs detailed here:
http://www.ukvac.com/forum/mtc9000-help_topic336816.html
Purity2014-04-26 13:10:10
I'm just glad the monitor is behaving itself at the moment. Its been pretty much impossible finding another tube at a decent price, so I'm glad this one seems to be back to normal after some repairs detailed here:
http://www.ukvac.com/forum/mtc9000-help_topic336816.html
Purity2014-04-26 13:10:10
I've nervously applied the artwork to the CP this morning. I think it generally went ok for the first time that I've ever done this. I had to cut the artwork down as it was for a full size Electrcoin rather than a midi.
I encountered a couple of issues. The backing got a little wet and it stuck to the sticky surface which caused me some pain. Then I had some issues going round one of the corners. It just wouldn't stick :-( So I've used a plastic slide binder on the edge to keep it in place.
I'll leave it 24hrs and hopefully it won't look a mess :-(
Purity2014-04-25 14:22:48
Thinking about it all the midi's I've owned have had a bit of plastic binder on the top edge of the cp, gives a bit of cushioning against the glass and also protects the cpo edge. If the corners are a little too tight don't be afraid to cut a small section of vinyl away so it sits better.
Cheers dude.
I'm not sure if I've done this right. I've basically done it the same way as it was originally, but maybe that was done incorrectly?
I cut the vinyl so it was flush with the left and right hand sides, but I left extra vinyl at the top and bottom and wrapped that round the bottom and top edges of the CP. Is that the way to fit it, or should it just stop when it reaches the top and bottom?
The top vinyl was fine wrapping it round. The bottom had problems sticking. Maybe I used too much water?
Anyway I'll see what it looks like tomorrow.
That's exactly how it was done originally, trim the sides and fold the excess over top & bottom. Leave it clamped for a few days so the vinyl can take shape, if it doesn't take properly use a few dabs of contact adhesive and re-clamp it - won't go anywhere then.
muddymusic said:That's exactly how it was done originally, trim the sides and fold the excess over top & bottom. Leave it clamped for a few days so the vinyl can take shape, if it doesn't take properly use a few dabs of contact adhesive and re-clamp it - won't go anywhere then.
Cheers dude, that's appreciated! It's only likely to be the top and bottom edges that could be a problem. Everything else should be ok
Purity2014-04-25 20:14:49
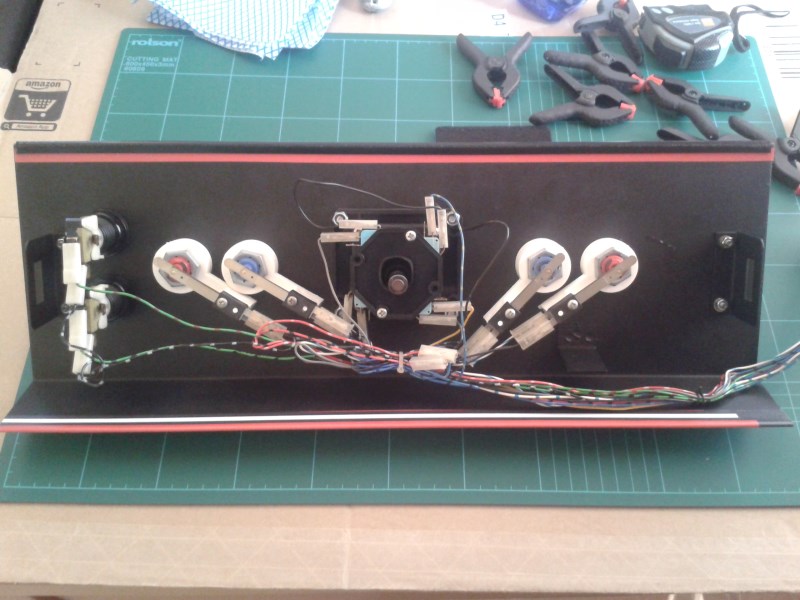
Doesn't look too bad at all this morning, so I decided to clean up the CP loom, buttons etc and re-populate everything:
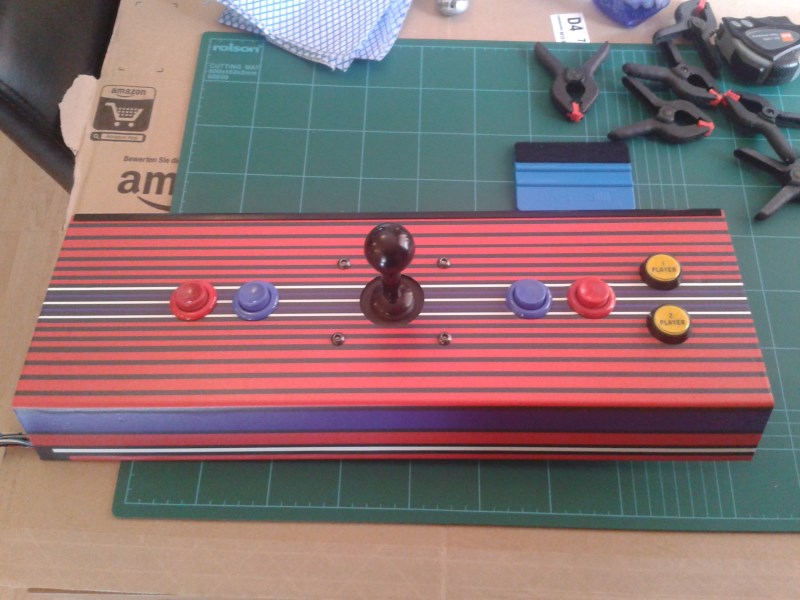
And finally how it looks on the cab:
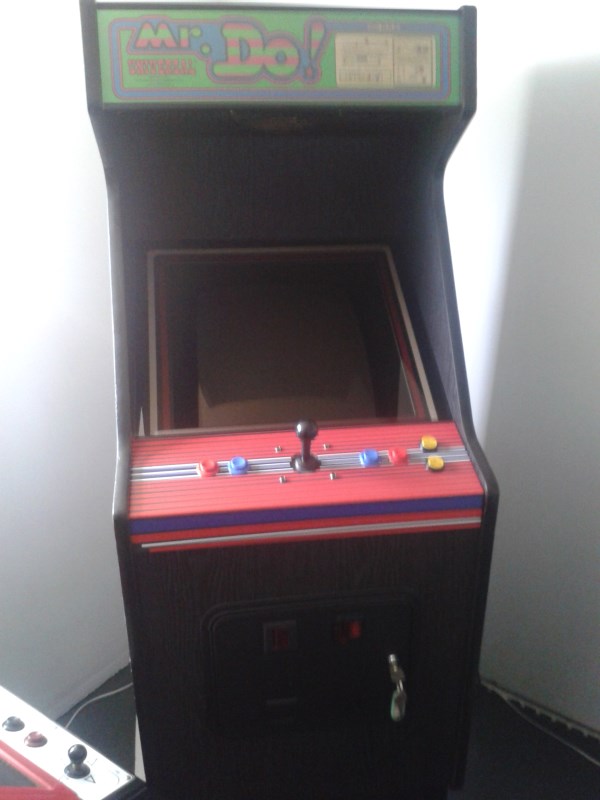
I've obviously made a slight error as the bottom left is the bottom left of the CP and it's not the same on the right, but I can live with it. Not bad for a first attempt doing this. It gives me confidence to now do my Baby Pacman artwork on the CP over the next few days. I wanted to do this one first because the Baby Pacman artwork is not cheap
Might have a few games on Mr.Do this evening
Purity2014-04-26 13:08:03
And finally how it looks on the cab:
I've obviously made a slight error as the bottom left is the bottom left of the CP and it's not the same on the right, but I can live with it. Not bad for a first attempt doing this. It gives me confidence to now do my Baby Pacman artwork on the CP over the next few days. I wanted to do this one first because the Baby Pacman artwork is not cheap
Might have a few games on Mr.Do this evening
Purity2014-04-26 13:08:03
Yeah nice work

You've really pulled out all the stops on this one. A game like Mr Do deserves a nice cab to live in
You've really pulled out all the stops on this one. A game like Mr Do deserves a nice cab to live in

Labour of love!
Cheers guys that's appreciated
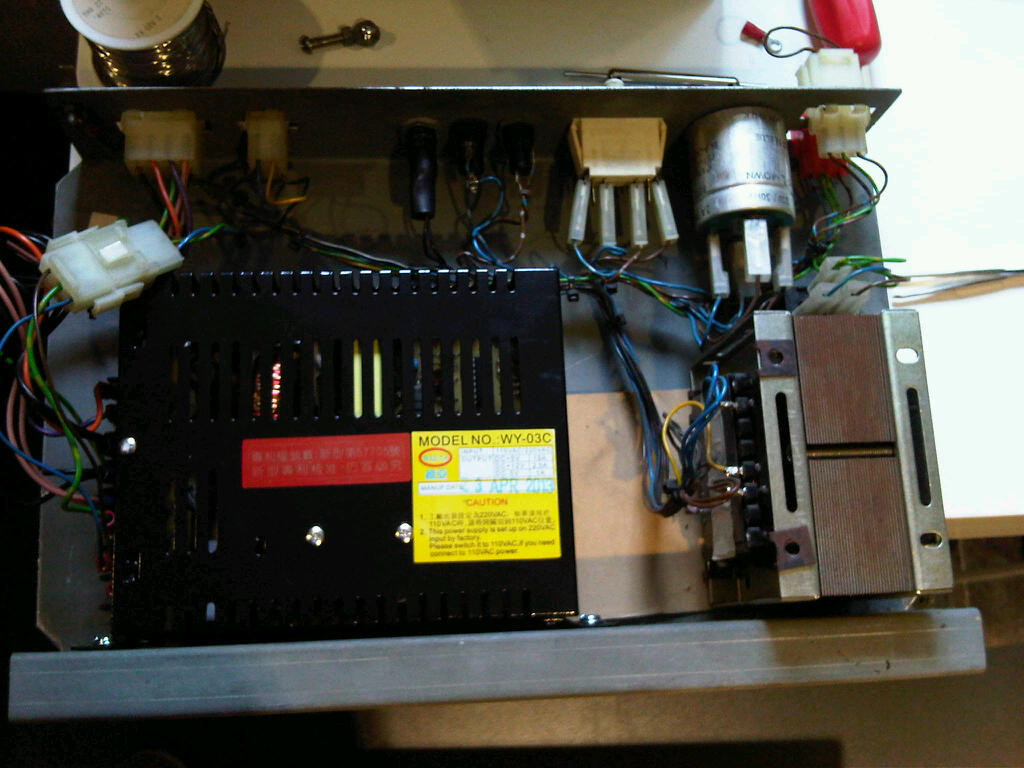
I tested out the CP wiring and made a few minor changes, and added a ground onto the CP
I had a look at the left coin mech that wasn't working. It's missing a credit board, so I'll leave it as it is. The wiring has been cut all over the place so I don't know what's going on with it. Anyway, I utilised the 12v that was coming off one of the connectors to get the lights lit up. At least one of the mechs is working ok.
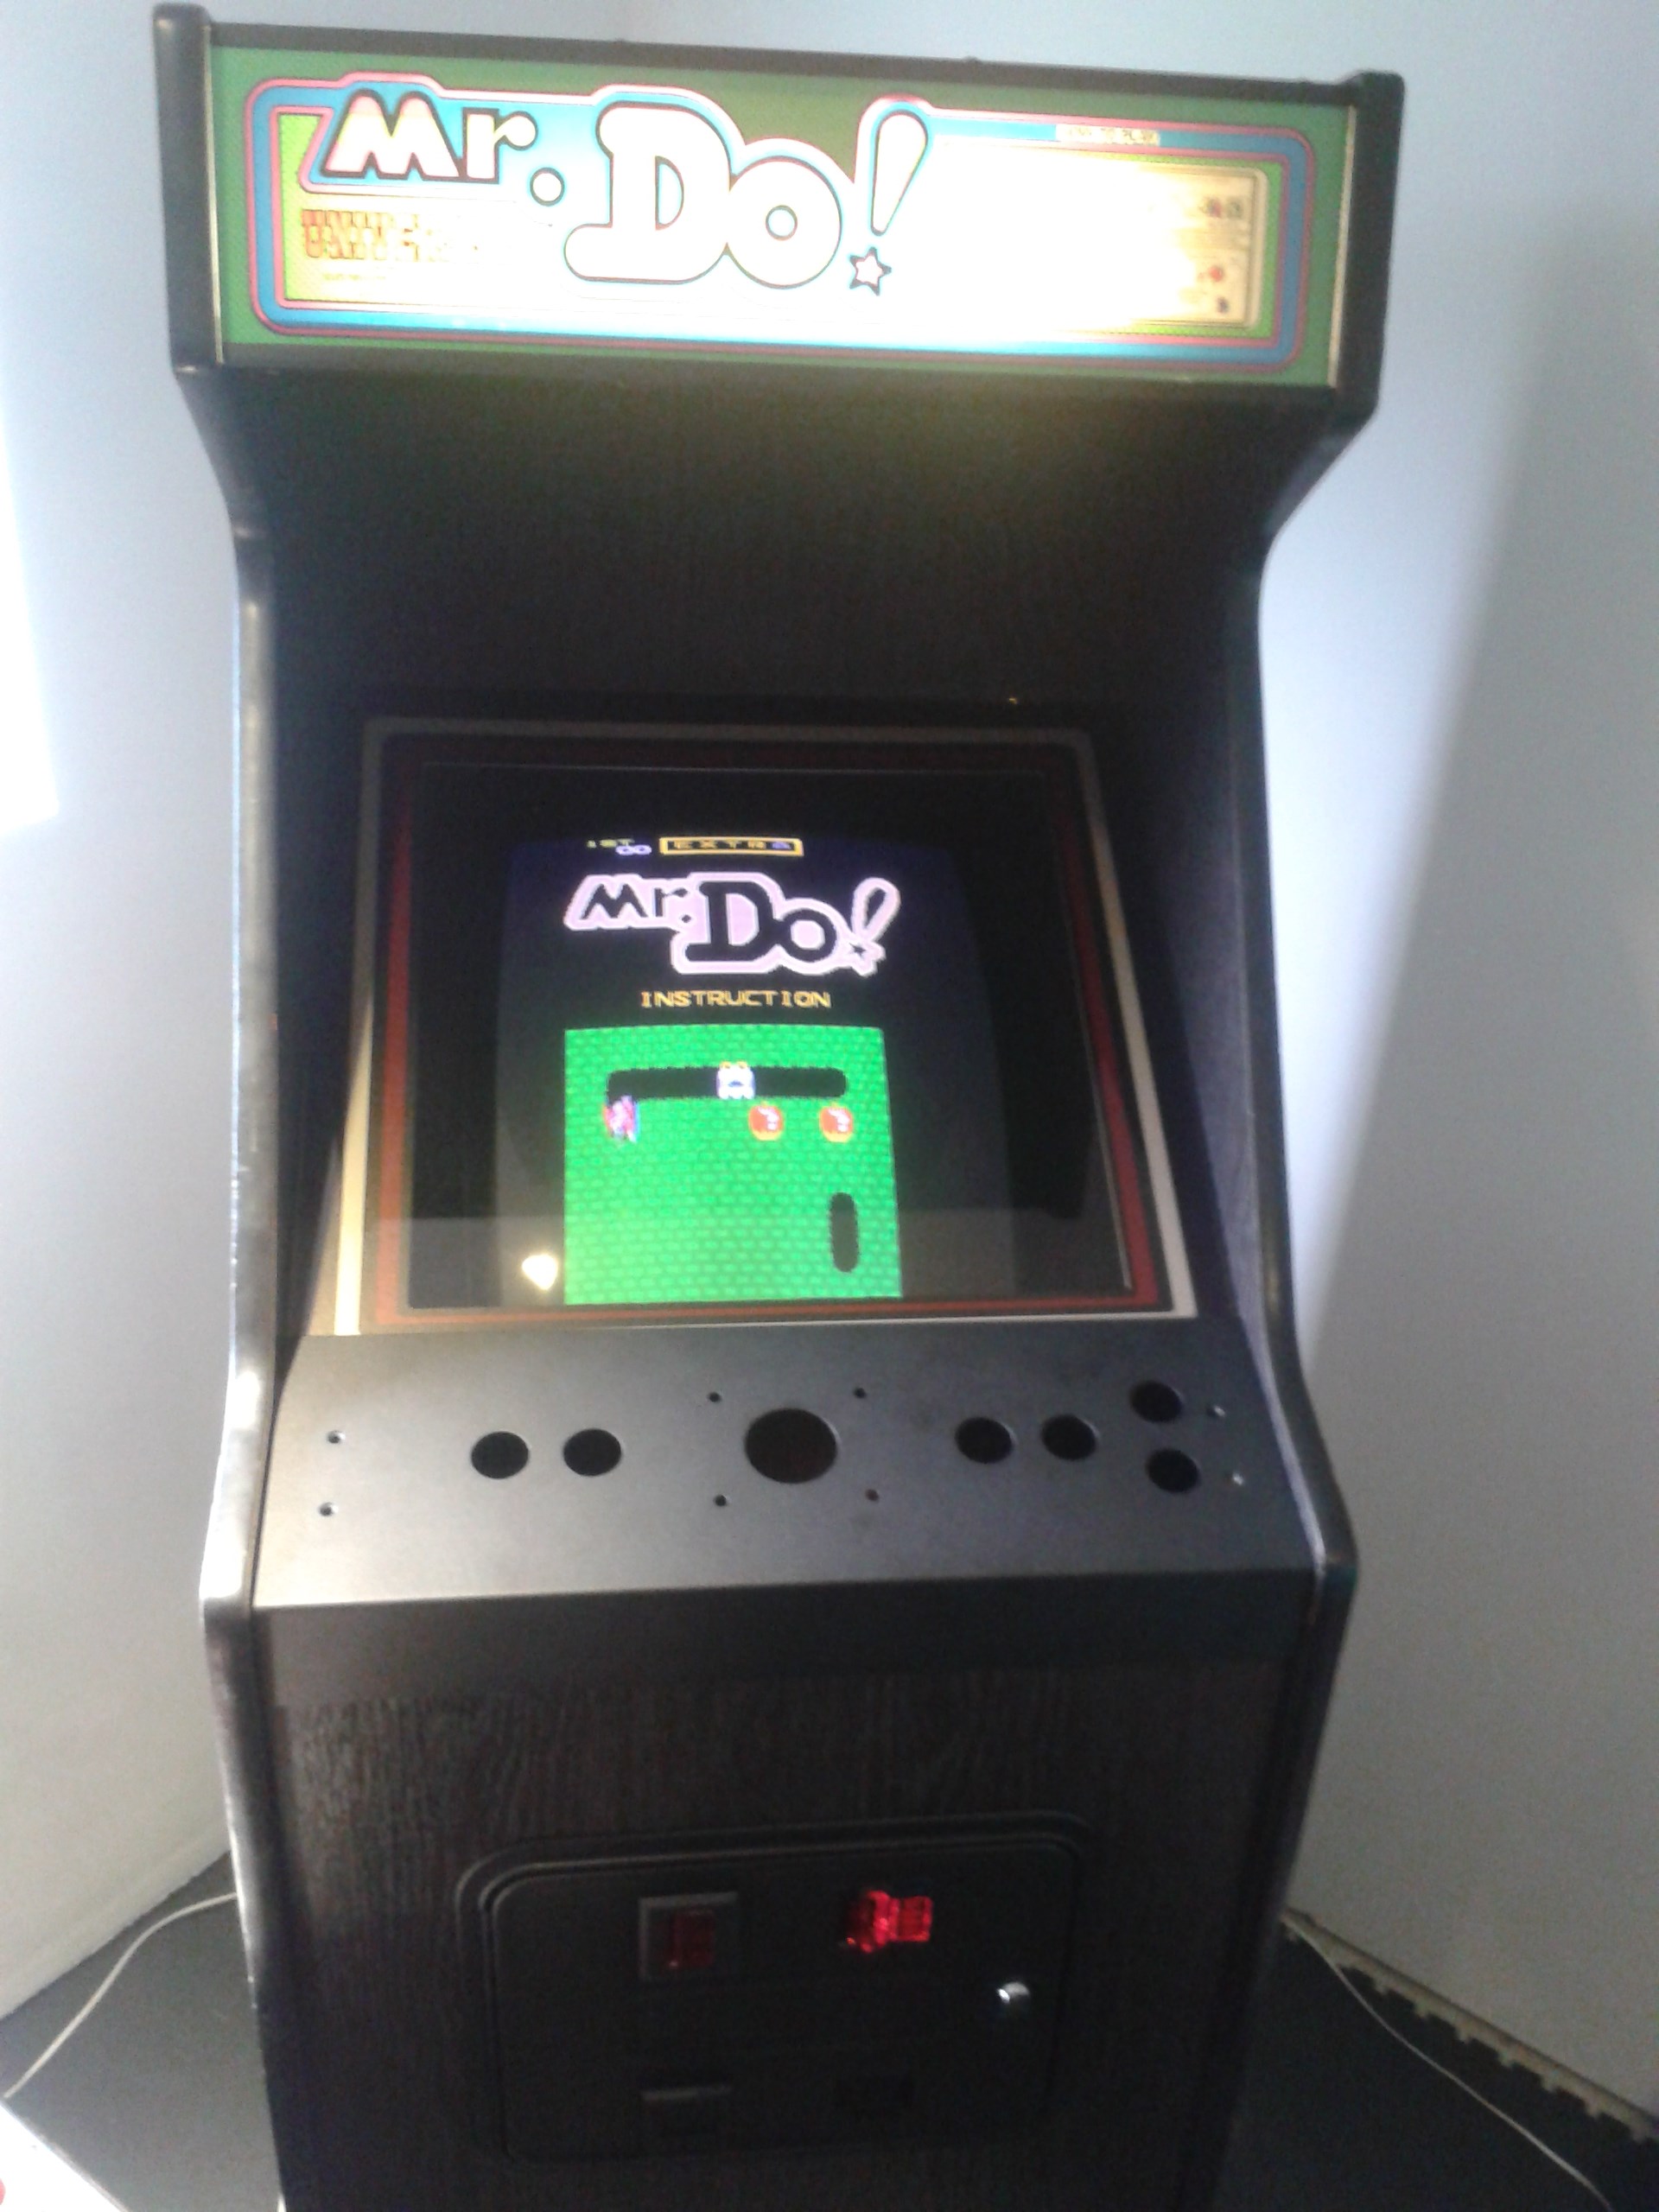
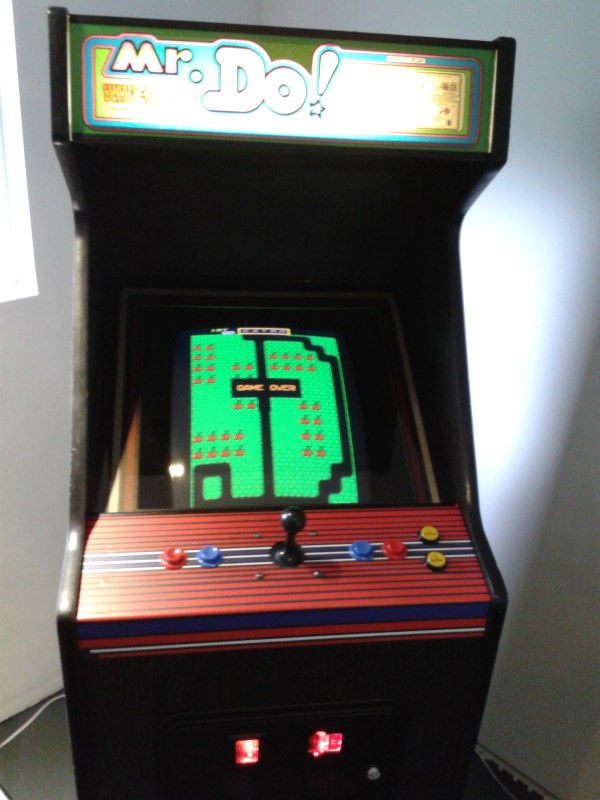
Cleaned the paint speckles off the left side with a magic eraser and centred the screen on the monitor. I think I'm pretty done with this now. Not perfect but at a fairly decent standard:
Next up, fixing the monitor on my Space Invaders Pt II
I tested out the CP wiring and made a few minor changes, and added a ground onto the CP
I had a look at the left coin mech that wasn't working. It's missing a credit board, so I'll leave it as it is. The wiring has been cut all over the place so I don't know what's going on with it. Anyway, I utilised the 12v that was coming off one of the connectors to get the lights lit up. At least one of the mechs is working ok.
Cleaned the paint speckles off the left side with a magic eraser and centred the screen on the monitor. I think I'm pretty done with this now. Not perfect but at a fairly decent standard:
Next up, fixing the monitor on my Space Invaders Pt II