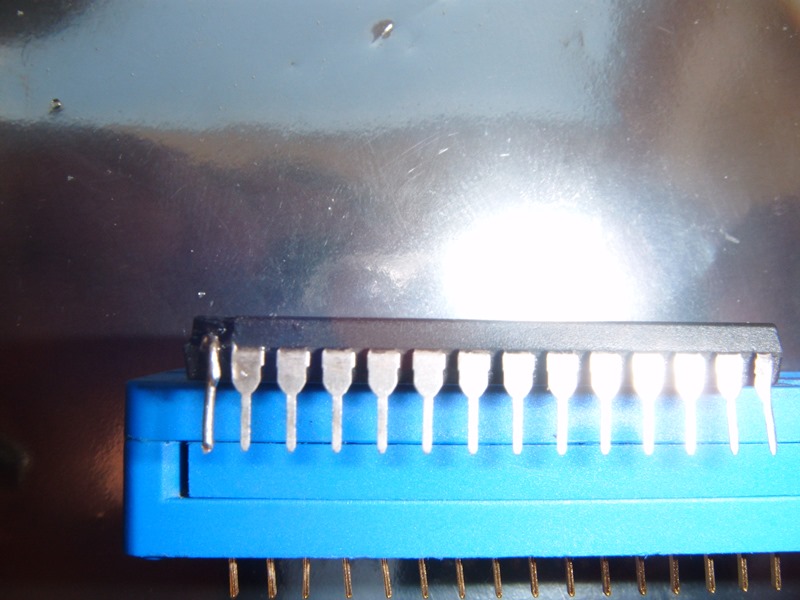
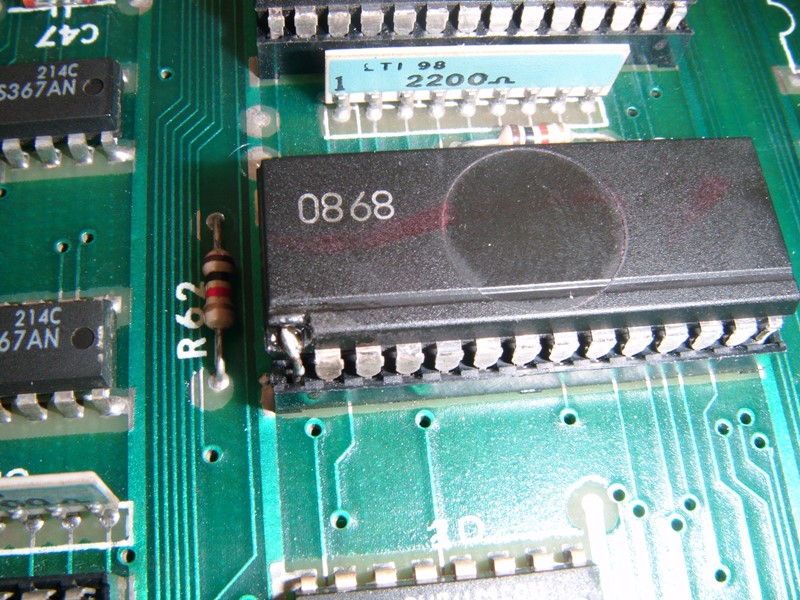
I bought a Galaga PCB recently. It has a few issues but my main issue was a single snapped leg on a custom IC 08XX series at E2 on the board, right at the wall of the casing. Amazingly all the other IC legs cleaned up very well and are pretty sturdy. This is the first time I have attempted to drill out the casing on an IC chip. I've soldered legs on partially remaining legs before now or just replaced the entire chip.
Here's what I did.
Slowly drilled out the casing until the encased leg was exposed.
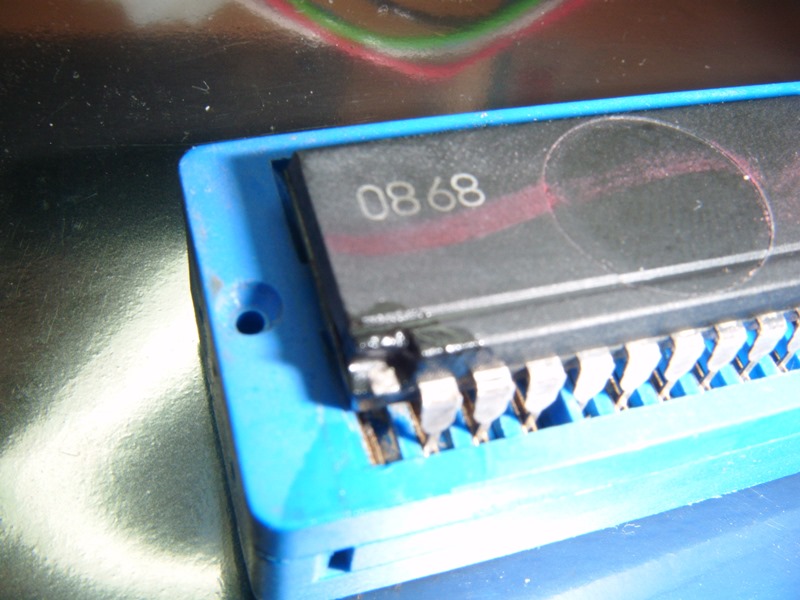
Took an ordinary jumper wire pre-bent it to the required shape and soldered it to the exposed leg. Made sure the IC couldn't move during this process by locking it inside a heavy(ish) IC testing socket.

Installed it in my other fully working board. It's been running happily now for half an hour and I'm hoping that is now complete.
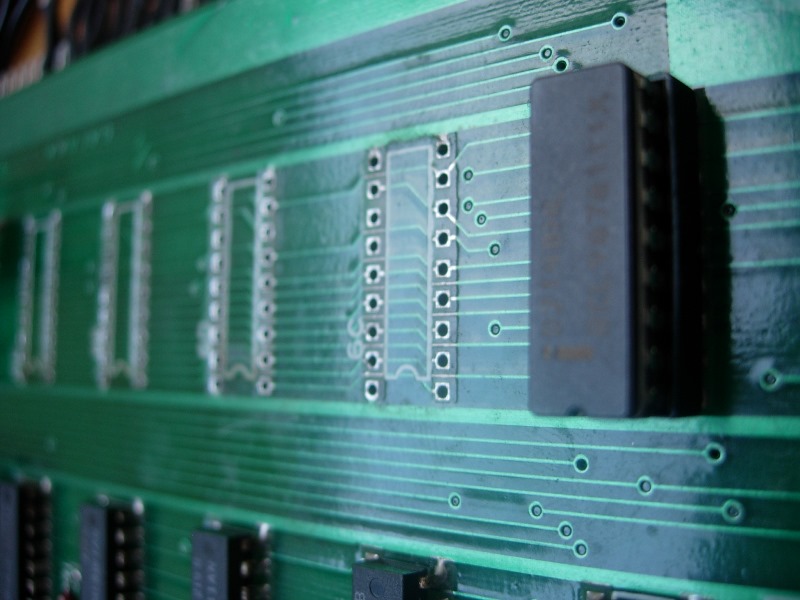
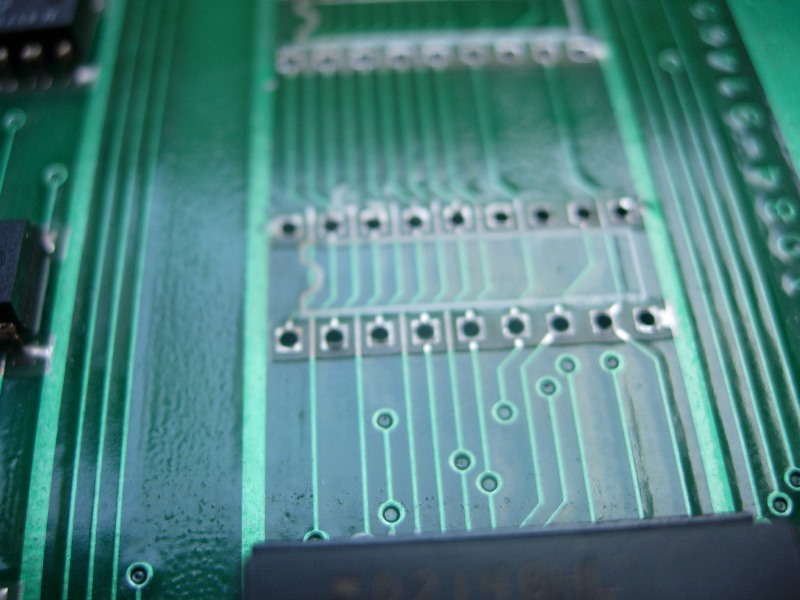
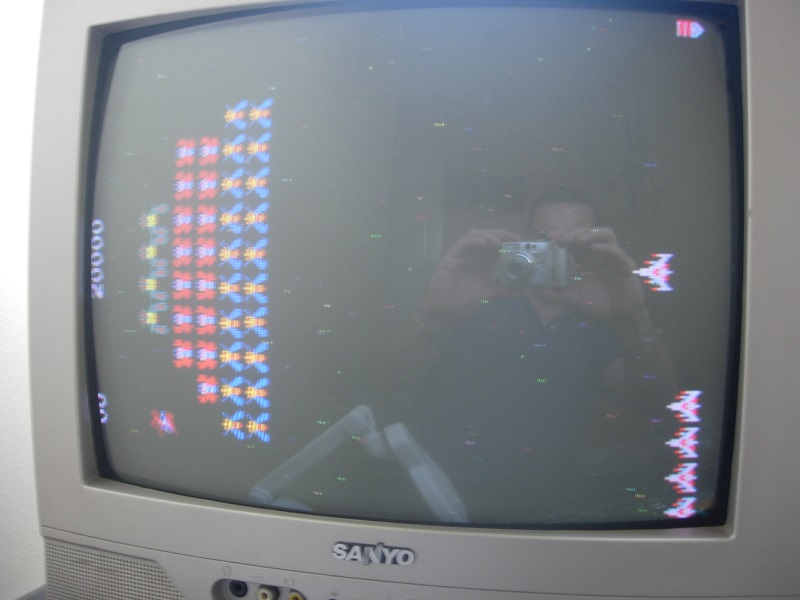
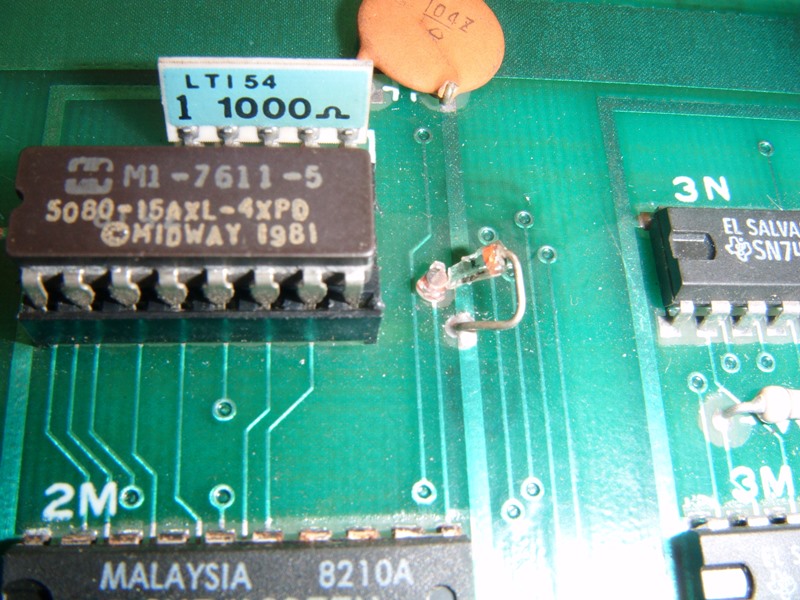
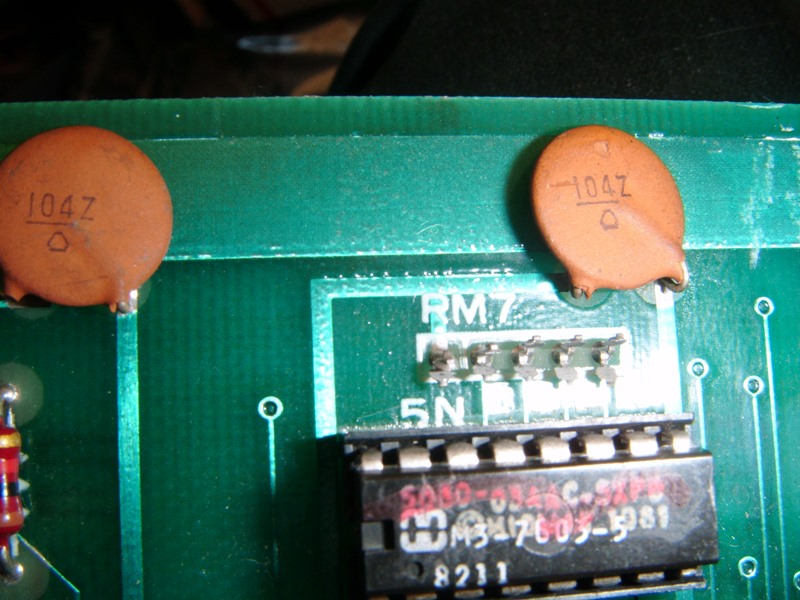
Those other issues are a broken component and a missing resistor SIP at RM7. I know the designation of the SIP but if anyone can help me with which type of component is at N2 on the video board I would greatly appreciate it. The game plays ok but has some minor graphics issues to sprites.
Now that I can attach legs to missing legs of IC components I might just tackle a Gaplus PCB I have with a number of missing legs on IC chips.jonhughes2014-04-15 09:42:50
Here's what I did.
Slowly drilled out the casing until the encased leg was exposed.
Took an ordinary jumper wire pre-bent it to the required shape and soldered it to the exposed leg. Made sure the IC couldn't move during this process by locking it inside a heavy(ish) IC testing socket.
Installed it in my other fully working board. It's been running happily now for half an hour and I'm hoping that is now complete.
Those other issues are a broken component and a missing resistor SIP at RM7. I know the designation of the SIP but if anyone can help me with which type of component is at N2 on the video board I would greatly appreciate it. The game plays ok but has some minor graphics issues to sprites.
Now that I can attach legs to missing legs of IC components I might just tackle a Gaplus PCB I have with a number of missing legs on IC chips.jonhughes2014-04-15 09:42:50