A few months back I managed to acquire a pair of Club Kart Prize cabs for a reasonable price. Plan was to get joystick upper and lower plastics and turn them into Naomi cabs for playing stuff like Capcom Vs SNK, Powerstone and the like in. But it turns out that sourcing those plastics isn't quite as easy as I thought it might be!!
So they languished for a few months, just kind of sitting there. Noticed a few people asking for Crazy Taxi parts in the wanted section and well, I do love Crazy Taxi, it was pretty much the last game I played the crap out of down the local arcades before they essentially stopped getting new video games in.
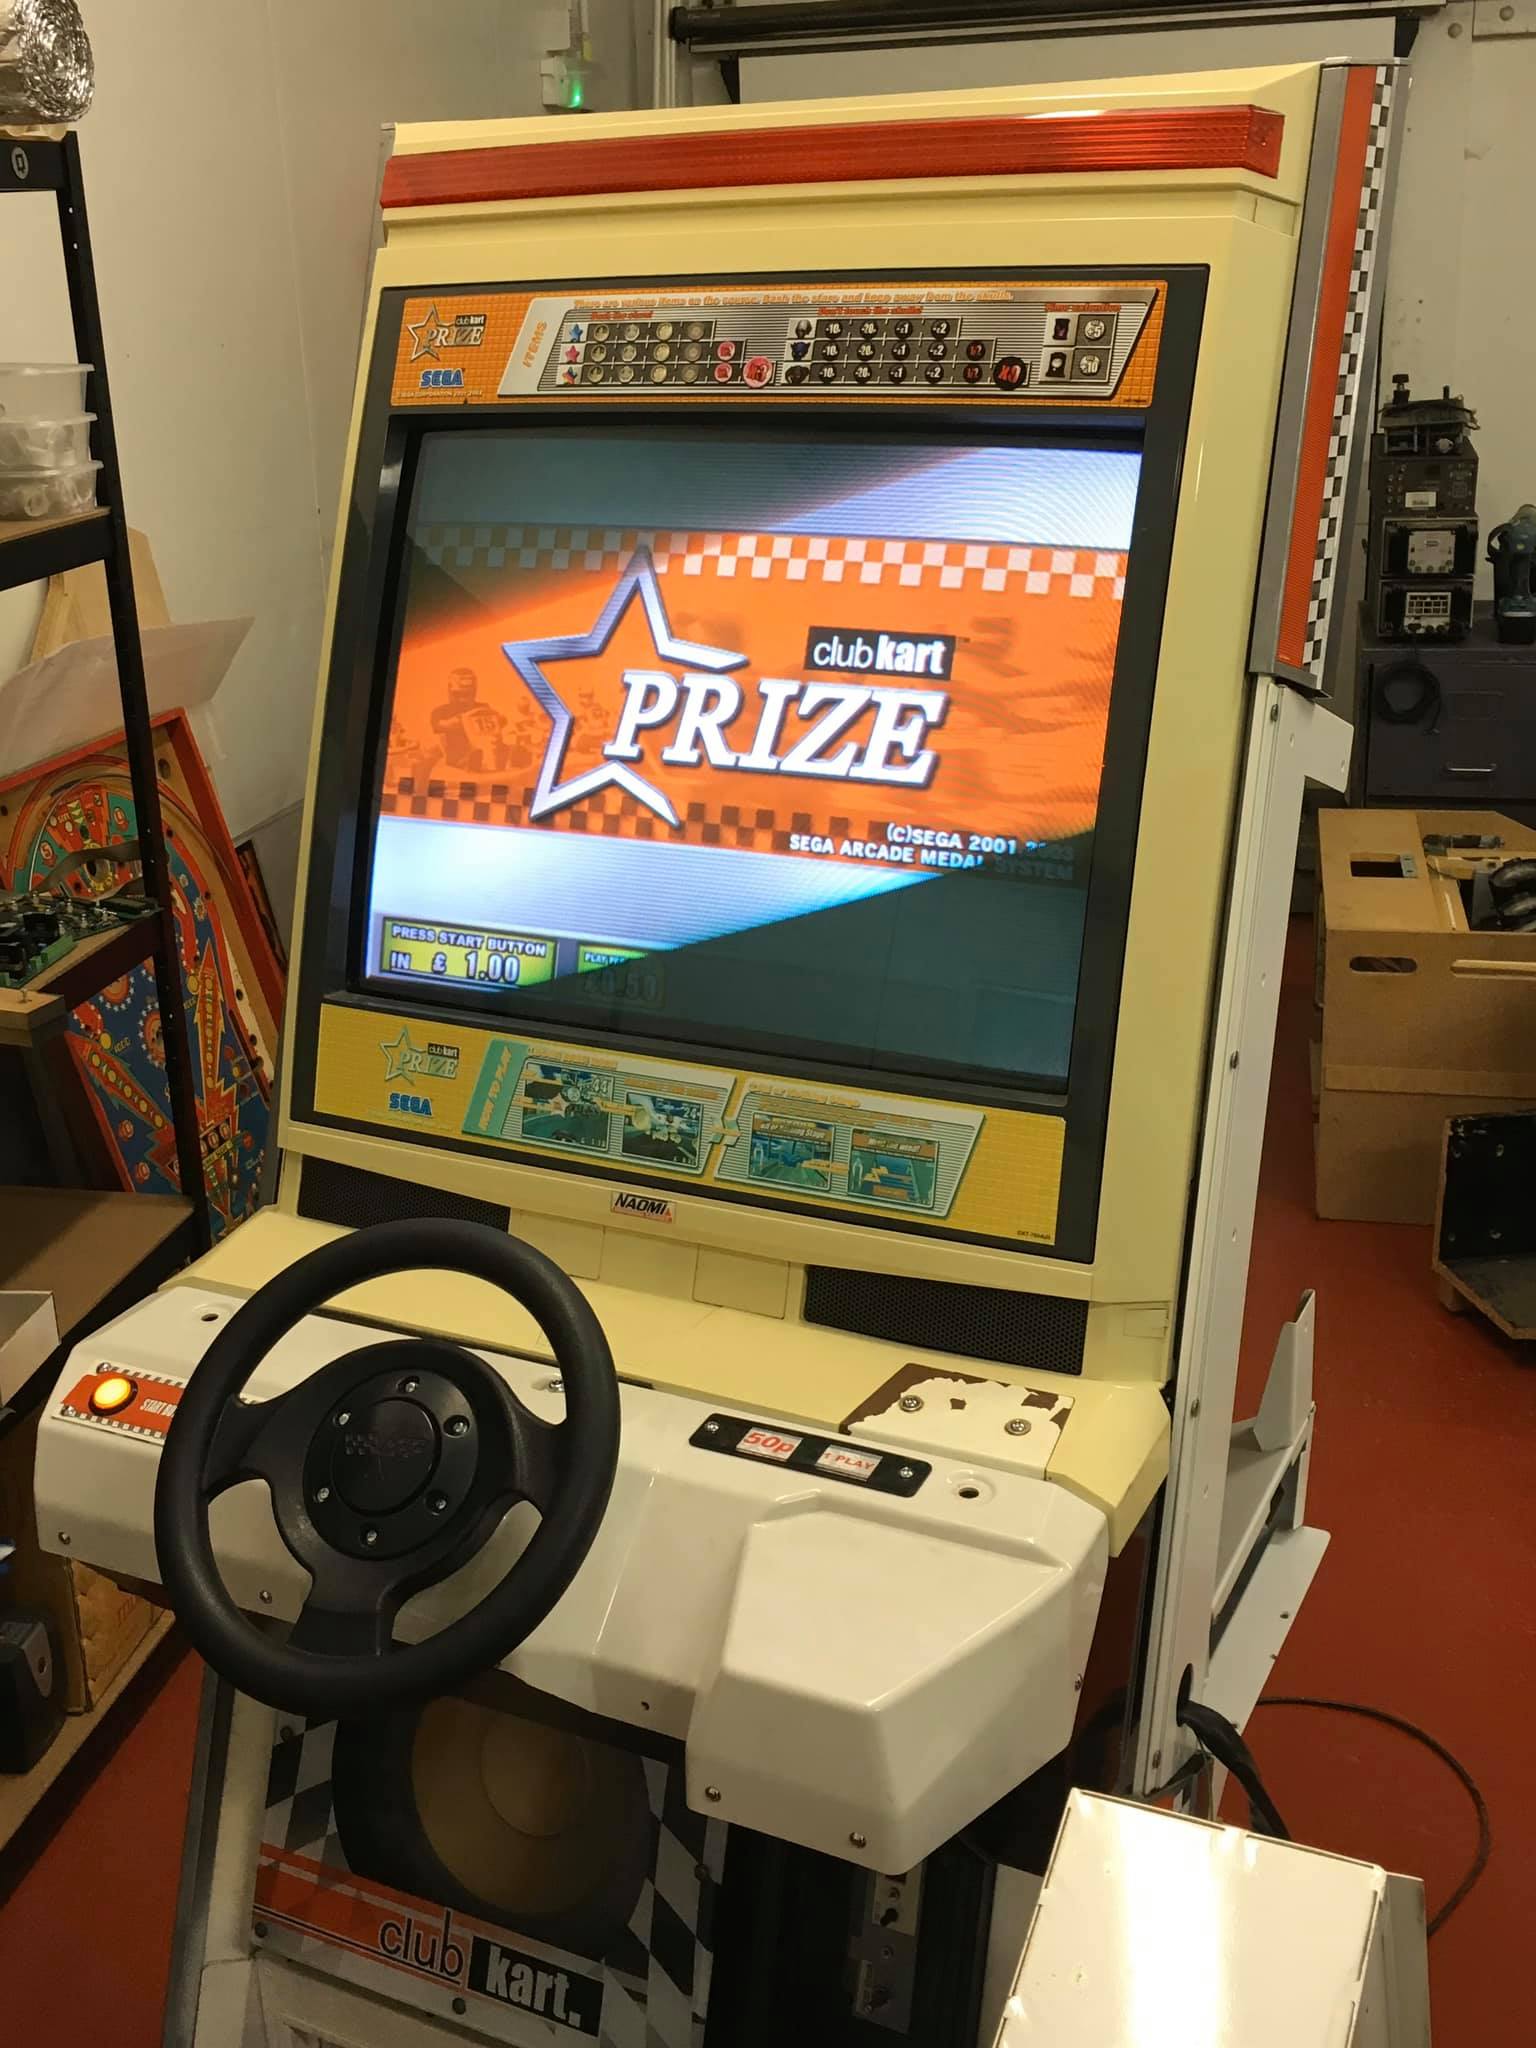
So how hard could it be to CREATE a Crazy Taxi? I mean, no one who's a coin-op collector is really going to lament to loss of a Club Kart Prize are they?
I did show these pics on the Facebook page last month but I thought I'd do a little write up here on how easy/difficult it was as a project.
So here we have our candidate for conversion. The upper plastic actually came from the other cab that had the plastic really badly melted by cigarettes and the former owner had just painted over it with some black paint. The seat had also been painted with nice thick gloss paint. Lovely brushstrokes visible all over. So lots of stripping, sanding and filling was required!
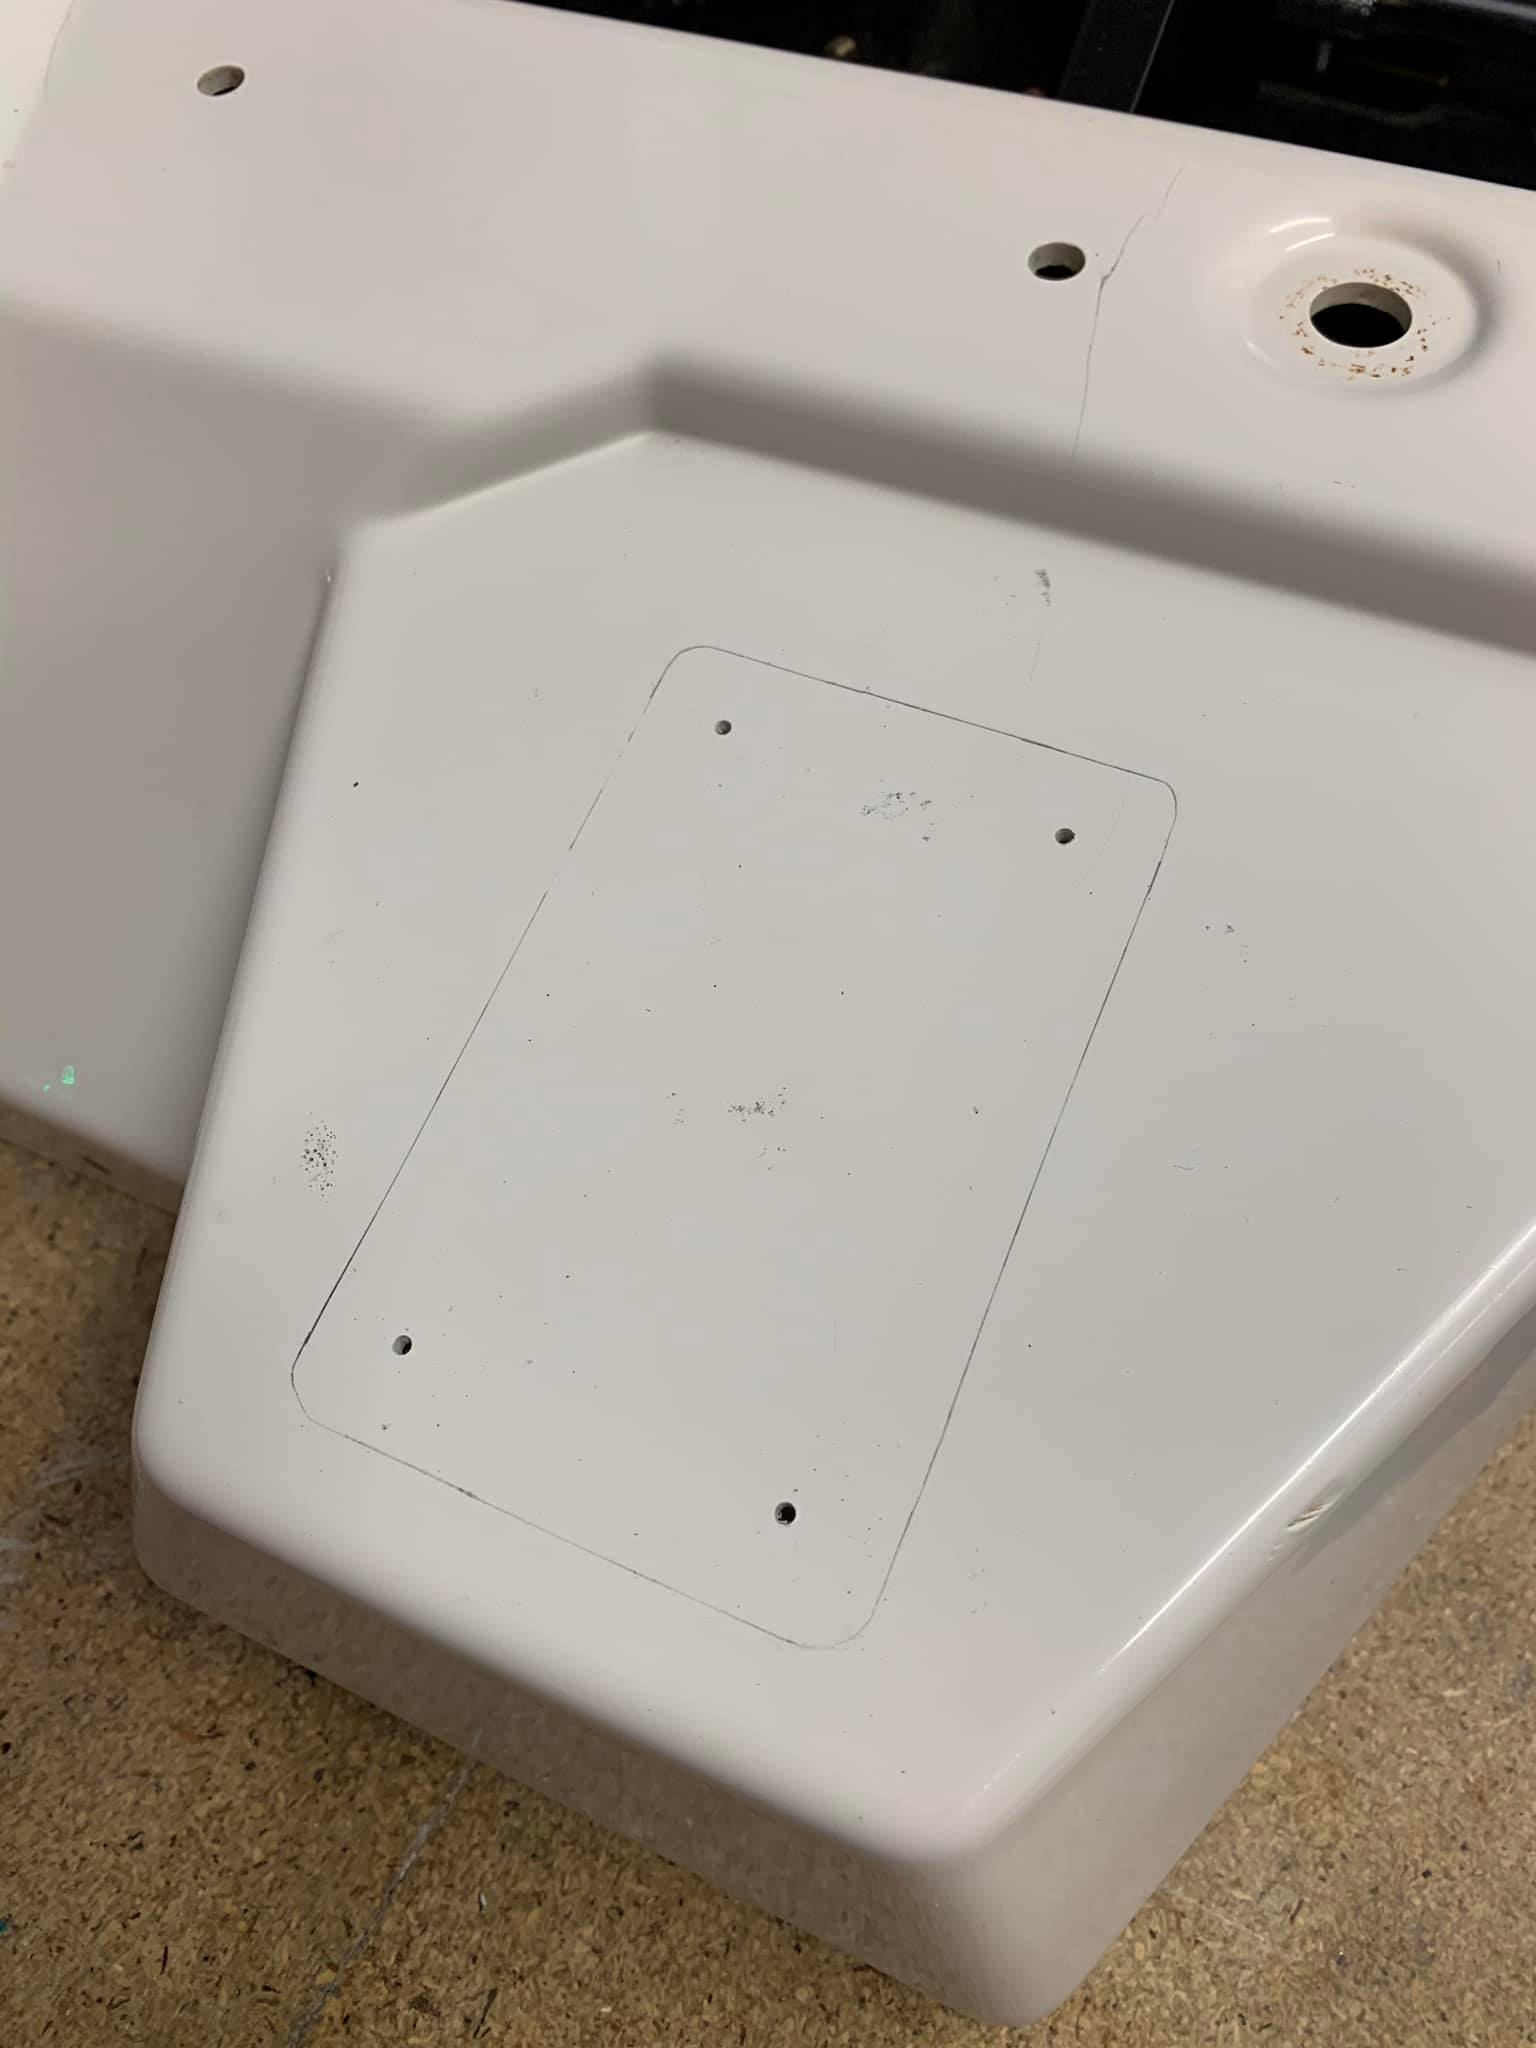
The next job was to give the shifterless driving CP, a shifter! Had one to spare from a dead old touring cars dash, only thing was to figure out how to fit it. What i did was, seeing as the metal mount plate for the shifter actually exists beneath the plastic, i flipped the thing upside down, and poked with a little pokey thing with paint on, through the bolt holes onto the underside of the plastic. Then drilled those through.

Then I made a paper template of the shifter plate, traced round it, and dremelled the plastic so that the shifter mechanism would fit through. I got a little eager with the old dremel and there was the slightest of gaps but i managed to cajole it into place so you can't see it on the final assemby.
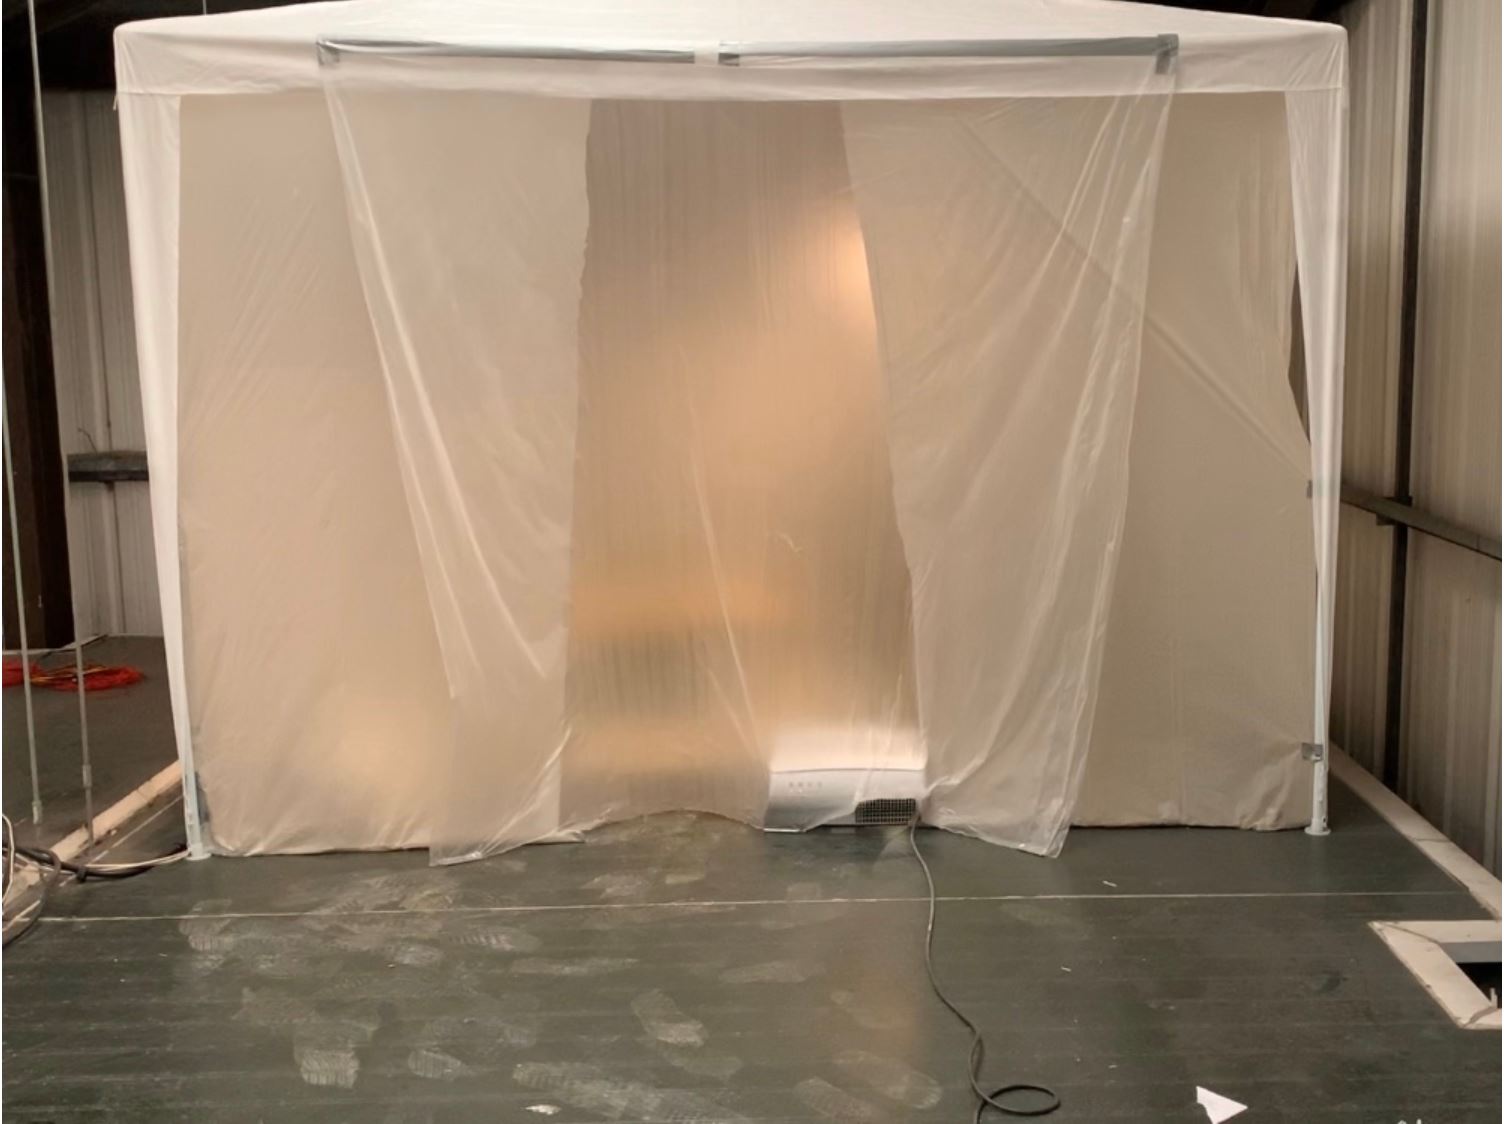
So.. I gotta spray all this stuff. But I can't do it outside, and I don't want paint particles floating around and settling all over the unit. So off to B&Q i went, bought a £30 Gazebo and £5 of dust sheet. Plopped an air filter machine I had on the floor to do some particle sucking and it worked well! Lighting was a problem in there though so in the end i hung a work lamp on a stepladder!

Few layers of white primer and the yellowness and mankiness is but a distant memory!

I had no idea how much paint I was going to need, so I bought a couple of cans of "Nissan solar yellow" from the local Halfords. Turned out to be a good colour I thought. So I went off to get more! Turns out I'd basically bought all they had and I had to have a few cans ordered especially.

Getting a good finish was fun. A fair old bit of wet/dry sanding and respraying. Then applying clearcoat to them. A couple of times I handled them before the clearcoat had really hardened and managed to get juicy big thumbprints embedded into the finish. So i had to sand them down and reapply. Kept adding extra days to the project!
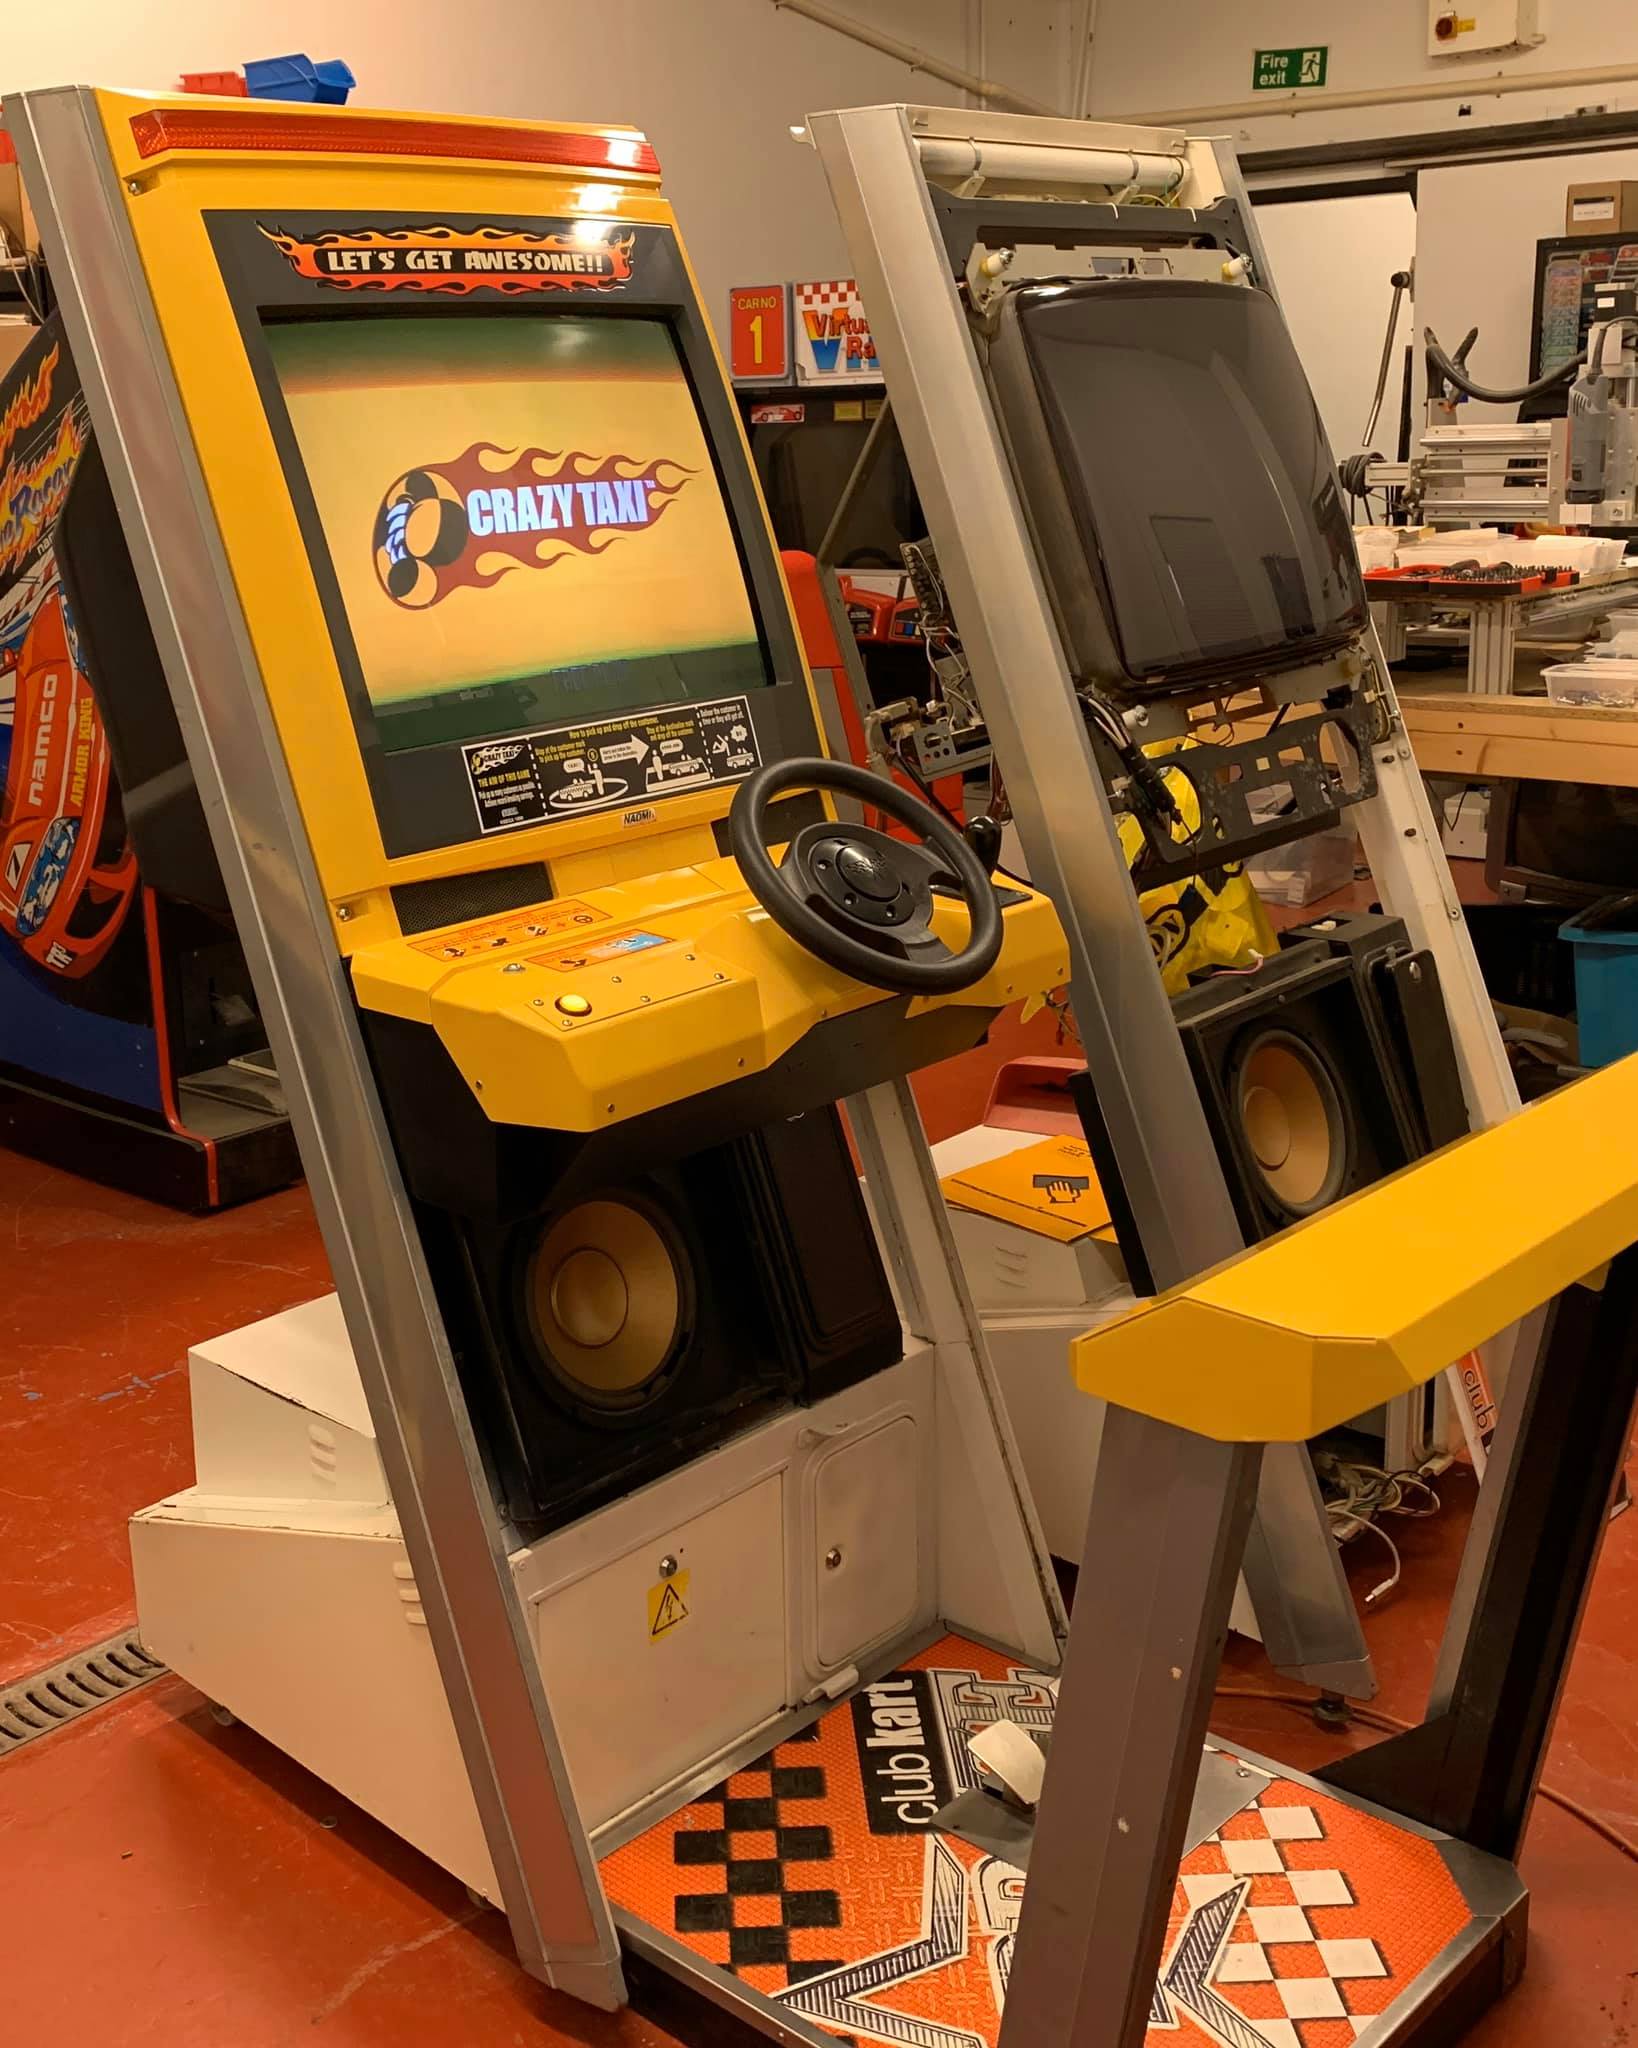
All that effort was worth it in the end though. Managed to acquire a Crazy Taxi cartridge, plopped that in, bit of fiddling with the steering and pedal calibration, renewing the shifter microswitches and hooking them up to the IO board. And there ya go. It is time to go make some crazy money! (By that i mean IN THE GAME, I'm not planning on putting this on eBay for £1495. this is for me and will hopefully be playable by the public too soon.)
So all in all, probably about £350 spent, and around 3 weeks of a couple of hours a day. Not a bad project. I'm pleased with the result so far, having never really attempted anything like this myself before.
There's a couple of things I'd like to fix. Some kind of Marquee, the proper big box would be nice. But I can get a standard Naomi marquee laser cut in acrylic. Also i want to do something to change the treadplate on the base from Club Karts awful graphics to either something resembling the original, or just Yellow. But I've already put a good few hours play into it and it does indeed make me happy.
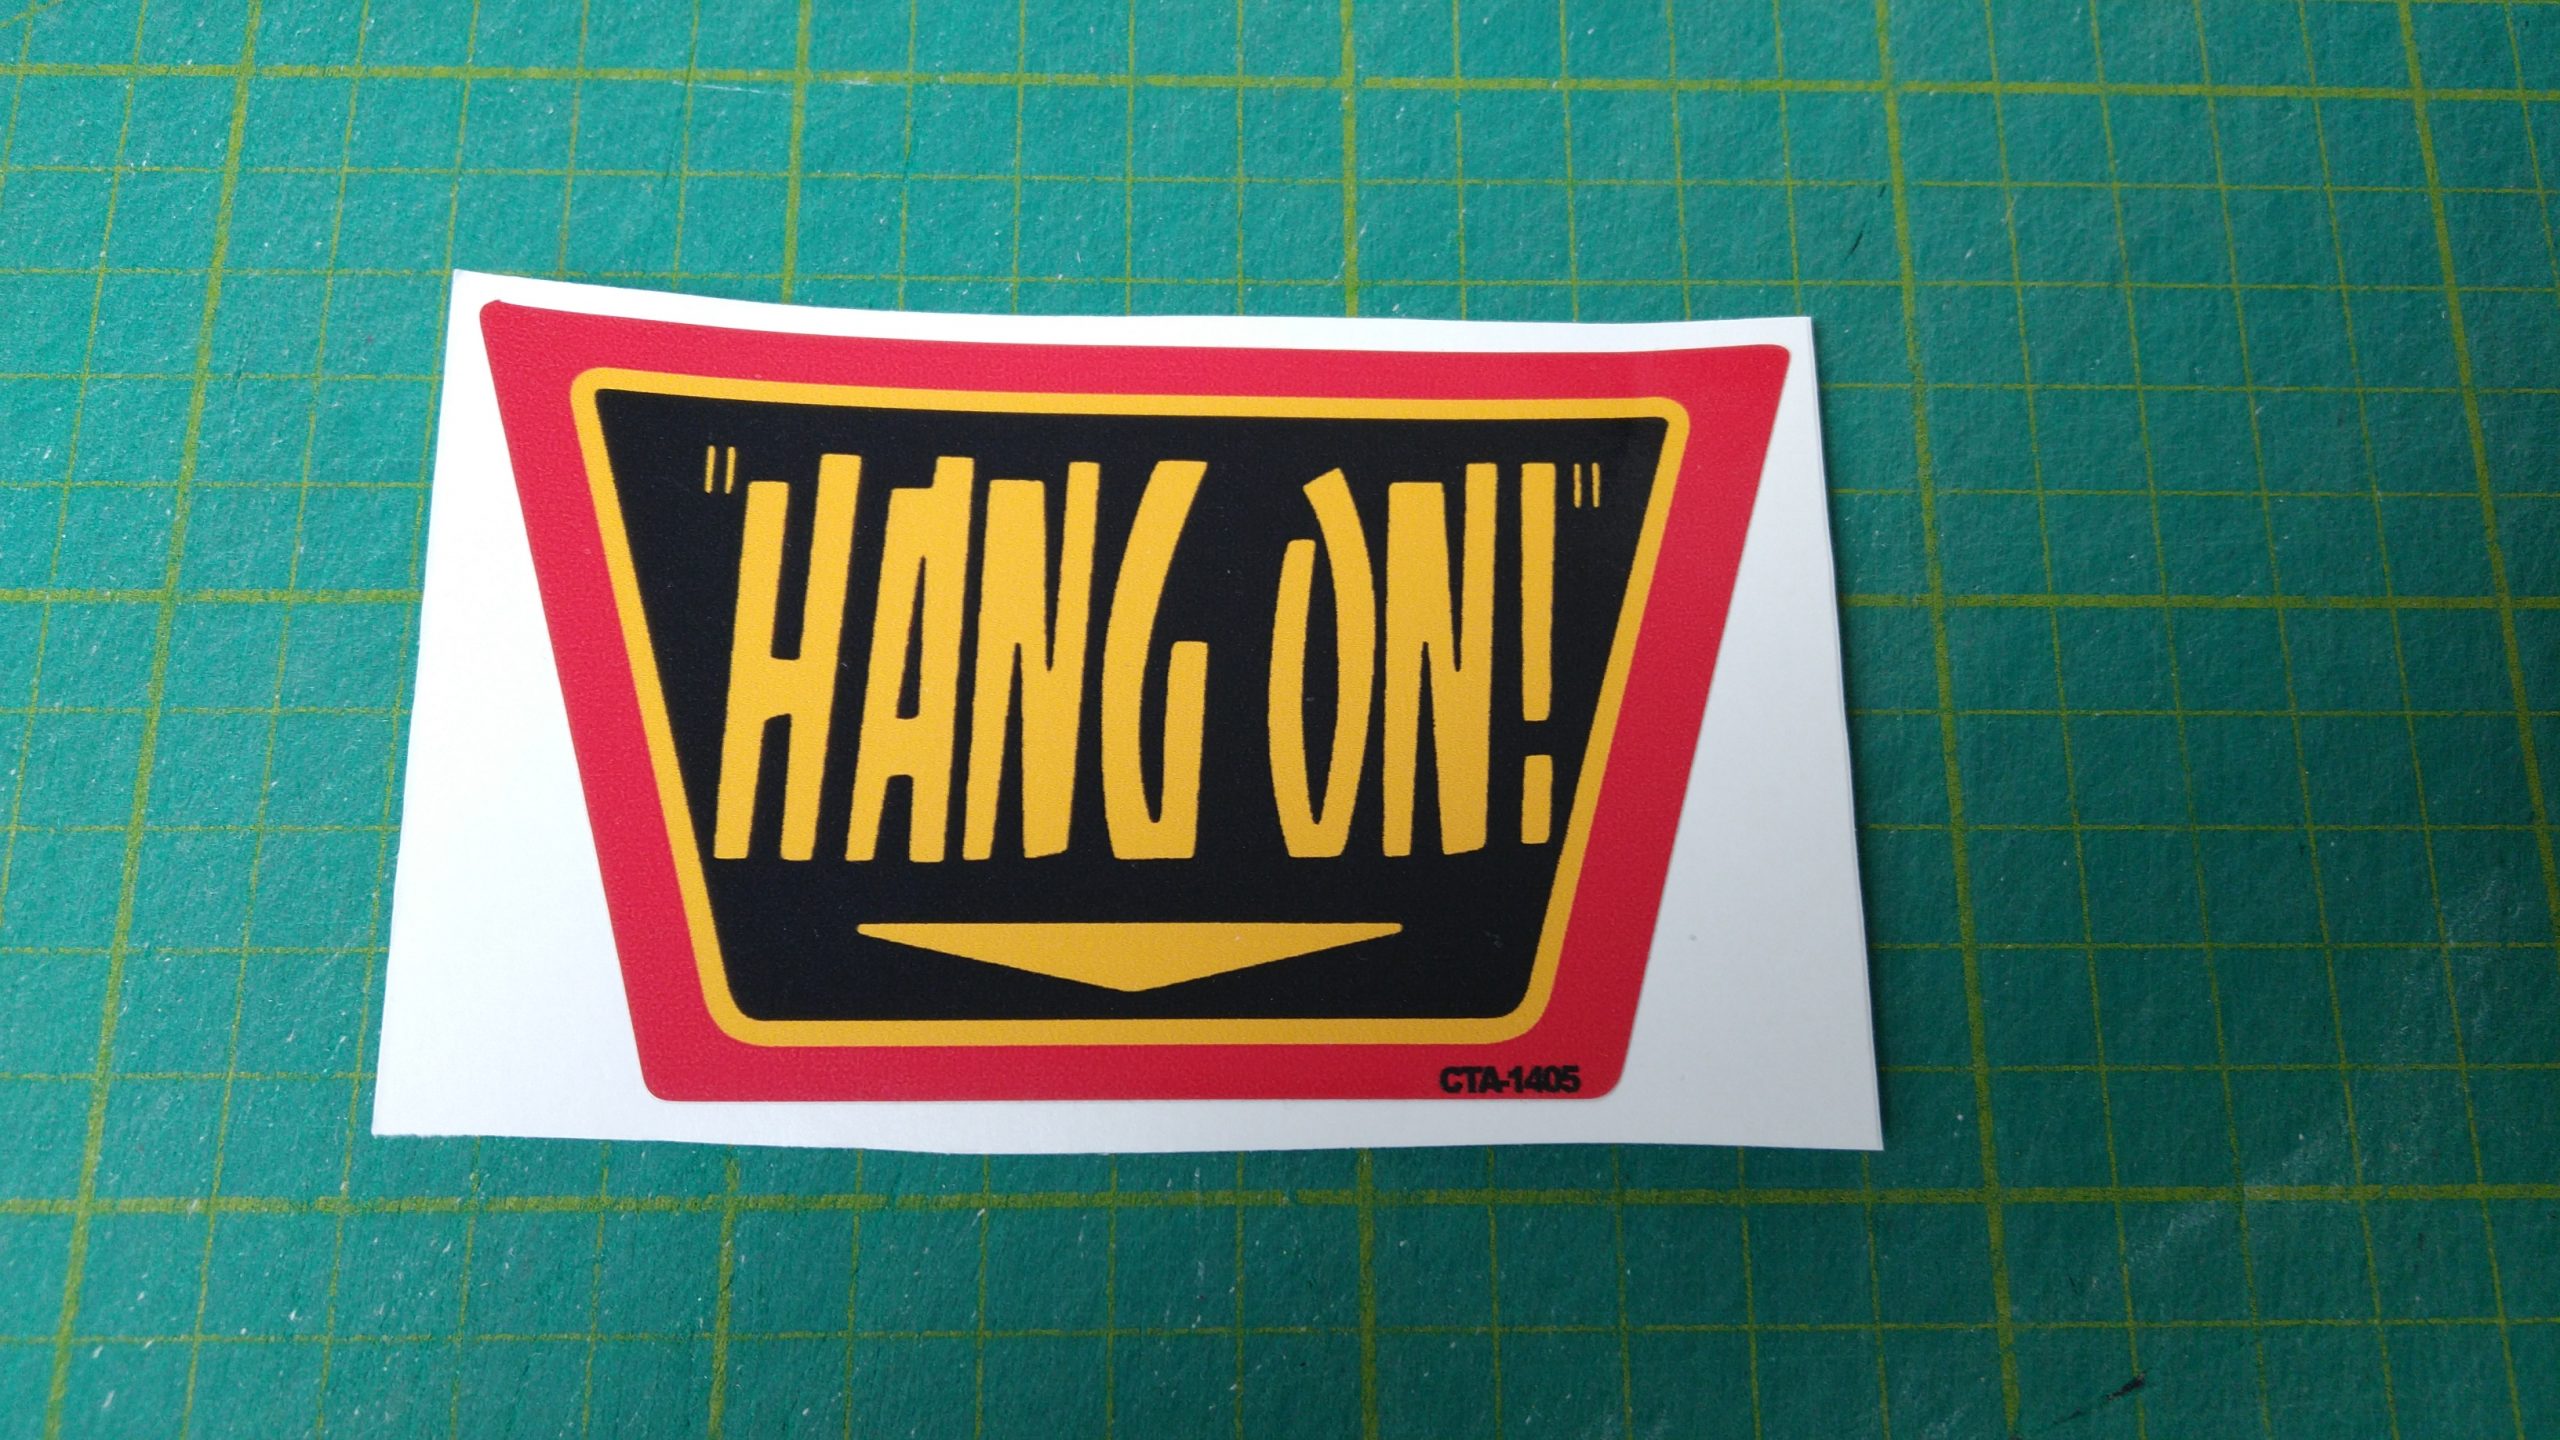
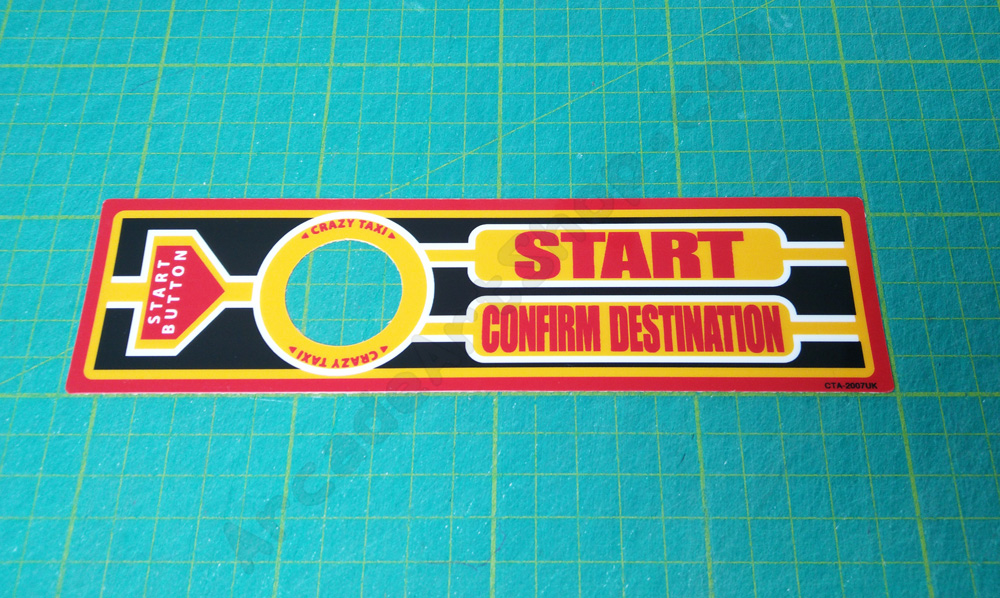
Big thanks to Mr. Muddymusic for the stickers, they really do contribute to the look of the cab. Although I did screw up the "Hang on!" sticker by stretching the corner of it! Will have to get another next time I do an order!
I know some people might be all "waaah but it's not Original!" but I've tried to obtain one in the past! I've either never been fast enough, or well connected enough! Or just not had deep enough pockets! In the end though, after a fair bit of paint frustration, I finally get to play a game I love in the way I remember it, and that's what counts, right!?
If anyone has any questions, please feel free to ask away!
So they languished for a few months, just kind of sitting there. Noticed a few people asking for Crazy Taxi parts in the wanted section and well, I do love Crazy Taxi, it was pretty much the last game I played the crap out of down the local arcades before they essentially stopped getting new video games in.
So how hard could it be to CREATE a Crazy Taxi? I mean, no one who's a coin-op collector is really going to lament to loss of a Club Kart Prize are they?
I did show these pics on the Facebook page last month but I thought I'd do a little write up here on how easy/difficult it was as a project.
So here we have our candidate for conversion. The upper plastic actually came from the other cab that had the plastic really badly melted by cigarettes and the former owner had just painted over it with some black paint. The seat had also been painted with nice thick gloss paint. Lovely brushstrokes visible all over. So lots of stripping, sanding and filling was required!
The next job was to give the shifterless driving CP, a shifter! Had one to spare from a dead old touring cars dash, only thing was to figure out how to fit it. What i did was, seeing as the metal mount plate for the shifter actually exists beneath the plastic, i flipped the thing upside down, and poked with a little pokey thing with paint on, through the bolt holes onto the underside of the plastic. Then drilled those through.
Then I made a paper template of the shifter plate, traced round it, and dremelled the plastic so that the shifter mechanism would fit through. I got a little eager with the old dremel and there was the slightest of gaps but i managed to cajole it into place so you can't see it on the final assemby.
So.. I gotta spray all this stuff. But I can't do it outside, and I don't want paint particles floating around and settling all over the unit. So off to B&Q i went, bought a £30 Gazebo and £5 of dust sheet. Plopped an air filter machine I had on the floor to do some particle sucking and it worked well! Lighting was a problem in there though so in the end i hung a work lamp on a stepladder!
Few layers of white primer and the yellowness and mankiness is but a distant memory!
I had no idea how much paint I was going to need, so I bought a couple of cans of "Nissan solar yellow" from the local Halfords. Turned out to be a good colour I thought. So I went off to get more! Turns out I'd basically bought all they had and I had to have a few cans ordered especially.
Getting a good finish was fun. A fair old bit of wet/dry sanding and respraying. Then applying clearcoat to them. A couple of times I handled them before the clearcoat had really hardened and managed to get juicy big thumbprints embedded into the finish. So i had to sand them down and reapply. Kept adding extra days to the project!
All that effort was worth it in the end though. Managed to acquire a Crazy Taxi cartridge, plopped that in, bit of fiddling with the steering and pedal calibration, renewing the shifter microswitches and hooking them up to the IO board. And there ya go. It is time to go make some crazy money! (By that i mean IN THE GAME, I'm not planning on putting this on eBay for £1495. this is for me and will hopefully be playable by the public too soon.)
So all in all, probably about £350 spent, and around 3 weeks of a couple of hours a day. Not a bad project. I'm pleased with the result so far, having never really attempted anything like this myself before.
There's a couple of things I'd like to fix. Some kind of Marquee, the proper big box would be nice. But I can get a standard Naomi marquee laser cut in acrylic. Also i want to do something to change the treadplate on the base from Club Karts awful graphics to either something resembling the original, or just Yellow. But I've already put a good few hours play into it and it does indeed make me happy.
Big thanks to Mr. Muddymusic for the stickers, they really do contribute to the look of the cab. Although I did screw up the "Hang on!" sticker by stretching the corner of it! Will have to get another next time I do an order!
I know some people might be all "waaah but it's not Original!" but I've tried to obtain one in the past! I've either never been fast enough, or well connected enough! Or just not had deep enough pockets! In the end though, after a fair bit of paint frustration, I finally get to play a game I love in the way I remember it, and that's what counts, right!?
If anyone has any questions, please feel free to ask away!