Defender Scratch Build

Russ J

Active member
vacBacker
Feedback
1 (100%)
Credits
233CR
Since I built my scratch Robotron last year i've wanted to build another scratch build.I did want to build a Tron but what with the shroud,plastics etc...that idea went out of the window quickly as trying to source these items would have been a pain and probably very expensive as well....

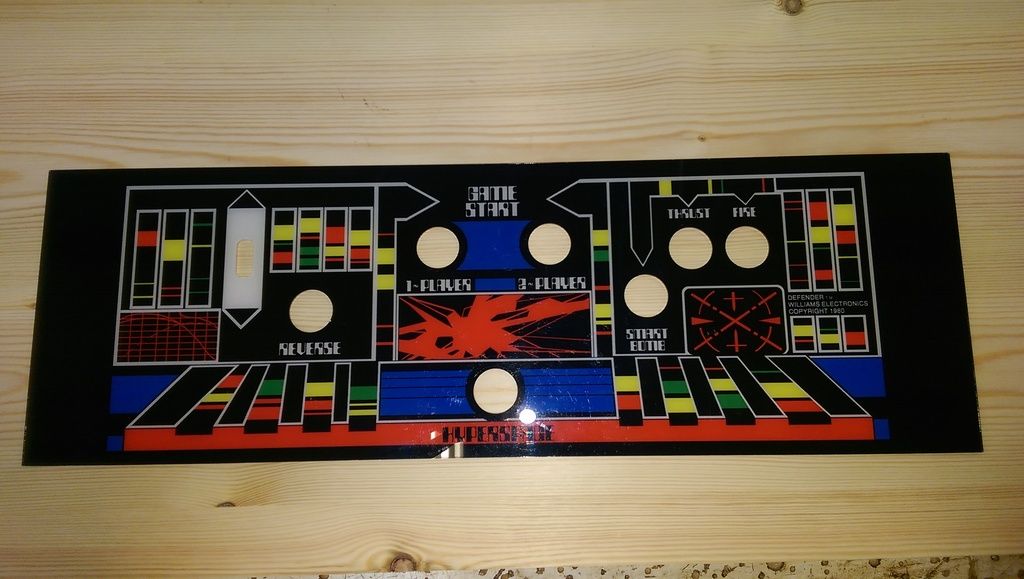
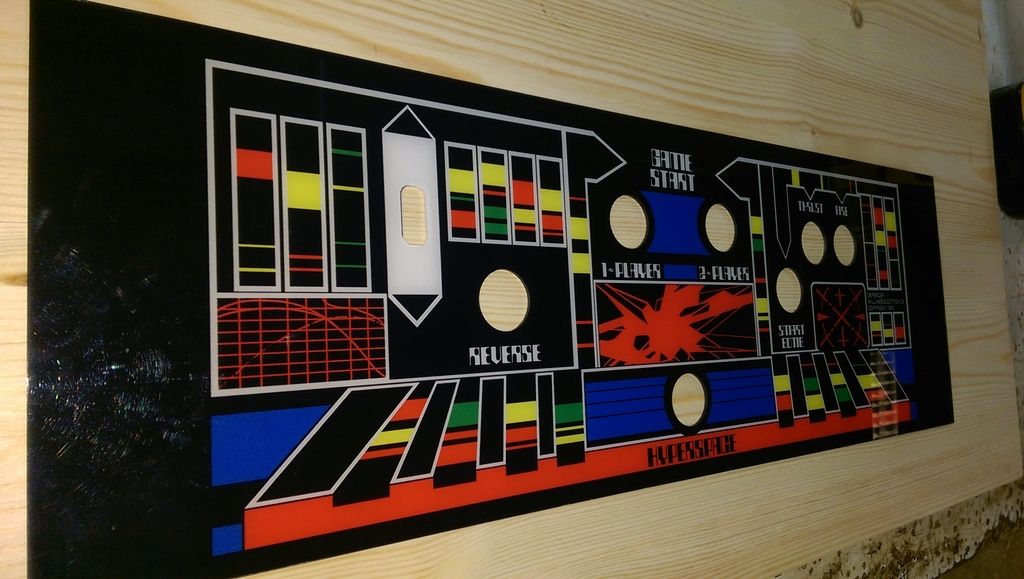
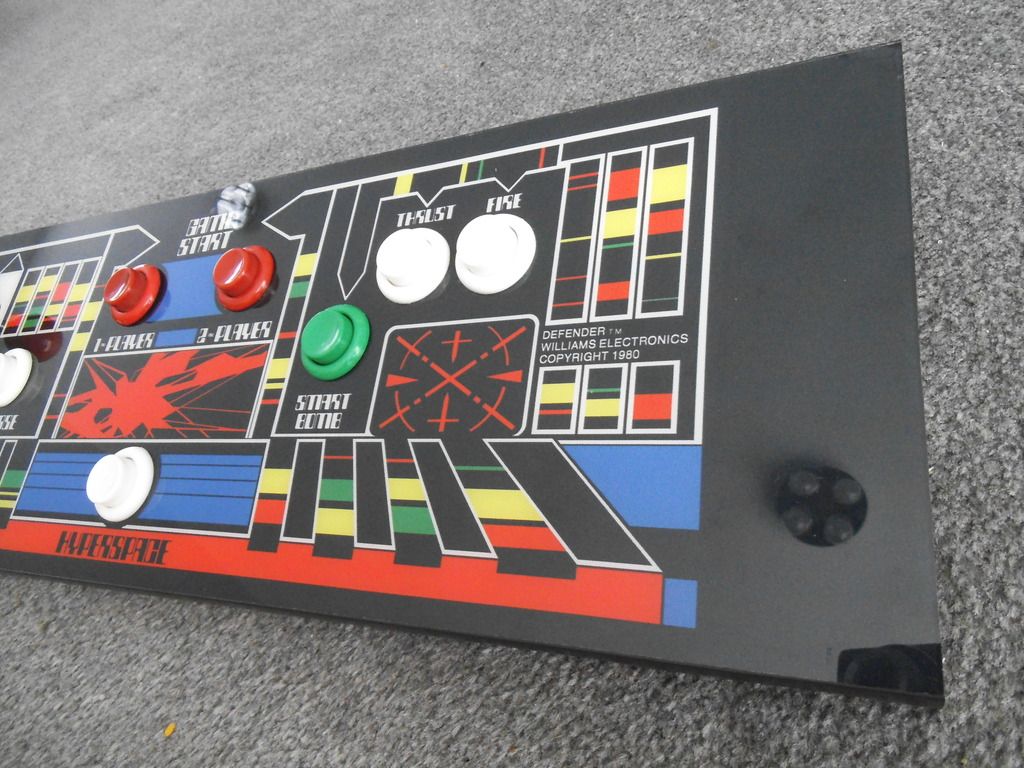
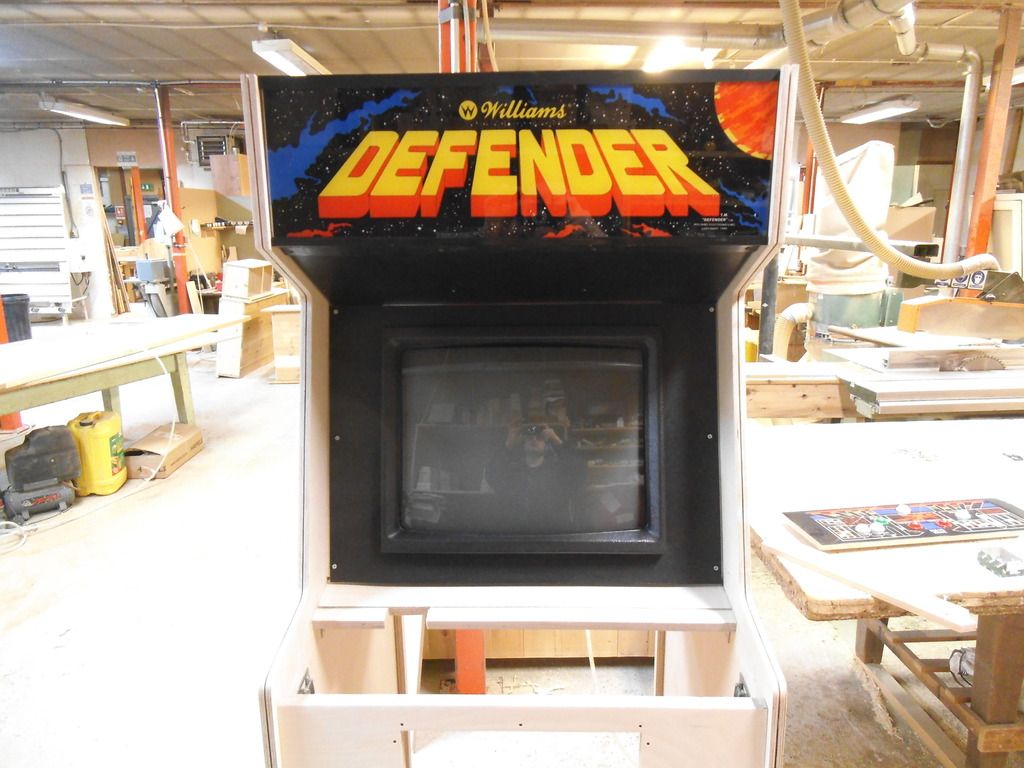
So I decided to build a Defender as this is another game I played to death as a kid and have very happy memories of playing it in the arcades of Leeds....

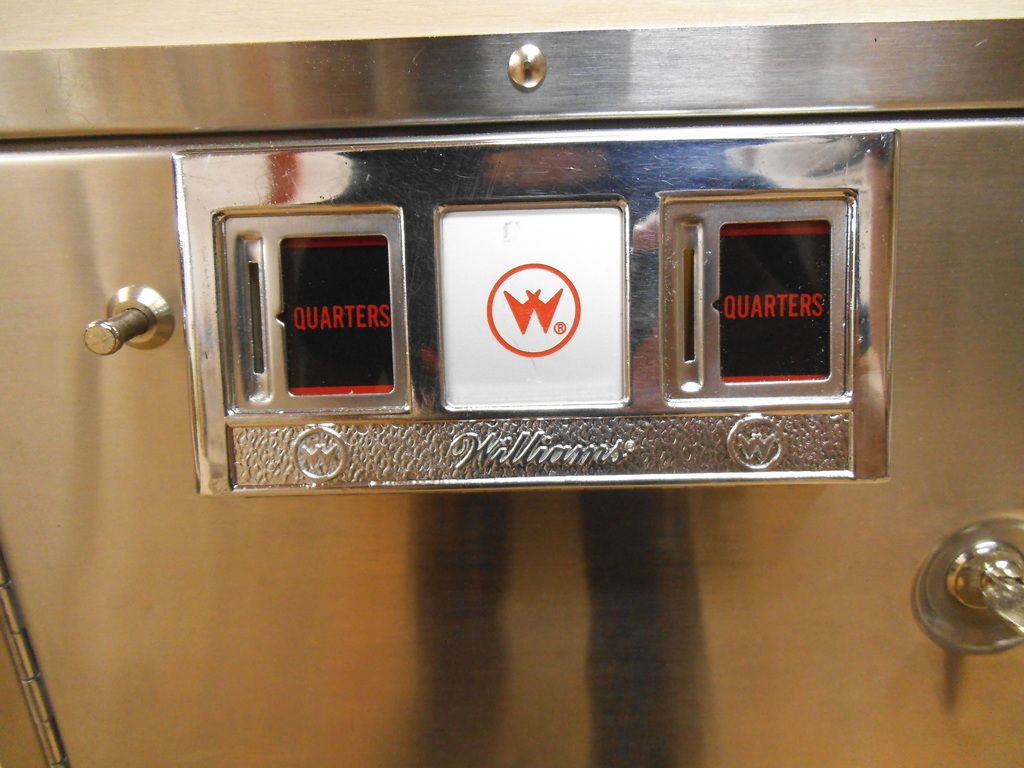
I know a few people who have original cabs so getting measurements etc...wasn't going to be a problem,I also have a spare Jrok board....

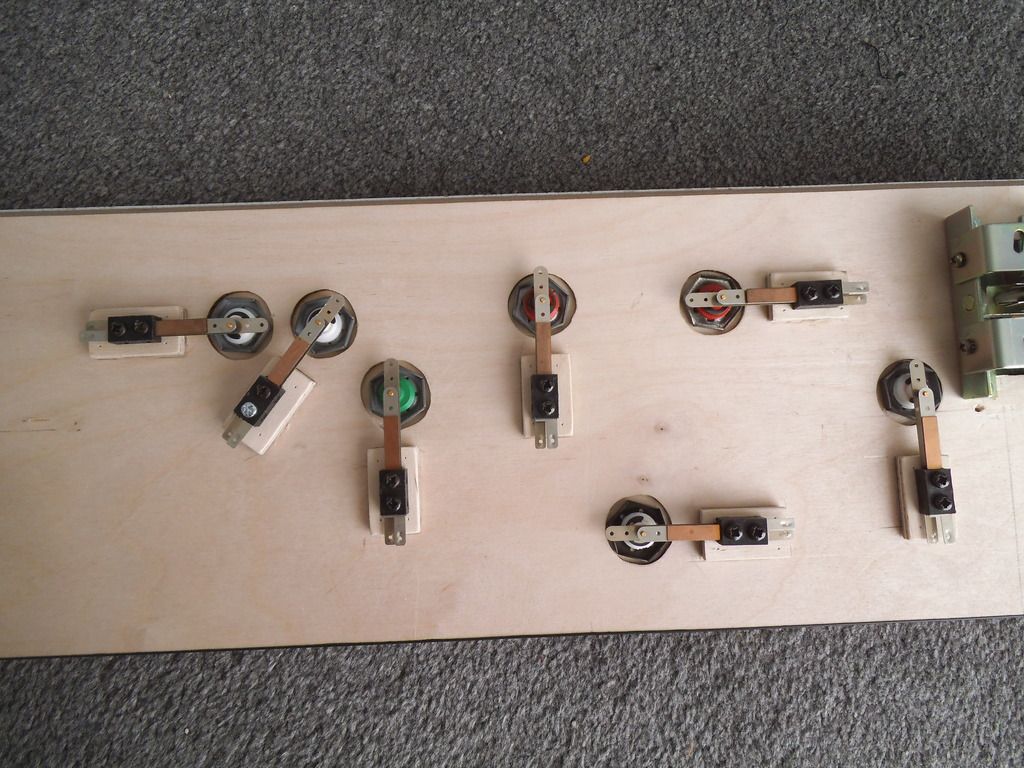
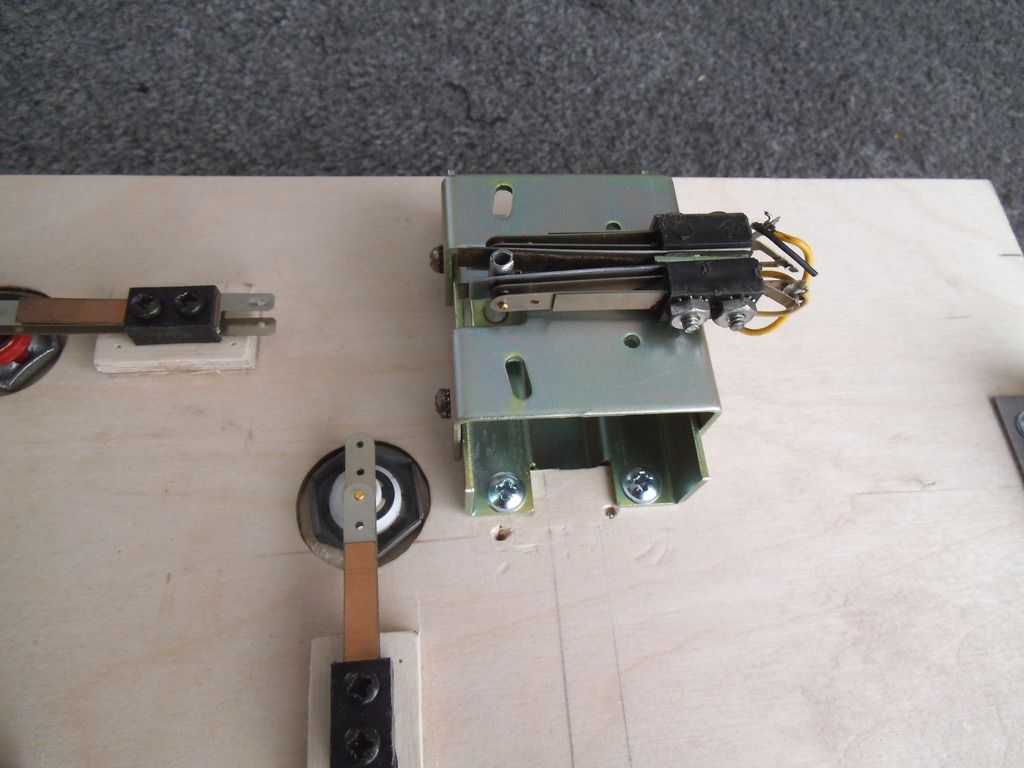
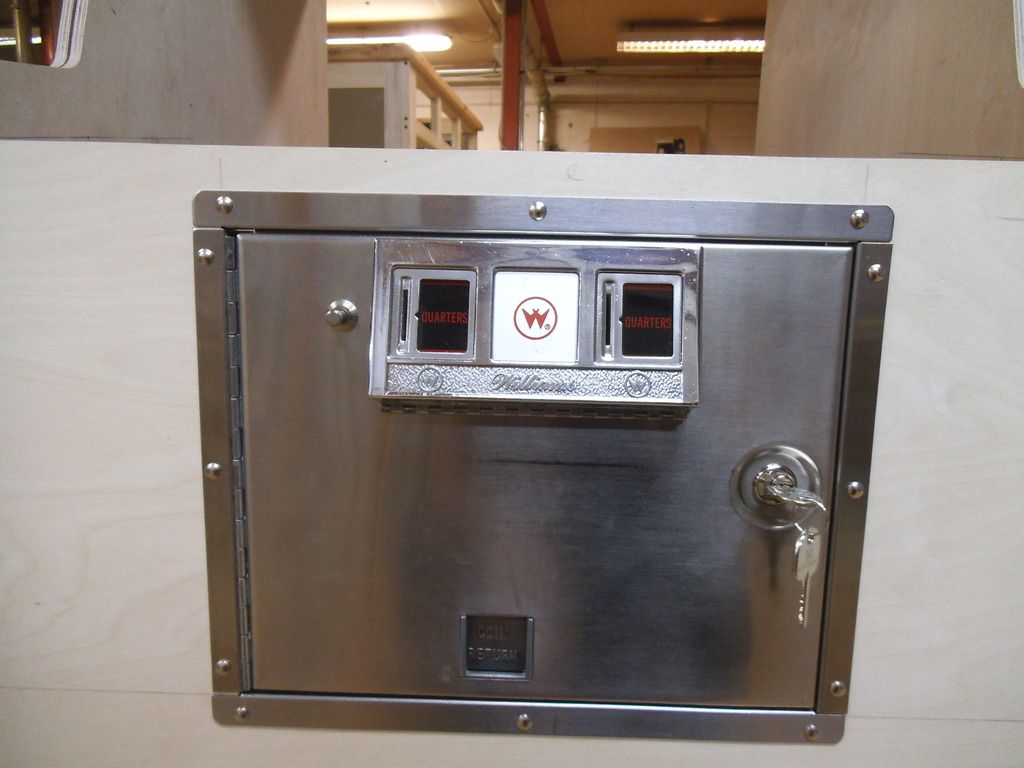
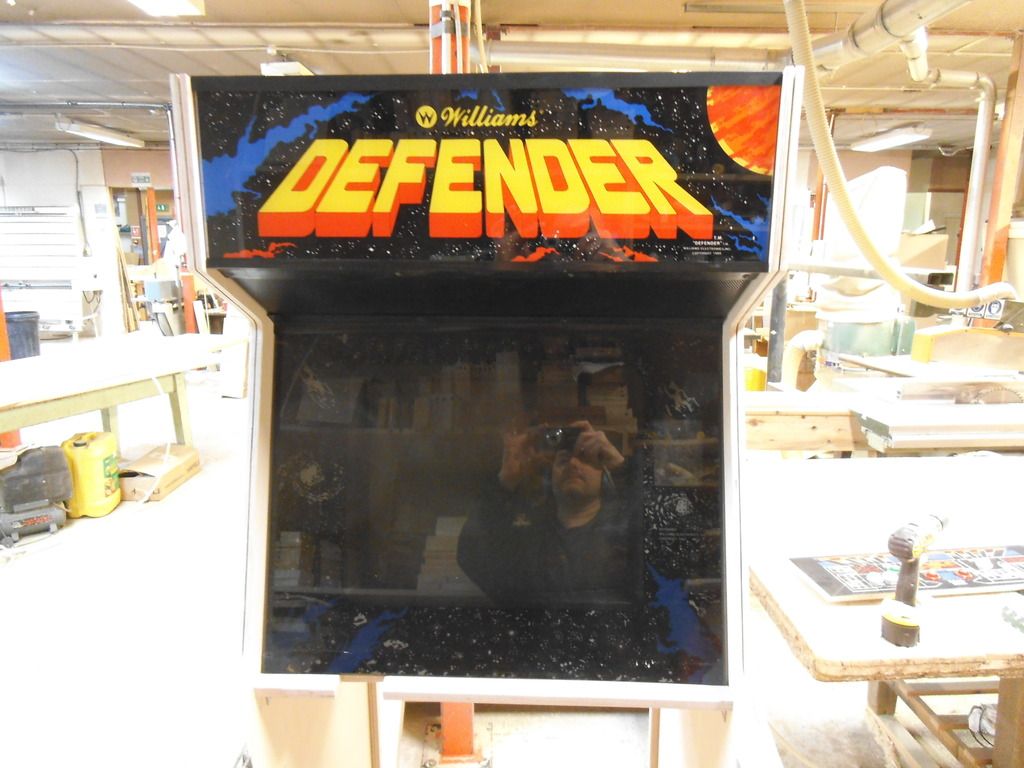
A forum member I no had many parts from a Defender cab he trashed (the actual cab itself was too far gone to attempt any kind of decent resto he said so he stripped all the salvagable parts and put them to one side for me for when I were ready to start my project).....

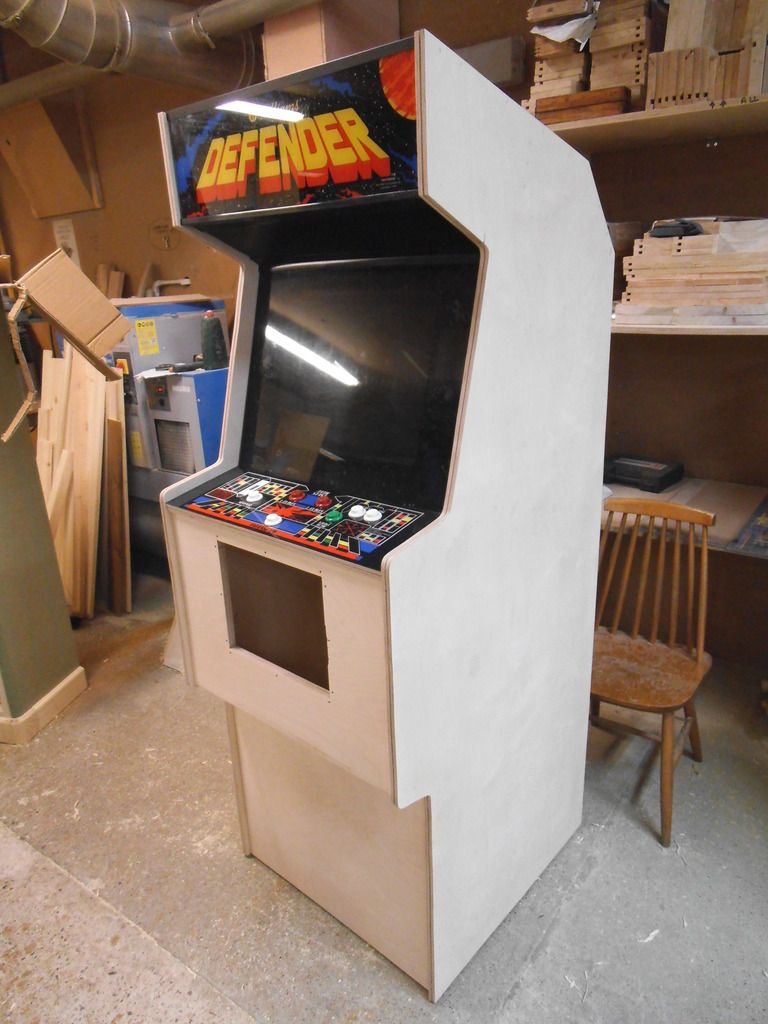
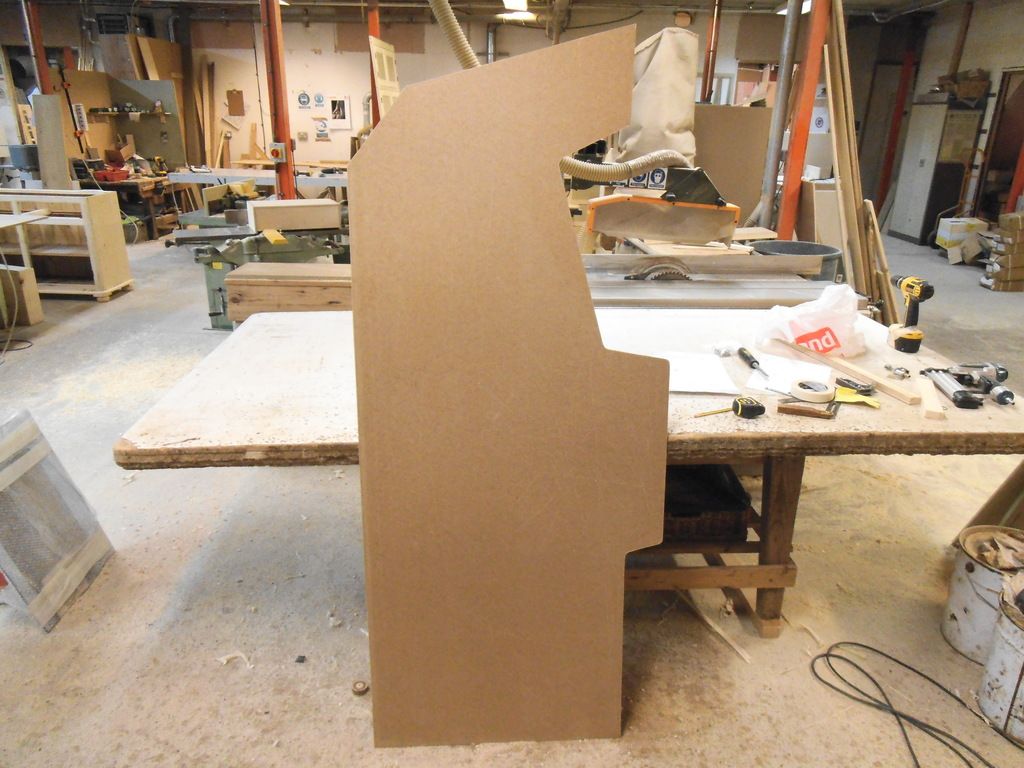
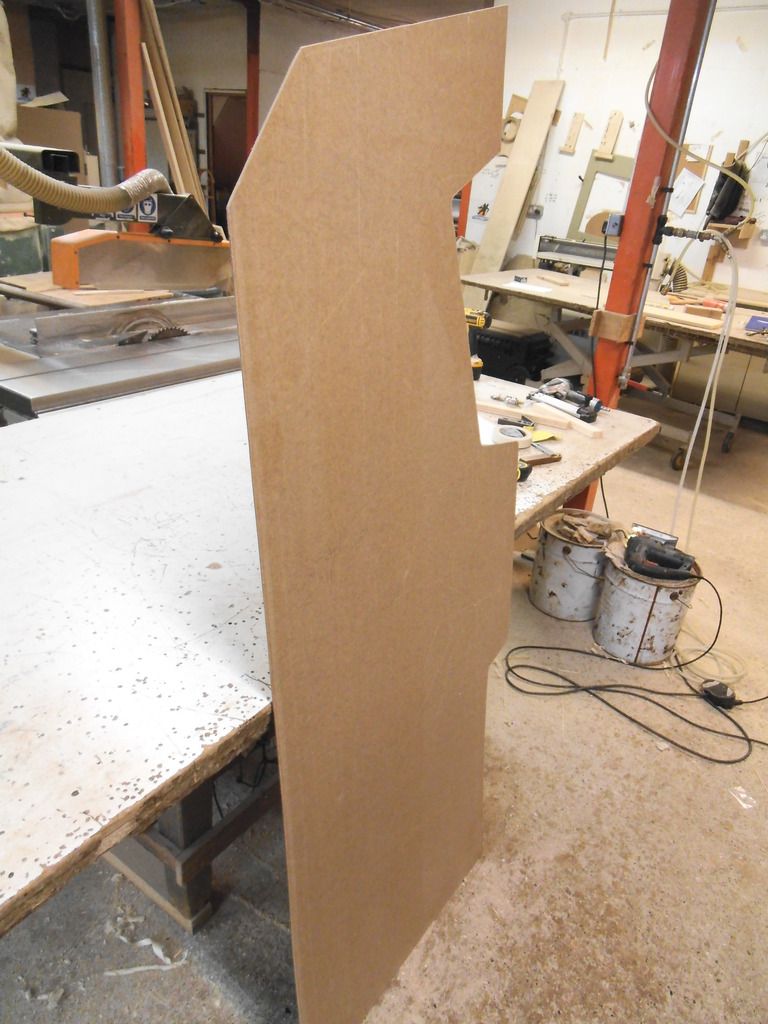
I did the same as my Robotron regarding the shape of the sides...I got a piece of hardboard and just basically pressed it up against the original cab and drew around the shape and then cut it out at work with a jigsaw...


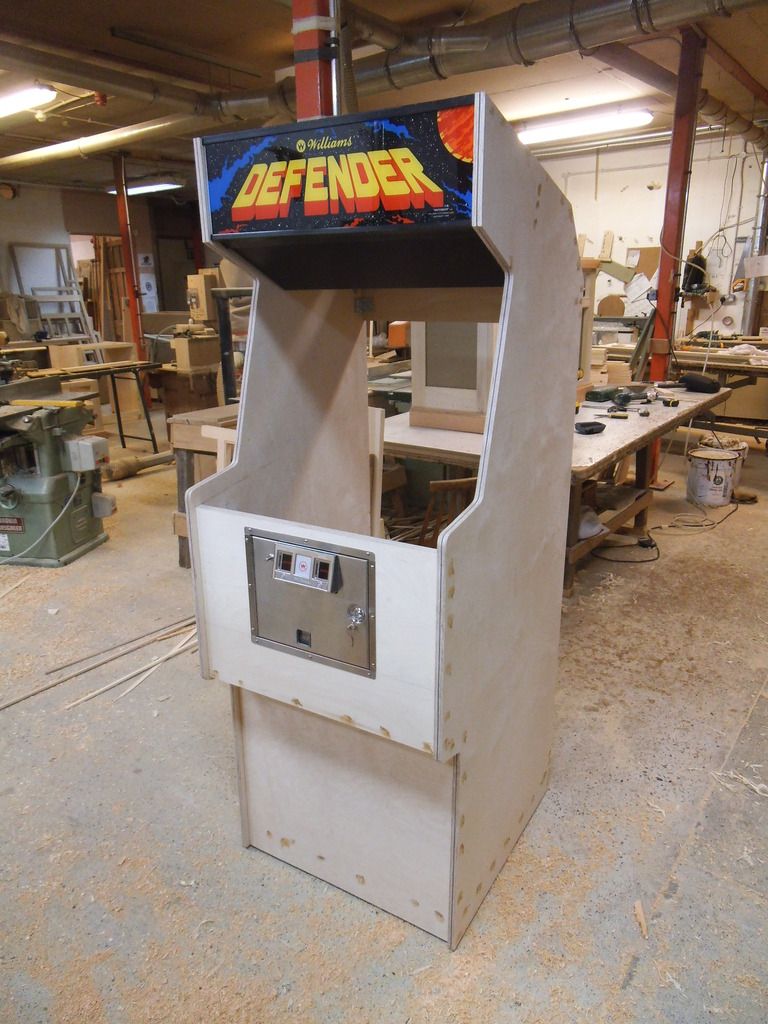
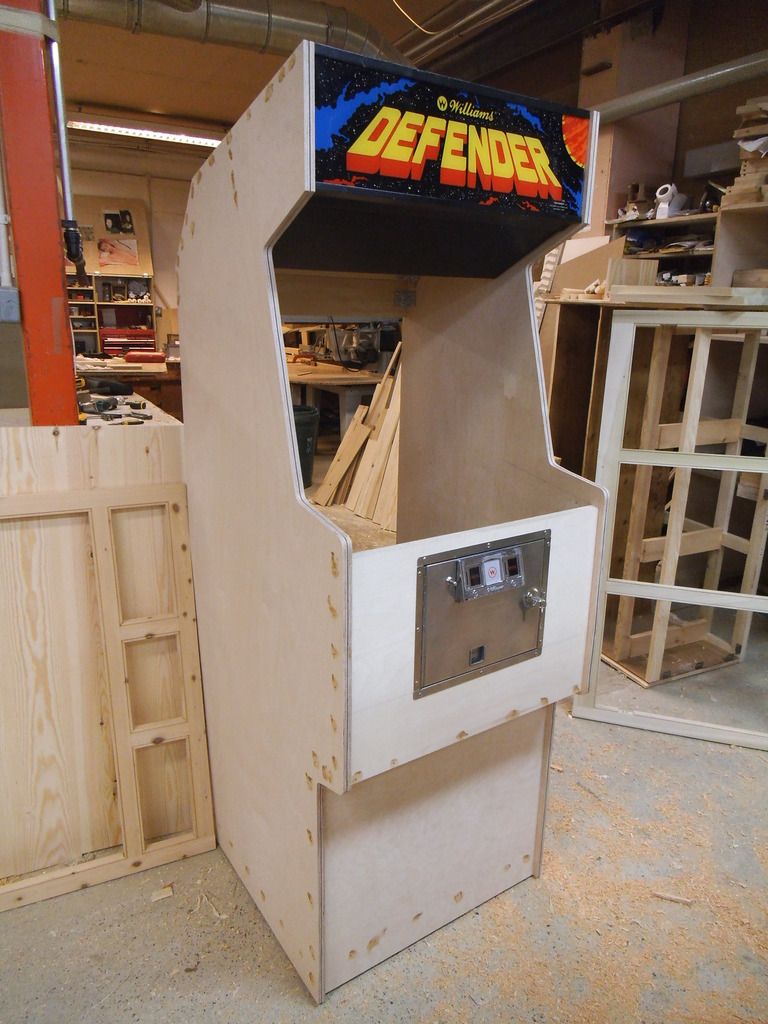
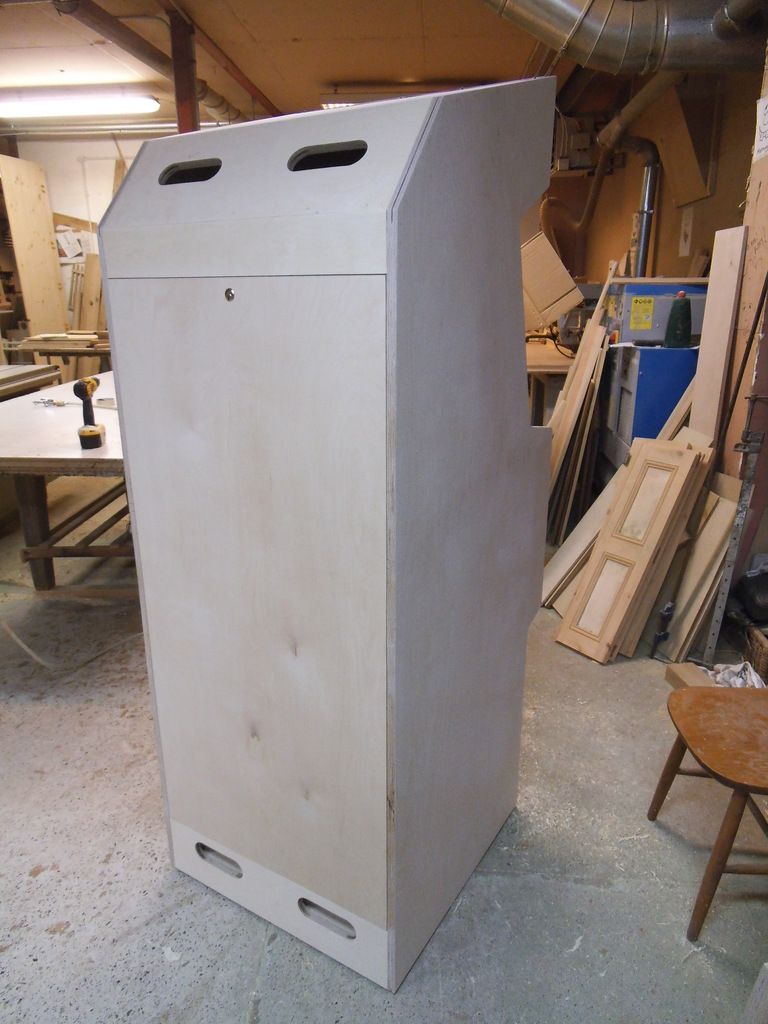
I am using the same material as I did for my Robotron which is 18mm Birch Ply.A great material to use.....


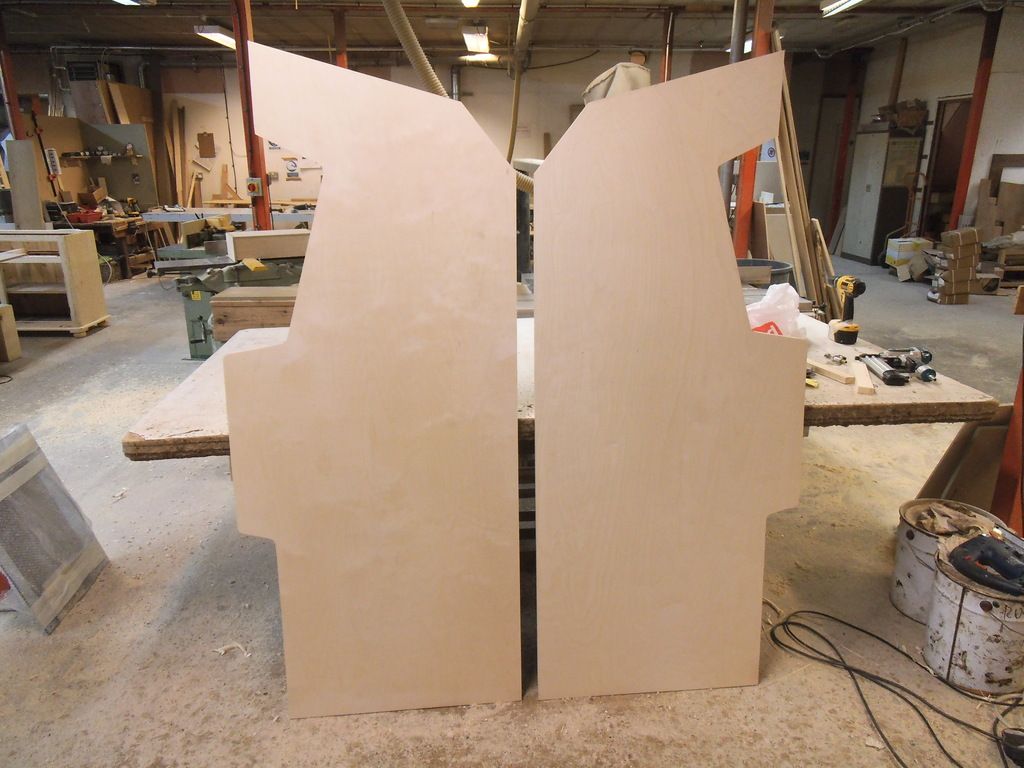
The two sides cut out...


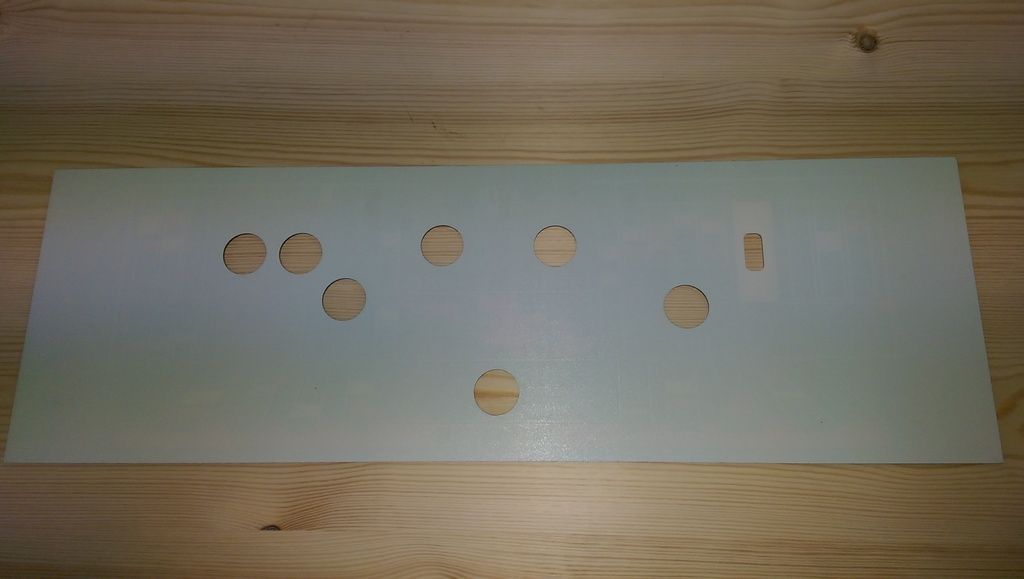
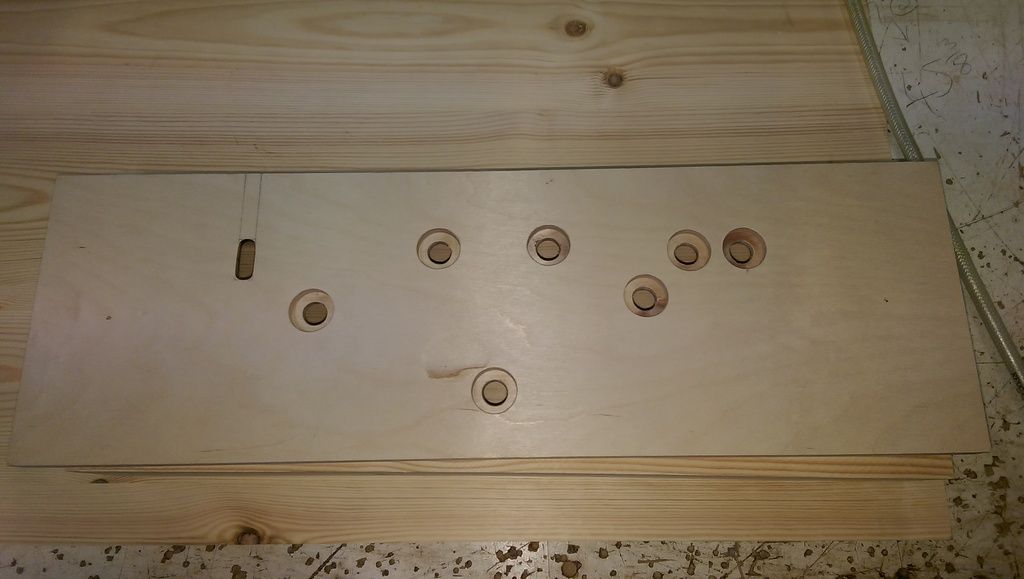
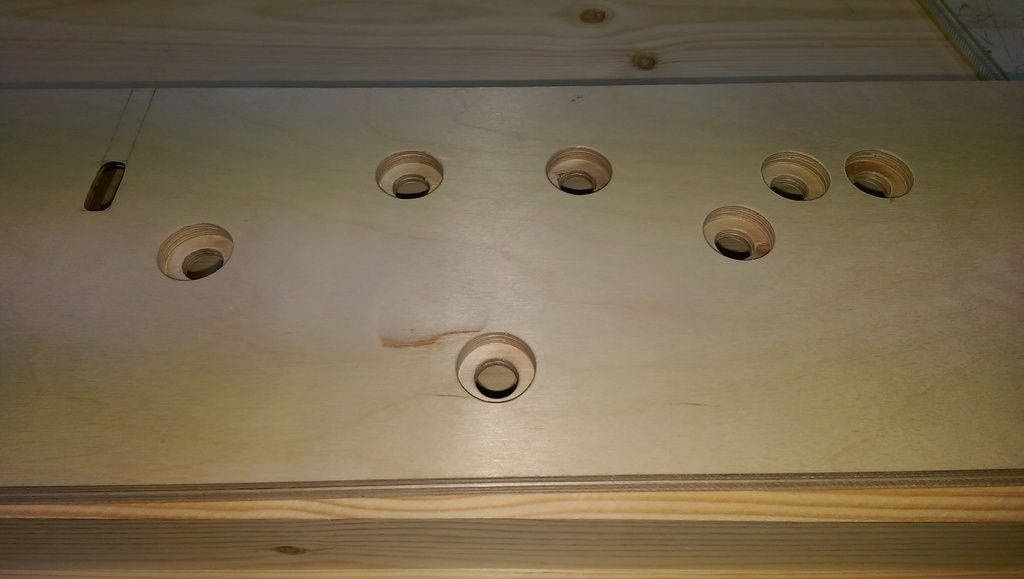
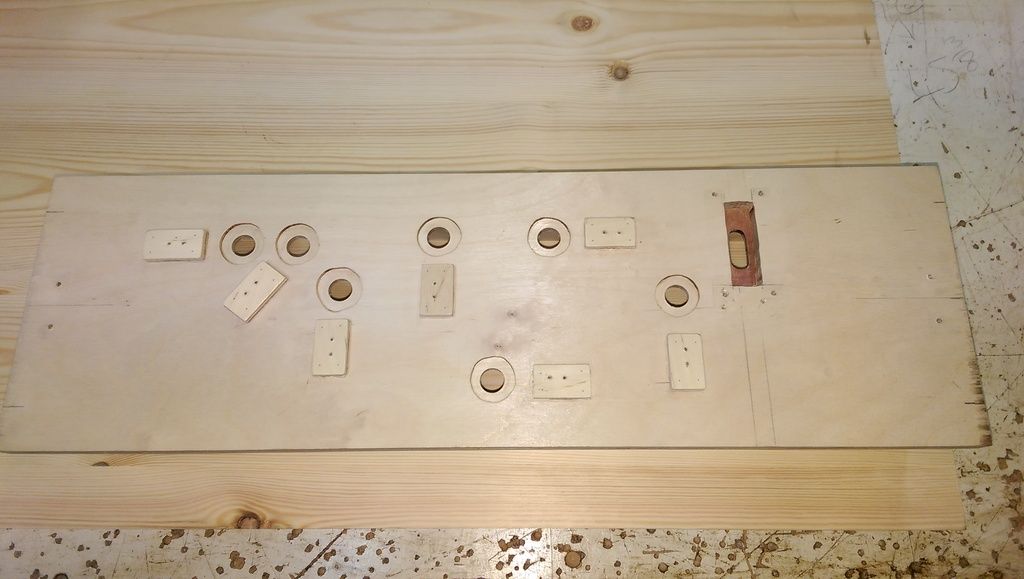
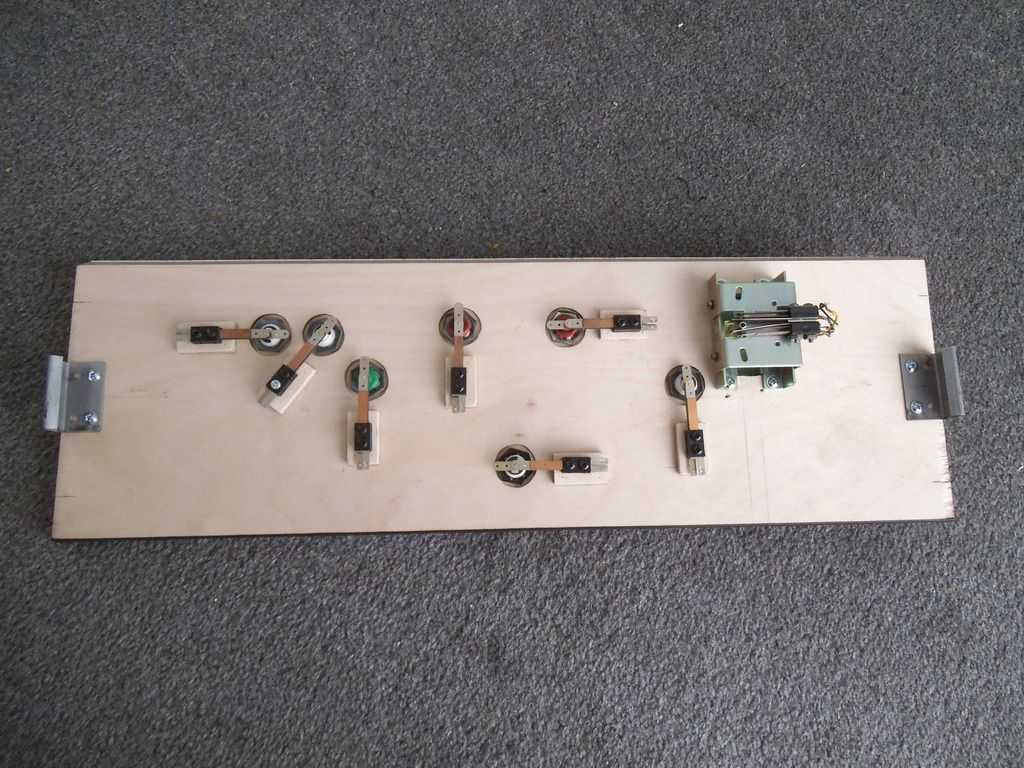
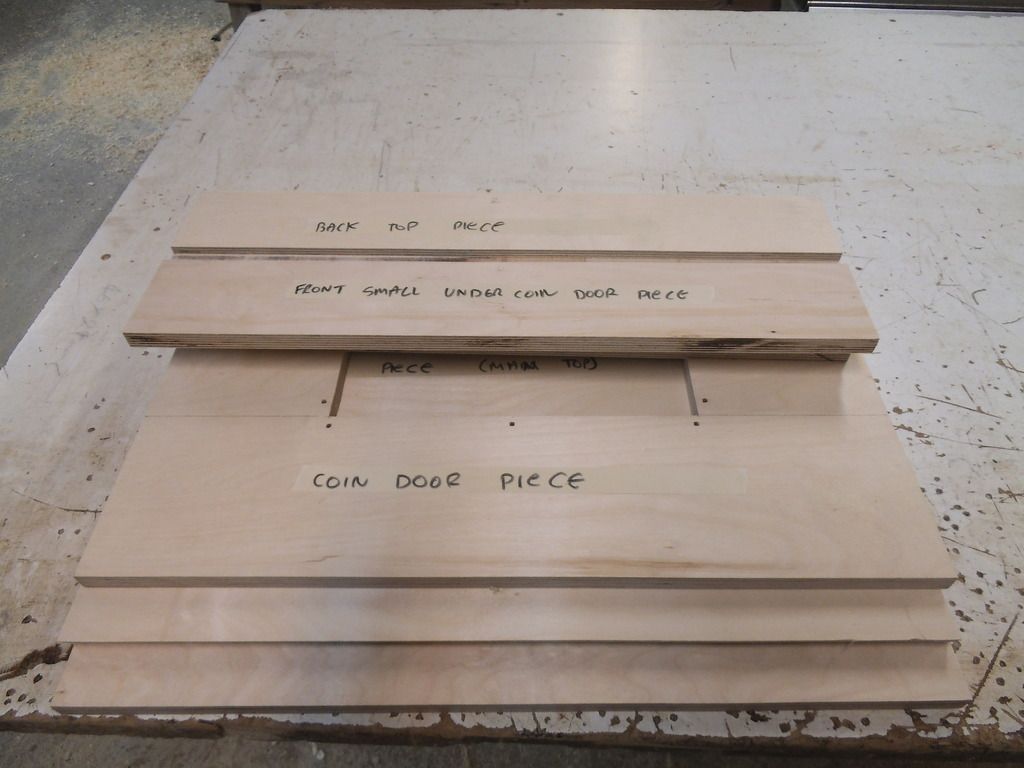
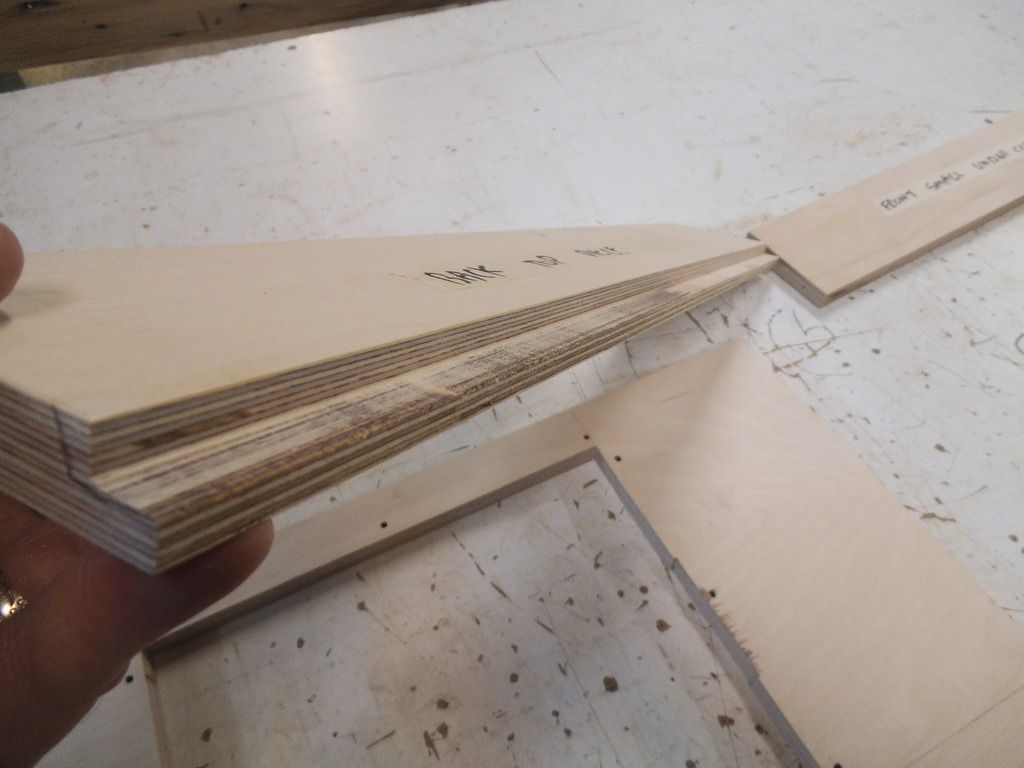
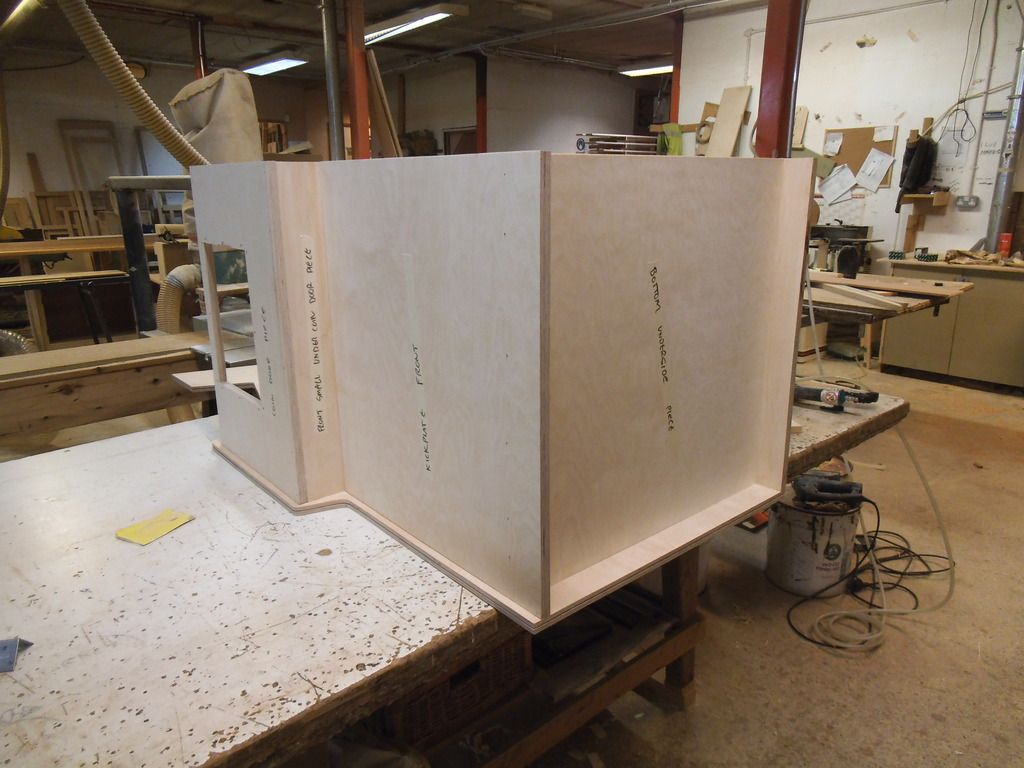
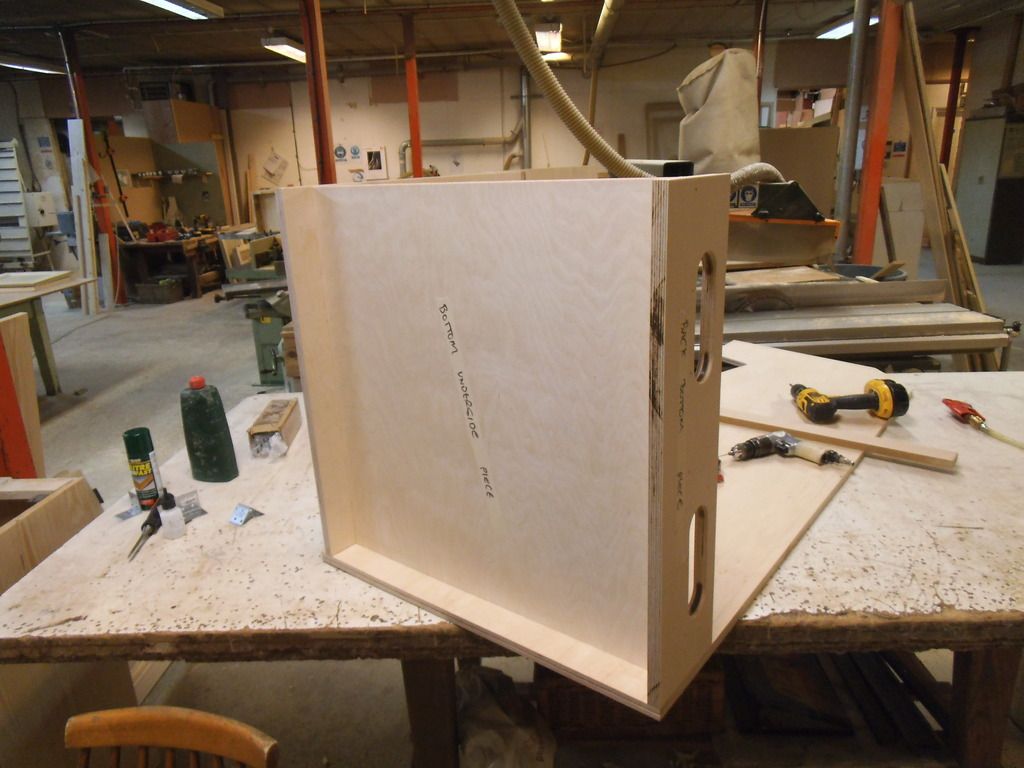
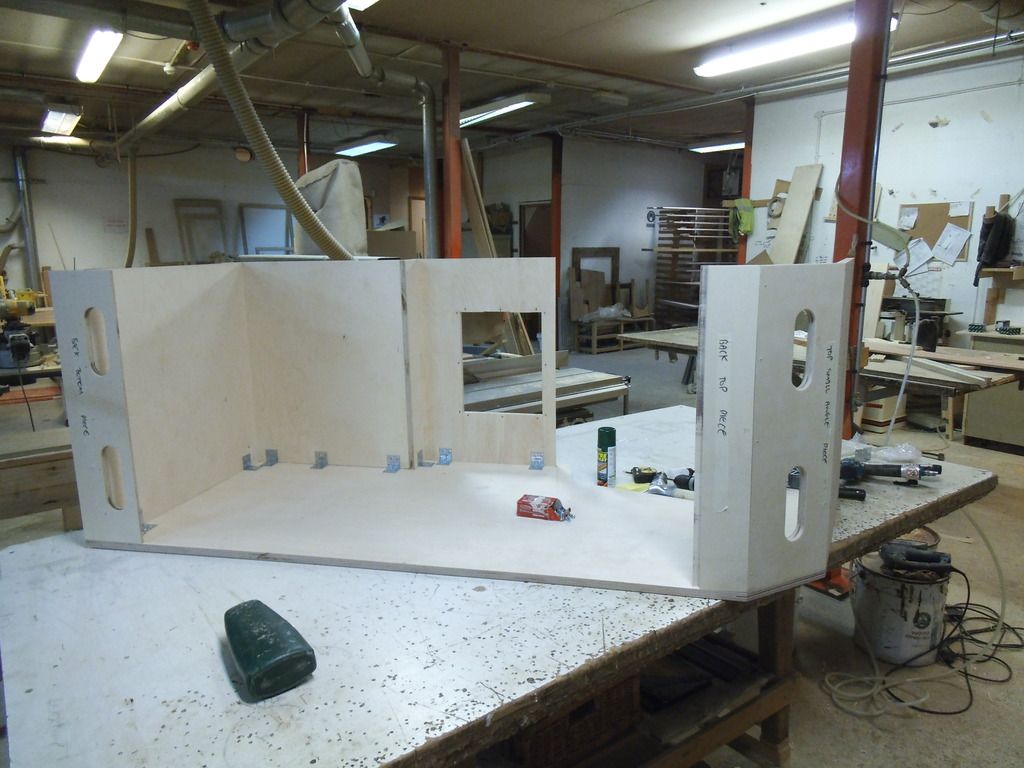
The rest of the panels cut out...


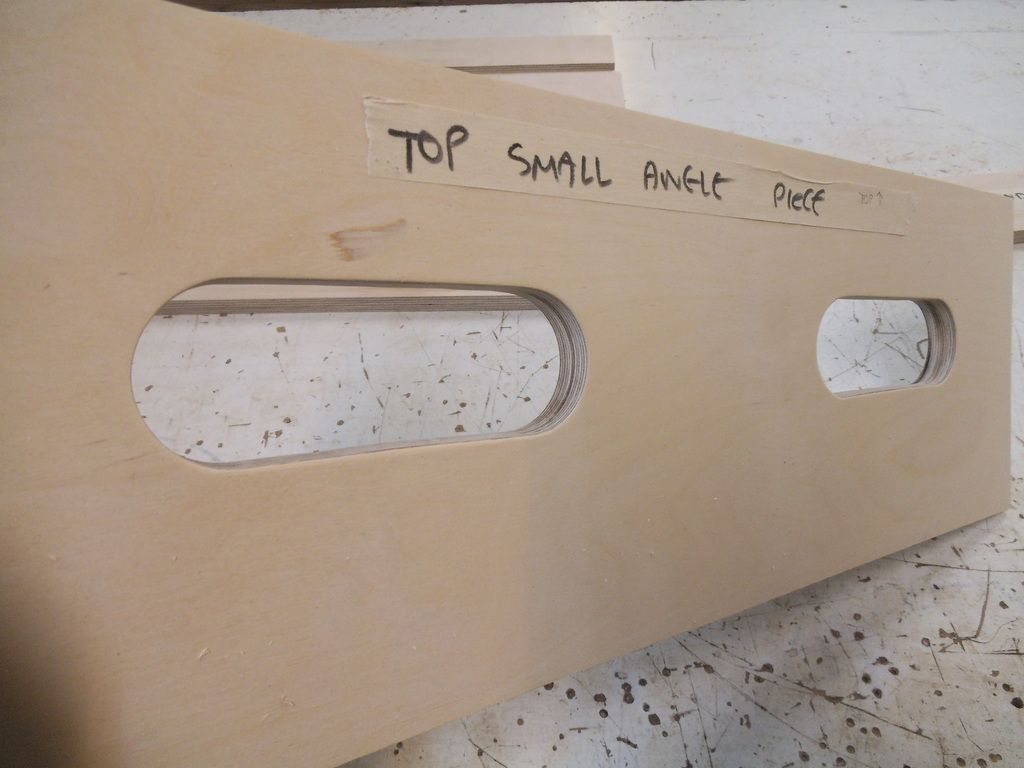
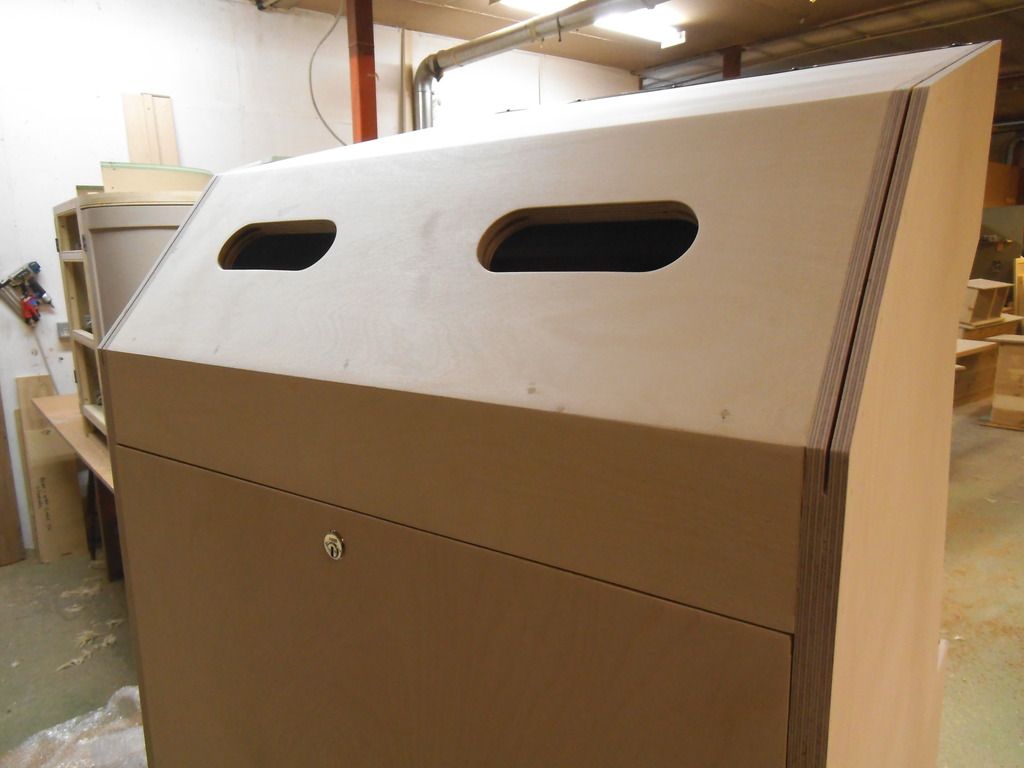
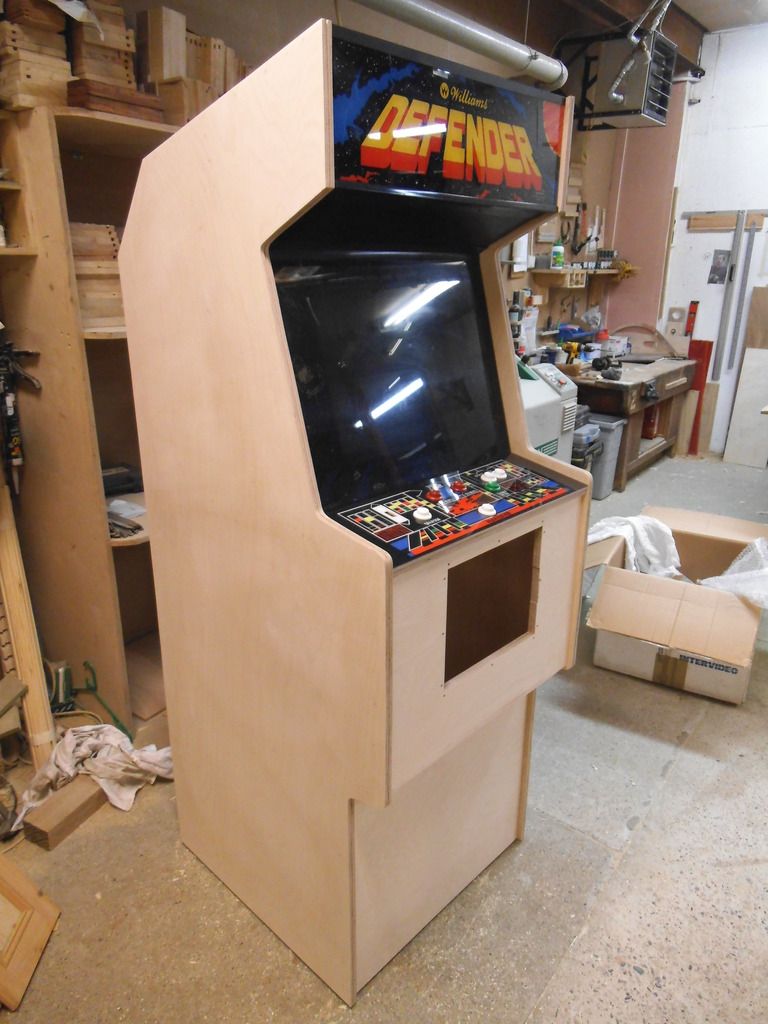
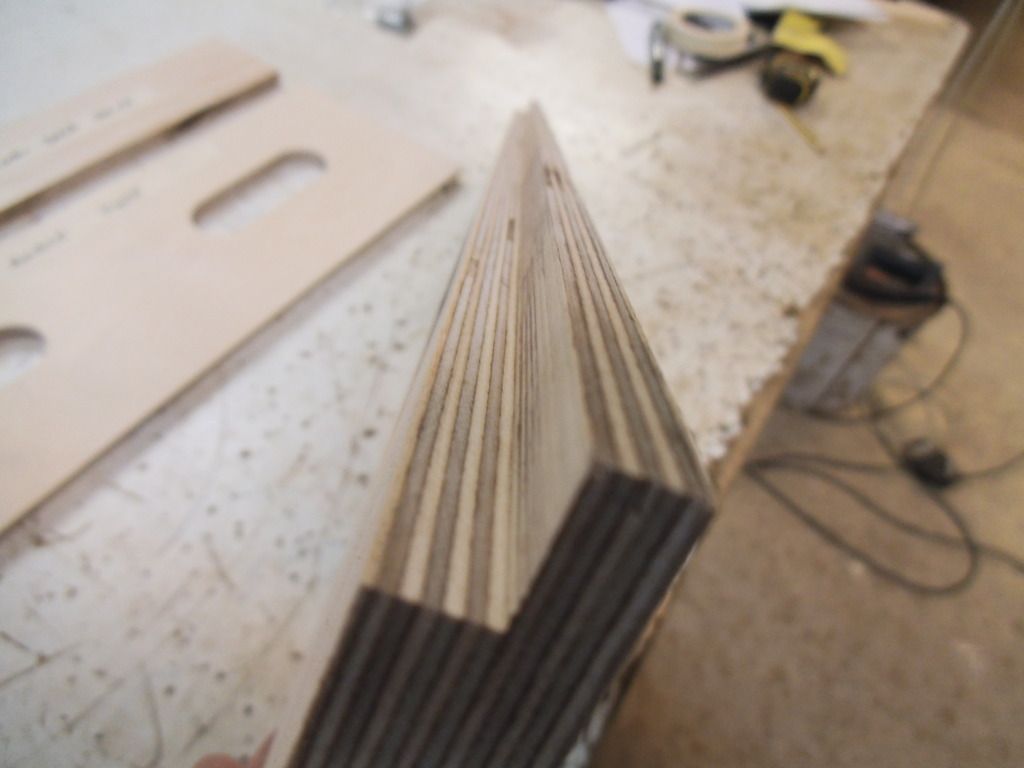
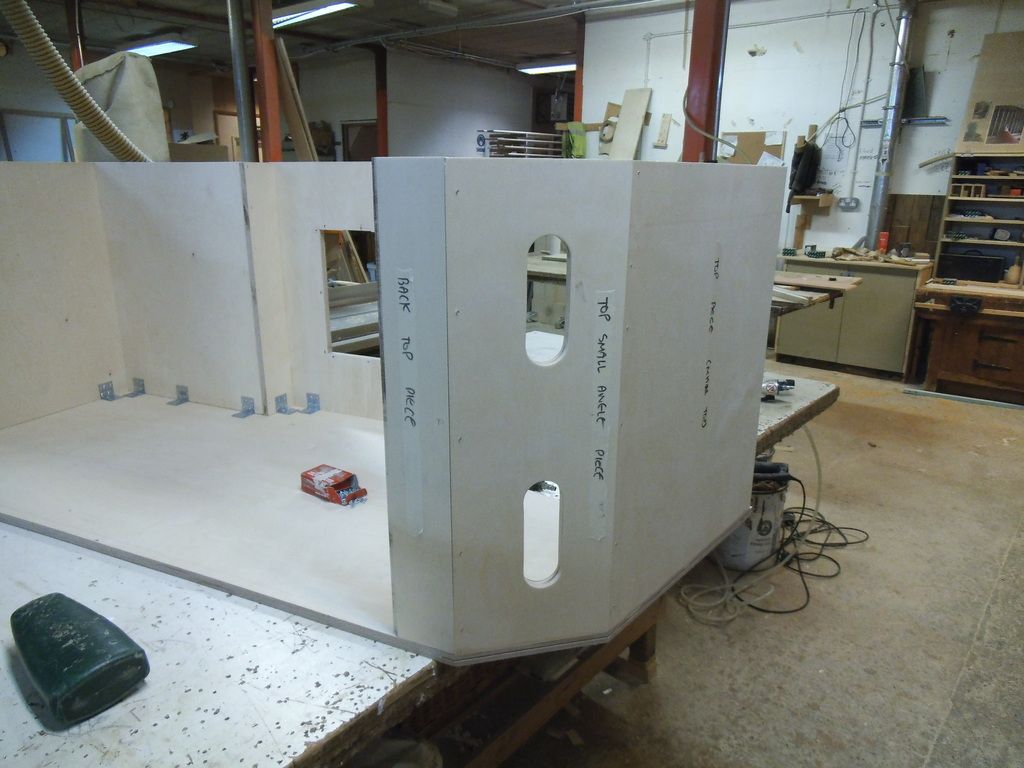
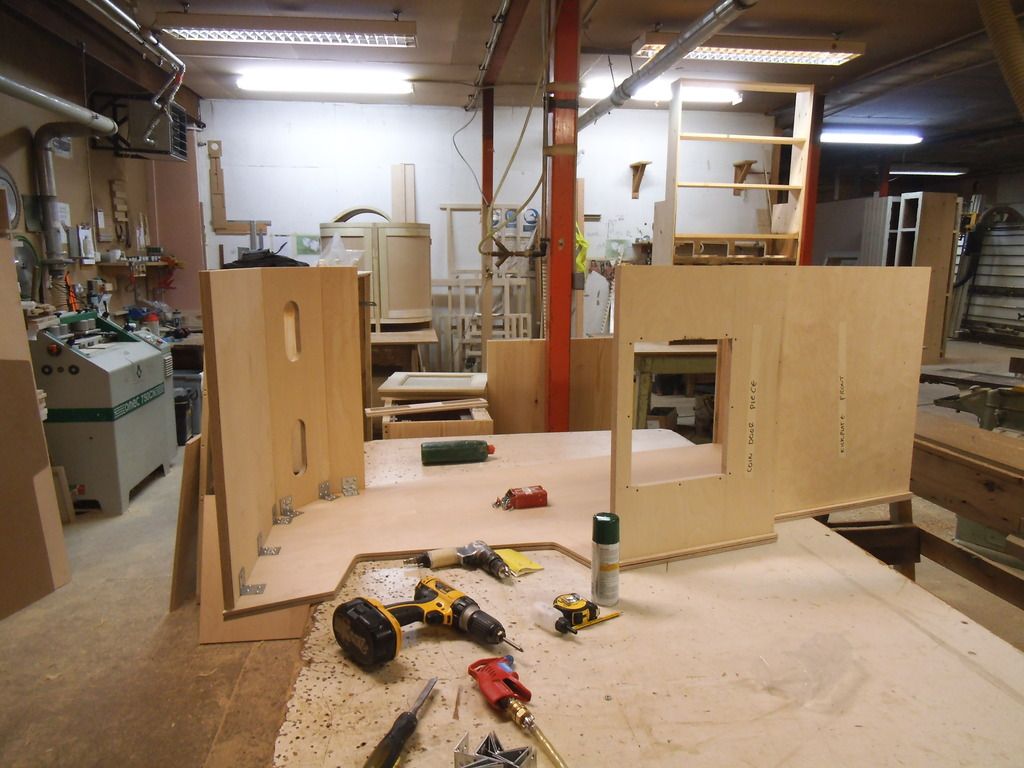
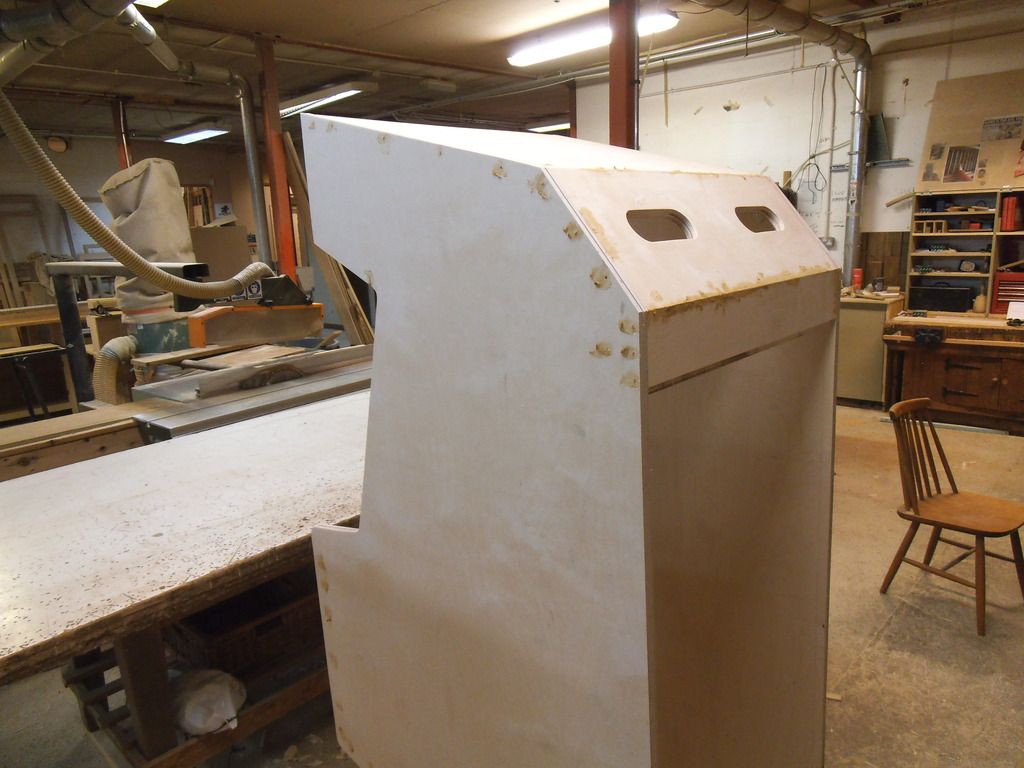
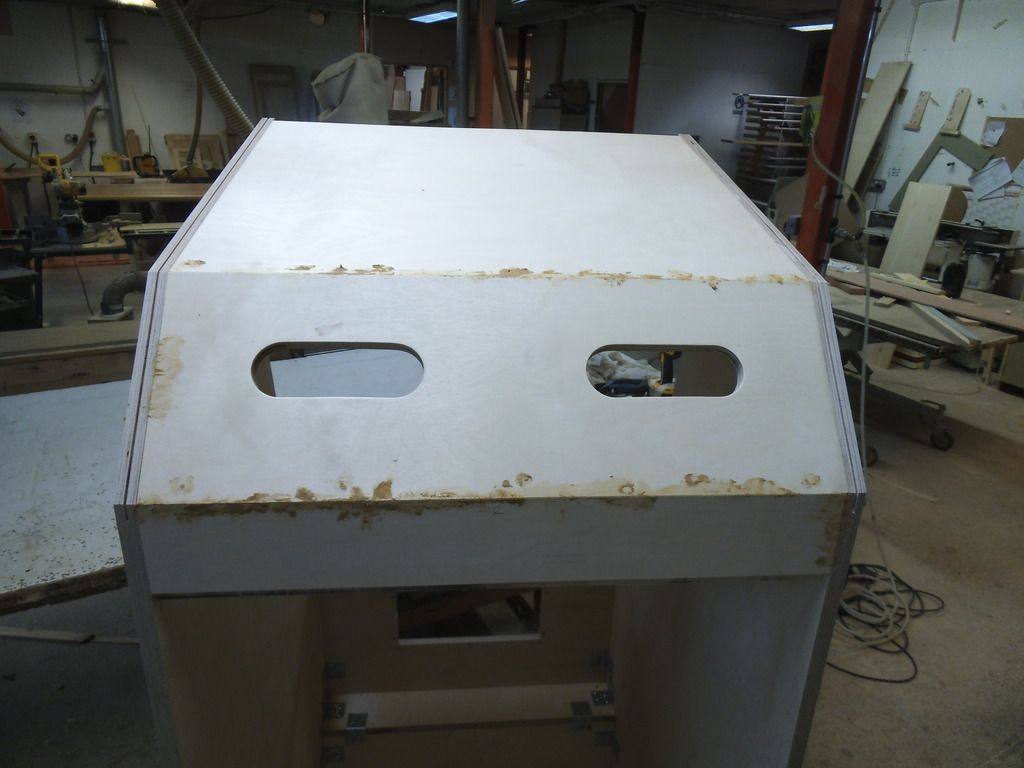
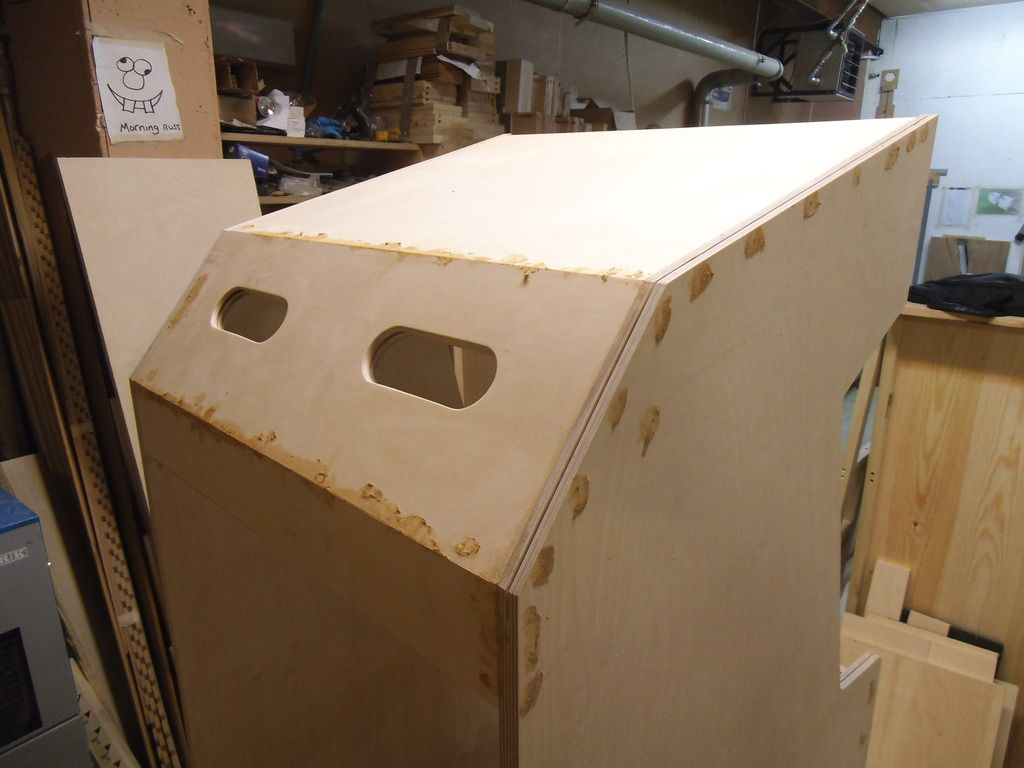
This piece has the desired angle on each edge....


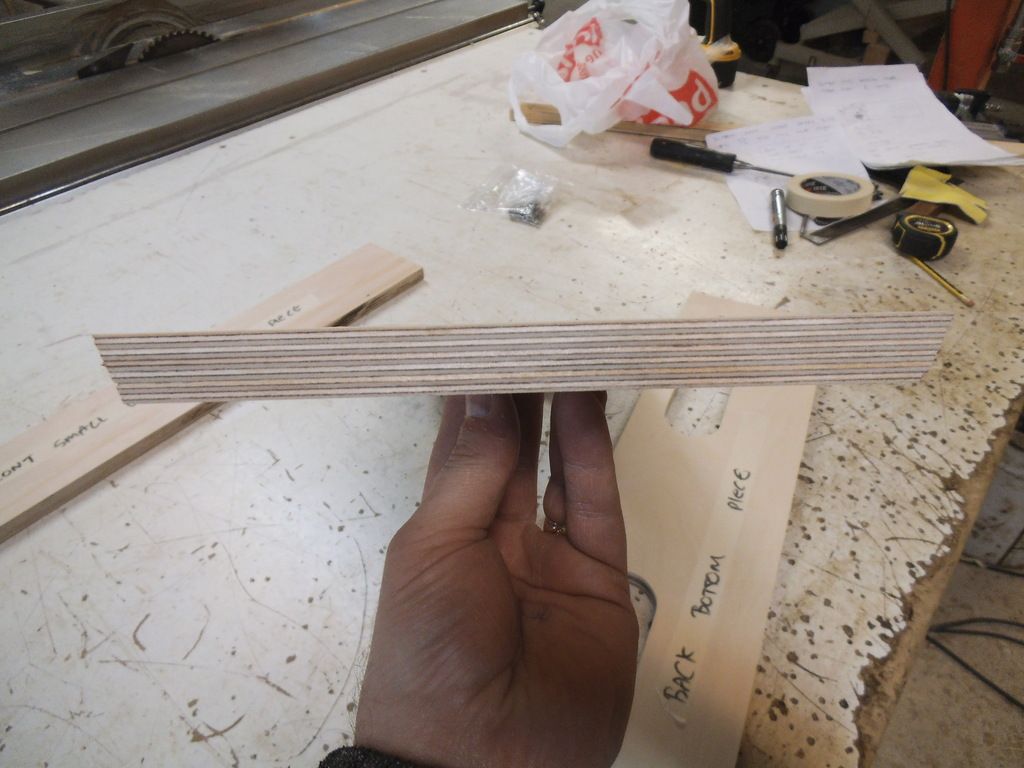
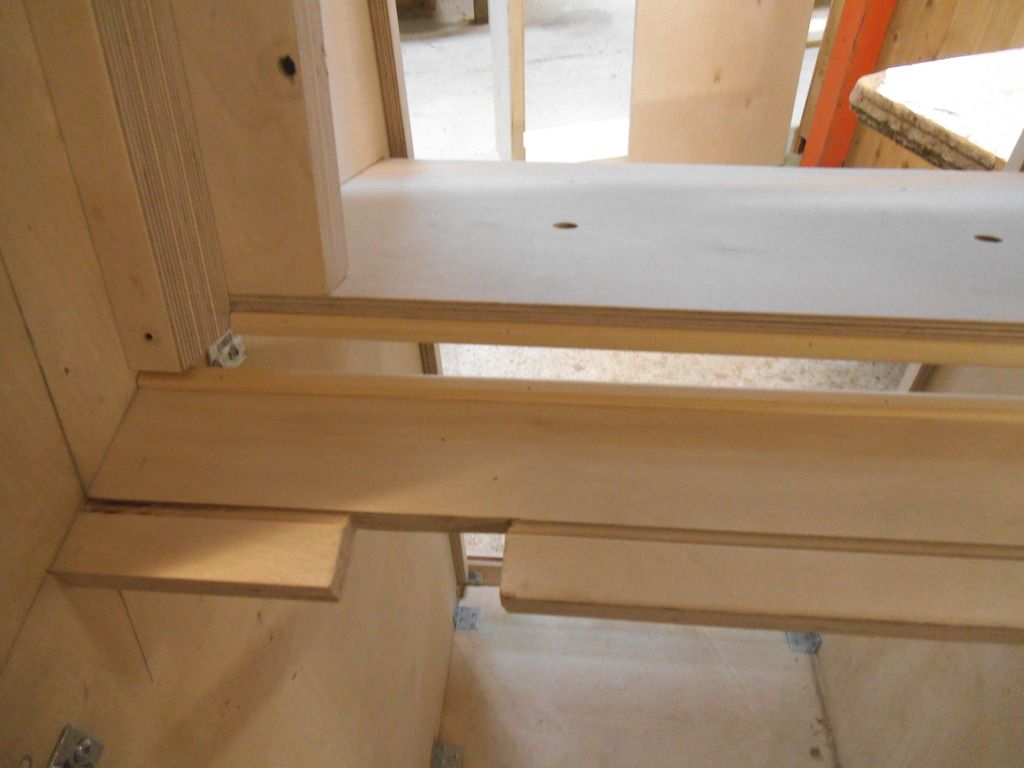
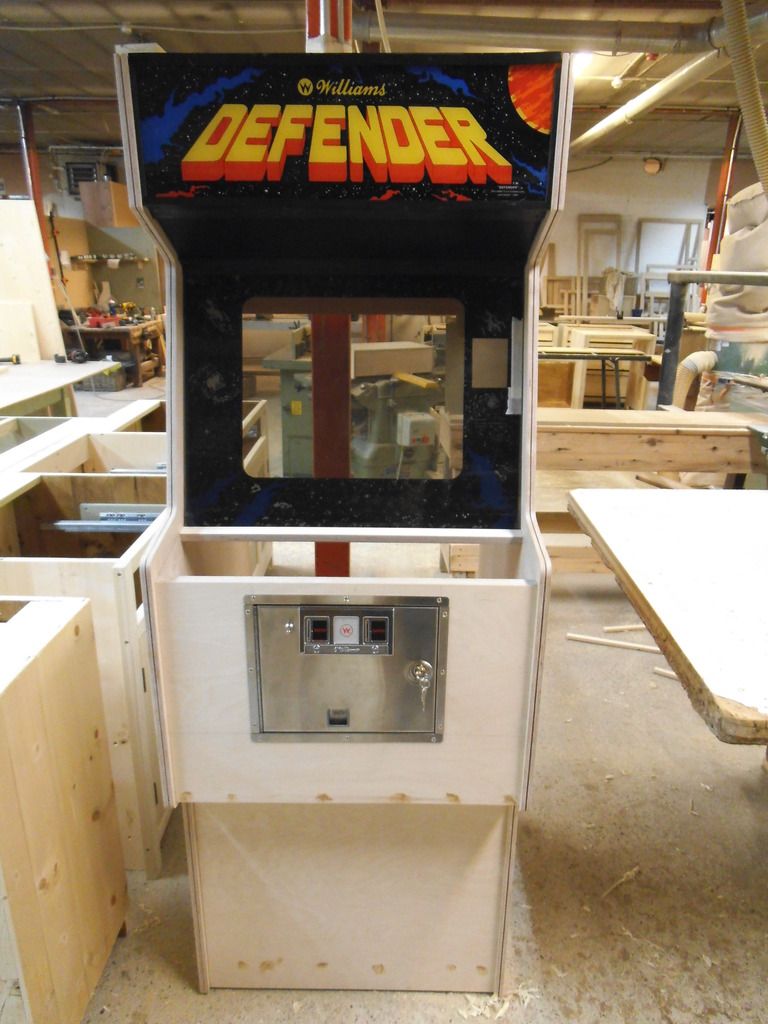
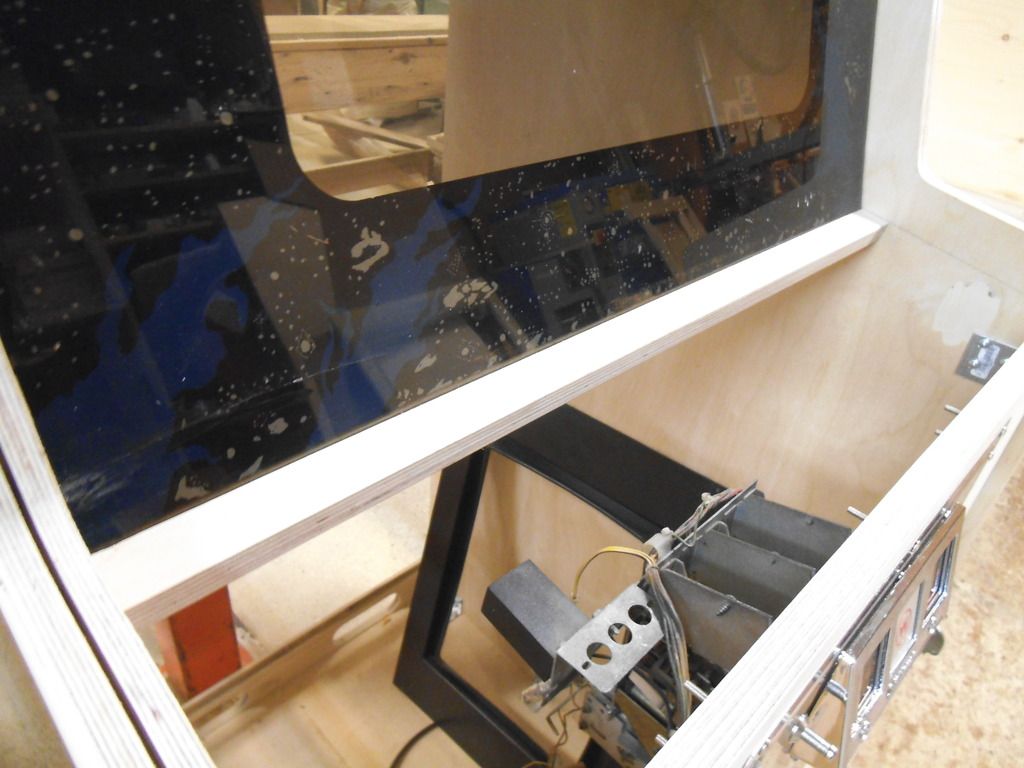
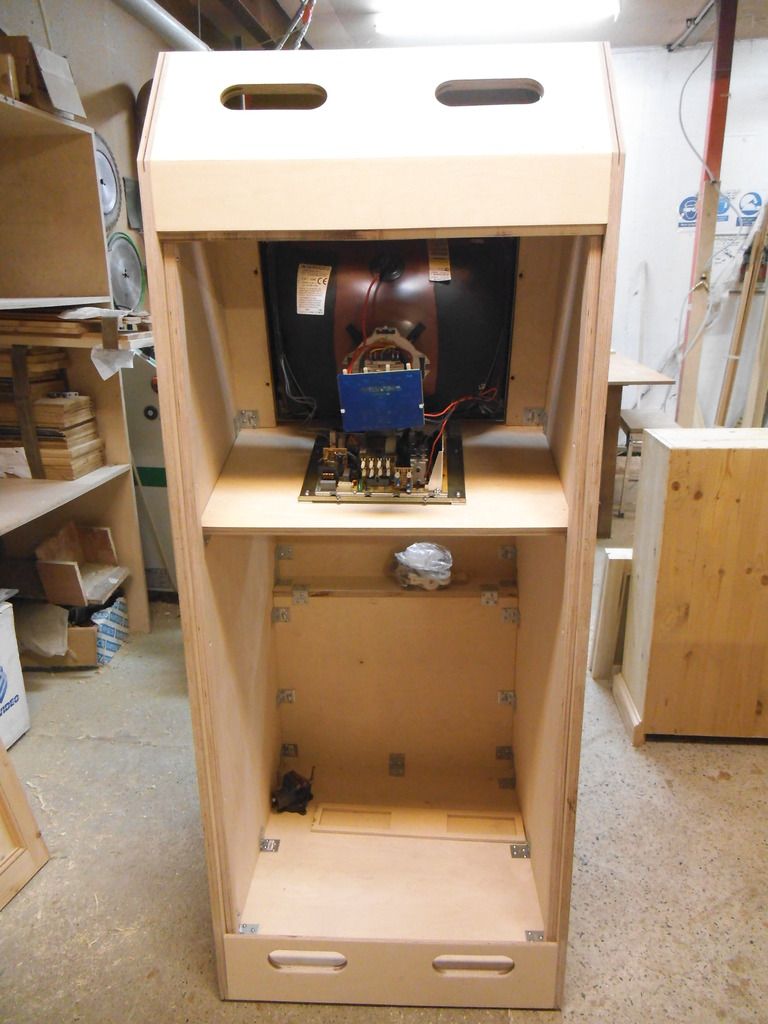
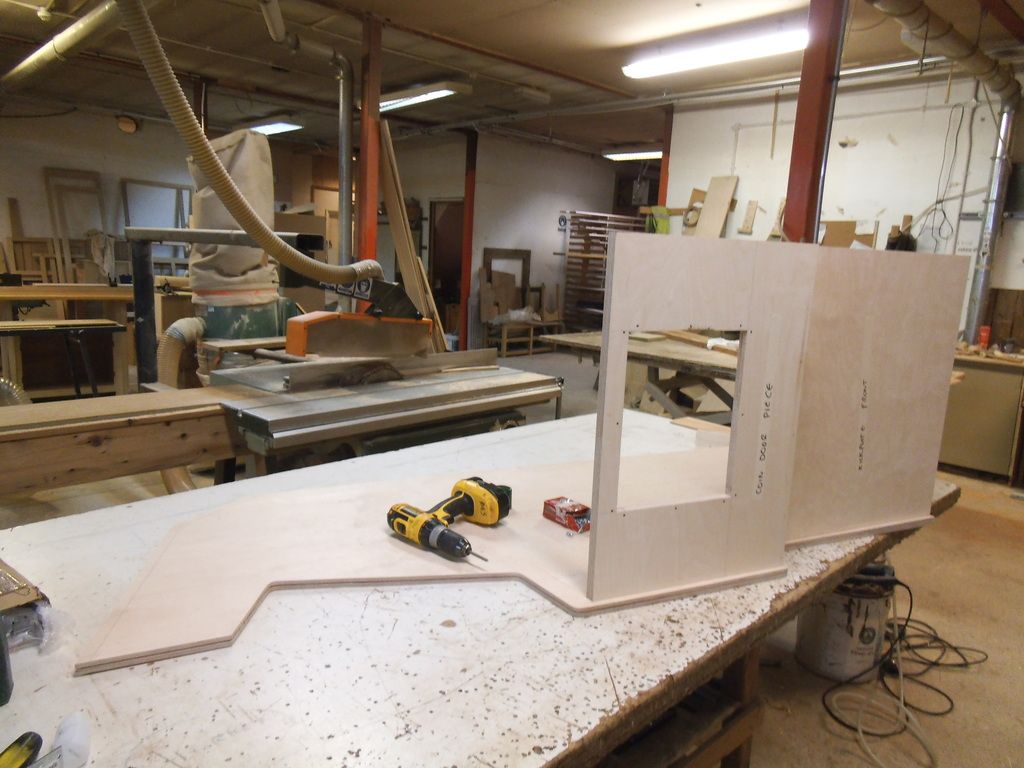
The bottom back piece and top back piece have rebates on them to accomodate the rear door...


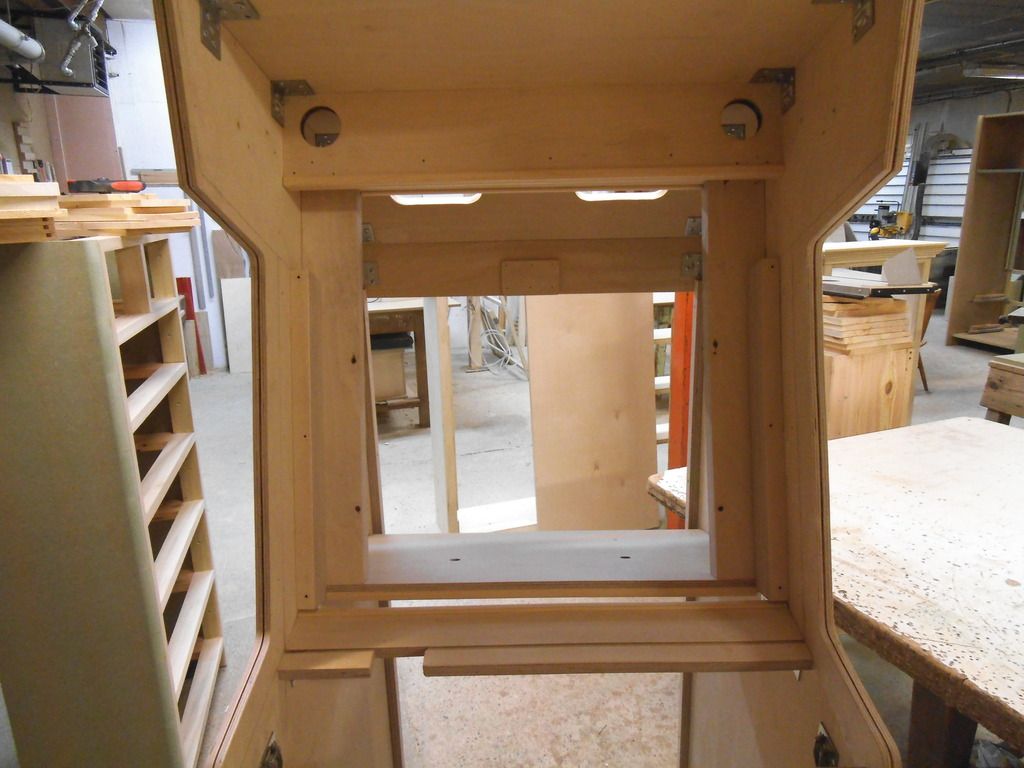
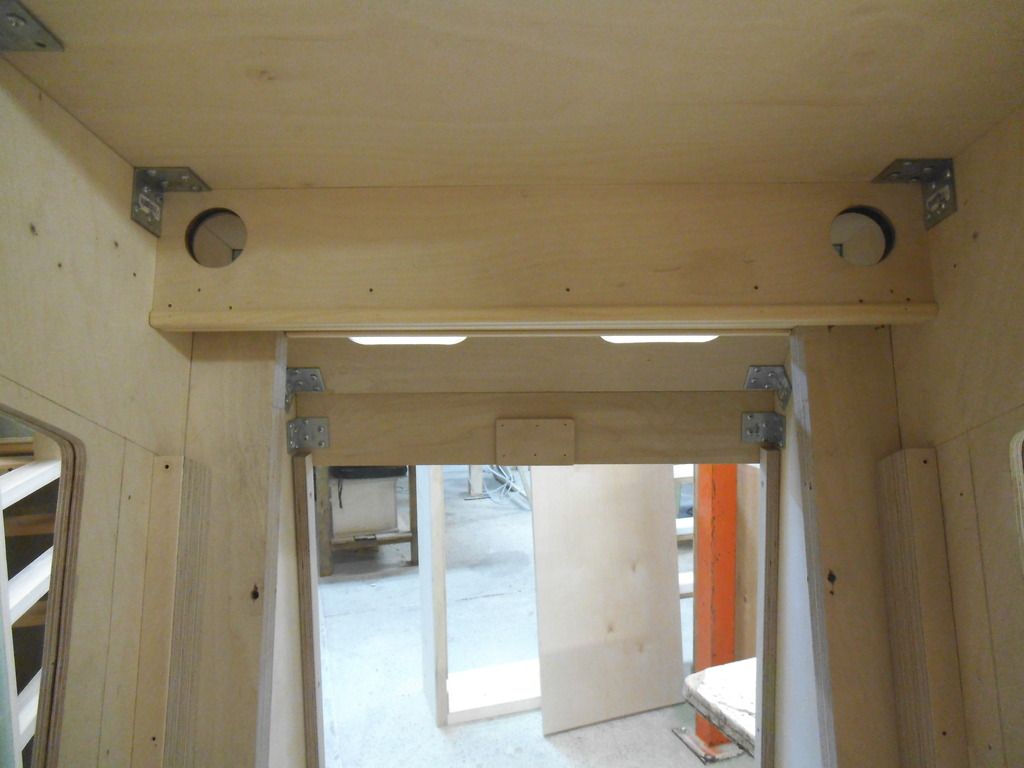
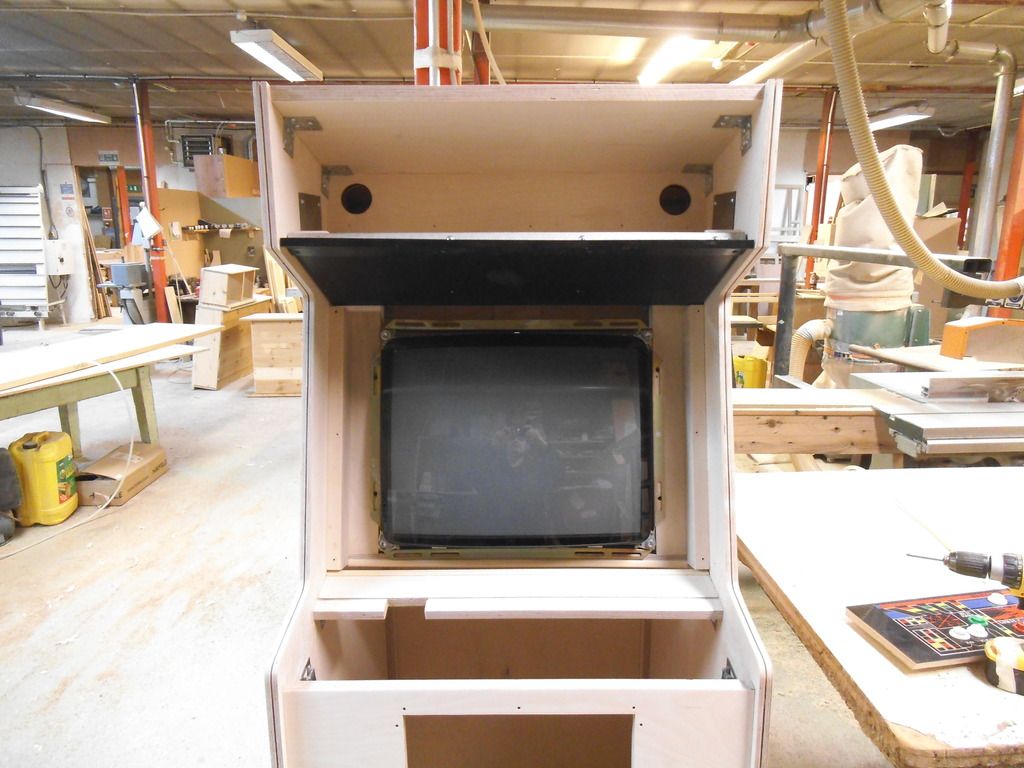
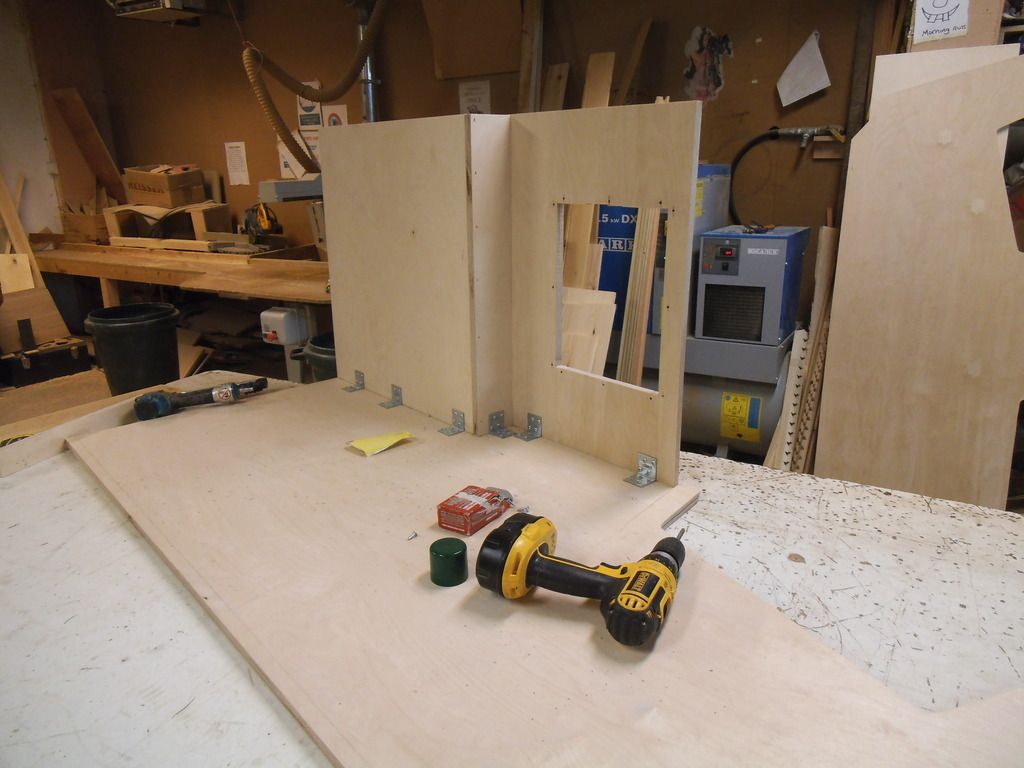
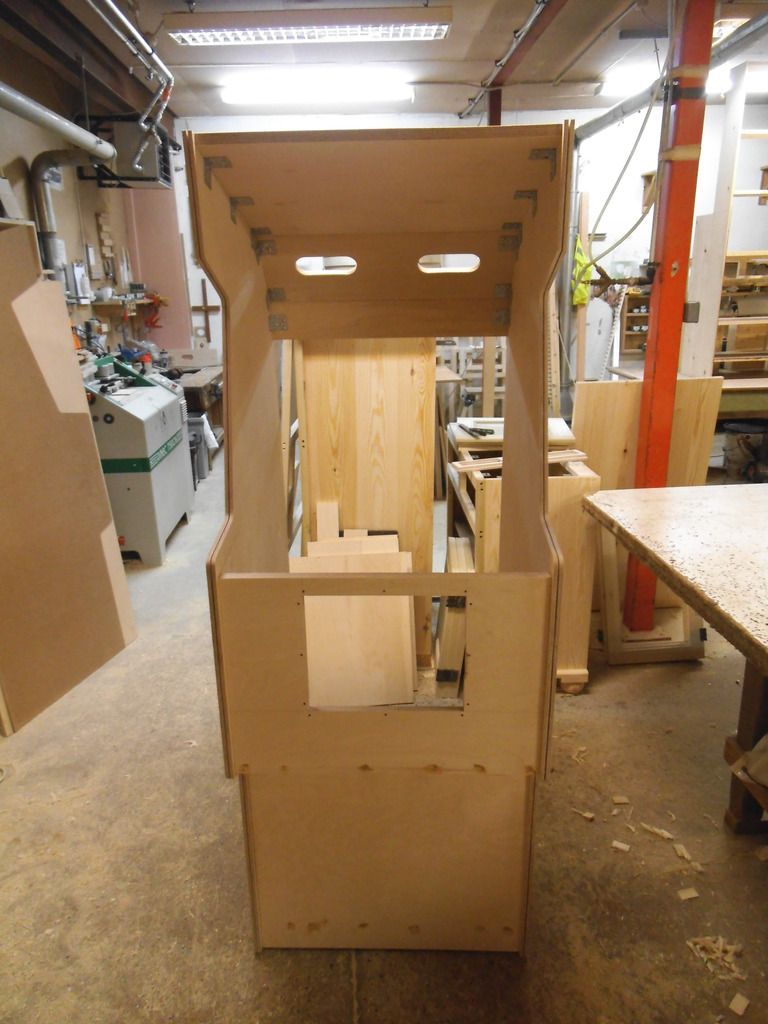
Start to Build...I have used the same 'L' shaped brackets as well which will not really be seen once the cab is finished as i'm having the whole cab sprayed black inside as well....


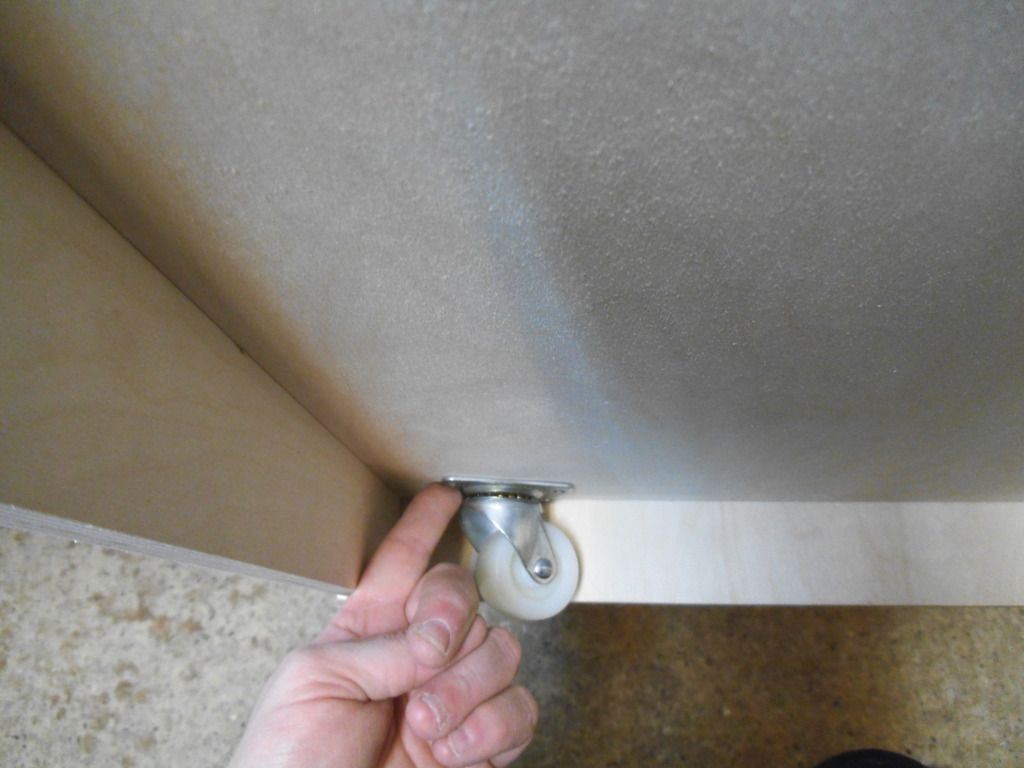
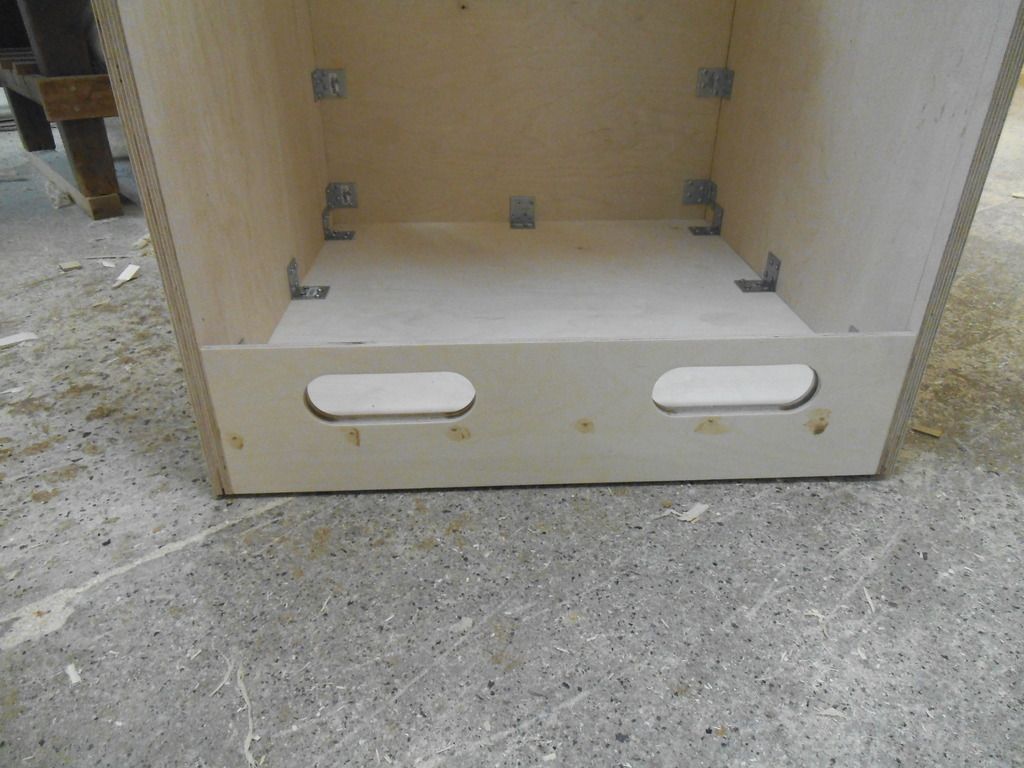
I have set in the bottom of the cab to accomodate the casters i'm using (the same as my Robotron again)...


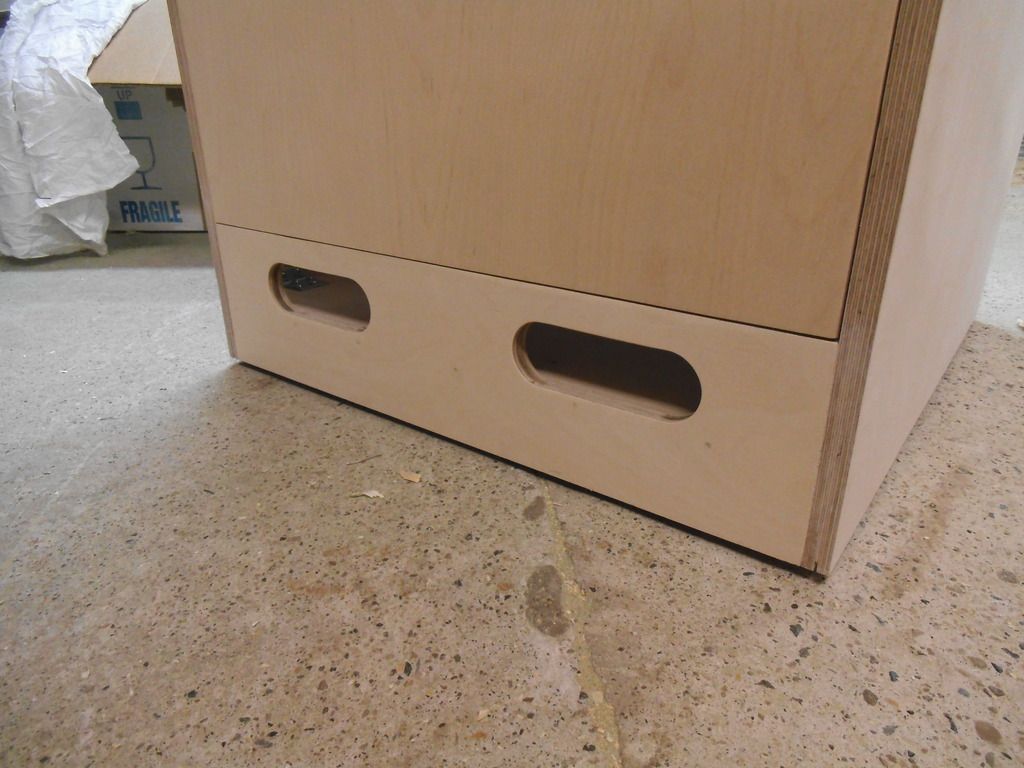
For those eagle eyed ppl you may have noticed that I haven't cut out a hole on the underside of the coin door area to accomodate the small on/off switch...I were gonna do this but tbh i'm just gonna use the mains plug to turn the cab on/off as it won't be at the back of the cab once its finished and insitu...


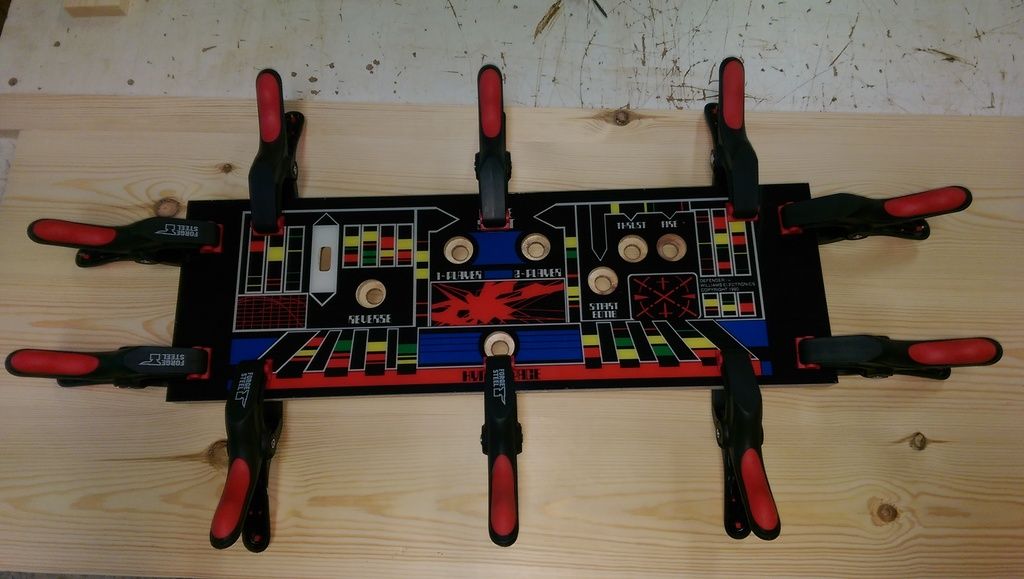
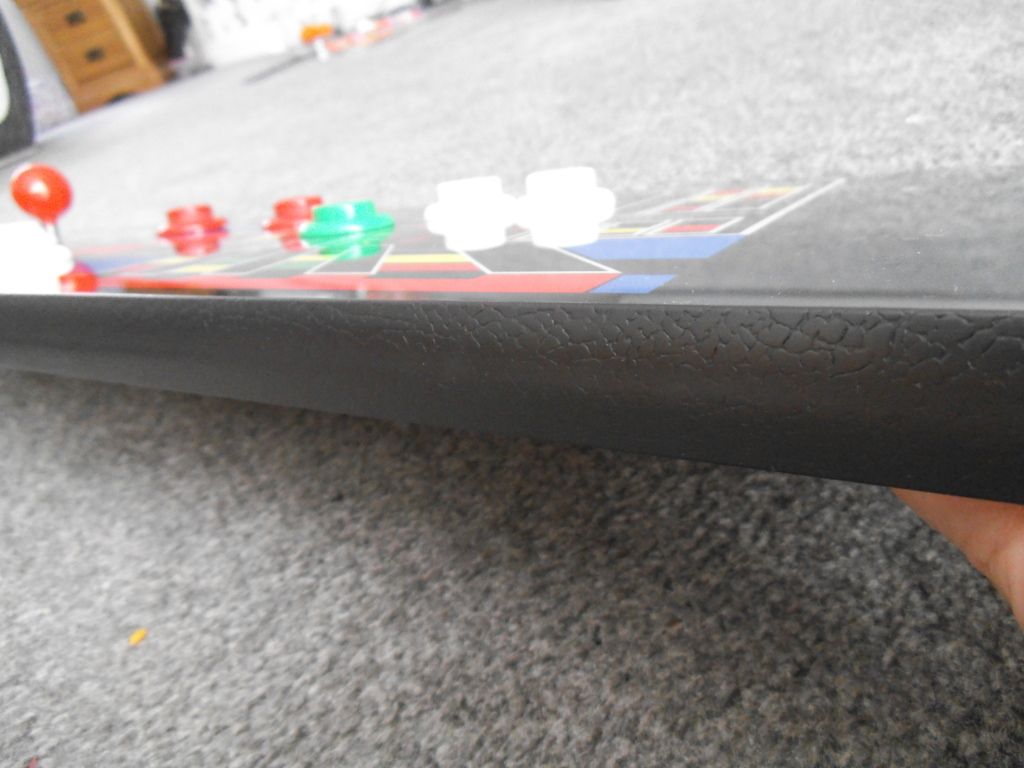
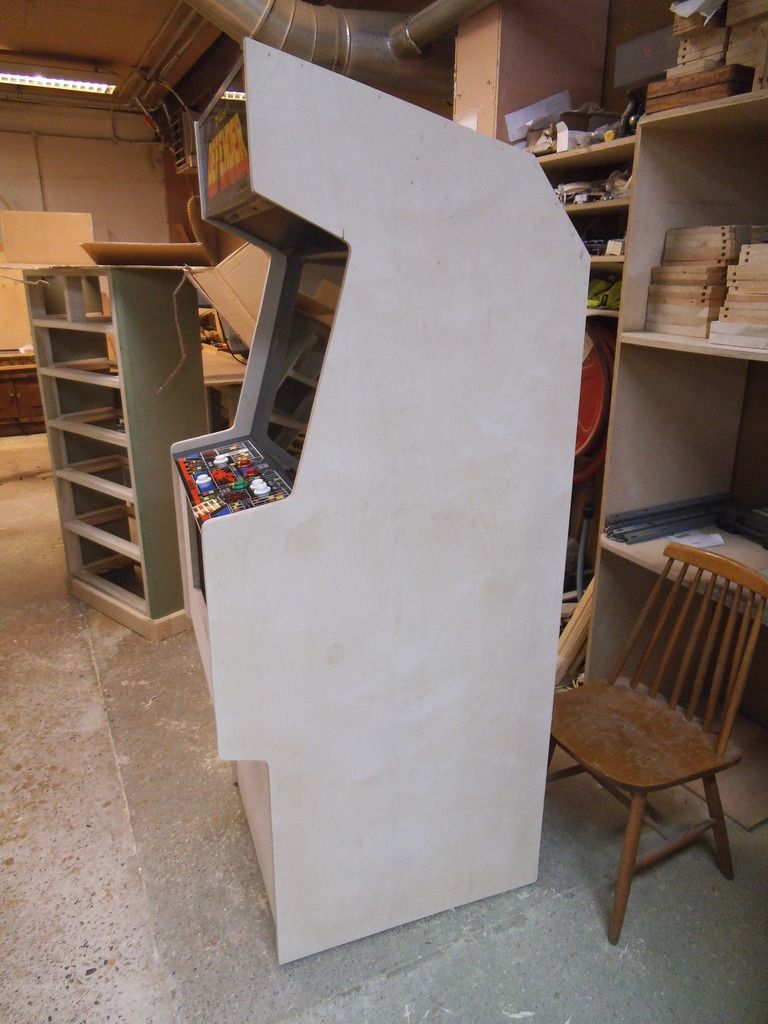
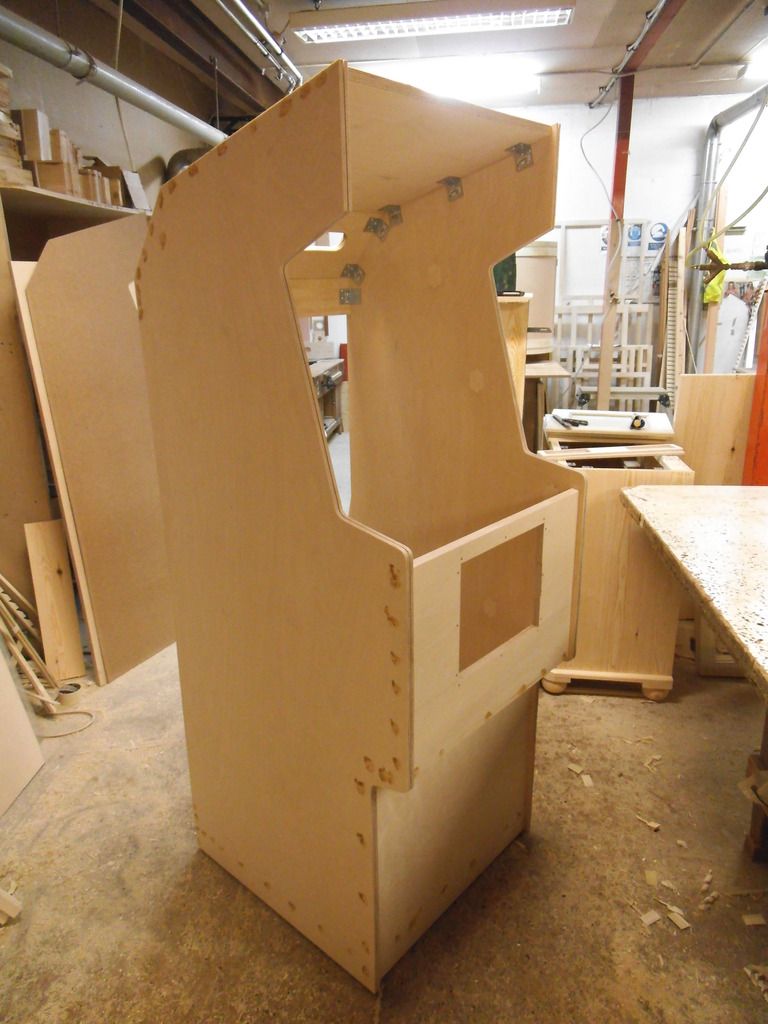
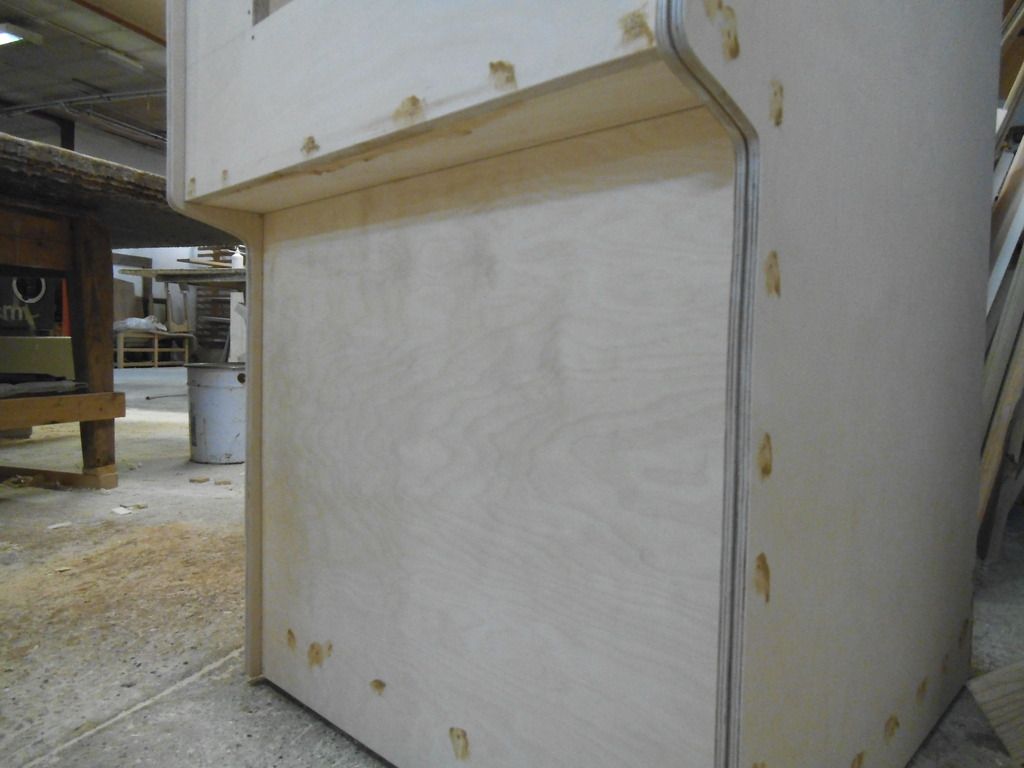
Both sides on and a bit of wood filler applied...I also pinned the sides etc...as well for extra strength...


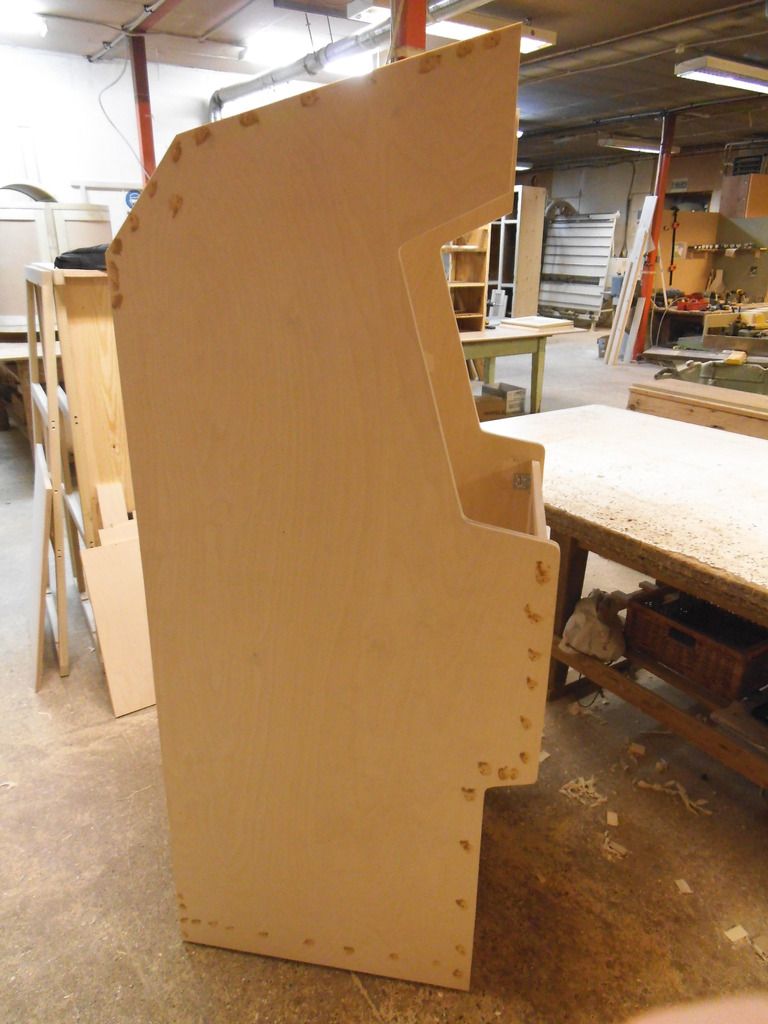
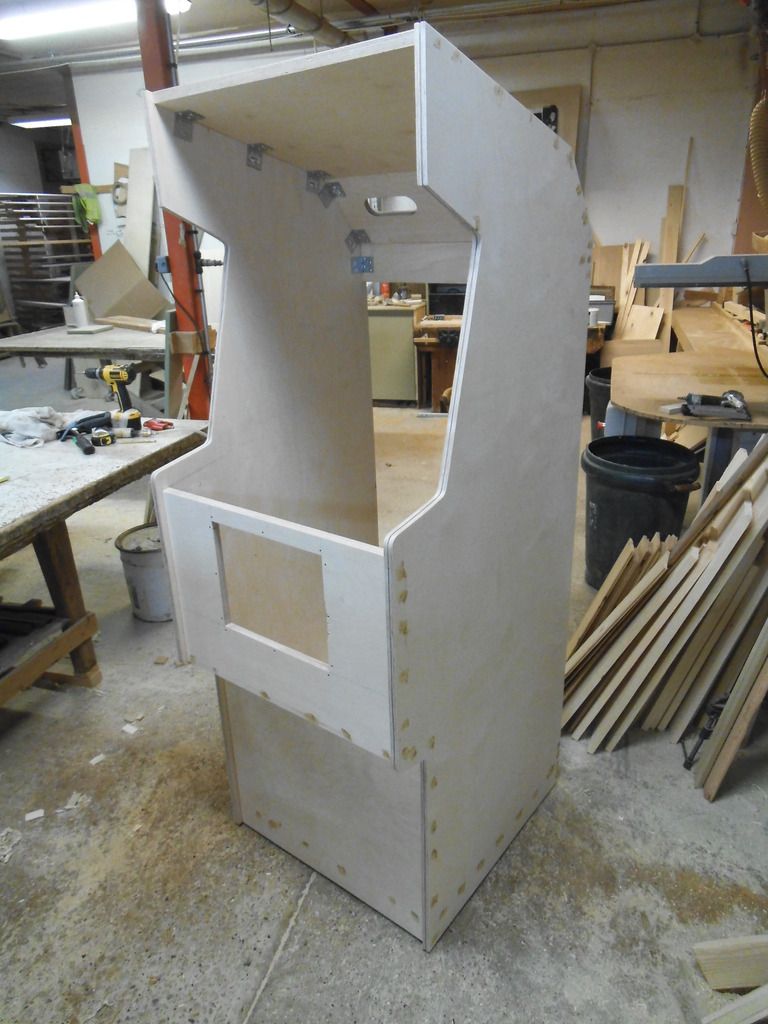
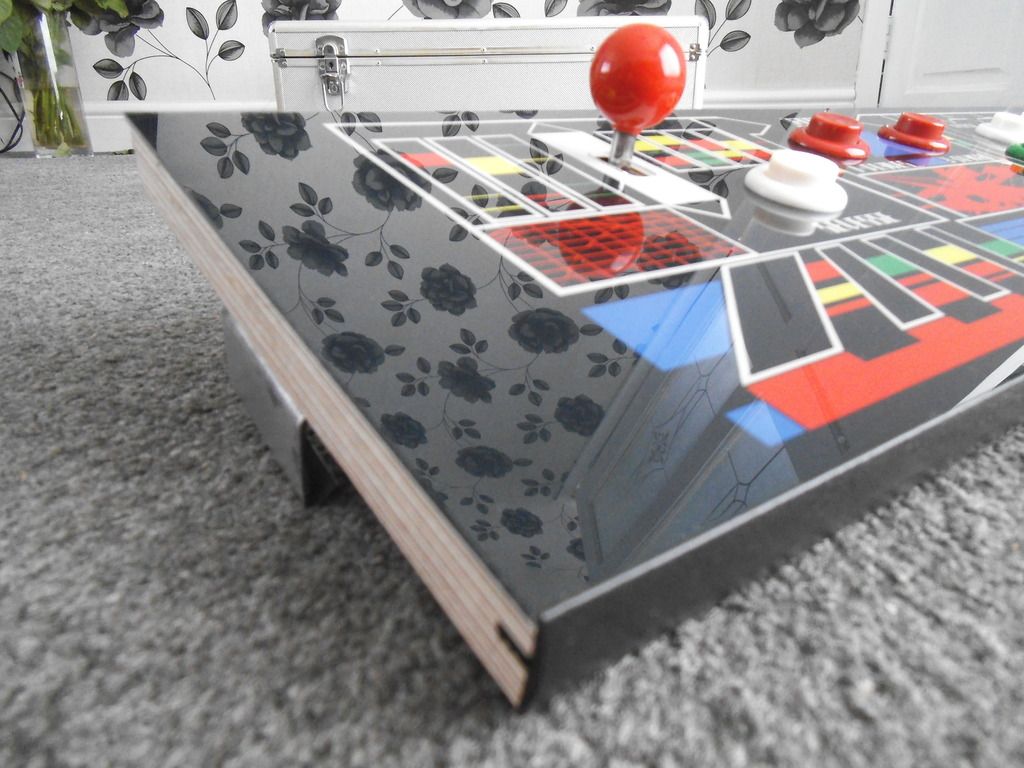
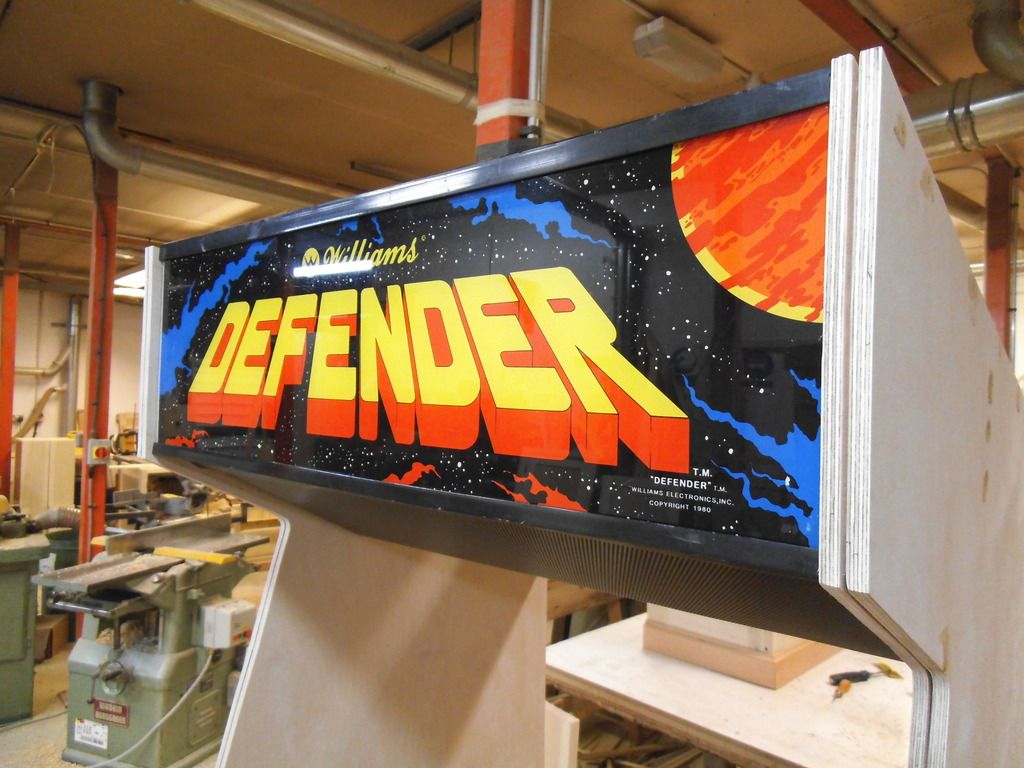
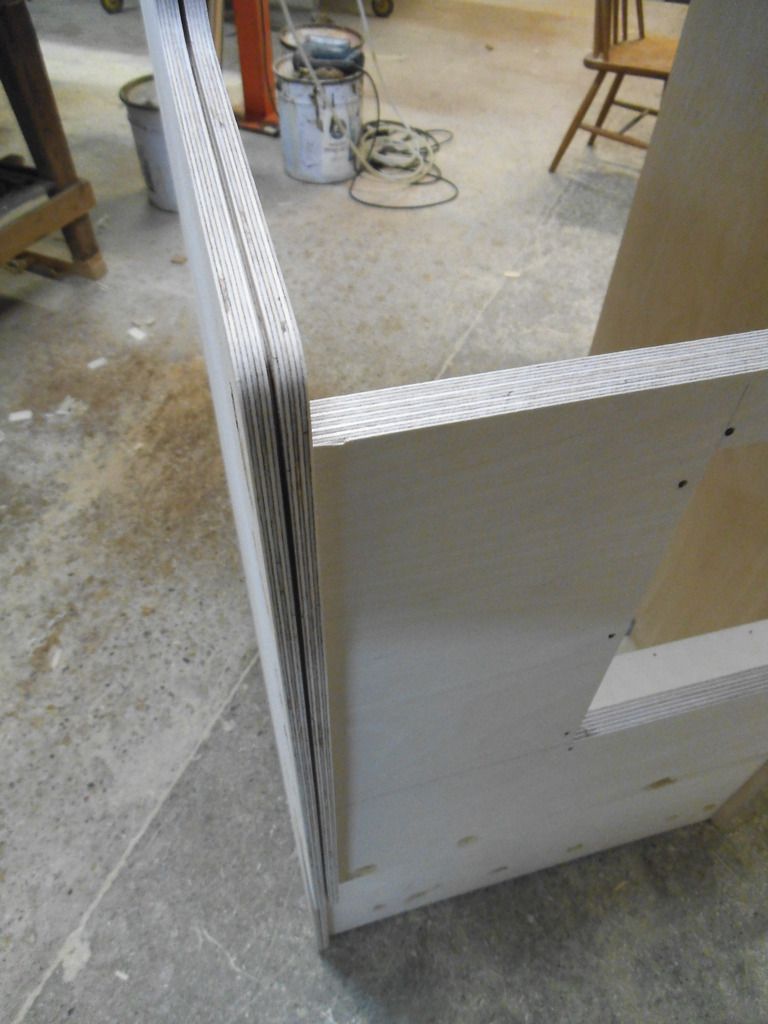
The groove cut out for the T-moulding...


Thats all for the moment...I'll keep updating this thread as work progresses...

Russ...
smiley4.gif


Russ J2016-03-02 19:28:20
 

Fuzzy

Active member
vacBacker
Feedback
18 (100%)
Credits
564CR
Russ, I've still not got over my jealousy of your Robotron... and now you go and do this!
smiley36.gif


Going to be another stunning build, no doubt.
smiley20.gif
 

biglouie

Active member
vacBacker
Credits
79CR
Looks awesome already. I loved Defender as a kid, so it would be definitely on my list as a cab to build, so I'll be watching the build to see how its done!

Lovely workshop by the way! What else is getting built in there at the moment?!
 

Russ J

Active member
vacBacker
Feedback
1 (100%)
Credits
233CR
Cheers for the great comments guys
smiley20.gif


@Neil...my games get plenty of play mate they ain't just ornaments in my conservatory
smiley2.gif


@biglouie....We make all sorts at work,kitchens,stand alone furniture etc...so theres always something differant every week thats being built by us
smiley4.gif


Here's a little update...

I managed to build the control panel,again with 18mm Birch Ply.

Now regarding the overlay a good forum member mate of mine has had dealings with a digital printing company in Manchester with very good results...Know he had a high-res image of the CPO already on file so he got intouch with the printing company regarding them reverse printing it onto a 2mm piece of perspex....

He emailed them and about a week later the job was done....result
smiley4.gif


They drilled the holes out for the buttons and the hole for the joystick out for me as well...


The reverse side...


Once I had this I could fabricate the actual control panel and drill out the holes on the plywood...


The reverse side of the control panel with added pieces for the leaf switches to attach to...


I stuck down the overlay onto the CP with some adhesive spray that is used for vinyl flooring which worked a treat I clamped it down and left it a couple of days just to be on the safe side...


A few days later I took the clamps off and fixed the buttons and joystick and leaf switches and CP latches to it...


I did have an original joystick kit but the holes were badly worn from years of playing so I had the holes welded up with the intention of re-drilling them...When I got it back from the welders,everything was fine until I fecked up with the re-drilling...the 2 holes that are in the 'side' pieces what the joystick part 'swivels' on I drilled the holes at differant heights (only slightly) but it was enough to not make it swival properly
smiley7.gif
...so what was I to do....get it re-welded again or say ballax and order a joystick re-build kit....I went for the latter
smiley36.gif
....which was ordered from...

http://www.mantisamusements.com/

It has to be said it arrived at mine in less than a week from ordering it and they marked it down as $10 (I didn't ask them to do this btw) so I didn't get stung with any other fees
smiley4.gif
...It was also cheaper than the Arcade Shop in the States as well (cheaper postage as well)

Back to the photos...The said re-build kit insitu...


The Control panel all finished up....The 'backside edge' (the edge thats nearest to the bezel) had to have an angle cut on it so when the CP is insitu it sits comfortably against the bezel (if that makes any sense)...


Here's a good photo of the T-Moulding (leather look) on the outside edge...For this I had to 'offset' the groove slightly on the ply to allow the T- Moulding to be flush with the top of the overlay (The ply is 18mm and the overlay is 2mm) otherwise the overlay would have stood proud of the T-Moulding and look a tw@t...The moulding is nice and flush with the overlay and flush with the underside of the control panel (the T-Moulding is 3/4" and the ply is 18mm so the moulding is slightly wider than the Ply but not by much but doing what I have done it is flush both sides...


I didn't want to paint the CP as its pointless really for something that is not really seen,also paint would have added 'thickness' to it and that would have probably made the job a little harder with the groove positioning for the T-Moulding on the front edge...

More updates to follow.....

Russ J2016-03-05 16:19:41
 

Mr20to5

Active member
vacBacker
Feedback
1 (100%)
Credits
1,331CR
A very impressive job on the entire CP, with the woodwork, the graphics and the fitting of the components.

Some great photos too, love the reflection on the new acrylic.

Going together really well and quickly too.
 

Russ J

Active member
vacBacker
Feedback
1 (100%)
Credits
233CR
I bought the T-Moulding from here...

https://www.t-molding.com/

The postage it very reasonable and arrived quickly from the States....I didn't get stung either which is always a bonus
smiley4.gif


I do prefer the 'L' shape brackets tbh Eric,yeh fair do's it isn't proper spec but these brackets are very strong and provide a very sturdy construction...They use 8 screws each to fasten down...Its all down to what you want to use mate...the brackets are 40mm x 40mm x 40mm x 2mm...

here's the link to where I got them from...

http://www.ebay.co.uk/itm/40mm-NEW-HEAVY-DUTY-ANGLE-BRACKETS-CORNER-BRACE-JOINTS-TIMBER-40x40x40x2mm-/151334131586?var=&hash=item233c379782:m:m7C1z6qxTcgQLpV-h28RnKQ
 

Hurray Banana

Moderator
Staff member
vacBacker
Feedback
8 (100%)
Credits
2,702CR
Cheers Russ. I've got a couple of mini cabarets to build so I can fit a horizontal and vertical cab into my playroom for my jamma collection so just wondered what your thoughts about them were.

I think I'll probably use them for my pokey builds, cheers
 

Russ J

Active member
vacBacker
Feedback
1 (100%)
Credits
233CR
Slight update...

Fitted the Marquee,Bezel and Coin door just to get a feel of what its gonna look like...

This coin door was painted black when I recieved it for some reason,out
came the Nitromoors and off the paint came (forgot to take photos of
when it was painted sorry
smiley9.gif
smiley36.gif
)


The coin door inserts are repro ones from the States...


More of the internal parts fitted to accomodate the Bezel,Moniter,Marquee light and the underside of where the control panel...


Bezel and speaker part fitted...The speaker panel is one of the repro ones that Winslow on the KLOV forum is selling
smiley4.gif


The cab shell with back door...


The cab all sanded up know ready for paint...


Moniter and speaker grill fitted...


Marquee and Plastic moniter surround fitted (surround bought from Arcade Boneyard in the States)...


Bezel fitted...


Control panel fitted...


Its already for going to paint know (mate a work is doing that for me)...also waiting for the stencils to arrive from Game Stencils in the States...

more updates to follow.....

Russ J2016-03-12 11:29:39
 
  • Like
Reactions: cNp
Top