I have just had eye surgery for a detached retina, so in the coming days will document what I have done over the last couple of months while recovering with vision in just one eye currently, posts will be in stages because I cannot spend much time all in one go documenting everything.........
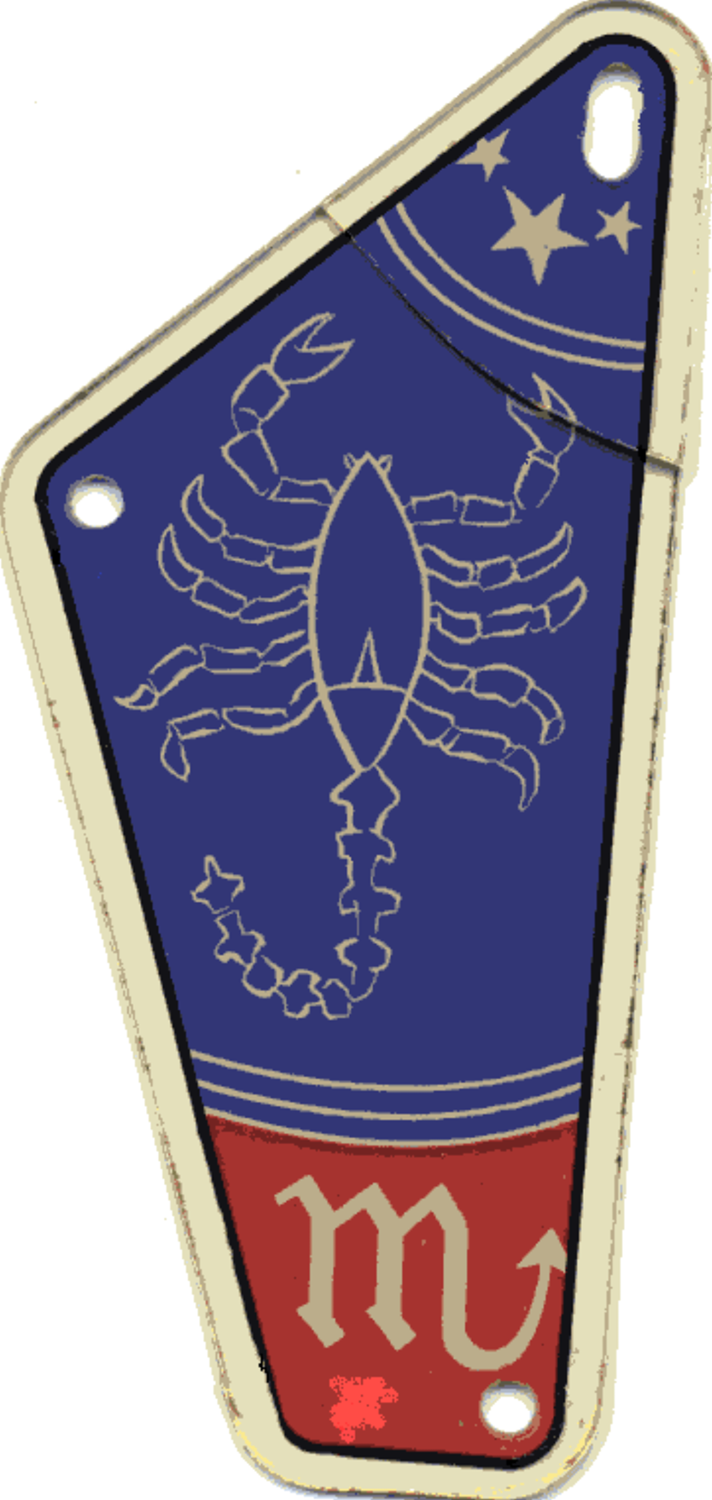
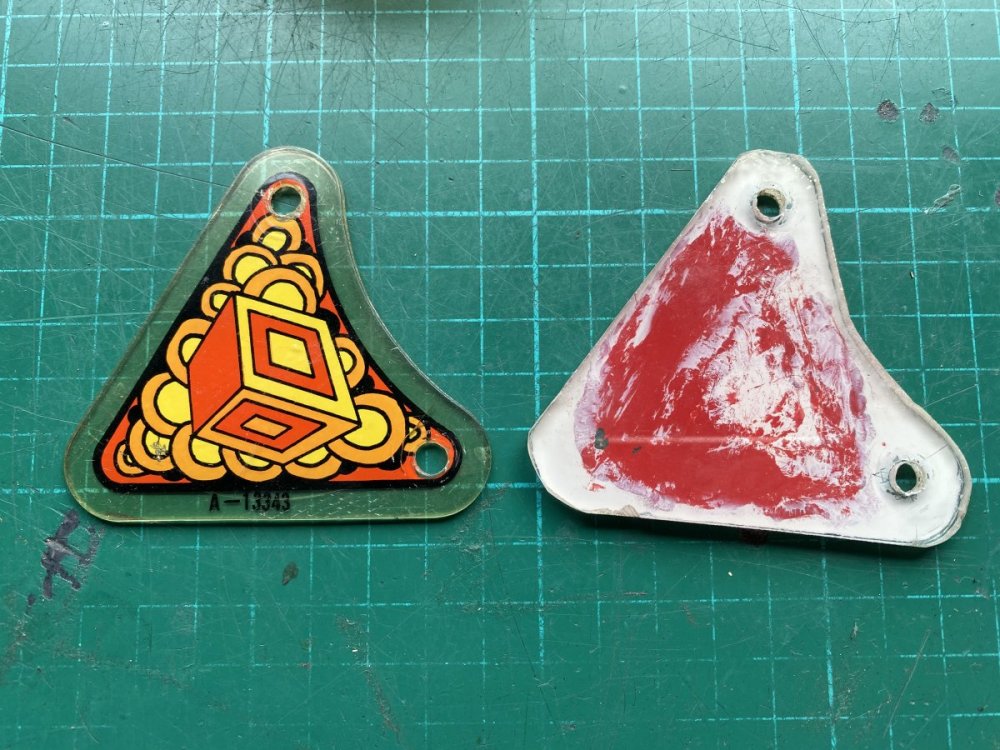
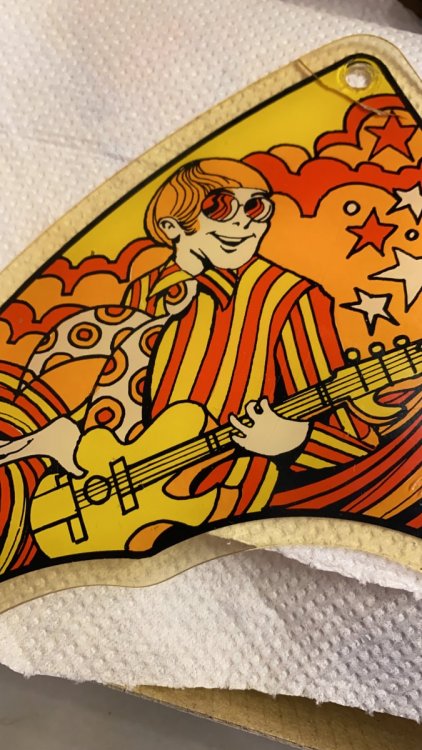
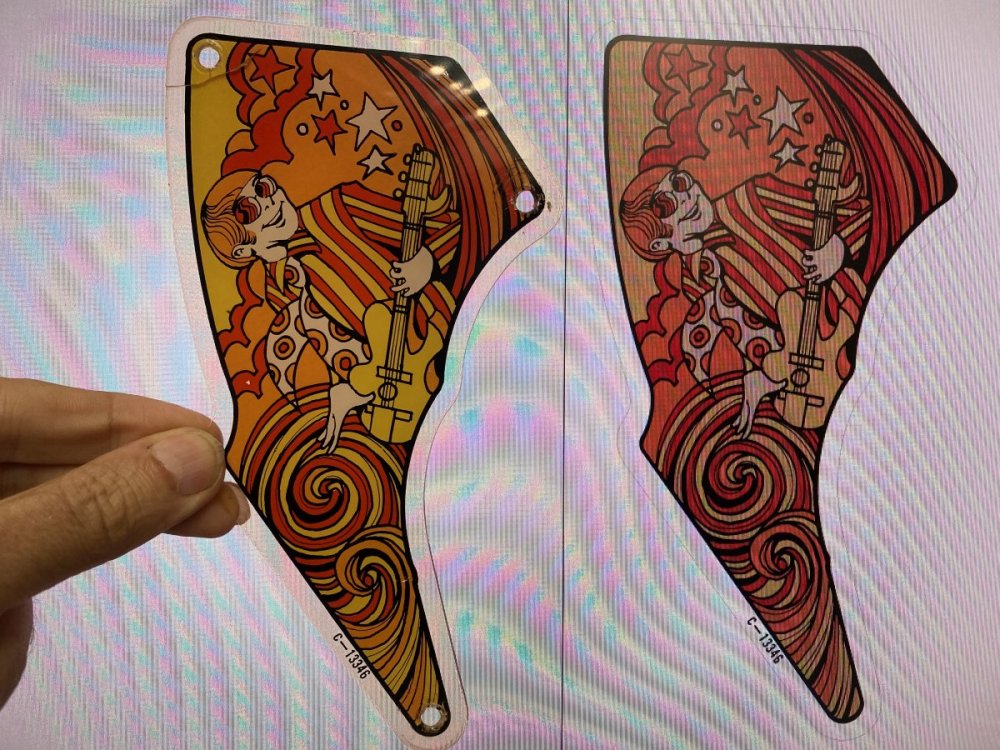
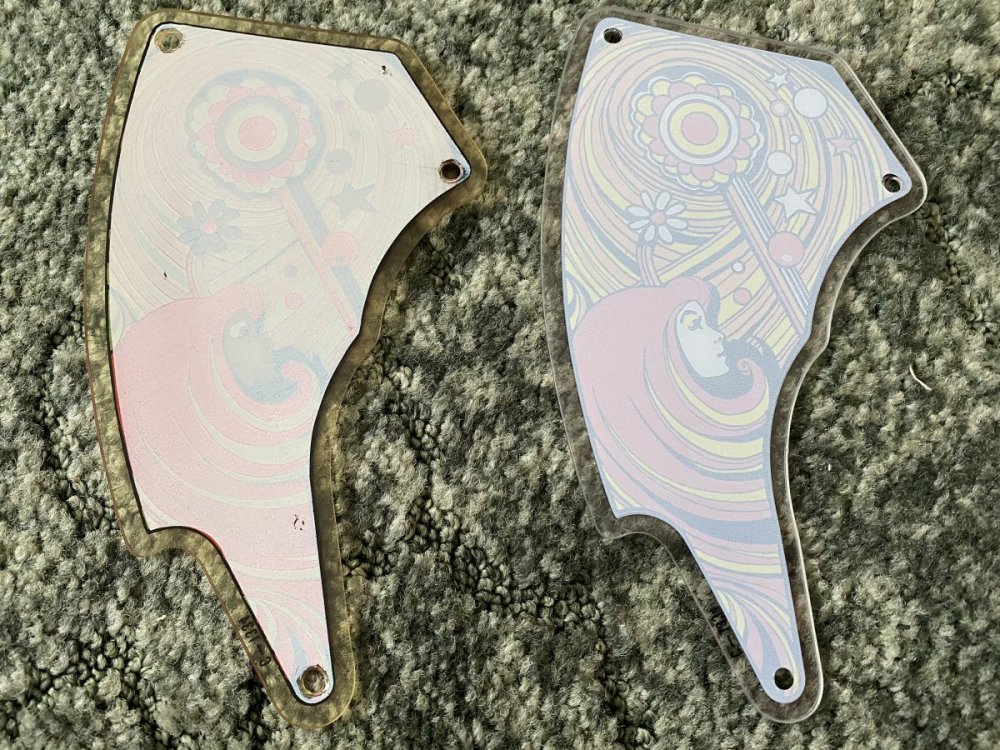
I am in the UK and I have been trying to find the playfield plastics for this machine for around 20 years and because only 2200 were ever made it seems these ae just not about! I am missing one on mine as someone in the past had replaced one with the one in the right of this picture!
I did ask pinball rescue if these were ever going o be put on there request list and got a very nice reply saying as these are in low demand for the 4 square these were not likely to be produced again.
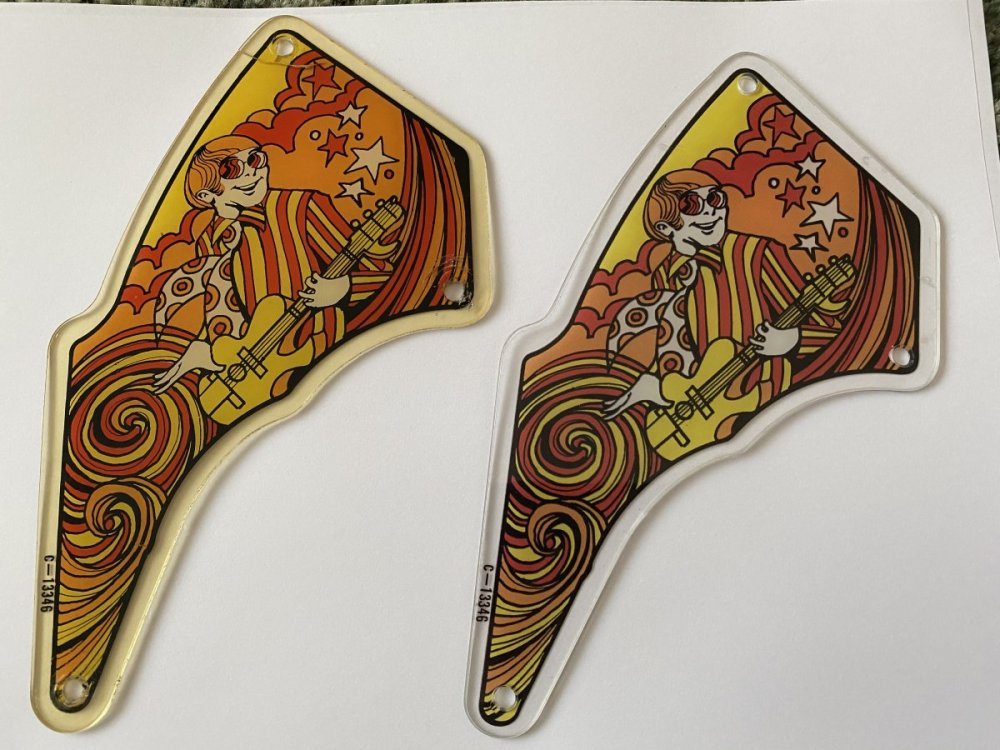
I found a local printing shop, took it into them and when I asked them they seem pretty confident they can reproduce this using modern techniques as obviously screen printing is not a option! the plastic on the originals is really starting to deteriorate now on these 49 year old plastics! Will know more when the person that has the skills is back from holiday!
the week past and when the fella was back yep he could print them no problem! I said I was happy to put the time in on the artwork files as they told me they would need the graphic, white underside mask file and cutout file in adobe photoshop or illustrator format. This would save a lot of cost of them having to do the artwork!
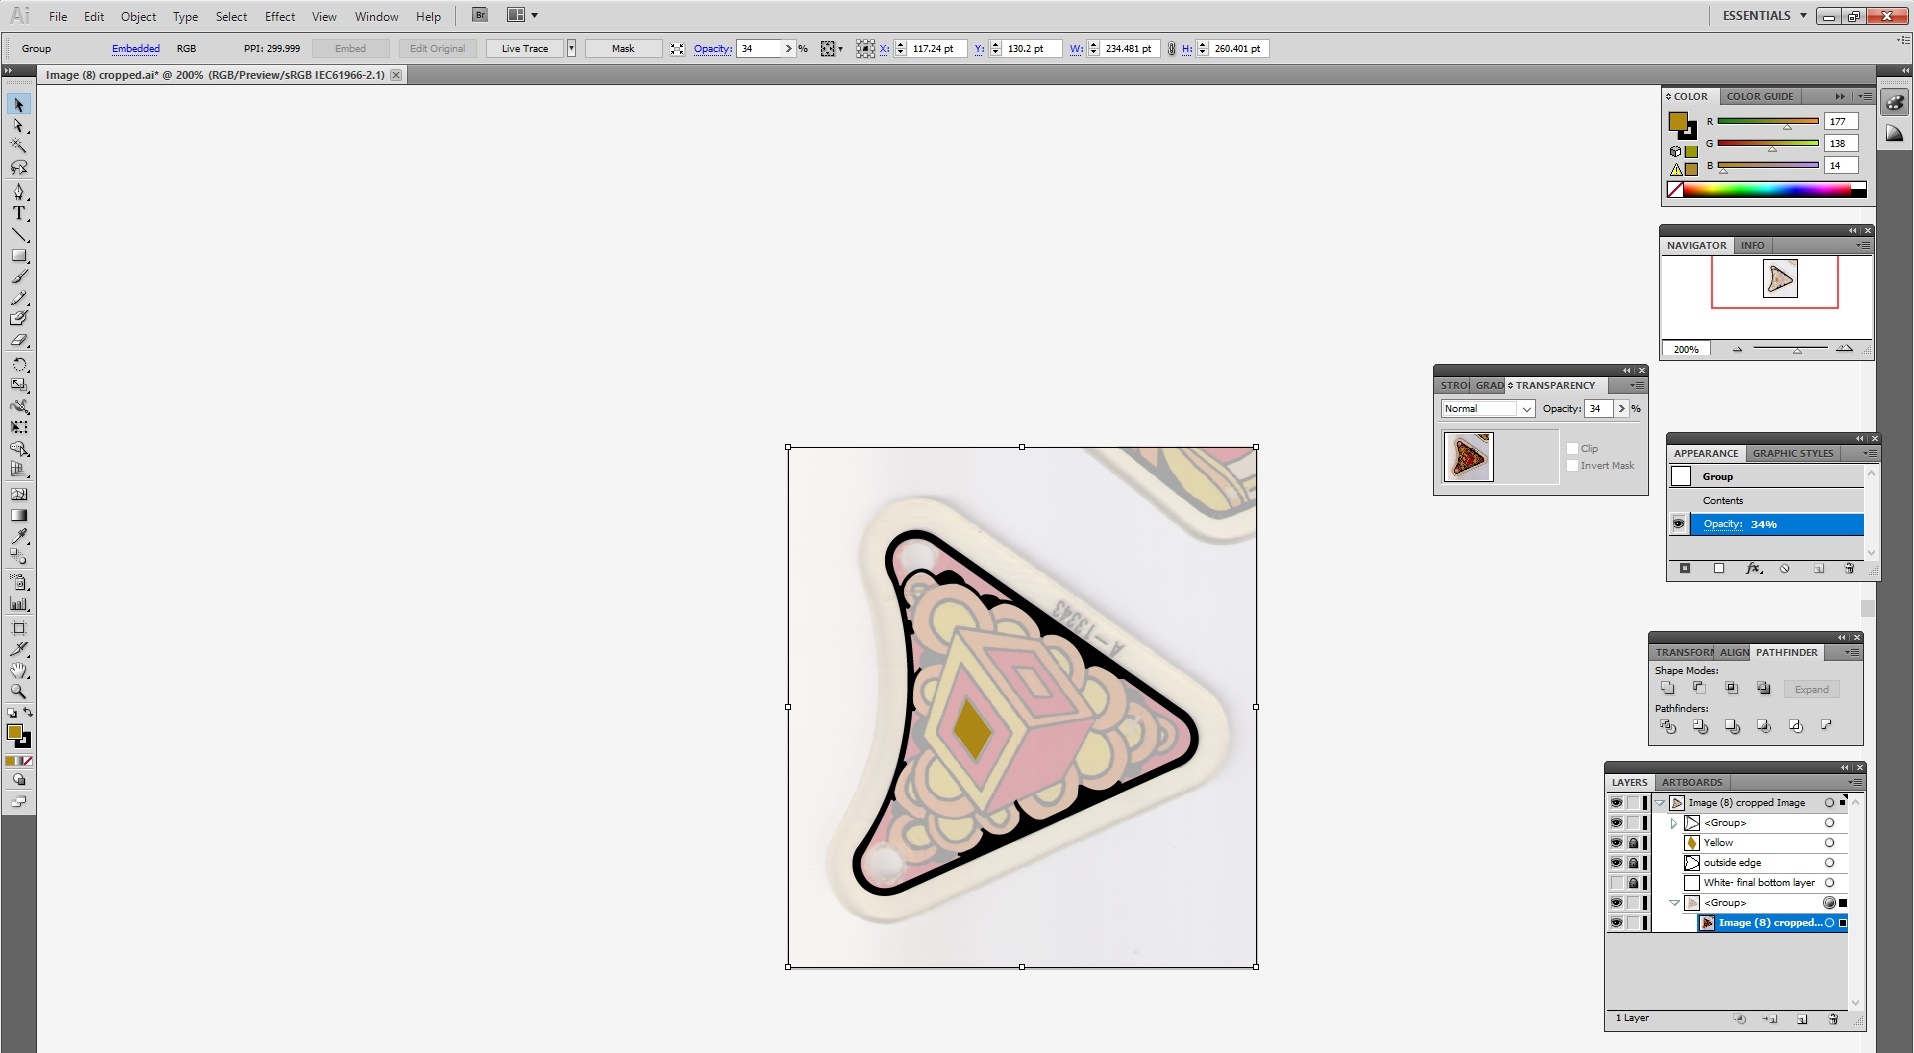
I decided illustrator would be the best as this was true vector, so scanned in the plastic 300 dpi

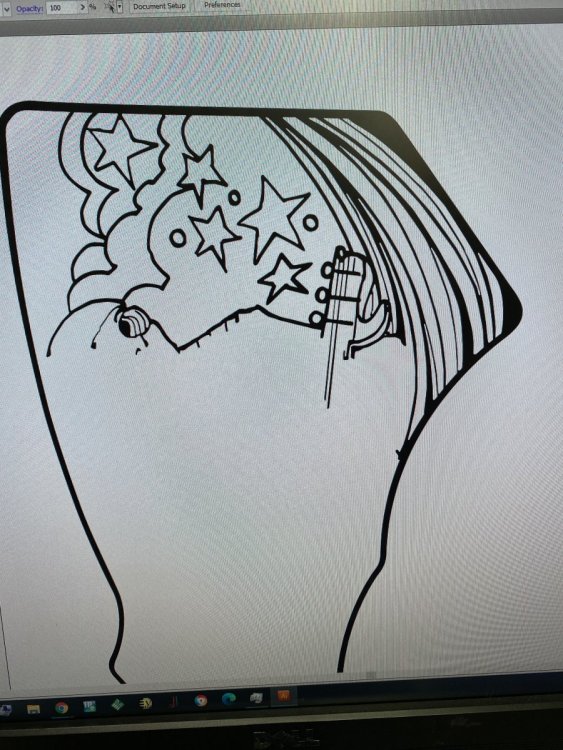
I then started to learn how to use the pen tool! was a slow process at first as there always seemed to be one operation you had to do first before what you wanted to do!
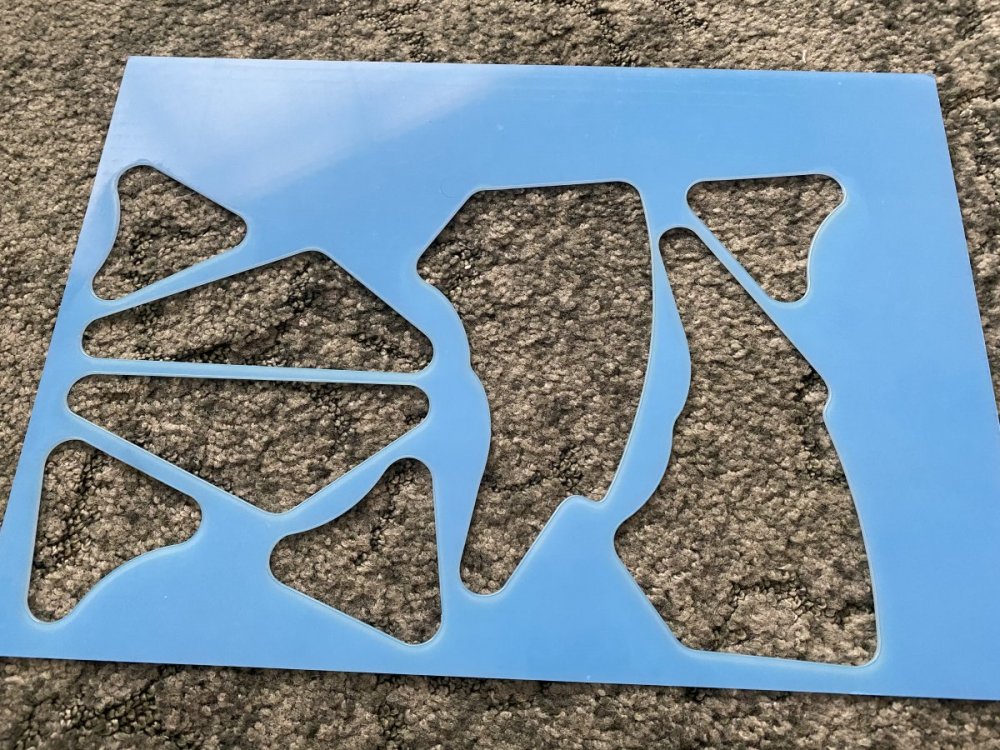
I was very very slow but managed to start to join black paths! have made the template less intense so it shows up the black vector mask. was pleased with the progress made.
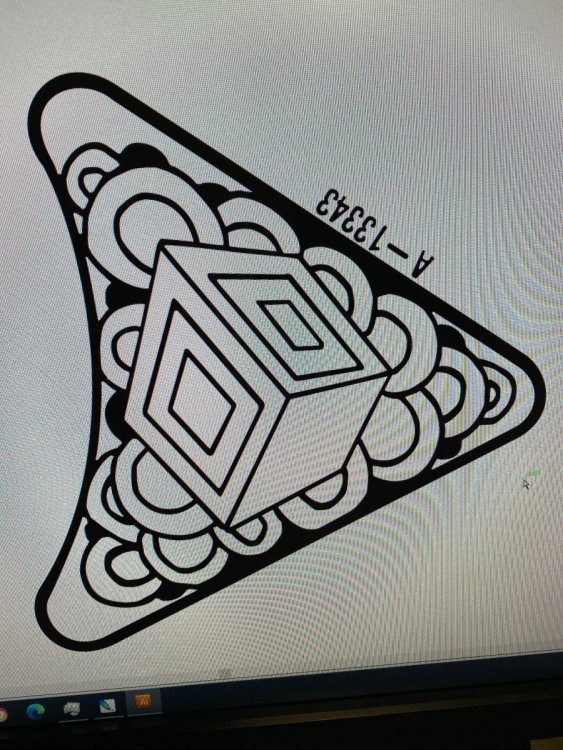
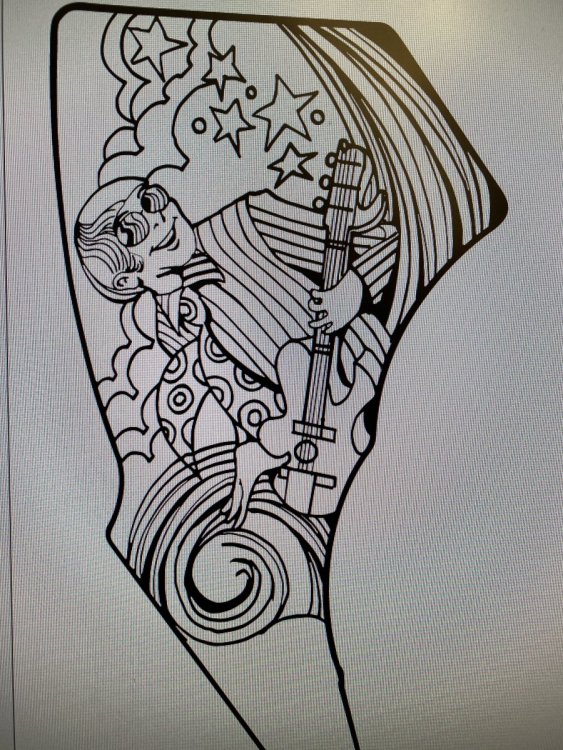
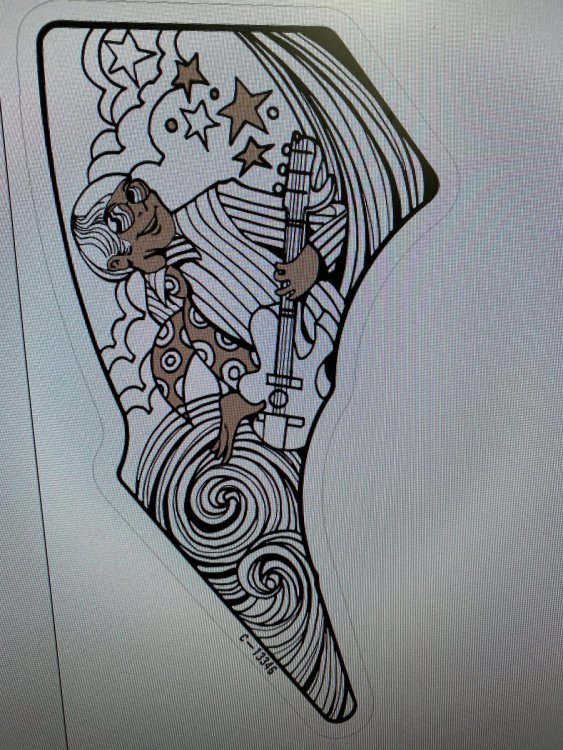
so after a couple of days I has the black area done! I even got the part number on as wonky as it was on the original! I know silly but that's how I wanted it...... the same!

and here is the black vector layer on its own.
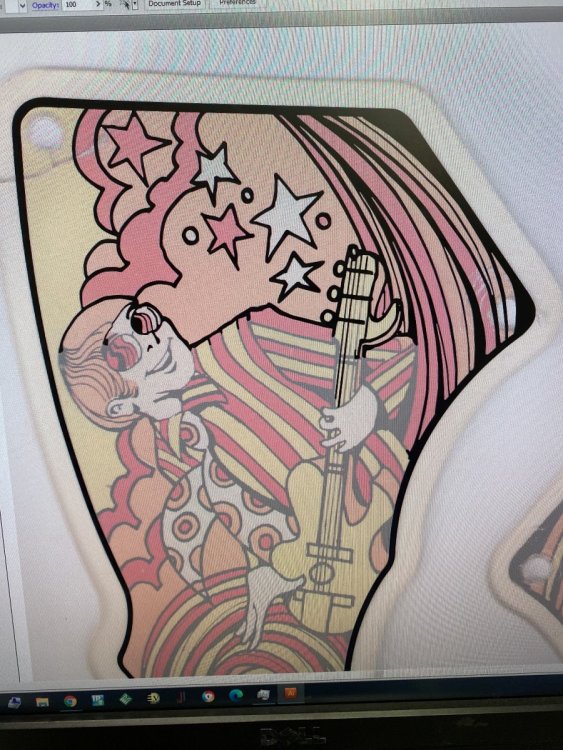
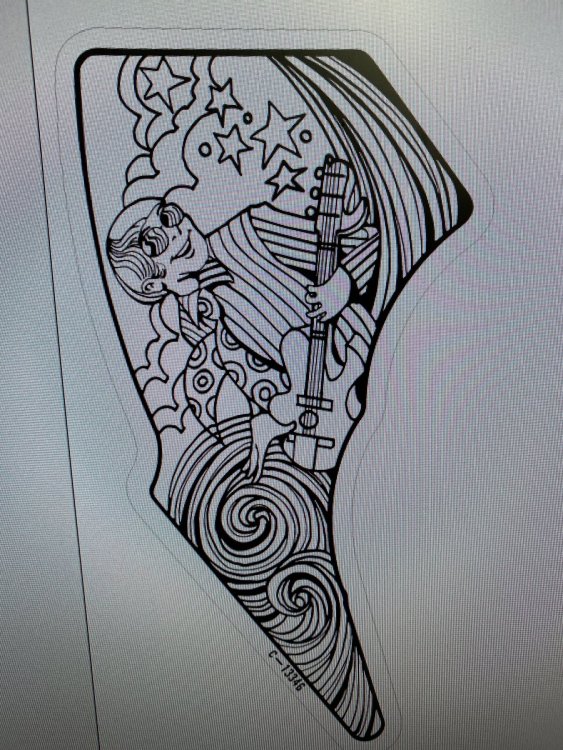
then the coloured layers created one at a time
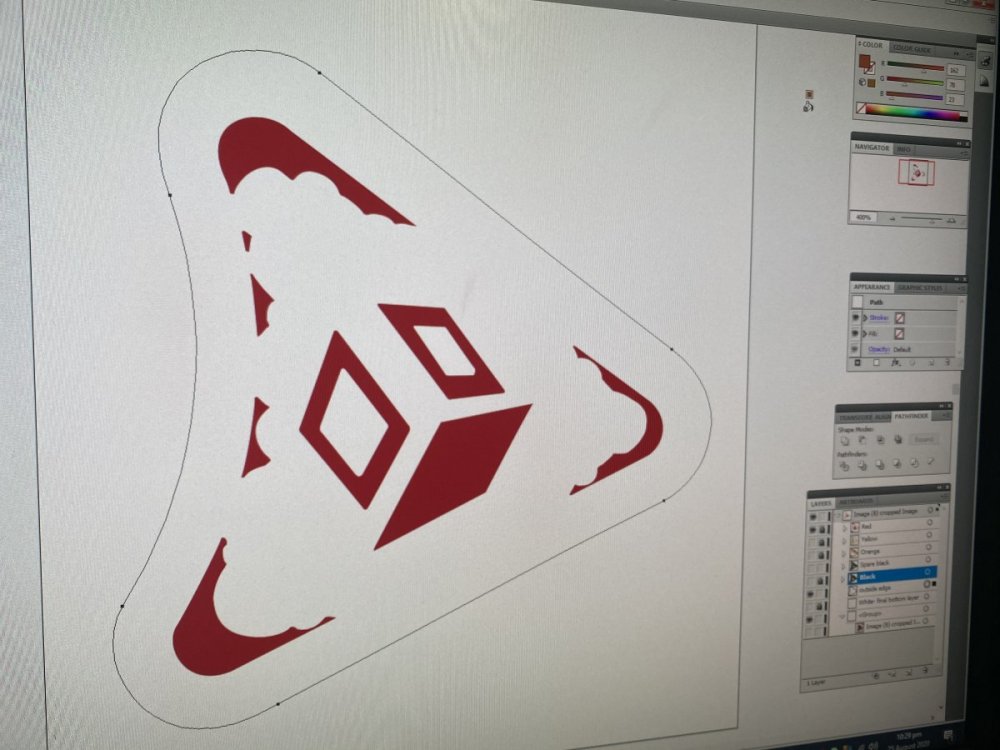
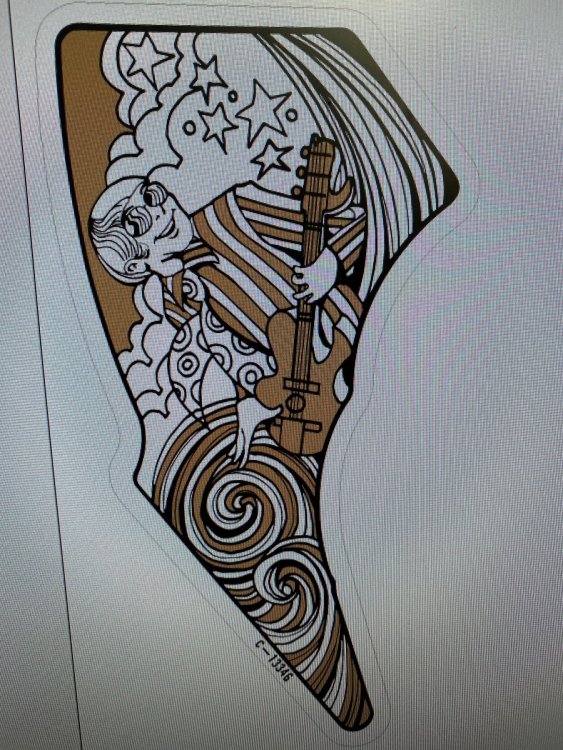
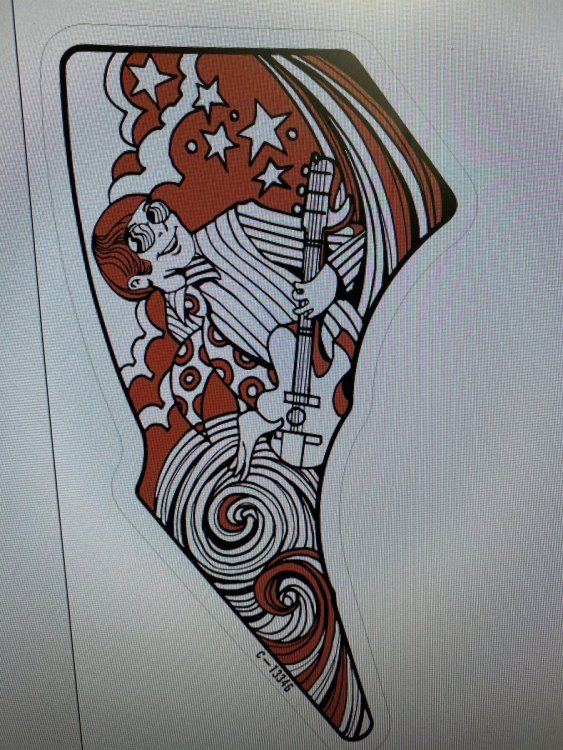
here is the red with the part outline
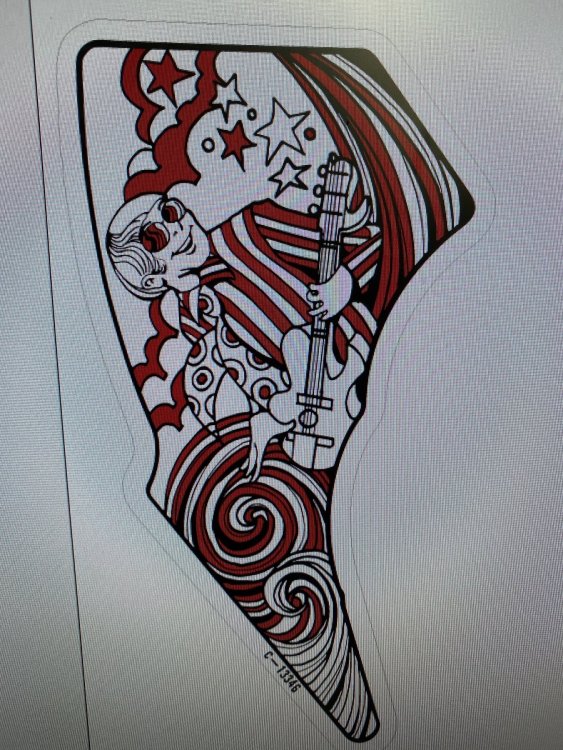
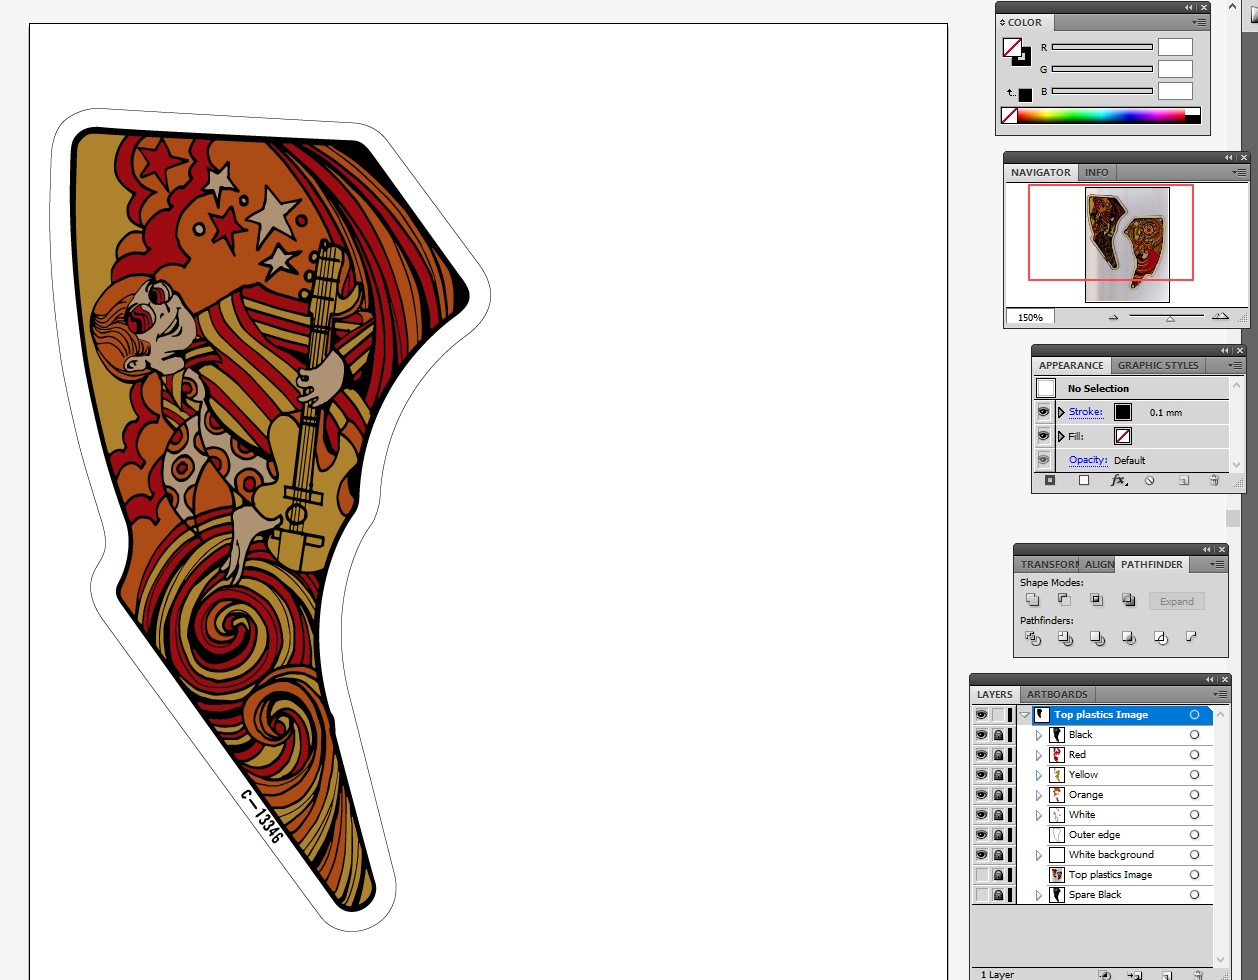
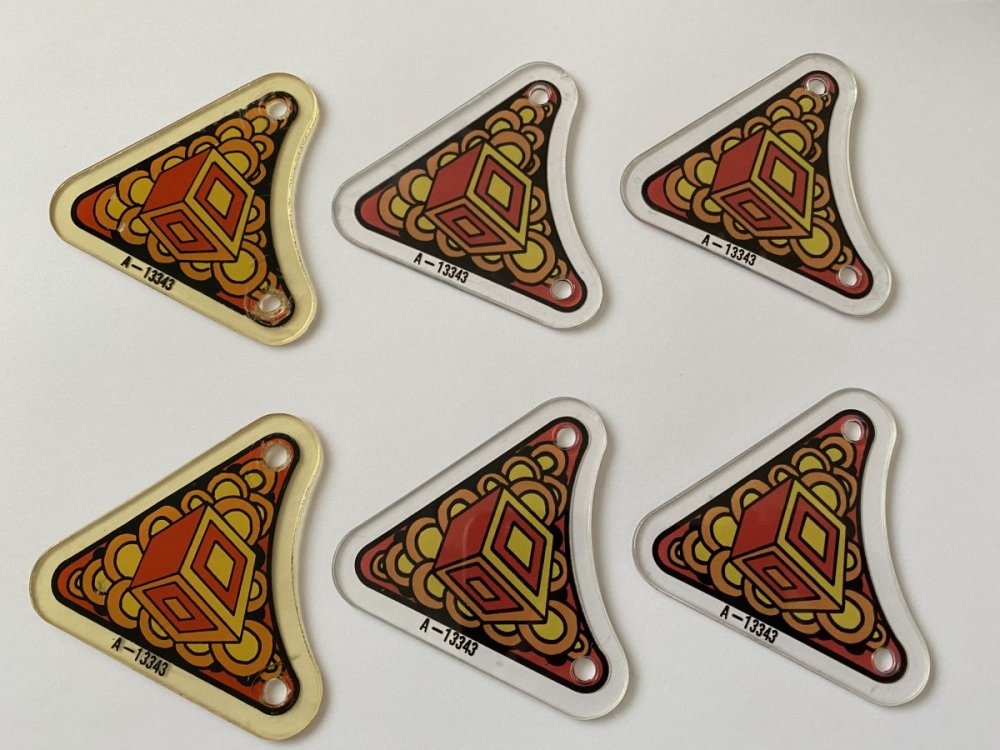
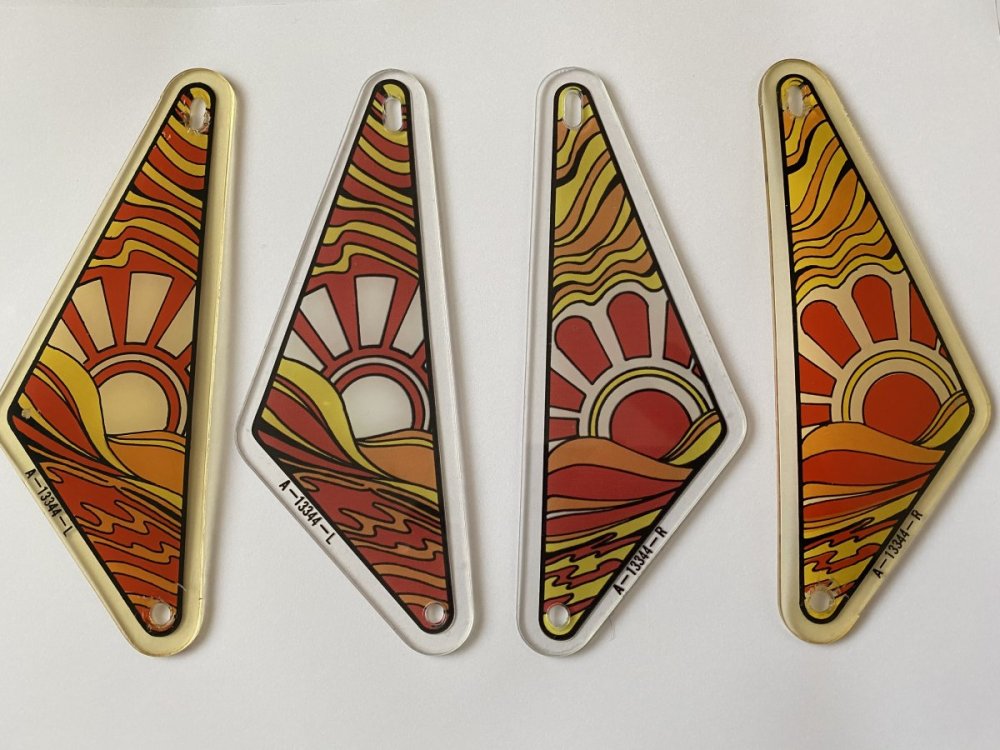
and here is all the colours, outline and drill holes layers all shown together.

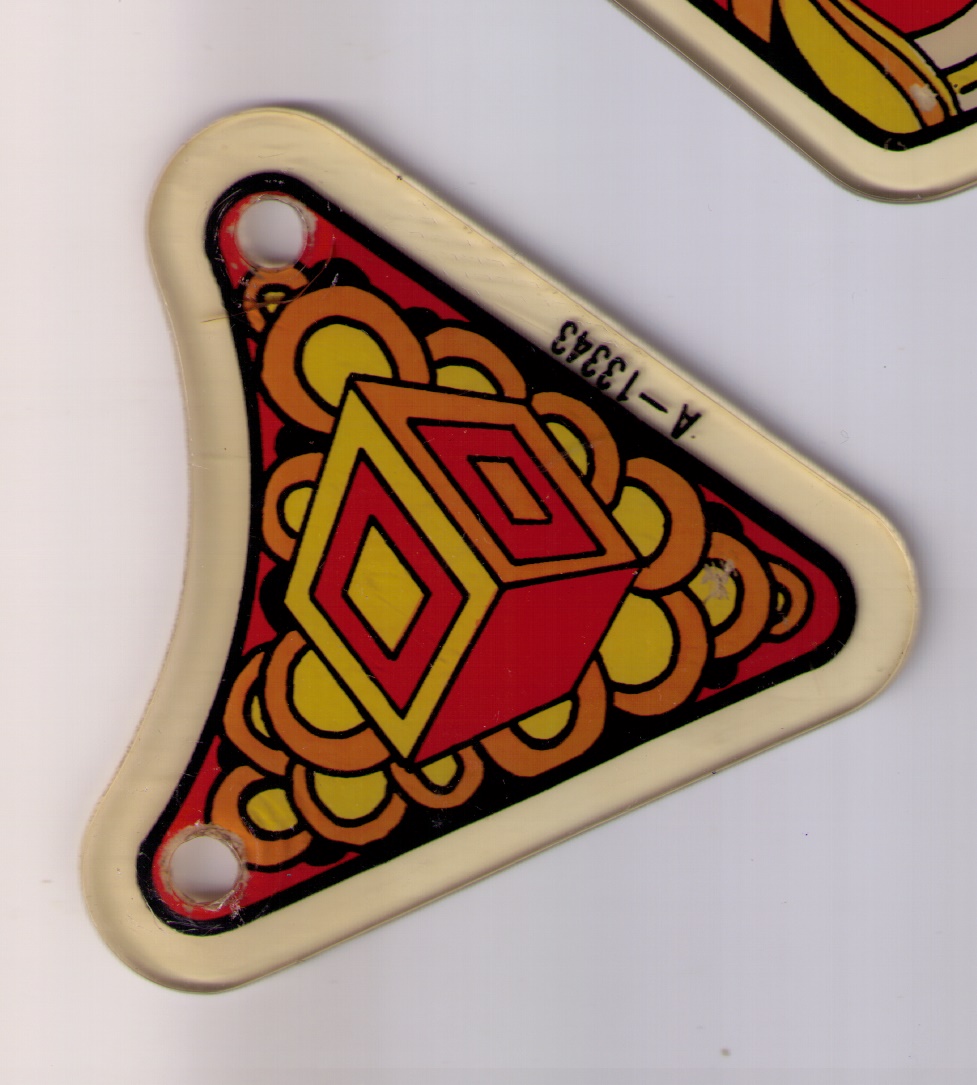
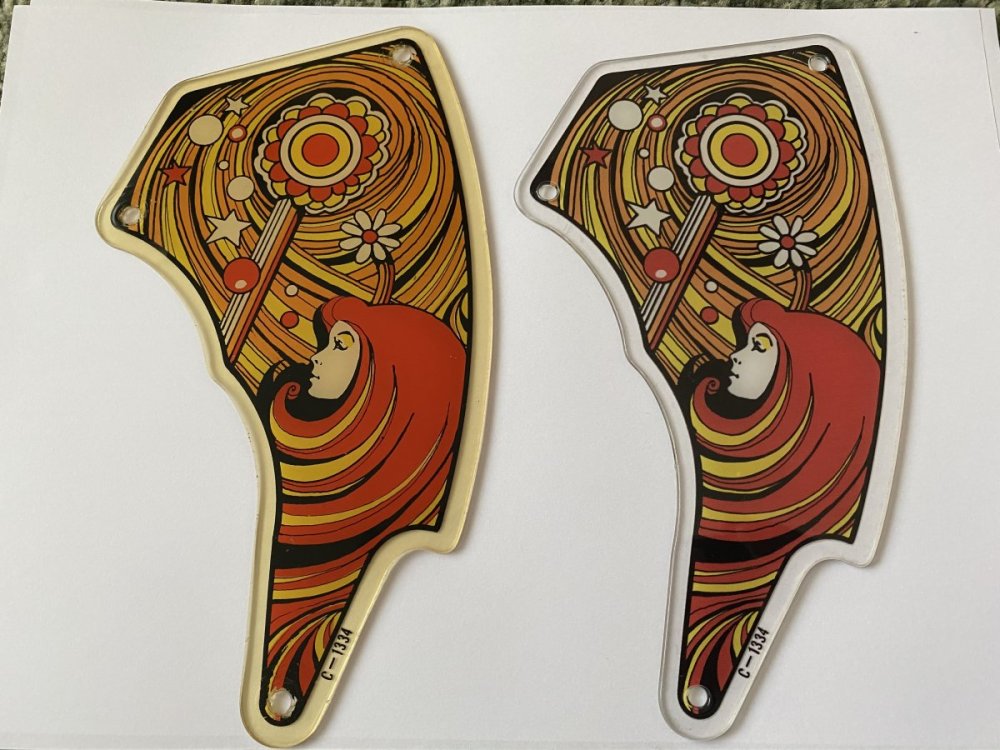
and this is the original
I am in the UK and I have been trying to find the playfield plastics for this machine for around 20 years and because only 2200 were ever made it seems these ae just not about! I am missing one on mine as someone in the past had replaced one with the one in the right of this picture!
I did ask pinball rescue if these were ever going o be put on there request list and got a very nice reply saying as these are in low demand for the 4 square these were not likely to be produced again.
I found a local printing shop, took it into them and when I asked them they seem pretty confident they can reproduce this using modern techniques as obviously screen printing is not a option! the plastic on the originals is really starting to deteriorate now on these 49 year old plastics! Will know more when the person that has the skills is back from holiday!
the week past and when the fella was back yep he could print them no problem! I said I was happy to put the time in on the artwork files as they told me they would need the graphic, white underside mask file and cutout file in adobe photoshop or illustrator format. This would save a lot of cost of them having to do the artwork!
I decided illustrator would be the best as this was true vector, so scanned in the plastic 300 dpi
I then started to learn how to use the pen tool! was a slow process at first as there always seemed to be one operation you had to do first before what you wanted to do!
I was very very slow but managed to start to join black paths! have made the template less intense so it shows up the black vector mask. was pleased with the progress made.
so after a couple of days I has the black area done! I even got the part number on as wonky as it was on the original! I know silly but that's how I wanted it...... the same!
and here is the black vector layer on its own.
then the coloured layers created one at a time
here is the red with the part outline
and here is all the colours, outline and drill holes layers all shown together.
and this is the original
") it's crazy how hard certain things are to find, especially the smaller, fiddly stuff
it's crazy how hard certain things are to find, especially the smaller, fiddly stuff