This is what arcade collecting is to me - getting things going. This might not be the prettiest result but it gets things working. I'm sure there are scores of people who would have binned these chips but I'll share my fix technique.
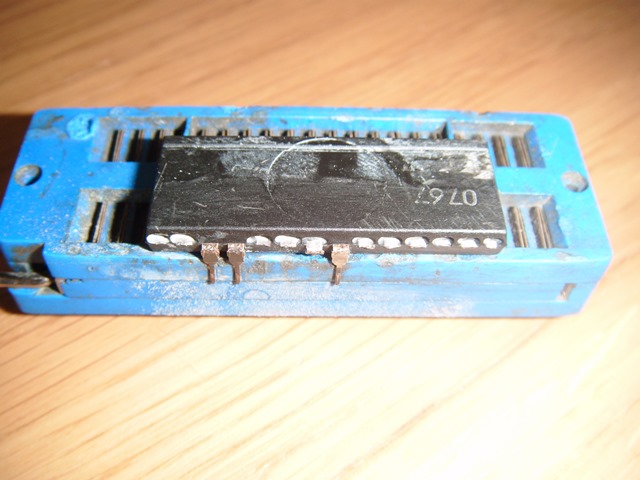
Acquired a Namco PCB and the corrosion has hit the customs, some worse than others. The chips are made from a particular metallic. I think this particular metal is sacrificial to the other metal on the PCB and so it attracts corrosion to it from the rest of the board and corrodes at a faster rate.

It's not looking great but it's not the end for it. I don't know if the chip is going to work but I'm investing time in it to see if it does. I could always bin it and buy one of the repro ones but they're getting pricey with postage and import duty.

Dremel out holes on both sides to expose the metal from beneath the casing.

Prime each exposed metal piece with solder.

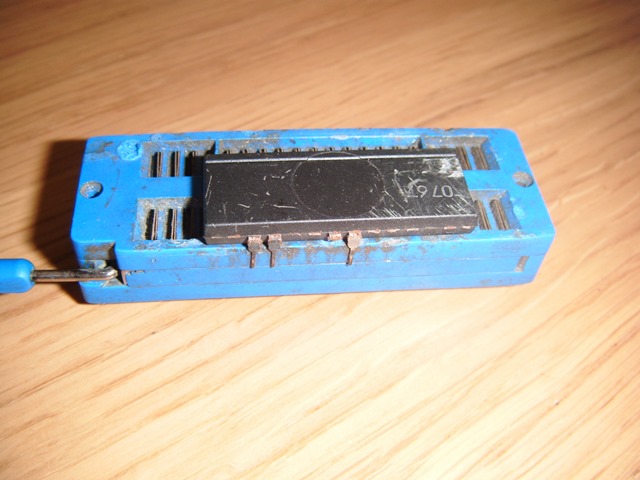
Take a pin from another dead chip. Prime the back of the pin with solder. Place the chip in the zif socket and offer up the pin to the chip and solder the pin and chip together. Both parts are clamped in placed during the process making it way easier to solder them together.
Now quite firmly attached.

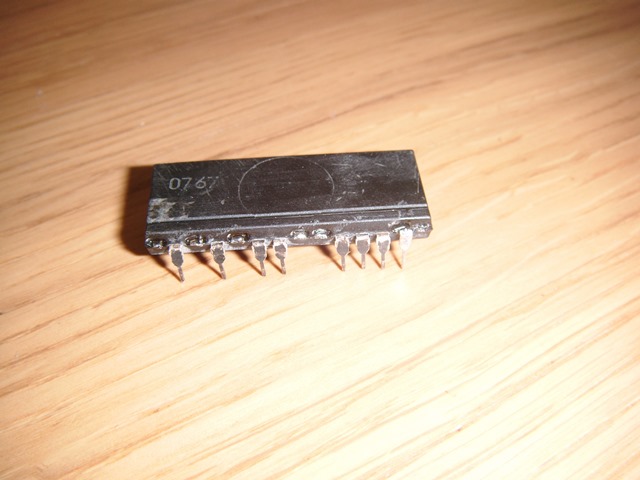
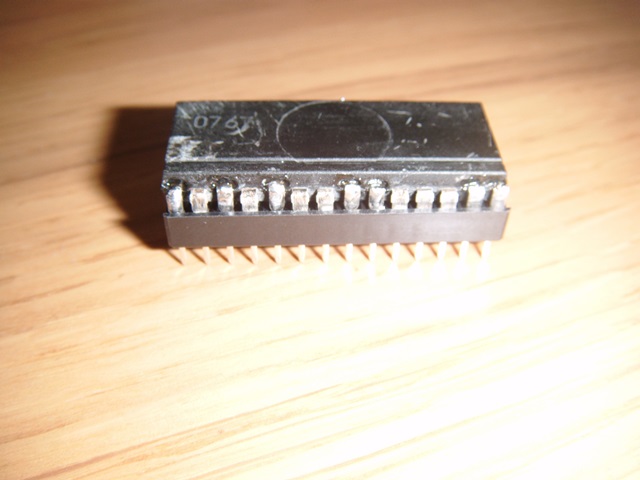
Repeat all down one side.
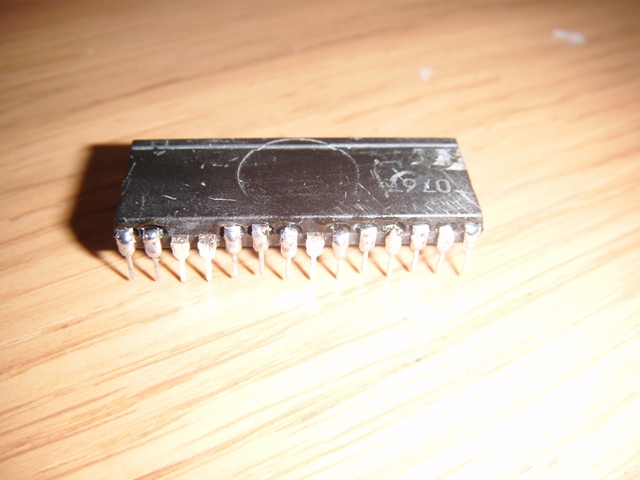
Repeat down the other side.
I usually then place the chip into a standard socket. Although the legs are attached they're usually not always in alignment and if I need to alter things it's easier to remove in and out of the board like this.

Install it in my PCB.

It's happily running in the board - took me a shade over an hour to complete the whole process. This was an extreme case but it gives you an idea of what to do if you have one or more legs missing from the chip.
Acquired a Namco PCB and the corrosion has hit the customs, some worse than others. The chips are made from a particular metallic. I think this particular metal is sacrificial to the other metal on the PCB and so it attracts corrosion to it from the rest of the board and corrodes at a faster rate.
It's not looking great but it's not the end for it. I don't know if the chip is going to work but I'm investing time in it to see if it does. I could always bin it and buy one of the repro ones but they're getting pricey with postage and import duty.
Dremel out holes on both sides to expose the metal from beneath the casing.
Prime each exposed metal piece with solder.
Take a pin from another dead chip. Prime the back of the pin with solder. Place the chip in the zif socket and offer up the pin to the chip and solder the pin and chip together. Both parts are clamped in placed during the process making it way easier to solder them together.
Now quite firmly attached.
Repeat all down one side.
Repeat down the other side.
I usually then place the chip into a standard socket. Although the legs are attached they're usually not always in alignment and if I need to alter things it's easier to remove in and out of the board like this.
Install it in my PCB.
It's happily running in the board - took me a shade over an hour to complete the whole process. This was an extreme case but it gives you an idea of what to do if you have one or more legs missing from the chip.

