

I've been struggling with the sound in our Tron for a few weeks now, so decided to isolate the external sound amplifier and test it, to prove whether it was working or not.
Thought that it would be helpful for all the other Tron owners to document how to do this - and a handy video at the end showing 'new' Tron meet 'old' Tron

1. Schematics
So the sound amp takes stereo input from the Super Sound I/O board, and 12V power, and then outputs to a pair of speakers to give the 'stereo' output that the game uses.
We need to rig up:
J3 (Input)
pin 2- audio left
pin 6 - audio right
pin 3 - ground
To do this I used a headphone jack that was rescued one morning on the way to work and simple soldered 3 wires to the pins on the headphone jack connector
pin 5 - Ground (Audio Return)
pin 8- +12V DC (Audio)
I'm using a simple switching power supply, but any +12V would do
J2 (Output)
pin 1 - audio left +ve
pin 2 - audio left -ve
pin 4 - audio right +ve
pin 6 - audio right -ve
Here's the relevant part of the schematics for reference.

Setup:
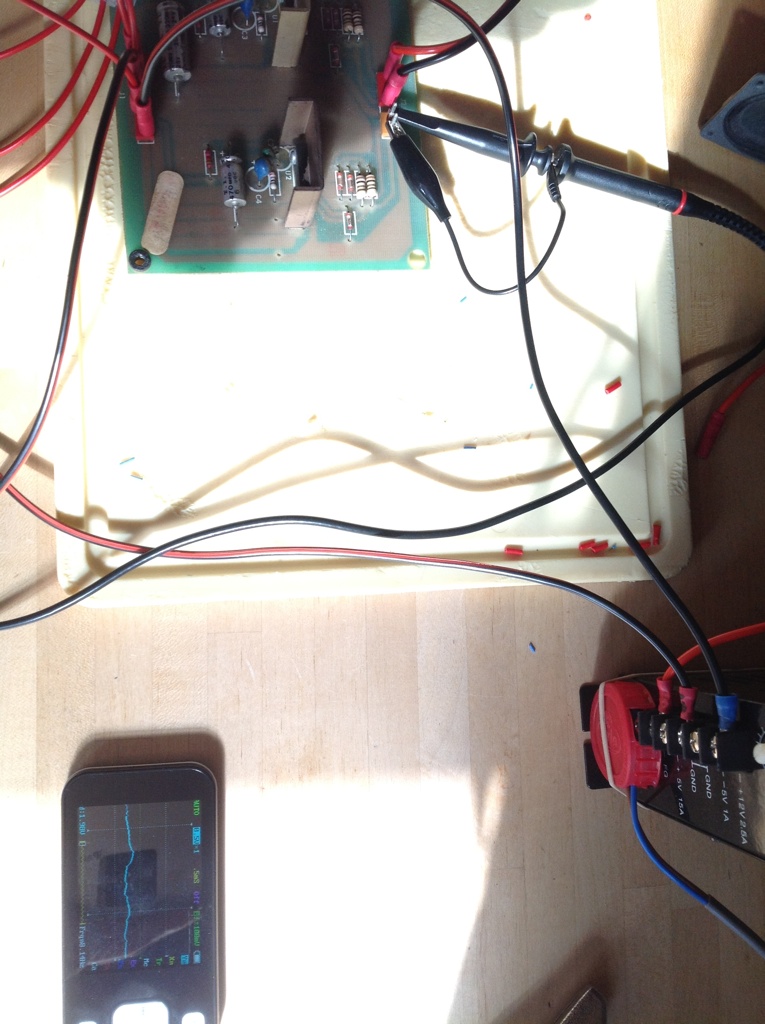
Here's a picture of how I set things up
Audio from iPhone into stereo back into pins 2, 3 and 6

Speaker (just testing one channel at the moment)

Power (note the milk bottle top - it makes a handy 'safety' for the 240V coming in the front if you cut a couple of channels in it for the wires with a Stanley knife
 )

You can also test the audio output with an Oscilloscope
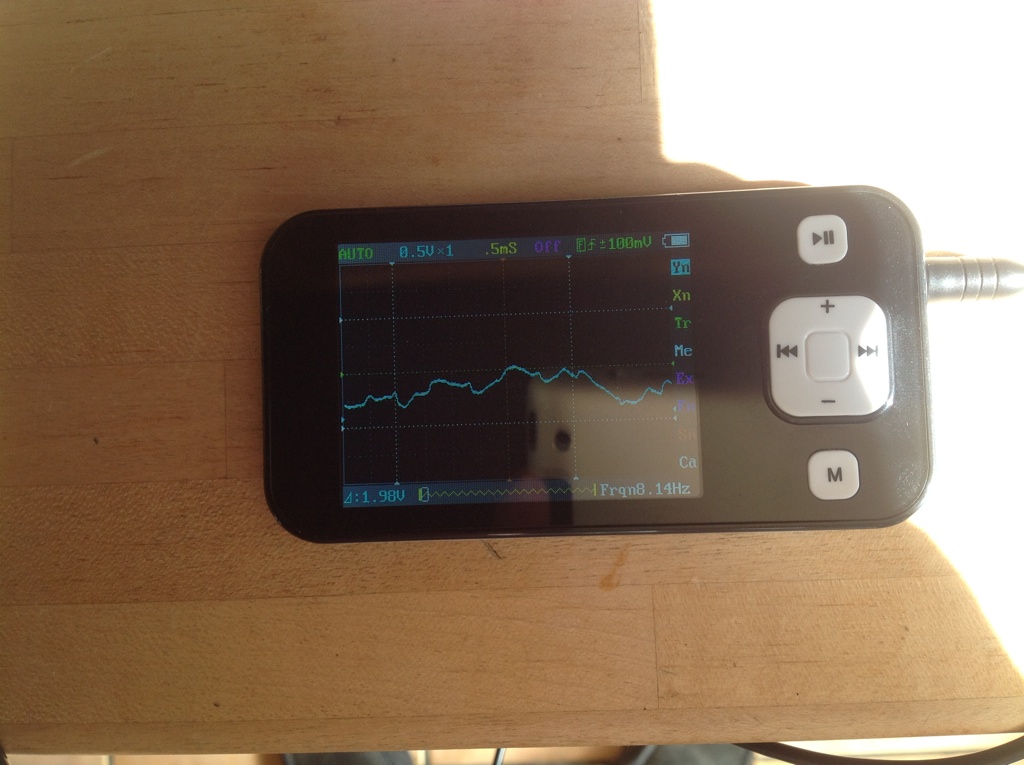
Here's it running with the nifty and very reasonably priced DSO201 Android based scope with settings 0.5V (Y-Axis) and .5ms (X-Axis)
and here it is all running together with some suitable test music

Vimeo Link
Judder2014-08-12 13:50:57
Thought that it would be helpful for all the other Tron owners to document how to do this - and a handy video at the end showing 'new' Tron meet 'old' Tron
1. Schematics
So the sound amp takes stereo input from the Super Sound I/O board, and 12V power, and then outputs to a pair of speakers to give the 'stereo' output that the game uses.
We need to rig up:
J3 (Input)
pin 2- audio left
pin 6 - audio right
pin 3 - ground
To do this I used a headphone jack that was rescued one morning on the way to work and simple soldered 3 wires to the pins on the headphone jack connector
pin 5 - Ground (Audio Return)
pin 8- +12V DC (Audio)
I'm using a simple switching power supply, but any +12V would do
J2 (Output)
pin 1 - audio left +ve
pin 2 - audio left -ve
pin 4 - audio right +ve
pin 6 - audio right -ve
Here's the relevant part of the schematics for reference.
Setup:
Here's a picture of how I set things up
Audio from iPhone into stereo back into pins 2, 3 and 6
Speaker (just testing one channel at the moment)
Power (note the milk bottle top - it makes a handy 'safety' for the 240V coming in the front if you cut a couple of channels in it for the wires with a Stanley knife
You can also test the audio output with an Oscilloscope
Here's it running with the nifty and very reasonably priced DSO201 Android based scope with settings 0.5V (Y-Axis) and .5ms (X-Axis)
and here it is all running together with some suitable test music
Vimeo Link
Judder2014-08-12 13:50:57


