KinkyWizard
Newbie
- Credits
- 8CR
Hi All!
I have picked up a bit of an un-finished project from eBay off of a young lad who'd had his day at it... it's not in the best of conditions and I really need some advice about how to turn it into something that's worth showing off.
It is a Jamma PCB (Classic Arcades, 60 in 1) put inside of what looks like a 'slung together' bar top cabinet.
It has been attempted in the style of Pac Man... but I want to strip it all back and produce a bar top version of a classic Donkey Kong cab.
To start with I am enjoying playing around with the games on there (Donkey Kong especially) but I am also very keen to get cracking on this project as at the moment it's not the prettiest object to look at and it is sitting in our front room crying out for an authentic decent make over.
To start with I have photographed everything and posted the photos below to show you what I am starting with... I will make the relevant comments under the relating photos...
... really looking forward to receiving your expertise on how best to carry this project out...
Above and below I have taken some photos of the manual that came with the board... I have no idea on how to change settings as the manual isn't very 'n00b' friendly...
What I want to achieve with the board is so it saves my high scores... at the moment it does save my high scores but the 3 letter name entry's is wiped when powered off, which is a shame.


Any ideas on how I go about doing the things it mentions in the above pages?

Above is the current state of the cab from a users point of view... the blurry photo prob does it more justice than it deserves... what is the best way to strip all the gloss paint and vinyl from this cab? I want to paint it the classic Donkey Kong Daphne / Marine Blue and achieve a high grade finish on it at the same time... very tempted to find a wood work specialist to do the job for me due to lack of work space and tools...
A side shot above... crying out for artwork...

Back shot above... the x2 screws in the top left and right are the only things holding this back board on... the whole cab seems to made out of some MDF wood.

Above is close up photo of the edges of the cab... as you can see the last owner has just painted the edges, but I would like to try and achieve that classic T-cut moulding edge finish that the real cabs have... but as you can see there is no T-cut shape put into this cabinet... any advice on how I go about achieving the same style of finish of these edges?

The above photo doesn't show it clear enough but the artwork has been printed off an inkjet printer (very pixelated) and then laminated and stuck on :-S

The control stick I would like to replace... as it feels very very sensitive and is not the best when it comes to games like Burger Time or Pac Man as making sharp changes in direction can more than often end up with you heading in the completely opposite direction.
The stick has 8 directions to it but it rolls around in a 360 motion very easy and it is hard to find / feel a definite direction with it.
Is it me or should it feel / act like this?
Where is best to buy a replacement stick from? And what type of stick is best to get for this mini bartop style cab and for this type of PCB?
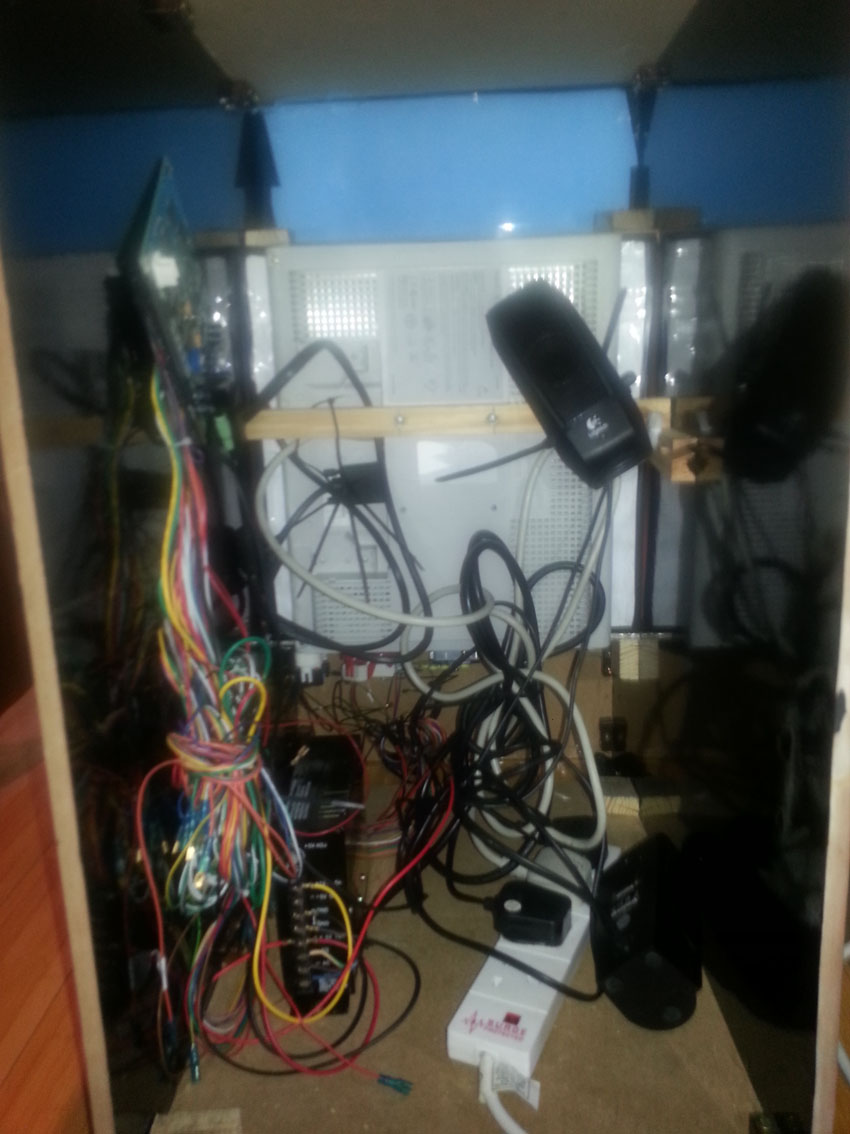
Photos above shows the mess that is currently inside... more photos to follow below that shows the guts in more close up detail.
There seems to be a LOT of random wires that just lead to nowhere... as you can see hanging down in the left hand corner... is this normal?
I would also like to try and back light the marquee with LEDS strips... but I am no electrician and I wasn't sure if how to even go about doing this?

Shot of what I think is the PCB...

Another shot of the messy wires and what I think is the power supply?

Old PC monitor I think? Stood up completely vertically. Not sure if it is best to have it stood up completely vertically or if it is best trying to achieve some sort of classic laid back approach (if you know what I mean by that) ???

The biggest worry I have is gutting this thing as it stands in order to do the work I want to do to it... and then for whatever reason (I don't store the PCB safely enough or can't remember how to put it back together) that I can't get it working again. Any advice on this worry? How to do I store the guts and PCB whilst I do the work to the cab? And is this thing easy to put back together?

Above is a shot of what someone else has done with the exact same style / shaped cabinet. This is an example of the standard / quality of finish that I am aiming for.

Above obviously is the classic DK machine that I am trying to imitate... love it!
What do you guys think?
Too much of an ambitious project for a 'n00b' like myself?
Have I picked the right style to try and replicate on this mini bar top cab?
I picked this whole thing up for £200, do you think that was a fair price for what it is in it's current condition? No matter if not as I LOVE it, just really want it to look it's best.
Really looking forward to your help and advice all...
KinkyWizard2013-07-20 20:48:20
I have picked up a bit of an un-finished project from eBay off of a young lad who'd had his day at it... it's not in the best of conditions and I really need some advice about how to turn it into something that's worth showing off.
It is a Jamma PCB (Classic Arcades, 60 in 1) put inside of what looks like a 'slung together' bar top cabinet.
It has been attempted in the style of Pac Man... but I want to strip it all back and produce a bar top version of a classic Donkey Kong cab.
To start with I am enjoying playing around with the games on there (Donkey Kong especially) but I am also very keen to get cracking on this project as at the moment it's not the prettiest object to look at and it is sitting in our front room crying out for an authentic decent make over.
To start with I have photographed everything and posted the photos below to show you what I am starting with... I will make the relevant comments under the relating photos...
... really looking forward to receiving your expertise on how best to carry this project out...
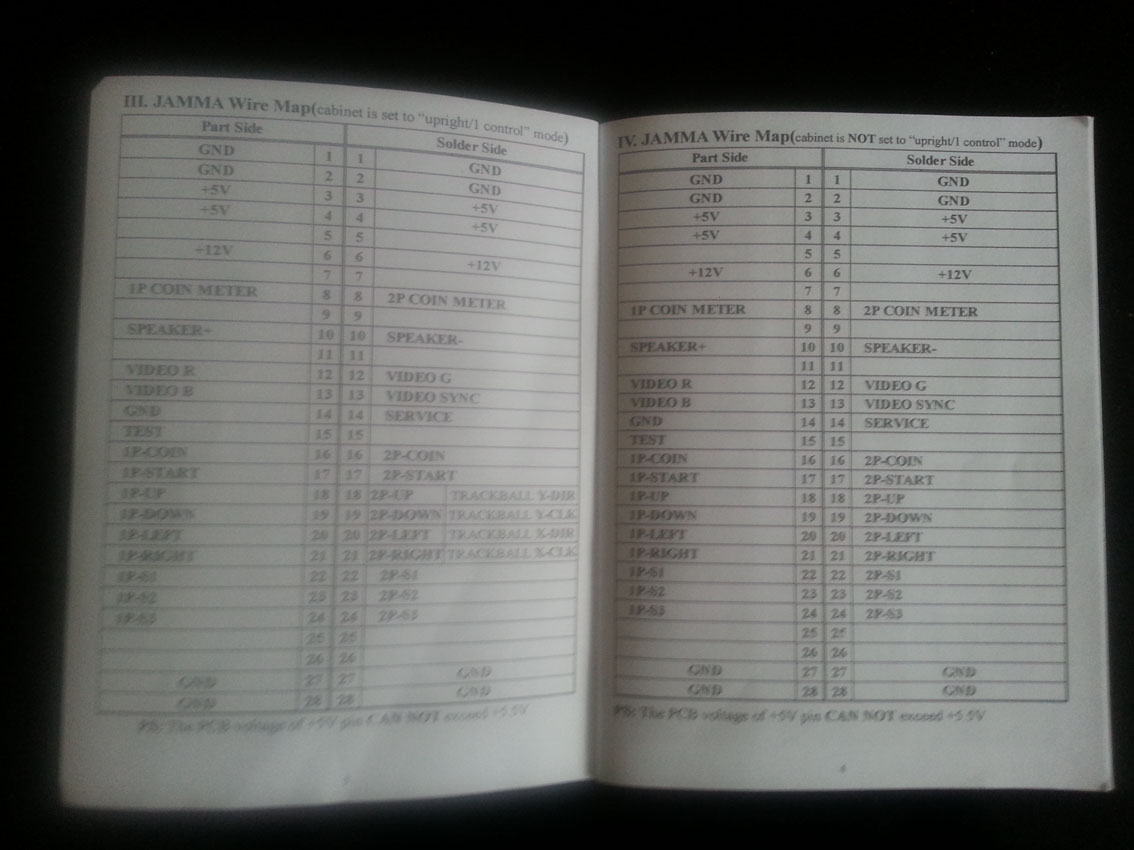
Above and below I have taken some photos of the manual that came with the board... I have no idea on how to change settings as the manual isn't very 'n00b' friendly...
What I want to achieve with the board is so it saves my high scores... at the moment it does save my high scores but the 3 letter name entry's is wiped when powered off, which is a shame.
Any ideas on how I go about doing the things it mentions in the above pages?
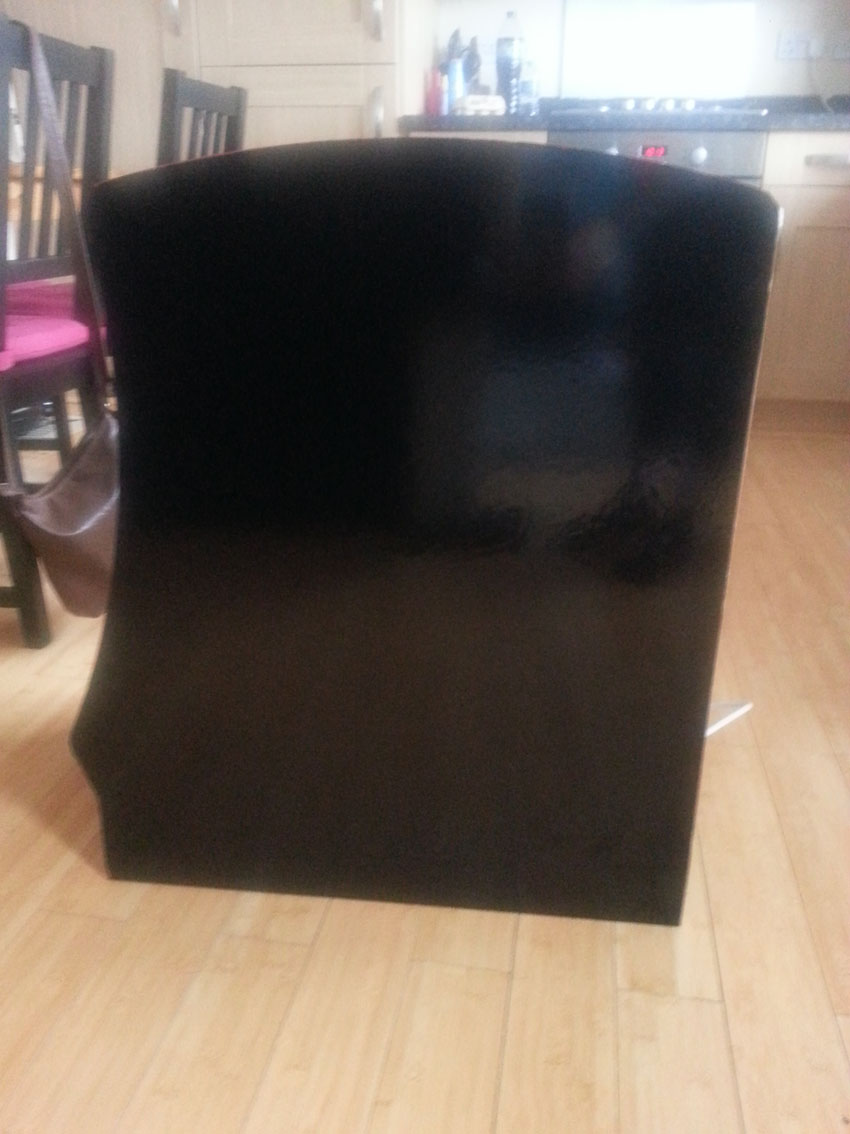
Above is the current state of the cab from a users point of view... the blurry photo prob does it more justice than it deserves... what is the best way to strip all the gloss paint and vinyl from this cab? I want to paint it the classic Donkey Kong Daphne / Marine Blue and achieve a high grade finish on it at the same time... very tempted to find a wood work specialist to do the job for me due to lack of work space and tools...
A side shot above... crying out for artwork...
Back shot above... the x2 screws in the top left and right are the only things holding this back board on... the whole cab seems to made out of some MDF wood.
Above is close up photo of the edges of the cab... as you can see the last owner has just painted the edges, but I would like to try and achieve that classic T-cut moulding edge finish that the real cabs have... but as you can see there is no T-cut shape put into this cabinet... any advice on how I go about achieving the same style of finish of these edges?
The above photo doesn't show it clear enough but the artwork has been printed off an inkjet printer (very pixelated) and then laminated and stuck on :-S
The control stick I would like to replace... as it feels very very sensitive and is not the best when it comes to games like Burger Time or Pac Man as making sharp changes in direction can more than often end up with you heading in the completely opposite direction.
The stick has 8 directions to it but it rolls around in a 360 motion very easy and it is hard to find / feel a definite direction with it.
Is it me or should it feel / act like this?
Where is best to buy a replacement stick from? And what type of stick is best to get for this mini bartop style cab and for this type of PCB?
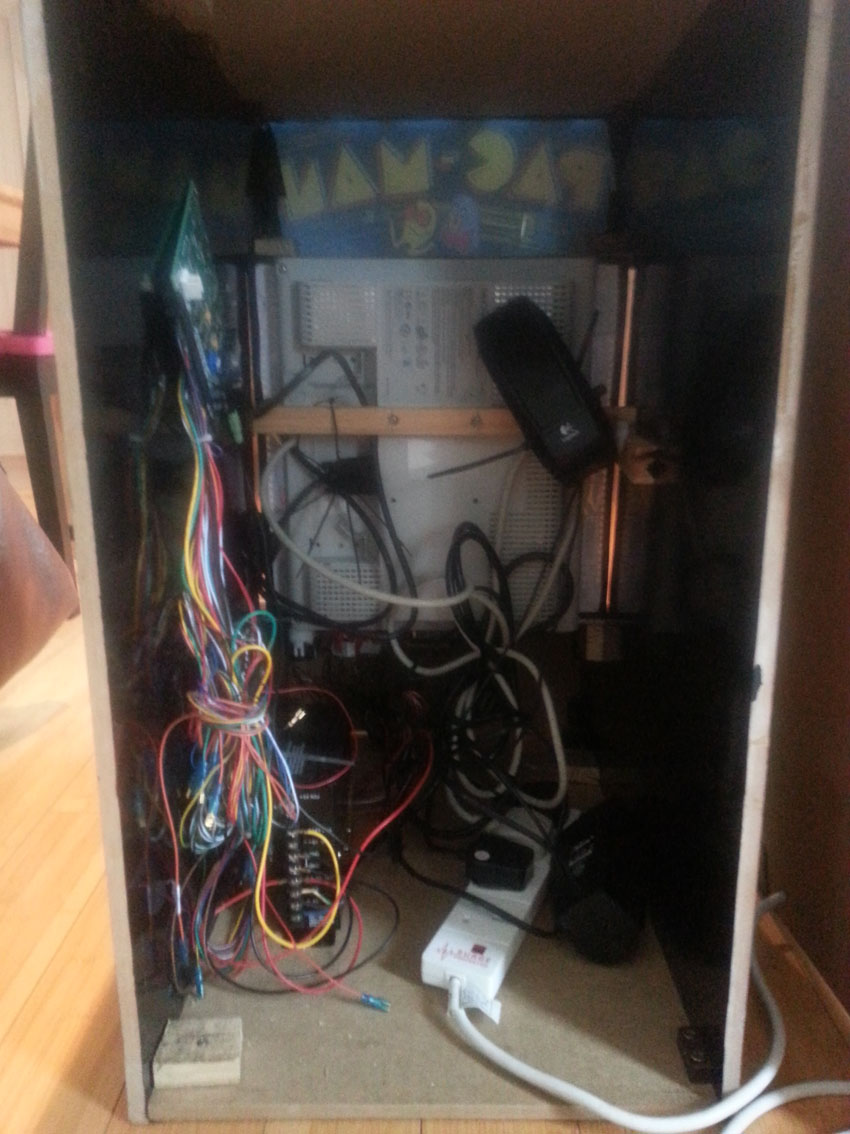
Photos above shows the mess that is currently inside... more photos to follow below that shows the guts in more close up detail.
There seems to be a LOT of random wires that just lead to nowhere... as you can see hanging down in the left hand corner... is this normal?
I would also like to try and back light the marquee with LEDS strips... but I am no electrician and I wasn't sure if how to even go about doing this?
Shot of what I think is the PCB...
Another shot of the messy wires and what I think is the power supply?
Old PC monitor I think? Stood up completely vertically. Not sure if it is best to have it stood up completely vertically or if it is best trying to achieve some sort of classic laid back approach (if you know what I mean by that) ???
The biggest worry I have is gutting this thing as it stands in order to do the work I want to do to it... and then for whatever reason (I don't store the PCB safely enough or can't remember how to put it back together) that I can't get it working again. Any advice on this worry? How to do I store the guts and PCB whilst I do the work to the cab? And is this thing easy to put back together?
Above is a shot of what someone else has done with the exact same style / shaped cabinet. This is an example of the standard / quality of finish that I am aiming for.
Above obviously is the classic DK machine that I am trying to imitate... love it!
What do you guys think?
Too much of an ambitious project for a 'n00b' like myself?
Have I picked the right style to try and replicate on this mini bar top cab?
I picked this whole thing up for £200, do you think that was a fair price for what it is in it's current condition? No matter if not as I LOVE it, just really want it to look it's best.
Really looking forward to your help and advice all...
KinkyWizard2013-07-20 20:48:20


