Kenphone Puckman

muddymusic

The Repro Guy. Art and Parts supplier
Staff member
vacBacker
Feedback
52 (100%)
Credits
2,247CR
The cabinet

Superb artwork on this cab. For a change this one is fully working so everything I'll be doing is cosmetic.

The
bezel, marquee & control panel aren't in the best shape, the usual
fag burns, cracks & quite bad flaking. The artwork is all on perspex
rather than glass - and that includes the side art which has a thin
layer over the top - I've never seen that before on an arcade cabinet.

I won't be doing anything with the sides apart from a good clean and tidy up of any holes or breaks.
Because
of the way it's printed I'd have to scan it all with a hand scanner,
then have 2 giant pieces of perspex reverse printed, and the cnc cut to
the exact profile of the cab, and it's just not worth the effort when
what's there isn't that bad.

rtod_may_bc04.jpg


rtod_may_bc05.jpg


rtod_may_bc06.jpg


rtod_may_bc07.jpg


rtod_may_bc08.jpg


rtod_may_bc09.jpg


rtod_may_bc10.jpg


rtod_may_bc11.jpg

muddymusic2013-09-26 22:11:39
 

muddymusic

The Repro Guy. Art and Parts supplier
Staff member
vacBacker
Feedback
52 (100%)
Credits
2,247CR
Recreating the artwork

A real help was finding that the artwork has already been vectored by
Zorg on the Arcade Art Library, that will save a massive amount of work.

resto_puckman_marquee_preview.jpg


resto_puckman_bezel_preview.jpg


Unfortunately the control panel graphic he used is different so I'll have to recreate that myself.

I've
taken a 3 part scan of the original panel and stitched it together
ready to start remaking it. I can pull some of the parts from the vector
images above and also copy the colours so everything matches.

resto_puckman_cpo_remake.jpg


resto_puckman_cpo_remake2.jpg


Added in existing elements to cpo, you can really see how much the original has faded!

resto_puckman_cpo_remake3.jpg


All the right side and points info done.

resto_puckman_cpo_remake4.jpg


Getting there!

resto_puckman_cpo_remake5.jpg


Most of the panel has been redrawn, just a few little ghosts to draw.

resto_puckman_cpo_remake6.jpg


Control Panel finished:

resto_puckman_cpo_remake7.jpg


Didn't take that long to do, probably 4 hours give or take.

Bit of detail from the scan:
resto_puckman_cpo_remake9.jpg

Ends up like so:
resto_puckman_cpo_remake8.jpg
 

muddymusic

The Repro Guy. Art and Parts supplier
Staff member
vacBacker
Feedback
52 (100%)
Credits
2,247CR
Cab Cleanup

Cab stripped of all perspex ready for a hoovering and polish.

resto_puckman_10.jpg


Because
the whole shell is covered in a perspex layer it's been quite easy to
clean using Novus 2 to get any filth off and work out any small
scratches, followed with 1 for a nice shine.

The front now looks lovely and glossy, but that doesn't really show in any pics!

resto_puckman_11.jpg


The
inside black area took a hell of a lot of cleaning as it was all sticky
from cigarette smoke, several yellow cloths later it was back to a
glossy finish, then I touched in any scratches and chips with my trusty
paint pen, gave it a polish, and now there's a nice shine.

resto_puckman_12.jpg


Need to clean the inside and sorting out the wiring.

resto_puckman_13.jpg


Cleaned up the sides as best I could. Can't do my normal thing of
touching in the gaps with a sharpie as all the art is covered, so next
best thing is to work out the scratches with Novus 2.

Before
resto_puckman_19.jpg

After
resto_puckman_20.jpg


Whole side before
resto_puckman_18.jpg

After
resto_puckman_21.jpg


I
filled in a few areas with white but needed to be careful as the cab
isn't as white as it appears. It's a shame there's a big gouge out of
the middle, that's something to look at further down the line - but most
of the big scratches are out now and the whole shell is lovely and
glossy now.

Gave the inside a good hovering and polish and gave the wiring a tidy.
resto_puckman_22.jpg


Finalised the graphics ready for print, with a small colour adjustment.

(original colour)
resto_puckman_cpo_remake7.jpg


resto_puckman_15.jpg

resto_puckman_16.jpg

resto_puckman_17.jpg
 

muddymusic

The Repro Guy. Art and Parts supplier
Staff member
vacBacker
Feedback
52 (100%)
Credits
2,247CR
The new control panel has arrived.

Old one:
resto_puckman23.jpg


New one, with lighter blue which will be used on the other bits:
resto_puckman24.jpg


I'm really pleased with how close my design came out compared against the original.
resto_puckman25.jpg


Here's the other art. It looks superb against the old stuff.

Marquee:
resto_puckman_28.jpg

resto_puckman_29.jpg


And the bezel. This looks amazing, and it f*cking should as it cost a small fortune.
resto_puckman_30.jpg

resto_puckman_31.jpg


Exactly
the same process as used on the original, so it looks the biz. What's
annoying is after I've ordered about 15 pieces of expensive plexi
printing the company aren't going to produce it any more
smiley5.gif
 

muddymusic

The Repro Guy. Art and Parts supplier
Staff member
vacBacker
Feedback
52 (100%)
Credits
2,247CR
Control panel has been fully rebuilt, thanks go to VirtVic for getting
the expensive perspex drilled nicely - and removing the need for any
visible joystick bolts 
smiley32.gif


Marquee
has been refitted, bezel fitted, almost as soon as the new artwork arrived the monitor went completely blue so that needed a repair
(bad neck card transistor) and I managed to get an original rom to
replace the speed up hack that was previously on the pcb thanks to Porchy.

Another one that
turned out well I think, the brand new artwork is stunning compared with
the faded, cracked and scratched stuff.

Soon to be united with its new owner after it spends a weekend at Play Expo next month
smiley1.gif


resto_puckman_32.jpg


resto_puckman_33.jpg


resto_puckman_35.jpg


resto_puckman_36.jpg
muddymusic2013-09-26 23:52:47
 

puckman

Newbie
Credits
4CR
Thats awesome work you are doing! Really happy to see my old cab getting fixed up! I bought it from Jonathan Thompson, still have a photo of him posing with it ;)
 

tronads

Active member
Feedback
5 (100%)
Credits
448CR
I'd like to see that pic if you can.
This cab has been mine for the last year or so. Olly did a fantastic job on it.tronads2015-01-17 00:22:27
 

Danny Ogg

Newbie
Credits
17CR
Looks super! Sorry to hear that they aren going to make any more, since i would really like a PUCK MAN marque and bezel for my UNICAB.
 

muddymusic

The Repro Guy. Art and Parts supplier
Staff member
vacBacker
Feedback
52 (100%)
Credits
2,247CR
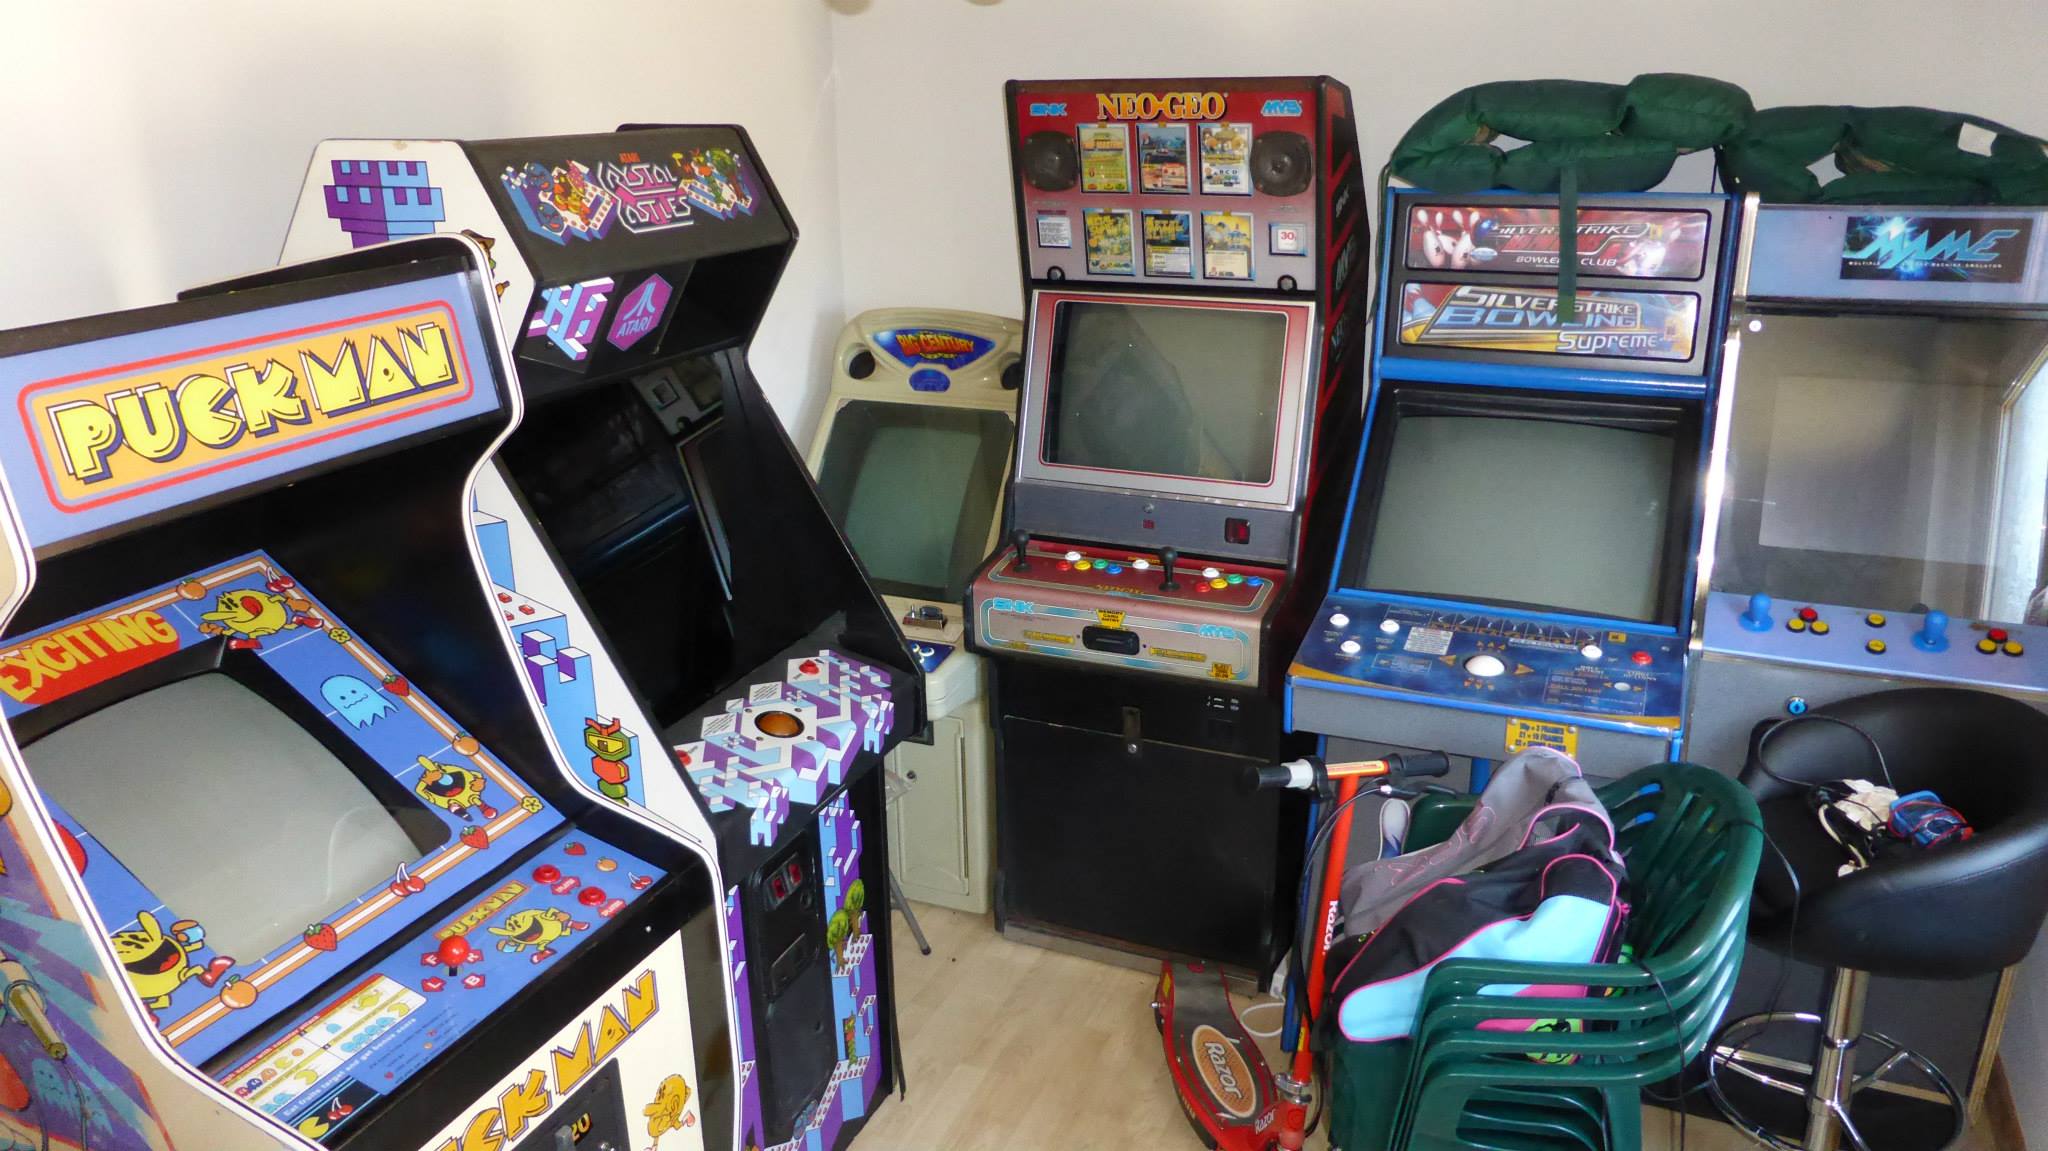
It sure is a beautiful cab, I really enjoyed restoring it. It's nice to see it in your games room next to one of the best looking cabs ever made!
 
G

Guests

Guest
muddymusic said:
It sure is a beautiful cab, I really enjoyed restoring it. It's nice to see it in your games room next to one of the best looking cabs ever made!

Yes....and yes, many Puckmans look at least as good as the original yellow Pacman. This one looks better for my taste.

And Cristle Castle one of the best looking cabinets ever made.....nobody could deny that
smiley1.gif

Also Millipede (the upper section as well as on CC) is one of that one of a kind cabinets.
 
Top