Project DEFENDER

rs2klee

Newbie
Credits
4CR
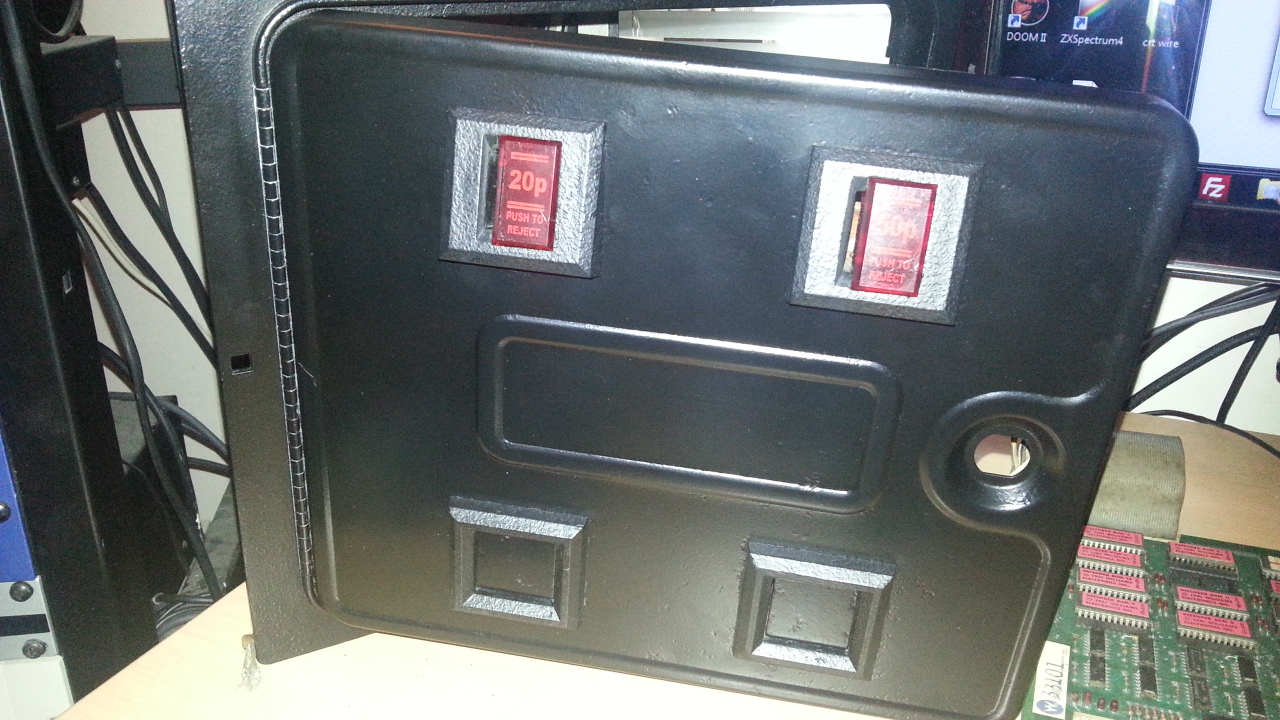
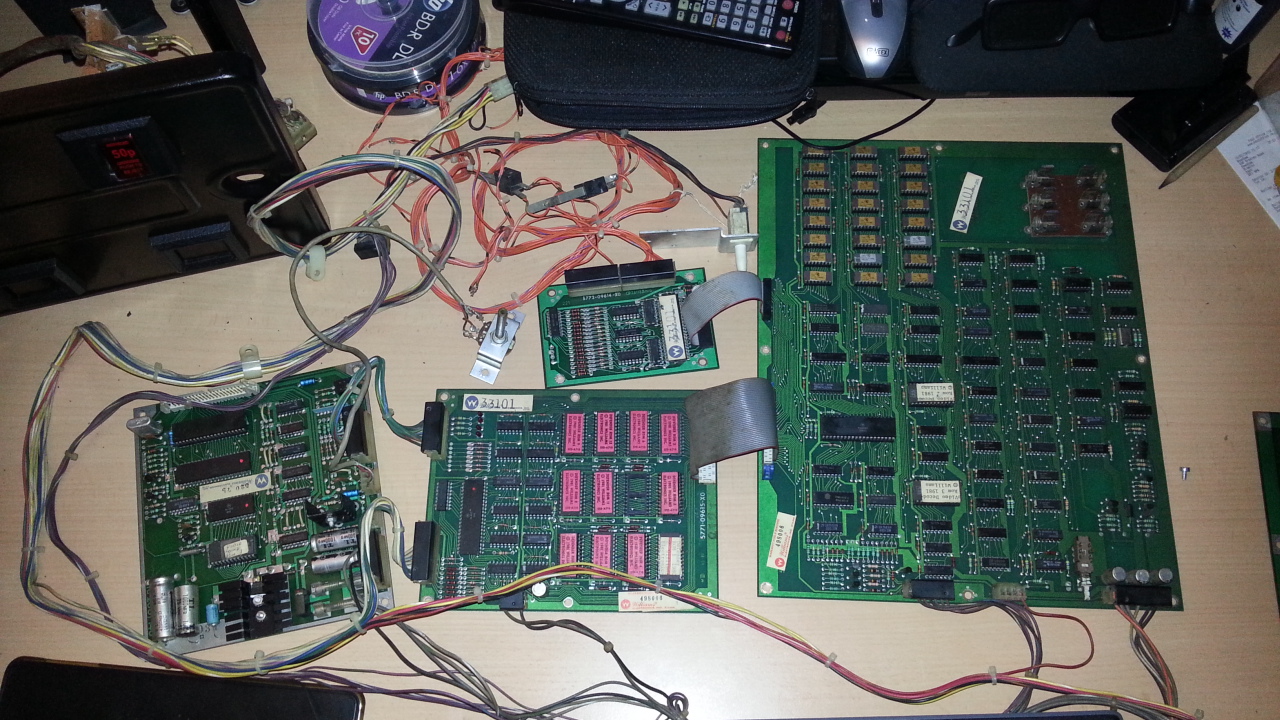
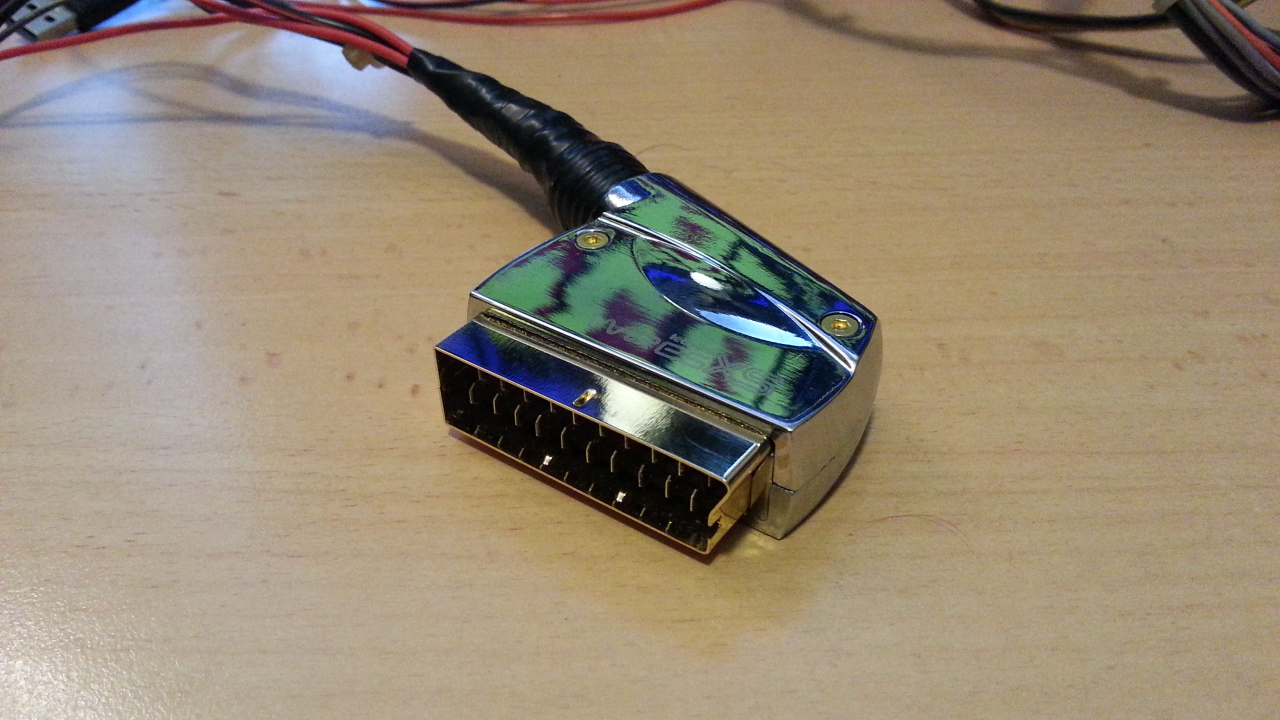
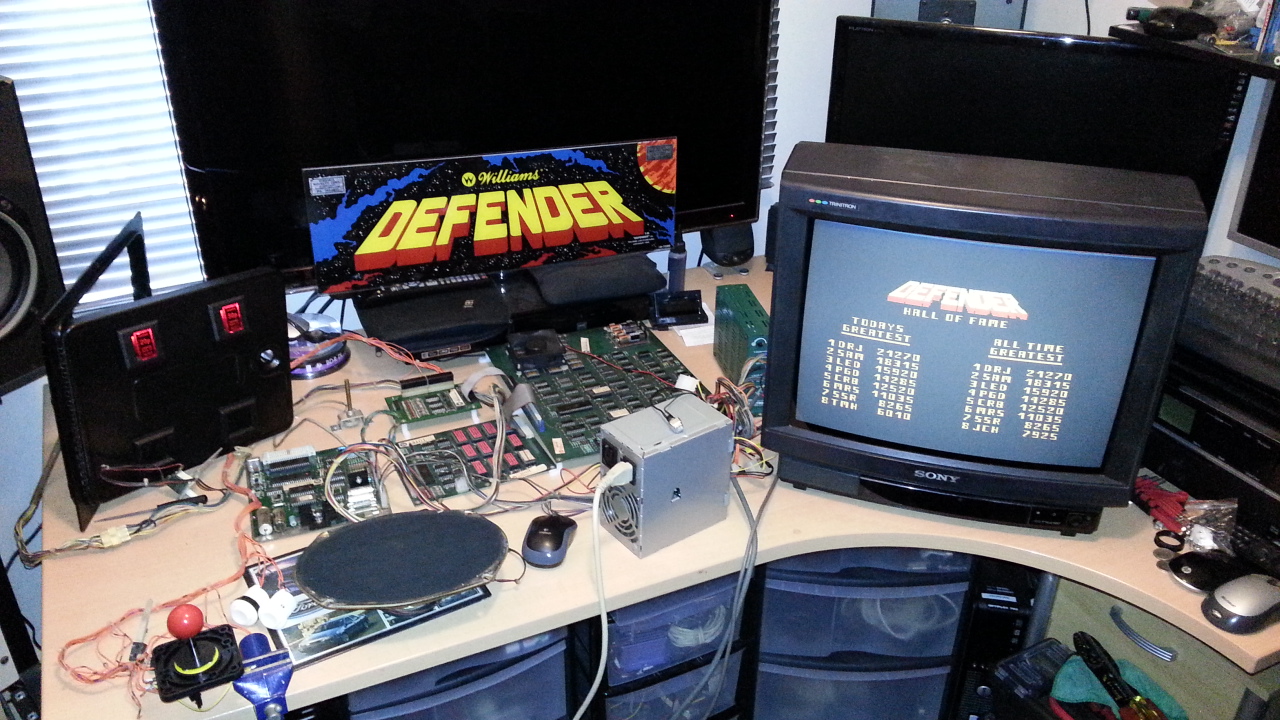
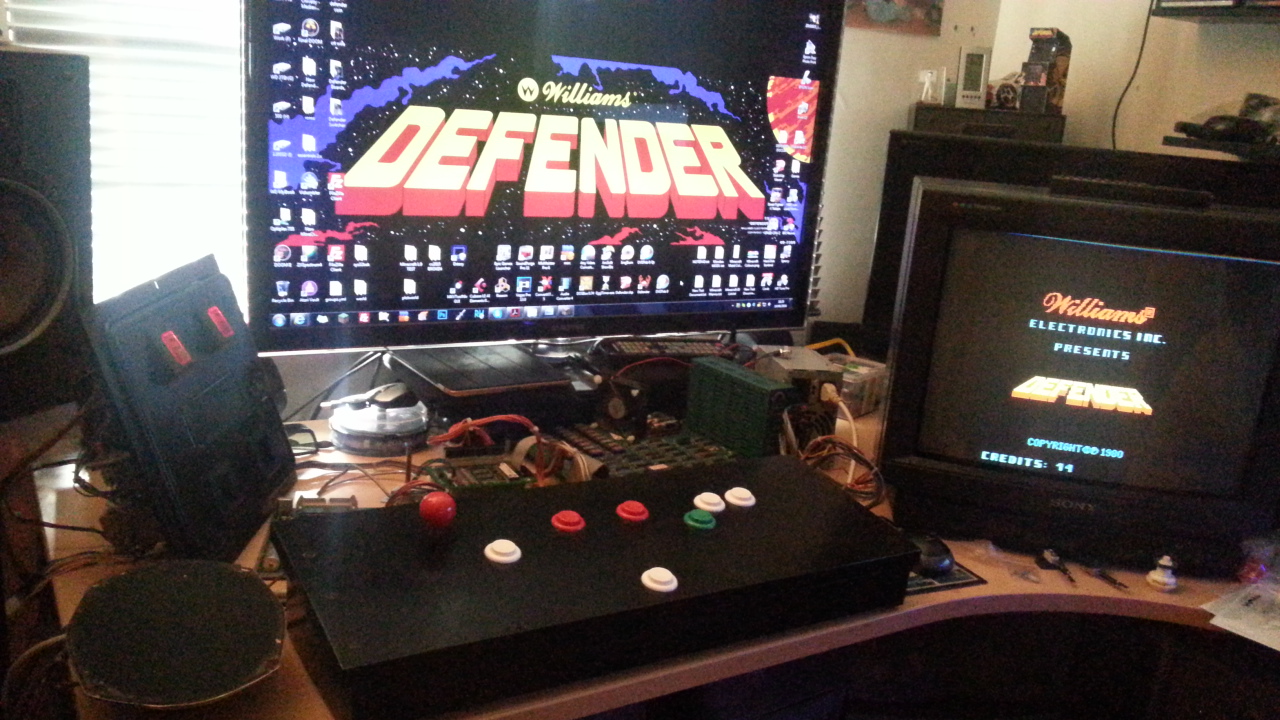
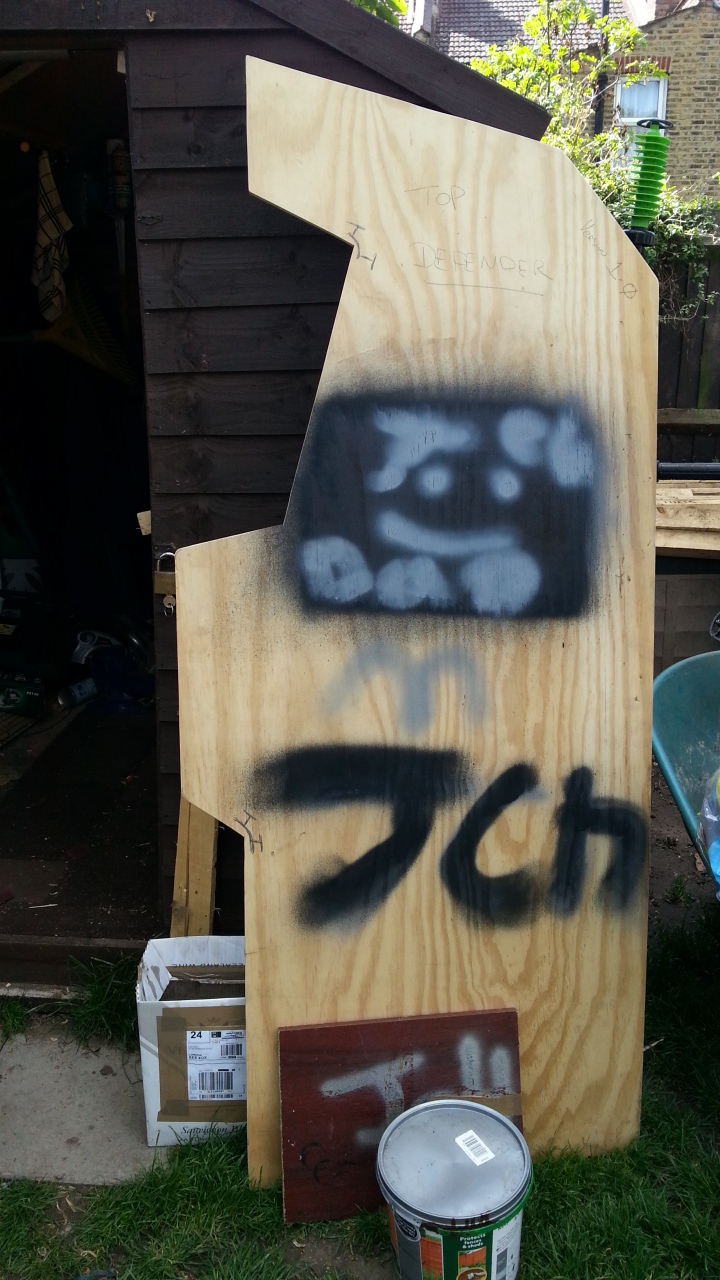
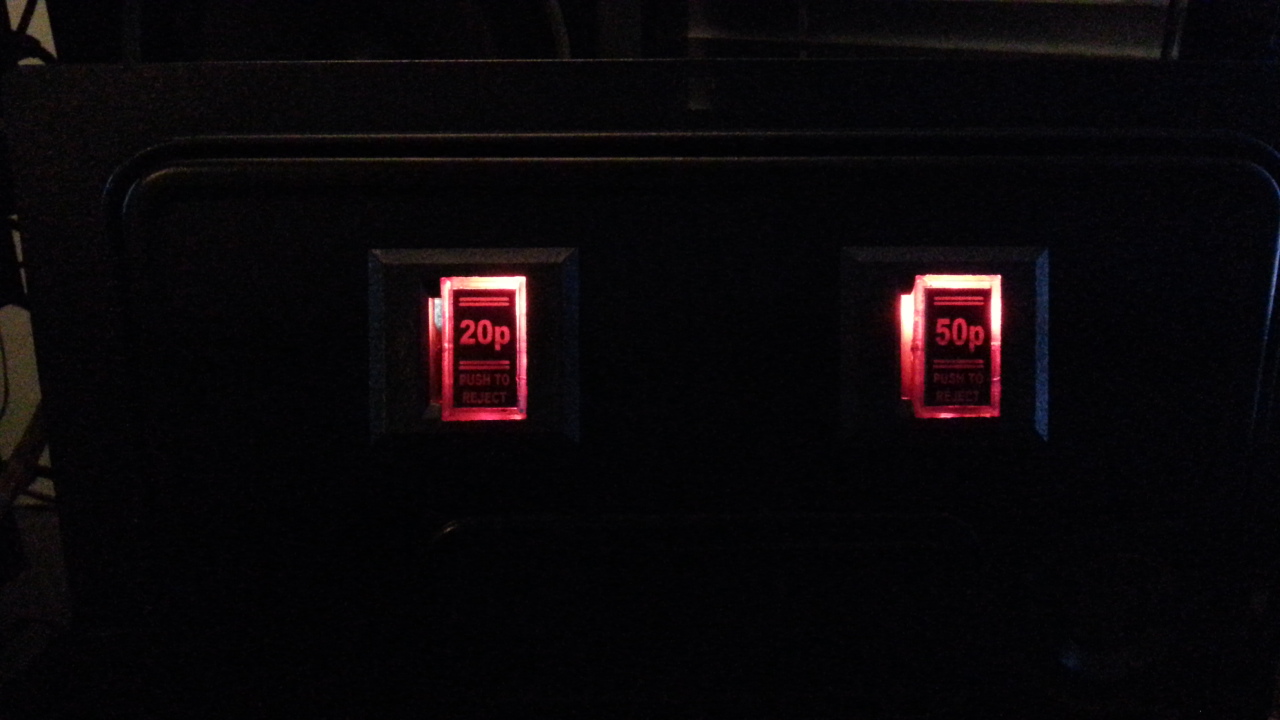
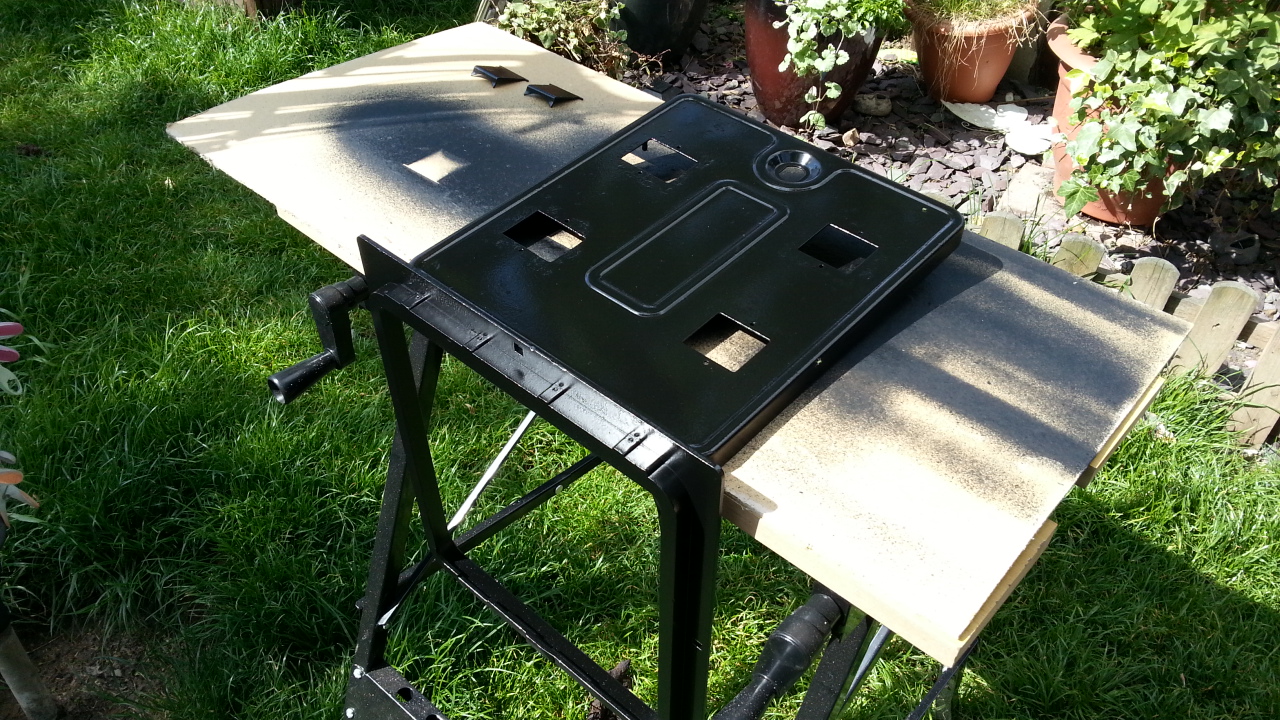
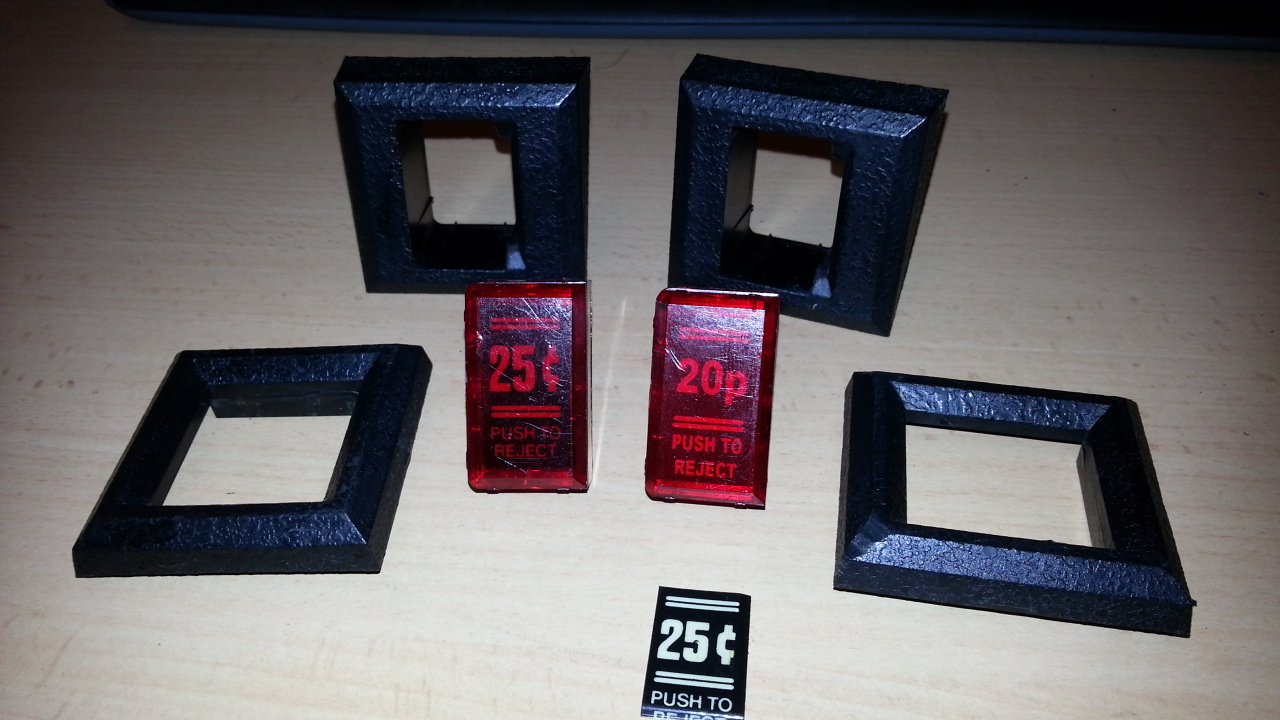
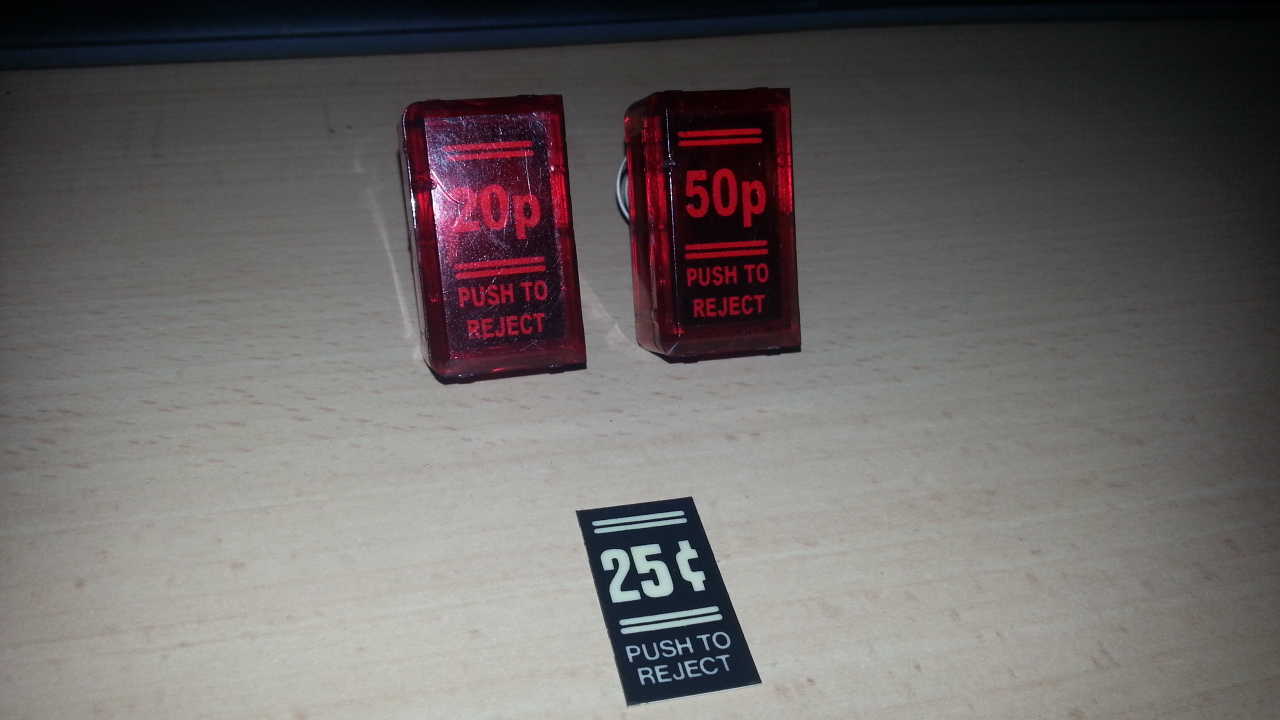
Hi, thought I would try and keep some of my pictures and progress of my slow Defender build, as im gaining some content now and need a place for them to be seen. Its ok on a Facebook page but pictures get lost in the new posts above. So want to keep them in one place also to keep tabs on my own progress and findings as I learn. My setup is all original DEFENDER boards running on a SCART Sony 19" CRT TV. I am about 2-3 weeks from buying the parts to have it now temp setup on my desk but ill start the story from the 1st idea I had of wanting to bring back a real DEFENDER to life again. So to start with the parts came from the USA, 1st thing I did was referb the coin door.

DefenderCoinDoorBefore.jpg
 

rs2klee

Newbie
Credits
4CR
Got the wire brush on the drill got most of the old paint and flaky paint off, then nice new coats of black satin.

20160515_151755.jpg
 

funhouse

Active member
vacBacker
Feedback
3 (100%)
Credits
360CR
Another Defender restorer - good stuff!

You are in the right place as there are several people on here who have resurrected Defenders and they are very helpful.

Your coin door looks good. Where is the rest of the cabinet?
 

rs2klee

Newbie
Credits
4CR
Cleaned up the coin slot surrounds and made some 20p 50p coin door button inserts.

20160518_124856.jpg

20160518_215051.jpg


Final result, looking a bit better :)
20160519_110106.jpg
 

rs2klee

Newbie
Credits
4CR
Yeah I been here a while looking about and see here was the best place to post my pictures and info on what I have done so far. As for the cabinet.. hmm I have not built it yet, "But" I have made the side template. Its just money and time atm so just getting up to speed on what I have done so far. Im going to use a nice ply wood atm its £33 a sheet £28 if I buy 5+ but only need 3
smiley36.gif
 

rs2klee

Newbie
Credits
4CR
A mockup of where all the wires go, found a couple of pictures just to make sure they are all in the right place.

20160521_101012.jpg


As they say, 1st thing to do with the CPU board is to change the power supply plug with new connectors and new trifurcon pin contacts.

20160602_223519.jpg
 

rs2klee

Newbie
Credits
4CR
So, need some power.. using this switcher power supply but ooh whats that inside rattling about. Found to be the internal fuse holder broken. Easy fix, ordered some new clips, fitted them now good as new.
Fire it up and check the +5v to 5.05 perfect.

20160519_214519.jpg


20160519_215044.jpg


Now that's not going to hold a fuse!
20160519_215111.jpg


New ones in.. old ones out.
20160519_223434.jpg
 

rs2klee

Newbie
Credits
4CR
All wired up, I got the ATX power supply powering the coin-door lights and the 5v & 12v to the SCART plug to auto switch the TV to RGB with a 100ohm resister on the +5v.
Scart_Blanking_Diagram.png


I wired in the green wire and a black earth to a small switch so can turn it off and on.
I installed a 4700uf 35v capacitor, as that's what in the original linear power supply had on the 12v. I Set the switcher to -5v and reads 4.98v when all running just need to install a 240v inline switch to the mains lead save keep unplugging it every time.
20160604_145246.jpg

35v_capasiter.png


As im using SCART I have to modify a track on the cpu board. to invert the sync.
InvertSyncDefender.png


All powered up and just had to hook up the 2 way joystick and a couple of buttons.. as my fingers kept itching
smiley36.gif

20160605_122128.jpg
 

rs2klee

Newbie
Credits
4CR
But as normal a joystick and 2 buttons just not good enough.. so out to the shed and find some wood to make a temporary control panel.

20160605_185112.jpg


Some holes.
20160605_193647.jpg


Painted satin black fitted all the buttons and all wired into the input board. Time for a proper testing
smiley1.gif

20160614_182038.jpg

20160614_182049.jpg
 

rs2klee

Newbie
Credits
4CR
So that's the story so far just have to save up some money to buy the plywood and start making the cabinet, I have made the template that my son kindly found the cans of paint and put his mark on it! I marked out where I need to make the corners more rounded as I cut it slightly wrong how I wanted it. So when it comes to doing the panels will be better.
20160515_151816.jpg
 

Shun

Active member
Feedback
1 (100%)
Credits
489CR
Looking good. Nice job on the coin door in particular. What paint did you use if you don't mind me asking.
I have a Midway coin door to restore soon and I'm looking around for paint to use.
 

rs2klee

Newbie
Credits
4CR
Shun said:
Looking good. Nice job on the coin door in particular. What paint did you use if you don't mind me asking.
I have a Midway coin door to restore soon and I'm looking around for paint to use.

hi, Paint I used is called SILVERHOOK acrylic cans its a satin finish and goes on really well, also same with the primer. I could have spent loads more time on it as you may see from the picture its a bit pitted but did have 3 coats of primer then sanded down. once its cured its hard as nails. The picture looks worse than looking at it. How bad is yours ? as you can see from the before picture mine was pretty rusty but going over with the electric drill with a good wire wheel gets all the paint off. Sand that down with some 120, primer then paint.

eBay item number: 271792814414 For the Satin Black
eBay item number: 291790512247 For the primer filler
eBay item number: 181844964953 For normal primer

2 choices of primer if the surface is bad, use the primer filler or if it just needs a fresh coat use the normal primer.
Hope that helps in some way.
 

rs2klee

Newbie
Credits
4CR
Original Defender buttons before and after a dip in the peroxide, £1.75 from SuperDrugs. Applied with a small brush then put inside a small food bag that's clear, then spent all day in the daylight. Some sunny spells but as long as it soaks up the ultraviolet rays jobs done.
Came out very nice.

20160616_223118.jpg
 

RolyRetro

Active member
Feedback
1 (100%)
Credits
277CR
rs2klee said:
Original Defender buttons before and after a dip in the peroxide, £1.75 from SuperDrugs. Applied with a small brush then put inside a small food bag that's clear, then spent all day in the daylight. Some sunny spells but as long as it soaks up the ultraviolet rays jobs done.
Came out very nice.

20160616_223118.jpg

Used this stuff on a old BBC Micro - a day in the sun and the yellowed plastic back to pristine beige! I read somewhere it was something to do with a fire retardant they put in the plastic?

Anyway great job on restoring buttons, could have easily bought new and be done with it.
 

rs2klee

Newbie
Credits
4CR
RolyRetro said:
rs2klee said:
Original Defender buttons before and after a dip in the peroxide, £1.75 from SuperDrugs. Applied with a small brush then put inside a small food bag that's clear, then spent all day in the daylight. Some sunny spells but as long as it soaks up the ultraviolet rays jobs done.
Came out very nice.

Used this stuff on a old BBC Micro - a day in the sun and the yellowed plastic back to pristine beige! I read somewhere it was something to do with a fire retardant they put in the plastic?

Anyway great job on restoring buttons, could have easily bought new and be done with it.

Thanks. yeah I have plenty of new copied ones.. but you cant buy new original buttons that are 30+ years old :) original buttons are just better than any copy leaf types out there. Was only a test to see what they came out like. I'm new to all this so was a bonus for me that it worked.
 
Top