You are using an out of date browser. It may not display this or other websites correctly.
You should upgrade or use an alternative browser.
You should upgrade or use an alternative browser.
Discs of Tron environmental restoration
- Thread starter Alpha1
- Start date

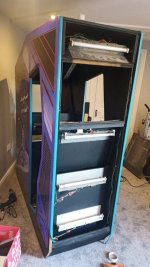
I've never known something so convuluted and overly complicated. Finally can see all the way through it.
Hope I remember how it goes back together
Hope I remember how it goes back together
Attachments


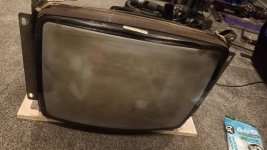
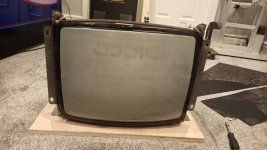
Removed the monitor this evening, it went from filthy to clean but I'll go over it once more. I will be using an anti-static brush to clean the yoke.
Monitor chassis will be cleaned under the tap in the sink then sent off to be rebuilt and serviced by @gunblade .
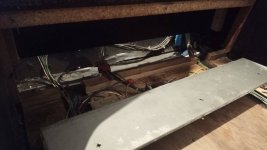
Made a first pass on cleaning the inside also but I can't get right into the machine until the coin door is off.
Monitor chassis will be cleaned under the tap in the sink then sent off to be rebuilt and serviced by @gunblade .
Made a first pass on cleaning the inside also but I can't get right into the machine until the coin door is off.
Attachments


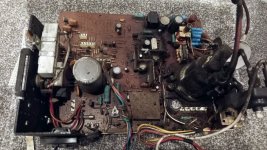
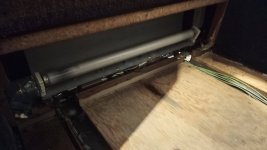
Gave the chassis a rinse. I'll give it another clean with water and washing up liquid before sun drying it then sending it off for servicing.
The horizontal width coil plastic gave up and snapped so it will need at least a new one of those.
The horizontal width coil plastic gave up and snapped so it will need at least a new one of those.
Attachments

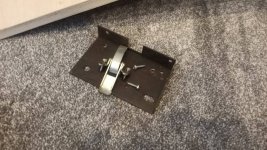
I've been fighting these rusted security torx screws for the last three days. I managed to get three out but the other nine just won't come out. I have tried every trick in the book including an extraction kit.
Currently waiting for some special mole grips to arrive from Amazon.
Currently waiting for some special mole grips to arrive from Amazon.
Attachments

The mole grips didn't work so ordered a Dremel.
The Dremel arrived at 5pm so I went straight out to the gameroom and got to work.
The Dremel arrived at 5pm so I went straight out to the gameroom and got to work.
Attachments

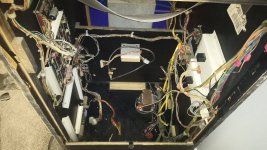
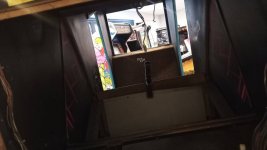
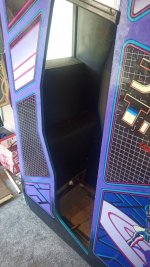
Pretty much fully dismantled other than some wiring and the lighting and ballasts. I managed to clean inside all the nooks and crannies with it all apart.
It will be time to start putting it back together soon
It will be time to start putting it back together soon
Attachments
So!
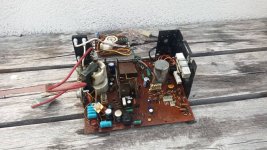
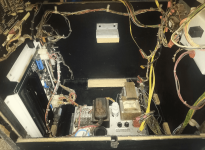
This game when I got it was missing the game PCB, linear power supply brick and power supply PCB. I've temporarily borrowed the power supply out of a Tapper that I have and acquired a rebuilt power supply PCB and a working game PCB.
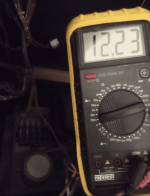
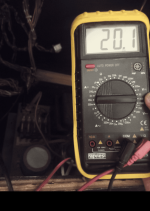
I've installed the brick into the game and start testing voltages.
This game when I got it was missing the game PCB, linear power supply brick and power supply PCB. I've temporarily borrowed the power supply out of a Tapper that I have and acquired a rebuilt power supply PCB and a working game PCB.
I've installed the brick into the game and start testing voltages.
Attachments

Was probably waiting for you to get around to the resto
")
K1ngarth3r
Active member
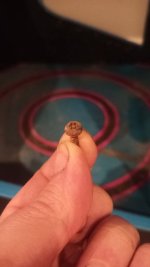
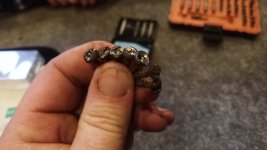
Nice work, what was that skeleton? A rat?
Or a mouse!Nice work, what was that skeleton? A rat?
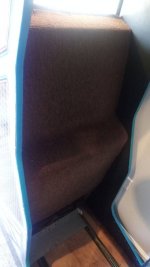
Smelly carpet time 🤢🤢🤢
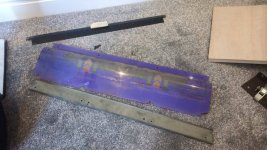
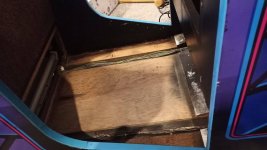
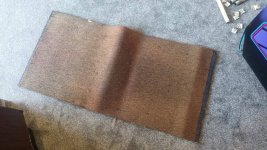
The carpet was originally purple (and clean!), removing it shows how gross it actually is. I was surprised the ends hidden on the metal clips were purple as I only remember the wine red colour from back in the day.
I've measured it up to get a nice new purple piece cut and installed. I'll need to buy a carpet stapler as it uses these really thin long staples to attach to the wood.
Attachments


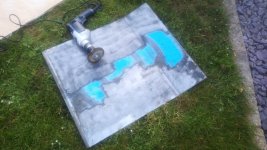
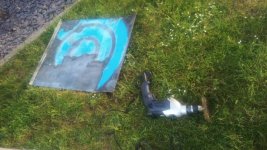
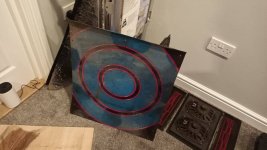
Small update. Started removing the decal from the metal floor pan and cleaning up the rust.
I've ordered a wire wheel for the drill for a final pass as the small one on the Dremel was taking ages.
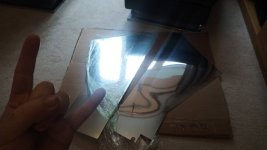
Also the replacement sidemirror blades turned up this morning. Many thanks to @Fatsgt for selling them to me.
I've ordered a wire wheel for the drill for a final pass as the small one on the Dremel was taking ages.
Also the replacement sidemirror blades turned up this morning. Many thanks to @Fatsgt for selling them to me.
Attachments

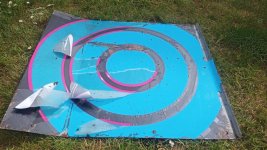

Got the surface rust off the floor and the coloured residue from the floor decal.
Ready for a new decal to be applied now 😍😍😍
Ready for a new decal to be applied now 😍😍😍