Love to see this level of detail. If you're going do it, do it right and proper!Derusting some screws ready to put back in the game.
You are using an out of date browser. It may not display this or other websites correctly.
You should upgrade or use an alternative browser.
You should upgrade or use an alternative browser.
Discs of Tron environmental restoration
- Thread starter Alpha1
- Start date
Honestly, does anything beat a really good, informative, photo laden, restoration thread. I think not. Top job Ol. These cabs really are part of history and just standing/leaning inside this cabinet makes you feel a part of that. Apart from yours and @lespotts, how many more are known to be in the UK?
@Ravage has one, and so does @Bazfish - proper UK ones too. And I just sold this one to @u72 / Arcade Club.Honestly, does anything beat a really good, informative, photo laden, restoration thread. I think not. Top job Ol. These cabs really are part of history and just standing/leaning inside this cabinet makes you feel a part of that. Apart from yours and @lespotts, how many more are known to be in the UK?


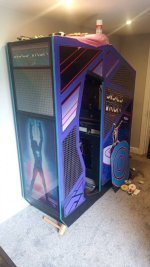
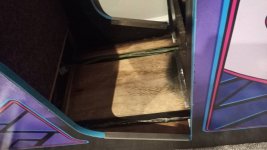
Ok had a bit more time this evening.
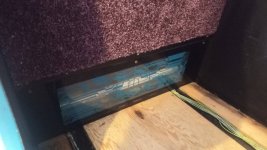
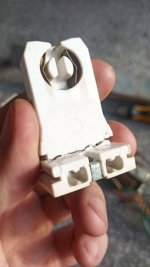
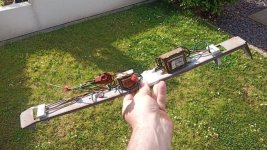
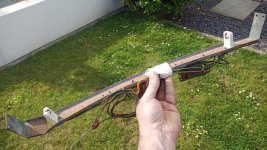
Cleaned up and sorted both backlight units with new tubes that fit front and back of the floor plate.
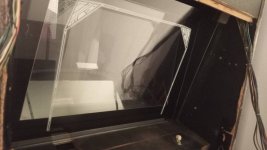
Cleaned the plexiglass that sits in front of one of them and have the black metal bar I restored that locks it all in and secures the bottom of the carpet.
All ready to fit tomorrow hopefully.
Cleaned up and sorted both backlight units with new tubes that fit front and back of the floor plate.
Cleaned the plexiglass that sits in front of one of them and have the black metal bar I restored that locks it all in and secures the bottom of the carpet.
All ready to fit tomorrow hopefully.
Attachments

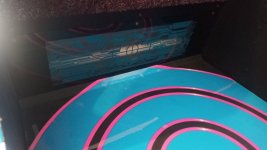
Found a bit more time today. Reassembled the inside of the rear section and the floor and put both blacklights back in.
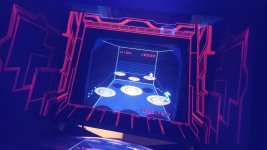
So with that all done I'll move onto the remaining things to do on the main section that houses the monitor, PCBs, and controls.
So with that all done I'll move onto the remaining things to do on the main section that houses the monitor, PCBs, and controls.
Attachments
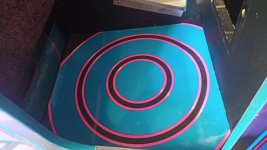


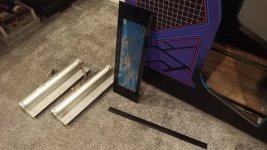
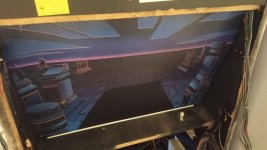
As the monitor is working I have put the diarama back in which luckily I took a load of photos of as it was pretty intense!
Attachments
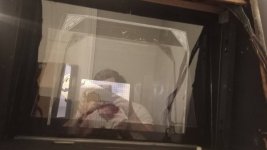

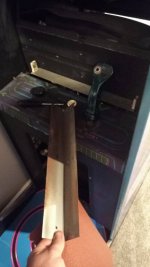
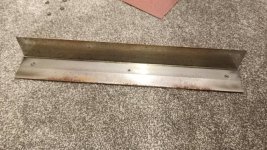
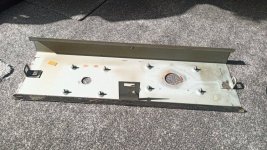
So with the diarama back in the view is a lot prettier but there's a final fluro unit with a standard light that lights up to illuminate the fluro scene.
The problem is my one is bent rusted junk... 😅
So I need to sort it before the diarama truly works.

The problem is my one is bent rusted junk... 😅
So I need to sort it before the diarama truly works.
Attachments


bit more progress on a few fronts over last 24-48 hours.
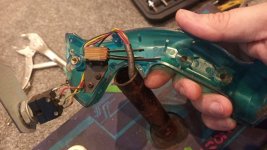
Hum is resolved, well, understood. I swapped the dual amp boards over and the terrible hum stopped. So one needs fixing. Might as well do both.
Squawk and Talk doesn't work and stops on three flashes. I have a @myPinballs replacement and swapped that in, but interestingly that also stops at three flashes. A bit stumped and I'll need to look at this further. But need two functioning dual amp boards for it to work properly anyway so not an immediate problem.
I also removed the shiny metal reflector on the blacklight for the CP and got it shiny again.
Attachments
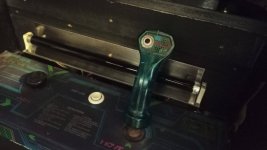

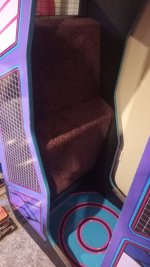
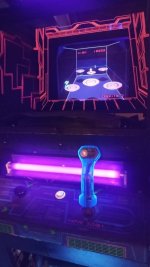
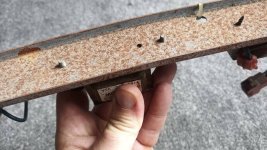
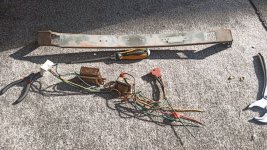
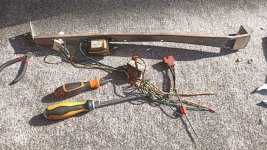
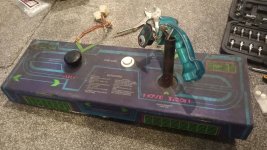
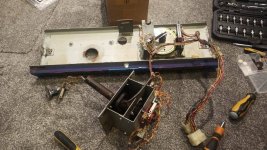
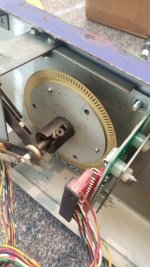
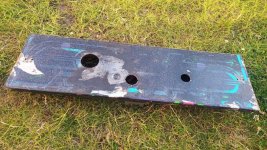
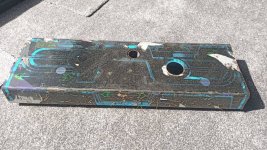
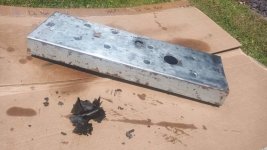
I started stripping the control panel, ready for its refurb.
Attachments
-
 IMG_20220611_193209.jpg154.7 KB · Views: 4
 -
 IMG_20220611_194202.jpg185.8 KB · Views: 3
 -
 IMG_20220612_155056.jpg71.6 KB · Views: 3
 -
 IMG_20220613_195437.jpg274.6 KB · Views: 2
 -
 IMG_20220612_163326.jpg231.4 KB · Views: 2
 -
 IMG_20220615_123920.jpg120.4 KB · Views: 2
 -
 IMG_20220612_163333.jpg193.6 KB · Views: 2
 -
 IMG_20220611_193246.jpg101.3 KB · Views: 6