Herrrrres Johnny!

chunksin

Active member
vacBacker
Feedback
21 (100%)
Credits
731CR
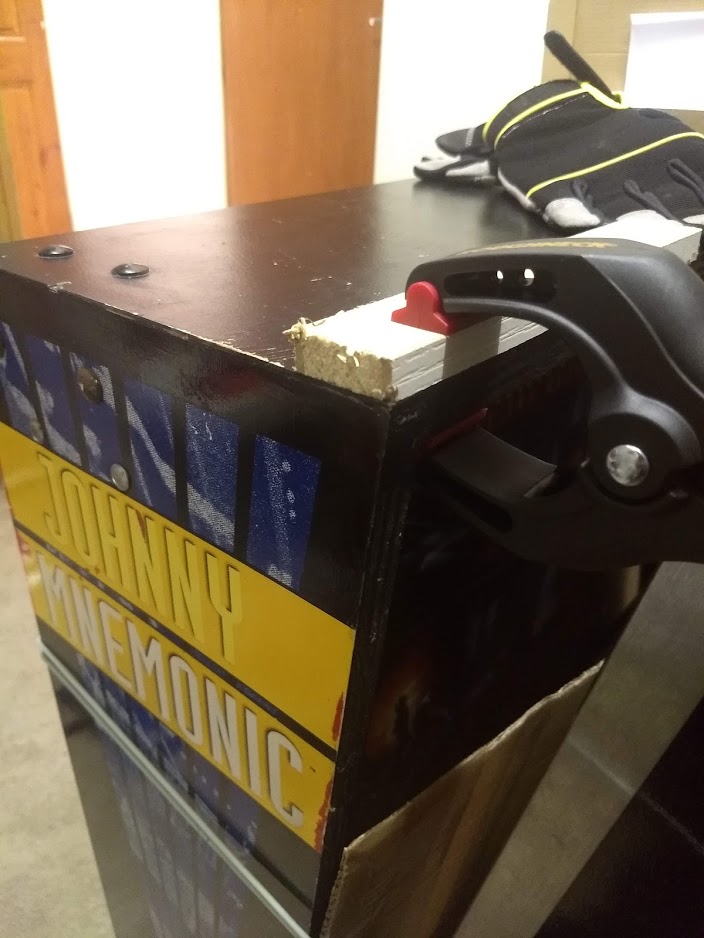
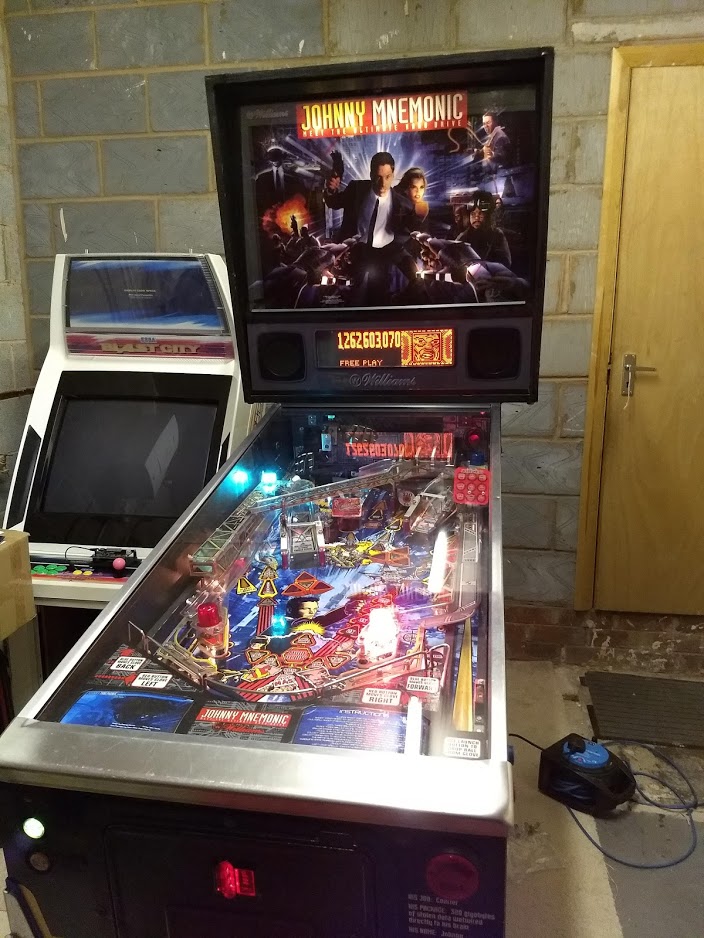
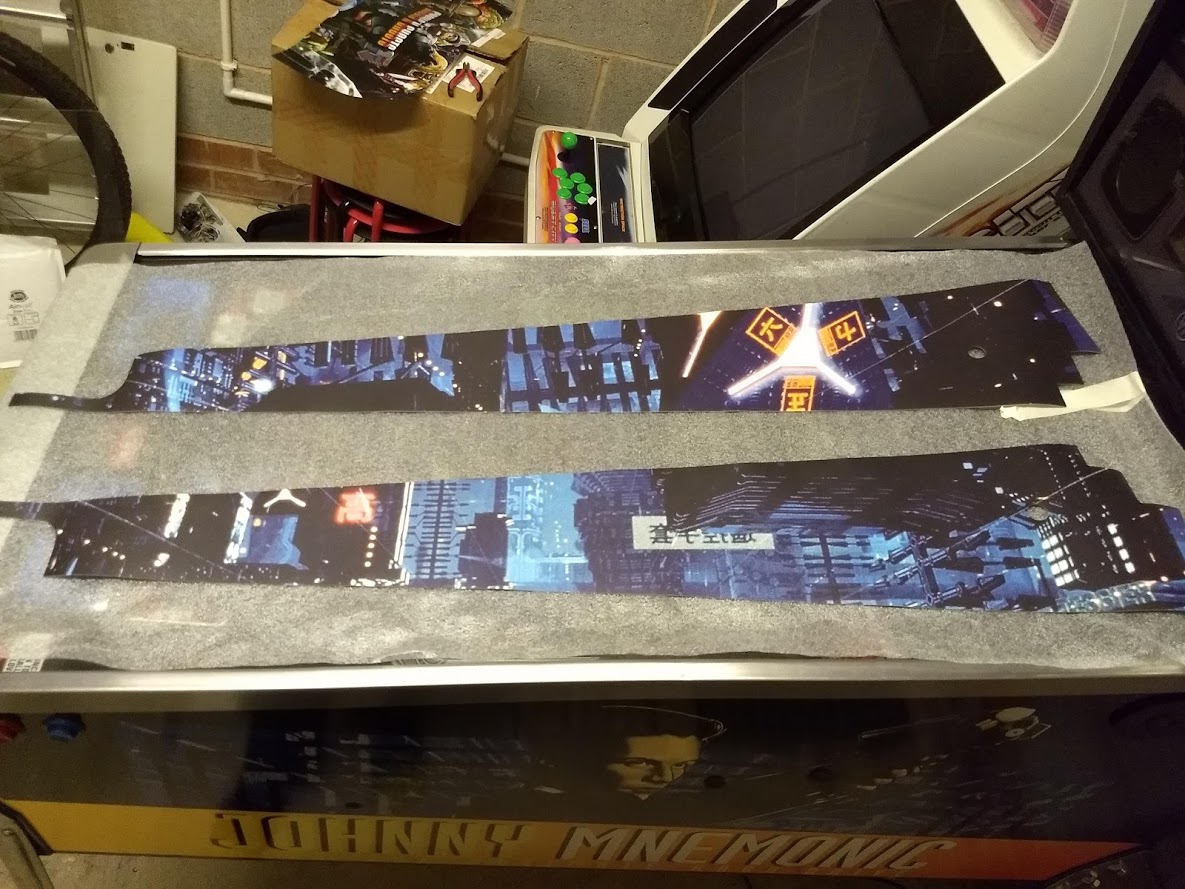
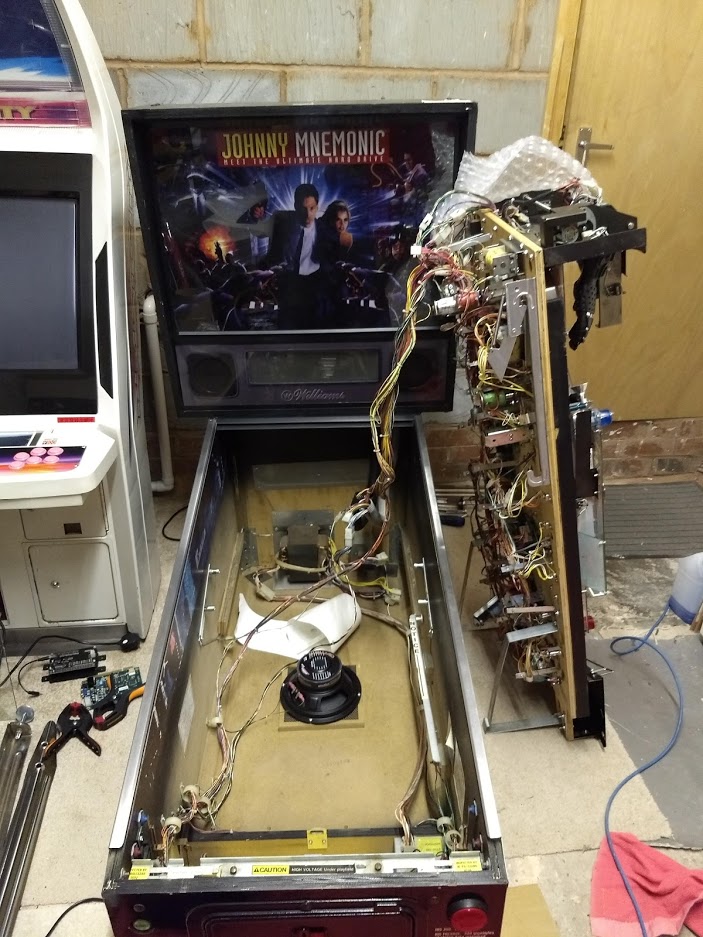
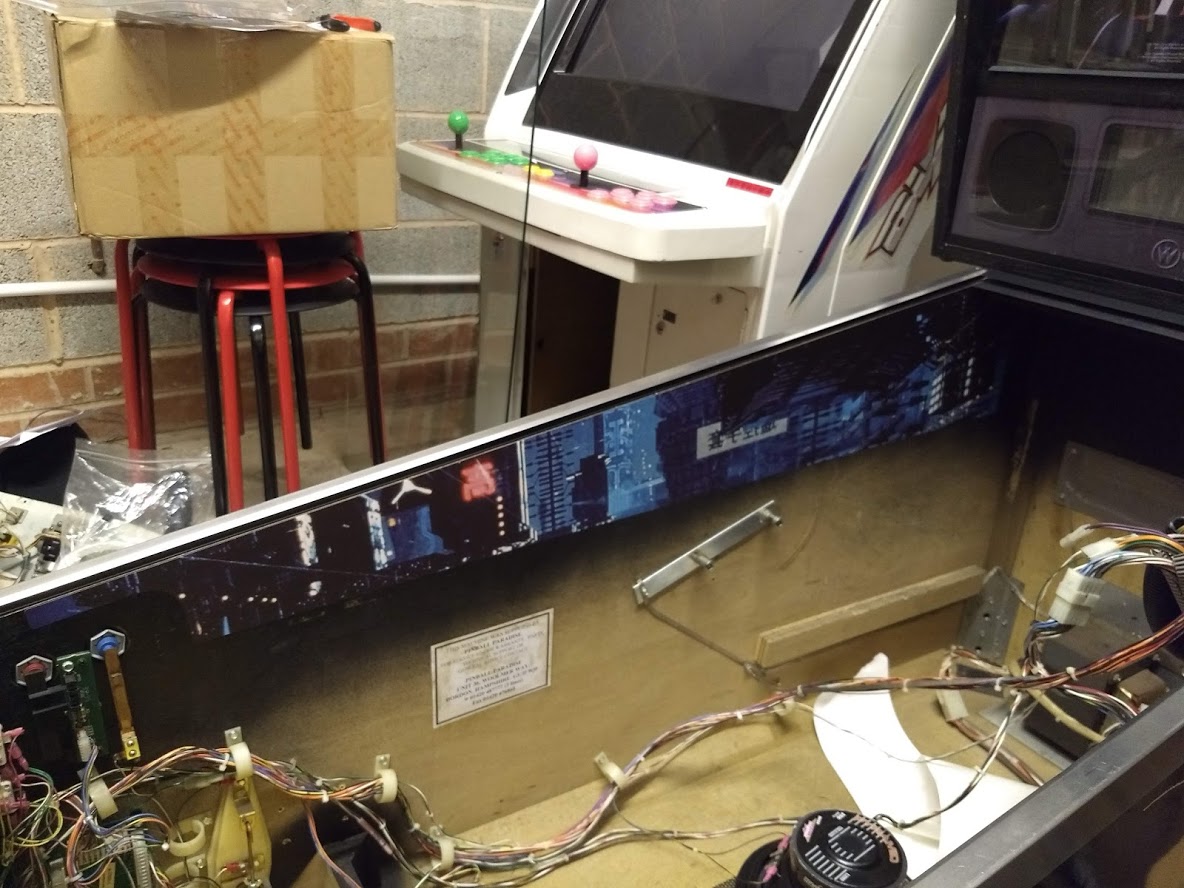
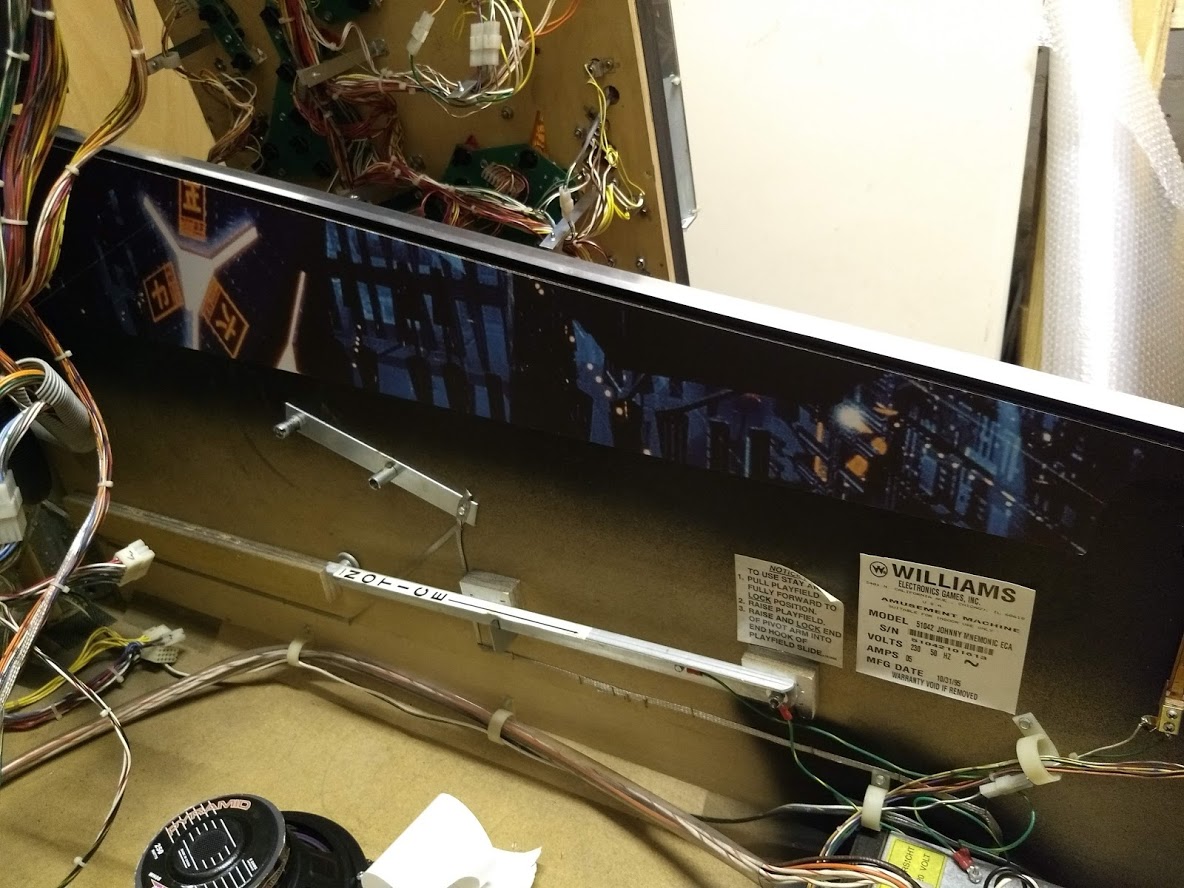
Picked up my first proper pin on Sunday, a Williams 1995 Johnny Mnemonic. It's a DMD pin made in Williams' heyday when pretty much everything they produced was a winner. Presumably someone was immediately sacked when they realised they had backed the wrong movie tie-in that year. For those of you (lucky people) who haven't seen the movie the plot is about a mysterious guy called Johnny who can store and smuggle massive amounts of data in his head, wait for it ... 320 Gigabytes!! Woahhhh. I suppose in 1995 that was the entire internet. The pin has a nice cyberpunk feel to it and has has a very cool interactive toy, a data glove that Johnny uses in the movie to do computery stuff with. Think Nintendo Power Glove but cooler. It picks up the ball and moves it across to a data grid of 9 buttons where you can collect bonuses, start modes and multiballs.

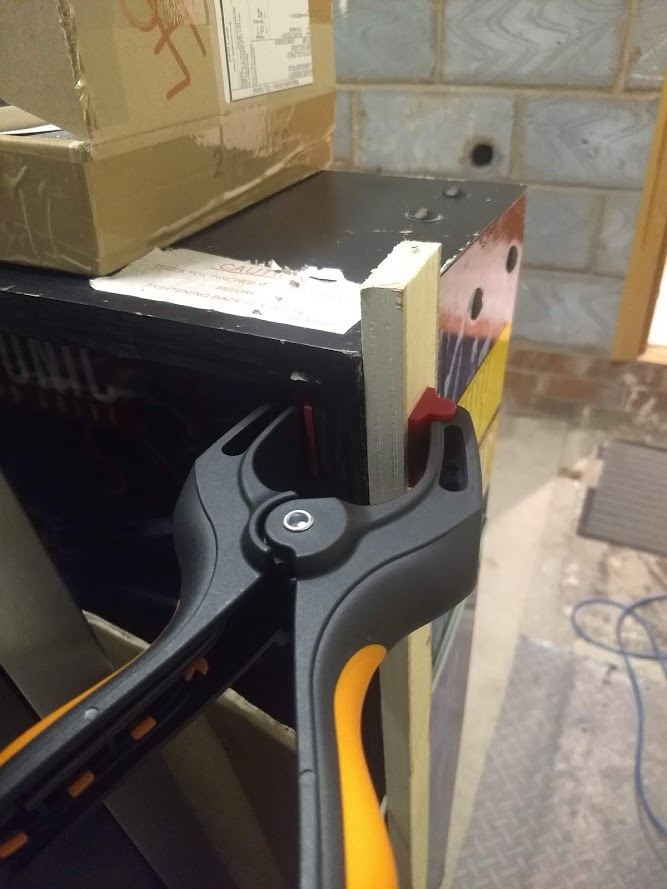
I tested the pin at the sellers place down in Essex and everything works fine, the cab is a little tatty but there is scope to tidy things up nicely I think. The seller has another much nicer cab and this one was one he bought to swap out various parts from so this is the worst of the 2 cabs put together but it was almost a grand cheaper than the nice one so beggars can't be choosers! The main right ramp has some major repairs and unfortunately the seller used non UV stable epoxy to fix it which has quickly yellowed
smiley19.gif
I can source a replacement for around £80 but it's quite a complex job with riveting and moving the decals across from the existing ramp - you can't even get repros of those so I'll see how much it bothers me.

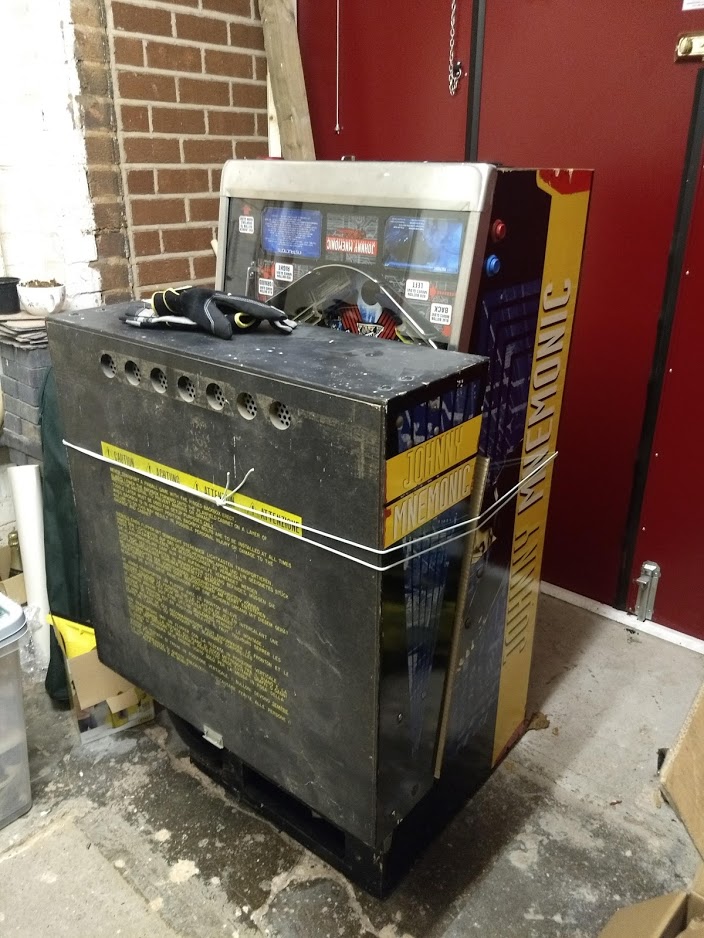
I had slightly underestimated how heavy these beasts are so the best I've managed so far is to slide it out of the car boot and tombstone it in the garage for now. My wife can't even lift the lighter end it's that heavy so I need to wait for mates to be free to get it upright and set up.

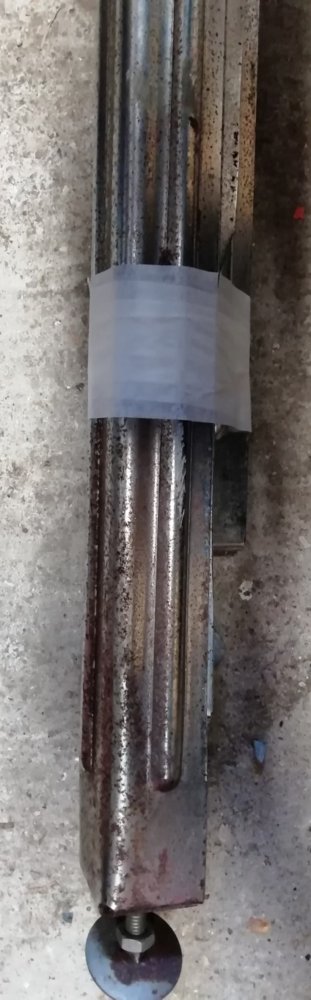
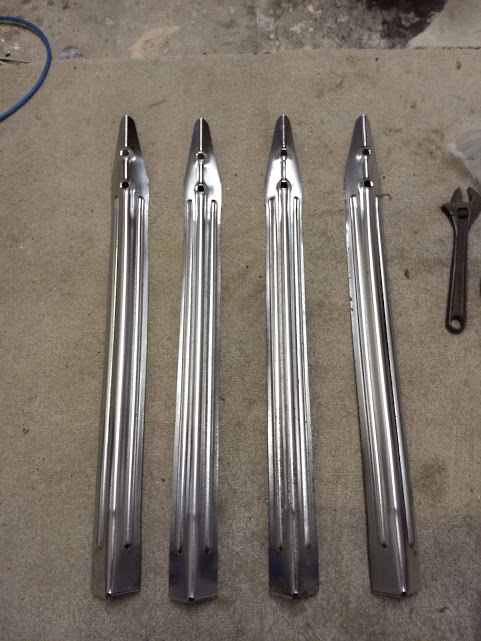
I've tackled the first job already which was cleaning the rust off the legs. They had been bundled together in someones garage for ages and rust had well and truly taken hold. I used a bucket of Coke and aluminium foil to scrub them up and they came up OK, way better than they were but still quite pitted in places, they'll do for now though.

I've already ordered a few new upgrades and parts so I'll keep this thread updated as and when I get around to fitting them.

JM-Pin.jpg


Rusty old legs ...

Legs_Medium.jpg


Shiny (er) legs after a dip and a scrub in a bucket of Coke ...

Legs_Shiny.jpg
 

robotech

Active member
vacBacker
Feedback
4 (100%)
Credits
823CR
Nice pickup i will be watching this thread with interest pins are really fun to work on even before you get to all the mods you can do to them
Im guessing the leds /novus/ and carnuba wax is allready on order ;)
 

FinalFight

Active member
vacBacker
Feedback
73 (97%)
Credits
720CR
Nice one Rich! Pins get addictive as cabs ive got 3 atm addams family, world cup 94 and a batman forever.. Im after a revenge from mars too
smiley9.gif
 

chunksin

Active member
vacBacker
Feedback
21 (100%)
Credits
731CR
First job on, the top corners of the backbox had taken a knock at some point and the wood was ever so slightly coming apart. Filled with wood glue and clamped to fix, nice and sturdy now. Had some frosted white LEDs turn up for the backbox, the playfield ones should turn up today. Just waiting on new leg parts to arrive before getting it set up properly, come on postie, hurry up!

Found it's also missing the large wing bolts that attach the backbox to the main body of the pin, if you don't use these it's only held up by a feeble clamp at the back, a few hard nudges and it could come crashing down so these are critical. Searched around but can't find them in stock in the UK at a decent price, the threaded t-nuts are imperial 3/8-16 thread so I asked virtvic's expert opinion, I'll switch them to M10 metric and get new bolts for a couple of quid
smiley4.gif


The red marks you can see on the sides of the backbox is actually paint - the cab originally came with bright red decals that over time fade to yellow. It's touchup paint that must have been applied early in the cab's life and comes off easily enough with a magic eraser. One side of the cab is yellow, the other fades to a nice orange colour! Not sure I'll go the whole way and get new decals, it's a hell of a lot of work as I found out doing my Judge Dredd virtual pin a couple of years ago.

backbox1.jpg


backbox2.jpg
 

chunksin

Active member
vacBacker
Feedback
21 (100%)
Credits
731CR
robotech said:
Nice pickup i will be watching this thread with interest pins are really fun to work on even before you get to all the mods you can do to them
Im guessing the leds /novus/ and carnuba wax is allready on order ;)

Yep, plus a few other bits and bobs
smiley4.gif
 

chunksin

Active member
vacBacker
Feedback
21 (100%)
Credits
731CR
Flinnster said:
Quite impressed with the coke trick! Branded? Or will Asda RollaCola do the job?
smiley4.gif

Pretty sure RollaCola/PandaPop/JollyCola/HappyShopper is fine too, as long as it has phosphoric acid in you're all set. I used sugar free to avoid a sticky bucket
smiley1.gif
 

chunksin

Active member
vacBacker
Feedback
21 (100%)
Credits
731CR
stegrey said:
Nice one Rich! Pins get addictive as cabs ive got 3 atm addams family, world cup 94 and a batman forever.. Im after a revenge from mars too
smiley9.gif

Nice lineup Ste! I can see how these get addictive, maybe even more so than arcade cabs ... goodbye hard earned cash!
smiley36.gif
 

chunksin

Active member
vacBacker
Feedback
21 (100%)
Credits
731CR
Thanks Steve, unfortunately they are out of stock and they charge £4.50 per bolt plus postage, luckily I can get M10 equivalents for 2 quid each
smiley1.gif


Some parts costs for pinball kind of reminds me a little of wedding tax - you want to buy a fancy cake it'll cost you £100, mention the word wedding and the same cake suddenly costs £400!
 

chunksin

Active member
vacBacker
Feedback
21 (100%)
Credits
731CR
Finally got the machine set up last night, wedged some cardboard under the cab to slide it a bit easier, put the front legs on and tipped it over. Then I had a stressful few minutes holding the thing up while my wife screwed in the leg bolts on the back legs! added some dark blue leg protectors which you can just about see in the picture, ties in nicely with the side art.

Thankfully everything survived the trip back in the car, self tests all passed and working great. Just need to get it pushed back against the wall and levelled properly, it's leaning to left at the moment which makes the game much easier
smiley2.gif


I also swapped out the backbox bulbs for some cheapo LEDs although the ones I bought aren't very bright so I'll replace them at some point, they're fine for now. My other challenge is lighting in my garage, when I had an extension done a couple of years ago the builder convinced me to install a motion activated light switch - bad idea. It's flaky as hell and has many times left me in the dark, under or inside a cab at a critical moment, it just decides to stop working altogether and then seems to reset the following day - I'm utterly sick of the thing! Unfortunately the old wall switch was bypassed so I can't just add that back inline but I've seen some remote control smart switches on eBay I can conceal in the ceiling next to the motion sensor and turn it off completely when I want to play, otherwise I have a fluorescent strip light reflection slap bang in the middle of the playfield!

I've ordered a replacement right ramp as the current one is pretty hammered and the repair is messy, it's coming from Australia so might be a few weeks to arrive, also ordered some Cliffy ramp protectors to stop it happening again.

JMUp.jpg
 

chunksin

Active member
vacBacker
Feedback
21 (100%)
Credits
731CR
Bit of an update, I've swapped all of the playfield bulbs for LEDs, makes such a difference, not just for the extra brightness but now you can see much easier what's going on in the game! I've left the GI bulbs as incandescent for now, there are dimming effects that you lose if you use LEDs unless you buy an extra board called an LED OCD board which modulates the voltage to the LEDs to replicate the dimming effect.

I've also upgraded the crappy cab bass speaker for a proper subwoofer, you can buy various speaker upgrades to swap everything out but they are quite expensive and I read on pinside that changing the front speakers doesn't make a huge difference. The speaker wiring in Williams pins is basic to say the least. WPC-89 titles have a single amp that drives three speakers, a bass speaker in the bottom of the cab, a midrange speaker on the left hand side of the backbox and a tweeter on the right of the backbox forming a single logical 3-way speaker running mono sound. Yep, mono. Maybe they thought that nobody would be that bothered in a busy arcade and volume is all you need? It's a shame when you think about what they could have achieved adding stereo effects and soundtracks to the games. Johnny Mnemonic is a WPC-S game so has an extra amp for the bass sounds running through a 300Hz low pass circuit which makes this mod slightly easier to do. The subwoofer I chose is an 8 inch 250w model and has the highest sensitivity I could find. It's an 8 ohm model which poses a challenge because the original speaker was only 4 ohm so the volume is reduced and the sound is unbalanced. To reduce the volume of the front speakers you need to add some resistance into the circuit, either using an L-pad or a simple resistor and the recommended value was 20 ohms - I'm not sure how this was calculated, I get the whole speakers in series and parallel theory but beyond that I'm a bit lost! The upshot is that it brings down the volume to a level where you achieve a nice balance between the fronts and the sub, not too boomy and adds a nice rumble that you can feel through the cab.

The mounting for the old bass speaker was just a piece of wood with some screws reverse mounted to bolt the old 6 inch speaker on so I had to remove those to fit the new 8 inch sub. It's just big enough for 8, had I gone for a 10 or 12 inch sub it would have had to come out altogether. Really happy with the results, the volume can still go way higher that I'd ever play it at and the sound is much fuller and you get that nice rumble without rattling the glass or the cab itself. The sub was about £15 posted and the resistor was £1.50 off eBay so easy and cheap for a good improvement in sound
smiley1.gif


Comparing the old and new, quite a difference! Williams really cheaped out on their speakers ...

subcompare.jpg


Hack hack hack ...

hacksaw.jpg


Ready for mounting

subhole.jpg


Resistor mod on the backbox, I've just sticky velcro'd the resistor in place so the mod can be undone if need be. The yellow and black feed comes from the amp, into and out of the resistor then to the + on the left speaker, then onto the right speaker. You can see the - return from the second speaker and then back to the amp.

speakermod.jpg


Sneak preview of the next mod:

sideblades.jpg


Chunksin2019-01-29 14:11:36
 

J69

Active member
Feedback
2 (100%)
Credits
280CR
Tip for installing side blades. Take the legs off, there should be enough slack in the playfield wires to remove the entire playfield and stand it on the floor without dismantling anything
 

chunksin

Active member
vacBacker
Feedback
21 (100%)
Credits
731CR
Cheers for the tip, I'll give that a go, I've seen some videos of people clumsily installing these with the playfield up, seems like you need about 8 arms to do it that way!
 

chunksin

Active member
vacBacker
Feedback
21 (100%)
Credits
731CR
Cheers Shane
smiley20.gif
I installed the side blades last night, I took J69's advice (thanks!) and took the legs off to take the playfield out, much less stress and more room to do a good job. I bought them from retro refurbs and can highly recommend them, they are made from super tough vinyl and are really easy to handle, the adhesive is really forgiving and you can reposition them easily during fitting. I gave them a going over with a hairdryer to help the adhesive grab and also push out any air bubbles. By far the easiest bit of cab artwork I've fitted
smiley1.gif
I'll give them 24 hours then put it all back together - next job is replacing the right ramp
smiley5.gif


playfieldout.jpg


blades1.jpg


blades2.jpg
 
Top