That's turning out lovely! The PCB doesn't look too bad if you consider it's got a working video output as well as a stable character display - there must be quite a few logical units working to make that happen so hopefully it won't require too much work to get it working 100%.
You are using an out of date browser. It may not display this or other websites correctly.
You should upgrade or use an alternative browser.
You should upgrade or use an alternative browser.
My Atari Fire Truck, 24/02/14 *Resto Complete*
- Thread starter smarty
- Start date
Its been a while, but I've been slowly working on this over the last few months...
Fire Truck. Rear seat Complete.
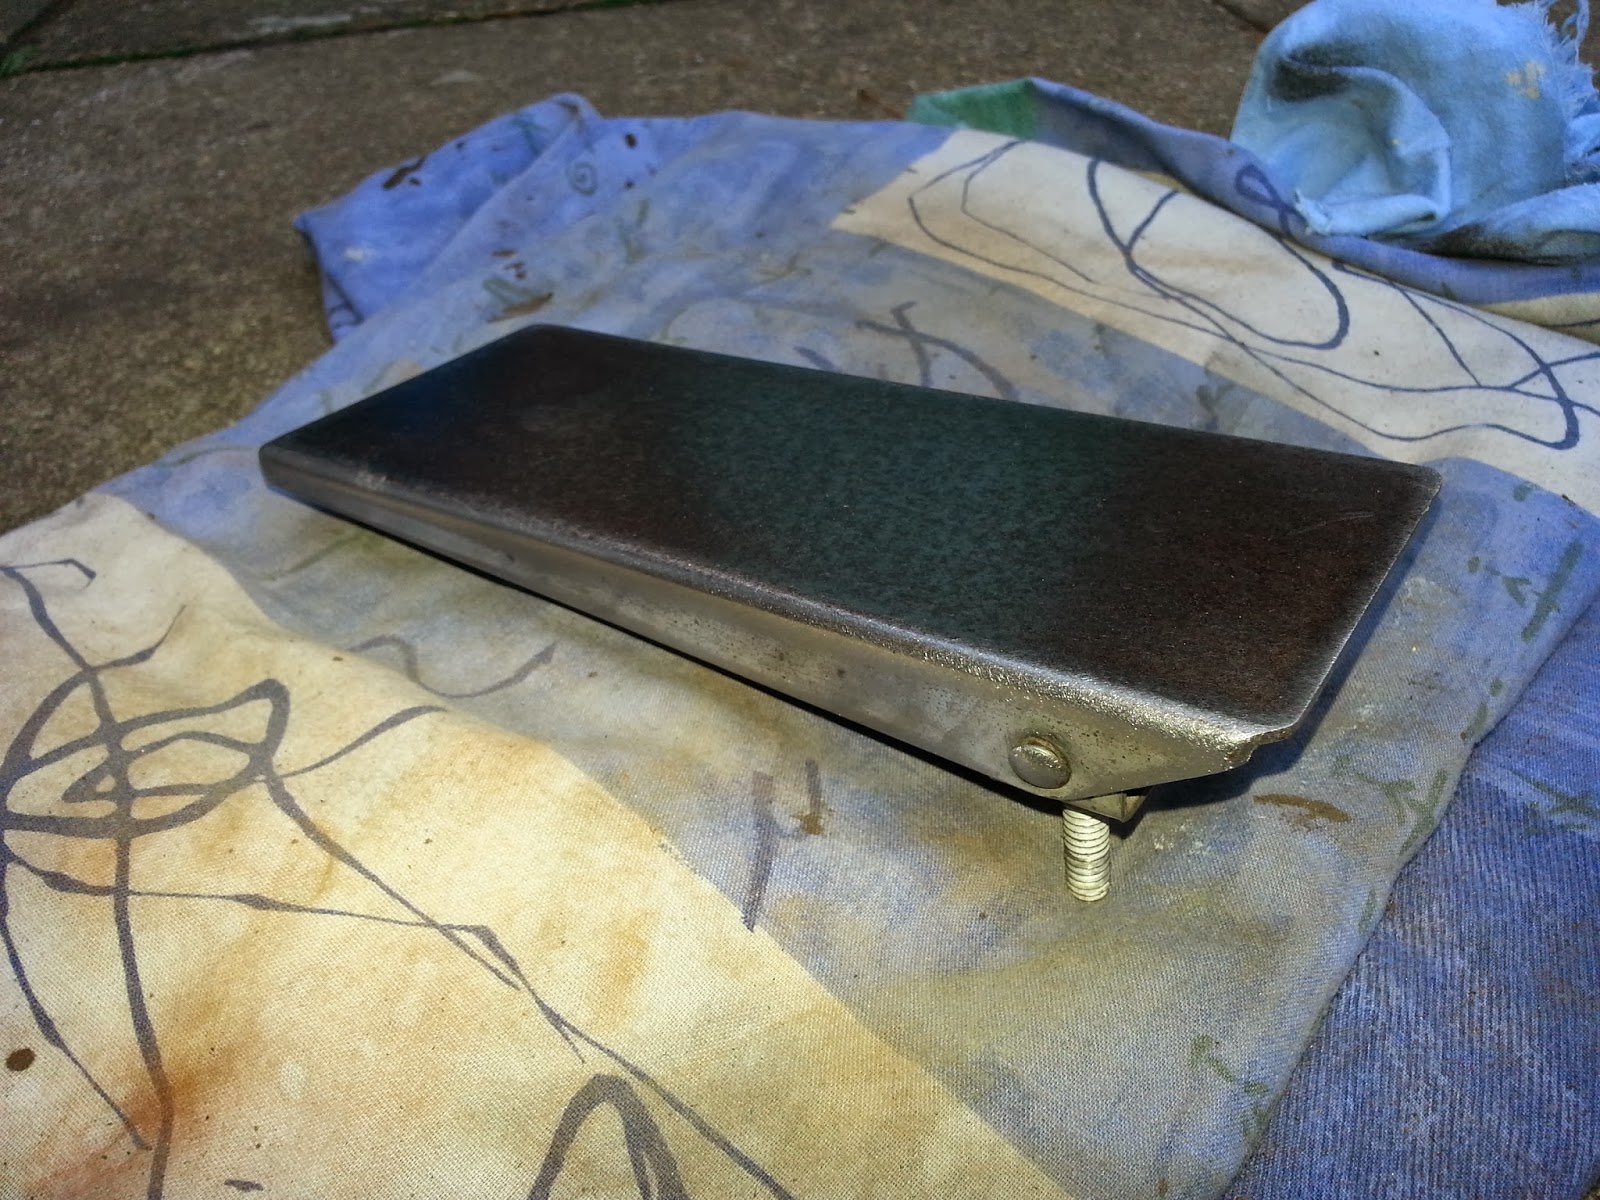
I have a couple more items that I've completed in this update. The rear seat now has new T-Moulding, and I've refurbished the coin door metal work along with the bracket that links the front and rear unit together. First up are the brackets that link the two halves of the cab together.
I have also give the coin box a covering in the direct to rust primer, and I think I'm going to leave that in the matt black finish as it looks pretty good.
Because the laminate sides has lost their stick to the main wood sides of the cab, I decided I would put the cabinet on its side, remove the T-Moulding, glue the sides back on and then refit the new T-Moulding.
There's no really much to show, but I used some spray contact adhesive on the wood of the cab and the laminate sides then after a few minutes the parts were pressed together. Once the glue had cured I then moved onto the T-Moulding. Starting with the underside of the cab to avoid any joins showing it was a case of using a mallet to guide the T-Mould into the existing slot, I did cut some of the groove out on the tight corners to make sure it pushed home and was a nice tight fit. The same process was repeated for the other side.
I've also stripped and resprayed the coin door, this looks really nice now and I'm happy with the results.

Below are a few photos of how the seat looks now. At this point there's not really a lot more that I'm going to do to the seat other than fitting a lock to the coin door and a bulb holder for coin door light. The next update will be when I make a start on the main cab.


Since the last update I have also resprayed the bolts that hold the 'Horn' button in place as well as the rounded head bolts that go through the control panel, even though the Control Panel isn't in great condition these items looked out of place in their original condition.
Finally, Andy from Andys-Arcade is in the process of looking at the game board. Hopefully it won't be a too painful repair for him, I'm really looking forward to making progress with the main cab now.
Fire Truck. Rear seat Complete.
I have a couple more items that I've completed in this update. The rear seat now has new T-Moulding, and I've refurbished the coin door metal work along with the bracket that links the front and rear unit together. First up are the brackets that link the two halves of the cab together.

|
| Before. Tardy, rusty paintwork. |

|
| With the help of my small hand sander, I got things looking like this. |

|
| Primed up in a matt finish. |

|
| Completed Item ready to fit back onto the seat. |

|
| Coin box painted |
There's no really much to show, but I used some spray contact adhesive on the wood of the cab and the laminate sides then after a few minutes the parts were pressed together. Once the glue had cured I then moved onto the T-Moulding. Starting with the underside of the cab to avoid any joins showing it was a case of using a mallet to guide the T-Mould into the existing slot, I did cut some of the groove out on the tight corners to make sure it pushed home and was a nice tight fit. The same process was repeated for the other side.
I've also stripped and resprayed the coin door, this looks really nice now and I'm happy with the results.

Below are a few photos of how the seat looks now. At this point there's not really a lot more that I'm going to do to the seat other than fitting a lock to the coin door and a bulb holder for coin door light. The next update will be when I make a start on the main cab.


Since the last update I have also resprayed the bolts that hold the 'Horn' button in place as well as the rounded head bolts that go through the control panel, even though the Control Panel isn't in great condition these items looked out of place in their original condition.
Finally, Andy from Andys-Arcade is in the process of looking at the game board. Hopefully it won't be a too painful repair for him, I'm really looking forward to making progress with the main cab now.
Very nice indeed!
i look forward to the rest of the pics,again really good work!!
i look forward to the rest of the pics,again really good work!!

Thanks for all the comments

It was from B&Q called Plasticote I think. The main thing is that it was Satin finish and not Gloss, as that just wouldn't look right. I was in there last week and my local one didn't seem to sell it any more so I went for some other make in satin too and the finish is very similar.
It has cleaned up very well, not new, but I'm even impressed by how well it is turning out, for 35 yr old bits of wood and metal it has survived well.
TBH I think that was the easy half of the cab to work on, I should be making a start on the main cab this weekend to assess what needs doing and give it a general clean up.
If anyone has a B&W 23" monitor spare that will drop in I'll happily cut a deal on it. I have a monitor to temporary fit in the cab, but I'd like to be 100% original in the future.
More soon. Thanks.
smarty2013-09-06 19:28:35
RaveN said:...What paint did you use for the joining brackets?
It was from B&Q called Plasticote I think. The main thing is that it was Satin finish and not Gloss, as that just wouldn't look right. I was in there last week and my local one didn't seem to sell it any more so I went for some other make in satin too and the finish is very similar.
IndyJones said:It is looking as good as new, amazing cabinet as well...
It has cleaned up very well, not new, but I'm even impressed by how well it is turning out, for 35 yr old bits of wood and metal it has survived well.
TBH I think that was the easy half of the cab to work on, I should be making a start on the main cab this weekend to assess what needs doing and give it a general clean up.
If anyone has a B&W 23" monitor spare that will drop in I'll happily cut a deal on it. I have a monitor to temporary fit in the cab, but I'd like to be 100% original in the future.
More soon. Thanks.
smarty2013-09-06 19:28:35
Fire Truck. Main cab, Work begins...
Moving on from the rear seat, its time to get the main cab on the road so it can put out some fires! Work carried out so far in no particular order.
[list type=decimal][*]Cab stripped out of all components and thoroughly cleaned.[*]New Leg levellers fitted and the cab had none, no doubt this had caused some of the damage around the bottom of the cab.[*]Laminate sides glued back on.[*]Small repair to a bottom section of the cab that broken off.[*]New T-Moulding fitted.[*]Top and rear section of cab re-fitted back into place with glue and original nails.[*]New power switch fitted as the last one had been home to some wasps and I think they ate most of it![*]Wire loom had a bath and some new connectors fitted as the plastic had become brittle and snapped off the locking lugs.[*]Power brick stripped and cleaned. All five fuse holders replaced as the old ones had gone brittle, both the internal metal and the plastic cases broke off when opening the holder to check the fuses.[*]Steering assembly stripped and cleaned.[/list type=decimal]Time for some photos...
[list type=decimal]
There's plenty more to do but things are moving on nicely, more soon.[/list type=decimal]
Moving on from the rear seat, its time to get the main cab on the road so it can put out some fires! Work carried out so far in no particular order.
[list type=decimal][*]Cab stripped out of all components and thoroughly cleaned.[*]New Leg levellers fitted and the cab had none, no doubt this had caused some of the damage around the bottom of the cab.[*]Laminate sides glued back on.[*]Small repair to a bottom section of the cab that broken off.[*]New T-Moulding fitted.[*]Top and rear section of cab re-fitted back into place with glue and original nails.[*]New power switch fitted as the last one had been home to some wasps and I think they ate most of it![*]Wire loom had a bath and some new connectors fitted as the plastic had become brittle and snapped off the locking lugs.[*]Power brick stripped and cleaned. All five fuse holders replaced as the old ones had gone brittle, both the internal metal and the plastic cases broke off when opening the holder to check the fuses.[*]Steering assembly stripped and cleaned.[/list type=decimal]Time for some photos...

|
| Empty cab full of grime. |

|
| All the innards. |

|
| I thought about taking the whole cab to bits but decided against it! |

|
| After a clean up with paint on the transformer and new fuse holders |

|
| Damage to the laminate side. New screws adding strength to the base. |

|
| More T-Cut applied to clean the sides. |

|
| Steering assembly stripped for maintenance. |

Fire Truck. Gas pedal clean up.
Small update from my last few evenings work...
The gas pedal on the cab looked in a pretty bad state, plenty of wet shoes and cold storage had caused the surface of the pedal to to turn a lovely glowing rust colour. I wasn't sure if I would need to spray this black to 'hide' any damage but as things got this has turned out nice")
The metal backing plate was also sanded back, primed and sprayed in black, I with I had shares in black spray paint as I have used lots of it in the past year or so.
That's all folks! Only a quick update as time permits, the next update will hopefully be of the cab cosmetics complete, minus the monitor which will require a lengthy post as I've got some work to do retrofitting an LCD monitor ;o) a CRT monitor to replace the missing 23" Black and White which would have originally been installed.
Thanks, Mart.
Small update from my last few evenings work...
The gas pedal on the cab looked in a pretty bad state, plenty of wet shoes and cold storage had caused the surface of the pedal to to turn a lovely glowing rust colour. I wasn't sure if I would need to spray this black to 'hide' any damage but as things got this has turned out nice
The metal backing plate was also sanded back, primed and sprayed in black, I with I had shares in black spray paint as I have used lots of it in the past year or so.

|
| Pedal ass'y as found on the cab |

|
| Eek! elbow grease required, anyone got some! |
|
| A good bit of cleaning and polishing later... |

|
| Gripped up, with metal plate sprayed. Mmmm. |
Thanks, Mart.
WOW!
great work yet again!
looking really nice,keep them piccies rolling
great work yet again!
looking really nice,keep them piccies rolling
Well after the game board came back from repair, I couldn't hold off and wait for everything else to be completed so decided I needed to power it up and see what would happen...
The video is a genuine 1st power up once everything was plugged back together:
It turned out pretty successfully, with only a couple of LED's on the Control Panel buttons having failed, I have since swapped these out with some working ones, the image from the monitor is poor in the video but I can assure you that's a temporary measure and will be rectified in the future before I declare the cab to be complete.
The rubber matting was completed when I made my last post, but I forgot to add a photo.
Since the above video was made I have put a 19" temporary video monitor in the cab and have been busy play testing it.
I have also fitted a 'non invasive' credit button which is activated by using the coin reject button on one side of the coin mech. The left side is for 'free' credits and the right side still take 25 Cent coins. I've also fitted a bulb holder to replace the one that had been cut off so the 25 cent sign is now illuminated.
After having some fun playing I decided to have a look at the monitor mounting framework that was part of the original monitor. It turns out that some woodwork was missing from the cab, I made a new part and fixed it to the cab, which is highlighted in the image below.

The monitor (that I don't currently have!) will now sit in a wooden framework that attaches to the two pieces in the image above.
Sorry for the slow progress, I'd have liked this resto to have been finished a while back but I've wasted a few days trying to get some colour monitors to work unsuccessfully with the game, I really need an original black and white CRT if anyone has one laying around spare?
Next time... The cab will be completed. Remaining items to completion are as follows:
Until next time, thanks for reading, Mart.
smarty2013-11-03 18:55:55
The video is a genuine 1st power up once everything was plugged back together:
It turned out pretty successfully, with only a couple of LED's on the Control Panel buttons having failed, I have since swapped these out with some working ones, the image from the monitor is poor in the video but I can assure you that's a temporary measure and will be rectified in the future before I declare the cab to be complete.
The rubber matting was completed when I made my last post, but I forgot to add a photo.

|
| New rubber matting installed. |
Since the above video was made I have put a 19" temporary video monitor in the cab and have been busy play testing it.

|
Play testing with a larger monitor |
I have also fitted a 'non invasive' credit button which is activated by using the coin reject button on one side of the coin mech. The left side is for 'free' credits and the right side still take 25 Cent coins. I've also fitted a bulb holder to replace the one that had been cut off so the 25 cent sign is now illuminated.

|
New bulb holder and Credit button. |
After having some fun playing I decided to have a look at the monitor mounting framework that was part of the original monitor. It turns out that some woodwork was missing from the cab, I made a new part and fixed it to the cab, which is highlighted in the image below.

The monitor (that I don't currently have!) will now sit in a wooden framework that attaches to the two pieces in the image above.
Sorry for the slow progress, I'd have liked this resto to have been finished a while back but I've wasted a few days trying to get some colour monitors to work unsuccessfully with the game, I really need an original black and white CRT if anyone has one laying around spare?
Next time... The cab will be completed. Remaining items to completion are as follows:
- Find, fit and test a suitable monitor.
- Make a new back door for the main cab, paint it or cover it in black vinyl.
- Make a cardboard monitor bezel to fit the cab.
- Fit locks to the main coin door and the back door.
Until next time, thanks for reading, Mart.
smarty2013-11-03 18:55:55

DataEast77
Active member
Great stuff
This is getting exciting, gonna look great with a nice big B&W monitor in it (if you find one, klov says its a 23 inch)
