Nintendo Space Firebird Side Art & Upright CAB Build.

conan

User
Feedback
1 (100%)
Credits
166CR
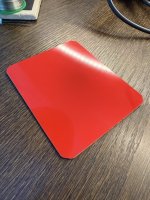
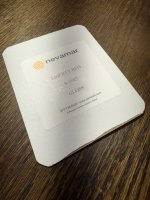
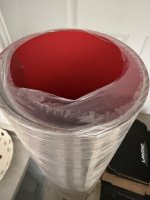
It seems to be widely agreed on (in the USA) that the closest red laminate available is Nevamar, Liberty Red S-1027 Gloss. I have a sample and have now started figuring out what material thickness to use for the cabs side panels.
IMG_5236.JPEG
IMG_5234.JPEG
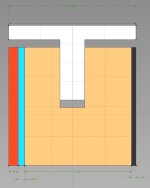
The layup sandwich is mainly driven by the 'true flat' T-Molding thats available and it seesm to be Mikes Arcade has the correct profile thats 9/16th wide or 14.2875mm.
The Nevamar measures in at 1.05mm so its looking like I will be using a 12mm ply (readily abailable) for the side panel as the inside surfaces near the controls and screen looks to have a smooth black vinyl applied to them too, which will need calculating in.
Untitled-4.jpg
If I go with a 12mm ply core then that leaves me nearly 1mm of adhesive (blue in diagram) for the laminate and .5mm for the interior vinyl. Worst case I can fold the Vinyl over the edge and have a slight reveal if I need more adhesive. Like I did on my DL refurb. I definately do not want the laminate over hanging though. The T Molding slot will be offset and I can easily calculate that from the CAD.
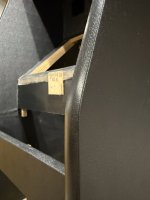
IMG_4506 (1).JPEG
Dl side panel with folded over Vinyl.
 
Last edited:

conan

User
Feedback
1 (100%)
Credits
166CR
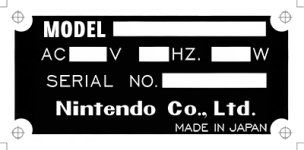
Todays news is that I have the artwork for the metal serial plate finished and a company to output them on stainless steel with holes cut and the black over printed.
Ill be stamping the serials and other data with some punches. I have to order a quantity so if anyone wants any let me know. I can stamp them up with whatever info you want when they are ready. Ill have to figure out a price though.
Space Firebird UK Wide small.jpg
I also have the artwork finished for the Switch Plate stickers too.
switch plate stickers small.jpg
These are accuarte copies of originals.
 

conan

User
Feedback
1 (100%)
Credits
166CR
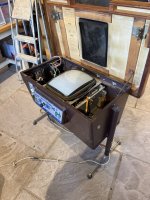
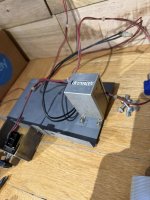
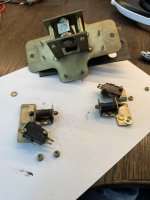
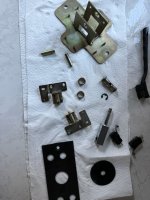
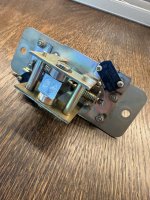
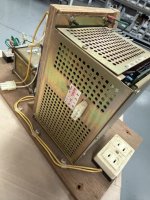
I purchased a donor cocktail machine and have started gutting it for parts. Its not easy finding an original 2 way joystick so I have removed one from the donor and set about modifying it.
IMG_5452.JPEG

Got lots of other usefull parts from it too, like a oin counter, original speaker and service switch.

IMG_5464.JPEG
IMG_5465.JPEG
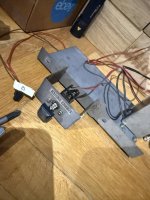
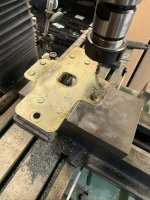
I stripped the joystick and gave it a good clean. Although I think it will fit the control panel I machined off the two extra side tabs so it mounts with plenty of clearance.

IMG_5498.JPEG
IMG_5513.JPEG
IMG_5514.JPEG

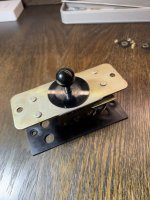
Re assembled and I now have an original 2 way joystick, not exactly the sme as the upright original mechanism but still has sprung centering the correct diameter ball and a great mechanical feel. Plus I have another spare.

IMG_5516.JPEG
IMG_5523.JPEG

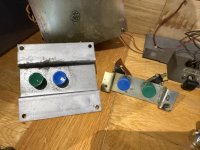
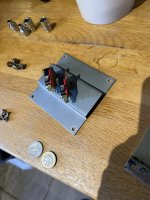
I also got x2 of the blue cocktail buttons from the donor, that are super rare and metal mounts and original button switches.
IMG_5473.JPEG

IMG_5479.JPEG

Ohh and a £1 coin and a US quarter....

Ill have to refurb the buttons but ill get to that at the time of install.
 

Ronnie Dent

Active member
vacBacker
Feedback
15 (100%)
Credits
1,167CR
Yes and they are off to an awesome repair guy. I managed to repair a bootleg board but Im done trying to do more, it was a nightmare.
Yes they are tricky to repair! Is it a repairer on here? If it's a game your planning to keep having working spares is needed! I think I have around 10 but only 3 working sets
 
Top