Paperboy Scratch Build

Purity

The Oracle
vacBacker
Feedback
17 (100%)
Credits
2,999CR
This is hardwood ply. I was going to go with birch ply, but it was more expensive than expected.

The original cab is matte black mdf/chipboard, so I think this will be an improvement, even though it's not birch ply

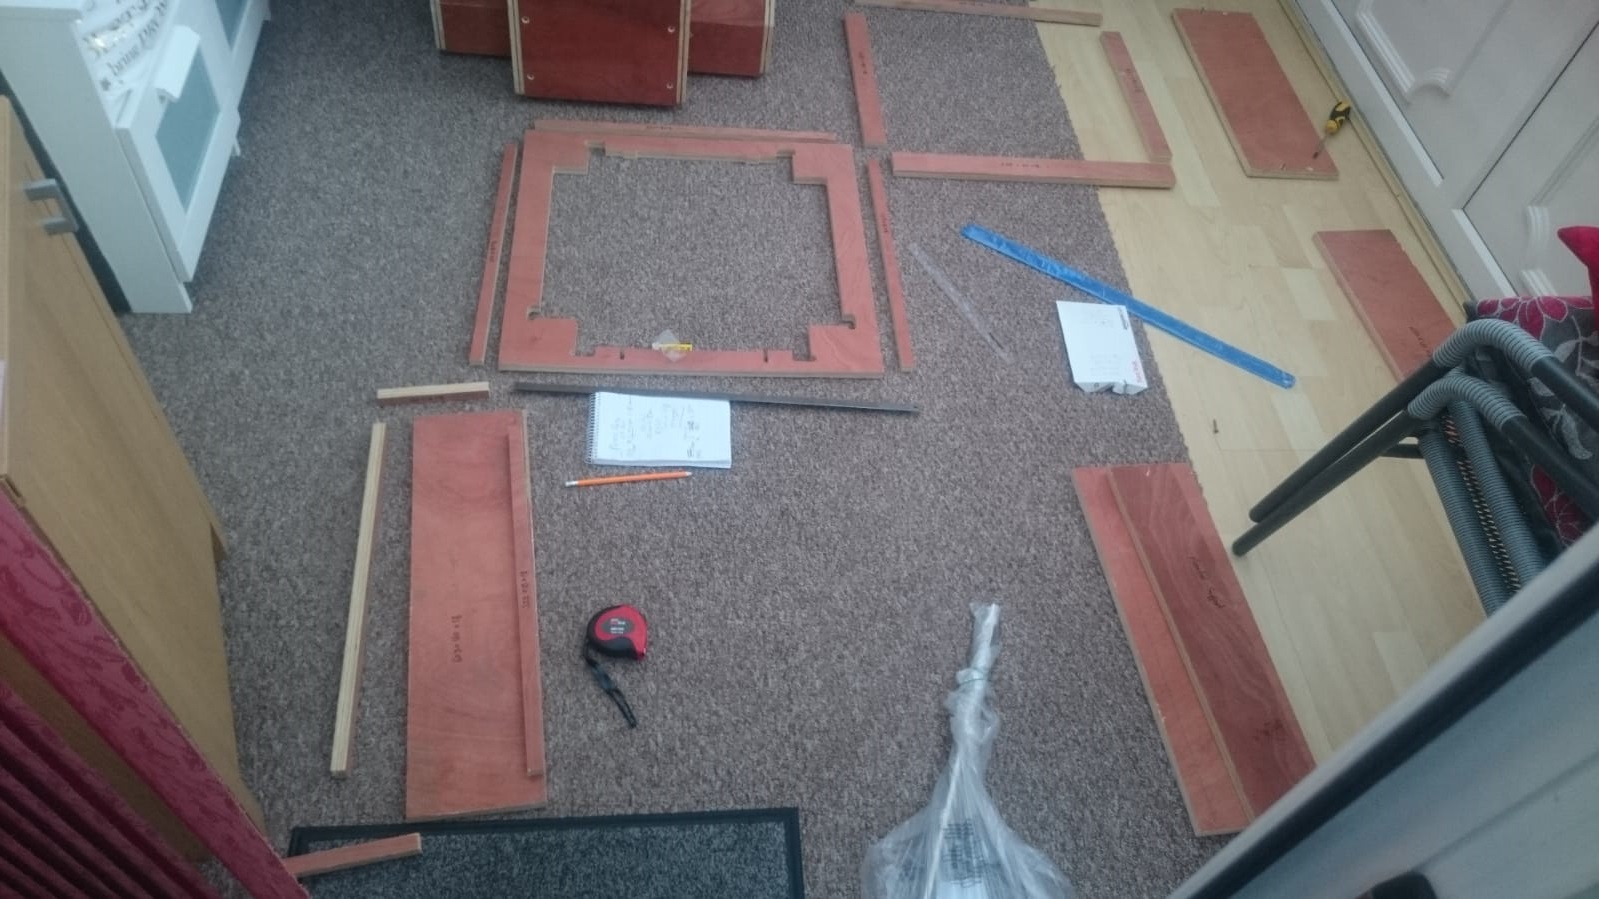
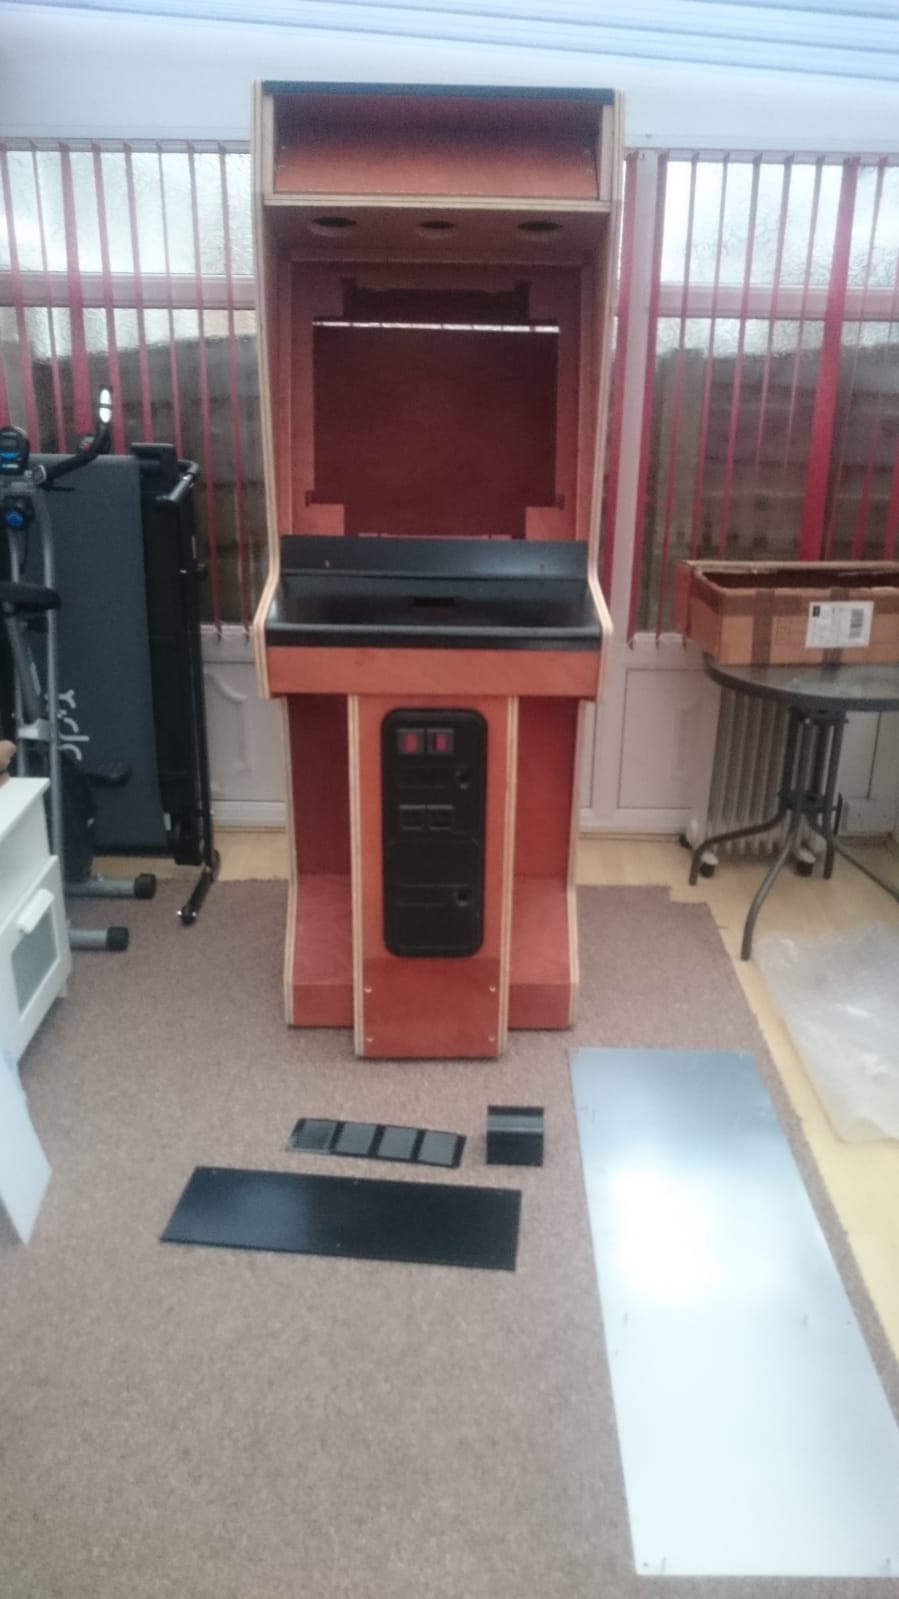
So the cabinet shell is done:
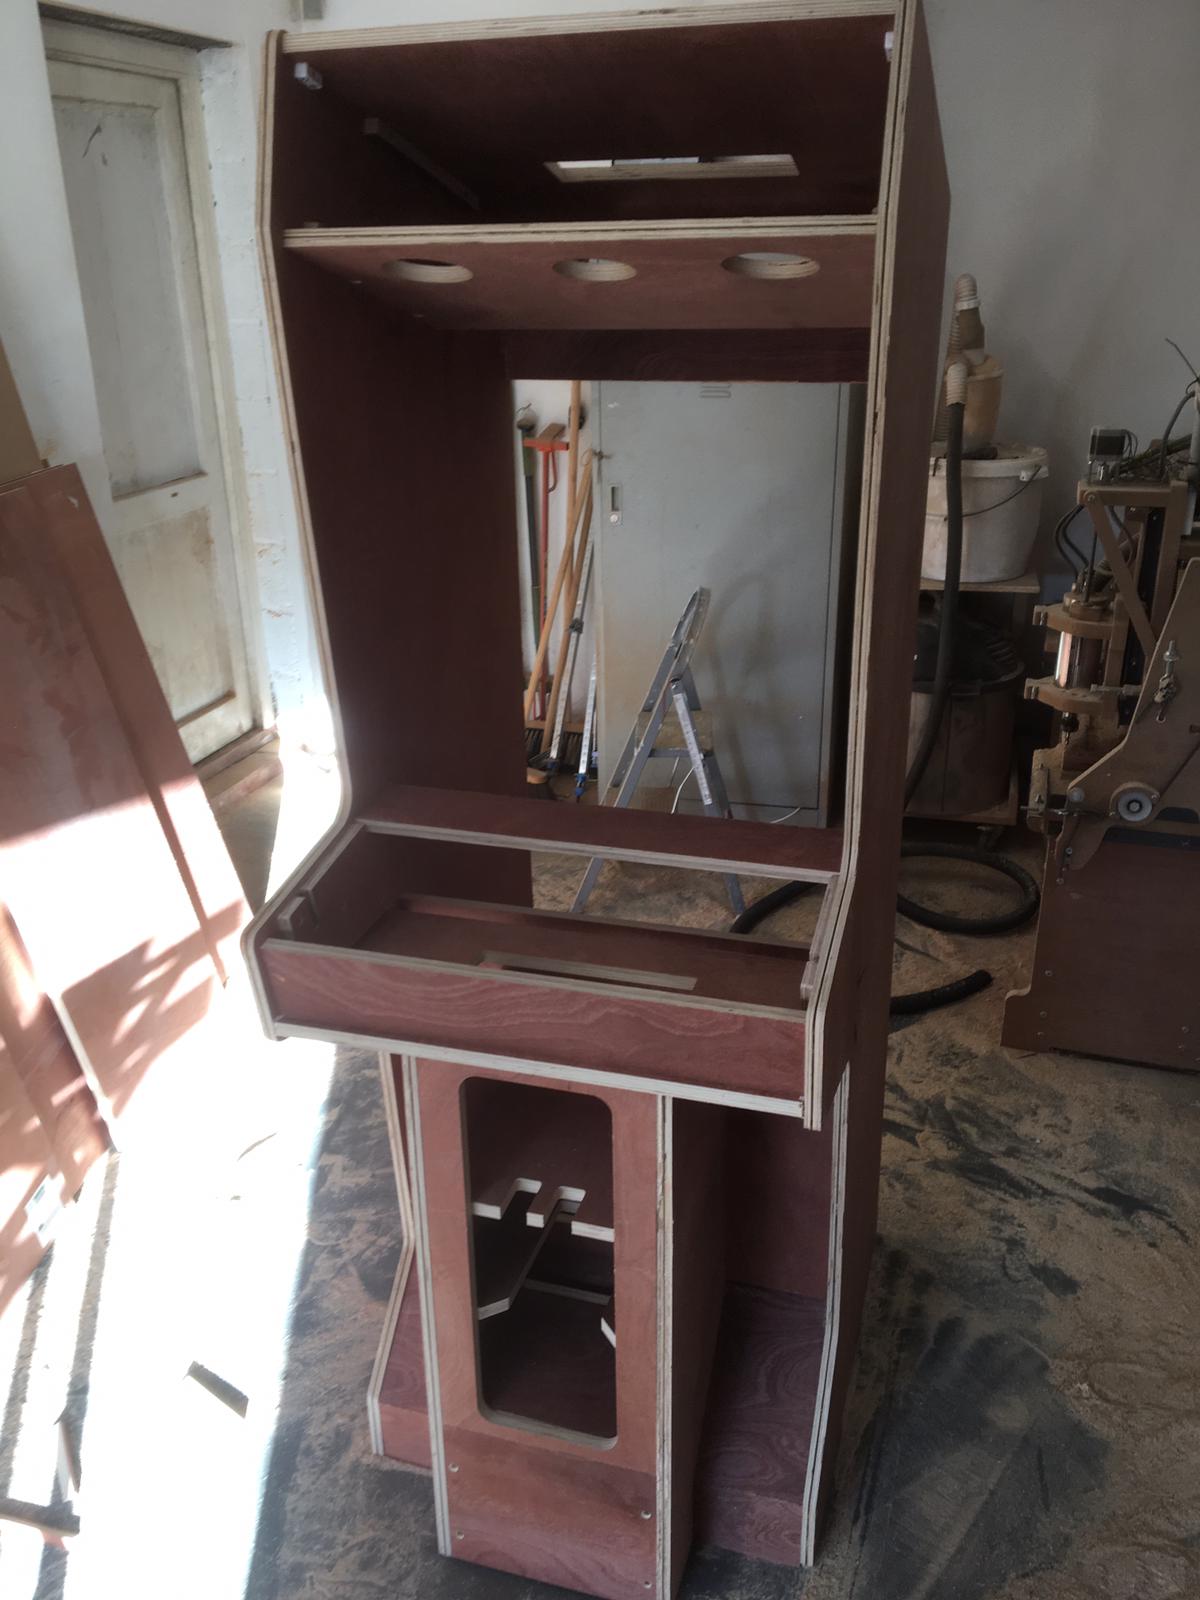
WhatsApp_Image_2019-11-29_at_10.13.20.jpeg


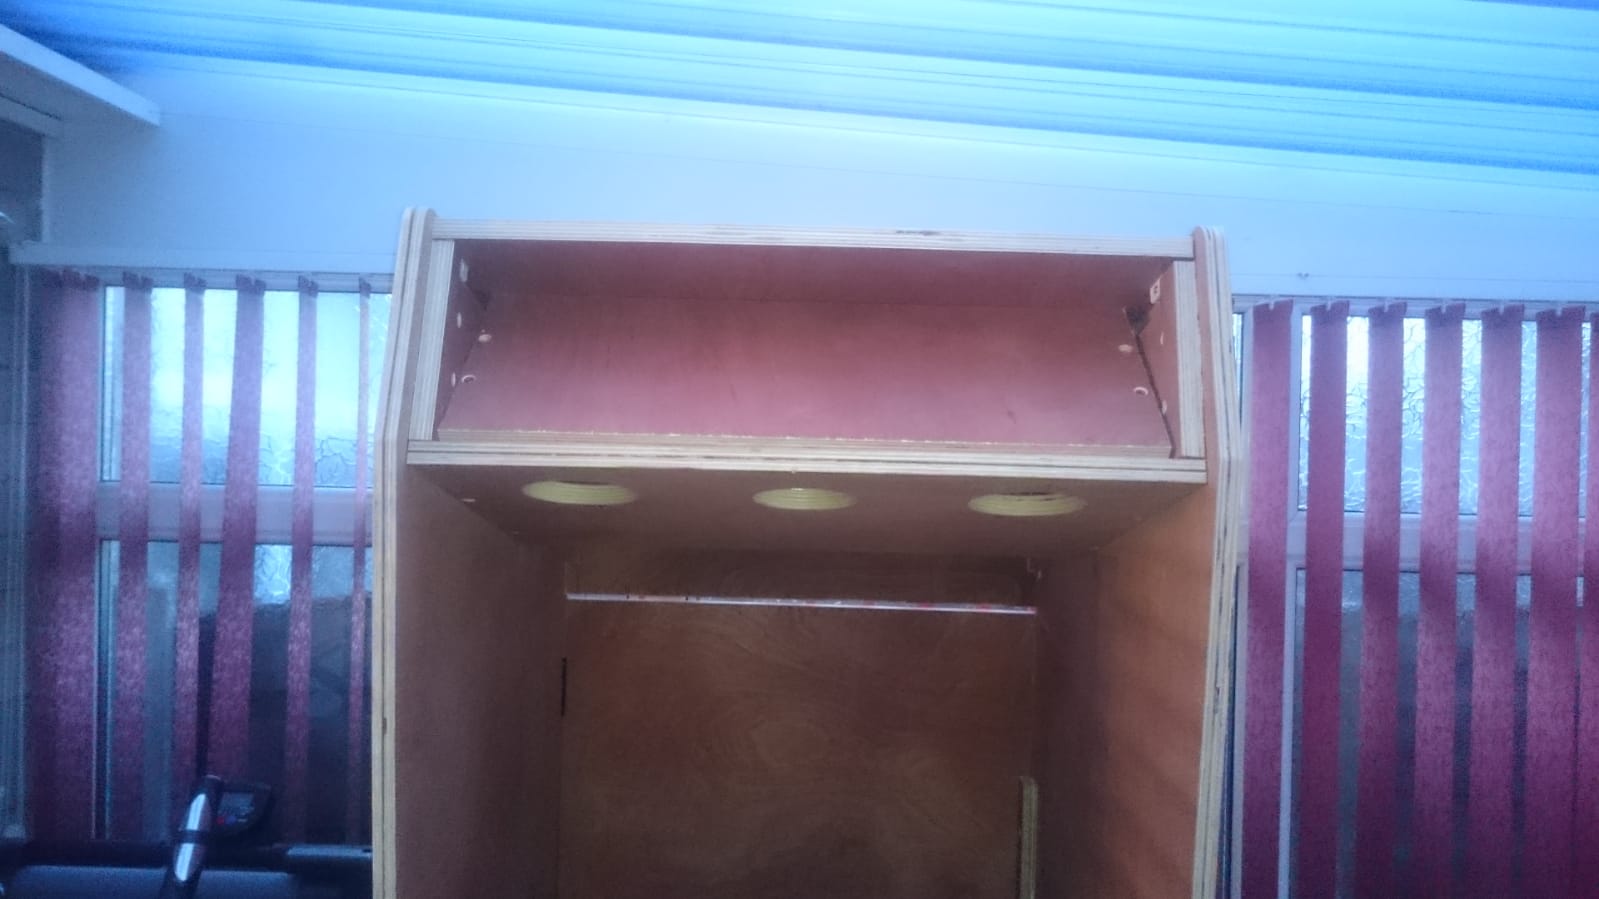
Some adjustments were needed around the marquee and light area which were not in the oriignal plans.

Also the internal coin door parts will need moving. Danny will hopefully help me out with some measurements.

Then the monitor and fixings require doing and I'm hoping they aren't going to be too tricky. Again I don't have a physical cab to look at so this is being put together from others helping with measurements etc

 

Bods

Senior Member
vacBacker
Feedback
4 (100%)
Credits
4,918CR
Was initially rebuilding Crossbow from chipboard as it was original, didn't know it would be so hard to find black finish in Satin to cover it and it was very thin bit like formica

Then I thought when you spending all that money, time and effort to remake a machine, why use chipboard or mdf, will look same when finished so might as well do a quality job and make it in plywood, good choice I think
smiley20.gif
 

Bods

Senior Member
vacBacker
Feedback
4 (100%)
Credits
4,918CR
Just looking at this thread again, reminded me of my dream last night, guy opposite me had setup a CNC Router to remake windows for his house, for some reason his property had grown about 4 times and he'd got big out buildings to do the work, had forgot about it till seeing the CNC Router setup here

WTF
smiley29.gif
smiley36.gif
strange stuff dreams
 

Purity

The Oracle
vacBacker
Feedback
17 (100%)
Credits
2,999CR
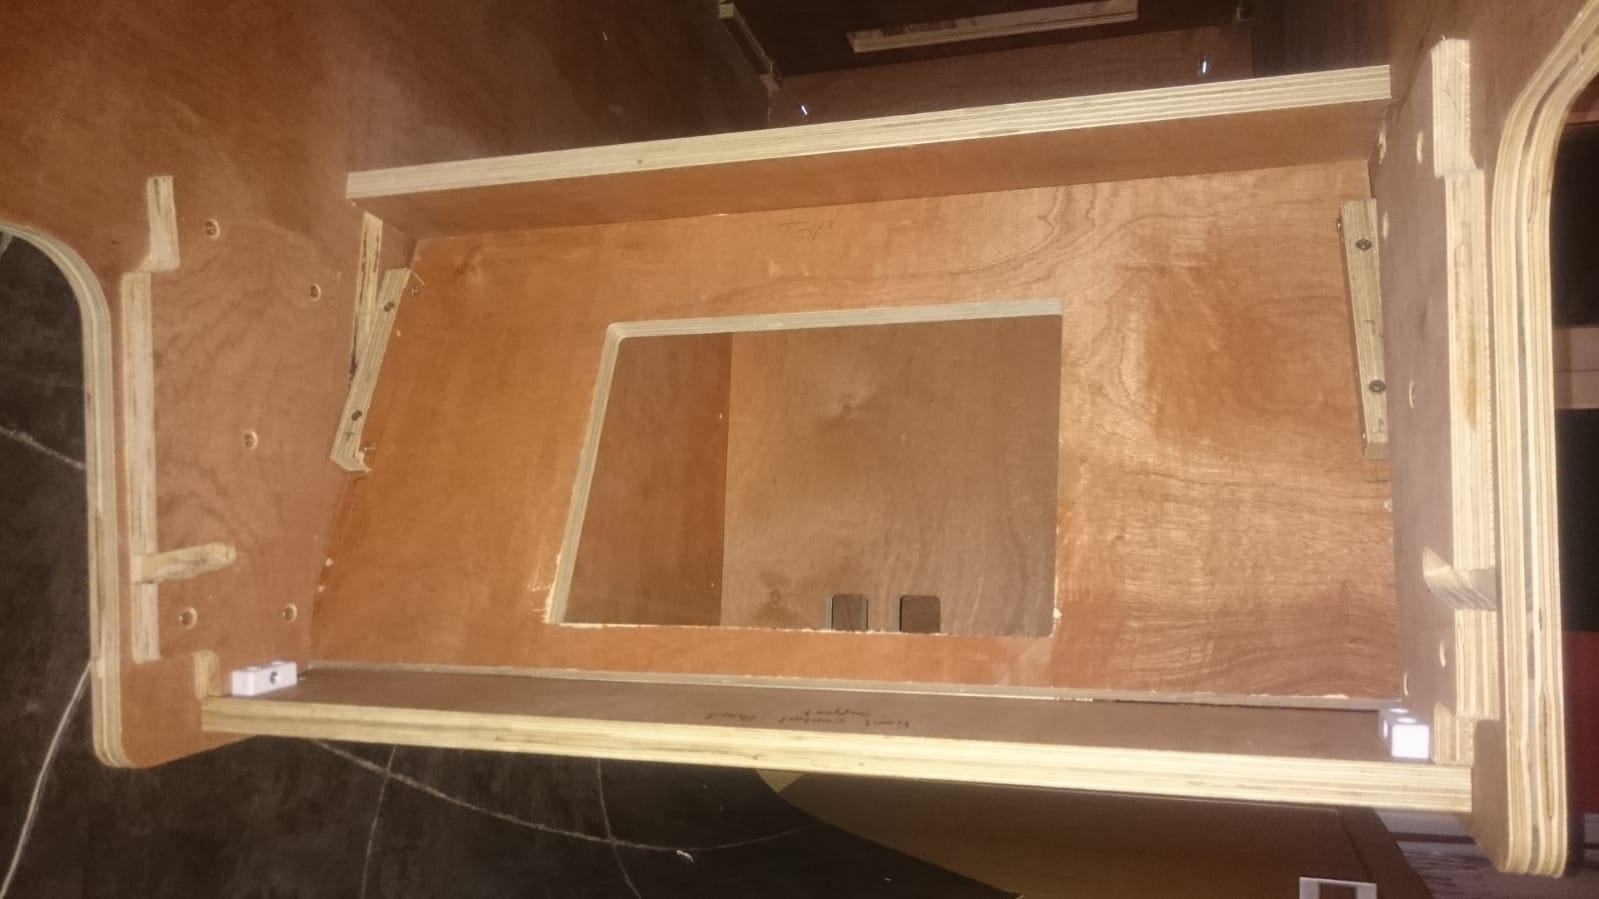
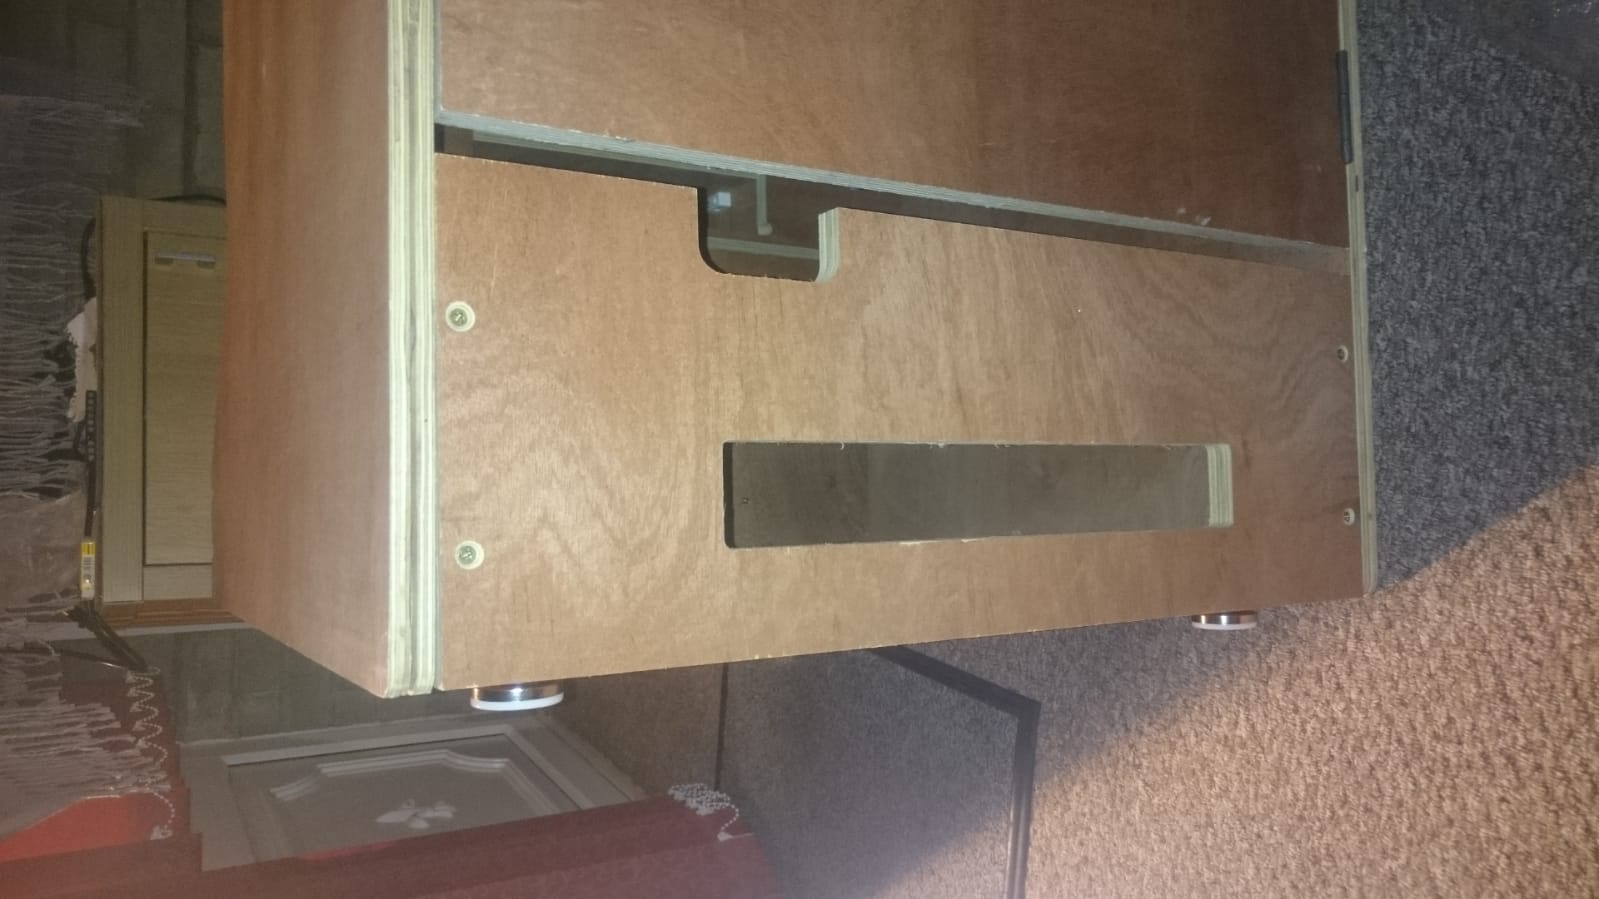
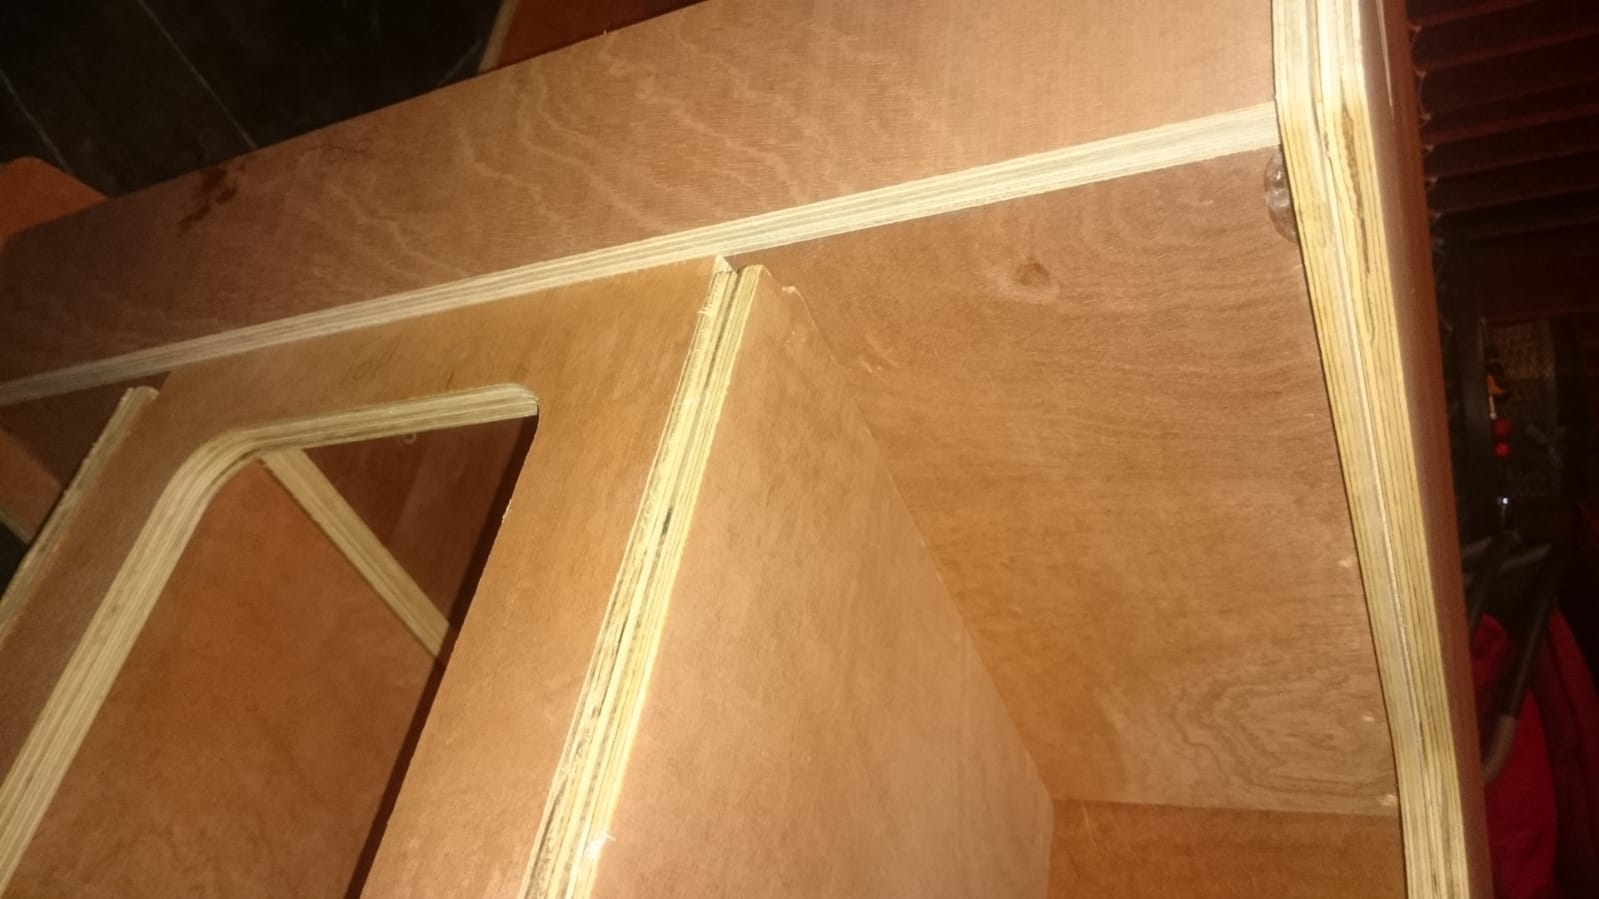
I've been making various adjustments to the cab to make it more accurate to an original. It is certainly not perfect, and I have to live we've some bits I'm not totally happy with but definately a lot happy with the cab now.

Adjustments I have made are:

1) Move lower back section so it is flush with the ground like the original (This means I will need to recut the back door)

2) Remove floor and push it forward so front mid section slots into bottom better. (This is not perfect but acceptable.)

3) Move front of coin door section down slightly, and adjust coin door slots

4) Correct CP section by adjusting bottom of CP (same wood that sits on top of coin door)

5) Adjust coin door section so that CP section is more flush

6) Fit front CP section

7) Move top and marquee of cab slightly back so that the marquee slopes a bit like the original, and it is roughly positioned correctly

8) Move and angle the light fitting wood section so that it is closer to the original

I've also tested the CP so that it fits correctly. The width is slightly bigger than the CP but it looks ok to me

Anyway some pics of this work

WhatsApp_Image_2019-12-28_at_16.03.47.jpeg


WhatsApp_Image_2019-12-21_at_18.16.46.jpeg


WhatsApp_Image_2019-12-21_at_18.14.20.jpeg


WhatsApp_Image_2019-12-28_at_16.04.02.jpeg


WhatsApp_Image_2019-12-21_at_18.18.10.jpeg


Still got loads to do. Next bits will be fitting the monitor frame etc
 

Purity

The Oracle
vacBacker
Feedback
17 (100%)
Credits
2,999CR
The cabinet is now assembled!!

WhatsApp_Image_2020-01-05_at_15.07.34.jpeg


WhatsApp_Image_2020-01-05_at_15.07.41.jpeg


I'm pretty happy with the results, but don't know how accurate things are until I've put the metal work on which is what i'm waiting for at the moment
 

Purity

The Oracle
vacBacker
Feedback
17 (100%)
Credits
2,999CR
itruk said:
There's certainly a lot to it, isn't there? Looks like a cab within a cab!

This is very true! None of this is on the CNC plans aswell so it's a case of taking a lot of measurements and trying to get it right
 

Purity

The Oracle
vacBacker
Feedback
17 (100%)
Credits
2,999CR
Got some of the metal work today. Good news is that it seems to fit ok

Top Retainer:

49367740796_29c48feb0c_c.jpg


Back of top retainer and grille:

49367954357_a720217829_c.jpg


Speaker Grille. This has some damage but I've managed to hammer it out:

49367954387_23a6687775_c.jpg


Decent gap between the grille and the glass frame:

49367740896_3f76105b65_c.jpg


Lower retainer holding the CP in place:

49367954487_96fda512b6_c.jpg


Decent gap for the monitor glass:

49367954532_5812ea7e85_c.jpg


Just need to see if I can either acquire or borrow a h-channel so that I can repro one. and then I'm just missing the service panel but I could easily use one from another game
 

Purity

The Oracle
vacBacker
Feedback
17 (100%)
Credits
2,999CR
Bit more work today

I re-did the back of the marquee section because I wasn't happy with it

WhatsApp_Image_2020-01-25_at_17.50.55.jpeg


WhatsApp_Image_2020-01-25_at_17.50.31.jpeg


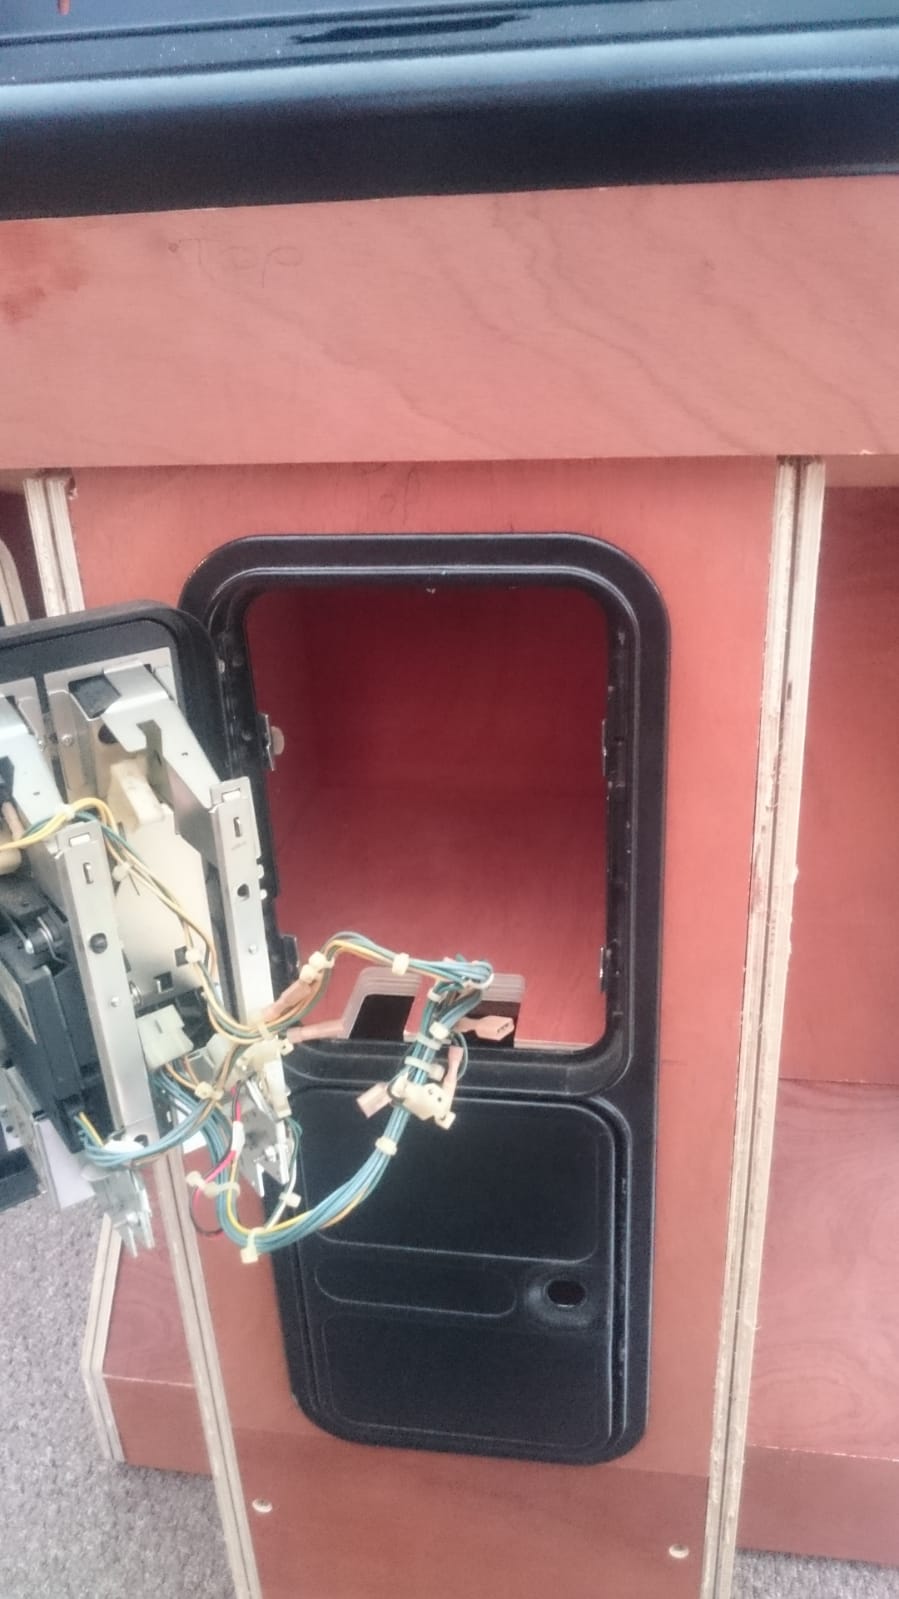
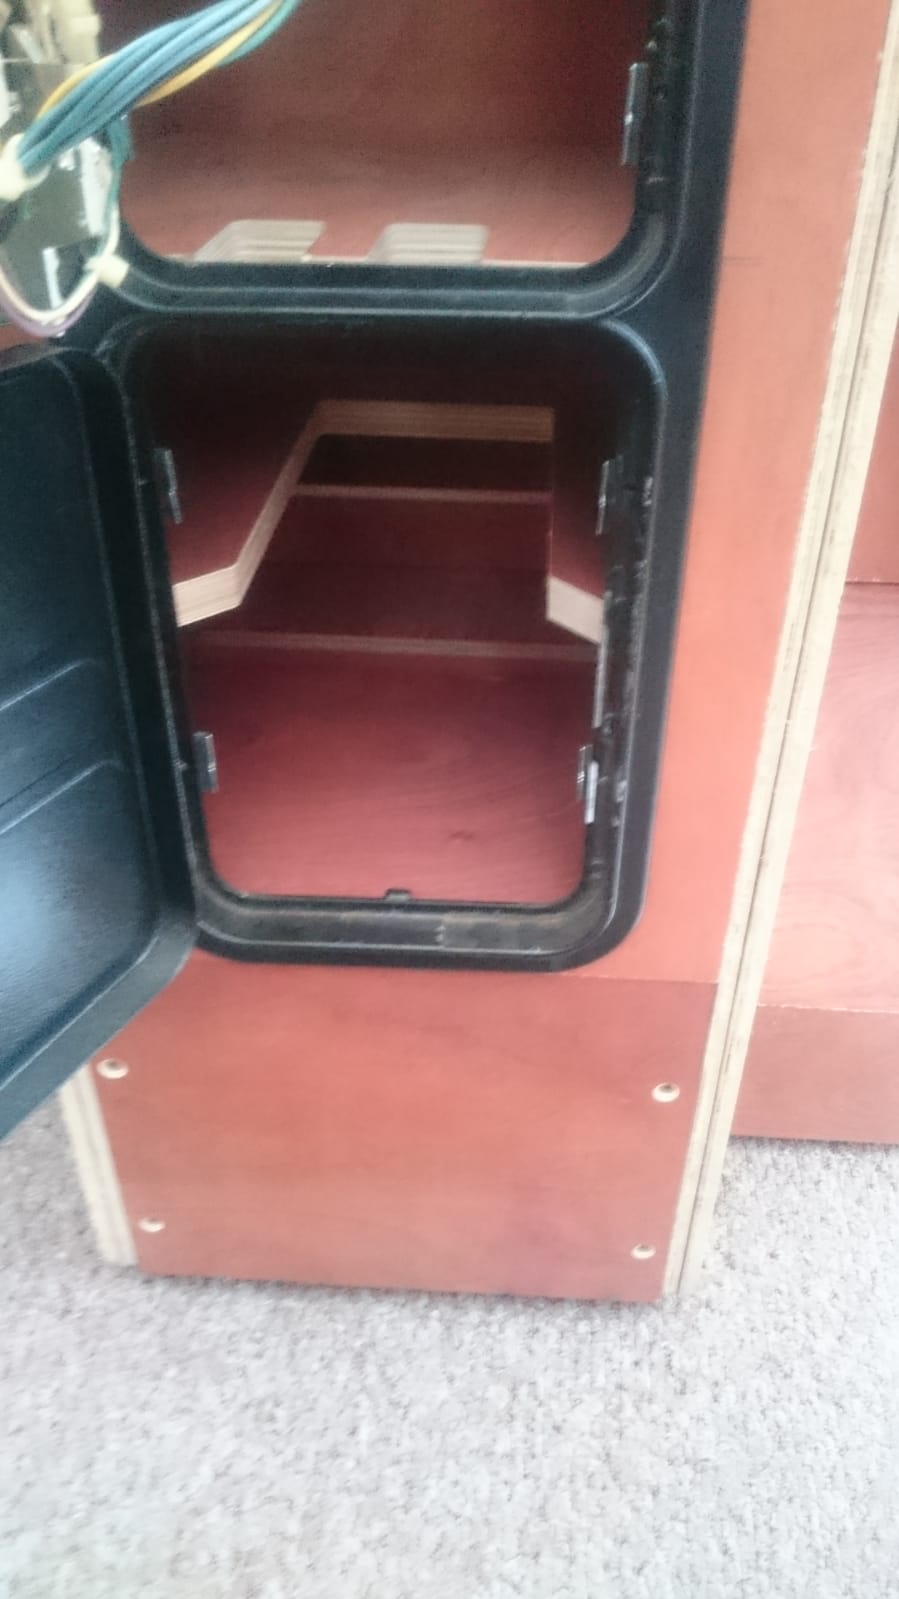
Thanks to Fantazia2 I got a nice coin door

I had to move the internal sections slightly to accomodate it

WhatsApp_Image_2020-01-25_at_17.51.12.jpeg


WhatsApp_Image_2020-01-25_at_17.51.25.jpeg


and then got some metal back from the powder coaters and hd a look what it looked like

WhatsApp_Image_2020-01-25_at_17.49.25.jpeg


WhatsApp_Image_2020-01-25_at_17.49.42.jpeg
 

Purity

The Oracle
vacBacker
Feedback
17 (100%)
Credits
2,999CR
A few pictures from todays work

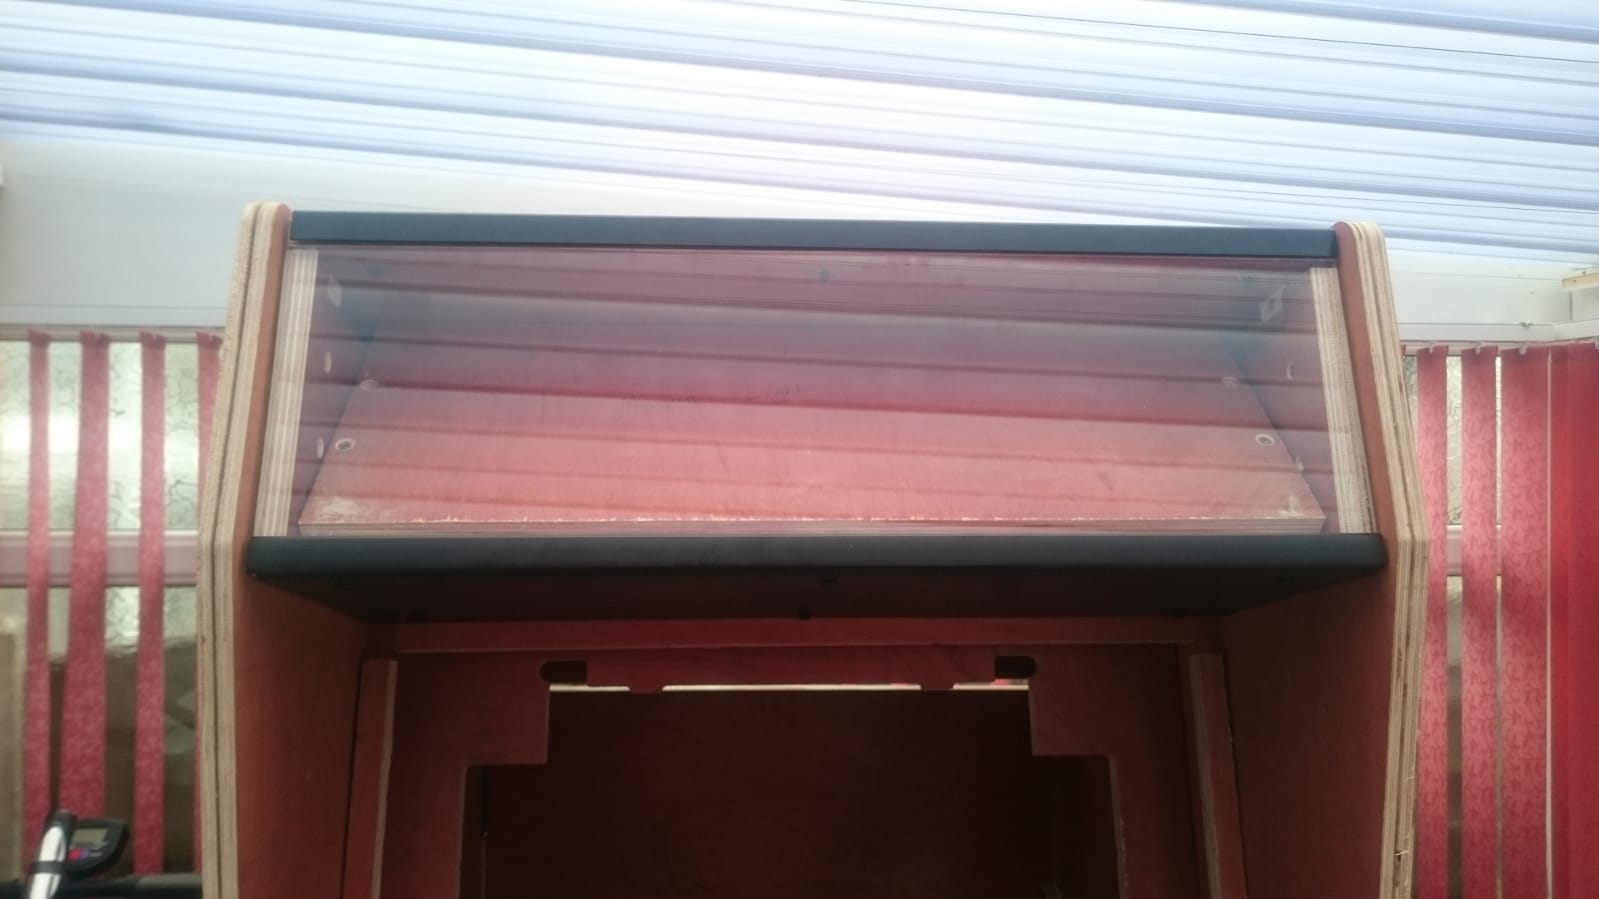
I've fitted the marquee glass (plexi in my case) into a installed h-channel (thanks to Equites for this!). It turns out the System 1 h-channel is perfect for the System 2 cab :)

WhatsApp_Image_2020-02-08_at_17.49.27.jpeg


I then drilled holes in the top of the cab and fitted the upper retainer with some tee nuts. Exactly the same way as the original. However I used some M5 black hex machines screws which are near identical to the 1/8" screws in the original.

WhatsApp_Image_2020-02-08_at_17.49.49.jpeg


I also followed the same process to fit the lower retainer above the control panel

WhatsApp_Image_2020-02-08_at_17.50.02.jpeg


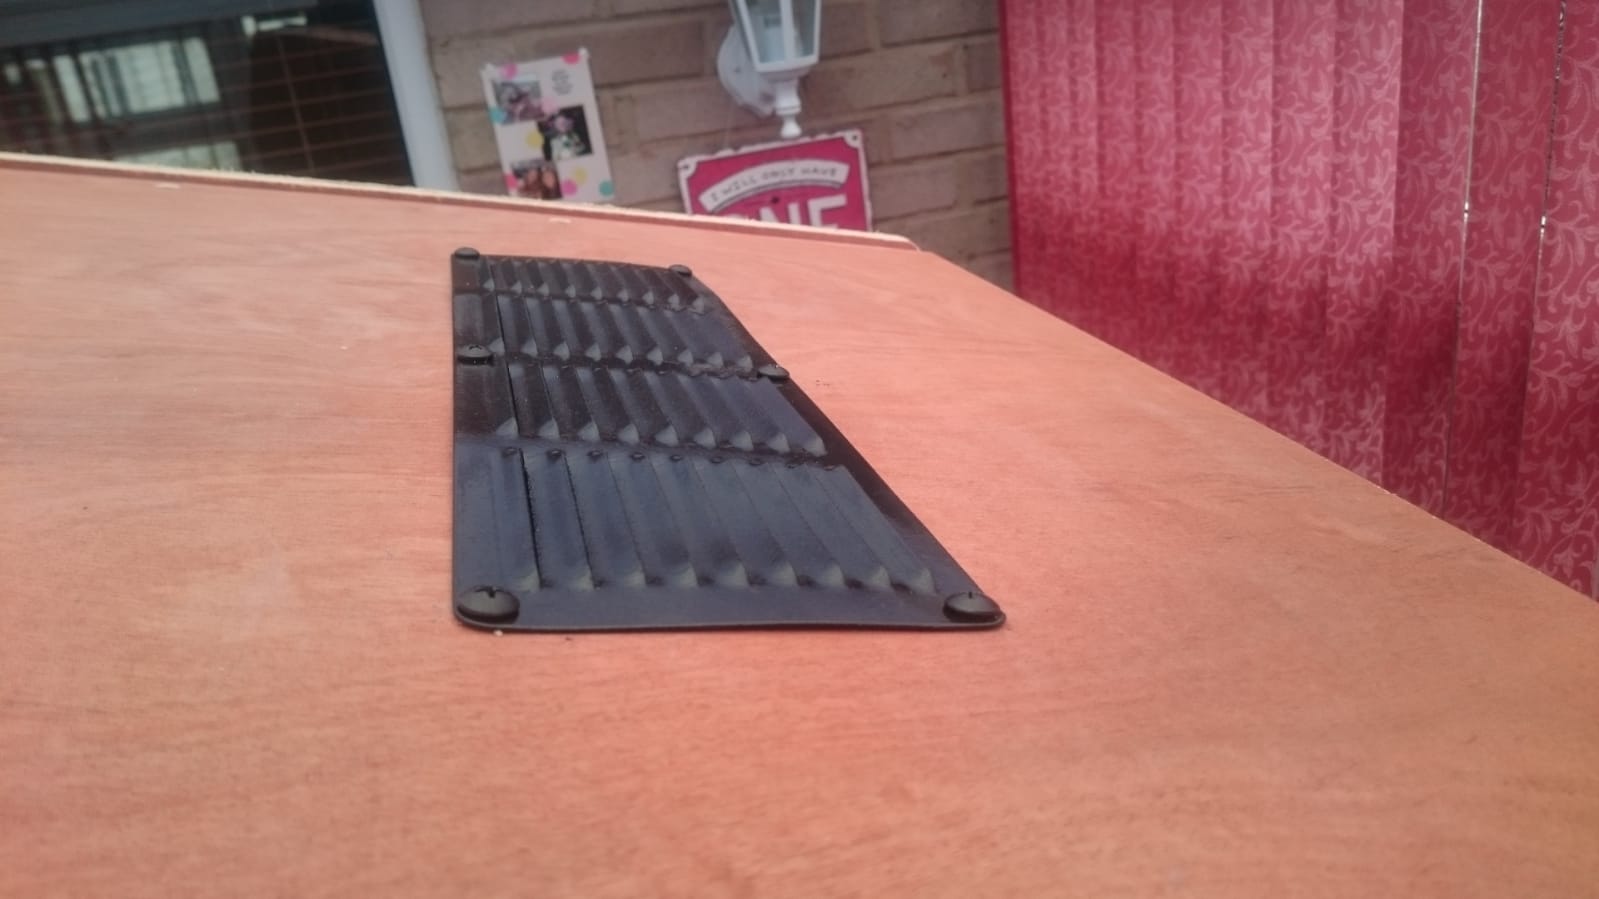
I also found some perfect black self tapping screws which I then used to fit the vent, and speaker grille in place

WhatsApp_Image_2020-02-08_at_17.50.15.jpeg


WhatsApp_Image_2020-02-08_at_17.49.40.jpeg


Next steps are cutting a slot in the speaker section behind the grille to accomodate the screen shield. Again I've opted for 5mm plexi rather than glass.

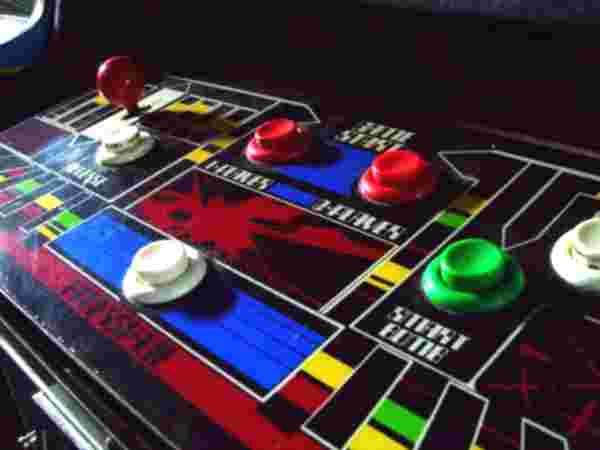
I also need to start stripping down the control panel as it is in a terrible state and see what I can do with it.
 
Top