SMD Removal Hot Air Rework

dj_yt

Active member
Feedback
3 (100%)
Credits
787CR
Most of the PCBs that I care most about fixing are Sega boards where surface mount custom ICs have failed. I've pretty much fixed most of the easy ones I own now. And therefore it's time to upgrade my (through-hole) skillset and tools.

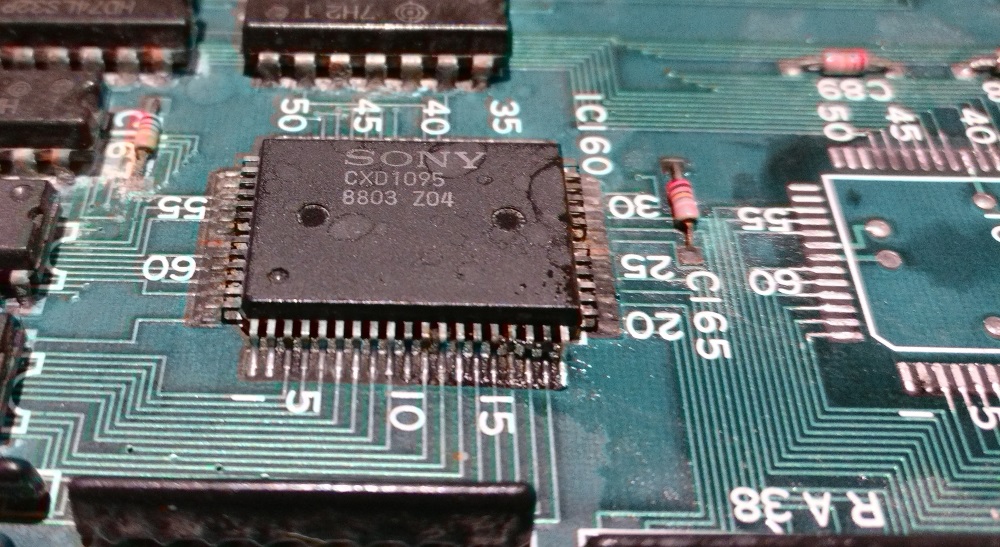
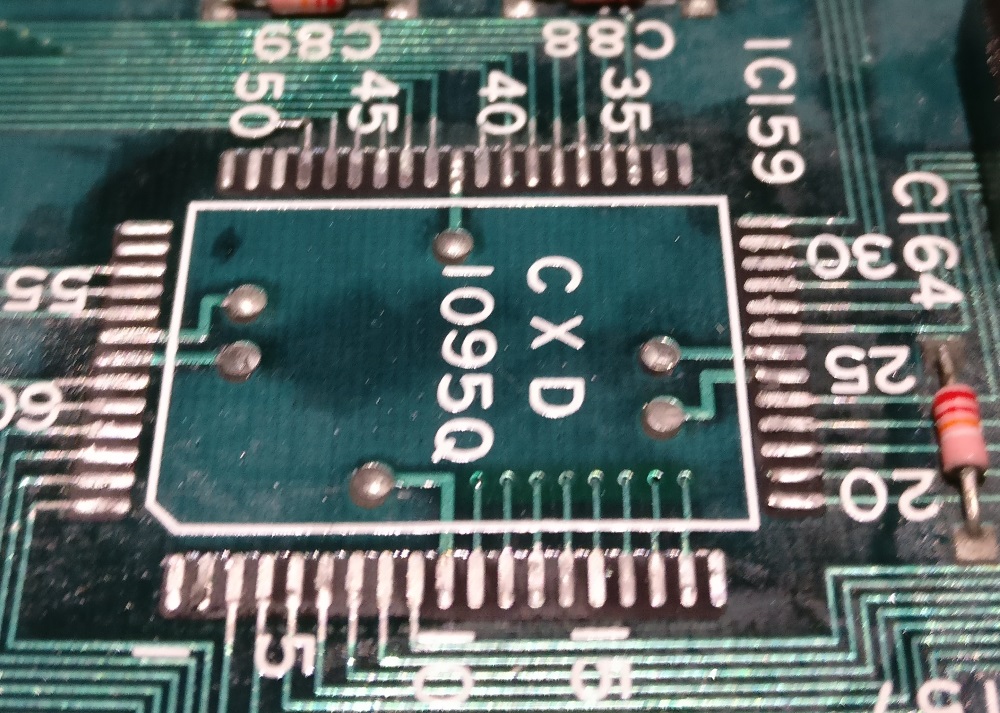
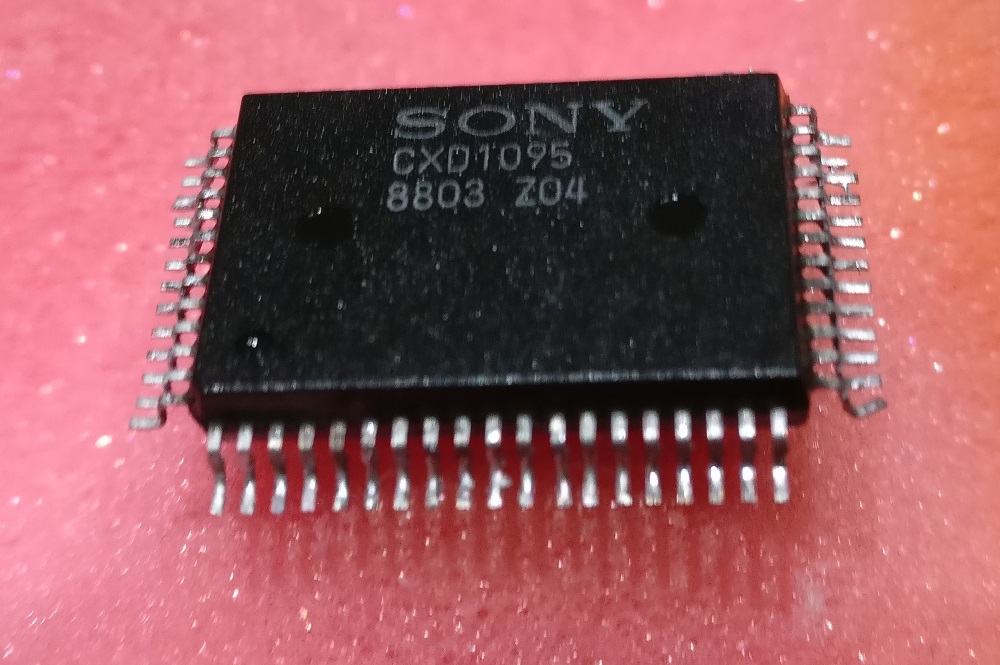
I've started practicing surface mount work on a scrap PCB with loads of corrosion, before I move to anything rare and fragile.

Using Chip-Quik I can remove small chips, but once things hit a large QFP 120, I simply can't keep the alloy molten for long enough to cleanly remove the IC. By the time I've rotated the iron around all four sides and 120 pins, the first have solidifed again. This could be poor technique on my behalf, but so far I'm not happy with the performance of Chip-Quik for the larger 120 pin monsters.

Unless I can solve the above, this leads me to think about purchasing a hot air rework station. I'm presuming this would be a better alternative for larger chips. ColinD previously recommended me this relatively cheap one:

http://www.ebay.co.uk/itm/WEP-952D-SMD-ESD-SAFE-2-IN-1-HOT-AIR-REWORK-SOLDERING-IRON-STATION-NEW-UK-2017/172409779229

However, I've been stung with cheap products in the past that tend to underperform. I often find I end up replacing them with a more expensive model. I guess in this case it would be something like the Hakko FR810B

http://dancap.co.uk/smd%20rework/fr810B-17.htm

What are people's thoughts on cleanly removing large surface mount ICs? Does anyone have experience with a range of tools in this area? Bear in mind I'm looking to preserve the chips I remove for reuse and not damage the PCBs.
 

terminator2k2

Active member
Feedback
1 (100%)
Credits
324CR
i use chip quick and its great, make sure you put plenty on and keep going round with the iron until you can get it off...ive found it stays molten for quite a few seconds so it does give enough time to get all 4 sides heated up enough......dont be stingy with the heat.....keep it going and it will do its job......use some tweasers so you can gently lift the chip at the same time.....i think folks go wrong by just going around the chip once or twice and expecting it to still be molten......just keep going....
 

Monstermug

Active member
Feedback
23 (100%)
Credits
1,790CR
I wouldn't go for any of the budget ones to be honest. They don't get hot enough and usually warp the board before they melt the solder properly.

I use a weller WHA900 and it's pretty clown proof.

Chip quik should still work on QFP120. Like Terminator said, go around it and it will come off. Got to remember the chip quik flux and lots of it too!
 

dj_yt

Active member
Feedback
3 (100%)
Credits
787CR
I'm wondering if the fact that I was practicing on a (very) corroded board made the IC a lot harder to remove. I was using a lot of flux, 350c heat and rotated the iron round it for minutes.

Could just be a technique thing of course, smaller chips seemed ok.
 

Ace`

PlanB contributor #1
Feedback
35 (100%)
Credits
3,583CR
I've got a nice Hakko hot air station but still use chip quik, the only time the hakko gets used is when populating blank pcbs or stripping scrap boards.

Chip quik is the safest way as you don't need to heat it for very long at all, just make sure you have lots of quality braid to clean the pins after.
 

martin8or

Newbie
Feedback
1 (100%)
Credits
144CR
If the board has minging solder, that can make it more difficult. I find that cleaning a board with electrolube safe wash does a good job. I managed to remove loads of green corrosion on a conector the other day and I wish I had taken a photo because I couldn't believe the before and after. It's just a very strong detergent type affair.

You can use it locally with a toothbrush and a little water to clean up the pins. It's about as strong as you can get before you actually take the top layer of metal off.

When I use chipquik on a many pinned package I clean the pins as best I can. Sometimes a very light touch with a fiberglass pencil can work (or safewash). Then I clean it with isopropyl and put on a a not too stingy lashing of chipquik flux. I then use some good quality chemtronics solder wick and get as much of the original solder off as I can. It's important to use the correct width stuff. Most times 1-1.5mm wide is best and a good bevel/hoof tip iron.

Once you've got most of the solder off you add more flux. You will notice that you need hardly any chipquik now to get the job done. Do one side at a time until every pin is done and take your time so things don't get too hot. When you get a tiny pea sized blob you can drag across the pins you know that there's enough there. Do the other sides. Add a little more flux and then go for it. I like to use a small loop of aluminium/copper foil tape stuck to the chip to make a little handle (clean the top of the chip first) that I can grab with my hand to lift the chip off. It's hard to gauge with tweezers the amount of force you are using and far to easy to pull of a pad.

Hope I haven't preached to the choir. Most of the people who post here are the true professionals (me not included).
 

dj_yt

Active member
Feedback
3 (100%)
Credits
787CR
Thanks for the feedback.

Judging by the responses, I suspect where I'm going wrong is lack of suitable prep work. The board I'm using has corroded and even the odd rusted ic leg. Most of the online tutorials show nice shiny clean boards.

I'll experiment with Martin's advice of cleaning up the target area and wicking up some of the solder before using the chipquik and see how I get on.
 

dj_yt

Active member
Feedback
3 (100%)
Credits
787CR
Hi martin8or,

Just to say thanks for your advice. I had a second attempt tonight, admittedly only with a 64 pin chip and it worked much better.

To give you an idea of the state of some of the chips on this PCB (this is adjacent to the one I removed):

IMG_20171120_220136.jpg


Like you suggested, I did a thorough clean up beforehand. I don't have the Electrolube you mentioned, but I did use a combination of a fibre glass pen, IPA, flux and standard wick first. Then I used the chipquik.

IMG_20171120_220157.jpg


I managed to remove the IC relatively cleanly. I need to either get a decent grabber or make a handle like you suggested for chips I actually care about.

IMG_20171120_220227.jpg


Next steps will be lots more practice and attempting to reflow the above chip back into the same position...

Any thoughs or tips on fully cleaning the IC legs of a chip when removed? Flux and wick the best way forward?
 

martin8or

Newbie
Feedback
1 (100%)
Credits
144CR
Excellent work.Those boards look pretty grubby.

The flux is really key to how chipquik works, you've got to put enough on there. You can buy the flux separately and a tube lasts ages.
martin8or2017-11-20 23:11:47
 

Sparkoids

Newbie
Credits
9CR
We do smt stuff by hand at work all the time down to 2mm square BGA's. The trick is to get the board clean and to make sure the pads are well tinned with solder prior to replacing the parts. Personally I tack the corners with a soldering iron and flood it with liquid flux which works but my business partner doesn't do it that way and she's better then me. If you do get stuck on anything difficult we are really cheap for this type of thing.

Gallery here:

http://www.ekey-solutions.com/page-6/index.html
 
Top