SNK MVS-U4/25 Candy Cab Restoration Project

eccentric-nut

Active member
Feedback
17 (100%)
Credits
365CR
I have had this MVS-U4, sitting in my 'to-do' projects room for a good long time now. So I finally decided to pull my finger out and get this restored to a condition I would be much happier with for use as a dedicated NeoGeo cabinet inside the house.

Sadly I totally forgot to take some before condition pictures, but suffice to say it certainly was a bit of a mess, it was dented on the main body and base panel of the cabinet, the whole outside of the cab had been dusted over with a rattle can spray job in white, this paint finish was poor with runs, dust and the odd insect entombed for eternity, overall a terrible finish. The inside was also in a bit of a sorry state with plenty of surface rust on many of the panels.

The first task was to fully dismantle the cab, I had already decided the best route was a full acid bath strip of the paint, shot blasting where needed, then zinc primer, followed by a nice new powder coat all over inside and out!

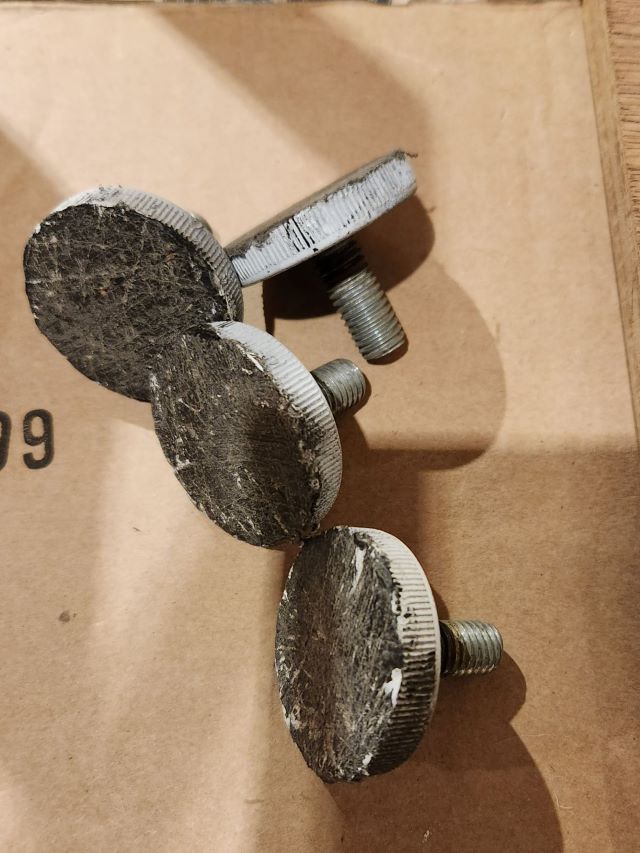
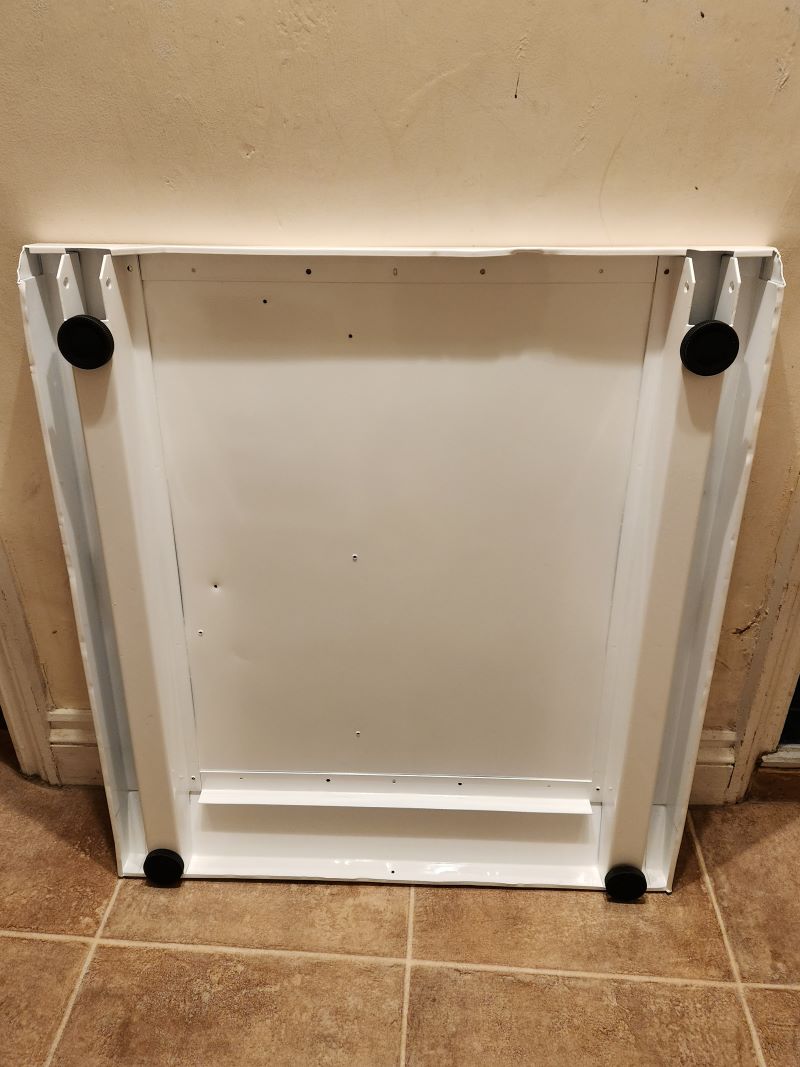
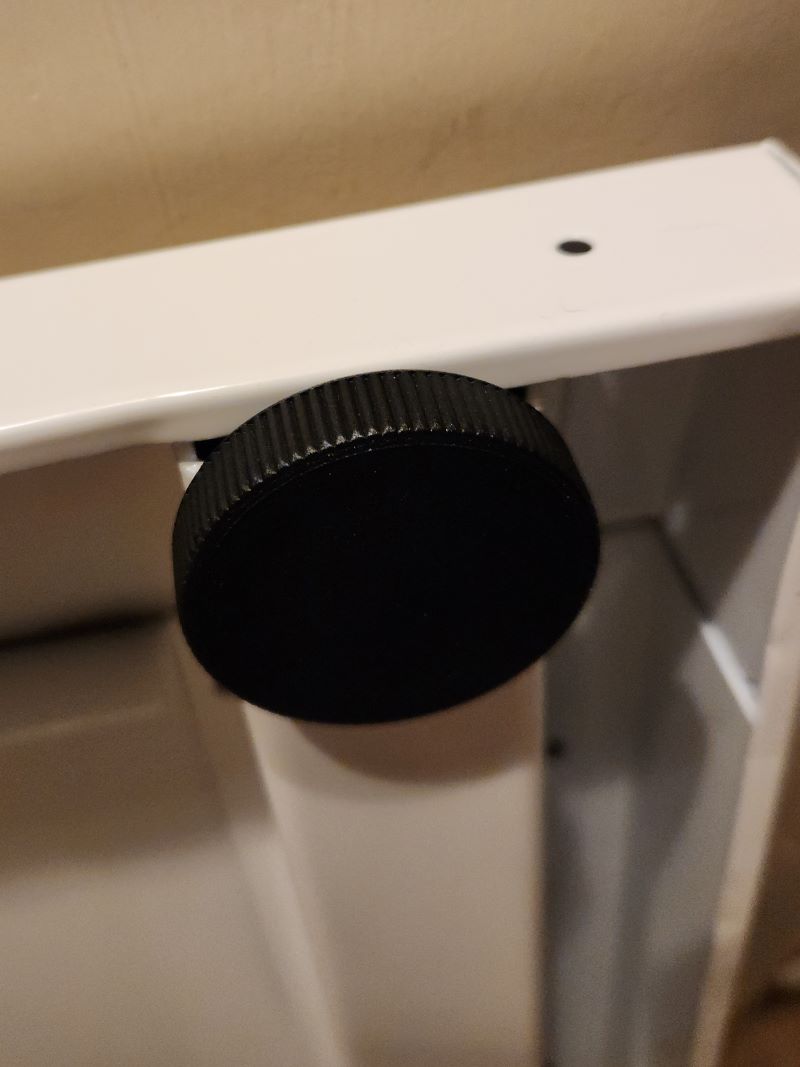
I've had other metal Japanese candy cabinets powder coated in the past, so knew what to expect from the company I used. They as before did a top notch job, here it is with all the bits freshly collected this morning.

20230131_142556_resized2.jpg


eccentric-nut2023-01-31 23:06:17
 

eccentric-nut

Active member
Feedback
17 (100%)
Credits
365CR
First job was to get the cabs base plate rebuilt again, then I could bolt the main shell back onto the base and begin assembly. The original feet were not in the best condition, you can see the over spray from the previous rattle can paint job. In the past I restored a Neo Candy 29, and had a full spare set of feet I had used on that job, they were a good match.

Old Feet:

20230131_170919x4.jpg


New Feet:


20230131_171002x2.jpg


Installed:

20230131_213820x1.jpg


20230131_214025z3.jpg


eccentric-nut2023-01-31 22:26:48
 

eccentric-nut

Active member
Feedback
17 (100%)
Credits
365CR
I managed to spend some more free time working on the U4 today, first I deep cleaned the rear wheels and fittings in the ultrasonic bath, they were very dirty, check the colour inside the bath!

20230131_175239x2.jpg


All cleaned up!

20230131_182158x2.jpg


Next I fitted the wheels to the cabinets base, using superlube to grease the inner sleeves.

20230202_164825x2.jpg
 
Last edited:

eccentric-nut

Active member
Feedback
17 (100%)
Credits
365CR
After having some more free time I've spent a few more evenings working on the MVS-U4/25 cab, the footrest rubber strip and chrome front kick plate were in need of some cleaning.


kick plate and rubber.jpg


I used fine grit wet and dry to remove the heavy scratching from the chrome kick plate, after working my way up to 2000 grit, I then gave it a good buffing using Autosol metal polish.

The black rubber was cleaned with good old soap and water then treated with Renaissance wax it adds a good shine having used it the past on plastics and lasts for ages.

polished and cleaned.jpg

I then used waterproof rubber glue to attach the black rubber strip back onto the cabinets foot plate, next I need to borrow a rivet gun from the brother in law so I can reatttach the chrome strip.

20230202_174704xx.jpg
 

eccentric-nut

Active member
Feedback
17 (100%)
Credits
365CR
A short update, but more to follow soon.

The memory card / headphone jack circuit board was in a poor state, very dirty looked like a possible sticky drink had dried onto the PCB, time for hot water, washing up liquid and a good scrub, the board came out looking great.

memory_card_board_clean.jpg

Next up was installation of the ashtray arm and mount into the lower control panel.

ashtry_arm_fitted.jpg

Finally job was fitting the memory card PCB after it had been dried for over a day sitting on top of the radiator.

memory_card_reader_installed.jpg

Expect updates soon as I did get more of the project finished last week.
 
Last edited:

eccentric-nut

Active member
Feedback
17 (100%)
Credits
365CR
It's time for another MVS cabinet restoration update, the next major task on my hands was to give the monitor a full service, this consisted of a bloody good clean of the tube, then replacement of all the capacitors on the chassis, to be fair after testing only four were leaky / open circuit, however a fair few had a very high ESR, next it was onto a full reflow of the solder joints on the chassis and neck board, even though time consuming I do find replacing the capacitors strangely relaxing I have to admit I get a bit of a buzz when I do find a bad capacitor, next it was onto testing the screen and the wiring loom.

cx1.jpg

I have a fancy Brother label maker which gets very little use, so after a bit of a light bulb moment I decided to put my label maker to good use and make a nice sticker for the MVS connector on the harness.

cx3.jpg

Next job, was the polishing of the perspex marquee cover, this was badly scratched on the font face, so it was time to break out the Novus scratch remover and give it a good cutting back to remove as much of the heavy scratching as possible, then a quick polish. I also touched up the black screen printing on the inside of the marquee with some black acrylic paint, as in some places due to scratches light could shine through.

cx5.jpg

cx6.jpg

I also managed to buy a complete set of 'First' brand locks for the cabinet, which to my knowledge is the brand originally used in the MVS cabinets as my Neo Candy 29 has this brand fitted, this cabinet sadly had no original locks present. I installed one into the marquee box.

cx7.jpg

It was then on to some more assembly, this involved fitting a lock to the coin box, installing the 25" screen, attaching the marquee box and speaker covers onto the cabinet, and then populating with some Neo Geo MVS mini marquees

cx9.jpg

cx8.jpg
 
Last edited:

eccentric-nut

Active member
Feedback
17 (100%)
Credits
365CR
It's about time for another update with the MVS U4 restoration project, my progress has slowed recently especially with all the warm weather we have been having. I have only managed to grab a few hours on odd free evenings to progress with this project.

When I have limited time I find small jobs are the best way to keep me motivated, as I may only spend an hour or so working on the cabinet, I really need results that are noticeable. This I have found with past restorations is important to keep overall momentum and my motivation levels up.

Small jobs are a quick wins in my eyes, so the next small job was the clean up of the coin return, time for breaking out of the trusty Autosol metal polish.

1sargt.jpg

The coin return surround and back box were already in good condition and just needed a good scrub in the sink and a light polish on the front face of the coin return chrome bezel and the return flap. Once completed this was installed and fitted back onto the main cabinet.

2gyju.jpg

The plastic monitor surround was in poor condition, the big issue being some of the corners were split. This type of plastic I have found due to being so thin is near impossible to glue, so I use small amounts of black scotch electrical tape on the rear of the surround to repair and reinforce the splits in the corners. Next it was time to address the colour and condition of the plastic, the black had faded. I decided the best option was to cut back the top surface with Novus plastic polish to remove the scratches and restore the original colour, I slowly worked through the differing Novus grades to achieve a good finish, then to top it off a final polish with Renaissance wax making the black pop!

3yhrg.jpg

Now it was time for some more cabinet assembly, I was lucky in that the cabinets original light tinted front glass was in excellent condition, with no deep scratches or chips at all. The glass just required a very good clean, a quick wash and scrub in the bath and it was ready to be fitted in place. The main hinges were also fitted in place on the front assembly.

4bnio.jpg

A quick test fit onto the cabinet to check it all lined up and fitted nicely, which it did!

5gved.jpg

Then the black plastic monitor surround was fitted to the main front cabinet assembly.

6bffv.jpg

Next it was onto installing the marquee fluorescent lamp assembly, the original fluorescent tube was long dead and broken, so I decided to source and use an LED tube in cool white, this was then fitted to the original lamp holder and connected up.

7ggnf.jpg

As the loom had all been tested outside the cabinet, I decided it was time to install the loom into the cabinet and give everything a test in situé. As a reward for getting this far I allowed myself to add just one of the replacement stickers onto the cabinet :)

8klfg.jpg

This is where I will end todays update, so here are a few full cabinet pictures of progress so far with the cabinet powered up and running. Still a way to go yet, but slowly moving forward. For the observant you may have noticed the marquee light leak from the speaker grills don’t' panic no speakers have been fitted yet.

9mngt.jpg

10kjew.jpg
 
Top