As you may or may not be aware, at this Easter's South Coast Slam we will be raffling as top prize (in the Pinball Section) as Williams INDIANA Jones Pinball machine with all proceeds going to charity. We wont lie or hide from criticism but frankly the machine isn't the nicest specimen out there... However - this is the Slam and this is a prize we want people to be in awe of! So behold its transformation!
Courtesy of a trade-price set of Repro Indiana Jones artwork from Pinball Heaven (www.pinballheaven.co.uk) we can make this baby have a bit more colour and flesh and far far more valuable. And so, Matt Adams who has a backlog of re-decalling jobs (and also did Olls thing of beatury I hasten to add) came round to my unit today as he needed the room after his relocation and it was a pleasure to attempt to create a journal - first time I've seen decalling done: I think you all might like the story too:
So lets start!:
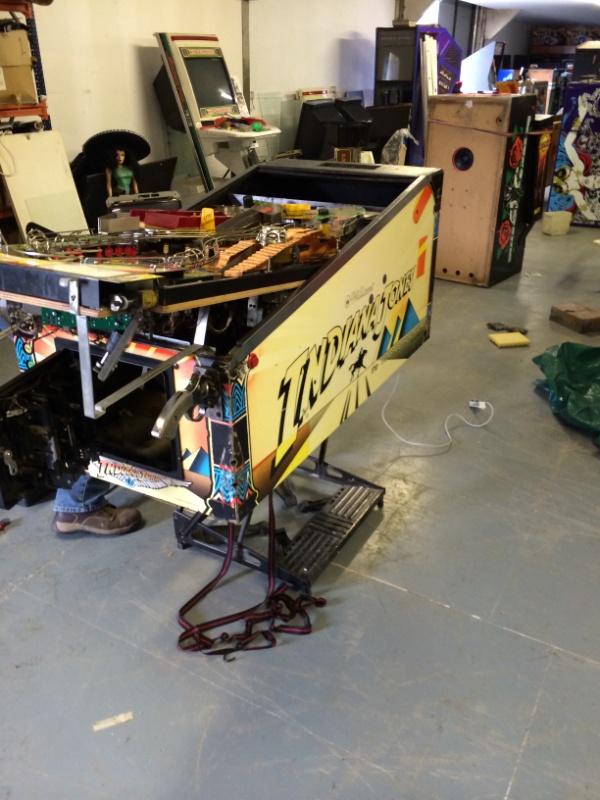
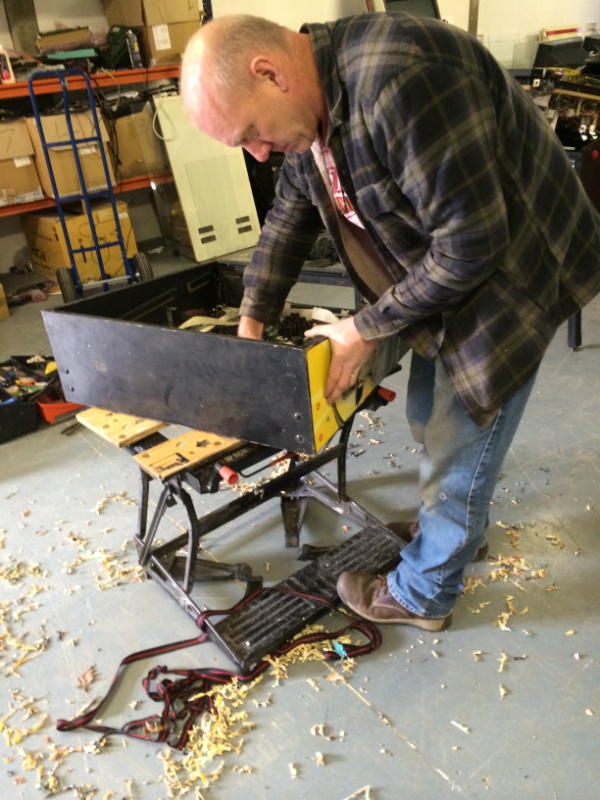
1. Matt and I get the bad boy on his trusty B&D workbench:

2. Takedown commences (notice Movember's Sombrero Lara Croft making sure we didnt feck it up) !:
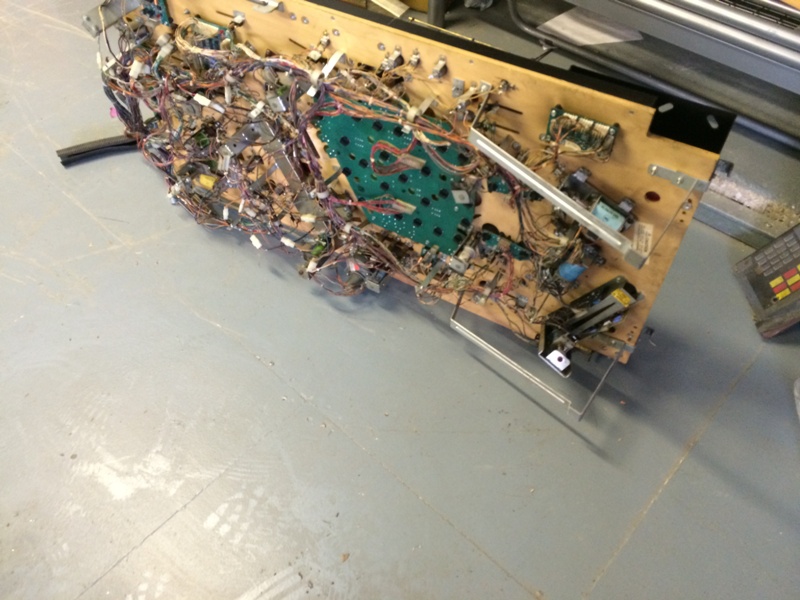
3. Playfield out, on it side, ready for fellow pinner Ivan Durneen to start the rework (pics soon) on the play area:
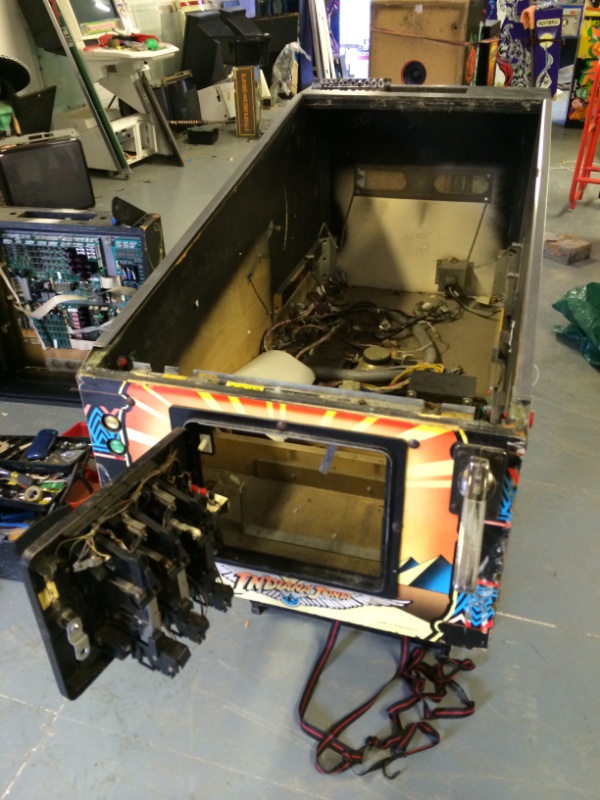
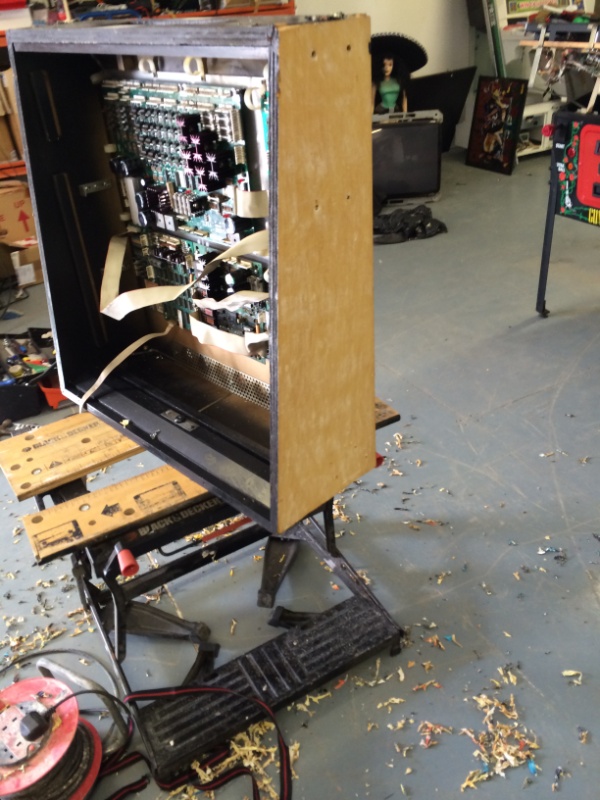
4. Cab being stripped (mid process):
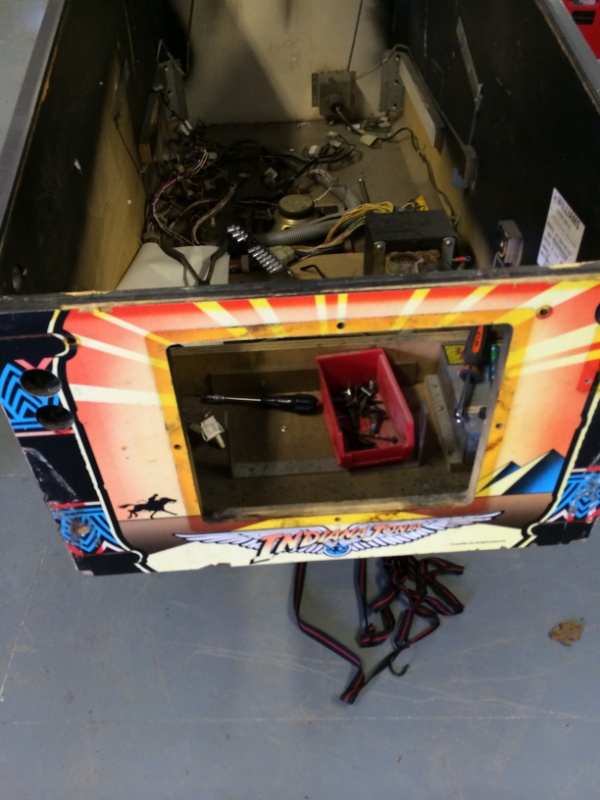
5. We strip fasteners into two red boxes - black stuff for re-spraying before refit and others for general not on display fasteners:
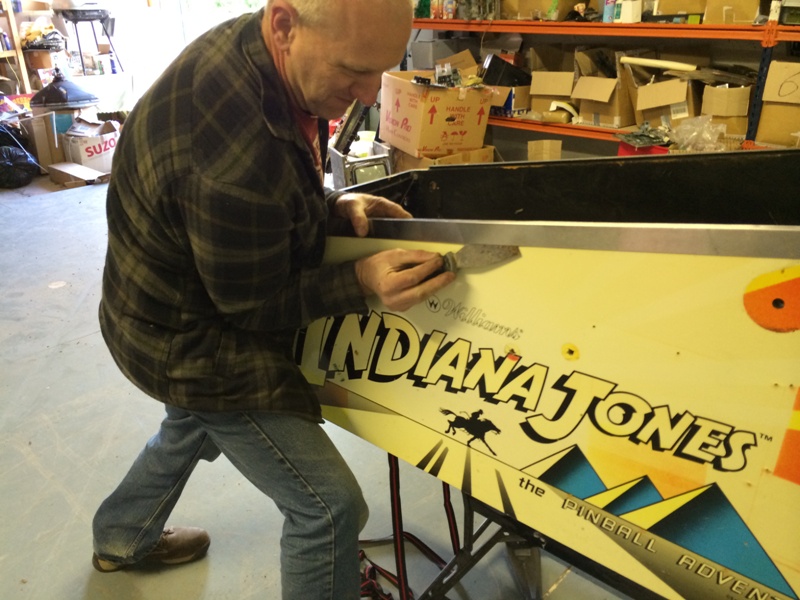
6. Matt starts but detaching the siderails by splitting the double sided tape adhesive in a true manly fashion!:
7. Hot air gun is now utilised to strip the original artwork off:
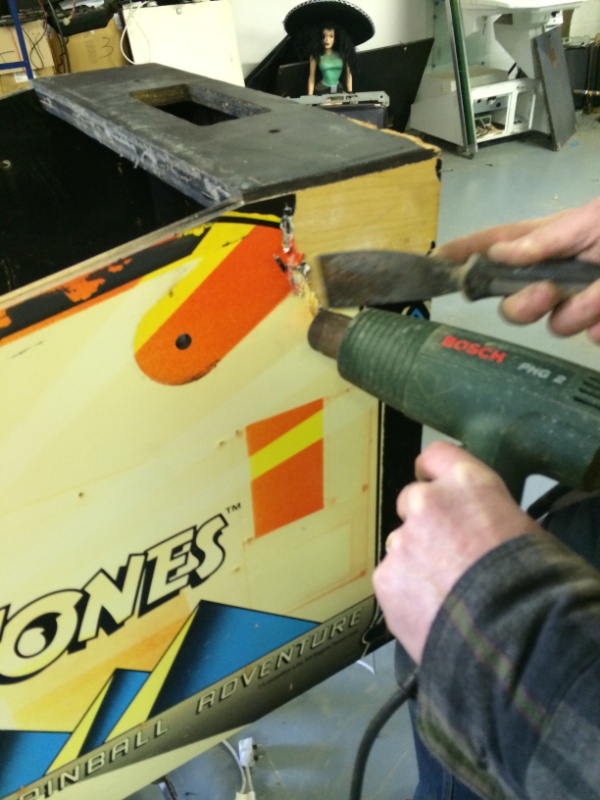
Exclusive! 10 Second video of this blow-job in action!:
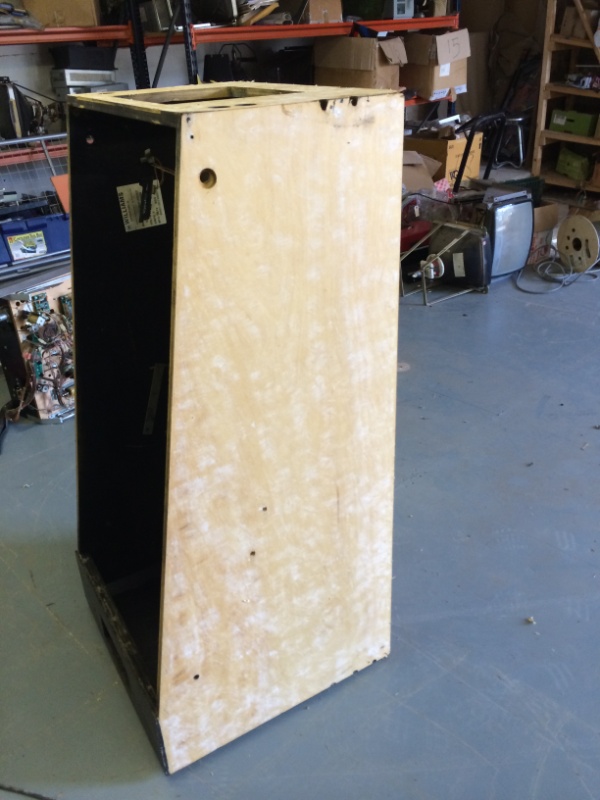
8. After an hour (or so) Side 1 loses its sun-fadedness:
9. Ok I admit it - I went home for soup and a defrost, but another hour later when I return the other side is decal-free:
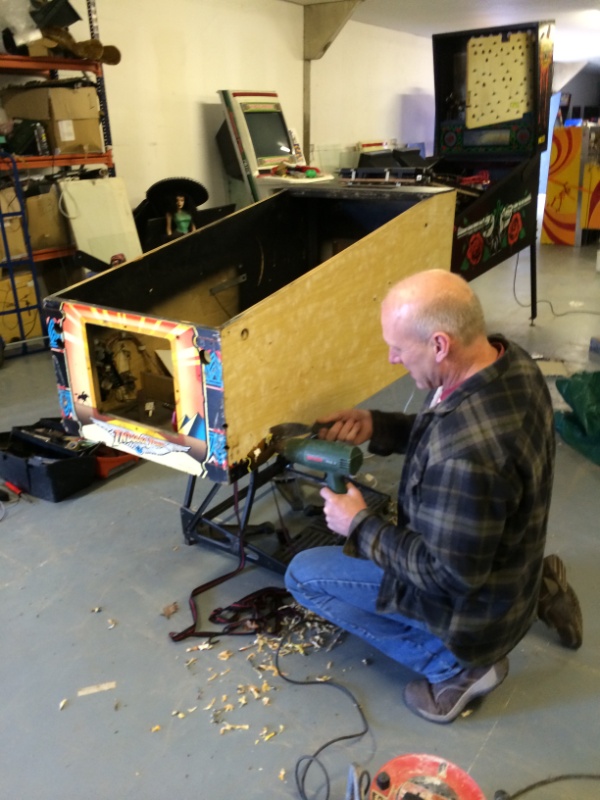
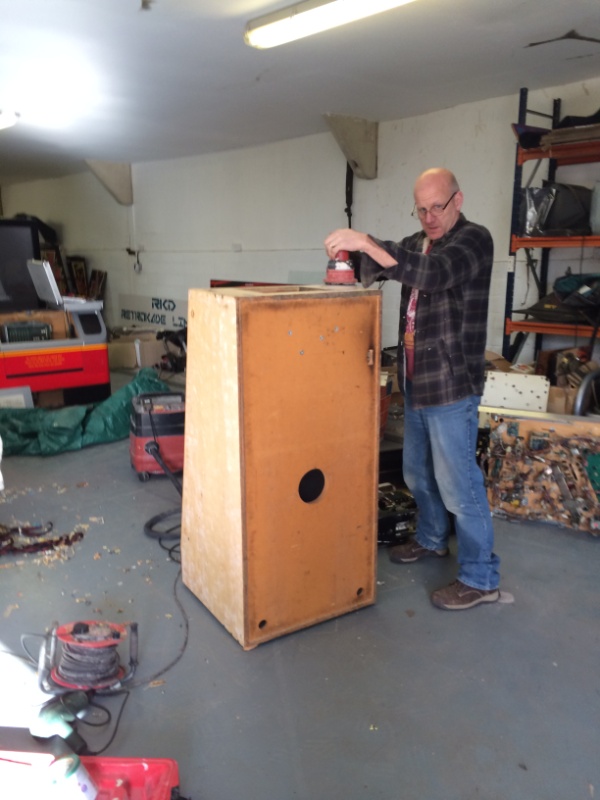
10. Matt starts on the backbox:
11. Begone sh*tty decals!
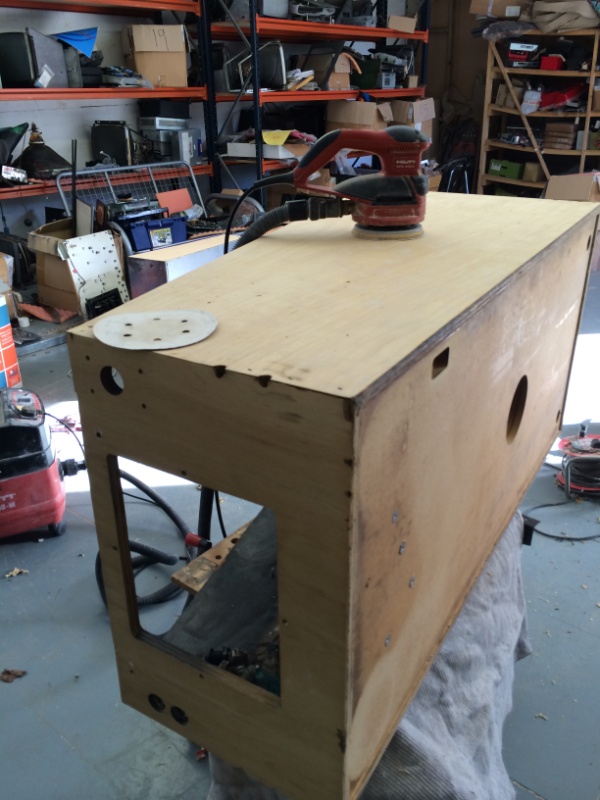
12. Matt would normally start using white spirits and chemicals to remove gook and glue at this stage, but as it has it the Spanish sun as baked this machine to within an inch of its glues resistance and he can skip this stage and go straight to razor blade and random-movement (with wicked suck up the dust hooker!) to get the crapola off:
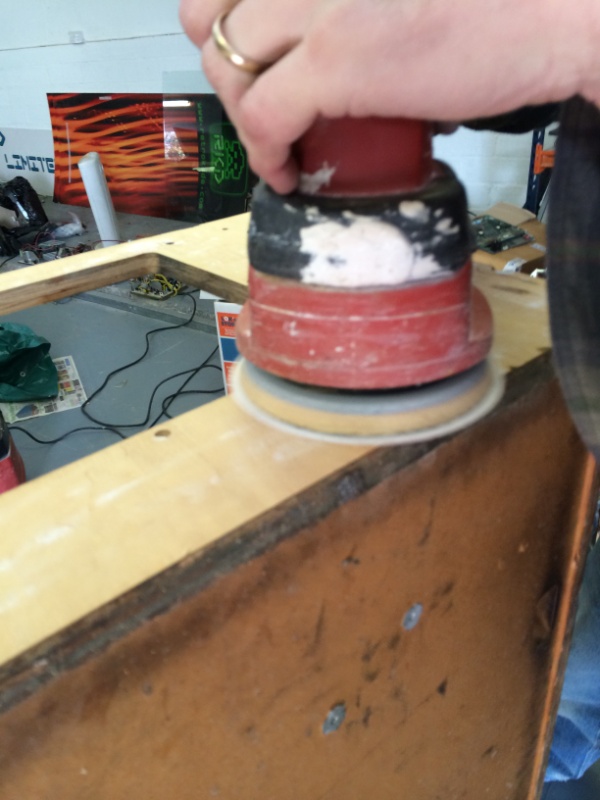
13. close-up please! Matt tried to explain that you need as non rotational sander that moves randomly and not just circular as that would feck the ply. I forgot his terms but just too a funky picture and nodded knowledgeably") :
:
14. Mid afternoon tea break and a dramatic pose from the Indy:
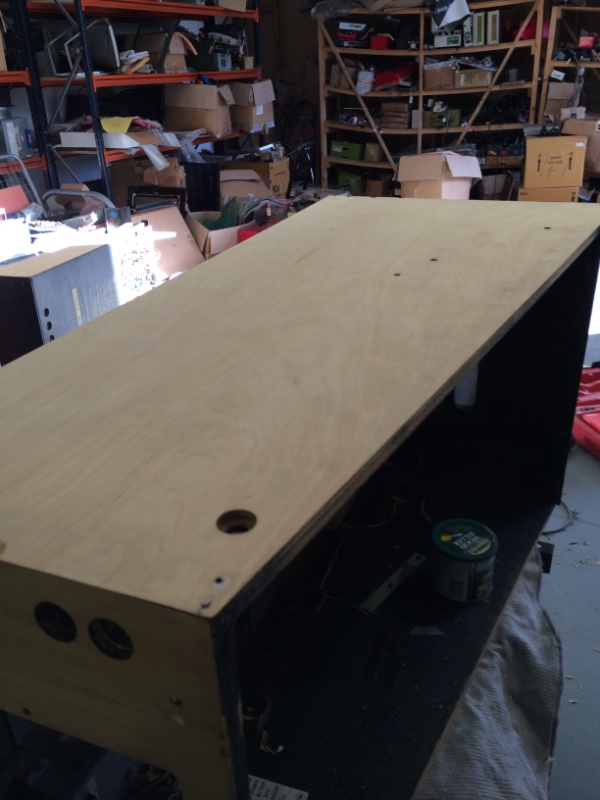
15. 15:30 and time to quit as Matt has to go see Derren Brown with my tickets (damned colds and ill missuses) A last glancing shot after approximately 5 hours work:
So until next time - fillings next, then the big one, I'll document by session. Its interesting aint it?
Regardless at the end of it we're effectively (for free) adding +£1k to the value of this pin at least and its all for charity at the end of the day. We all like to do our part and I ask you indulge me by backing the slam, buying raffles tickets, pledging cabs for the event and generally making me proud of Ukvac's commitment. Together as a community we'll make the community better R
Courtesy of a trade-price set of Repro Indiana Jones artwork from Pinball Heaven (www.pinballheaven.co.uk) we can make this baby have a bit more colour and flesh and far far more valuable. And so, Matt Adams who has a backlog of re-decalling jobs (and also did Olls thing of beatury I hasten to add) came round to my unit today as he needed the room after his relocation and it was a pleasure to attempt to create a journal - first time I've seen decalling done: I think you all might like the story too:
So lets start!:
1. Matt and I get the bad boy on his trusty B&D workbench:
2. Takedown commences (notice Movember's Sombrero Lara Croft making sure we didnt feck it up) !:
3. Playfield out, on it side, ready for fellow pinner Ivan Durneen to start the rework (pics soon) on the play area:
4. Cab being stripped (mid process):
5. We strip fasteners into two red boxes - black stuff for re-spraying before refit and others for general not on display fasteners:
6. Matt starts but detaching the siderails by splitting the double sided tape adhesive in a true manly fashion!:
7. Hot air gun is now utilised to strip the original artwork off:
Exclusive! 10 Second video of this blow-job in action!:
8. After an hour (or so) Side 1 loses its sun-fadedness:
9. Ok I admit it - I went home for soup and a defrost, but another hour later when I return the other side is decal-free:
10. Matt starts on the backbox:
11. Begone sh*tty decals!
12. Matt would normally start using white spirits and chemicals to remove gook and glue at this stage, but as it has it the Spanish sun as baked this machine to within an inch of its glues resistance and he can skip this stage and go straight to razor blade and random-movement (with wicked suck up the dust hooker!) to get the crapola off:
13. close-up please! Matt tried to explain that you need as non rotational sander that moves randomly and not just circular as that would feck the ply. I forgot his terms but just too a funky picture and nodded knowledgeably
:
14. Mid afternoon tea break and a dramatic pose from the Indy:
15. 15:30 and time to quit as Matt has to go see Derren Brown with my tickets (damned colds and ill missuses) A last glancing shot after approximately 5 hours work:
So until next time - fillings next, then the big one, I'll document by session. Its interesting aint it?
Regardless at the end of it we're effectively (for free) adding +£1k to the value of this pin at least and its all for charity at the end of the day. We all like to do our part and I ask you indulge me by backing the slam, buying raffles tickets, pledging cabs for the event and generally making me proud of Ukvac's commitment. Together as a community we'll make the community better
R


