Ok I have not posted any for a while as been to busy repairing ! But I thought I would post this one as I love the game and I know others do as well.
Sorry this is a fairly long repair, I have tried to make it as short as I can.
First off I would like to say a big " THANKS " to virtvic who supplied the board free of charge !. Also I spotted his webpage and I must say its very good and lots of things on there so if you have not been to have a look yet then its here :- http://tenpencearcade.co.uk
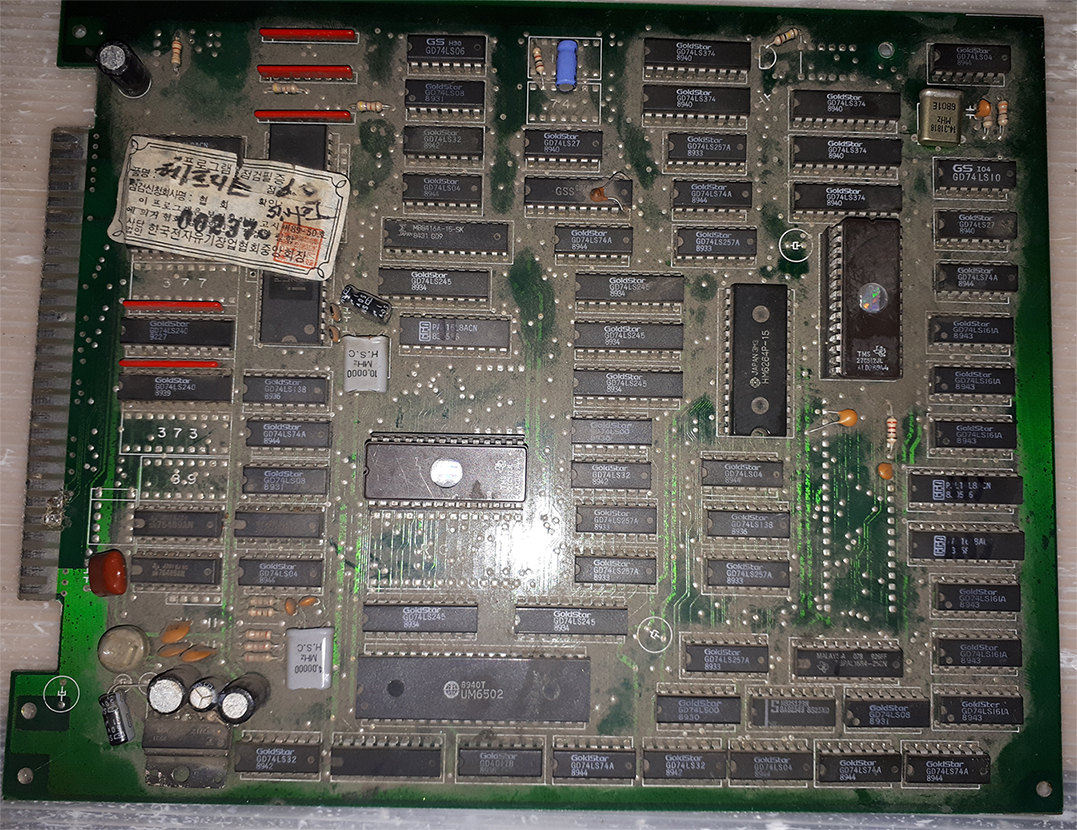
Ok so I received below :-
So first thing is a visual inspection. The board is not too bad has some board rot and the audio has been modified to fit a different chip. Nothing else realy rand out at me so I fired it up and got a blank screen. So I removed the main CPU rom and it was very dirty so I removed it and cleaned the legs and socket. The socket is not great but is good enough and continuity seemed to be ok. As the CPU rom had bad legs I removed the GFX rom and cleaned that as well.
Fired it up and to my surprise we had something...…… Sadly not working 100% but we did have some video and Audio seemed to work - It was a little crackly but still it worked so that's a start.

I checked the GFX rom to make sure it read ok and it did with no issues with the pins. So I decided to get the scope out and probe the GFX rom and we had some activity but I noticed that the + voltages was on the incorrect pin. I turned the board off and looked at the socket and it indeed seemed to be in the correct way round , But the socket had been put in the wrong way round !!!!
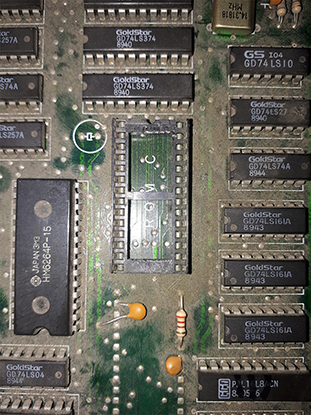
From my experience if the ROM chip has been inserted the incorrect way round then it blow the rom chip , For some reason this had not happened. So note to self NEVER trust a socket ! always test the voltages first to work out the correct way for the chip. Any way I fired it up and this is what we had :-

Wow all working and the game plays , All inputs are good as well.
So next part is putting this board back to the way is should be , Firstly we need to sort out that hashed up audio section. No major really but took me a while to find out what audio amp it should be as I could find no details on this at all. I have an identical board to this that I have in for repair but just my luck the Audio has been hashed up as well !! After a while searching I managed to find a picture that showed the amp ( PC1242H - NEC ) so I was able too confirm this, Sadly getting one was not easy as they were silly money on Greedbay and took ages to find a supplier. These were in Japan so had to wait over 3 weeks for them to come but it was worth it at £3.00 (Had to by 5 but needed another for the second one I have).
Below is the picture of the Audio Component and solder side :-

And below after replacing all of the caps (Including the missing ones) and the audio AMP :-

Fired it up and the audio now sound great !!!!
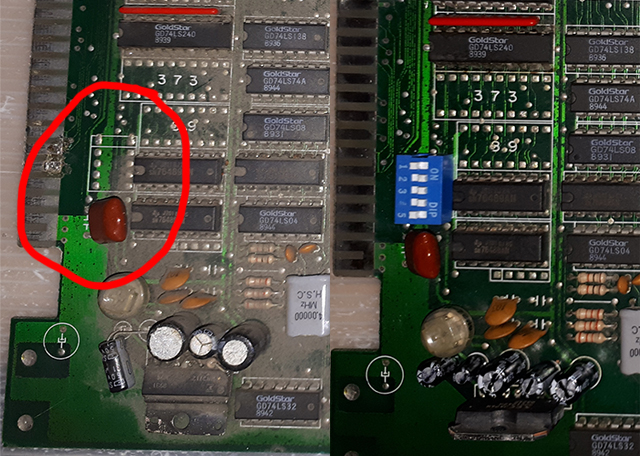
So the job is complete !!! Or hang on is it ???? I noticed that there was no dip switch , mmmm ok so should there be ??. I tested dip 1 ( This allowed the board to boot to test screen ) I was not expecting it to give me anything but to my surprise it gave me the test screen. Result !

This is the first time this board has ever showed this screen and its works great with lots of test screens. So on to the next dip 2,3 and 4 do nothing so I linked pin 5 and this also works ! This just freezes the start screens and stops the instruction screen ect. So as this worked we added the correct dip switch to the board.
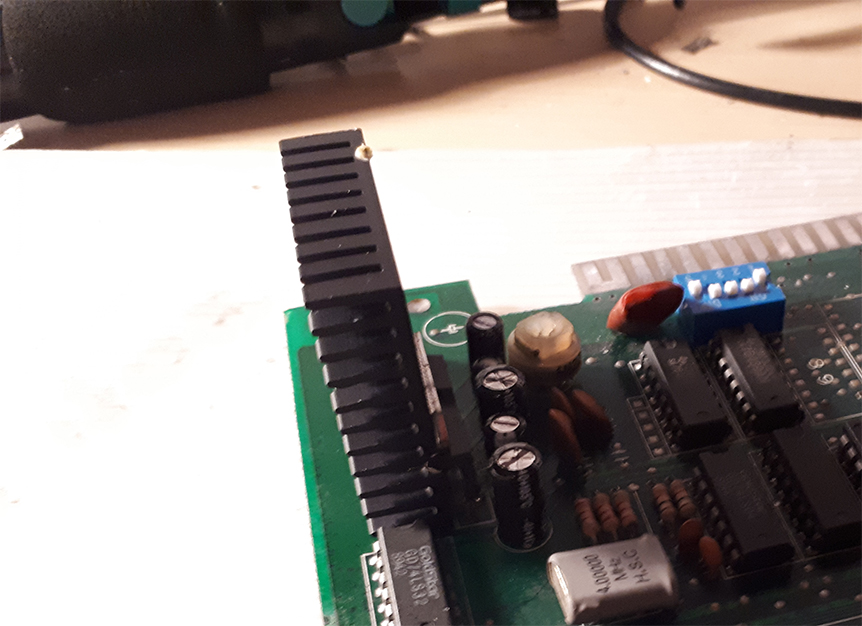
As you can see I have cleaned the board and also the Jamma connector. The only other thing I may do is add a 220uf cap (Not realy needed but some did have them - Just a smoothing cap), may add the 2 LED's that the original had and add a Heatsink to the audio amp to keep it cool and hopefully make it last longer, And the original did have one. Just placed on but it will look like this :-
And the finished board (Without heatsink ) - Could do with a better clean but its not too bad.
So there we have it, A long repair but another saved from the clutches of the scrap man.
If you enjoy reading this then please feel free to comment or give me a thank you, I have not been posting many of my repairs as it doesn't look like many people read them or bother to comment. It takes a while to do these as well !
Just before we go I will answer a question before its asked - Why save a bootleg board that is worth no money ??
Simple, I believe that all boards deserve to be saved and repaired. Does it really matter if its a bootleg or original ?? Well not to me I love all games and love repairing them and more to the point playing them. If you are thinking of chucking a bootleg in the bin DONT pm me and I will take it off your hands and revive it. We need to keep as many going as we can.
Thanks for reading,
Dave.
[sub][/sub][sup][/sup]
Sorry this is a fairly long repair, I have tried to make it as short as I can.
First off I would like to say a big " THANKS " to virtvic who supplied the board free of charge !. Also I spotted his webpage and I must say its very good and lots of things on there so if you have not been to have a look yet then its here :- http://tenpencearcade.co.uk
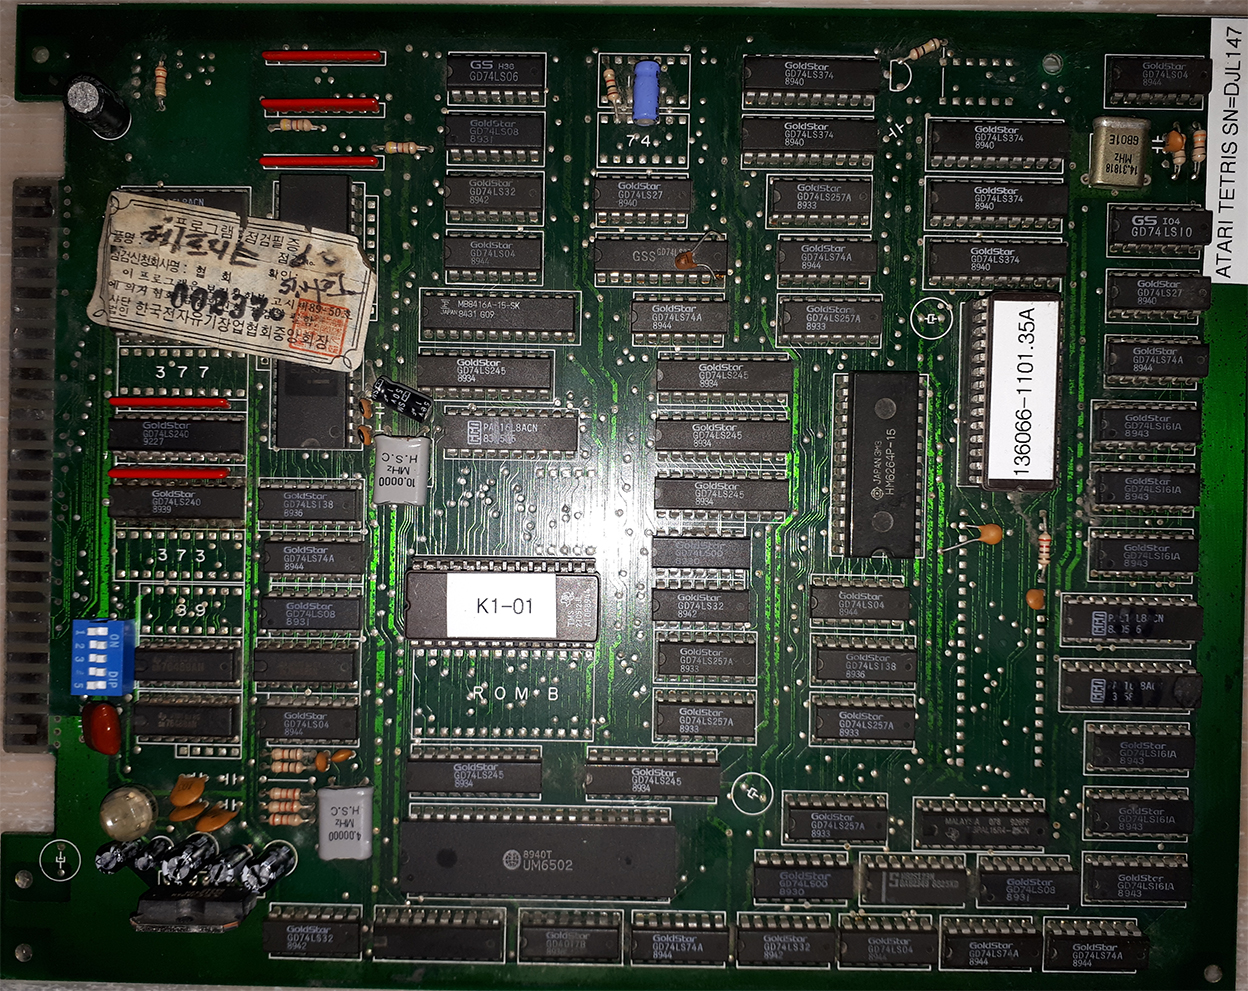
Ok so I received below :-
So first thing is a visual inspection. The board is not too bad has some board rot and the audio has been modified to fit a different chip. Nothing else realy rand out at me so I fired it up and got a blank screen. So I removed the main CPU rom and it was very dirty so I removed it and cleaned the legs and socket. The socket is not great but is good enough and continuity seemed to be ok. As the CPU rom had bad legs I removed the GFX rom and cleaned that as well.
Fired it up and to my surprise we had something...…… Sadly not working 100% but we did have some video and Audio seemed to work - It was a little crackly but still it worked so that's a start.
I checked the GFX rom to make sure it read ok and it did with no issues with the pins. So I decided to get the scope out and probe the GFX rom and we had some activity but I noticed that the + voltages was on the incorrect pin. I turned the board off and looked at the socket and it indeed seemed to be in the correct way round , But the socket had been put in the wrong way round !!!!
From my experience if the ROM chip has been inserted the incorrect way round then it blow the rom chip , For some reason this had not happened. So note to self NEVER trust a socket ! always test the voltages first to work out the correct way for the chip. Any way I fired it up and this is what we had :-
Wow all working and the game plays , All inputs are good as well.
So next part is putting this board back to the way is should be , Firstly we need to sort out that hashed up audio section. No major really but took me a while to find out what audio amp it should be as I could find no details on this at all. I have an identical board to this that I have in for repair but just my luck the Audio has been hashed up as well !! After a while searching I managed to find a picture that showed the amp ( PC1242H - NEC ) so I was able too confirm this, Sadly getting one was not easy as they were silly money on Greedbay and took ages to find a supplier. These were in Japan so had to wait over 3 weeks for them to come but it was worth it at £3.00 (Had to by 5 but needed another for the second one I have).
Below is the picture of the Audio Component and solder side :-
And below after replacing all of the caps (Including the missing ones) and the audio AMP :-
Fired it up and the audio now sound great !!!!
So the job is complete !!! Or hang on is it ???? I noticed that there was no dip switch , mmmm ok so should there be ??. I tested dip 1 ( This allowed the board to boot to test screen ) I was not expecting it to give me anything but to my surprise it gave me the test screen. Result !
This is the first time this board has ever showed this screen and its works great with lots of test screens. So on to the next dip 2,3 and 4 do nothing so I linked pin 5 and this also works ! This just freezes the start screens and stops the instruction screen ect. So as this worked we added the correct dip switch to the board.
As you can see I have cleaned the board and also the Jamma connector. The only other thing I may do is add a 220uf cap (Not realy needed but some did have them - Just a smoothing cap), may add the 2 LED's that the original had and add a Heatsink to the audio amp to keep it cool and hopefully make it last longer, And the original did have one. Just placed on but it will look like this :-
And the finished board (Without heatsink ) - Could do with a better clean but its not too bad.
So there we have it, A long repair but another saved from the clutches of the scrap man.
If you enjoy reading this then please feel free to comment or give me a thank you, I have not been posting many of my repairs as it doesn't look like many people read them or bother to comment. It takes a while to do these as well !
Just before we go I will answer a question before its asked - Why save a bootleg board that is worth no money ??
Simple, I believe that all boards deserve to be saved and repaired. Does it really matter if its a bootleg or original ?? Well not to me I love all games and love repairing them and more to the point playing them. If you are thinking of chucking a bootleg in the bin DONT pm me and I will take it off your hands and revive it. We need to keep as many going as we can.
Thanks for reading,
Dave.
[sub][/sub][sup][/sup]


")