You are using an out of date browser. It may not display this or other websites correctly.
You should upgrade or use an alternative browser.
You should upgrade or use an alternative browser.
The official UKVaC hall of shame cab thread
- Thread starter AnDyC
- Start date

ShinraArcade
Active member
Sorry for duplicating this but though it should be in it's rightful place. Original thread by TheDaddy, so don't blame me for any hernia's
http://www.ukvac.com/forum/topic373371_post1117328.html#1117328
http://www.ukvac.com/forum/topic373371_post1117328.html#1117328
Also wanted to grab the pics and eBay description before it disappears!
Here goes:
DIY Arcade machine made from a head board for a bed - Raspberry Pi, Retropie
[sub][/sub][sup][/sup]
DIY Arcade machine made from a head board for a bed. Condition is Used. Collection in person only.
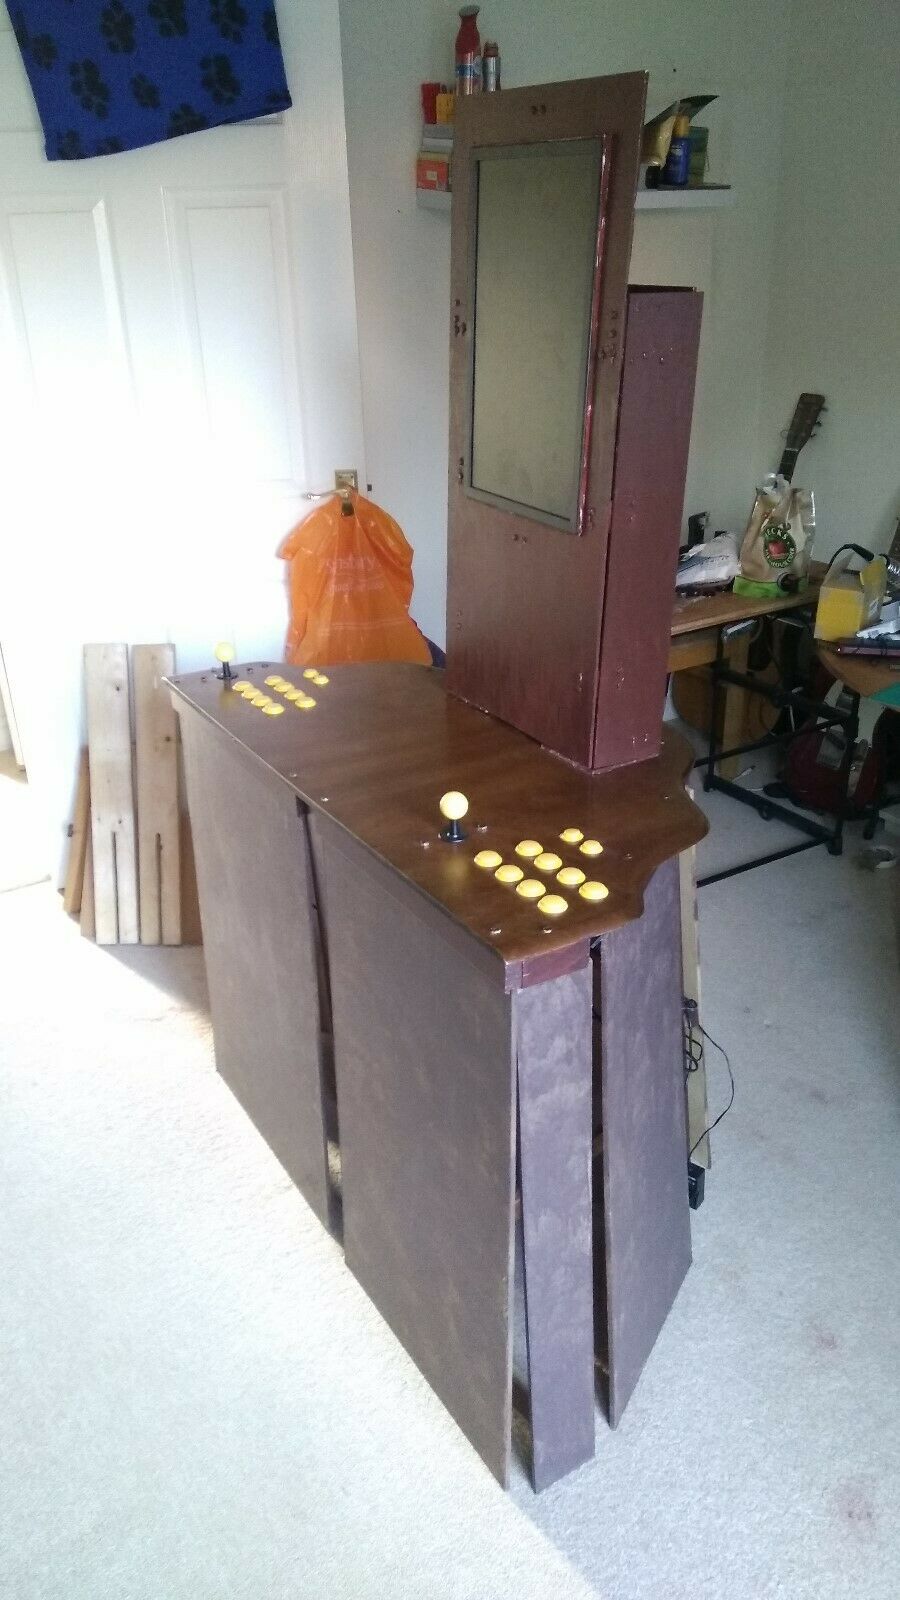
So, you are bidding on a one of a kind DIY arcade-like machine, which I built in 5 months in my spare time using a headboard for a bed I acquired. I built around it, attached 2 arcade joysticks, stencilled, painted and am using a monitor inside a custom casing I built. It's kinda modular, I.e. the boards at the bottom, you slot in at the bottom to create the full assembly, but can be removed when you need to put it in a van for collection (transit van is highly recommended, or a van with good head clearance). The boards used at the bottom are MDF, cut to size, varnished and painted to keep the colour theme I had going.
It's powered using Raspberry Pi 3b and retropie and I have a Micro SD card with pre-installed retropie and emulated games I currently own (I was using this as a backup for my currently owned retro systems with cartridges that are slowly oxidizing).
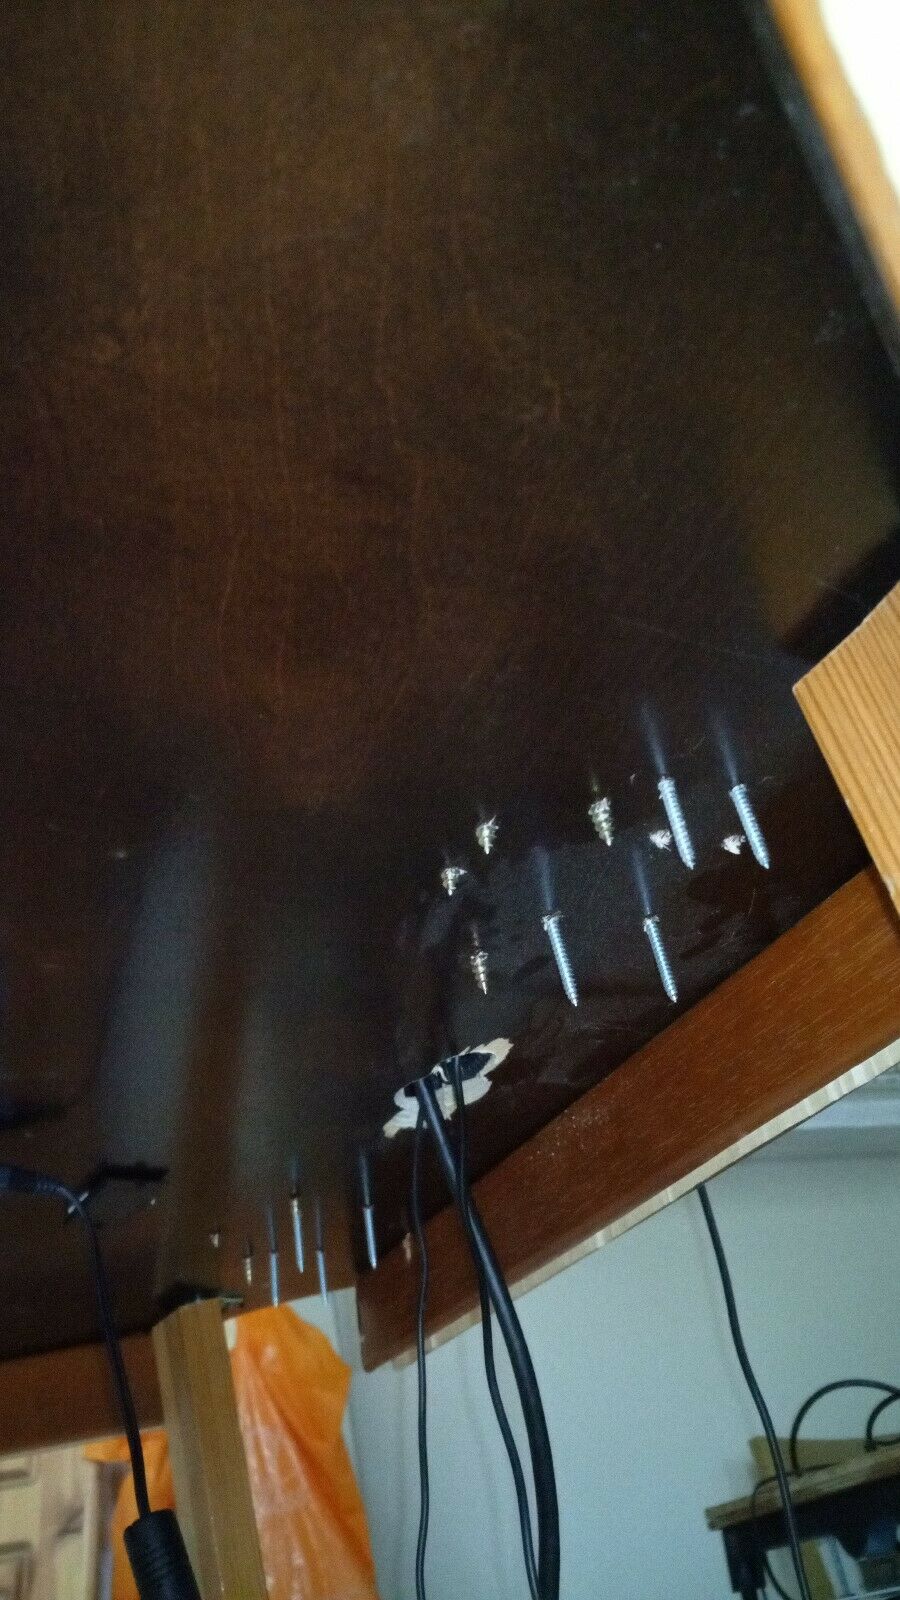
I coded retropie a little to change screen orientation, especially useful when playing MAME games, such as Galaga - It looks so cool. Note: The underside shows my construction limitations - There are protruding screws (and bolts behind the housing for the monitor). I am making you aware, because I will not take responsibility for any injury caused by misuse or hyperactive children . Also made mainly from wood so be aware that as with any wood based stuff, it can set on fire if you're careless with matches and cigarettes. Again, I cannot take responsibility for this. By buying this item, you have agreed to do so at your own risk of these typical dangers (again, I mention this because it's a DIY project I assembled a year ago so is not a retail item, but has been made with some off the shelf parts).
It has 2 plugs, one for the Pi and the other for the Monitor. You will need 2 AAA batteries for the speaker, which is a plunge based one i.e. press it onto the wood and it turns the surface into a speaker. This is situated inside, below the monitor
Tested and working fine. Selling because I want to make space for my girlfriend when we do decide to move in together. Got to plan for the future you see. This would make a great discussion piece in any house and ideal for the retrogeek.
Note: I cannot take responsibility for damage or injury caused by this device. I have outlined the issues you may have with this and will be clear that this is a DIY project, one of a kind, and not a retail sold machine
On 29-Oct-19 at 16:48:42 GMT, seller added the following information:
Additionally: This is for the whole unit, not just for what you want to unscrew and take away. I will not be willing to sell if this is your intention - I need the space, remember, plus I want this cool little DIY project to go to somebody who will appreciate it
[sub][/sub][sup][/sup]


http://www.ukvac.com/forum/topic373371_post1117328.html#1117328
http://www.ukvac.com/forum/topic373371_post1117328.html#1117328
Also wanted to grab the pics and eBay description before it disappears!
Here goes:
DIY Arcade machine made from a head board for a bed - Raspberry Pi, Retropie
[sub][/sub][sup][/sup]
DIY Arcade machine made from a head board for a bed. Condition is Used. Collection in person only.
So, you are bidding on a one of a kind DIY arcade-like machine, which I built in 5 months in my spare time using a headboard for a bed I acquired. I built around it, attached 2 arcade joysticks, stencilled, painted and am using a monitor inside a custom casing I built. It's kinda modular, I.e. the boards at the bottom, you slot in at the bottom to create the full assembly, but can be removed when you need to put it in a van for collection (transit van is highly recommended, or a van with good head clearance). The boards used at the bottom are MDF, cut to size, varnished and painted to keep the colour theme I had going.
It's powered using Raspberry Pi 3b and retropie and I have a Micro SD card with pre-installed retropie and emulated games I currently own (I was using this as a backup for my currently owned retro systems with cartridges that are slowly oxidizing).
I coded retropie a little to change screen orientation, especially useful when playing MAME games, such as Galaga - It looks so cool. Note: The underside shows my construction limitations - There are protruding screws (and bolts behind the housing for the monitor). I am making you aware, because I will not take responsibility for any injury caused by misuse or hyperactive children
. Also made mainly from wood so be aware that as with any wood based stuff, it can set on fire if you're careless with matches and cigarettes. Again, I cannot take responsibility for this. By buying this item, you have agreed to do so at your own risk of these typical dangers (again, I mention this because it's a DIY project I assembled a year ago so is not a retail item, but has been made with some off the shelf parts).It has 2 plugs, one for the Pi and the other for the Monitor. You will need 2 AAA batteries for the speaker, which is a plunge based one i.e. press it onto the wood and it turns the surface into a speaker. This is situated inside, below the monitor
Tested and working fine. Selling because I want to make space for my girlfriend when we do decide to move in together. Got to plan for the future you see. This would make a great discussion piece in any house and ideal for the retrogeek.
Note: I cannot take responsibility for damage or injury caused by this device. I have outlined the issues you may have with this and will be clear that this is a DIY project, one of a kind, and not a retail sold machine
On 29-Oct-19 at 16:48:42 GMT, seller added the following information:
Additionally: This is for the whole unit, not just for what you want to unscrew and take away. I will not be willing to sell if this is your intention - I need the space, remember, plus I want this cool little DIY project to go to somebody who will appreciate it
[sub][/sub][sup][/sup]
ShinraArcade
Active member

ShinraArcade
Active member
RichMurrills
User
- Credits
- 46CR
KILL IT WITH FIRE AND STICKS!
I dread to think what they're going to do to the Daytona 2.
I dread to think what they're going to do to the Daytona 2.

RichMurrills
User
- Credits
- 46CR
And if you’re left handed you can play as Player 2

RichMurrills
User
- Credits
- 46CR
Are those… cup holders?
RichMurrills
User
- Credits
- 46CR
A thing of beauty this one...

Here is something i made a few years back for a company who wanted to display a laptop were the control panel is. Designed to slot together but fit in a box and sent via courier. Eventually got cut from a white 15mm cardboard and printed in their branding.


