You are using an out of date browser. It may not display this or other websites correctly.
You should upgrade or use an alternative browser.
You should upgrade or use an alternative browser.
A noobs adventures in cab ownership!
- Thread starter ChrisBEANS
- Start date
Cheers all. I’ll get it reassembled during the week and get some pics up!!
I think I’m fitting some EL panels too…
I think I’m fitting some EL panels too…
Soooo…
Simply used a Stanley to shave off the nubs. Everything fits perfectly now.
Added a few decals, and added an NV RAM module the the motherboard too.

Simply used a Stanley to shave off the nubs. Everything fits perfectly now.
Added a few decals, and added an NV RAM module the the motherboard too.
Well that just looks amazing. My kid would live to get his sticky mitts on that!
Reminds me of Captain Phasma from Star Wars!
Reminds me of Captain Phasma from Star Wars!
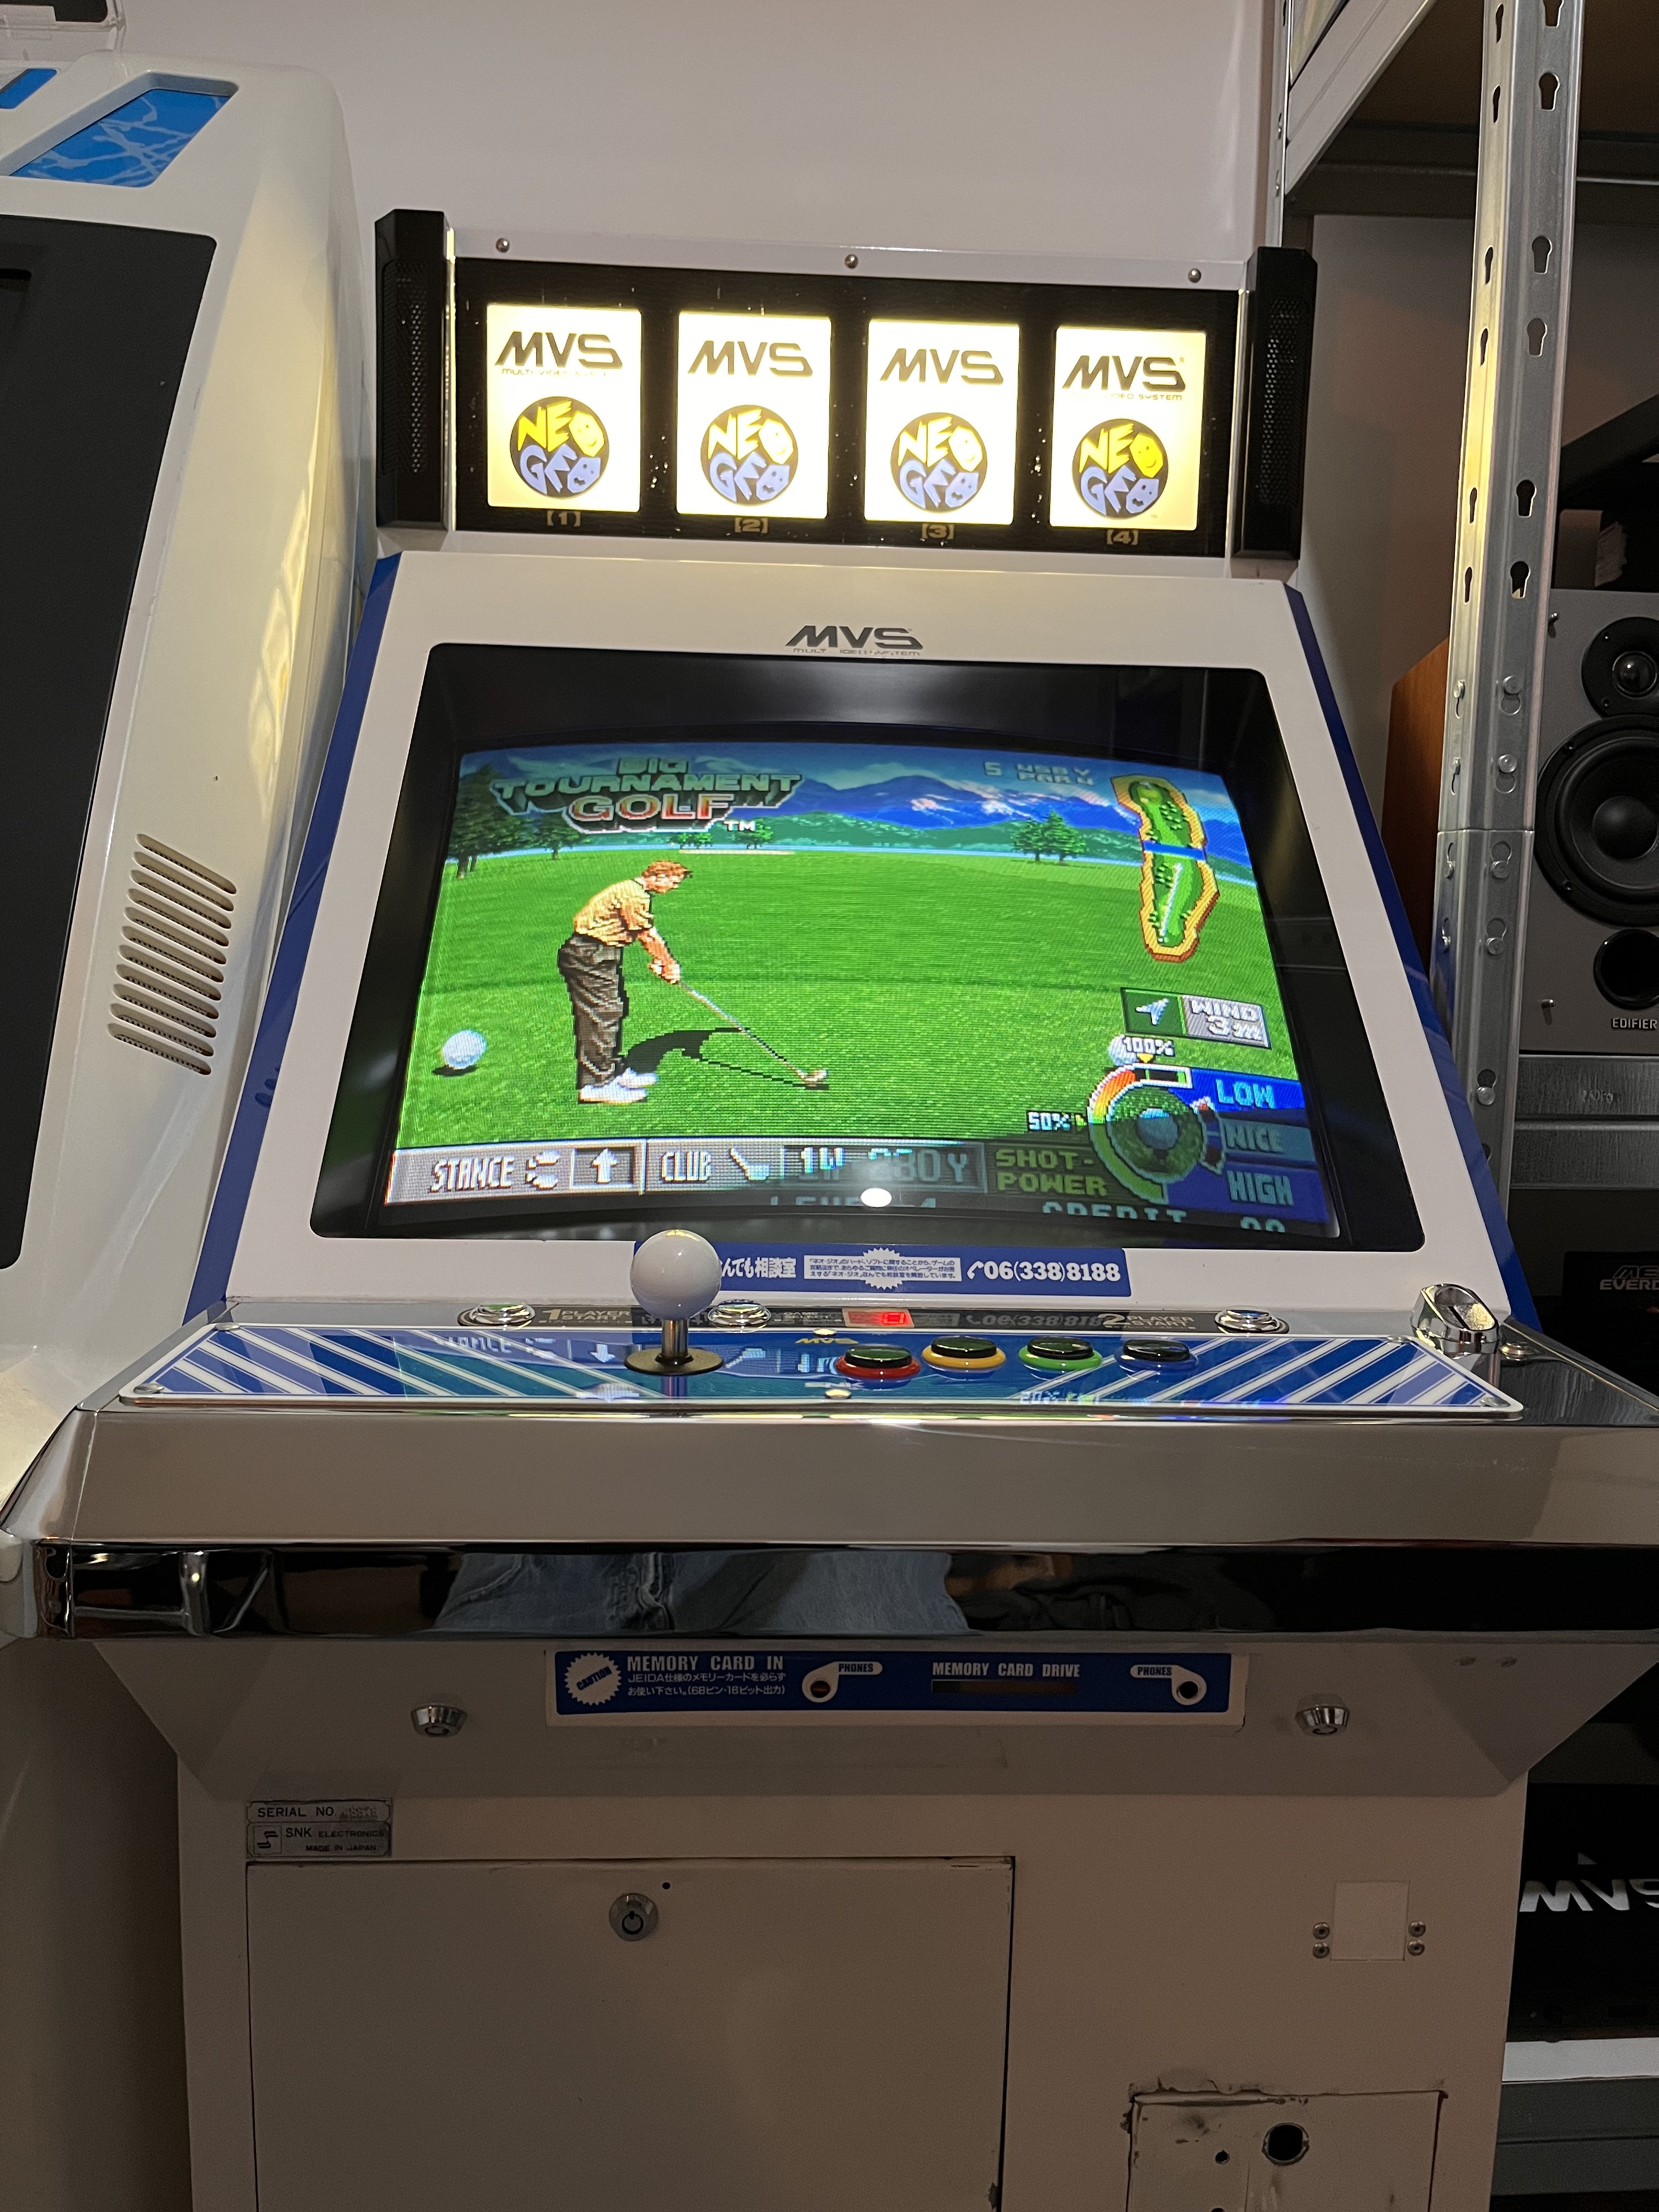
Ok, so the U4 does not use EL panels.
It uses a flourescent bulb inside the light box behind the mini marquees.
Unfortunately, it's too bright, occasioanlly has a humm associated with flourescent tubes, and there's not only a ton of light bleed at the edges of the enclosure, but it also highlights all of the knocks and scratches that the mini marquee cover has taken through years of real world use that just looks crap.

So I decided to grab some EL panels from www.neogeoledmarquee.info
http://www.neogeoledmarquee.info/product/4-slot-slim-universal/
However, this cab is original, and is in largely good shape, so I'm not looking to do anything destructive, nor am I wiling to take the old bulb out and store it as it'll certainly get damaged and that will end up being unintentionally destructive.
I thought about simply unplugging the bulb, but that's hardly an elegant solution, so instead I opted to add an inline switch...


Next was to establish a way to fit the EL panels onto a cabinet that doesn't use them, and to also keep the original mini marquee holder.
Turns out that was an obvious and dead simple solution. Adhesive strips, cut to size.

Was pretty straight forward to carefully place them in front of the bulb, and although it was a pretty close fit, they all went in perfectly across the width of the mini marquee holder.

Sadly, the wires from the EL panels were not quite long enough to mount the control PCB inside the cabinet, so I needed to find a place inside the light box and still have access to the buttons and the potentiometer on the PCB itself. Again, tight, but perfectly adequate. (The feet of the PCB are also held to the cab with trimmed down adhesive strips)

It's very simple and self explanitory to wire up, and the cable between the PCB and the MVS motherboard was plenty long enough.

As I said above, very straight forward to wire up, so I was actually worried that if it didn't work when I switched it on, it was unlikley to be a simple fix but more likely a problem with either the PCB or even the motherboard. No need to worry...
https://imgur.com/gallery/jNv6BMO (<- This should be a video?!)
Quick double check on the bulb...
Safe and sound.
https://imgur.com/gallery/qymHqCW (<- This should also be a video?!)
And I think I'm done for the day.

It uses a flourescent bulb inside the light box behind the mini marquees.
Unfortunately, it's too bright, occasioanlly has a humm associated with flourescent tubes, and there's not only a ton of light bleed at the edges of the enclosure, but it also highlights all of the knocks and scratches that the mini marquee cover has taken through years of real world use that just looks crap.
So I decided to grab some EL panels from www.neogeoledmarquee.info
http://www.neogeoledmarquee.info/product/4-slot-slim-universal/
However, this cab is original, and is in largely good shape, so I'm not looking to do anything destructive, nor am I wiling to take the old bulb out and store it as it'll certainly get damaged and that will end up being unintentionally destructive.
I thought about simply unplugging the bulb, but that's hardly an elegant solution, so instead I opted to add an inline switch...
Next was to establish a way to fit the EL panels onto a cabinet that doesn't use them, and to also keep the original mini marquee holder.
Turns out that was an obvious and dead simple solution. Adhesive strips, cut to size.
Was pretty straight forward to carefully place them in front of the bulb, and although it was a pretty close fit, they all went in perfectly across the width of the mini marquee holder.
Sadly, the wires from the EL panels were not quite long enough to mount the control PCB inside the cabinet, so I needed to find a place inside the light box and still have access to the buttons and the potentiometer on the PCB itself. Again, tight, but perfectly adequate. (The feet of the PCB are also held to the cab with trimmed down adhesive strips)
It's very simple and self explanitory to wire up, and the cable between the PCB and the MVS motherboard was plenty long enough.
As I said above, very straight forward to wire up, so I was actually worried that if it didn't work when I switched it on, it was unlikley to be a simple fix but more likely a problem with either the PCB or even the motherboard. No need to worry...
https://imgur.com/gallery/jNv6BMO (<- This should be a video?!)
Quick double check on the bulb...
Safe and sound.
https://imgur.com/gallery/qymHqCW (<- This should also be a video?!)
And I think I'm done for the day.
eccentric-nut
Active member
Excellent write up, thanks!
I was thinking of doing the same with Lee's panels, now I can see it done easily I will also be doing the same.
I was thinking of doing the same with Lee's panels, now I can see it done easily I will also be doing the same.
Actually, very quick last thing...
This cab was obviously broken into back in the day.

While I'm not fussed enough to get the whole thing straightened out and powder coated, and in fact I'm actually quite pleased to have a cab that reflects the life it's lead, I'd still like to tidy that mess up.
As I have the adhesive pads out...

Added a frame I ordered for it months ago.
Now, I'm just about done with messing with the U4 I think...
Bit's I haven't bothered to document are the addition of both a memory module and a memory card PCB. Can't plug both in at once of course, so it's much neater to have the memory dealt with on the memory module that sits descretely on the motherboard, and the then use the memory card PCB just for the headphone sockets.

Do I need some subtle lighting for those shelves?? I'm starting to think so...
ChrisBEANS2022-06-04 21:29:35
This cab was obviously broken into back in the day.
While I'm not fussed enough to get the whole thing straightened out and powder coated, and in fact I'm actually quite pleased to have a cab that reflects the life it's lead, I'd still like to tidy that mess up.
As I have the adhesive pads out...
Added a frame I ordered for it months ago.
Now, I'm just about done with messing with the U4 I think...
Bit's I haven't bothered to document are the addition of both a memory module and a memory card PCB. Can't plug both in at once of course, so it's much neater to have the memory dealt with on the memory module that sits descretely on the motherboard, and the then use the memory card PCB just for the headphone sockets.
Do I need some subtle lighting for those shelves?? I'm starting to think so...
ChrisBEANS2022-06-04 21:29:35
eccentric-nut said:Excellent write up, thanks!
I was thinking of doing the same with Lee's panels, now I can see it done easily I will also be doing the same.
Tell him I sent you, I'm after a discount on my next order
")

Seriously though, super easy. If I hadn't been documenting doing it, it's a twenty minute job.
What a cool looking cab! I WANT ONE!
I went with Lee's EL panels and they are awesome. Will update my own thread soon with the progress but they work great and look even better.
I went with Lee's EL panels and they are awesome. Will update my own thread soon with the progress but they work great and look even better.
Just seen that http://www.neogeoledmarquee.info/ is no longer selling his wares.
That’s a huge blow to anyone looking to restore these cabs.
Was incredibly useful to me, and I wish the bloke well.
Does anyone know of any alternate options?
That’s a huge blow to anyone looking to restore these cabs.
Was incredibly useful to me, and I wish the bloke well.
Does anyone know of any alternate options?
does anyone know what these 2 cabs are, or what they were made from originally?
ok, so the one on the right is an SNK U4, the one on the left?
ok, so the one on the right is an SNK U4, the one on the left?
Rob_bob_2k6
Active member
Looks like a Konami windy 2, I like how small it makes the U4 look.does anyone know what these 2 cabs are, or what they were made from originally?
ok, so the one on the right is an SNK U4, the one on the left?