Daytona Resurrection

Outrun2

Colonel Outrun
Feedback
5 (100%)
Credits
1,141CR
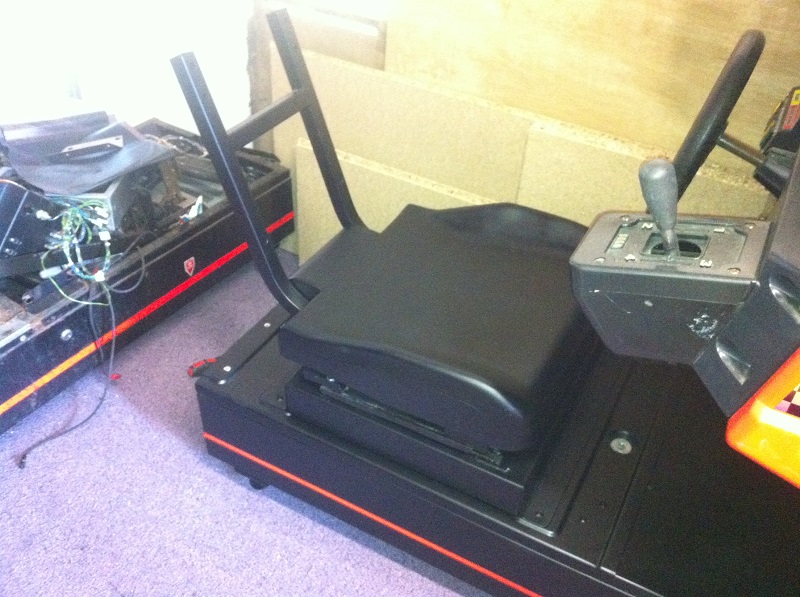
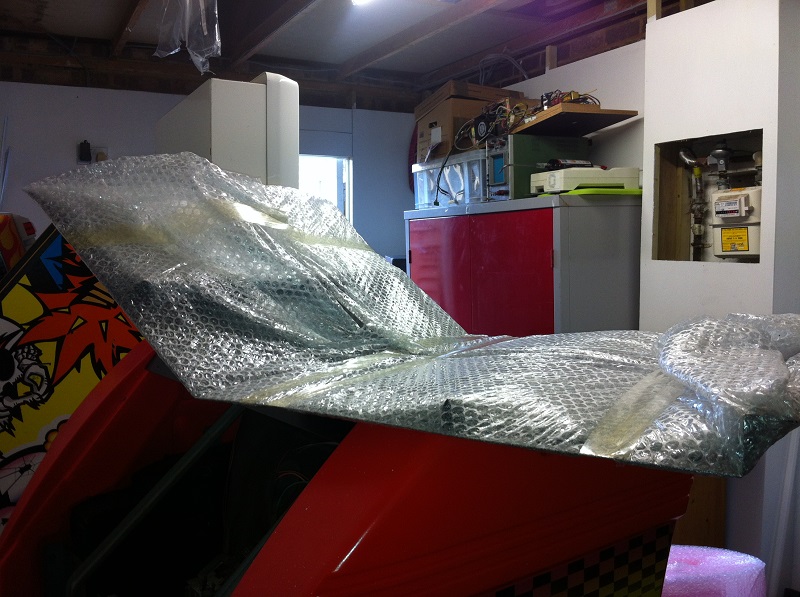
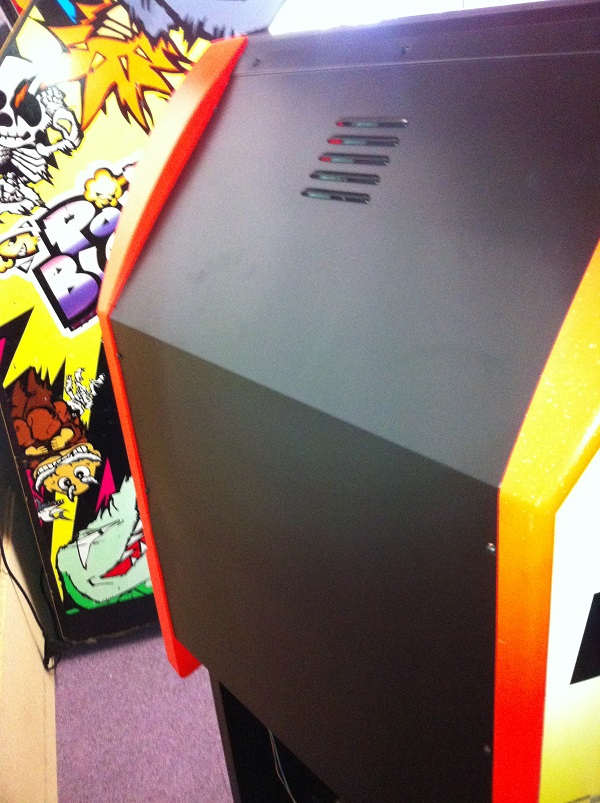
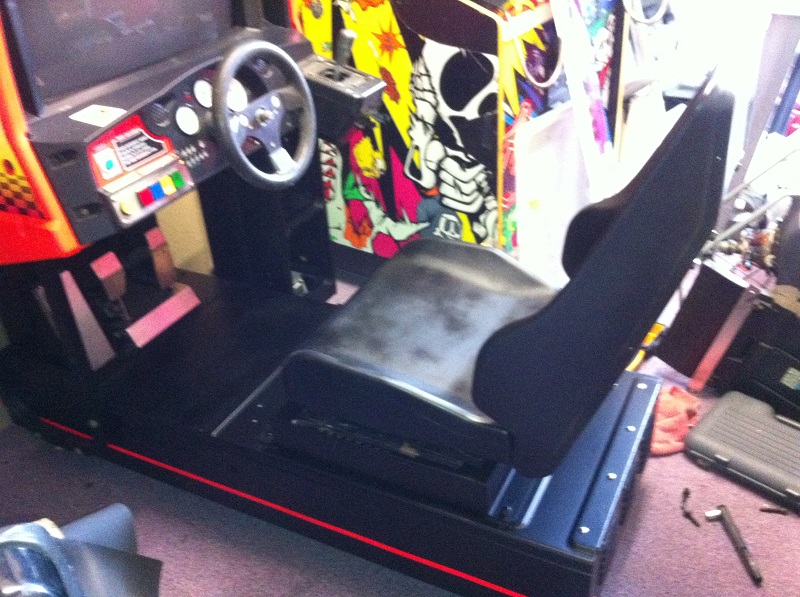
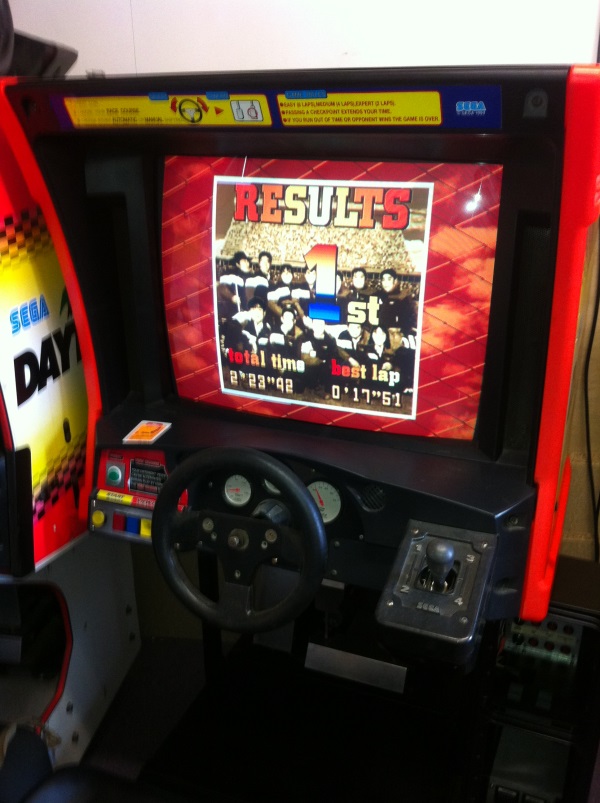
Cab looks fantastic mate - what a difference from the before shot!

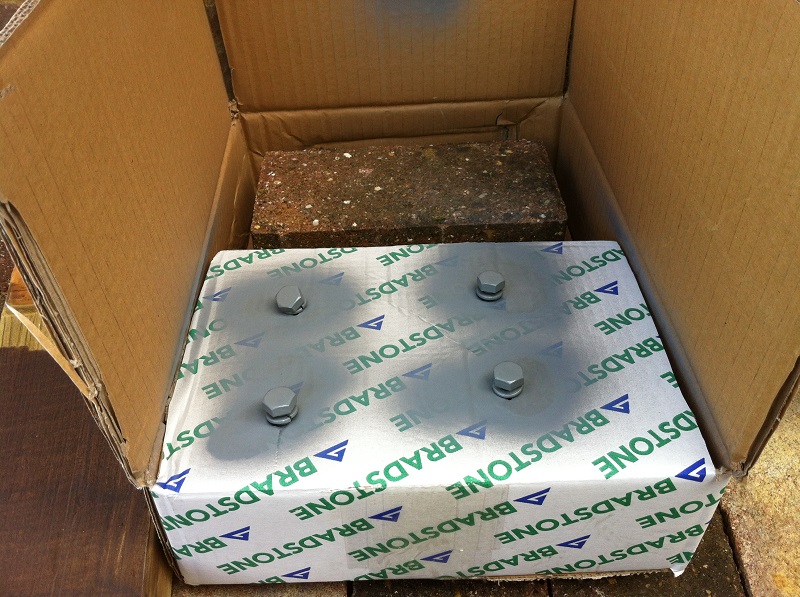
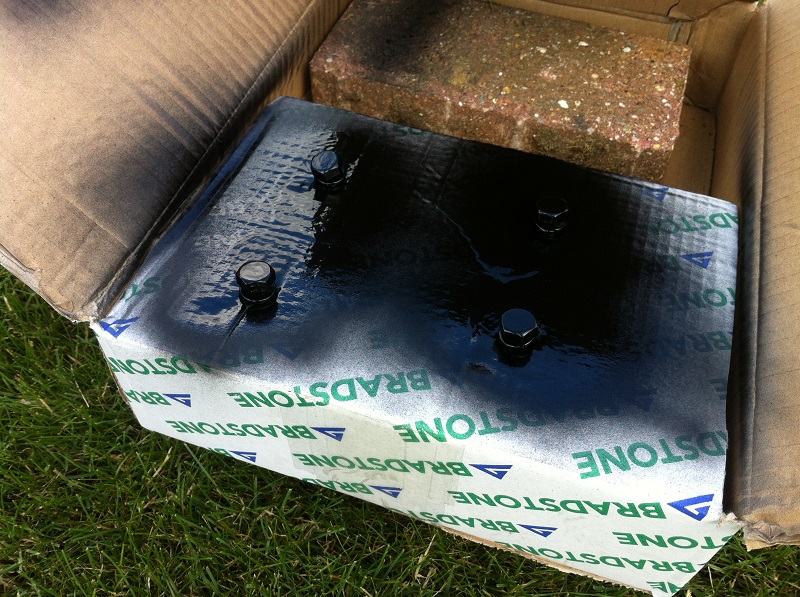
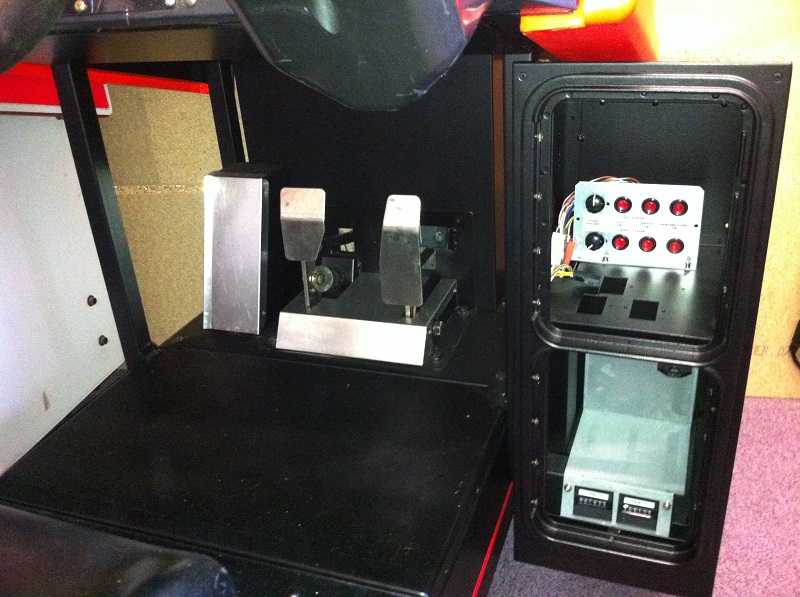
Something I've often wondered - do you have to make any special preparations with regard threads when you get metalwork powdercoated? I've always imagined the thread would be ruined if a bolt isn't left in or something..
 

bat968

Newbie
Credits
6CR
Very nice!!! You are lucky to hace been able to dismantle it completely...

Here is the thread of my WIP, sorry it's in french : http://www.gamoover.net/Forums/index.php?topic=26035.0

Keep on the good work! :)
 

Deathrow

Boom boom POW!
vacBacker
Feedback
3 (100%)
Credits
140CR
Salut,

J'ai regardé par votre build et je suis très impressionné! Quel travail fantastique que vous avez fait.

Une grande attention aux détails.

Vous devriez être fiers de ce WIP.

Ces planches sont sortis comme neuf! Je devrais commencer mon propre fil Daytona un jour.
 

Setch

The nice ad-min
vacBacker
Credits
538CR
bat968 said:
Very nice!!! You are lucky to hace been able to dismantle it completely...

Here is the thread of my WIP, sorry it's in french : http://www.gamoover.net/Forums/index.php?topic=26035.0

Keep on the good work! :)

Will defo have a read of that when I can get on a PC with some translation :)

I find Daytonas actually come apart quite easily, even the woodies have ways of breaking them down with minimal fuss.

I really need to get this started again, now the evenings are getting lighter.. Watch this space !!
 

IDCHAPPY

KANFU Master
vacBacker
Feedback
9 (100%)
Credits
1,523CR
Was just reading through this awesome thread again and had to laugh when you put the board sets beside your 12 other faulty sets
smiley36.gif
.
That's some pile of Daytona spares, is it worth getting them fixed mate?
smiley1.gif
 

Setch

The nice ad-min
vacBacker
Credits
538CR
I think its about time for an update.. dont you :)

Well just under a year ago I hit a bit of a wall with the restore as I could not find any minty seats and could not face putting the old ones on a nice restored cab, so I spent the winter looking into options to have them professionally restored but every where I went either said they could not do it or wanted £400+ to restore 2 seats..

So recently I thought I would have a go at sorting something out, im not 100% happy with the results but it at least meant I could continue with the restore.

So base sanded down ready from some plastic primer
IMG_1252.JPG


Followed by a couple of coats of Matt Black, this left a rather rough finish so I finished up with 3 coats of Satin black.
IMG_1253.JPG
 

Setch

The nice ad-min
vacBacker
Credits
538CR
Same treatment to the back, you can see the large scratch filled here
IMG_1255.JPG


IMG_1256.JPG


Again the same paint treatment as with the base.
IMG_1258.JPG

IMG_1259.JPG


overall I am happy with the results but they are far from perfect so may think of doing something different with the next 2 sections.

So with that little hurdle out of the way, I can finally start to build the back section of the cab back up again.

Sub fitted to base.
IMG_1260.JPG


Seat support ready to be paired with the restored plastics.
IMG_1261.JPG


All in place, then realised I didnt buy any new bolts to fix the 2 together.. BALLS !!
IMG_1262.JPG


oh well re-paint the old ones then, primer & satin black finish.
IMG_1263.JPG

IMG_1270.JPG


While they were drying I figured id start to unwrap some of the other parts that were coated last year, so monitor cover out of the spare room
IMG_1266.JPG


And fitted.
IMG_1267.JPG


We all know Phils op friend has a fetish for violating the back doors of retro arcade machines, well you will be happy to know that he has the same desire with early nineties sega cabs too, typically, back doors missing, i still need to source these and get them painted up the same.
IMG_1268.JPG
 

Setch

The nice ad-min
vacBacker
Credits
538CR
Well I didnt stop i was on a roll :)

mounted the coin tower, doors still be to stripped and painted.
IMG_1273.JPG


Bolted down the seat base and then added the rear section.
IMG_1274.JPG


IMG_1275.JPG


I then took off all the rusted bolts, added new where possible or added the size to my order sheet to be replaced later, I also popped on a better wheel, cover I found on the floor & shifter plate and bolted it all together, I have NOS wheel covers somewhere so that will be replaced when i find it.
IMG_1283.JPG


Last bit for the day was to add the seat back, another load of bolts required here but just used the old ones for the time being.

IMG_1284.JPG
 

Setch

The nice ad-min
vacBacker
Credits
538CR
You may notice that in the last pic I've moved one of my old woddies into place, this was my Daytona fix for the last year while the restore was started, rather than rip my working PCB out of here I thought I would have a look through my faulty PCB stacks to see if I could get anything remotely playable.. found a board set that appeared to have a faulty CPU board.. switched it out and Hey Presto.. a working boardset, it has a few minor GFX issues but it was fully playable and it appears I can still play the game, first go for a while too.

IMG_1277.JPG


So thinking it would die at any moment, I quickly threw in some Optical cables & and for the first time in 10+ years I had a working franken twin.

IMG_1278.JPG


not much left now on the first one, I have to mount the rubber for the floor matts, replace some bolts & work out what im doing with the shifter.

Then I get to start it all over again on the other half.
smiley1.gif
 

Vamino

Insert coin(s)
vacBacker
Feedback
21 (100%)
Credits
2,616CR
This is a really nice restoration mate.
smiley20.gif

I can't believe all the crap that was on the baseplate and boards, it looks like a giant pizza, I bet it didn't smell like one when you cleaned it tho!

Cheers.
 
Top