Pole Position II restoration

muddymusic

The Repro Guy. Art and Parts supplier
Staff member
vacBacker
Feedback
52 (100%)
Credits
2,233CR
Had a chance to do some more to this at last at the weekend.

Cleaned and recapped both AR2's.
pp-resto45.jpg


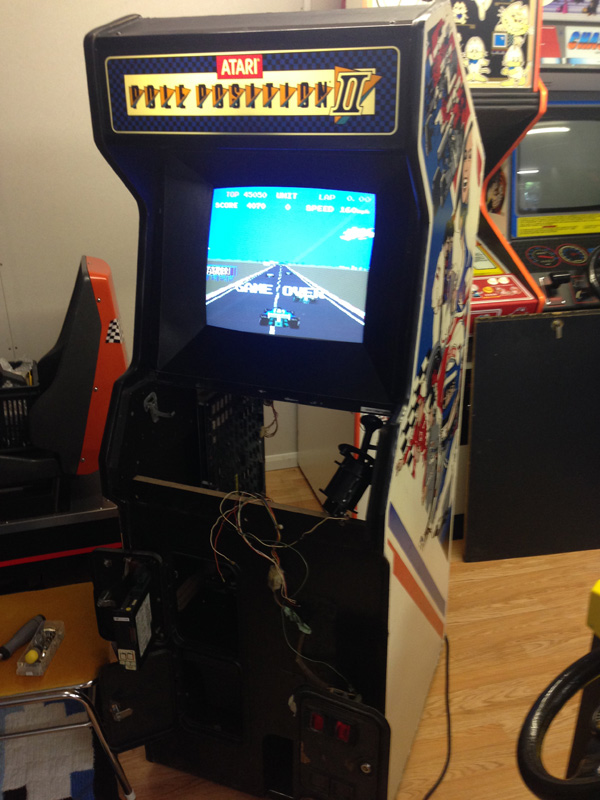
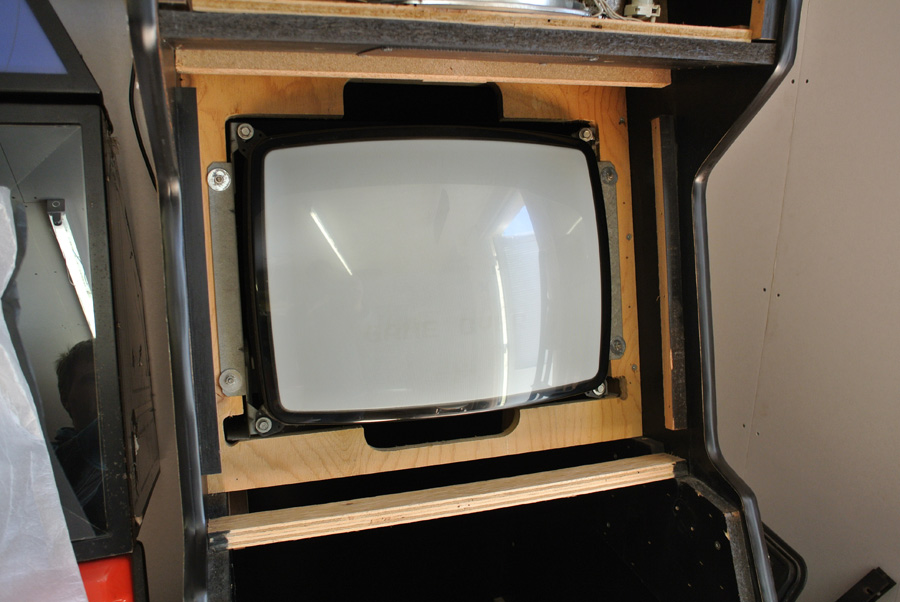
Monitor is back having been repaired by tb2000, thanks mate. Turns out it had pretty much everything wrong with it, lopt, hot, caps, transistors and other stuff - not an easy repair!

The good thing is after it was cleaned up it's actually got only a tiny bit of 'game over' burn which is really unusual for this game and a good result. I can only guess it's been broken a long, long time.
pp-resto46.jpg


Bezel fitted.
pp-resto47.jpg


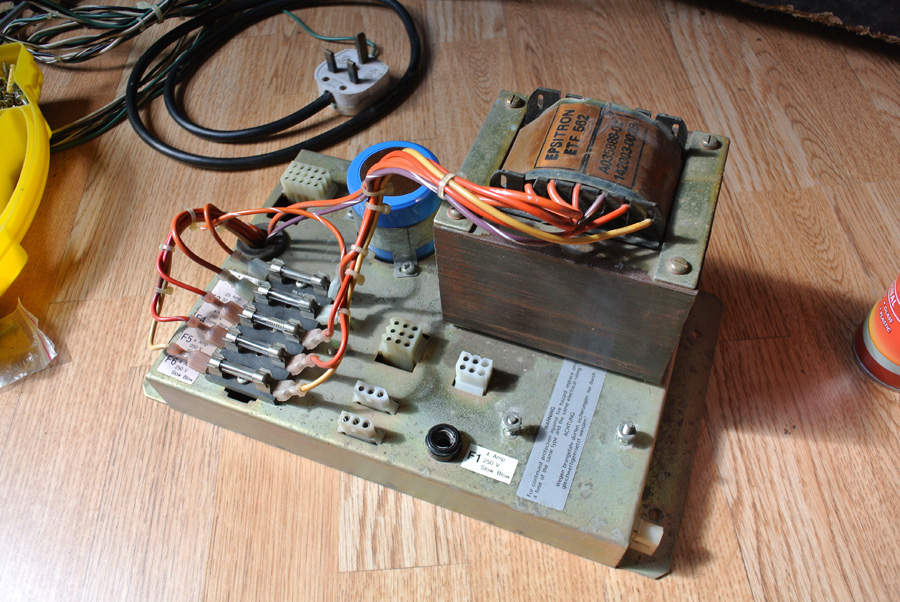
Brick cleaned up.
pp-resto48.jpg


Loom has been cleaned so starting to rebuild the cab a bit now.
pp-resto49.jpg
 

Mr20to5

Active member
vacBacker
Feedback
1 (100%)
Credits
1,364CR
Terrific progress Olly. Really impressive differences between the before and after pics. Just been going through a few of yours and others resto threads. They are also great reference tools as I plod on through my Zacc.

Neil
 

smarty

Ready Player One
vacBacker
Feedback
12 (100%)
Credits
1,293CR
Its cleaning up nicely isn't it.
smiley1.gif


I would recommend you replace the 2N3055 transistors on the ARII's if you haven't done so already, I had one fail and it put 7Vdc all over my PP board, now that made me feel
smiley11.gif
I replaced them but ended up with running in a switcher for the 5V supply.
 

muddymusic

The Repro Guy. Art and Parts supplier
Staff member
vacBacker
Feedback
52 (100%)
Credits
2,233CR
I'll gladly take that advice! I've got some coming today so I'll replace them before I do the first power on test.
 

muddymusic

The Repro Guy. Art and Parts supplier
Staff member
vacBacker
Feedback
52 (100%)
Credits
2,233CR
Voltages all looked good initially, but when I hooked up the pcb first time I got absolutely nothing.

Metered and was getting 0.8v max so clearly not going to boot the pcb on that!

Took the AR2's back out, replaced the 2N3055 transistors (as I should have done before) and also did the sense mod on both. Replaced them today, checked voltages again and have perfect 5 & 12v lines.

Hooked up the pcb again....
[tube]sC67GAoDdGQ[/tube]

Not getting any sound at all, no hum or anything so need to look at that next.
muddymusic2015-06-02 15:19:00
 

smarty

Ready Player One
vacBacker
Feedback
12 (100%)
Credits
1,293CR
Nice seeing a PP come to life with real hardware.
smiley20.gif


Also check fuse F3 on the powerbrick, that can be changed to a 25A (Was in an Atari bulletin) if it isn't already, some peeps also recommend soldering the wires for this fuse instead of using the crimp connectors, I did it at F3 as my fuse holder had been well an truly burnt away...

pp_pb.jpg
 

muddymusic

The Repro Guy. Art and Parts supplier
Staff member
vacBacker
Feedback
52 (100%)
Credits
2,233CR
Rebuilt a decent shifter from the 2 broken ones I got with the cab
pp-resto50.jpg


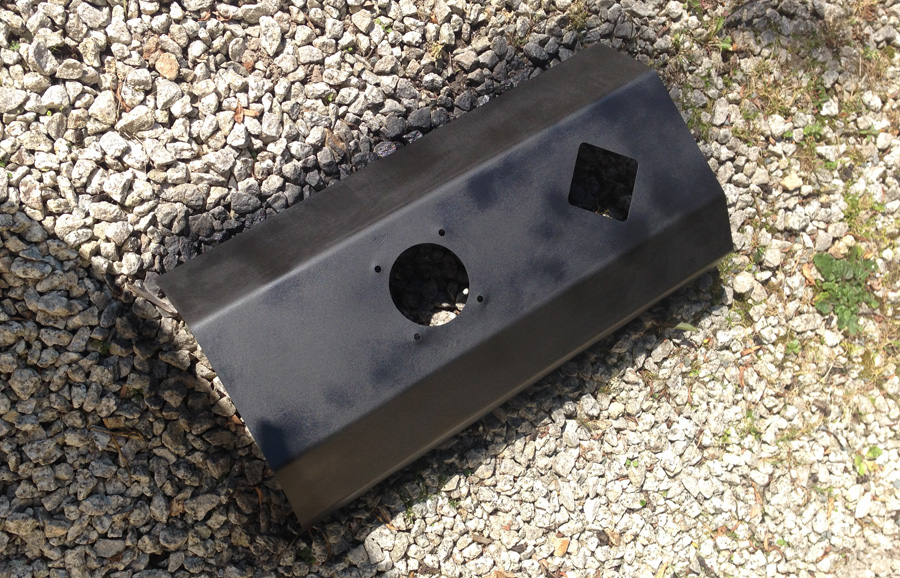
Stripped and painted metal parts, cp requires more work as the old adhesive is being a pain to remove.
pp-resto51.jpg


Marquee light required a new tube and starter, luckily had both in my spares. Cleaned up and fitted to the cab.
pp-resto52.jpg


Coin door and service panel back together.
pp-resto53.jpg


Pedal back on the cab. Just the control panel and wheel to sort now.
pp-resto54.jpg
 

muddymusic

The Repro Guy. Art and Parts supplier
Staff member
vacBacker
Feedback
52 (100%)
Credits
2,233CR
Fixed the sound. Appears that although the 2 AR2 boards look the same they aren't and need to be a certain way around. Really pleased to have it running 100% now.
[tube]qfqkHQdh1Wo[/tube]
 

Mr20to5

Active member
vacBacker
Feedback
1 (100%)
Credits
1,364CR
Great to finally hear this working as well as just seeing it.

Good job to get it this far.

Nearly finished. I played this a lot at my last visit to Arcade Club and rekindled some fond memories.

Neil.
 

muddymusic

The Repro Guy. Art and Parts supplier
Staff member
vacBacker
Feedback
52 (100%)
Credits
2,233CR
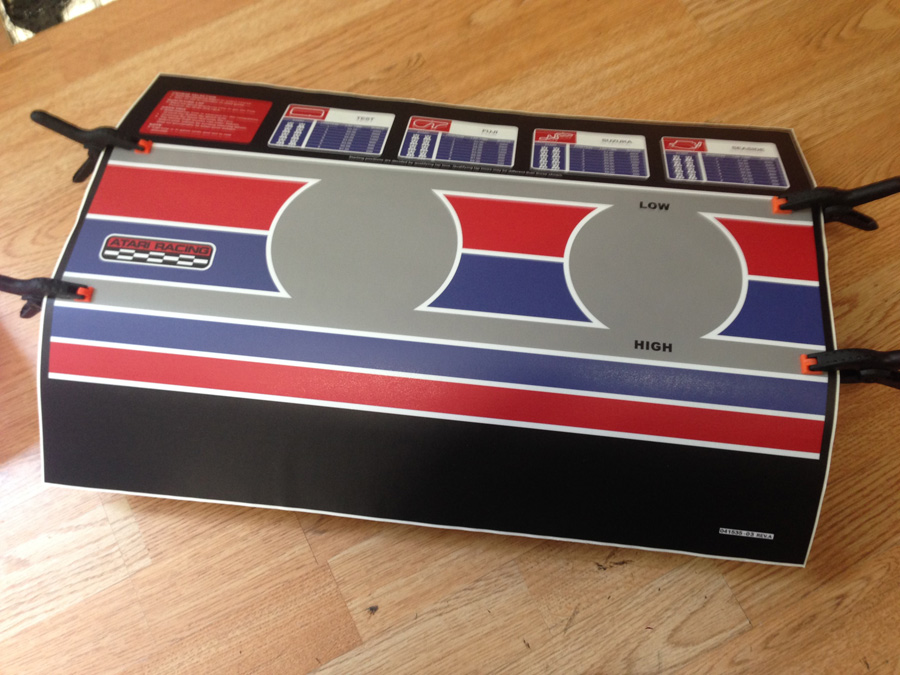
Time to get this finished. The CP was proving to be a total pain in the
ass. The overlay came off fine but left behind pretty much all the
adhesive which refused to come off in the conventional ways.

In the end I left it out in the sun for a week to dry it out, hoping that might make it possible to remove.

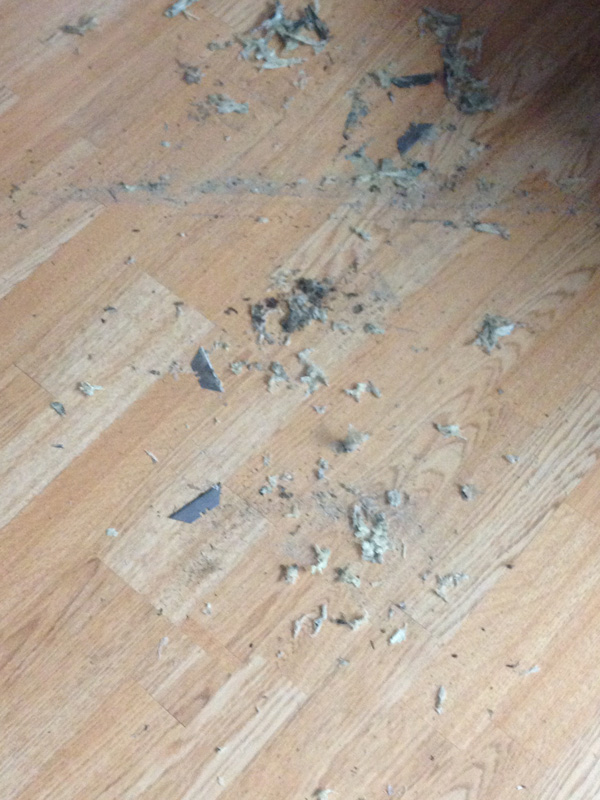
Got myself a new scraper and pack of stanley blades and set to it. After much scraping and moaning it was clean at last.

pp2-resto55.jpg


Gave it a light sanding, and got 3 coats of spray paint on it. I've started using Black Cobra paint, it's a bit more even and easier to work with than the plasticote stuff I usually use, and gives a pleasant textured finish.
pp2-resto56.jpg


Once dried it was finally time to get the new CPO fitted. Put a lot of work in to this one, and it was worth it as it looks bloody lovely.
pp2-resto57.jpg


Trimmed
pp2-resto58.jpg


Once that had adhered nicely I could finally fit the wheel and shifter.
pp2-resto59.jpg
 

muddymusic

The Repro Guy. Art and Parts supplier
Staff member
vacBacker
Feedback
52 (100%)
Credits
2,233CR
This is one of the more difficult restos I've done. Needing work on the cabinet, the loom, the pcb's, the ar2's, the brick, the lighting, the monitor and the artwork. Apart from that it was peachy
smiley36.gif


A few pics of how it was when I got it.
pp2-resto1.jpg

pp2-resto4.jpg

pp2-resto7.jpg


And how it looks now.
pp2-resto60.jpg


pp2-resto61.jpg


pp2-resto67.jpg


pp2-resto62.jpg


pp2-resto63.jpg


pp2-resto64.jpg


pp2-resto65.jpg


pp2-resto66.jpg


pp2-resto68.jpg
 
Top