Bods said:
Don't know why you were worried about comments
Looks Ace that. You done it all yourself then? I mean the cutting out etc of all the wood.
Some tips on that part of cutting out would be great, I've got machines to rebuild, I've done 2 sides and a few other bits but need to start again with different wood. Do need a better router also
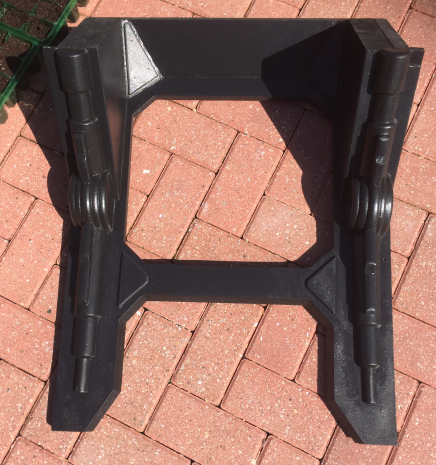
To be honest if I was making a replica of these myself, think I would of redesigned it a little. I find it pretty uncomfortable with solid wood seat but main issue is no room to put your legs because of the cash door at the front, I think they should of made it with cash door in rear section so u can stretch legs out under CP
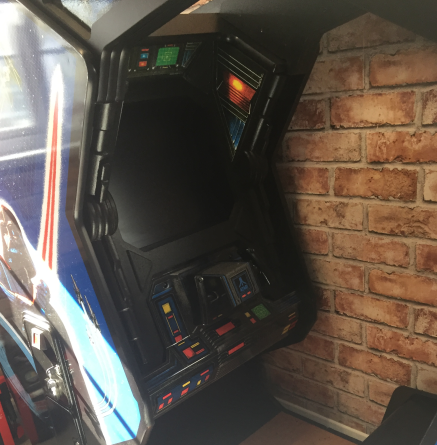
It's certainly the way to go with cabs you can't get these days and you can play multiple games in it which is always nice
Very Cool Mate and giving you something to do, Win Win
Hi Bods,
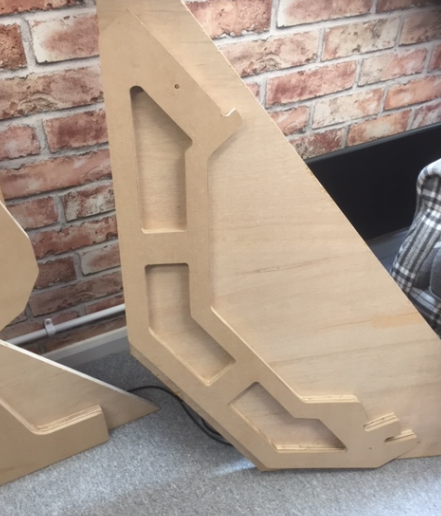
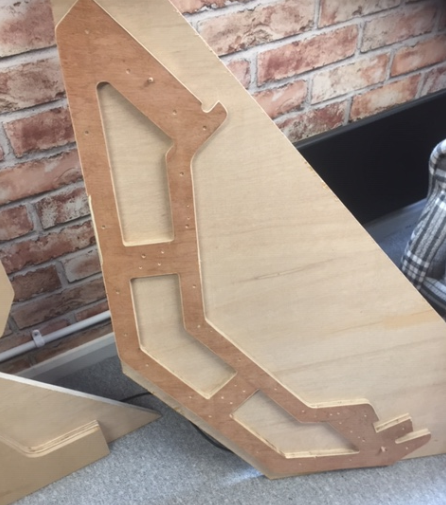
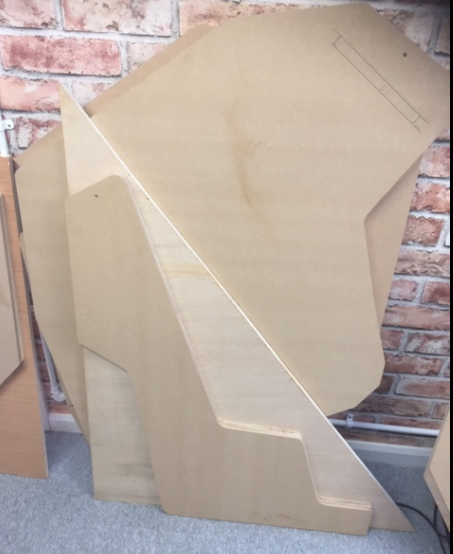
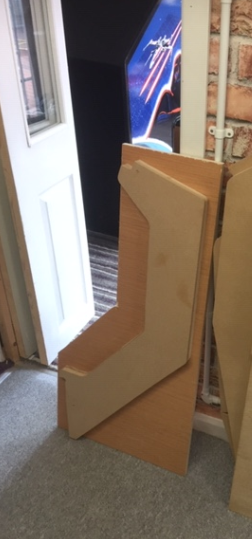
Yeah it is all totally hand made, it took a while to hand make the templates using 18mm ply but that was worth it. Many hours carefully cutting and sanding the profile to the shapes I needed but only had to do it once. Now I can make many.
A few tips I found along the way were, after making the template I used it to make another template using a thin bit of MDF ( 6mm ). The reason for this was so when I screwed down the 18mm ply template on to its backboard I still had the 6mm template available to allow me to draw around it on to the work pieces.
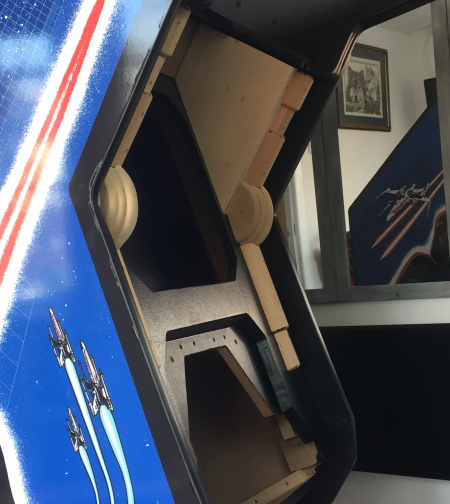
I also drilled 2 location holes through the 6mm MDF in to the 18mm plywood template and fitted 2 pegs so that when I did draw round the 6mm MDF template and drilled the location holes on the the 18mm MDF work pieces that I was using for the cabinet it gave me 2 location holes to sit on the 18mm plywood template exactly.
Doing it this way I was able to rough cut all around the pencil marks keeping about 3 mm in so the router had less material to remove, cut outs again I drilled a pilot hole and rough cut using the jigsaw.
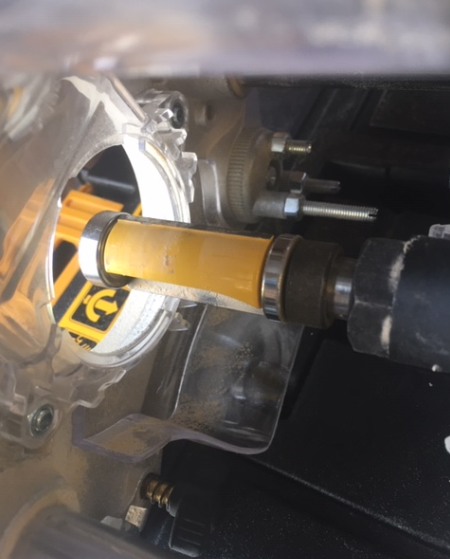
I originally tried putting the template on top of the work piece and using a top bearing template router bit but with the Router wanting to tip when template routing on the edge it would tip in to the work piece underneath and ruin it so I reversed it and put the work piece on top and the template on the bottom. This way using a bottom bearing template router bit if the router tipped over it would tip away from the work piece as the bottom bearing prevented it cutting in.
")