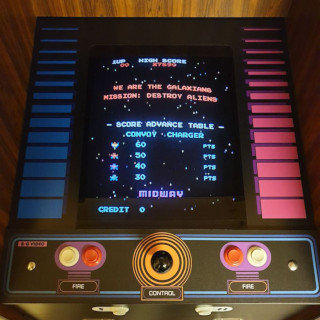
Today I did this to my cab...

Vamino

Insert coin(s)
vacBacker
Feedback
22 (100%)
Credits
2,632CR
strykr said:
Good stuff Vamino
smiley20.gif

Thanks mate.
smiley1.gif


Getting this up and running kinda makes up for the two model 3 Videoboards that have recently developed glitches, I dunno how some of you guys manage so many machines at once to be honest....
 

smarty

Ready Player One
vacBacker
Feedback
12 (100%)
Credits
1,291CR
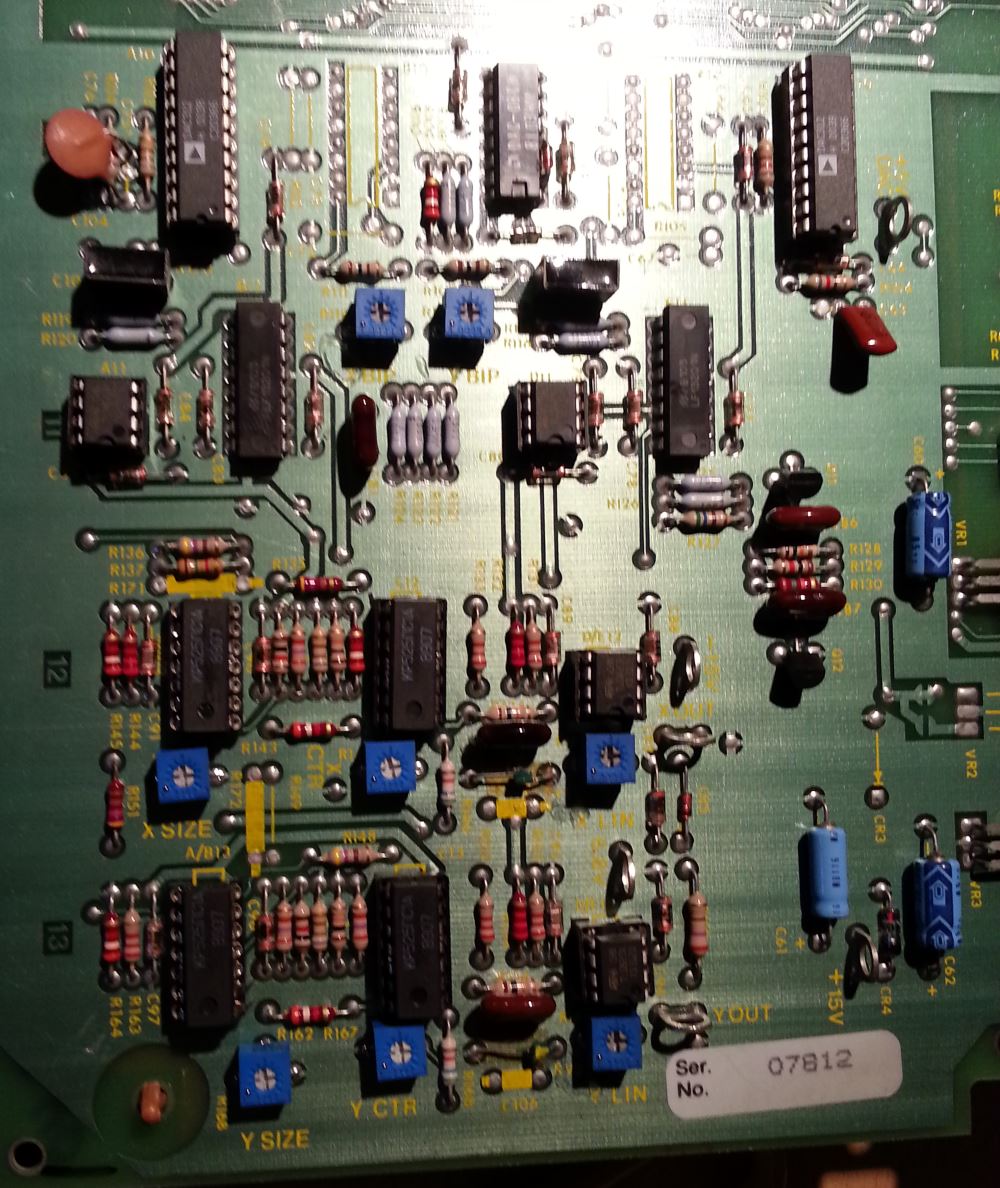
Today I socketed the IC's in the Analog section of my Tempest board and also replaced all the VR's for size/centre/linearity & BIP adjustments, the originals seem to break just by looking at them! Anyway now I've got a full sized and correctly placed image, I did take the monitor out of the cab so I could easily make adjustments and view the results at the same time.

Tempest_Analog.jpg
 

smarty

Ready Player One
vacBacker
Feedback
12 (100%)
Credits
1,291CR
The pots are size 3362 and you can get them from ebay, mine came from China in 10 days or so. I only had to socket two of the 1495's but I did all four TL092's as one failed a while back, I socketed all four and put some new (datewise) replacements in.
 

smarty

Ready Player One
vacBacker
Feedback
12 (100%)
Credits
1,291CR
I used a mix of turned pin and non turned pin. lol. Just what I had in my spare box.

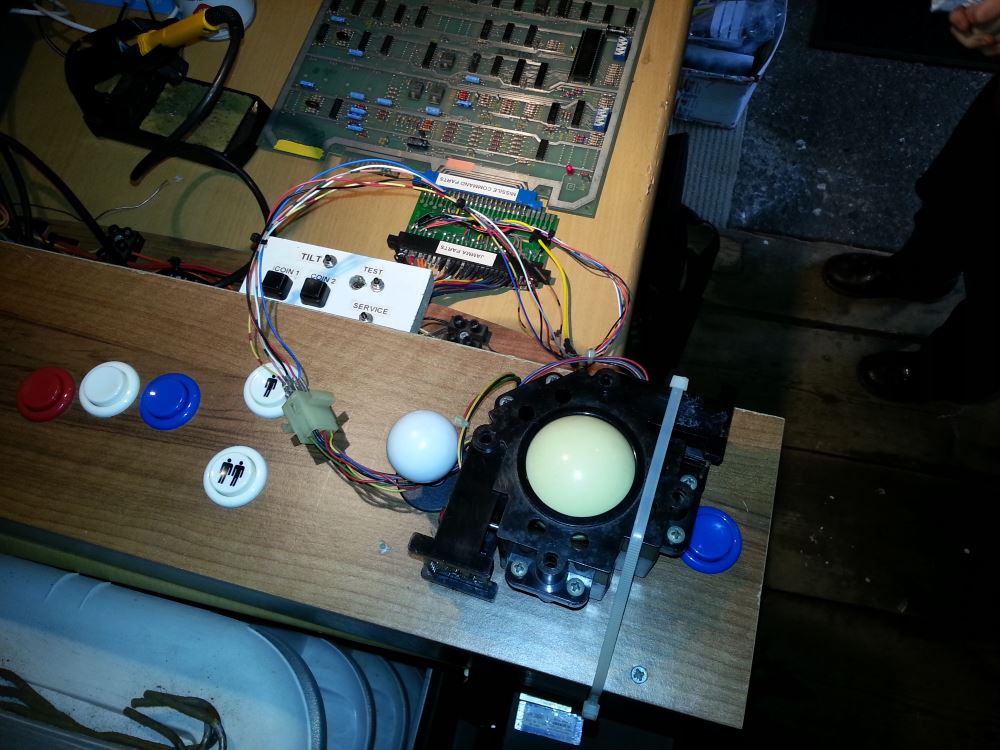
While I'm posting here I also wired up the trackball from my Centipede cab to my Missile Command board on my MC-JAMMA test rig. The game works fine but I had to tie-wrap the trackball into place to play the game properly.
smiley36.gif


MI_Rig.jpg
 

smarty

Ready Player One
vacBacker
Feedback
12 (100%)
Credits
1,291CR
For the last few evenings I've been knocking up a Return Of The Jedi to JAMMA adapter to test a board I've picked up.?

I used a 7810 voltage regulator to derive the required 10.3VDC (well 10V in this regulators case) for the board which is linked to the reset circuit and the sound. The reg. is supplied with 12V from my switcher. There's 2x 5K pots for the controls, the fire buttons and start button are wired into my standard test rig. The yellow wire coming off the adapter is linked to the audio amplifier in the monitor I use as the board usually uses an ARII for its amplification.

2014-11-18%2B19.24.53.jpg


smarty2014-11-18 22:11:51
 

smarty

Ready Player One
vacBacker
Feedback
12 (100%)
Credits
1,291CR
Thanks Steve,

The board seems to pretty much work, there's horizontal lines running through some sprites, one of he colour outputs is flakey and keeps flicking off/on and the game won't correctly go into test mode but everything in my adapter seems to work ok so that makes a good start in my book.
 

Nes4life

Active member
vacBacker
Feedback
11 (100%)
Credits
1,117CR
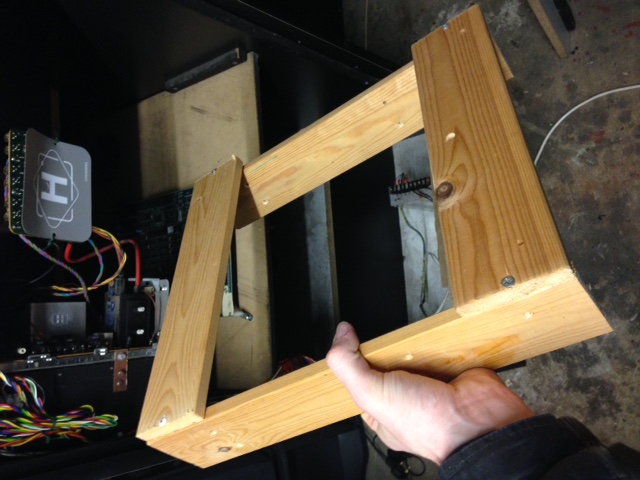
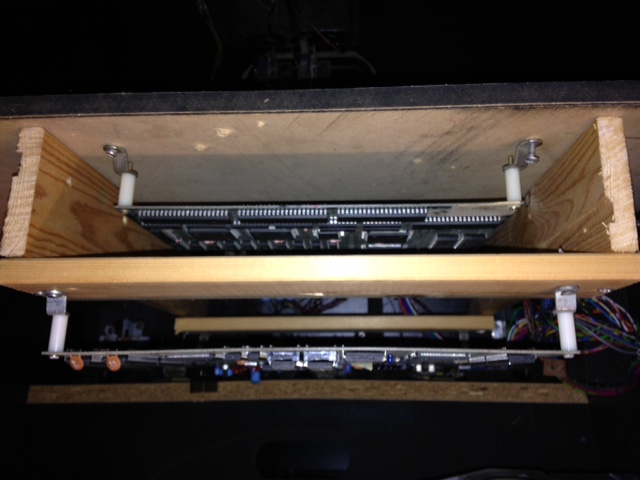
Wanted to get my TMNT and Simpsons PCBs in the same cab but they're too wide to put side by side and the harness wont reach too far... so I made this very basic cradle so they can sit in a stack. Simple indeed. Now to see how I can get another 2 boards in?!

cradle1.JPG


cradle2.JPG


cradle3.JPG
 

Nes4life

Active member
vacBacker
Feedback
11 (100%)
Credits
1,117CR
I moved another cab into the house; just got the mega-tech to go. I measured the gap and there's half an inch space taking into account skirting board! Sadly moving the generic JAMMA cab has caused the monitor to stop working for the 3rd time. I think it's a dry joint and I convince myself I've found it every time I take the board out and put it back and it works again!


smarty

Ready Player One
vacBacker
Feedback
12 (100%)
Credits
1,291CR
Been a while since id posted in this thread, but today I made a test rig/loom to check out a Pole Position board set. An ATX PSU provides enough juice to power the board from the test points (Edge connectors are currently burnt out and need replacing) I also wired the RGB & Sync from the 22 way edge connector onto a Scart socket. I will add more connections to the test loom as I progress with any board repair.

2015-05-24%2B20.16.08.jpg
 

niknak

Raffles the gentleman thug
Feedback
7 (100%)
Credits
172CR
Couple of things today

Replaced knackered split Steering Cam on Turbo Outrun with a nice NOS Replacement.

Cams_Large.jpg


Put some new eggshell black formica on the left side of the Turbo Outrun Cab. originally it had graffiti and scratches on it. Other side tomorrow.

fm1_Large.jpg


fm2_Larger.jpg
 

niknak

Raffles the gentleman thug
Feedback
7 (100%)
Credits
172CR
Cheers! I sort of made it up as I went but basically...

With the formica...

Opened up the roll of formica. make a note to next time have allot of space - formica does not like being rolled up and likes to suddenly spring flat.

place on cab and draw round sides.

'try' and cut out the shapes leaving a fair bit of edging round them and not cracking the formica.

On the side of the cab...

Sanded 60/100ish grit until anything raised from gouging/graffiti was flat, this usually ended up taking it back to the wood.

Cleaned.

Filled any edging chips scuffs, had to rebuild a couple of the corners.

Sanded 250ish grit

Cleaned.

Filled again.

Sanded 250/500ish grit.

Cleaned.

Slot cutted any needed t molding slots - I had to re slot one of the corners I'd rebuilt.

Spray primed (halfords black primer) any part hat had gone back to wood (and only the wood) and round the edge.

Lightly sanded 250ish grit

Cleaned

Buy more contact adhesive than you think you need! buy long wooden square dowels.

Clean again

spread contact adhesive over both side of cab and formica.

Panic because its not exactly easy to spread and gets used up very quickly. I though 500ml would easily be enough but used more like 750ml on the one side.

when contact adhesive is touch dry, place dowels across the side of the cab

Have someone help you flip over the formica and place it on to the dowels making sure it doesnt touch the cab itself.

adjust formica until it lines up.

remove middle dowel and press on formica.

remove dowels form inside out pressing down formica

Get a pressure roller and go crazy

wait 30 minutes

route it with a flush trim bit, medium speed.

remove protective film.

Done.

niknak2015-06-22 13:23:56
 

Mr20to5

Active member
vacBacker
Feedback
1 (100%)
Credits
1,364CR
A really good finish Nik Nak. It's all in the prep, which is clearly evident. Got to be impressed with this.

I know exactly what you mean about the amount of contact adhesive and the panic that seems to set it half way through. He he.

Neil
 

minwah

Active member
Feedback
3 (100%)
Credits
238CR
Looks good. With regard to cutting formica, I find it best to repeatedly score with a stanley knife along a metal rule. You need to do it in fairly short sections though to keep a lot of pressure on thr rule so it can't move...its very easy to slip and scratch it!
 

muddymusic

The Repro Guy. Art and Parts supplier
Staff member
vacBacker
Feedback
52 (100%)
Credits
2,214CR
Nicely done. It's something I've never tackled myself, I can see it's all about the prep to get your surfaces perfectly smooth though. That cab is going to be minty-mc-mint
smiley20.gif
 
Top