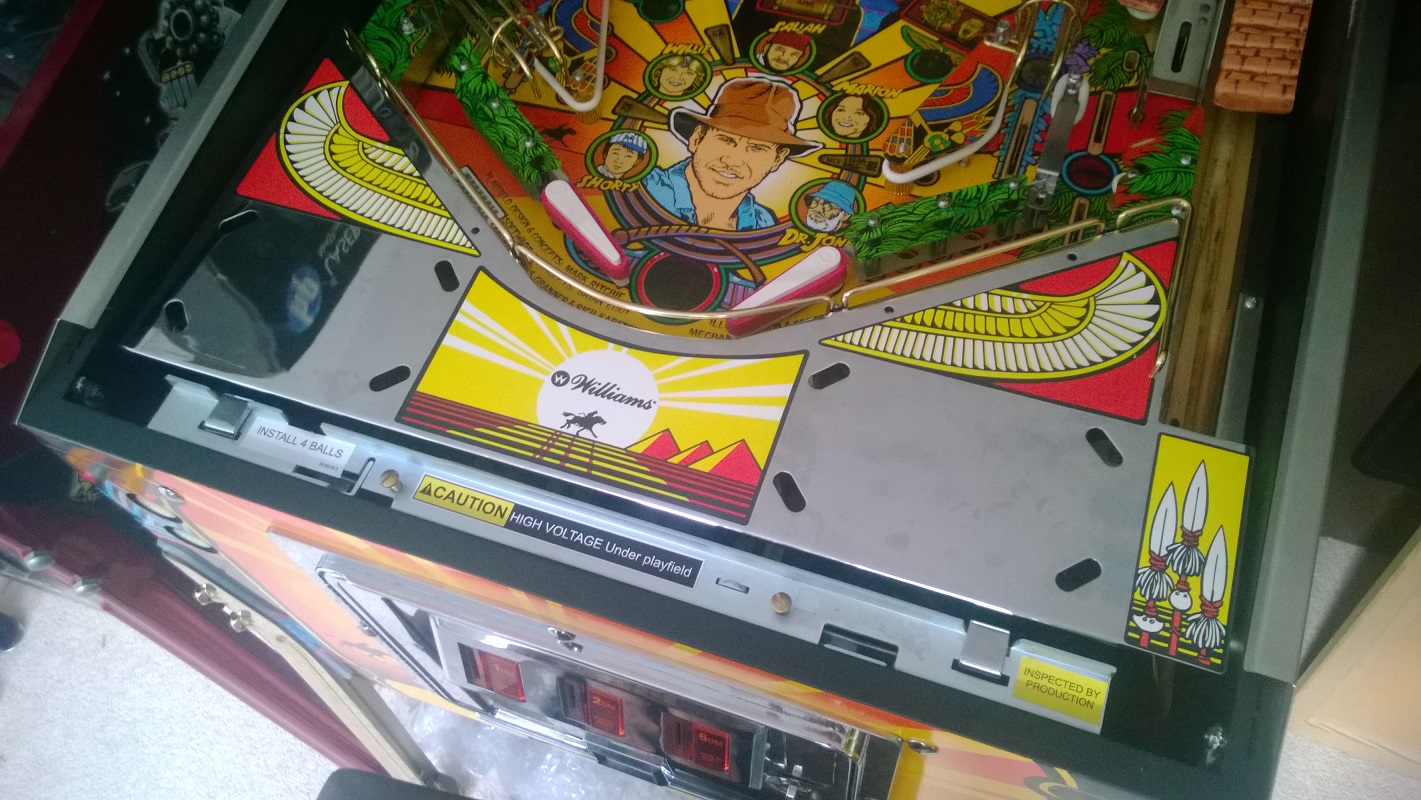
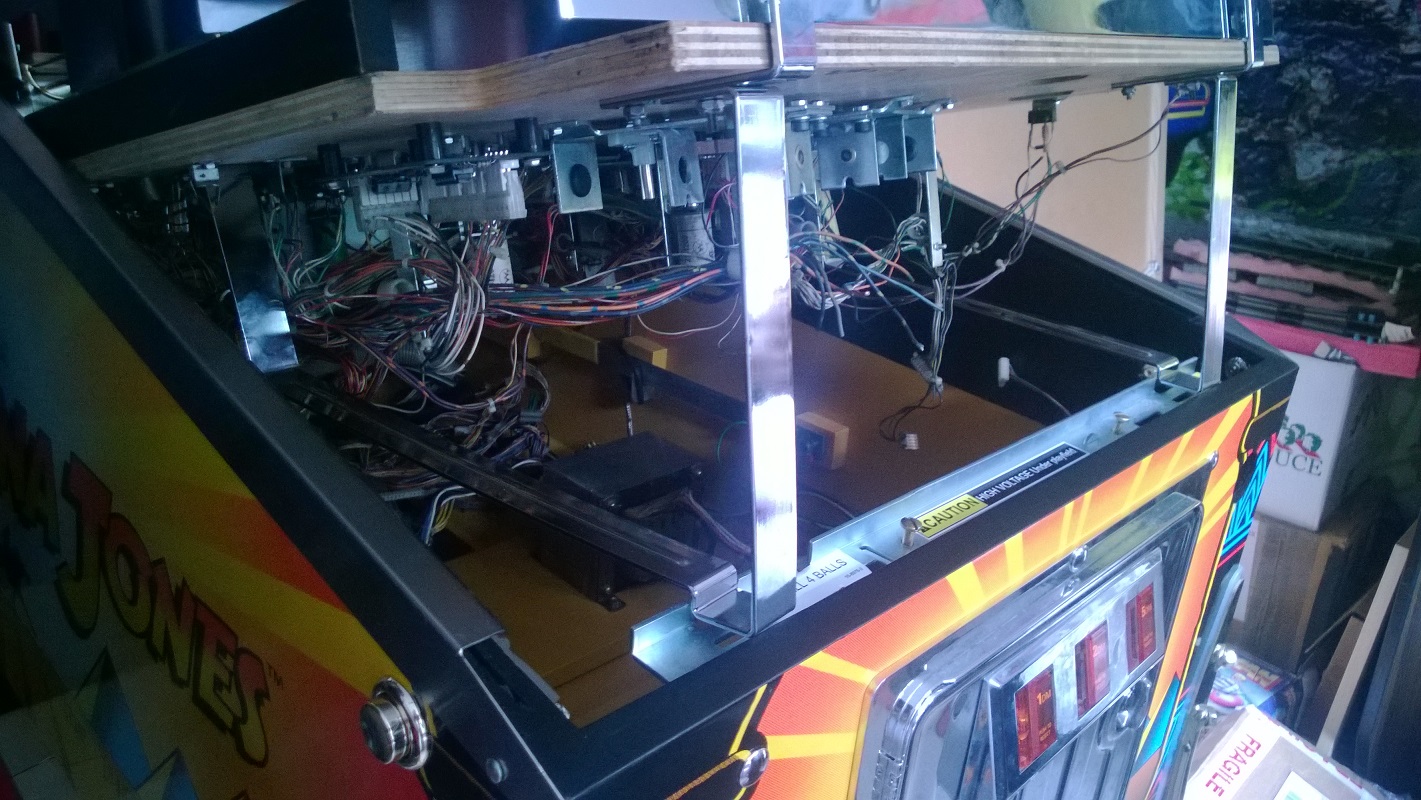
So it's finally getting there!
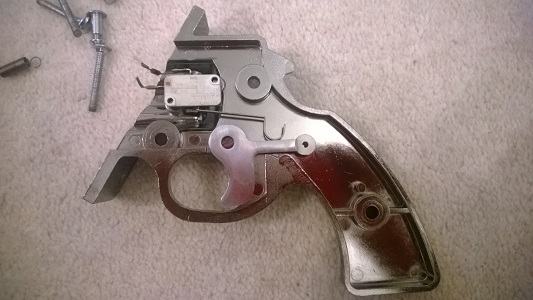
I just need to fit
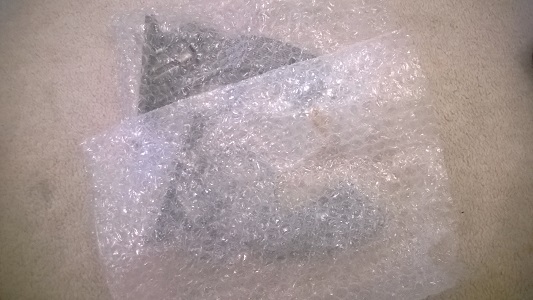
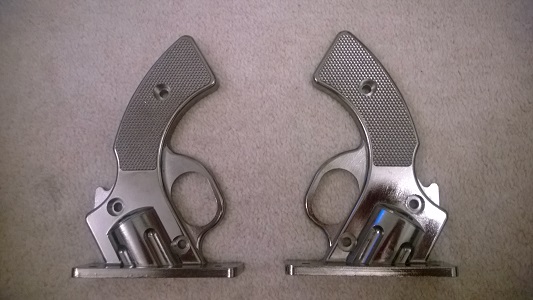
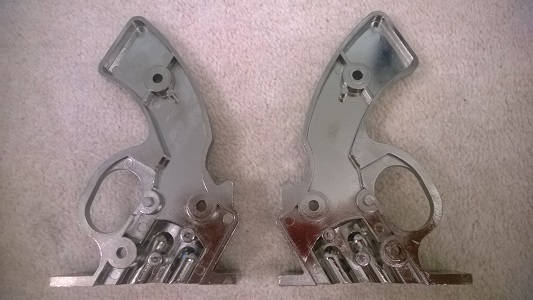
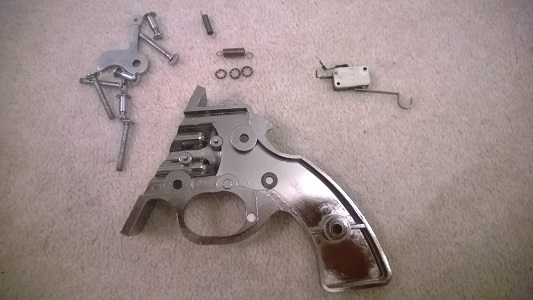
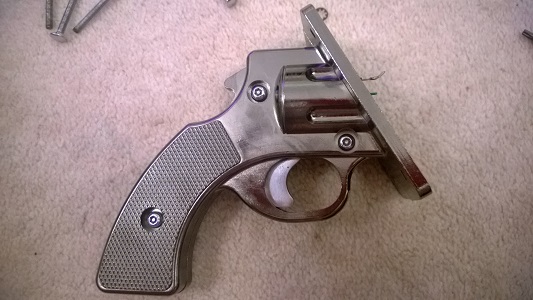
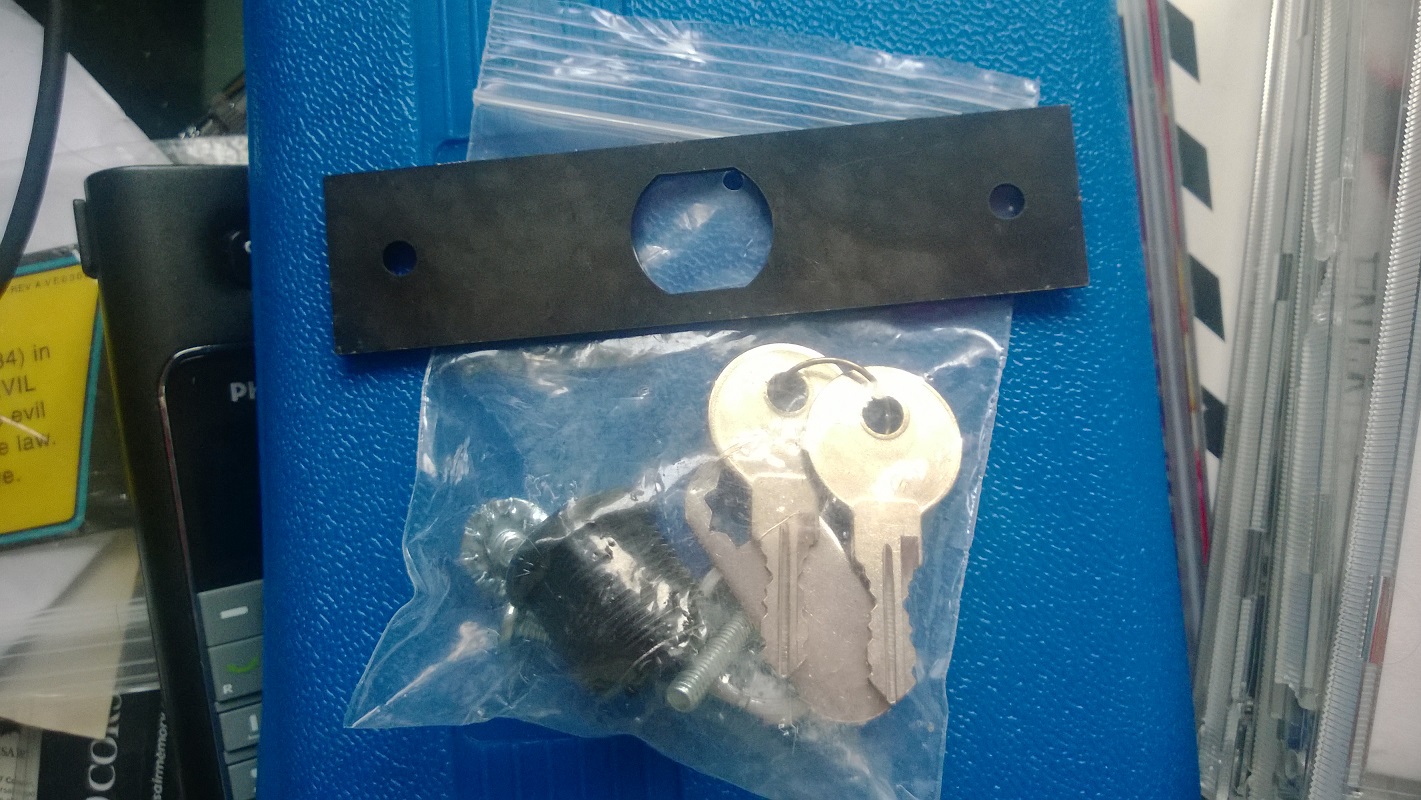
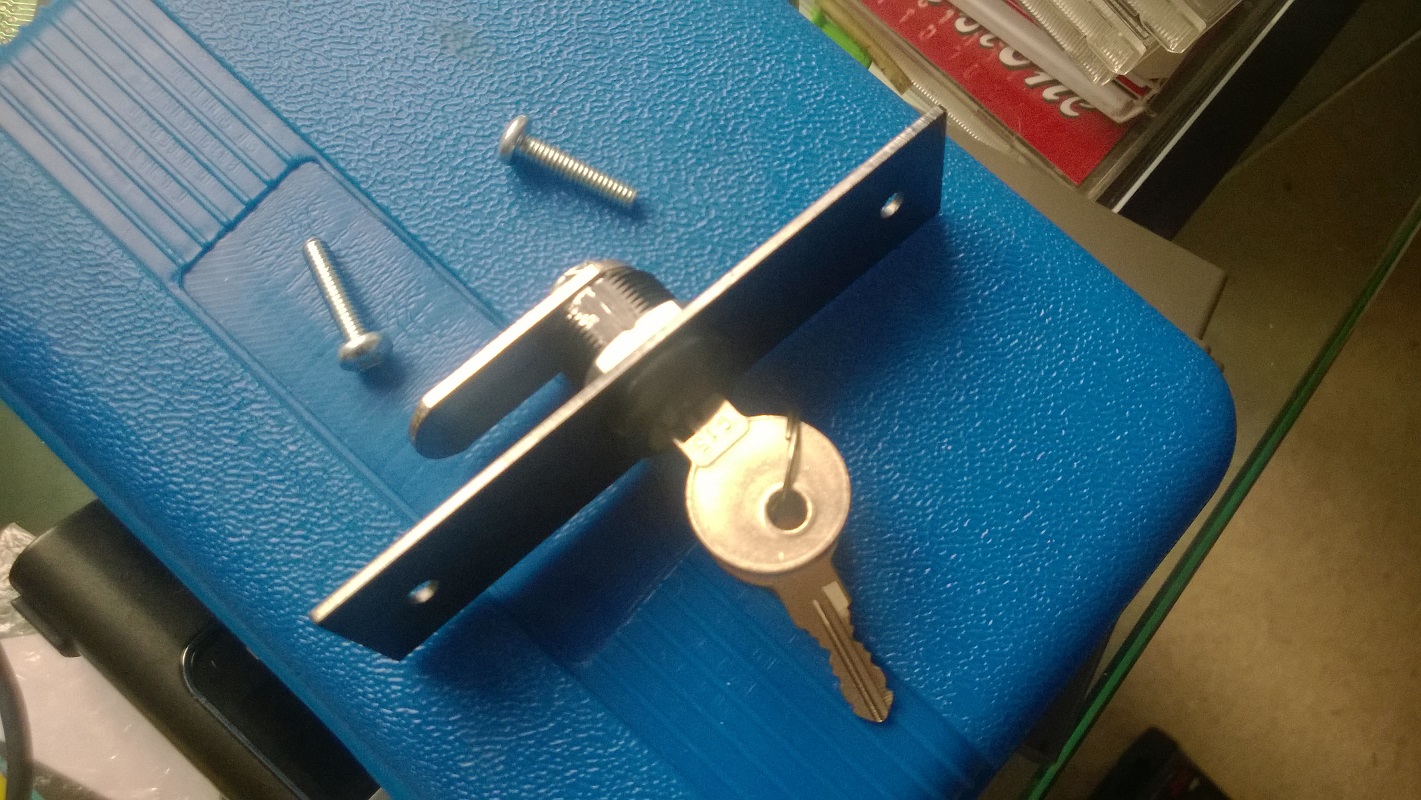
1. the gun handle
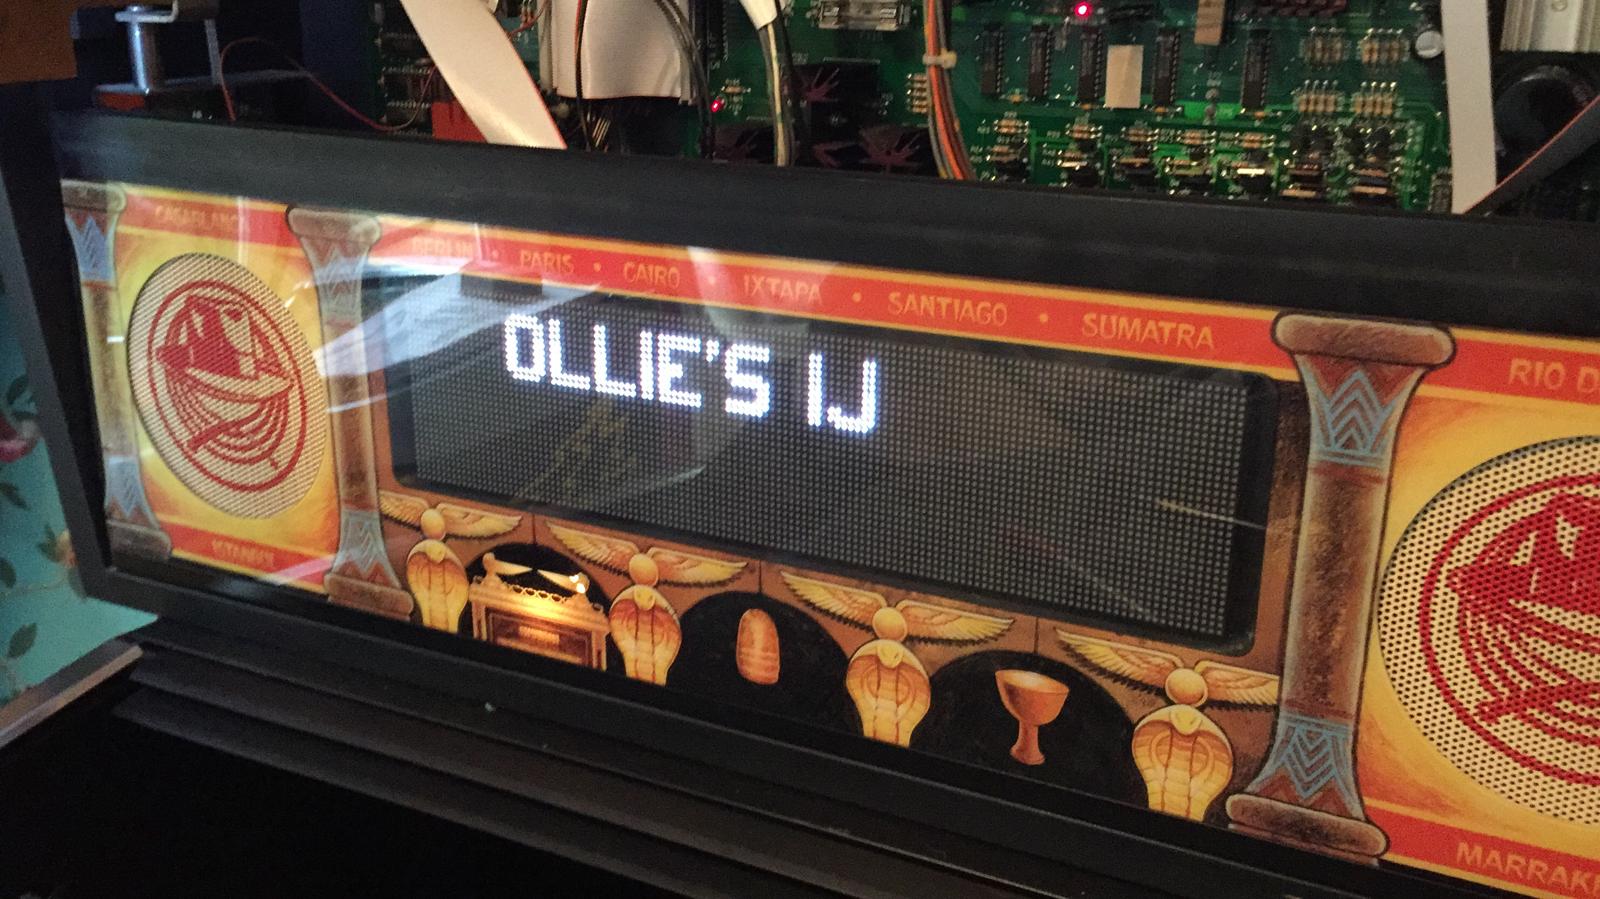
2. the PCB set (and buy some!)
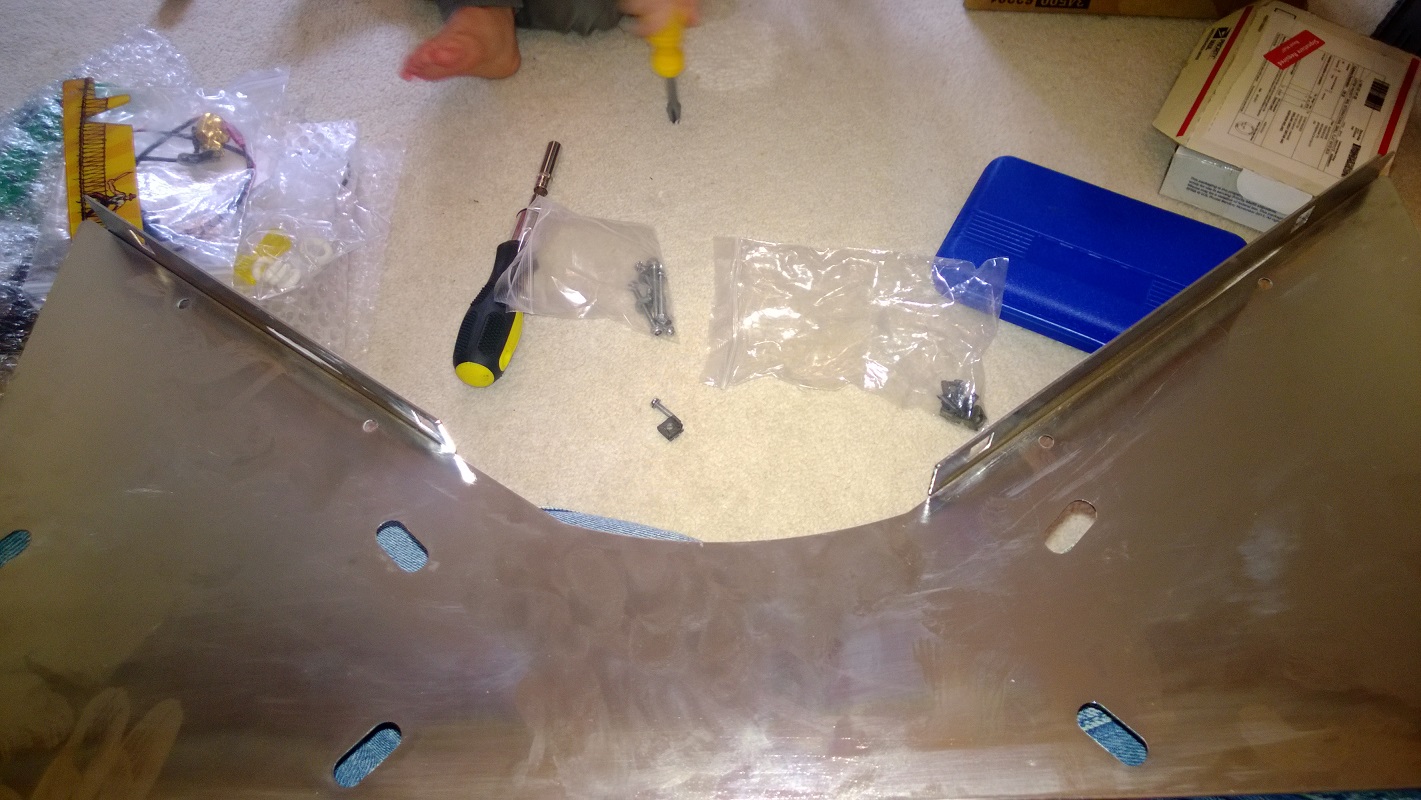
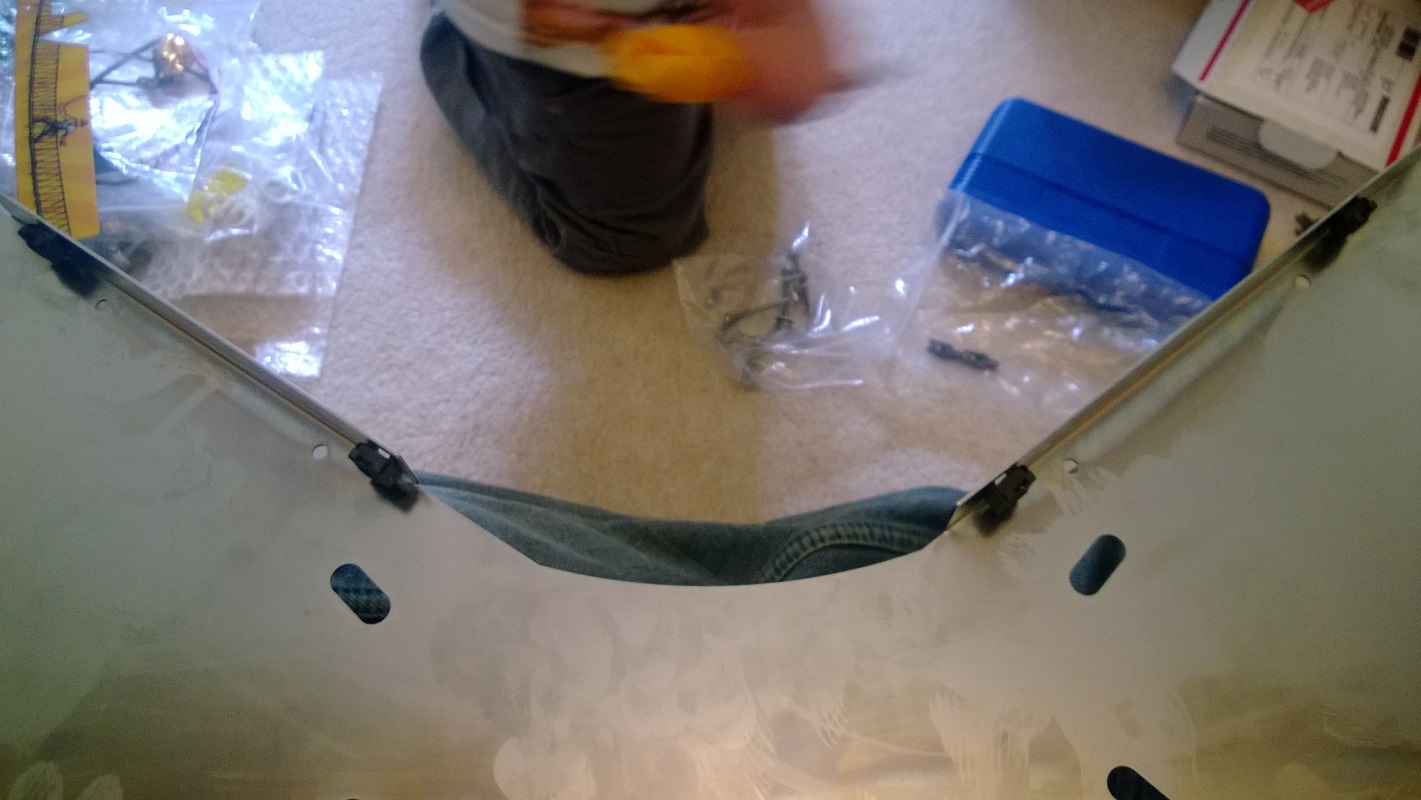
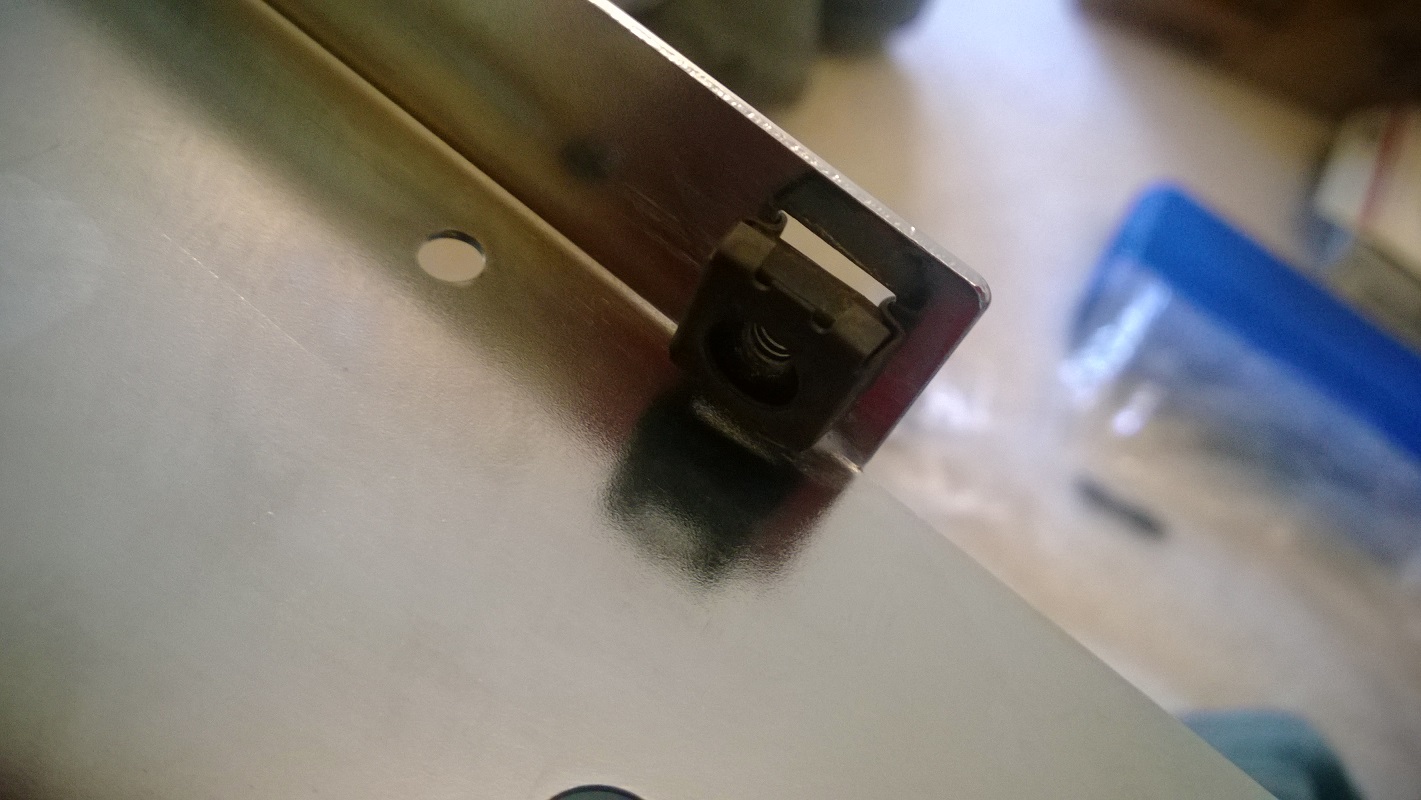
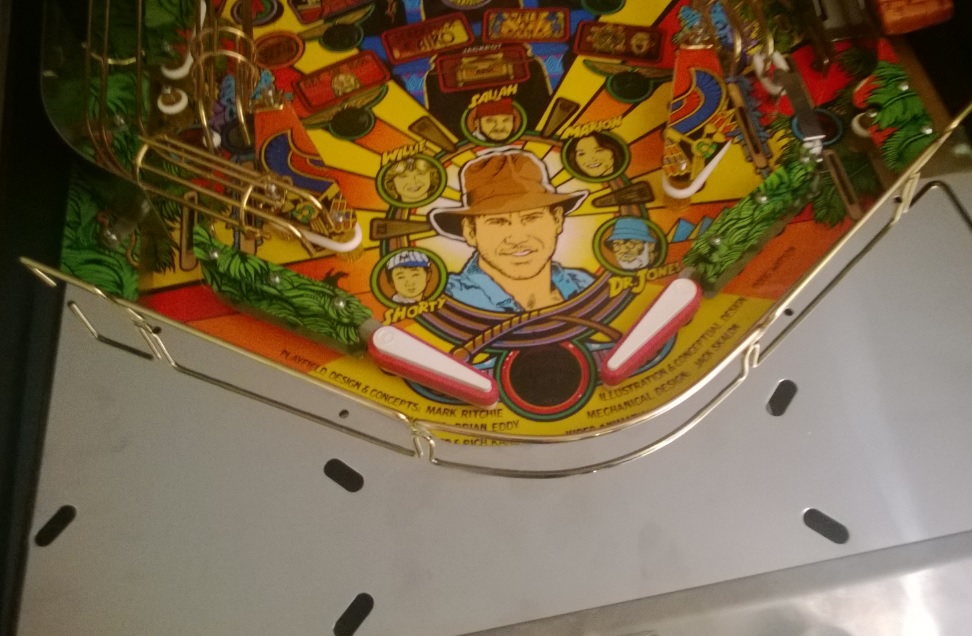
3. Finish and install the apron.
I would imagine upon first power on there will be a few teething issues!! Hopefully not too many. I am hoping to finish this now for November so watch this space

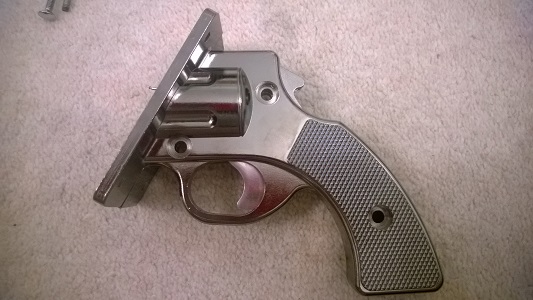
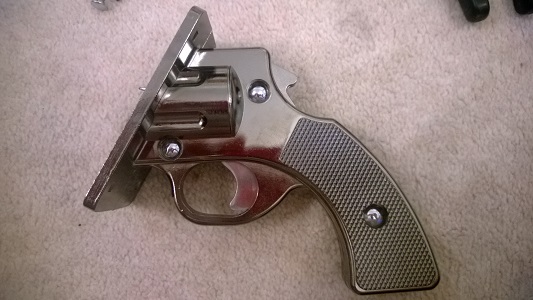
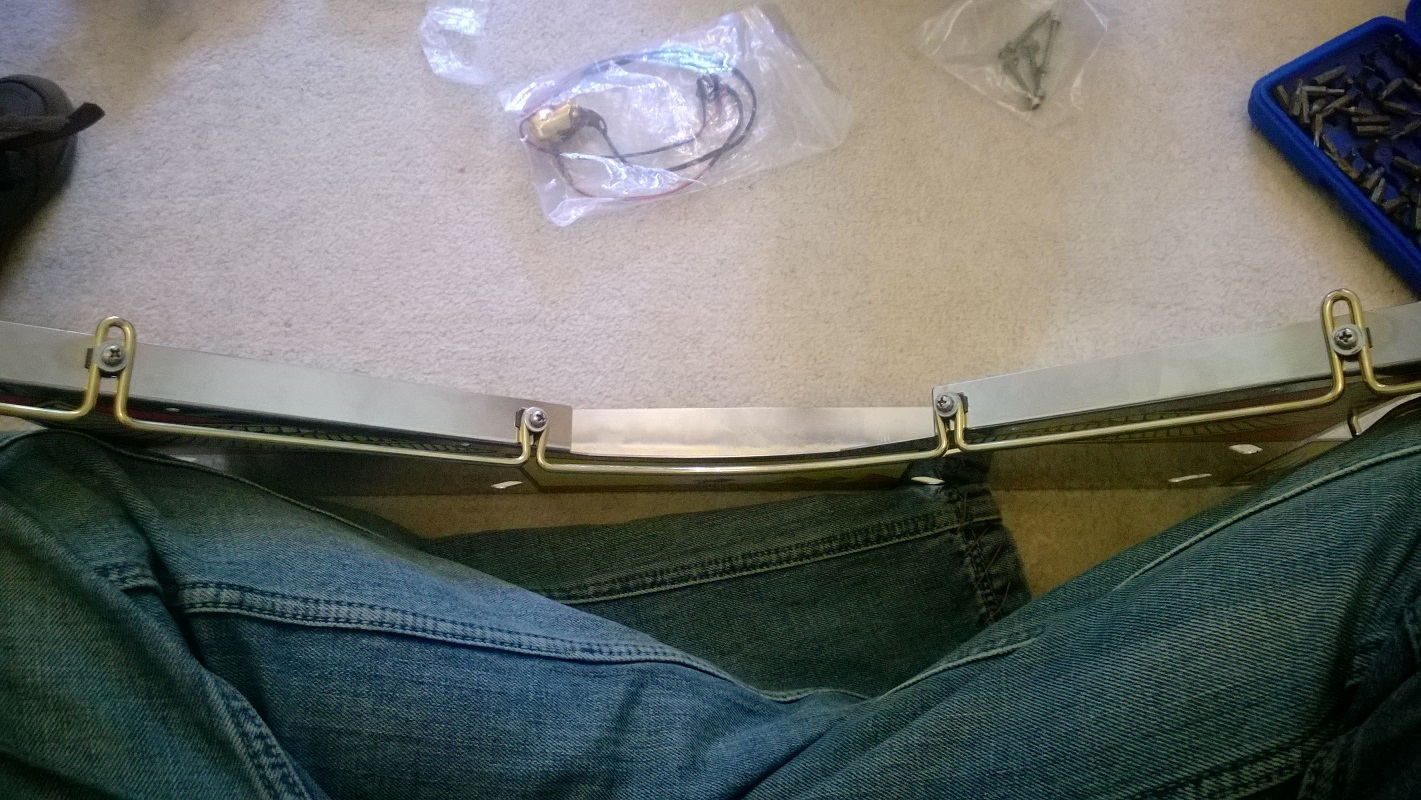
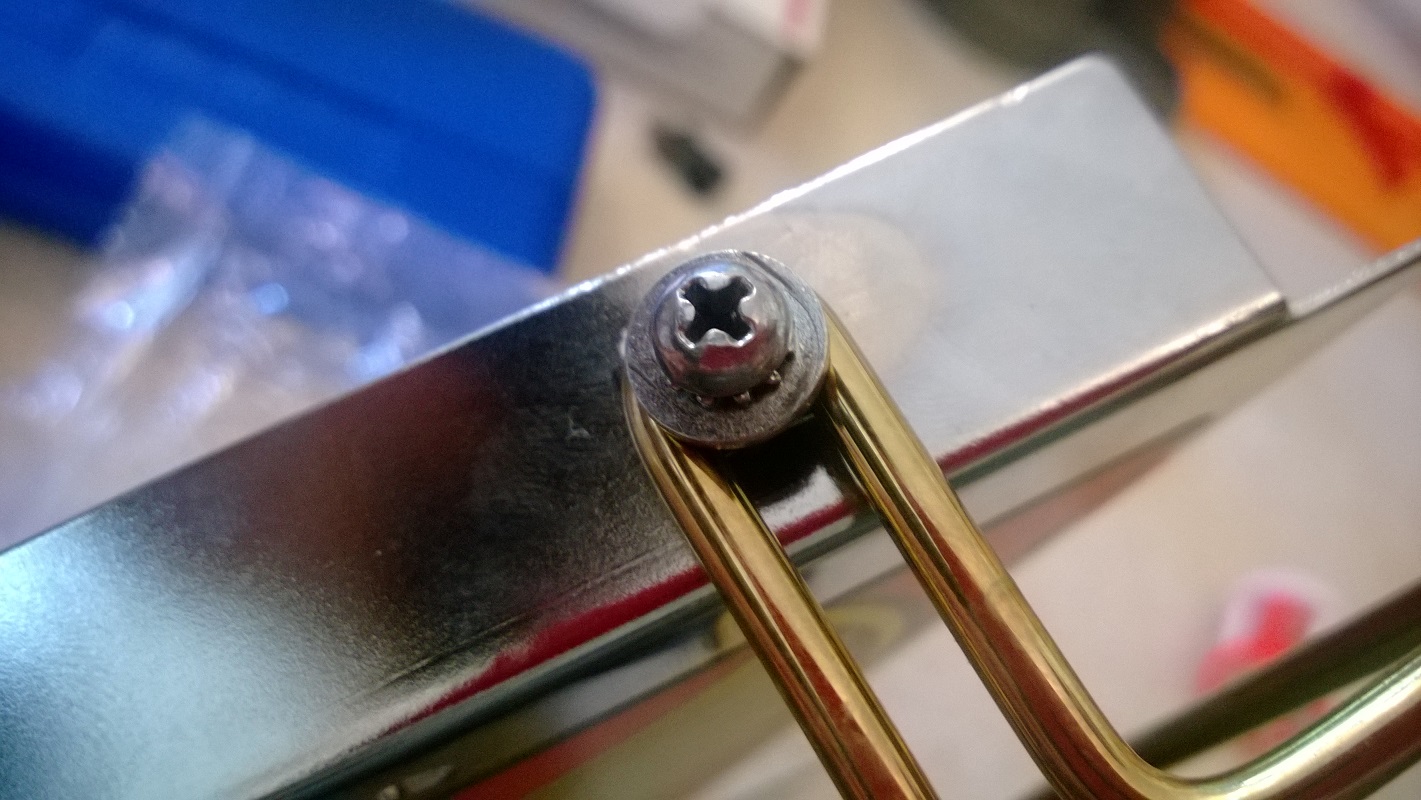
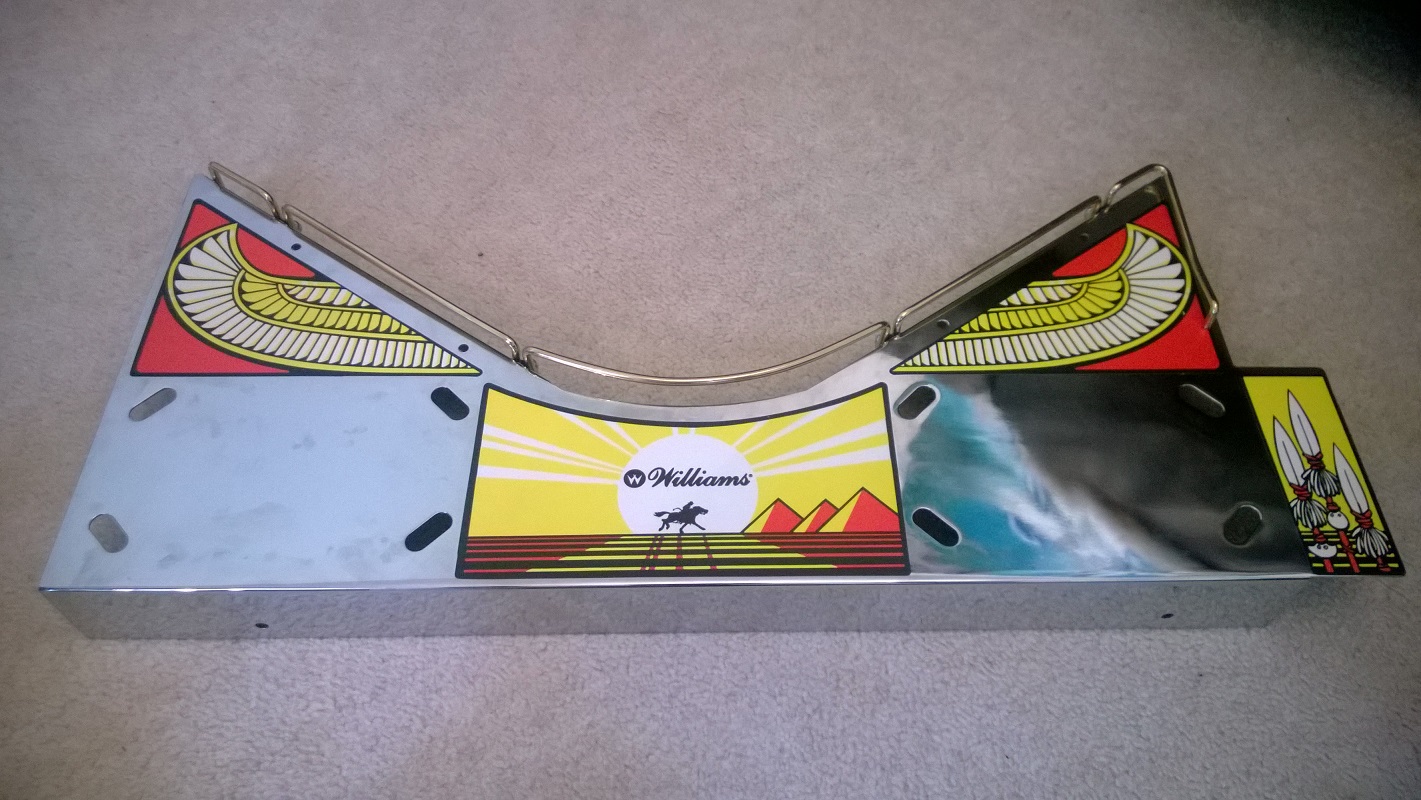
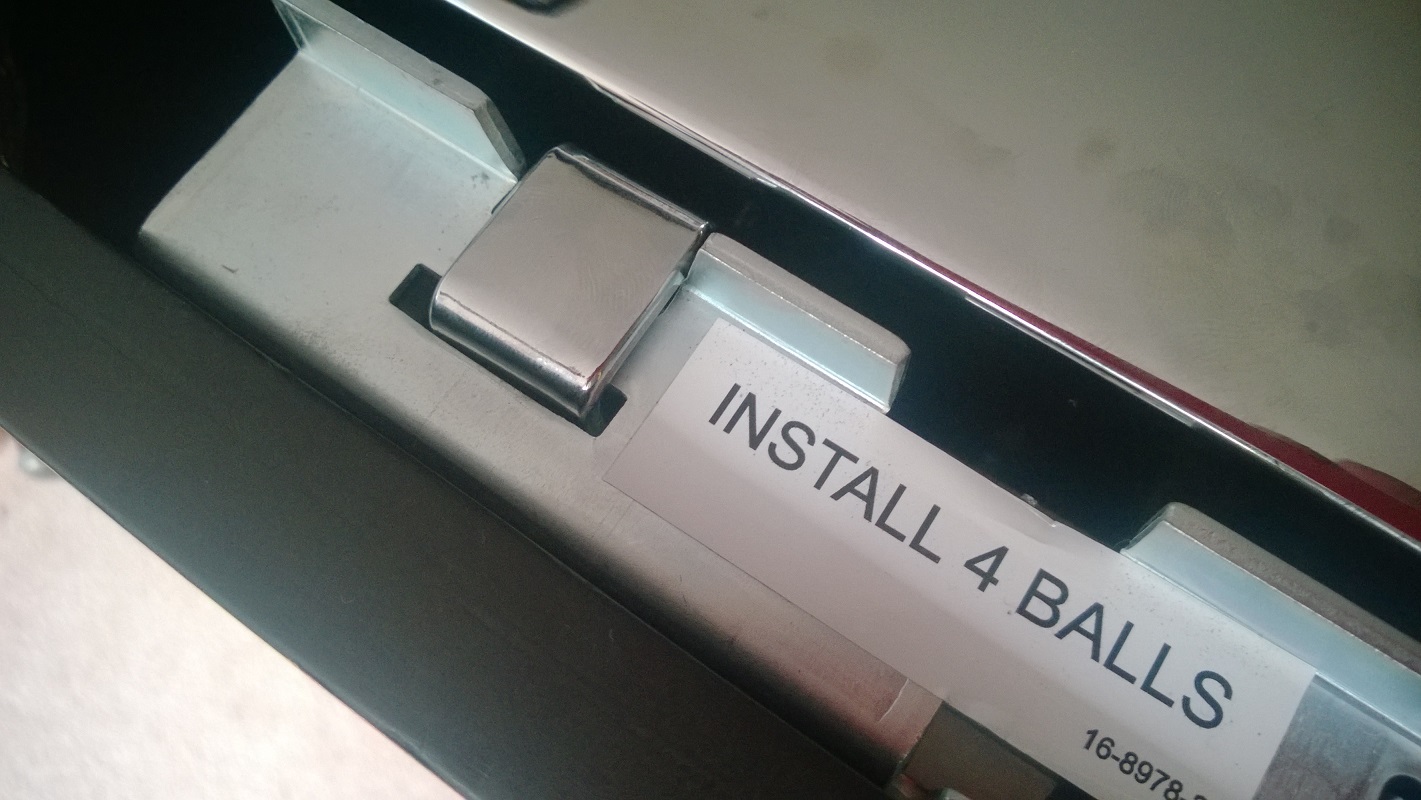
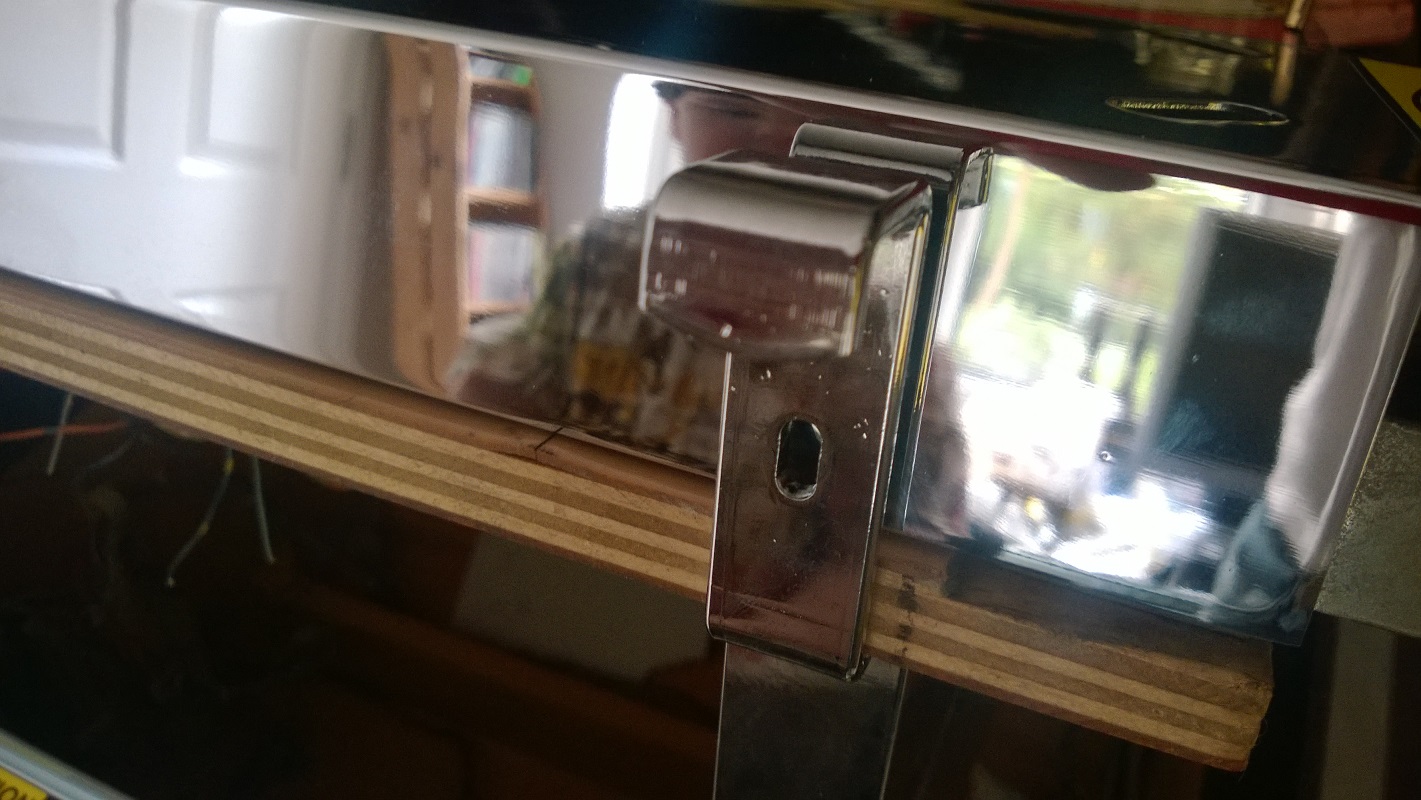
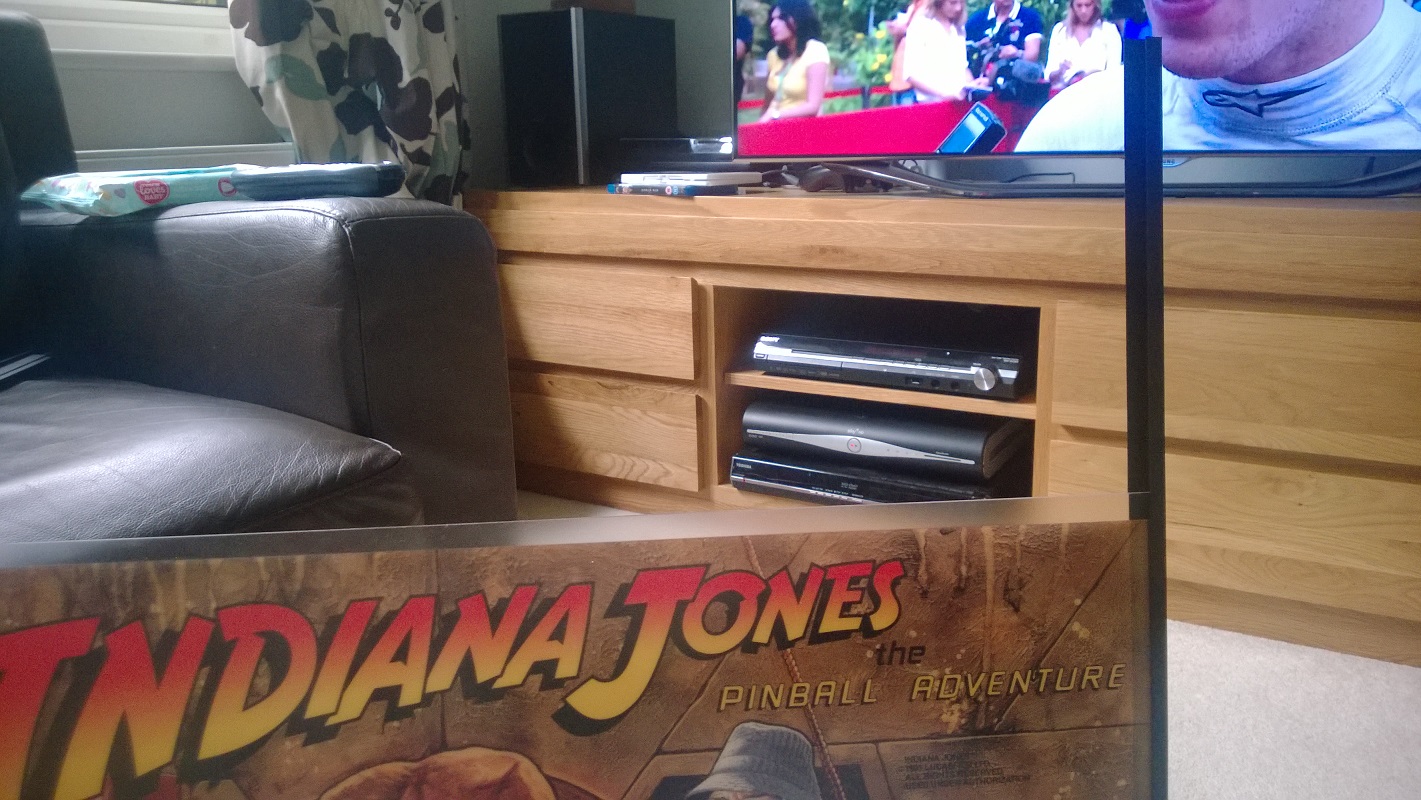
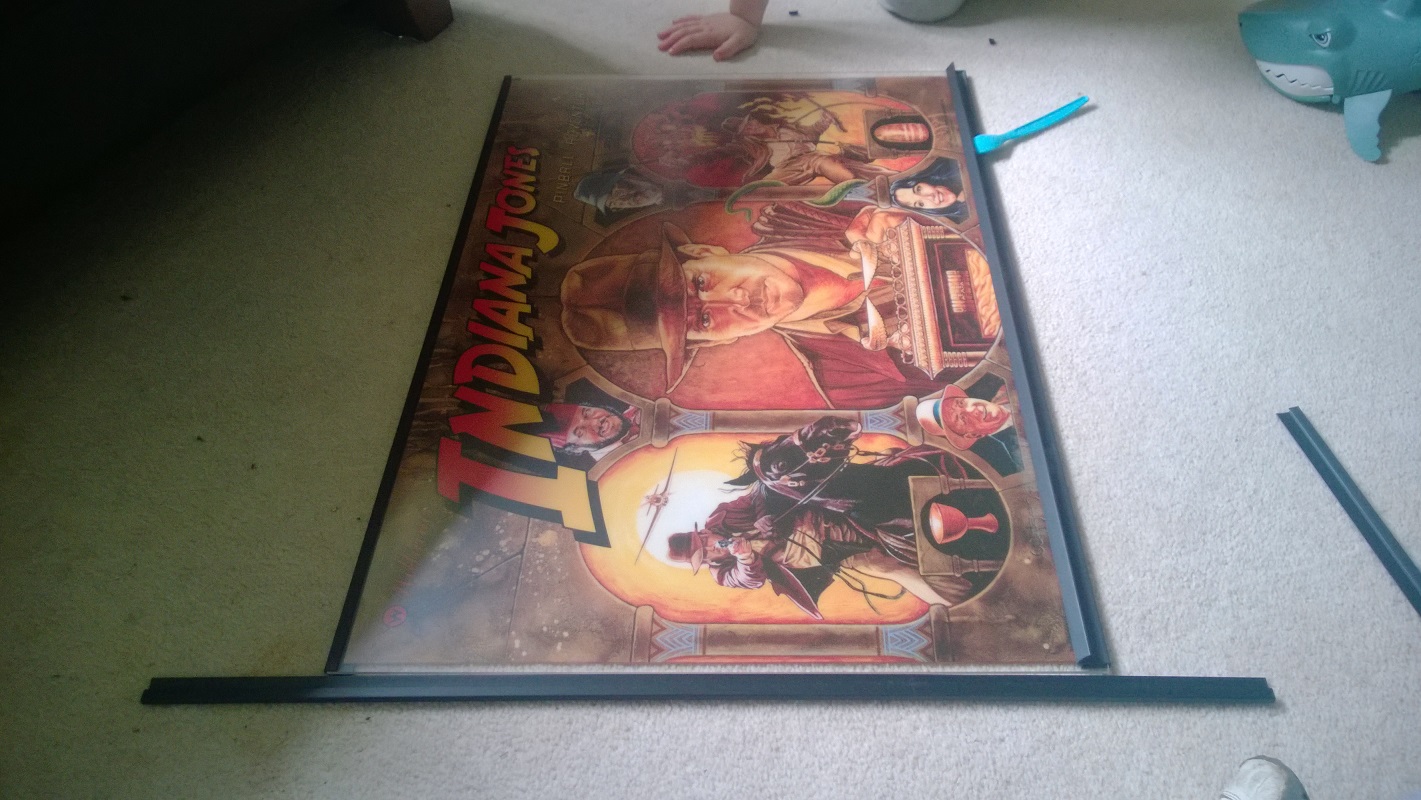
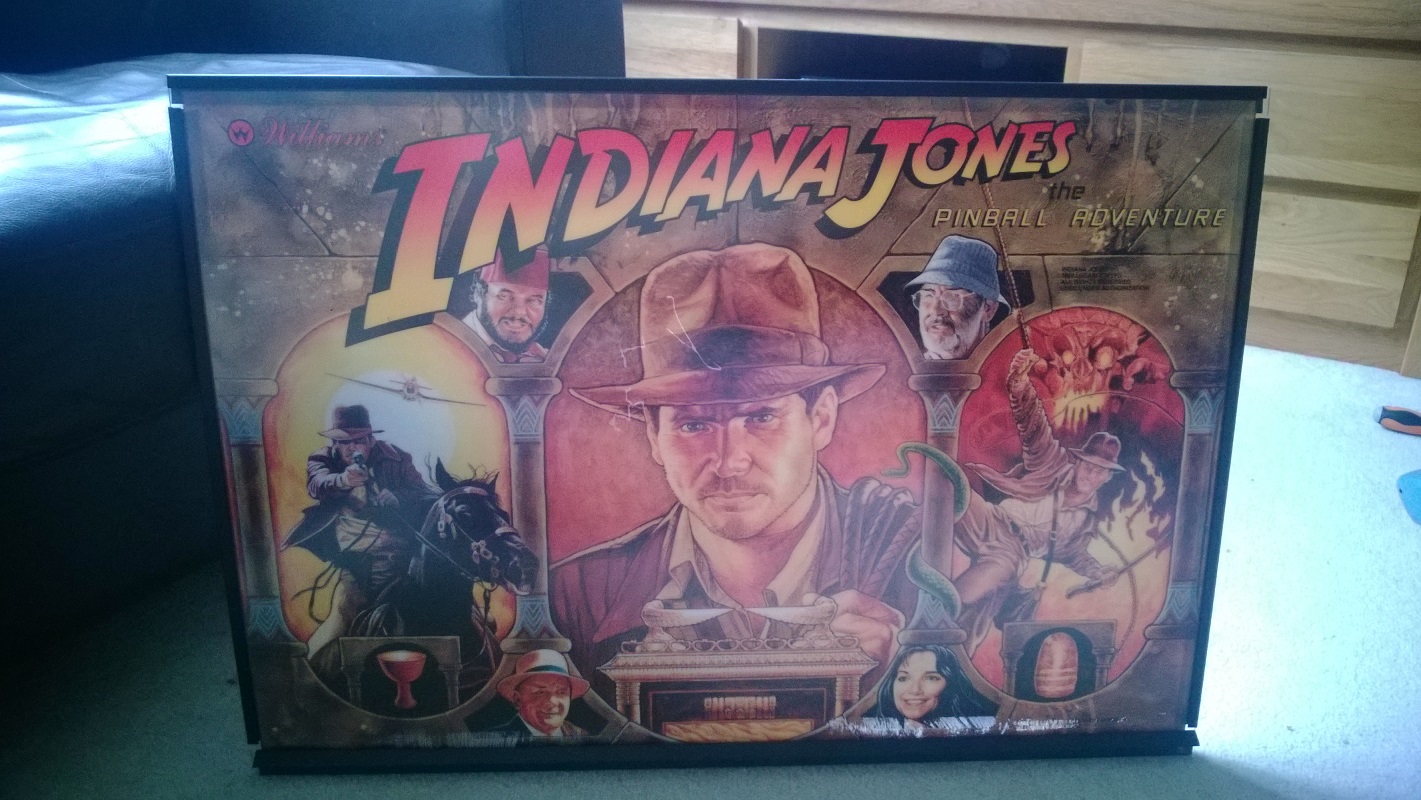
But in the mean time I couldn't resist doing a mock up of the mirror chromed apron with the apron guard...
Notice anything different about it?

Look again

24 carat gold plated baby!
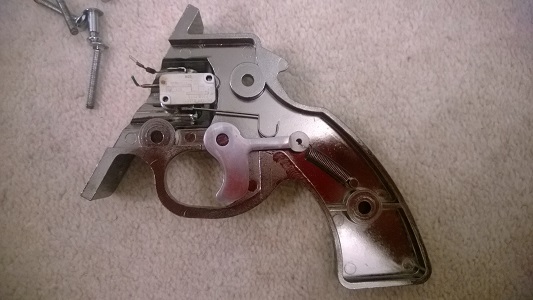
I just need to fit
1. the gun handle
2. the PCB set (and buy some!)
3. Finish and install the apron.
I would imagine upon first power on there will be a few teething issues!! Hopefully not too many. I am hoping to finish this now for November so watch this space
But in the mean time I couldn't resist doing a mock up of the mirror chromed apron with the apron guard...
Notice anything different about it?
Look again
24 carat gold plated baby!