Bit of an quick update on this:
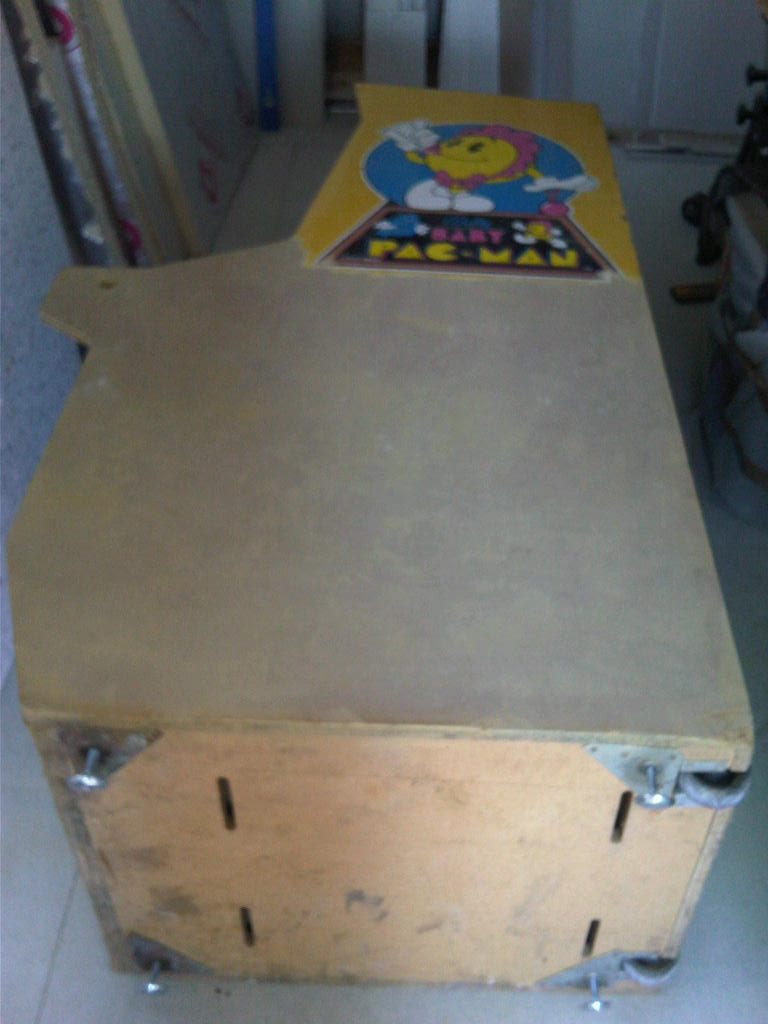
I borrowed Equites orbital sander and managed to do a bit more. The right side is pretty much done, but I need to remove the side art and underneath to get it finished. I'm pleased with the results as it's really clean and smooth:
I also sanded and tidied up the top, back and door of the cabinet, ready for repair.
I then started on the bottom of the cabinet. I left around the edges so
that I can do this by hand without damaging any other side parts with the
sander:
I will do the other side in a week or so.
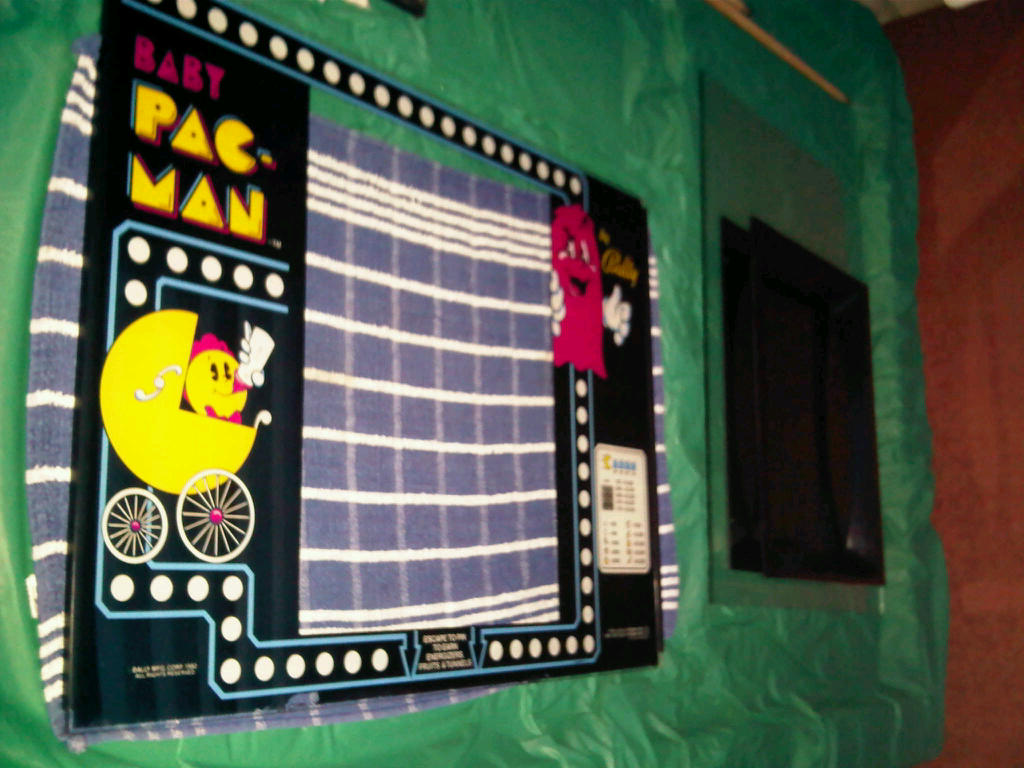
Next I started to clean up some of the glass, marquee, monitor cover and plastics etc:
I then took a look at the lighting, as I noticed that the wiring for this had been cut by someone in the past
. At first it wasn't obvious, by just looking in the cab how the lighting got power, so I downloaded the manual to see if that would assist
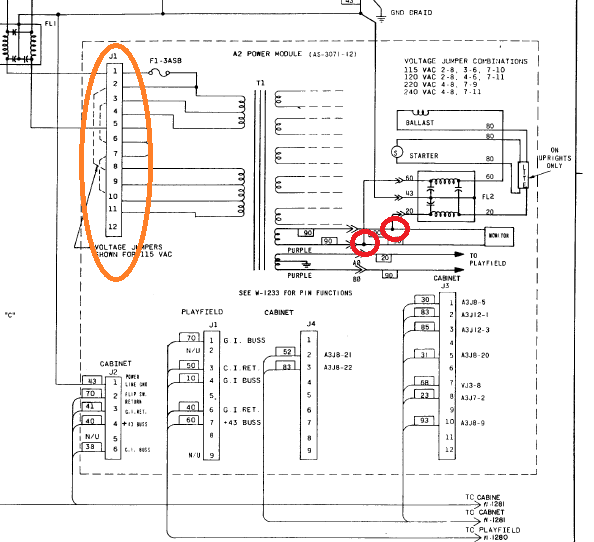
Now I'm a bit thick and find schematics fairly difficult to read, but it was clear that the power came from the same power that was going to the monitor (circled in red):
So I traced the power cables for the monitor and low and behold found where they had been snipped:
At the same time I thought I would double check what voltage the cabinet was setup for. I thought this might have a bearing on ballast, starter for the lighting etc.
Now I was confused about the location of the power jumper and pinouts for ages based on the manual above. I could see that the power jumper had 12 pins (circled in orange), but there were two 12 pin sockets on the power board, and it wasn't easy to tell which one was J1
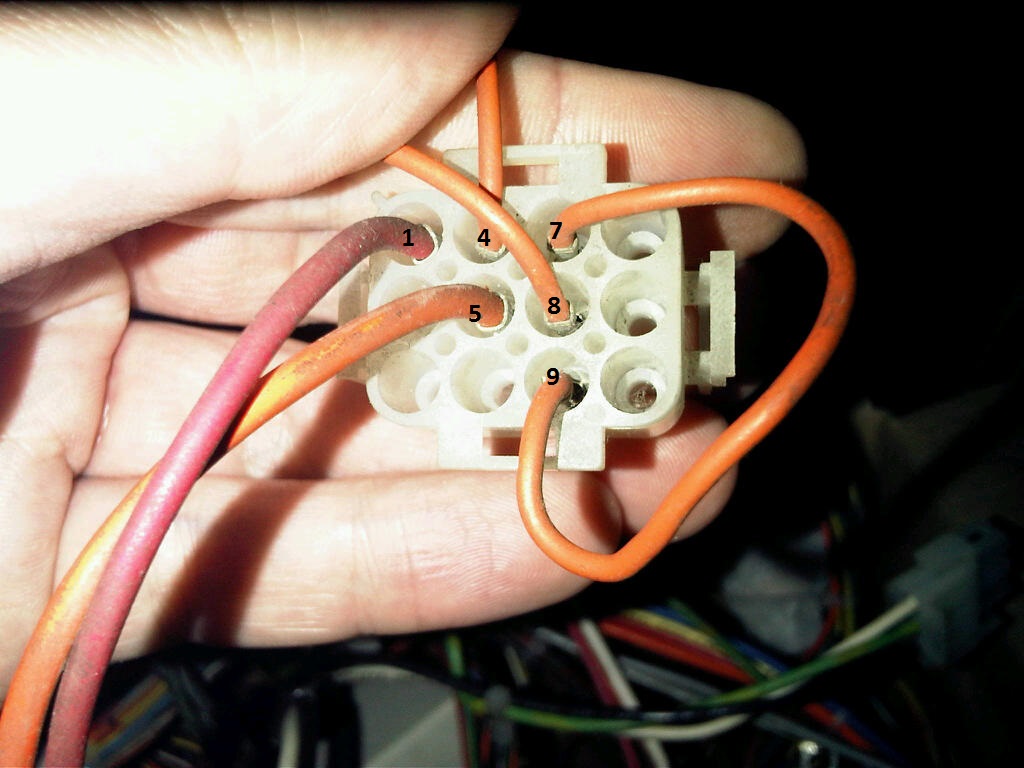
I eventually found the power jumper, but originally read the pins from left to right from the top but this did not tie up with the 220v settings of 4-8 and 7-9. I realised that the pinouts read from top to bottom and then left to right. As you can see mine is set for 220v:
Next I need to take a look at the lighting components to figure out what I need
Purity2013-05-09 21:49:31