Baby Pacman Restoration

Purity

The Oracle
vacBacker
Feedback
17 (100%)
Credits
2,999CR
Been doing a bit of work on the Baby Pacman parts whilst I'm waiting for the weather outside to get a bit better:

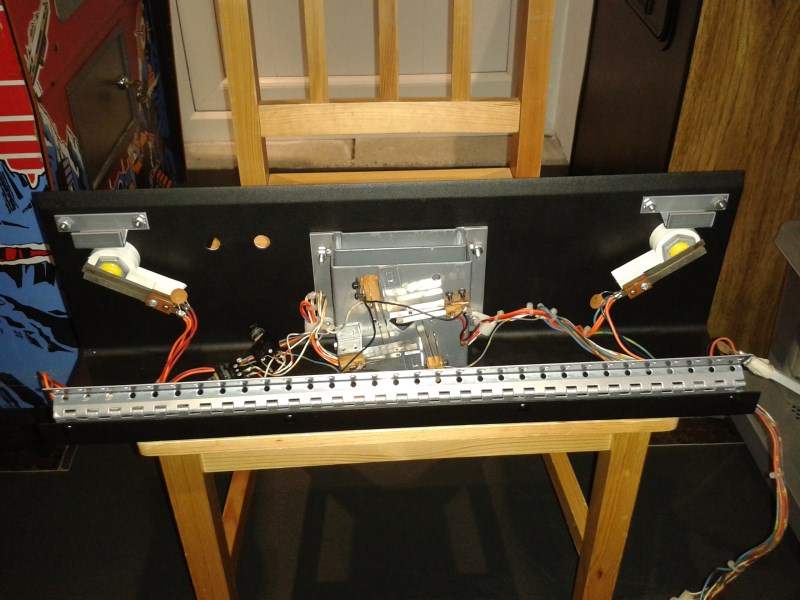
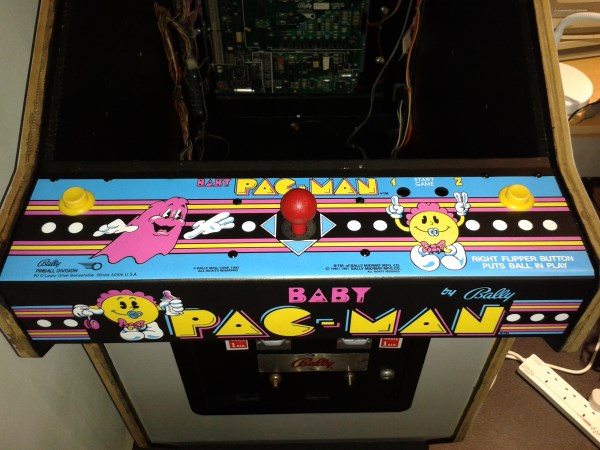
Power supply - If you look back at the initial images you can compare the two:
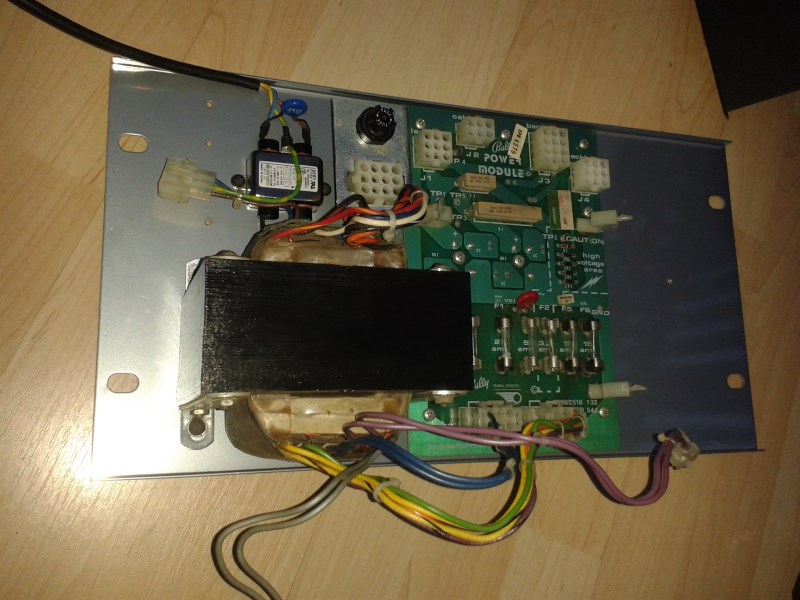
20140313_181420_800_x_600.jpg


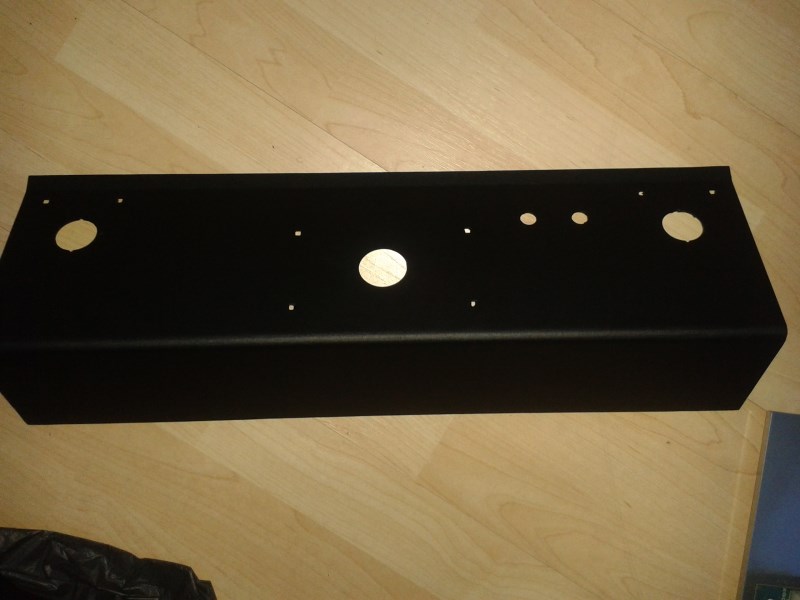
and the CPO ready for new artwork:

20140313_181452_800_x_600.jpg


Next up in the coming days I'm working on the coin door/mechs/frame and trying to get that all sorted...stay tuned
Purity2014-03-13 18:34:50
 

Purity

The Oracle
vacBacker
Feedback
17 (100%)
Credits
2,999CR
silverfox0786 said:
first time i seen this thread

very nice

btw is that a pinball machine or an arcade or a mix or both

It's both. You start off playing pacman, and then if you go into the tunnels at the bottom of the screen it switches to pinball. Depending on how well you do at the pinball side of things determines if you get power pills in the arcade side etc
 

Purity

The Oracle
vacBacker
Feedback
17 (100%)
Credits
2,999CR
At the weekend I decided to put the Baby Pacman back together, even though I've not done the sides or front yet.

20140407_193310.jpg


You may be thinking why the hell is he putting the parts back into an unfinshed cab, and the answer is very simple.

Firstly I'm losing track of where I am upto. This cab has what seems like a million parts and screws etc, and I was worried that I had lost some.

Secondly, the notes and pictures I took when taking it apart have been misplaced. Not all of them, but enough to make me worried about putting it back together.

Anyway it still proved to be like the equivalent of putting a 10,000 piece jigsaw together without any picture to go by. Unfortunately I’ve ended up with 1 extra screw and 4 extra nuts. Still a hell of a lot of work to do!

At least now I can take small pieces off at a time, work on them and put them back when done

Purity2014-04-07 21:09:52
 

Dex-Jay

Active member
Feedback
4 (100%)
Credits
375CR
Gutting something and it being apart for a while can be daunting, especially without your notes!
It can be worth video-ing yourself doing a strip down sometimes to help with reassembly later. Course that would be no help if you lost that too!

Did Bally/Midway Formica any other of their cabs (apart from the cabarets)? Having just looked at some pics - it looks a high gloss and where the paint rubs through looks like Formica to me. Also the edges look too sharp (on older cabs) to be a ply or particleboard. So yes I think you're right.

Painting it right wouldn't be a much cheaper option anyway!!
smiley4.gif
 

strykr

Active member
vacBacker
Feedback
11 (100%)
Credits
1,347CR
Dex-Jay said:
Gutting something and it being apart for a while can be daunting, especially without your notes!
It can be worth video-ing yourself doing a strip down sometimes to help with reassembly later. Course that would be no help if you lost that too!

Did Bally/Midway Formica any other of their cabs (apart from the cabarets)? Having just looked at some pics - it looks a high gloss and where the paint rubs through looks like Formica to me. Also the edges look too sharp (on older cabs) to be a ply or particleboard. So yes I think you're right.

Painting it right wouldn't be a much cheaper option anyway!!
smiley4.gif

Please set it to private though
smiley17.gif
 

Purity

The Oracle
vacBacker
Feedback
17 (100%)
Credits
2,999CR
Alpha1 said:
Should be lexan if it is. I thought the quality was spot on.

It is indeed Lexan Die cut.

The way it looks is good. The problem is it's been cut badly, the holes are all over the place, and the adhesive is pretty poor. Anyway I'll use it and see how it looks when finished
 

Purity

The Oracle
vacBacker
Feedback
17 (100%)
Credits
2,999CR
I've had an absolute 'mare with this
smiley5.gif


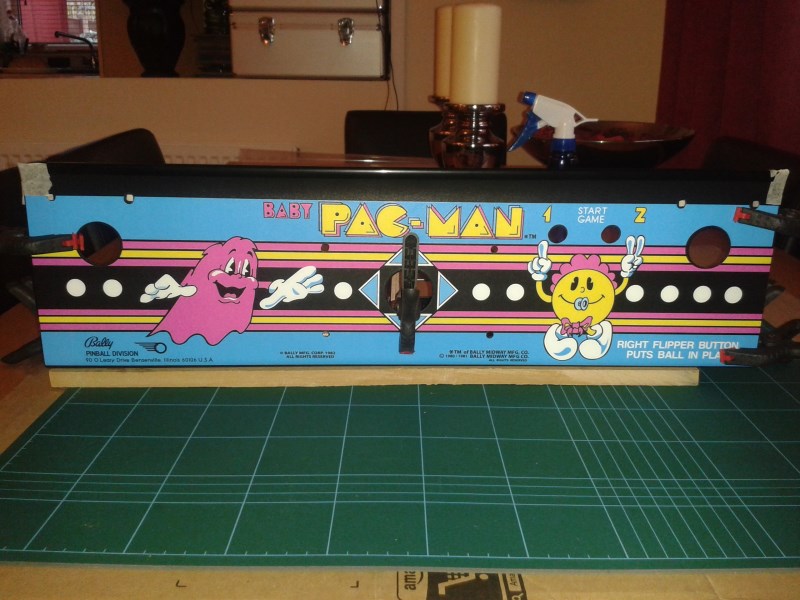
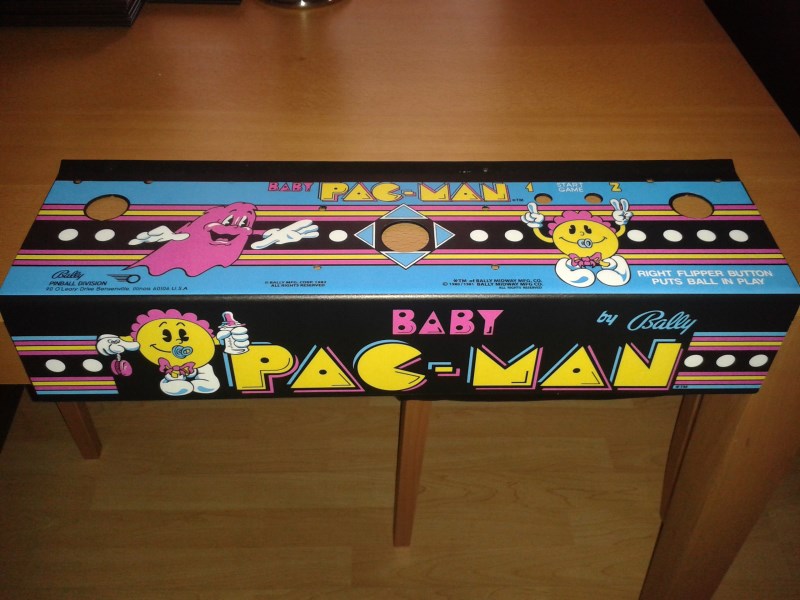
I initially had issues with the folds and wrap around on the control panel. Even when clamped in place and left for a few days it was bubbling, lifting, and was basically not adhering properly.

So I got hold of some contact adhesive to help, but this made matters worse.....the adhesive reacted with the artwork and has basically ruined it
smiley18.gif


Lesson learned = BE CAREFUL when using contact adhesive on artwork!

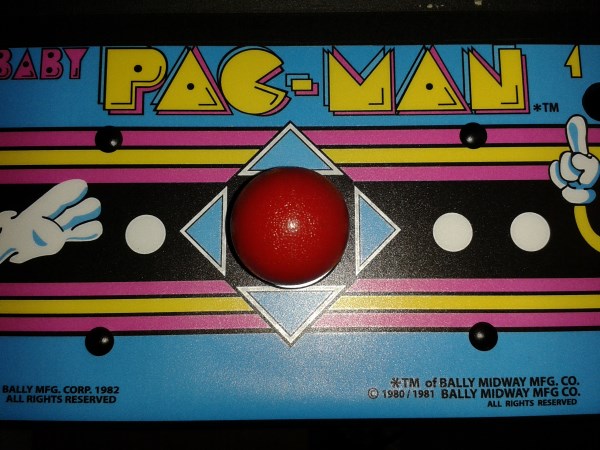
So as the CP was already ruined and the thought of buying new artwork from the US filled me with dread, I decided that I would try and recover from the situation by cutting away the damaged areas, including the wrap arounds at both ends, so no more wrap around.

I *think* it looks much better than it did originally, even though the top of the metal is exposed on the CP and scrapping the glue off did scratch a bit of the paintwork
smiley18.gif


Ah well.....

20140507_170913_800_x_600.jpg


Purity2014-05-07 18:03:19
 

guddler

Busting vectors like it's 1982!
vacBacker
Feedback
10 (100%)
Credits
4,056CR
Yeah, that looks fine! Thanks for the heads-up on the contact adhesive as well since my Robotron CPO has been hanging around for so many years now that I was expecting to have to use some of that on it when I eventually do get my panel back and try and apply it.
 
Top