You are using an out of date browser. It may not display this or other websites correctly.
You should upgrade or use an alternative browser.
You should upgrade or use an alternative browser.
Baby Pacman Restoration
- Thread starter Purity
- Start date


Day 3 - Wednesday
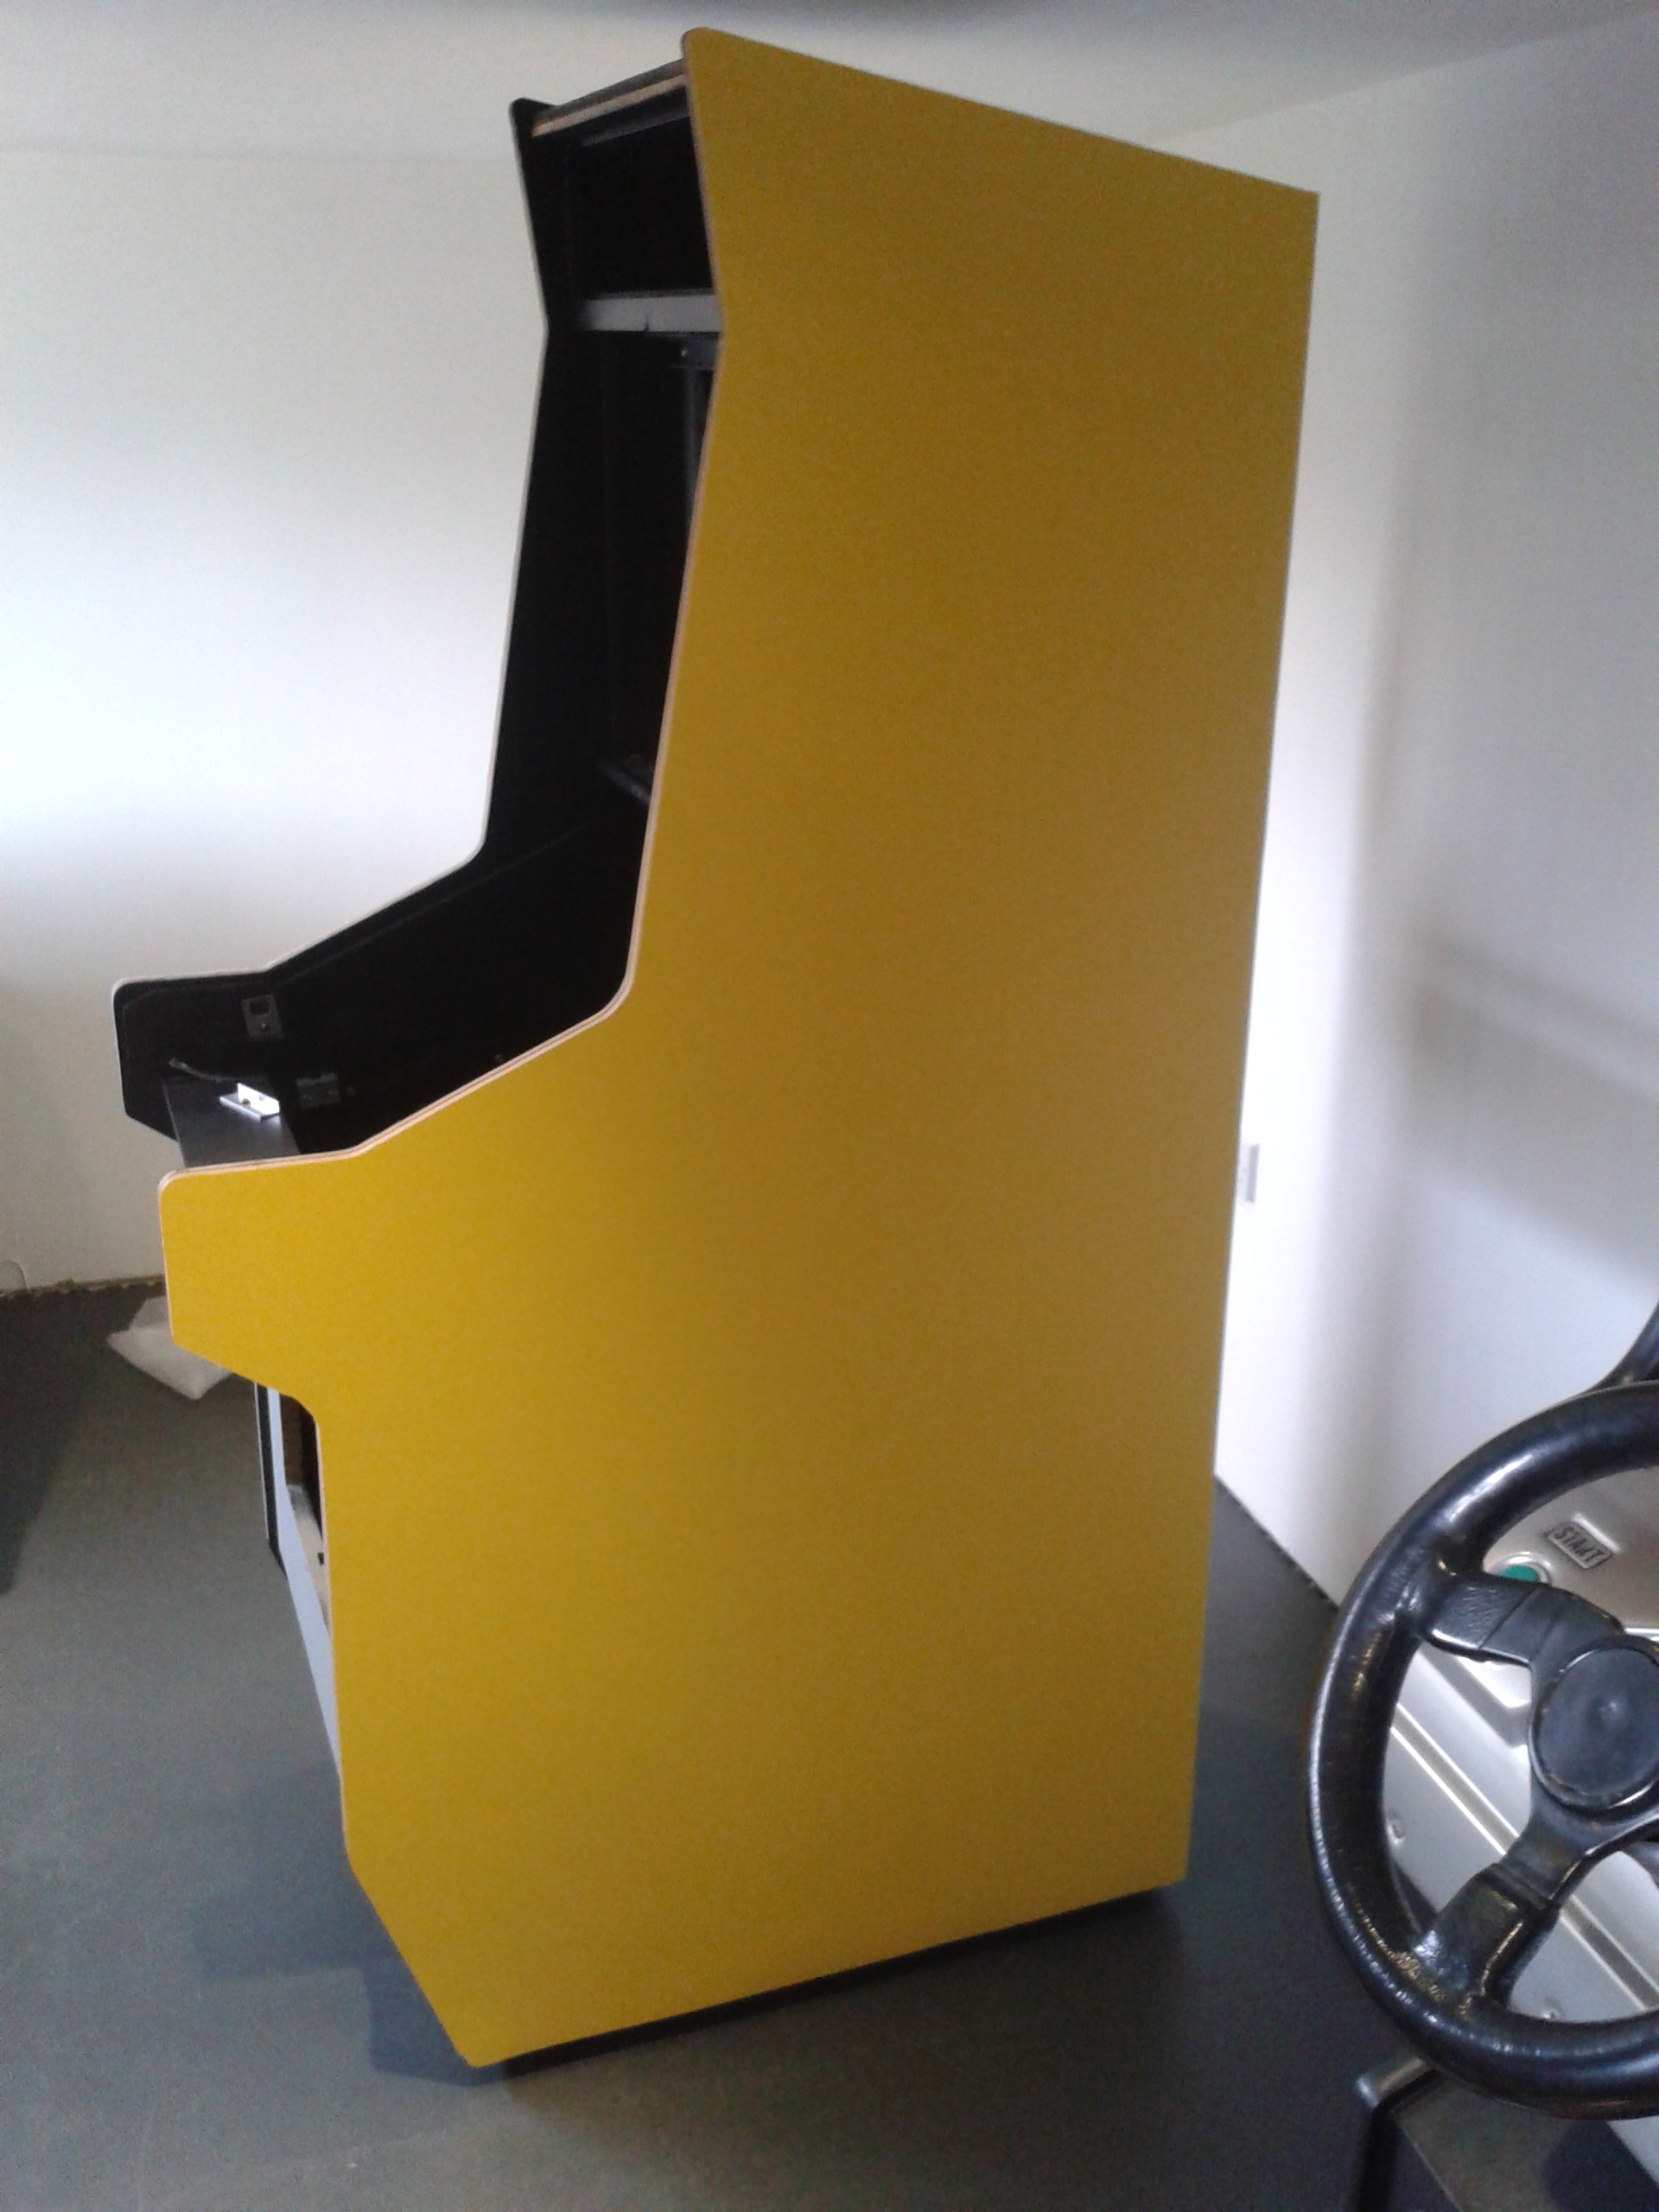
Made a couple of minor errors with the second side. The t-moulding edge had some uneven bits, and because the router follows that line, those uneven edges show up on the Fromica. Unless you really look hard it's not noticeable, but generally happy with the second side:
The centre pieces were an absolute pain, as I knew they were going to be. The top piece took 3 attempts and the bottom piece took 2 attempts. The problem was getting nice clean lines and accuracy with a stanley knife. So on the final attempt I tried a different tact and it worked out ok.
I marked out the correct sizes for both pieces and added 1/2 inch, and cut the 1/2 inch shape out.
Then I clamped the Fromica to the edge of a table, aligning the correct lines on the Fromica to the edge of the table, and then used the router to cut nice clean, accurate lines. It was also handy just to shave a tiny little bit off the end to get it to fit right.

Overall very happy with the middle bits. Just need to glue them tomorrow if all goes well. I'm going to overlap them slightly (as above) so it looks fairly neat. I've seen someone use Fromica on a Baby Pacman before and a gap was left which looked a bit crap.
Then just got to cut out the coin door, grills, buttons and locks. I can use the router for most of it, but not for the grills. I'm going to have to do this semi-by hand, so I hope I don't mess it up They are hidden by the grills so it's not the end of the world if I do
Purity2014-08-20 16:48:47
Made a couple of minor errors with the second side. The t-moulding edge had some uneven bits, and because the router follows that line, those uneven edges show up on the Fromica. Unless you really look hard it's not noticeable, but generally happy with the second side:
The centre pieces were an absolute pain, as I knew they were going to be. The top piece took 3 attempts and the bottom piece took 2 attempts. The problem was getting nice clean lines and accuracy with a stanley knife. So on the final attempt I tried a different tact and it worked out ok.
I marked out the correct sizes for both pieces and added 1/2 inch, and cut the 1/2 inch shape out.
Then I clamped the Fromica to the edge of a table, aligning the correct lines on the Fromica to the edge of the table, and then used the router to cut nice clean, accurate lines. It was also handy just to shave a tiny little bit off the end to get it to fit right.
Overall very happy with the middle bits. Just need to glue them tomorrow if all goes well. I'm going to overlap them slightly (as above) so it looks fairly neat. I've seen someone use Fromica on a Baby Pacman before and a gap was left which looked a bit crap.
Then just got to cut out the coin door, grills, buttons and locks. I can use the router for most of it, but not for the grills. I'm going to have to do this semi-by hand, so I hope I don't mess it up
They are hidden by the grills so it's not the end of the world if I doPurity2014-08-20 16:48:47


shouldn't notice the minor errors with the t-moulding on.
Alpha1 said:Off topic kind of, but are you going to strip and clear coat the playfield?
The playfield has a Mylar coating, and is in fairly decent condition. I took the decision a while back to leave it as is for now
I'm pretty eager to get the game finished and doing more work on the playfield is going to cost more time and money. I can always do it later if I want/need to
Purity2014-08-20 16:53:00
Hurray Banana said:shouldn't notice the minor errors with the t-moulding on.
It's not in a t-moulding area unfortunately. It's at the base of the cab.
Purity said:Hurray Banana said:shouldn't notice the minor errors with the t-moulding on.
It's not in a t-moulding area unfortunately. It's at the base of the cab.
That's a pain
Hurray Banana said:Purity said:Hurray Banana said:shouldn't notice the minor errors with the t-moulding on.
It's not in a t-moulding area unfortunately. It's at the base of the cab.
That's a pain
Yup, but it's a learning thing. I will know to check the edges if I do this again.
Plus it doesn't look too bad and is not really noticeable unless you really look hard...I can live with it

if that's the first time you've used a router then it's a cracking job you've done plenty can go wrong with those puppies.
well done mate
well done mate

Equites said:Wow, seriously impressive. You are now the formica consultant on the VAC.
Dammit don't make me change it!!
looking ultra tidy


Purity said:Day 3 - Wednesday
Made a couple of minor errors with the second side. The t-moulding edge had some uneven bits, and because the router follows that line, those uneven edges show up on the Fromica. Unless you really look hard it's not noticeable, but generally happy with the second side:
Looking great Ben, Formica works well does it, and makes colossal mess! Same happened on my champ sprint, as it follows the cab contour, if that isn't totally straight (which they rarely are) you get some minor discrepancies.
How was the front part? Stanley knife and straight edge all the way?
Yeah routing Formica makes an incredibly mess! I've spent hours tidying up! I can't believe you did this in your living room!strykr said:Looking great Ben, Formica works well does it, and makes colossal mess! Same happened on my champ sprint, as it follows the cab contour, if that isn't totally straight (which they rarely are) you get some minor discrepancies.
How was the front part? Stanley knife and straight edge all the way?
I tried the straight edge for the front but just couldn't get it quite right, so I cut larger sides then used the router to trim bits off until it was spot on.
It was going to be pretty difficult using the plastic strips on the front so I improvised and cut out a template using some clear plastic so I could get the holes spot on, but mainly because I could use it as a barrier between both glued front pieces. Once the pieces were in place, I could press down on the Formica and slide the plastic out. It worked well

I also marked out the coin door - 1/2 inch so I could take a good chunk of that out beforehand.
Once fitted, I routed the rest of the coin door hole.
The difficult bit was the oval shapes at the top. You know how difficult Formica is to cut so I wasn't even going to attempt to cut out a shape like that. So I cut out squares. I could route some of the speaker grill holes, but the base of the router is quite big so restricted movement. It looks ok, but more like a foot shape on each side than a oval

Cutting the holes was nerve racking and I did this prior to fitting. So I used my template above by placing it over the Formica to mark the holes, then used tile/glass drill bits at a slow speed to make the holes.
I used a small glass drill bit on the buttons to make a pilot hole, then a paddle bit to make a larger hole big enough for the router and routed out the rest. The only problem was the main leaf buttons as they had a small edge, so the router could only cut a smaller hole. I've left that for the moment but need to revisit when I figure out how I can increase the size of the hole.
Purity2014-08-21 18:45:48
Well, made my first majorish error today

I trimmed the button holes out fully with a top bearing flush trim router bit. First side was pretty perfect and was happy with it. I unfortunately slipped slightly with the router on the second side so there is a gap at the side of the button, even when the button is in place.
That's life I guess. Definately a learning experience for next time, if I use Formica again on a cab.
I'm not ripping the side off. I'm just going to live with it as is. I never expected this to be perfect, just an improvement on what it started out as, and I think I've achieved that already.