Baby Pacman Restoration

Purity

The Oracle
vacBacker
Feedback
17 (100%)
Credits
2,999CR
The weather has been really sunny today, so I decided to give the
Baby Pacman loom a good clean, assess it for damage, and let it dry out
in the sun.


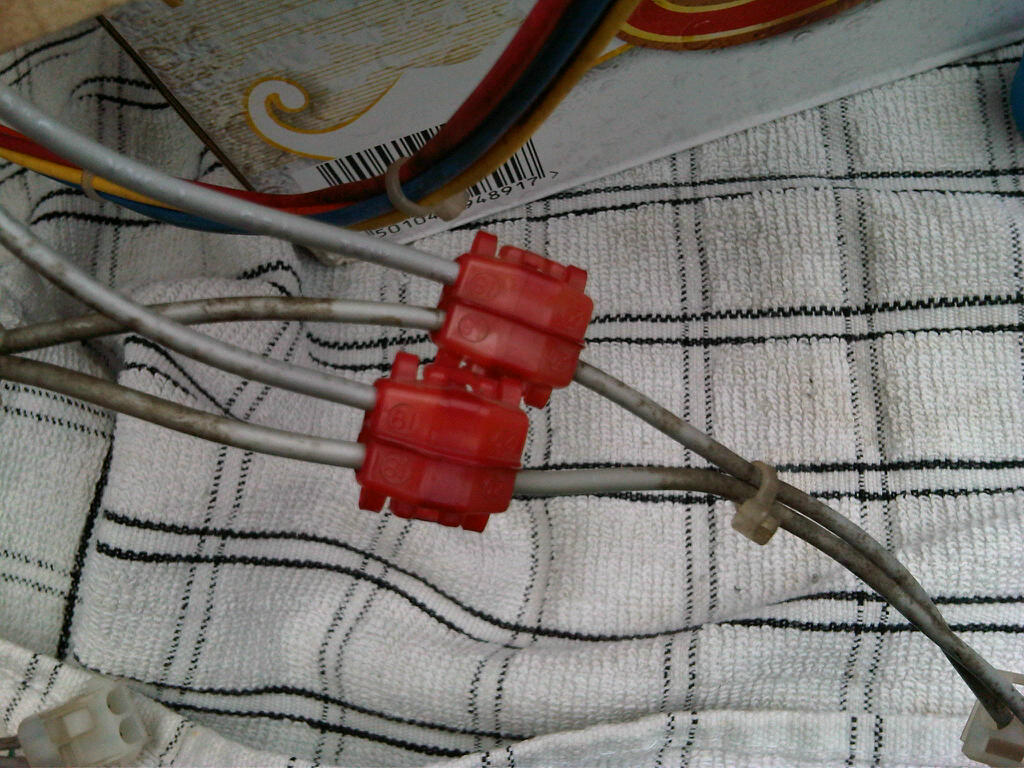
I found a couple of places where some cables have been cut on the main power wires, so they will need to be replaced.

The damaged red cabling was labelled as “Atlas wire E25635 AWM Style 1015 105C VW-1 600V CSA TEW 105C”

The damaged orange cabling I think was labelled as “Industrial E40299 AWM 105C VW-1 Style 1015 CSA AWM 105C LL22771″


Hopefully I can find some suitable replacements
 

Purity

The Oracle
vacBacker
Feedback
17 (100%)
Credits
2,999CR
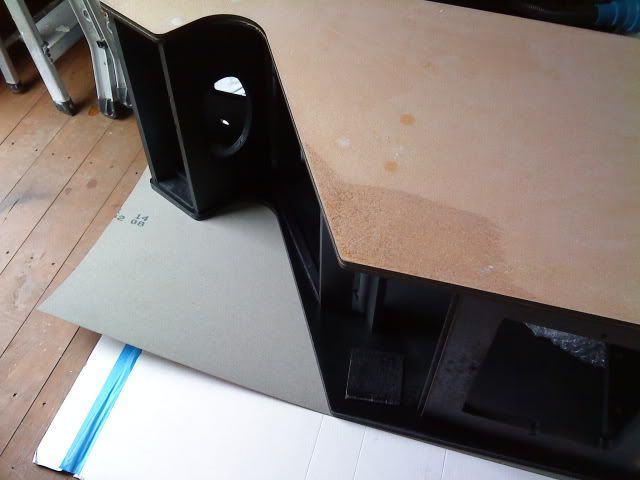
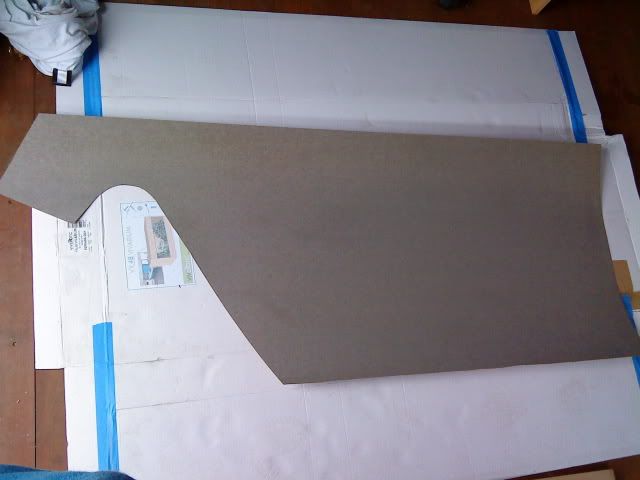
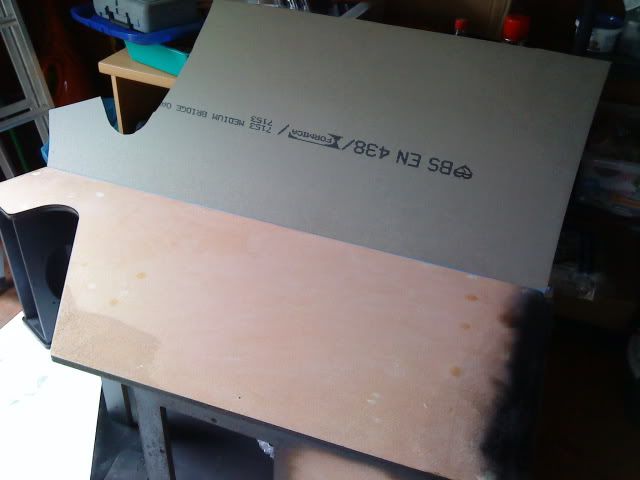
Sanding complete:

IMG00140-20130601-1746.jpg


IMG00141-20130601-1747.jpg


IMG00142-20130601-1828.jpg


Next stage is filling/sanding the damaged areas
 

Purity

The Oracle
vacBacker
Feedback
17 (100%)
Credits
2,999CR
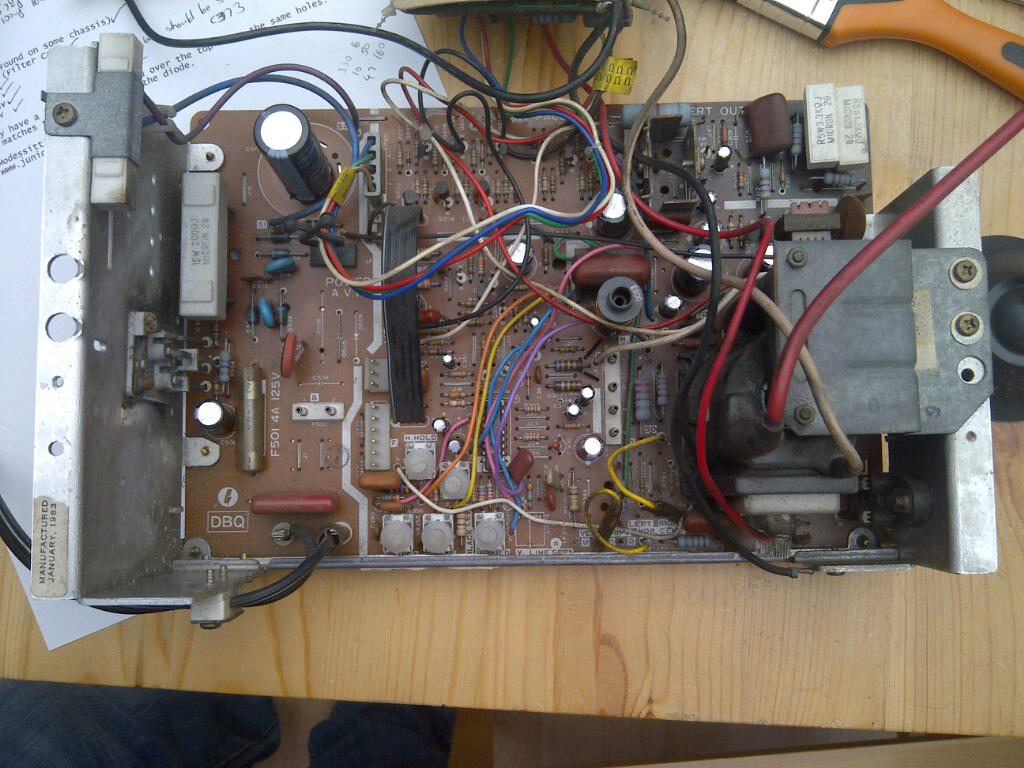
Recapped the K4800 monitor:

IMG-20130622-00002.jpg


Re-built
the marquee light, so it is back to how it was originally meant to work
rather then some dangerous hacked job, and at the same time repaired the original
wiring:

IMG-20130622-00001.jpg


IMG00124-20130518-1455.jpg

Purity2014-01-15 11:26:25
 

Purity

The Oracle
vacBacker
Feedback
17 (100%)
Credits
2,999CR
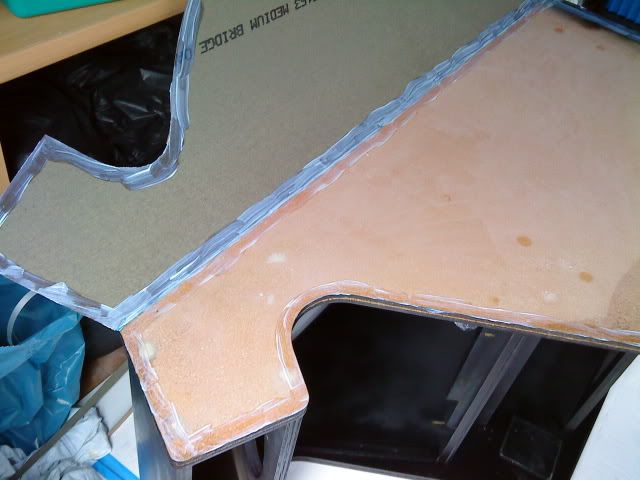
At the end of July I did a bit of work on filling all the missing chunks, gouges and damaged edges of the Baby Pac.

I'm particularly pleased with the bottom right hand corner (pictured below) that had a huge
chunk missing. This is now flush with the rest of the cabinet, and
looks like a a proper corner.

IMG-20130729-00003.jpg
 

Purity

The Oracle
vacBacker
Feedback
17 (100%)
Credits
2,999CR
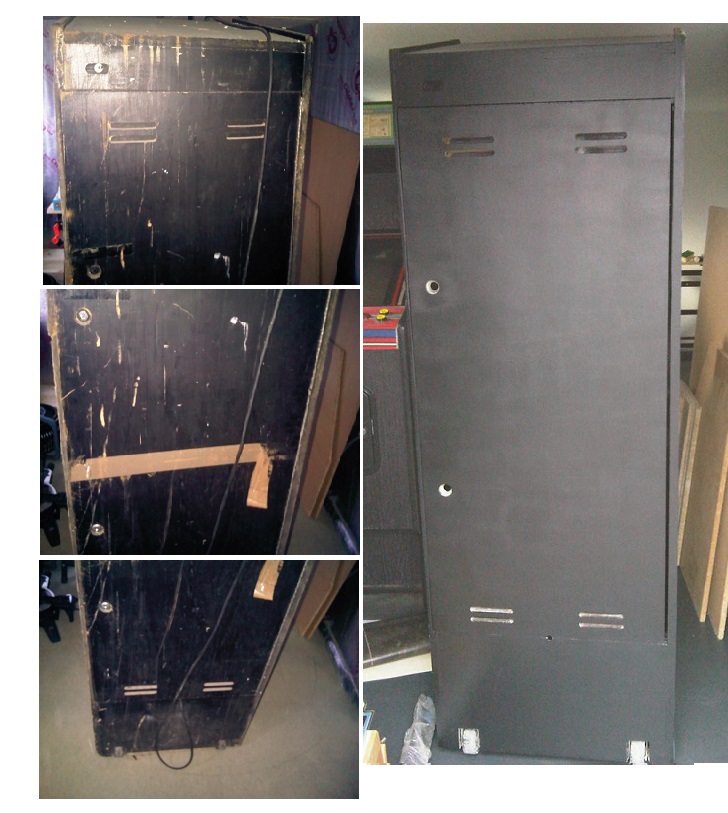
Looking a bit tidier, compared to how it originally looked, which was my aim

Just in case your wondering, it is black rather than grey. The light was shining on it making it look grey
smiley36.gif


Baby_Back.jpg
 

Purity

The Oracle
vacBacker
Feedback
17 (100%)
Credits
2,999CR
Alpha1 said:
Looking great. Think this is going to have to be moved to Restoration Showcase imminently!

Lets wait until it is finished, I'm bound to screw something up
smiley36.gif


The tricky bit is going to be the next bit.....

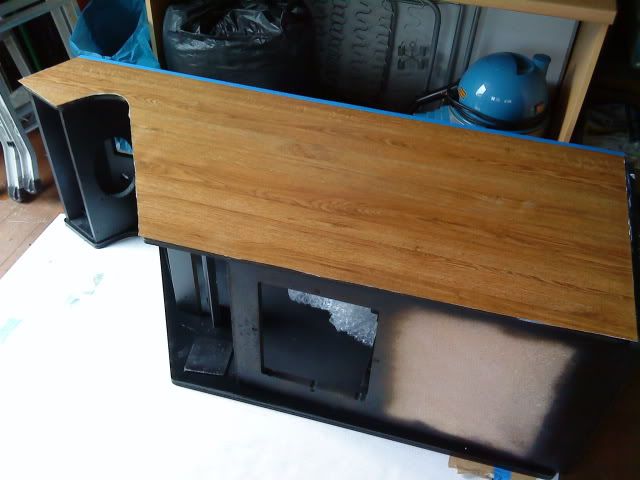
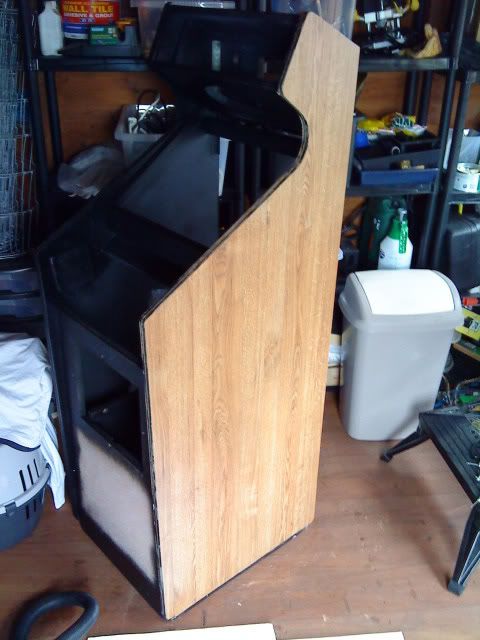
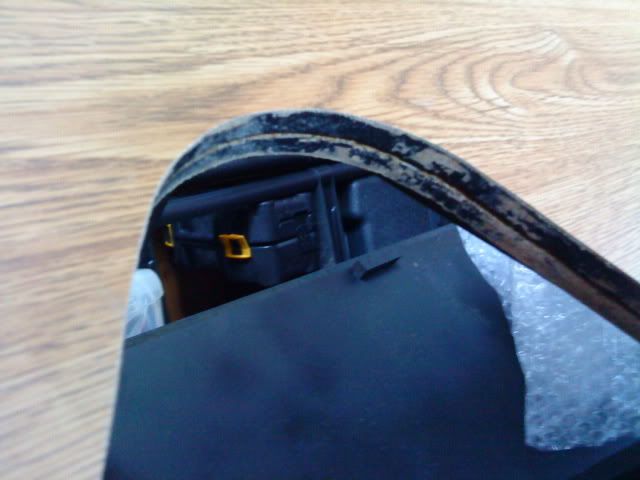
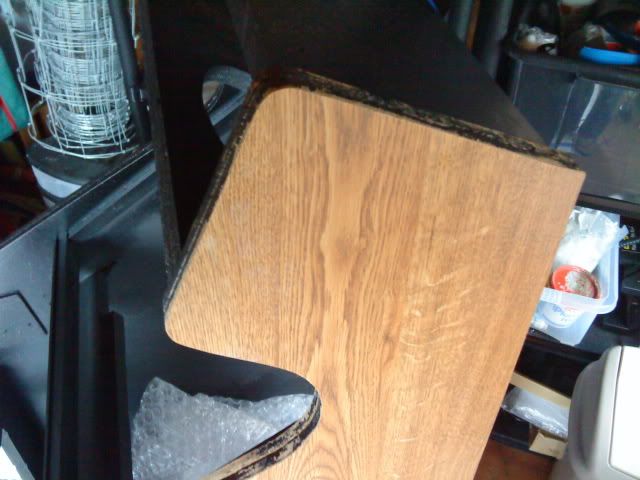
I've been having some lengthy discussions with some guys on Klov about whether paint is used on the sides on these cabs, or whether it is formica. Up until about a week ago I was going to go with a paint option, and was waiting for some swatch samples to be sent from the states. However I've now been convinced it is Formica and have found a supplier in the UK that has two sheets that I think are a fairly close match. I recieved some samples of those sheets yesterday and have got to say they are as close as I expected.

They only problem is:

1) They are expensive
2) I haven't fitted Formica before and do not want an expensive mistake
smiley1.gif

3) I have already primed the sides and front so I'll need to sand that down again to make it as smooth as possible
smiley18.gif

Purity2013-09-26 23:05:46
 

Pacman83

The Pac-Master
vacBacker
Credits
212CR
I fitted Formica to the sides of my Pac man cabaret. It can be a little difficult to cut, but it is amazingly robust and looks incredible
smiley20.gif


Here's where I fitted it to mine -

It's lamination time.

I was faced with a veriety of methods of doing this. The one I opted for was what I felt more comfortable with, considering my limited experience in this area.

The laminate was lay flat and the cab was then lowered onto it. After careful positioning, I drew around the cab as a template with a pencil held on it's tip (to allow for an overlap) then removed the cab.

Using a brand new Stanley blade, I positioned a metal straight edge along the straight lines and scored VERY CAREFULLY !! You MUST wear gloves when doing this as one slip will cost you a serious injury.

When the straight scores are done, you can then carefully go over your marks a few times then the laminate will break off easily. Care must be taken on the curve as this is all done 'freehand'. Patience is a vital key in this job.

The new laminate side can then be placed on top of the cab (now lay flat) and carefully positioned. I used a masking tape 'hinge' on the longest edge (the back) to join the laminate to the cab. It can then be hinged backwards, knowing that when you're ready to lower it, it will match the side perfectly.

The edge of the laminate and the cab is then painted with the contact adhesive, I then used the spray alternative to cover the rest of the surfaces. Both laminate & cab must be covered with a layer.

NOTE - You must be certain in your mind that the two sides are lined up before they come together. As the laminate is lowered, use one hand to slowly press down near the 'hinge' as you check it's uniform. Once these surfaces come together, there's NO way you're going to reposition it if you get the positioning wrong.

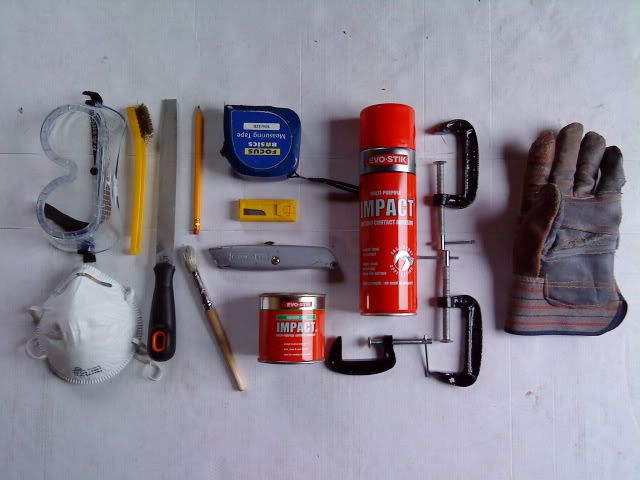
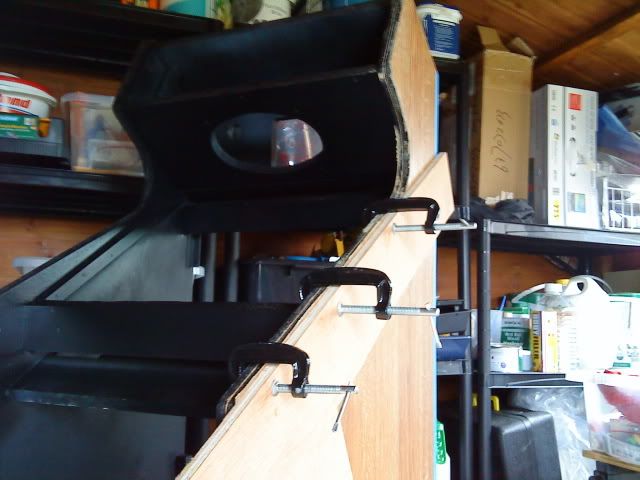
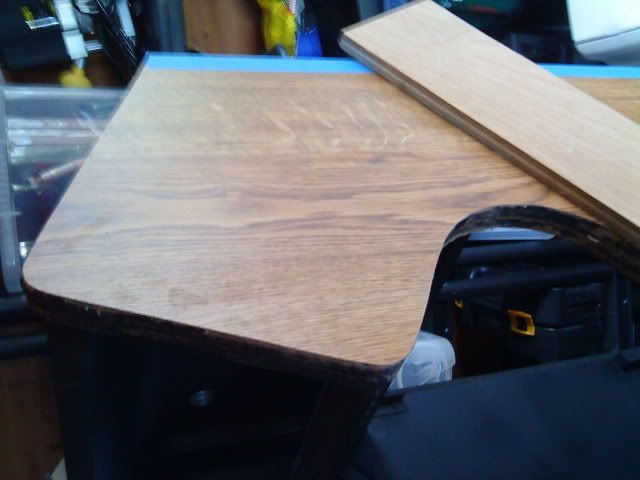
It's then smoothed out and lay on it's side to weigh down the join during the curing process (about 2 hours). I then used a 'ba$tard' cut file to file the excess by hand using a slow even stroke, only applying pressure on the forward stroke, so not to splinter the plastic side of the laminate. You'll see in the 1st picture the file and small wire brush. Make sure you clean the surface of the file from time to time as it clogs up with laminate dust and wear your mask.

This was a slow and laborious job, but worth the patience. Once done all round you can stand back and admire the finished side. Repeat to the other side and I have to do the front panel now.

016-2.jpg


001-6.jpg


002-5.jpg


004-5.jpg


005-5.jpg


006-6.jpg


007-7.jpg


009-5.jpg


010-4.jpg


011-4.jpg


012-4.jpg


013-3.jpg


014-1.jpg


015-2.jpg
 
G

Guests

Guest
As Jon said, it's really difficult to cut and keeping the cut edge 'clean' is tricky as the edge tends to splinter when using a knife. I've only used Formica on the front of Missile Command but it may be of benefit to you to oversize your cut so the whole side is overlapped and use a router and Formica bit to get the perfect finish.

You can also buy a contact adhesive that allows movement once the two come together just in case as it's a real tricky job.

Great job on that cab though Jon, superb!
 
Top