myPinballs
Active member
Another quick question for Nintendo arcade experts. The screws which hold the top marquee bracket on, are they supposed to be zinc plated or black japanned? Mine are all getting replaced as are rusted to death.


")
Ronnie Dent said:The chassis looks the same as the later 20-EZC did you follow up that offer for a tube on your wanted post from Paul Cowan?
Ronnie
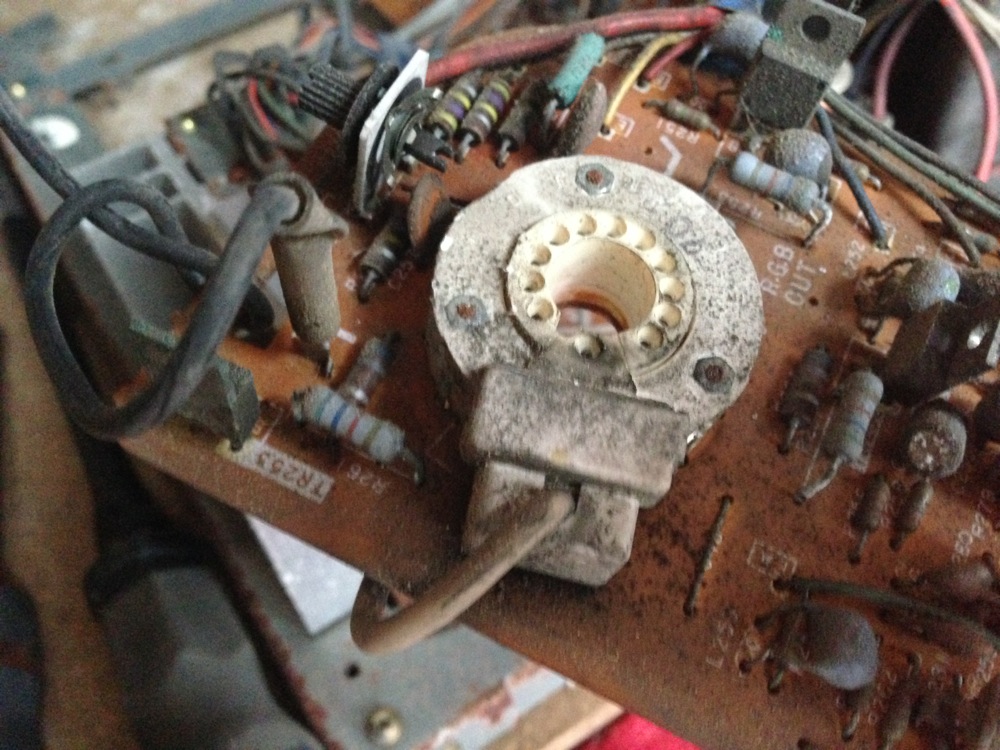
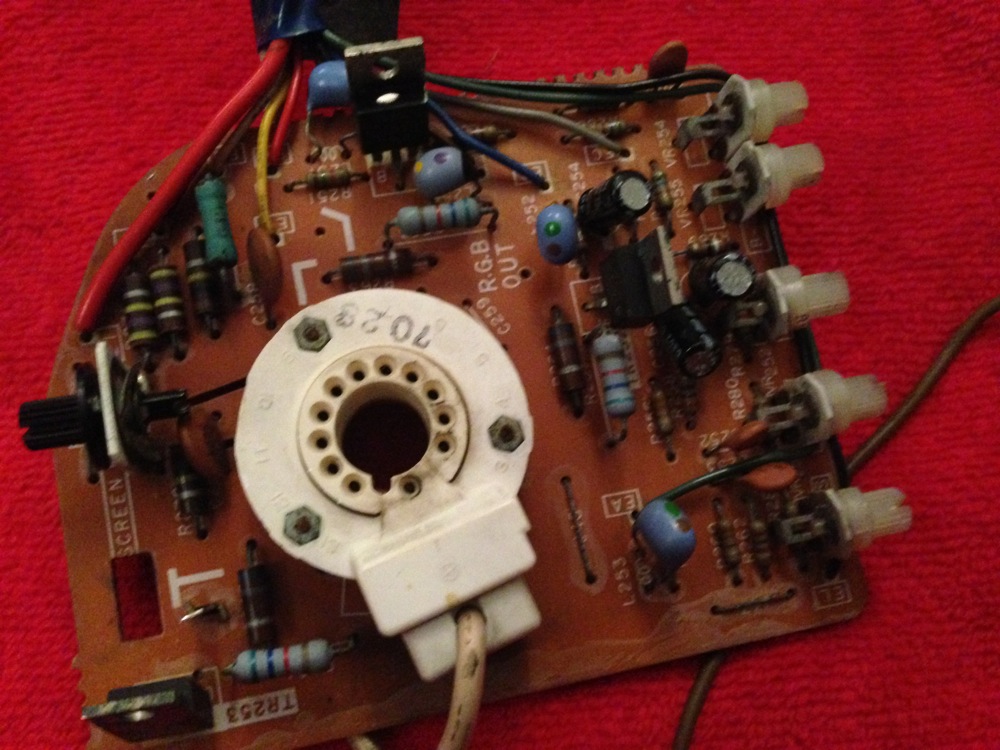
Ronnie Dent said:It looks like the tube I have would not fit your neck board socket so I would imagine the one Paul Cowan has is the same as mine but he may still have the chassis with it? or if not I have a spare one that I took the loft from but the board is cracked
Ronnie

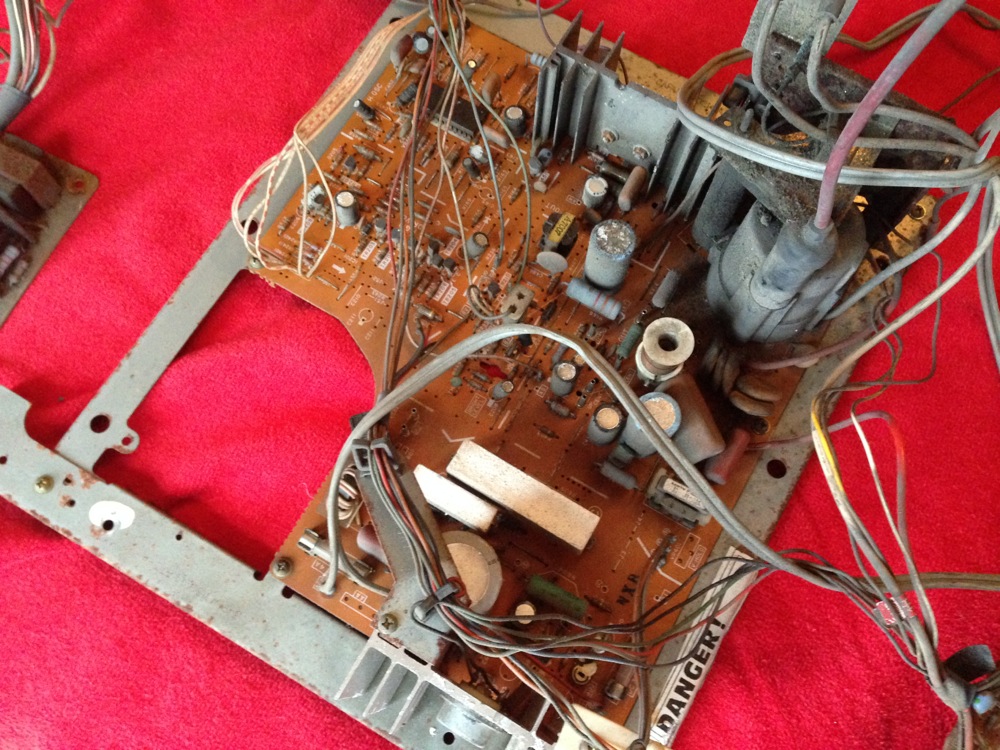
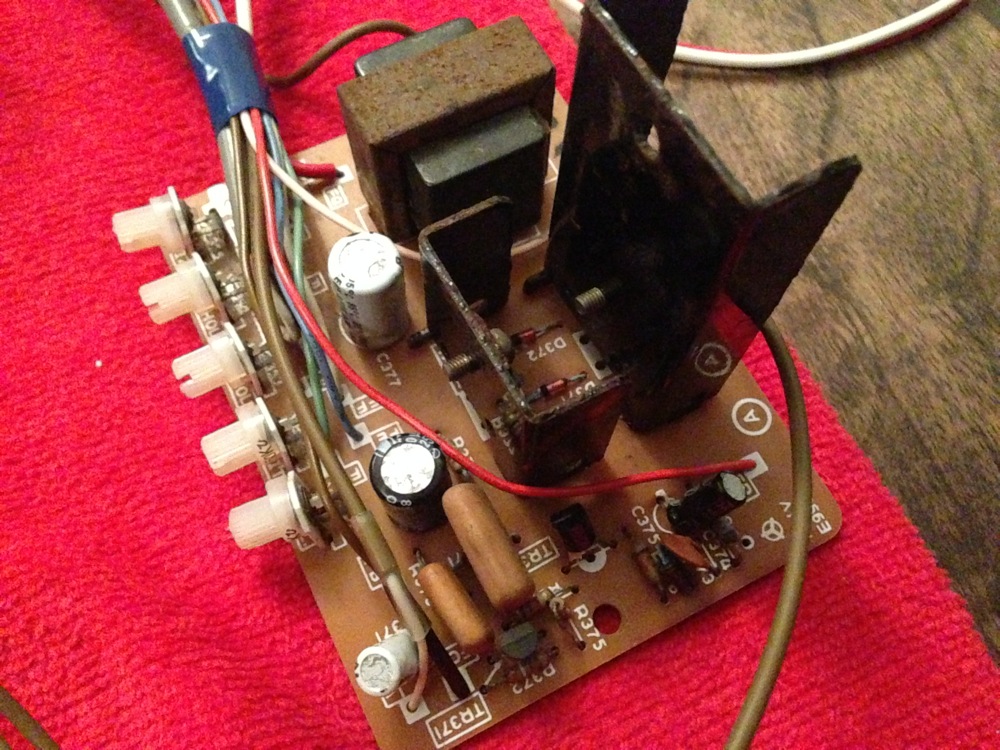
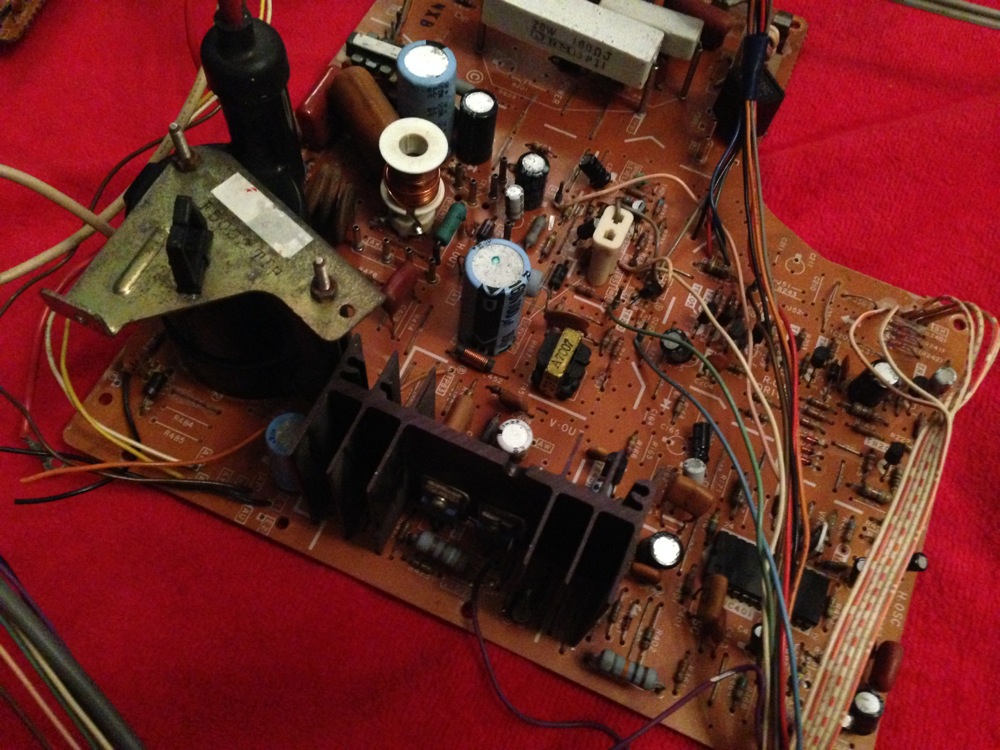
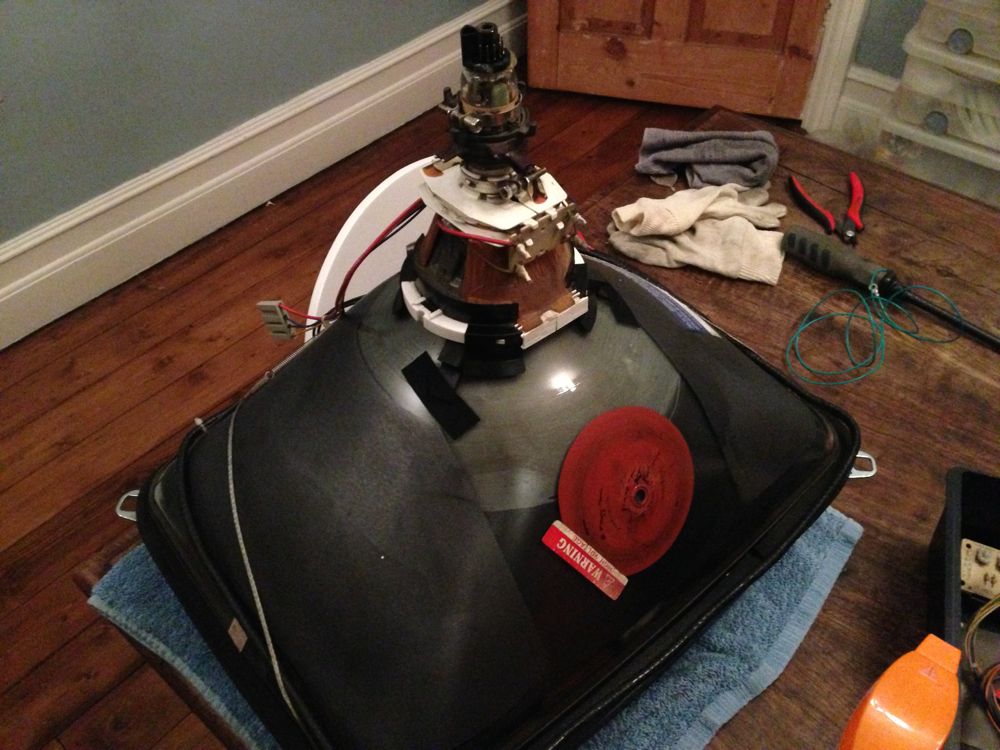
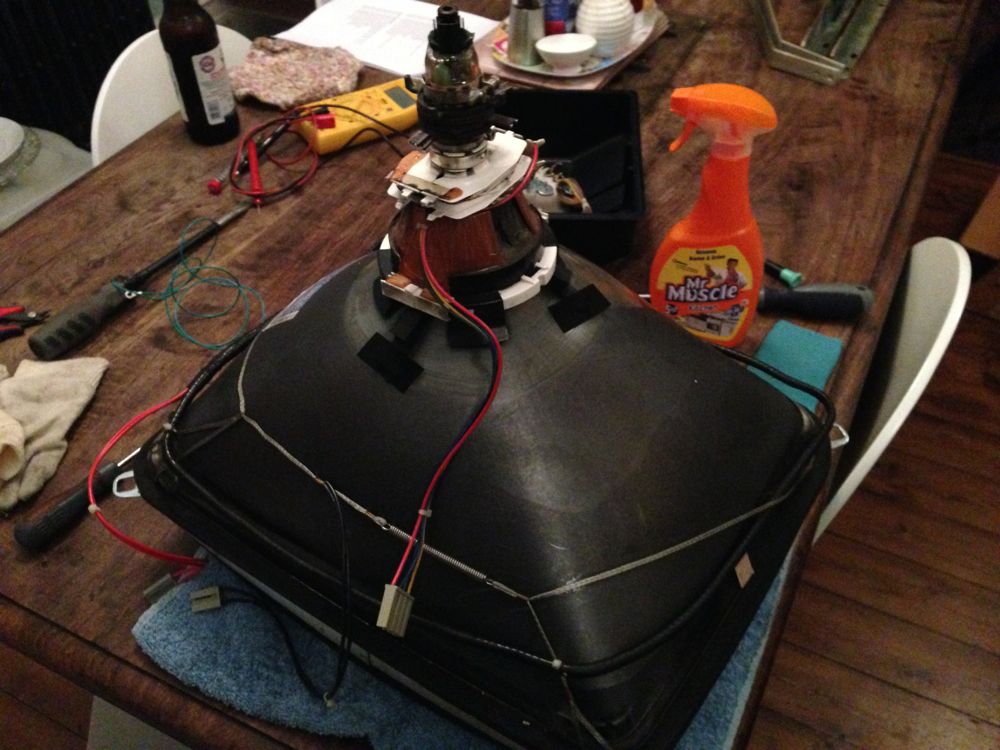
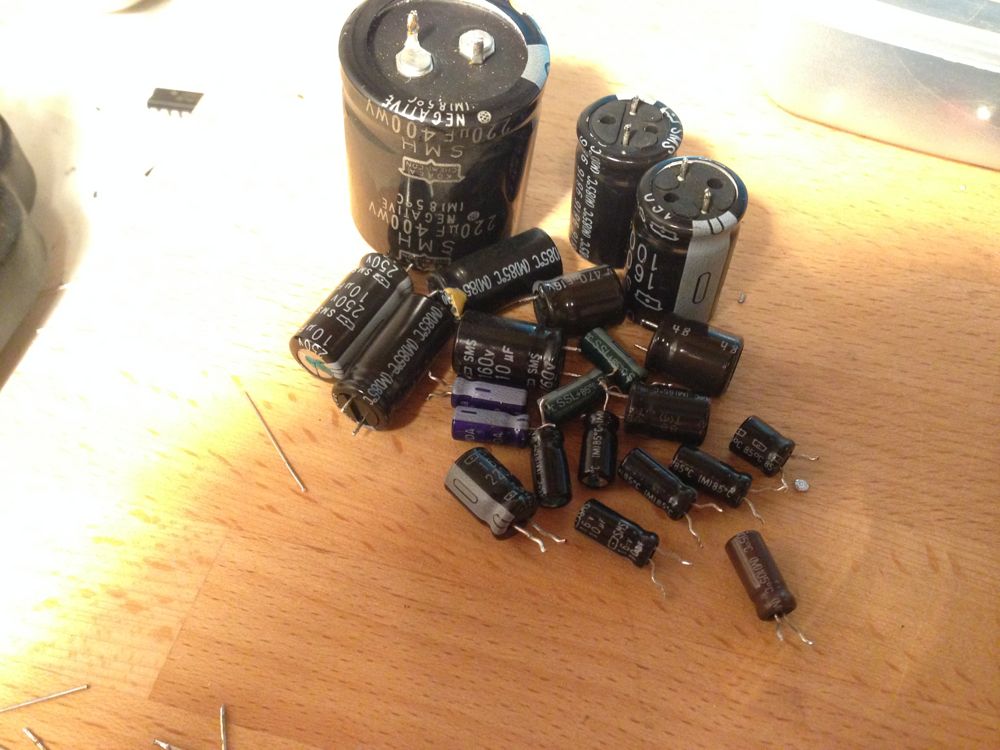
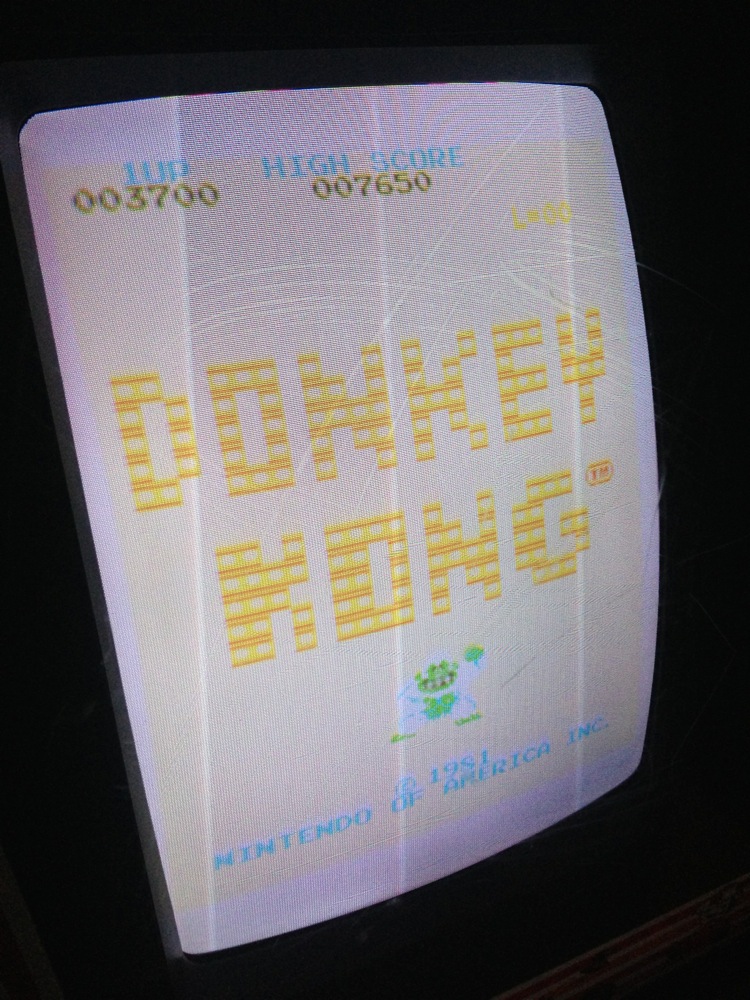
 ) and got a used but good condition 19" ex RFM monitor. Its the ducksan model though not the wells gardner one, but the samsung tube is unburnt, it works and i can rebuild the chassis boards caps to solve the other issues it has.

Chuckie egg said:Fantastic news buddy
That looks in great shape also
I can't wait to see this fired up
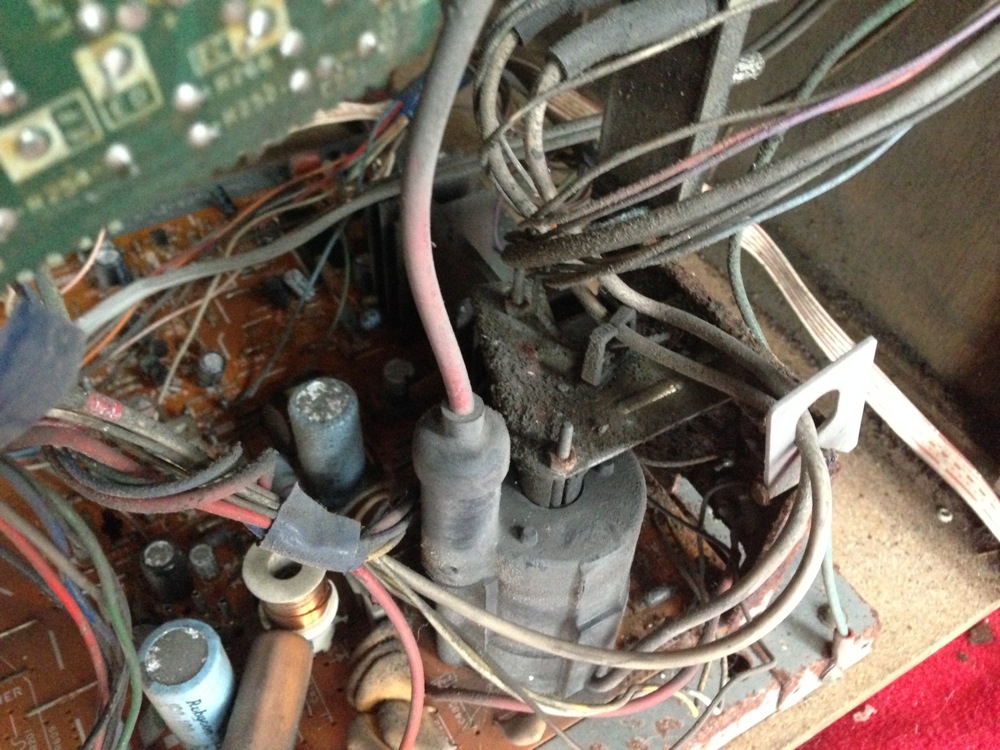
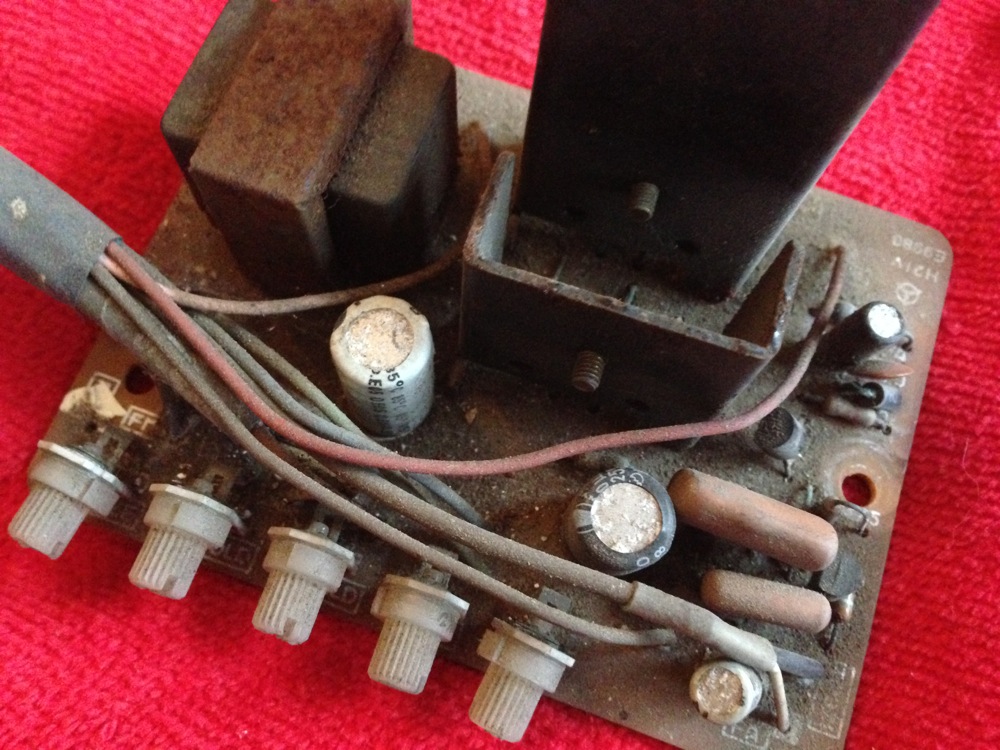
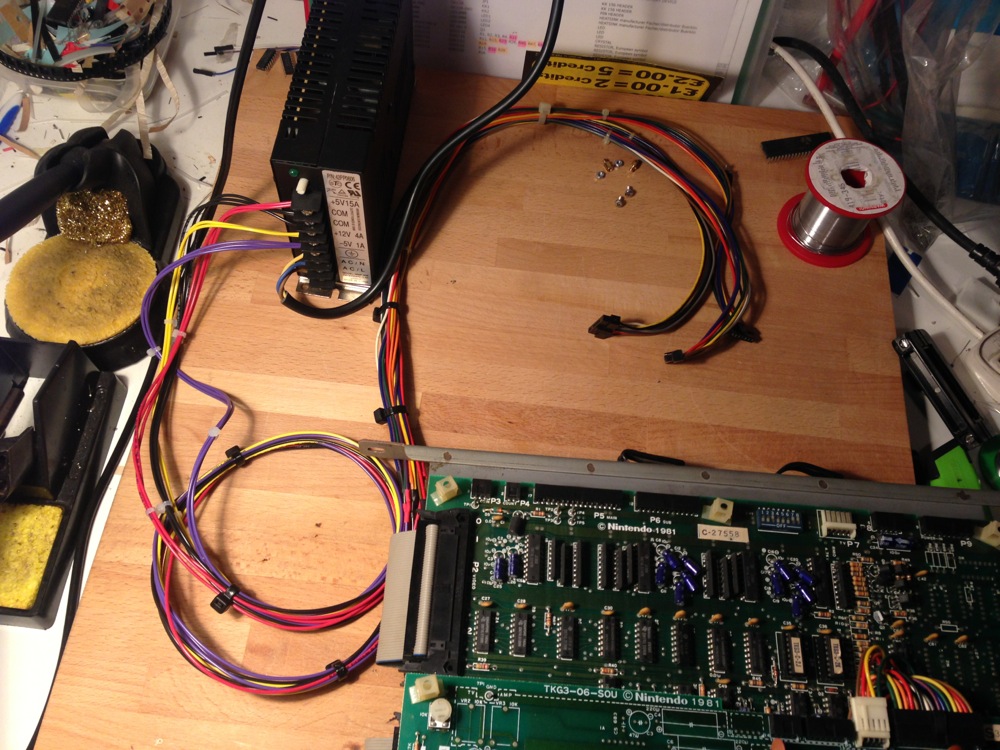
I'm struggling a little working out what to do about the missing psu stuff though. I want to have an original power board with wooden block and outlet connectors etc eventually, but i might need to use a switched mode one with a connector adapter on temporarily if i can't find one in the short term. Any ideas on where to look for an original one?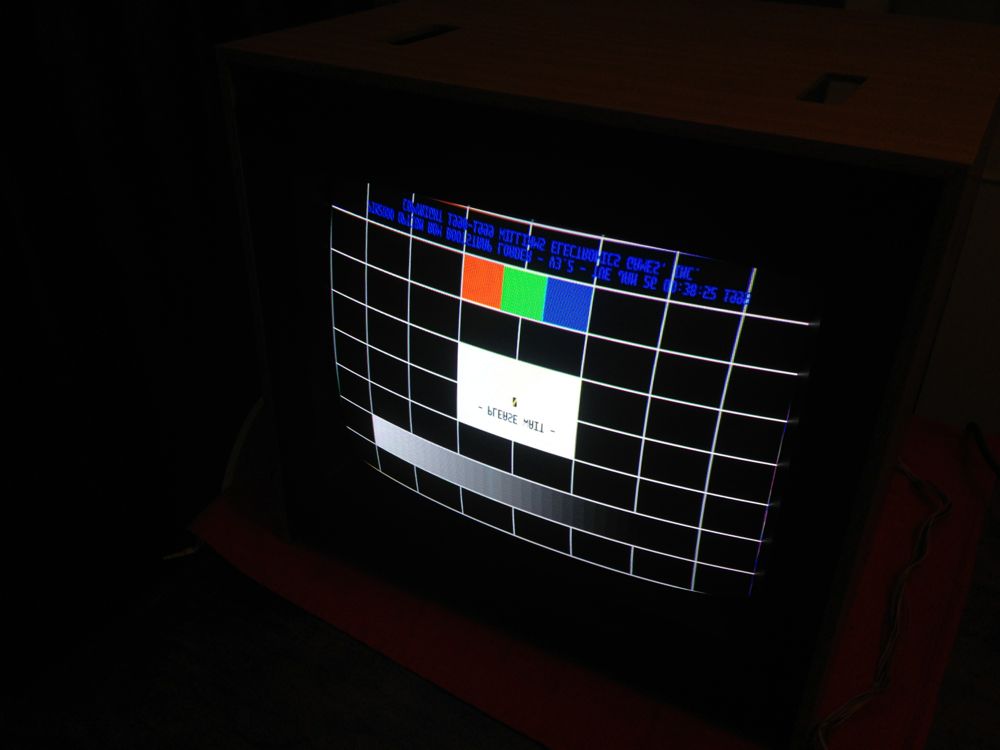


 But first its time for some ales
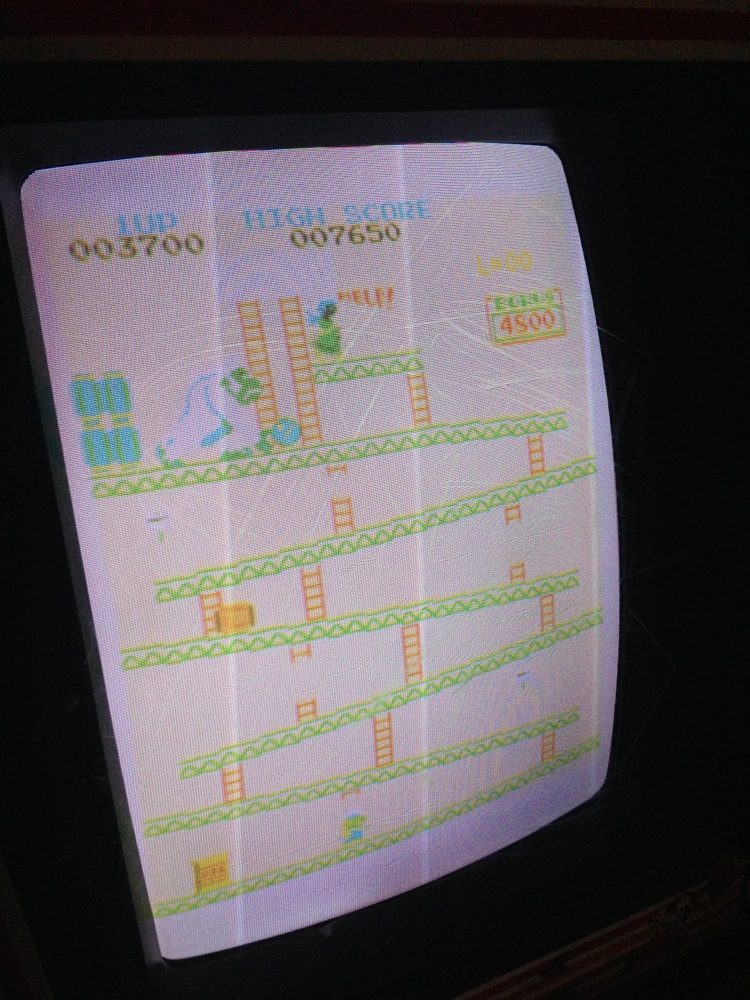
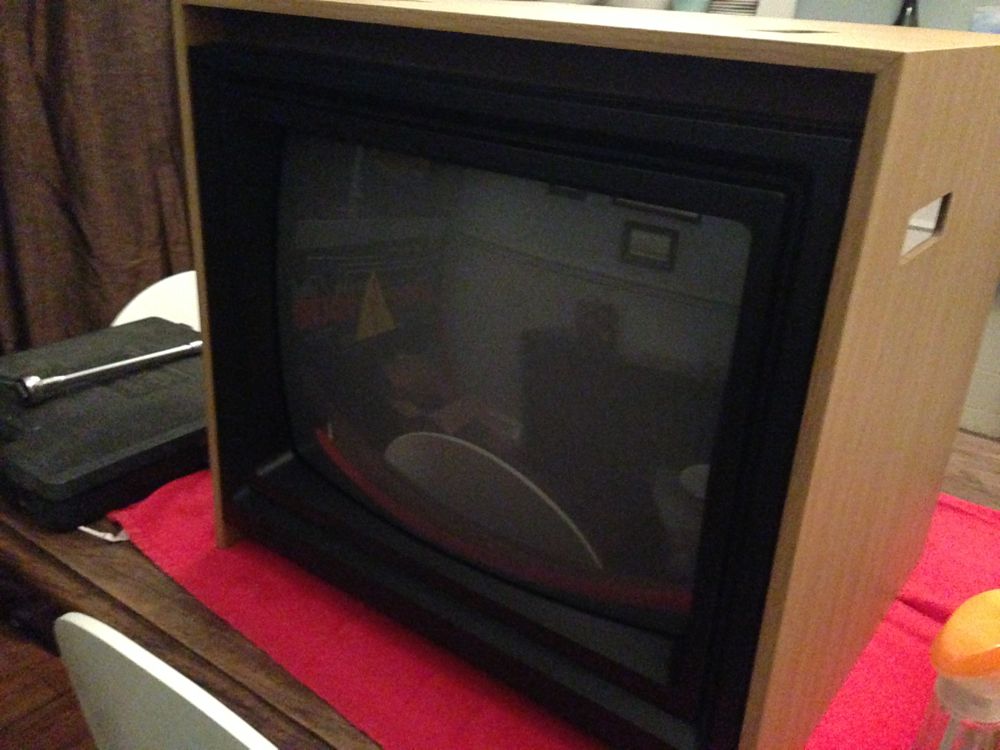
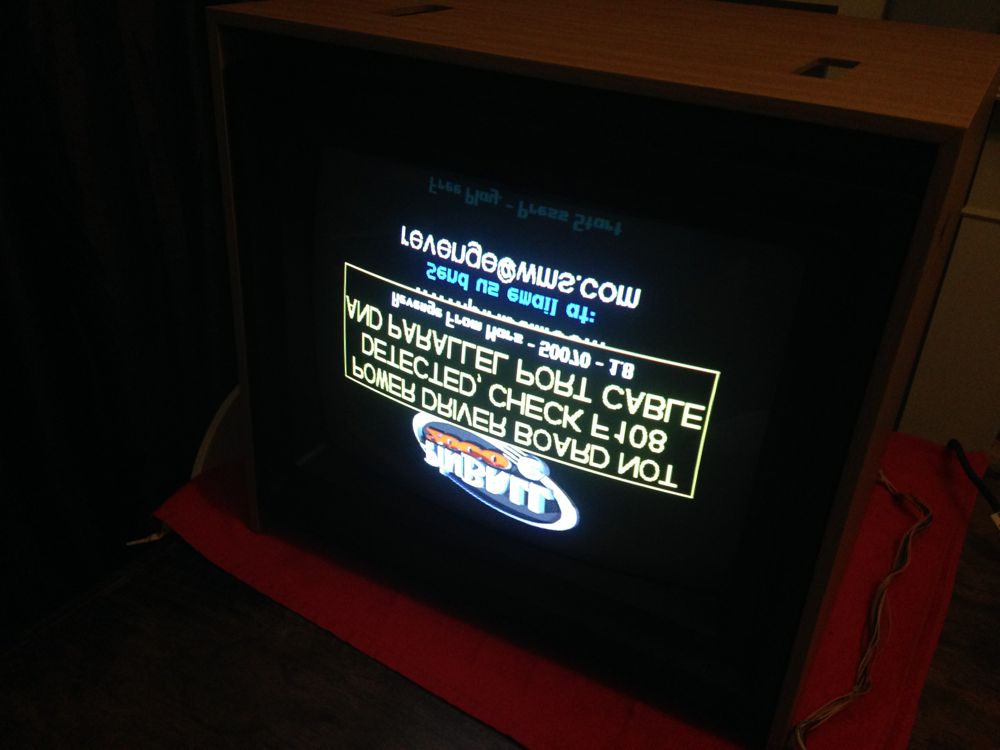
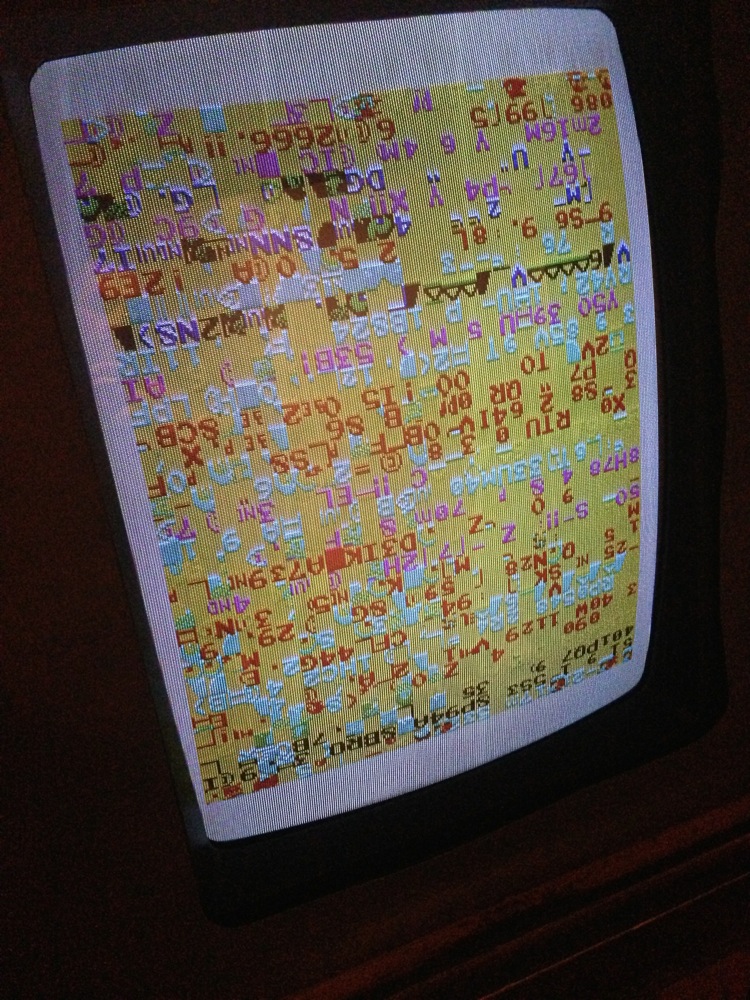
 So now i'm after a video inverter board from a vs system if anyone has one. The AV-01 pcb. I could make my own inverter board and amp and may still do that as another project, but would like something to use in the mean time. The image is a little bright currently!