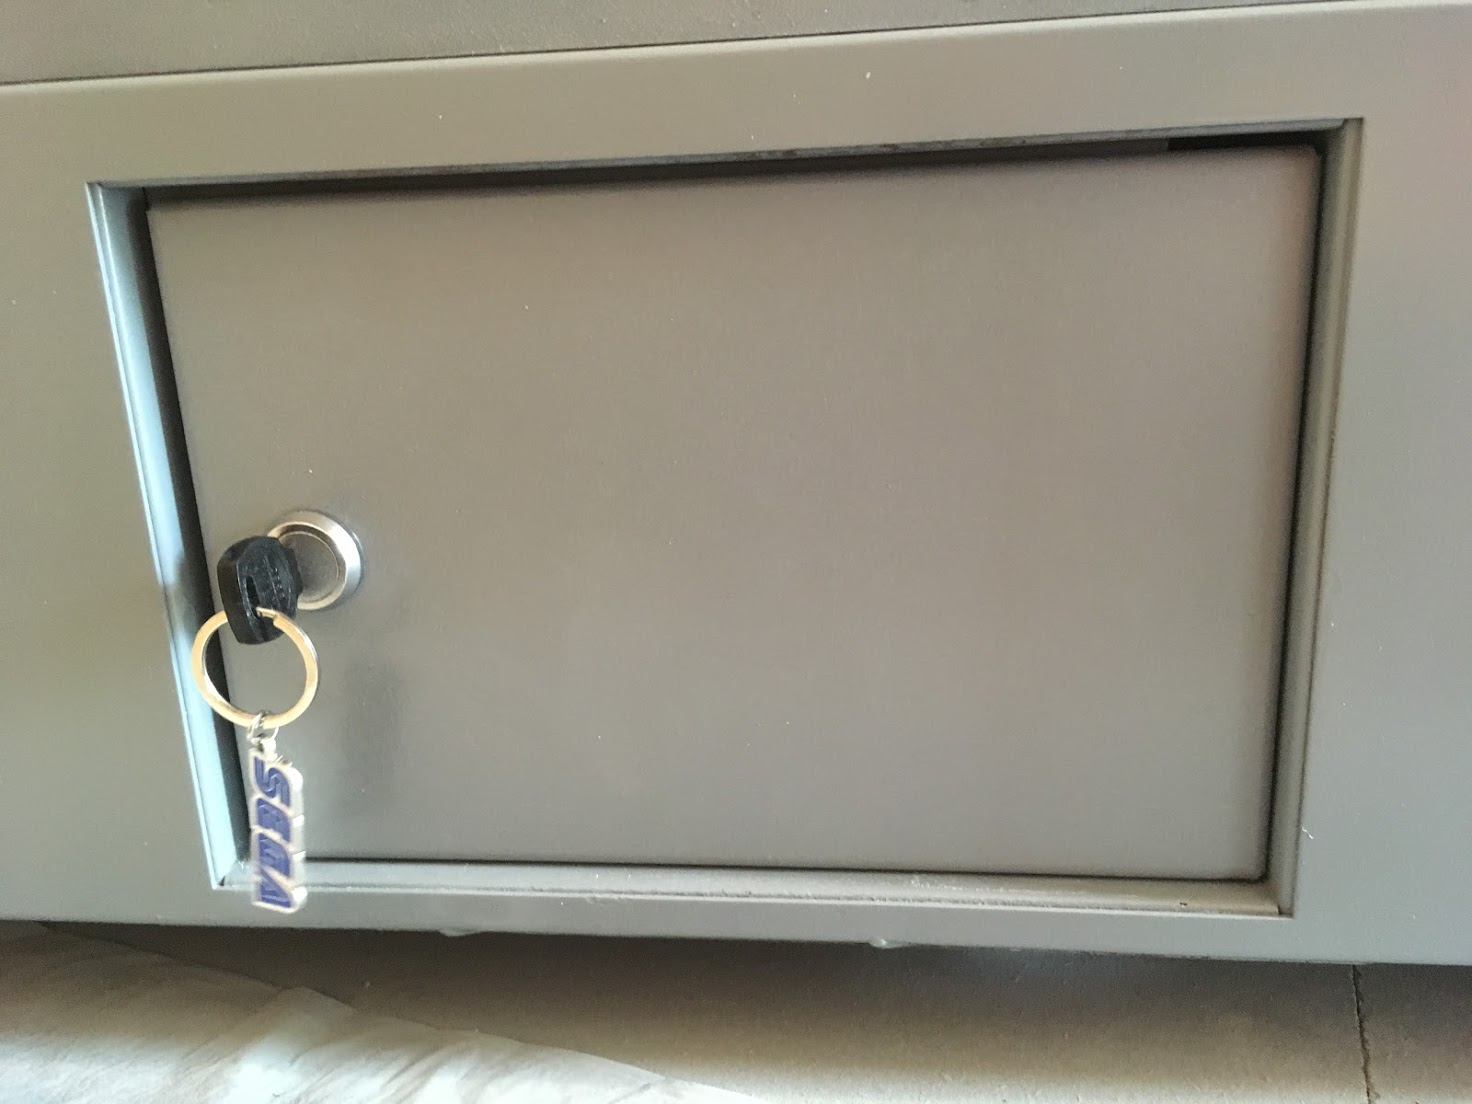
If anyone does know the RAL as above for the base would be great if not will take a bit to get color matched.
Still struggling to find a screen , although a member here is going out of his way to try and help me find one so that is great!
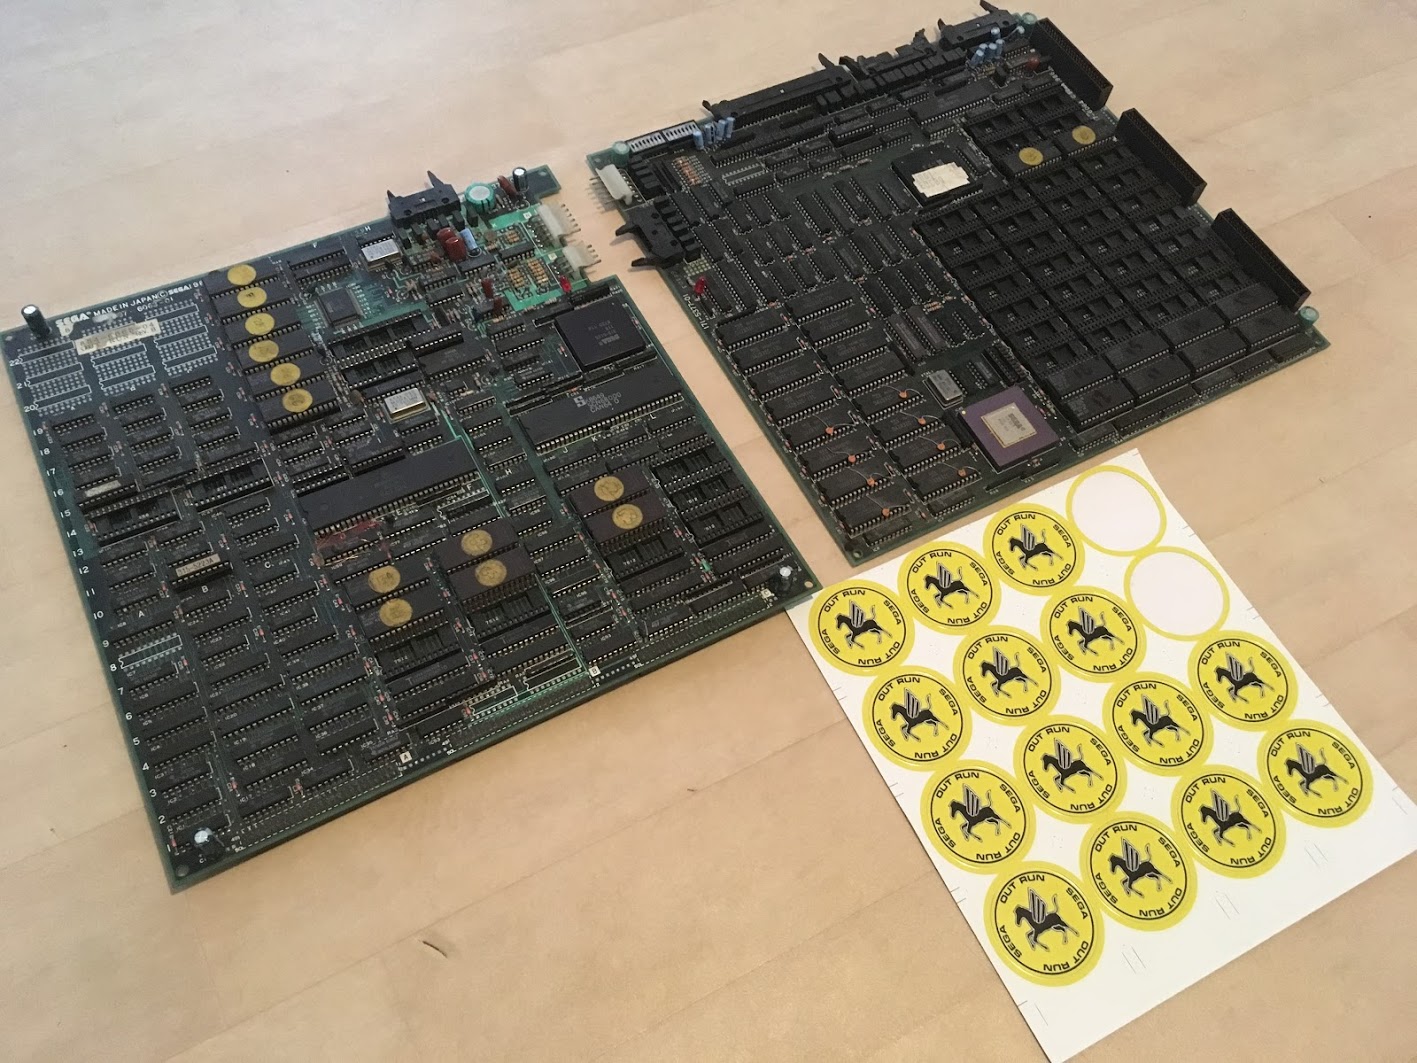
Little update.
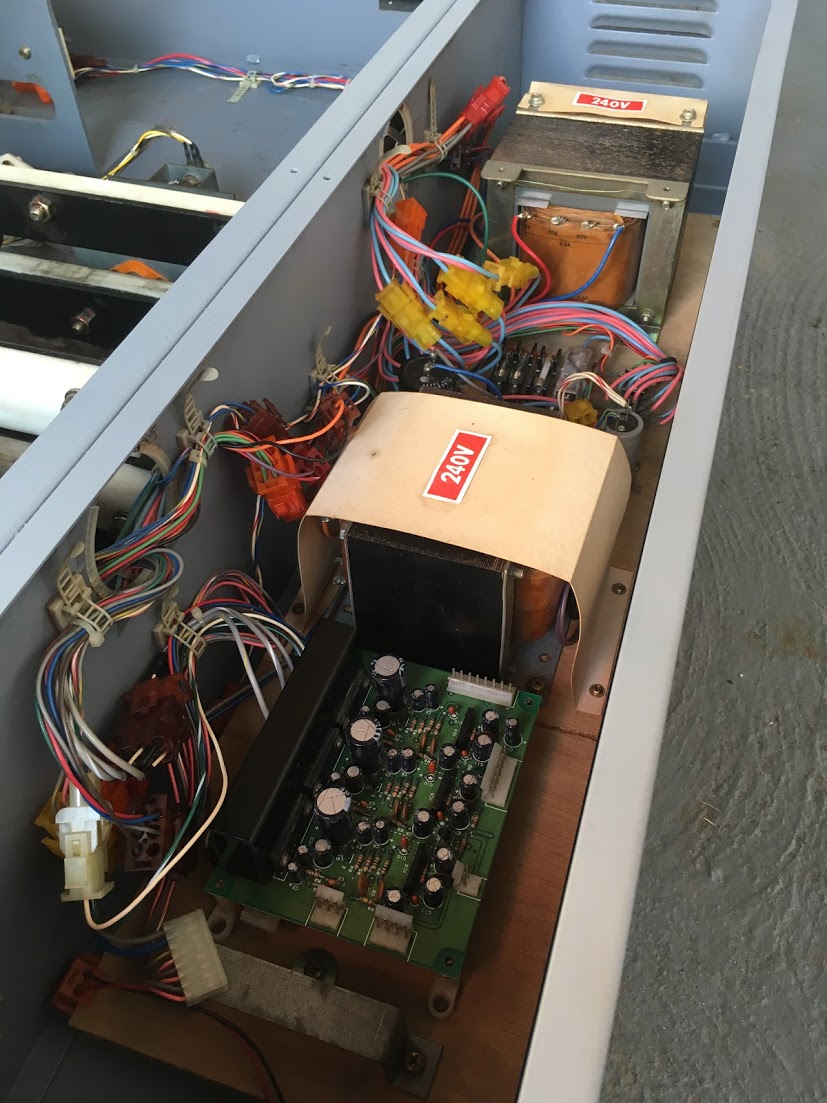
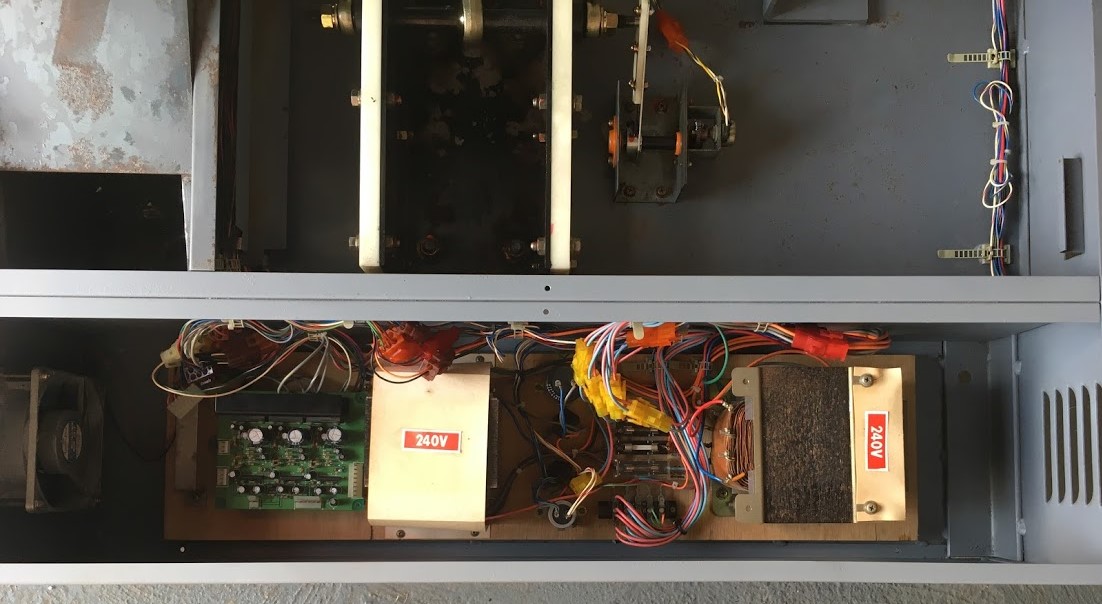
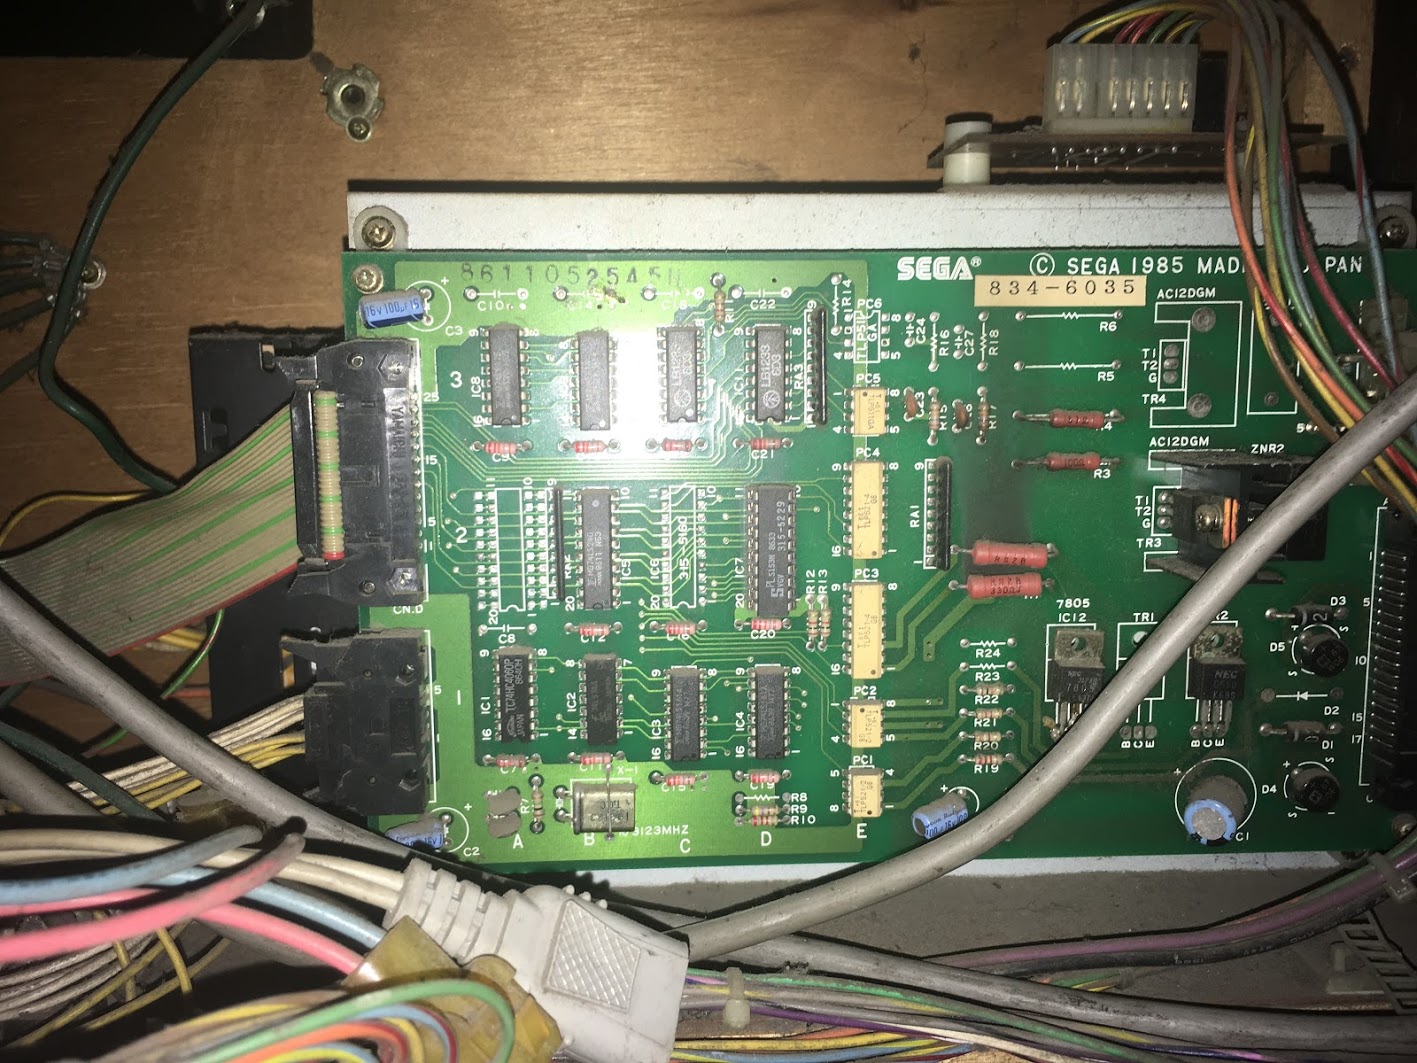
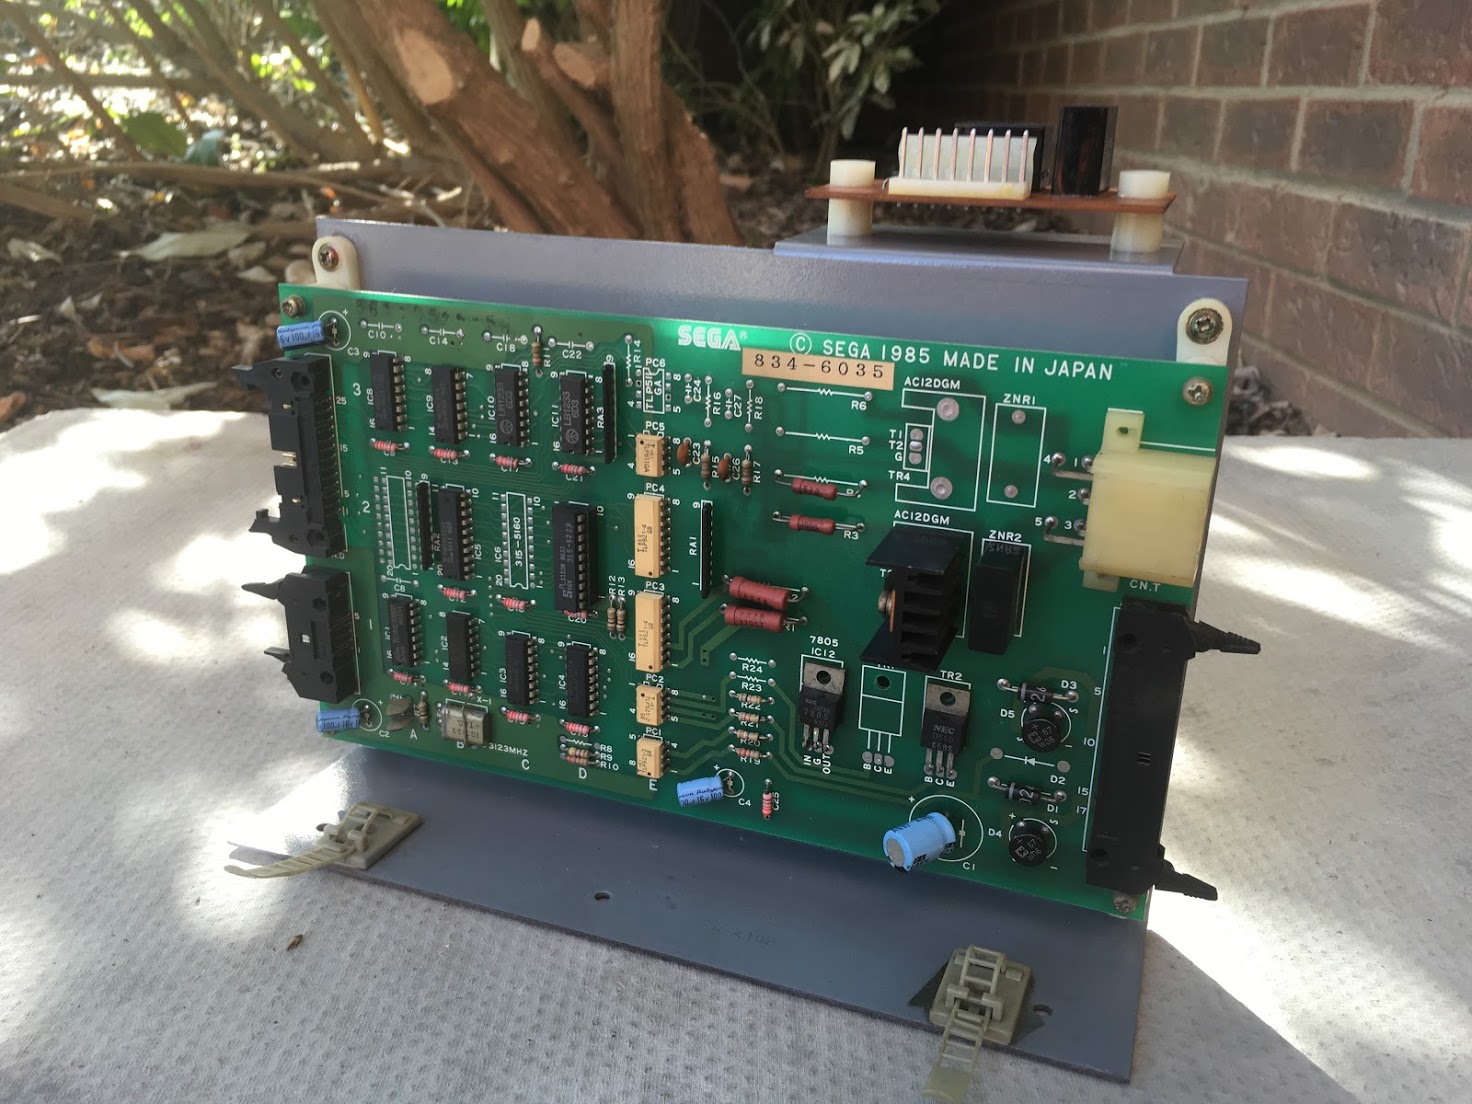
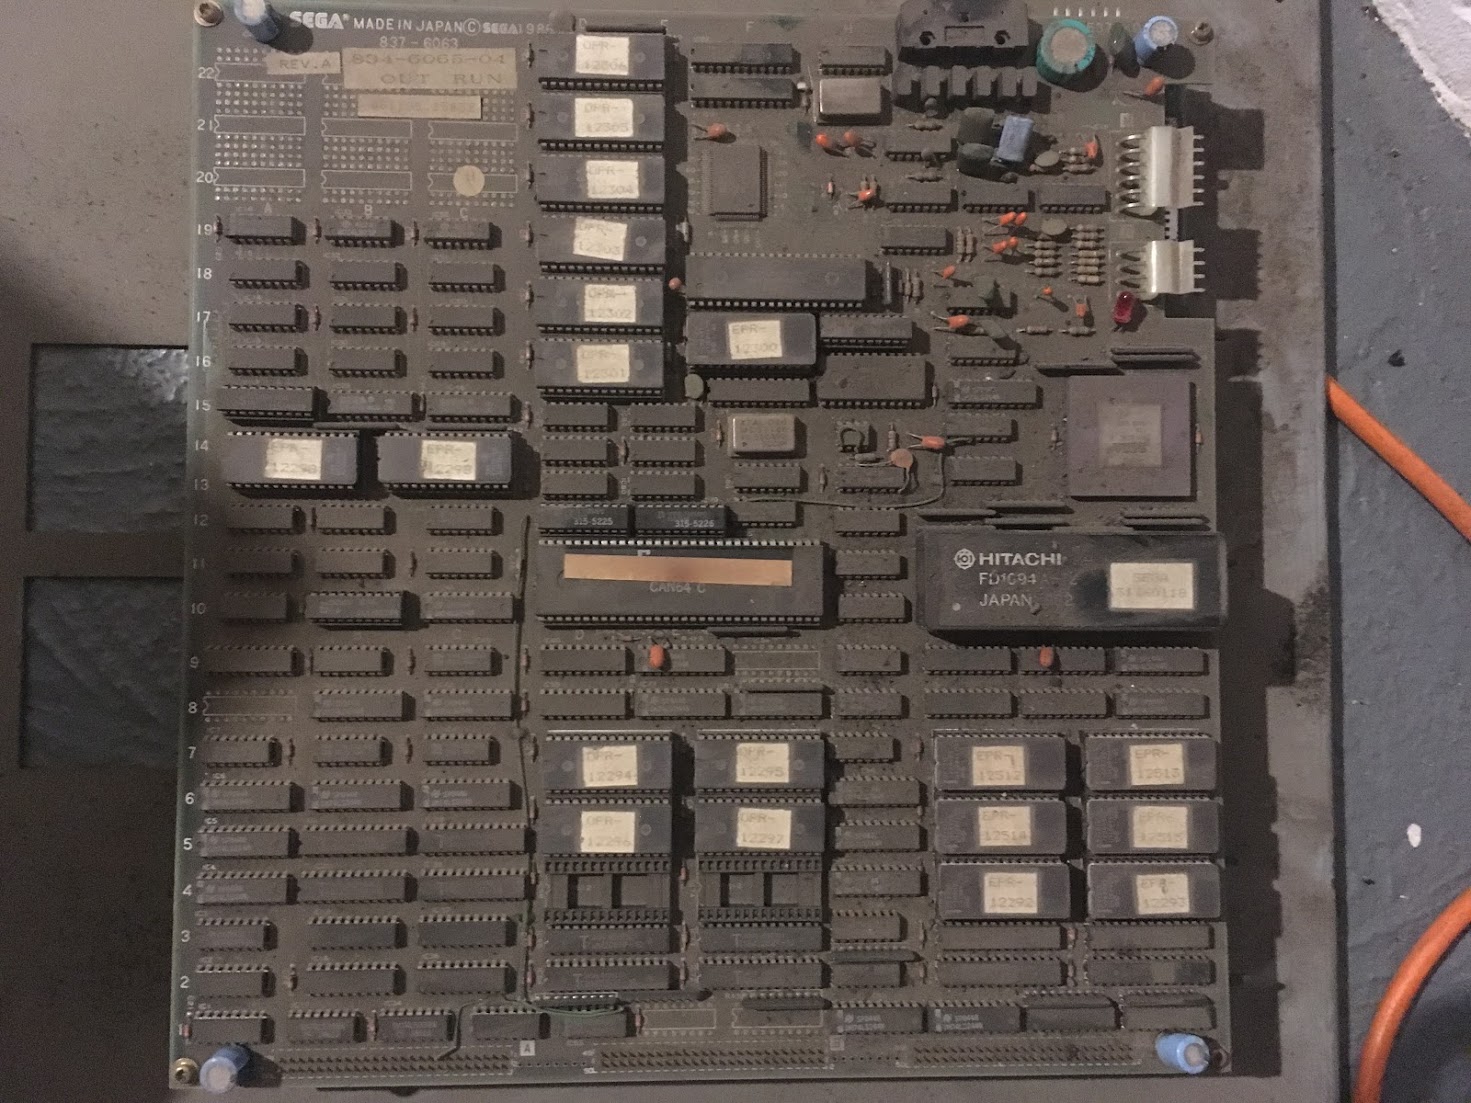
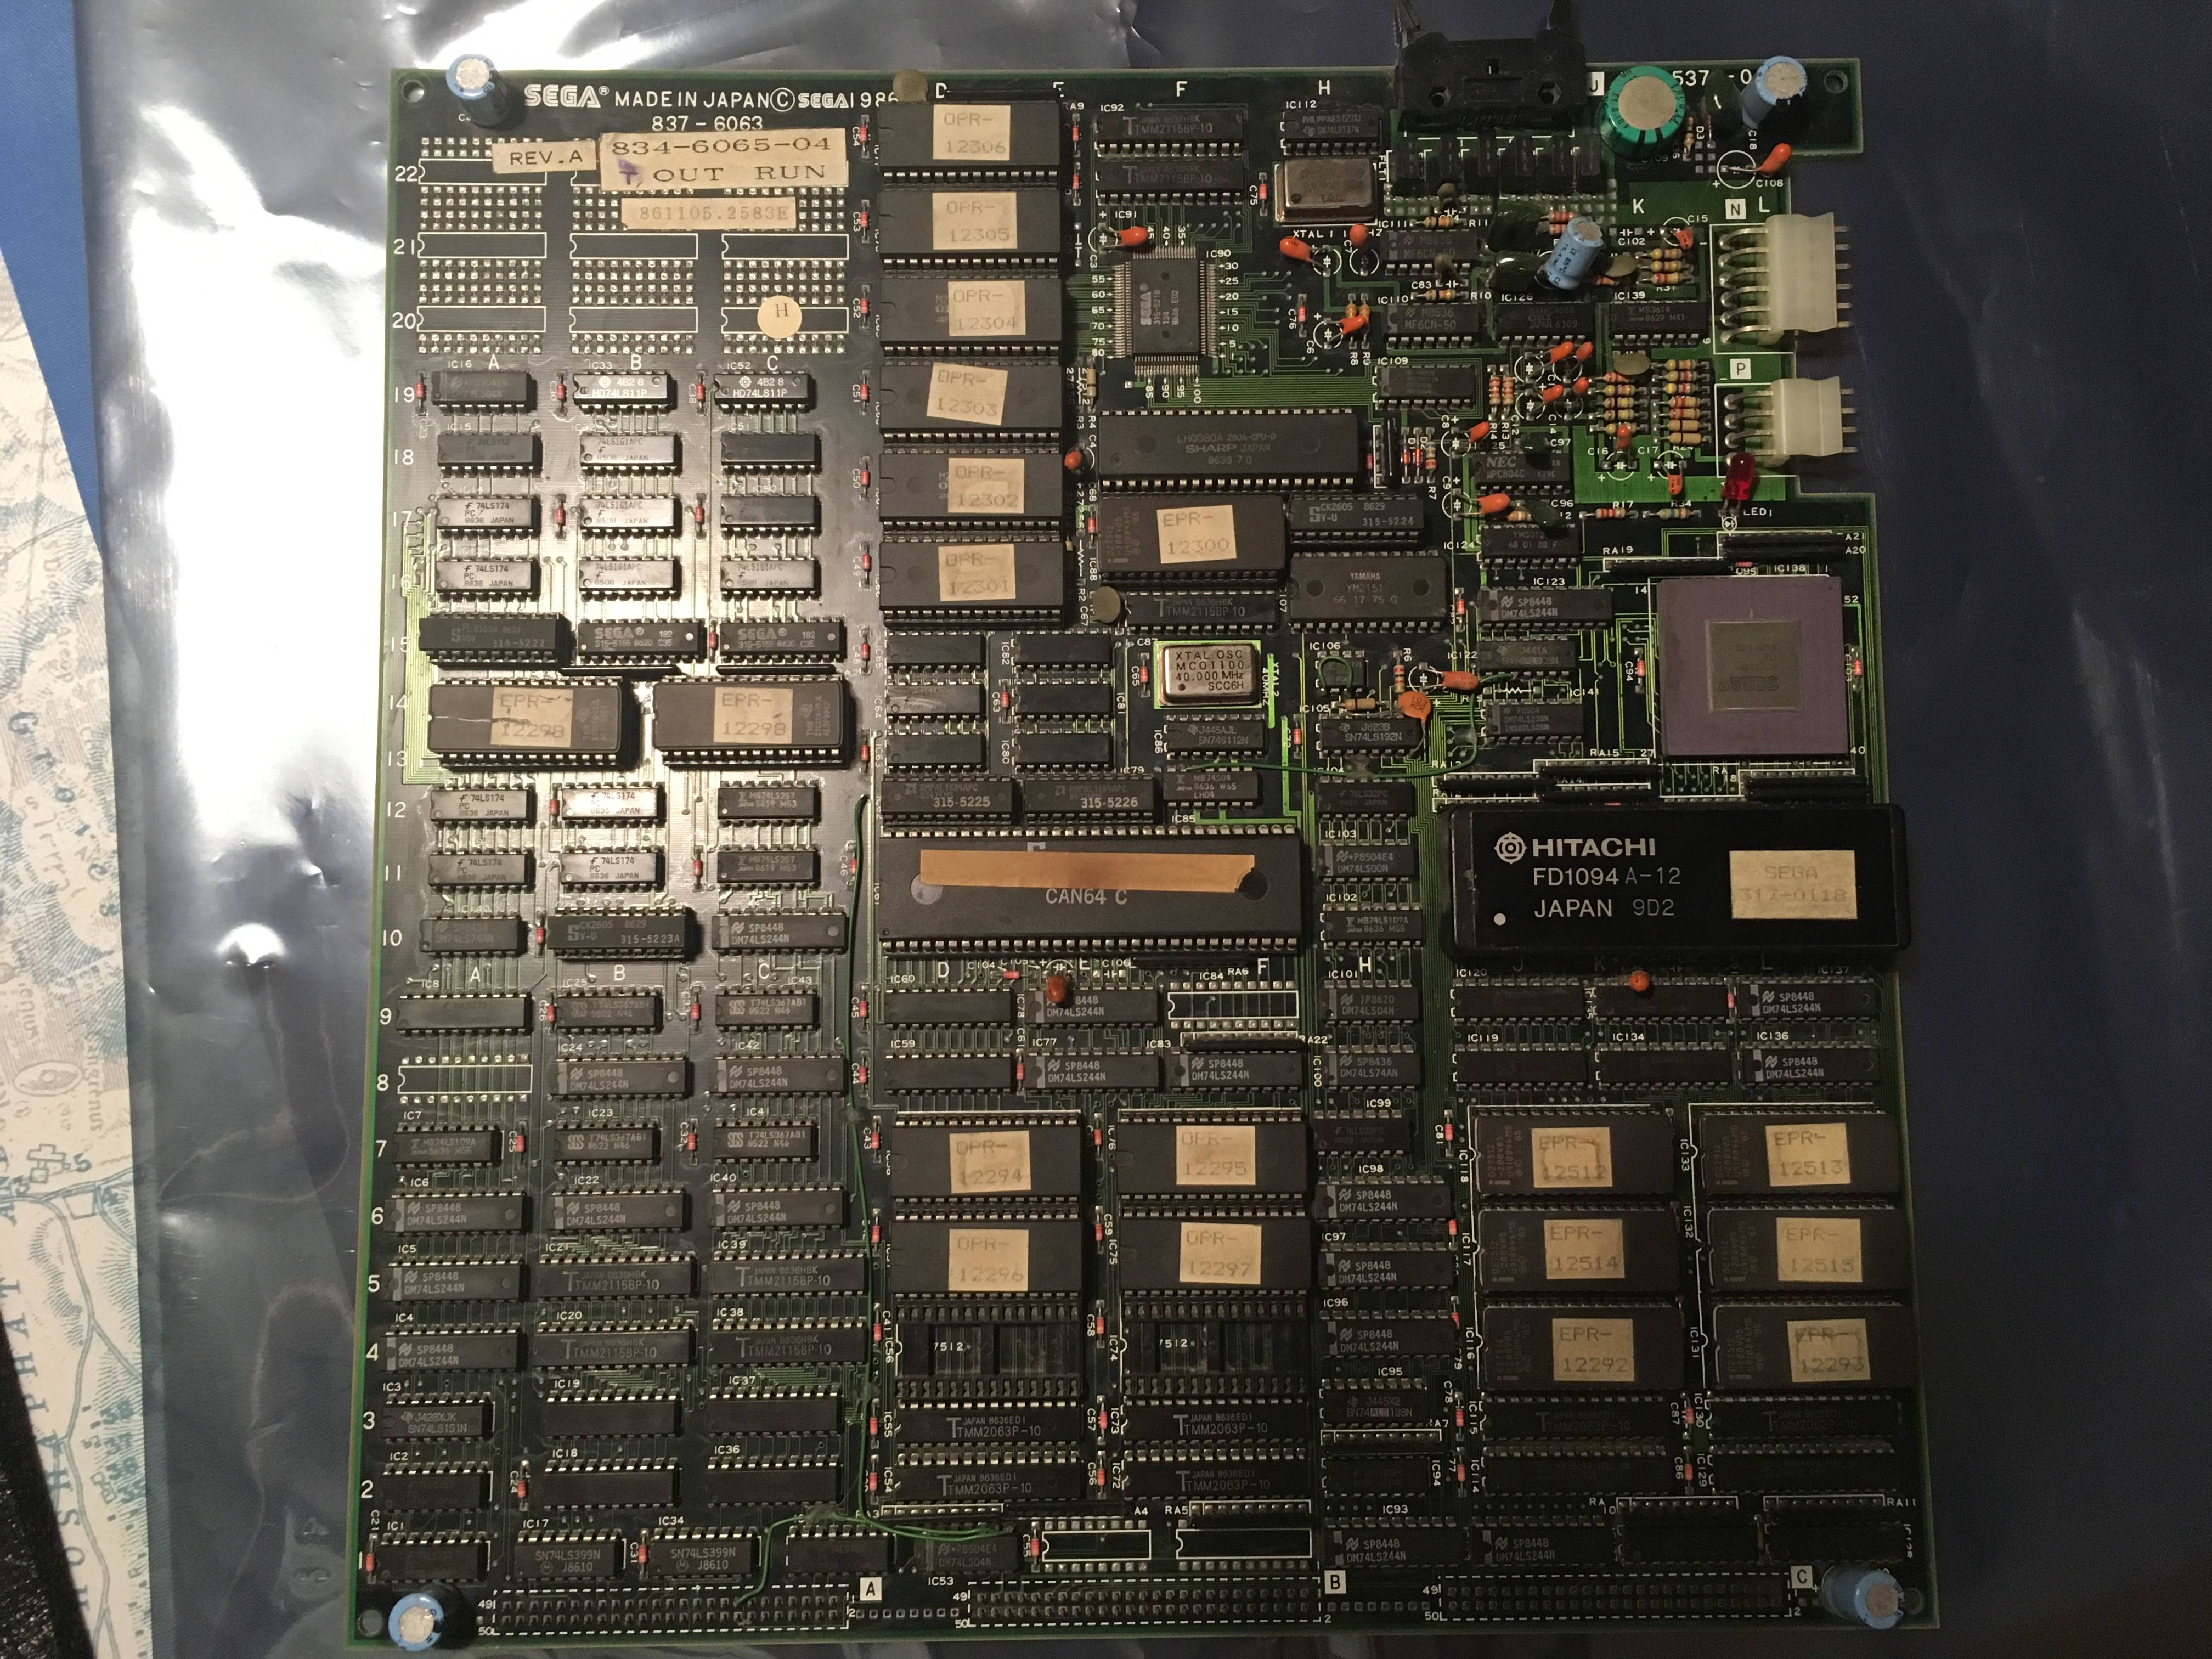
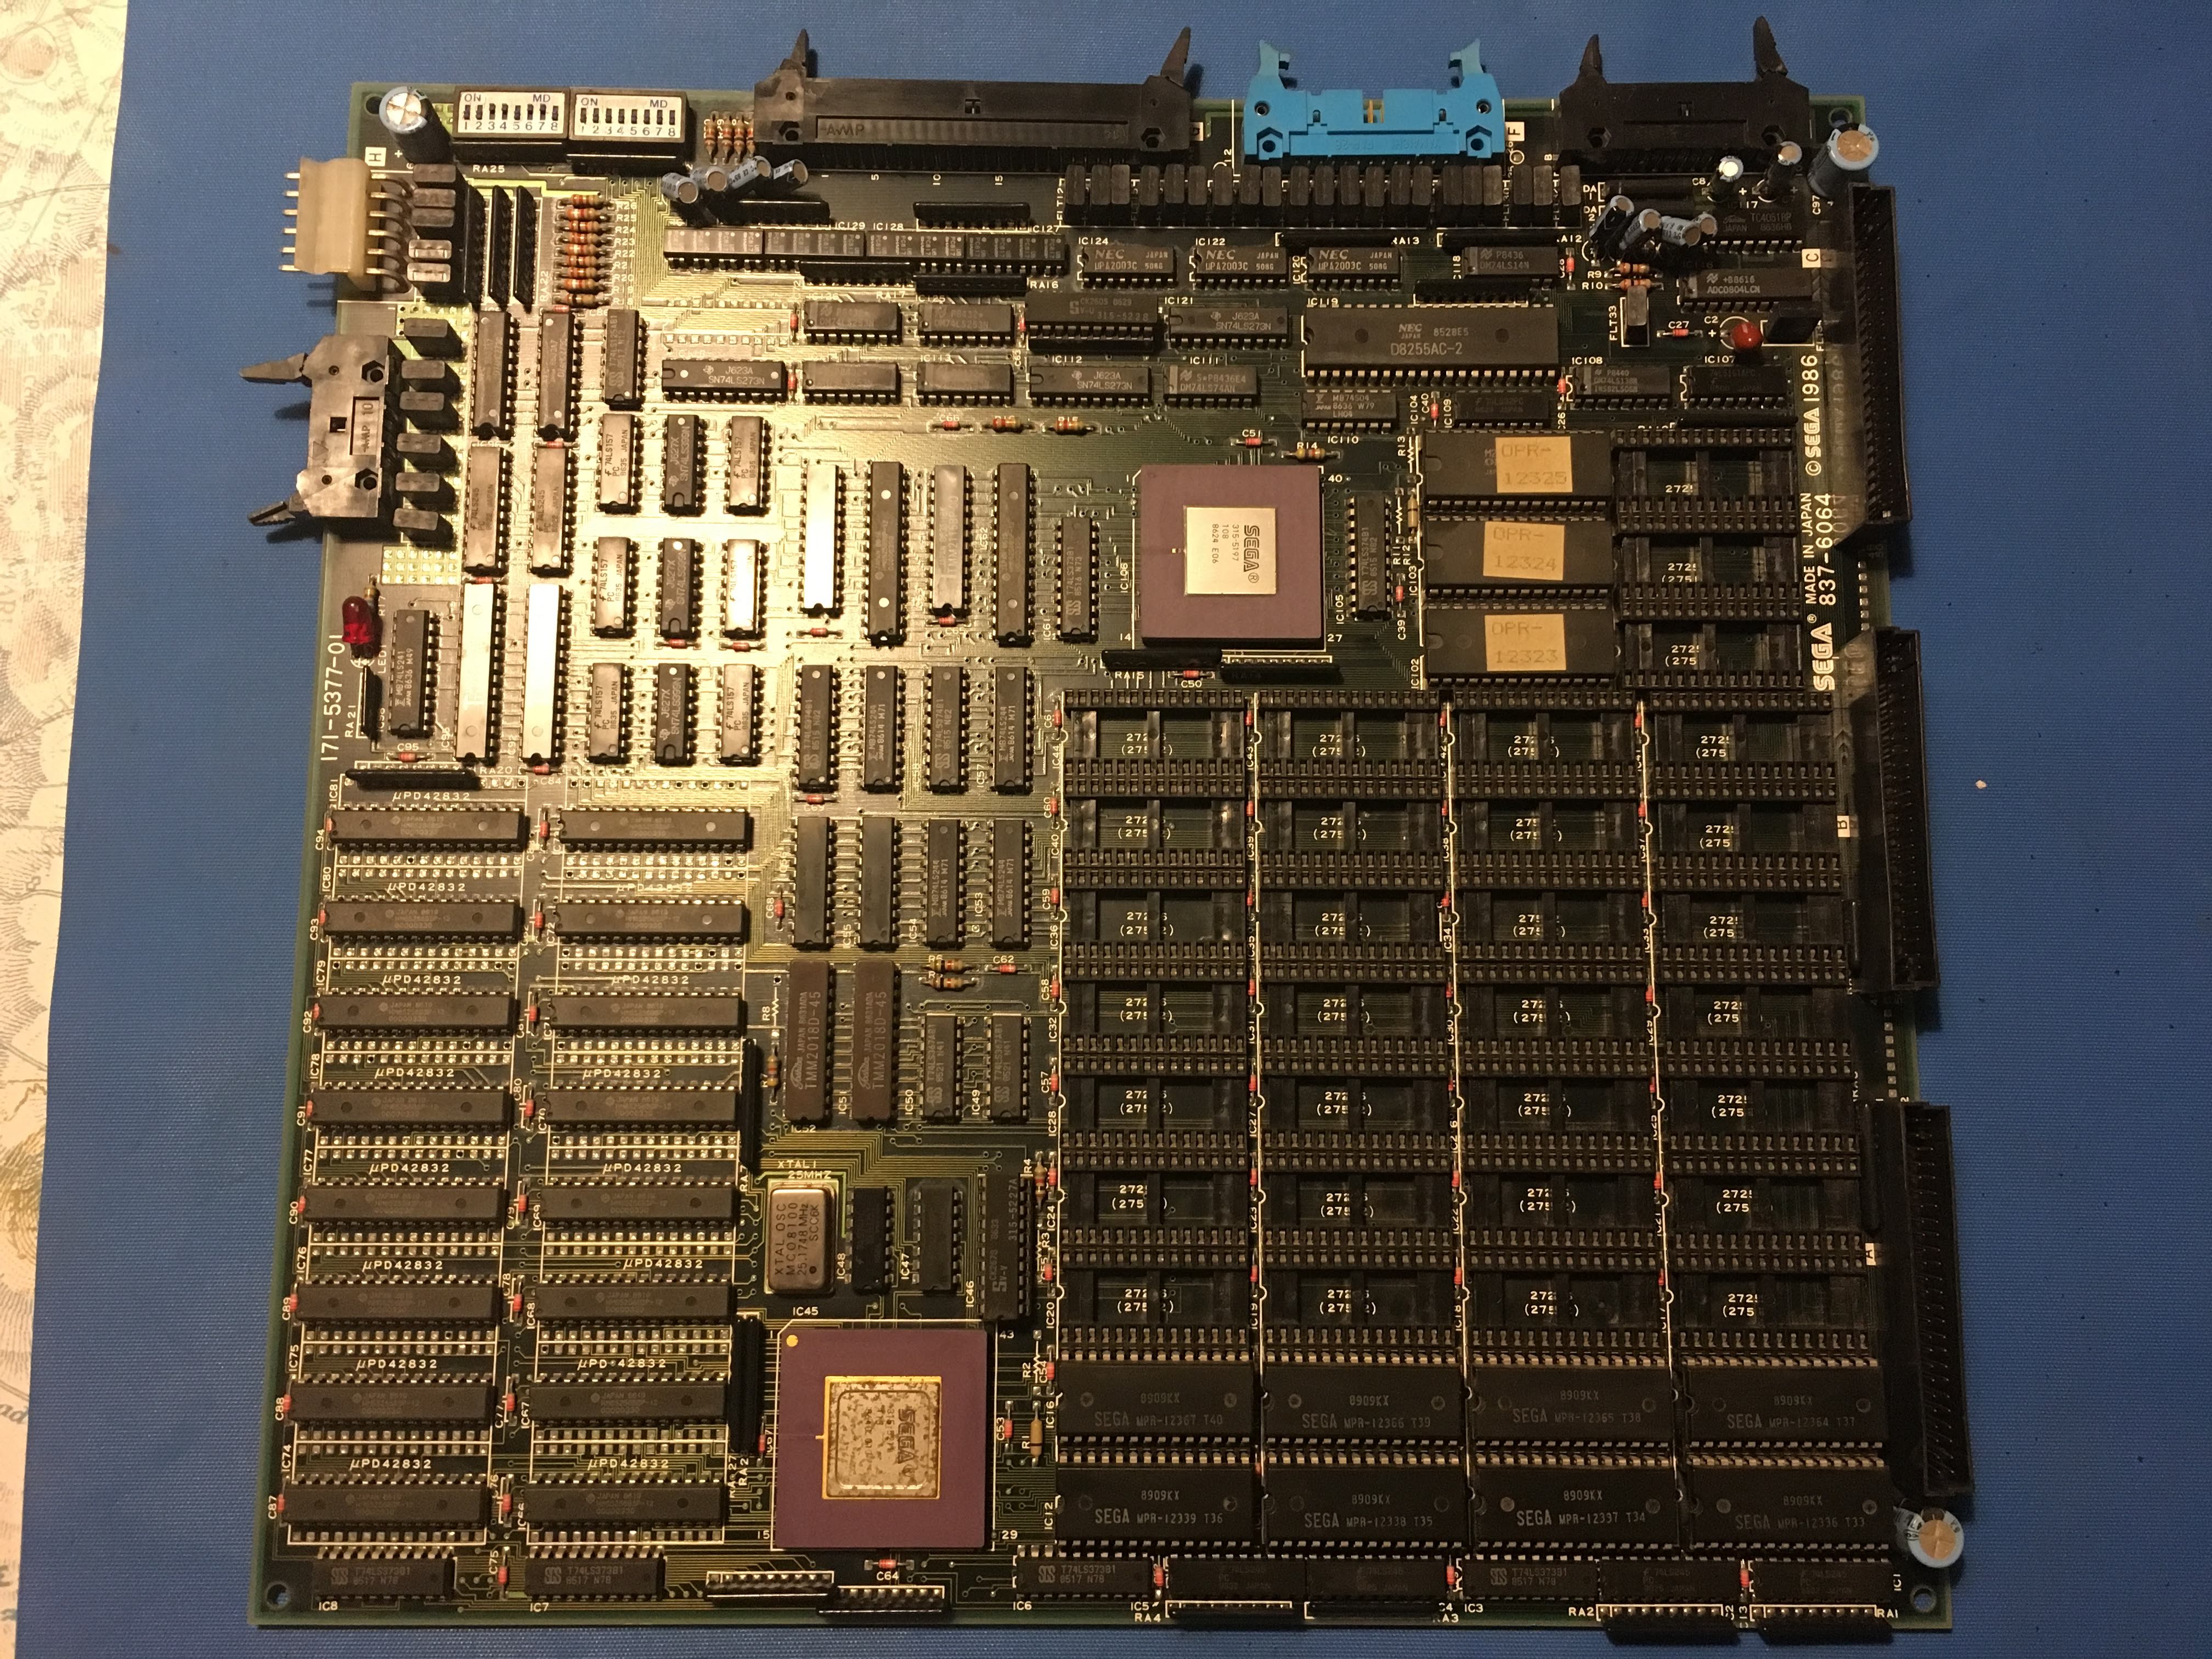
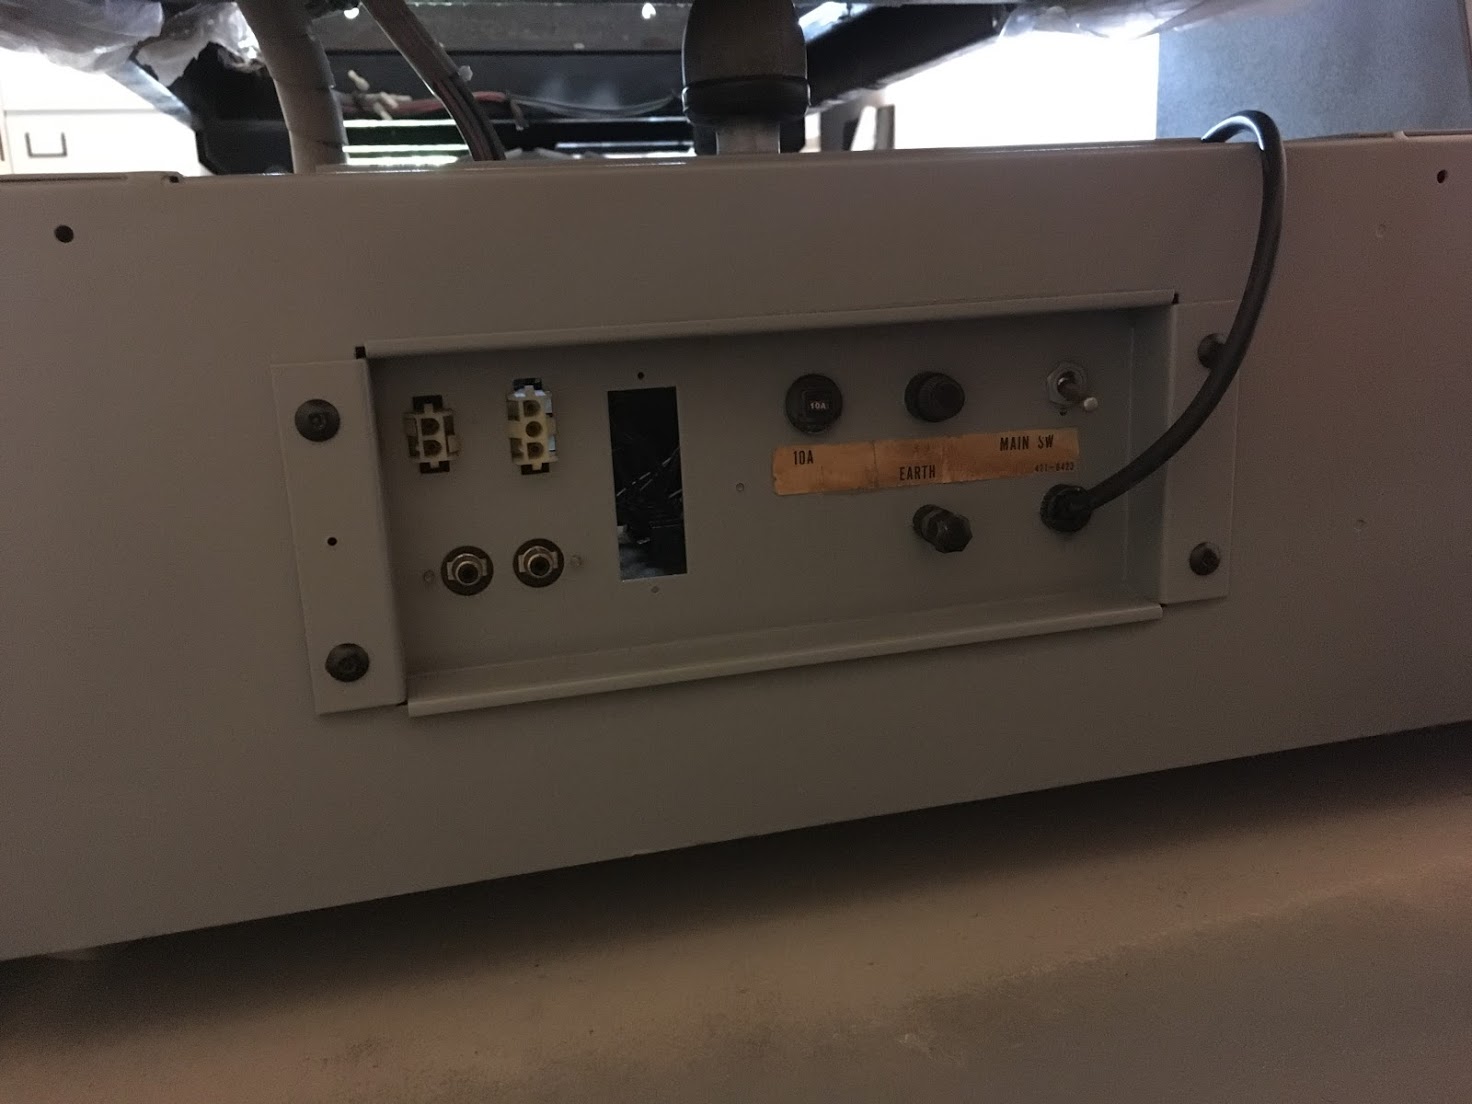
The power Supply & Amp Board
Stripped it down cleaned everything checked fuses, solder joints etc. On the whole was in really solid just dirty shape. Seems the op had never had reason to touch it so no dodgy wiring mods.
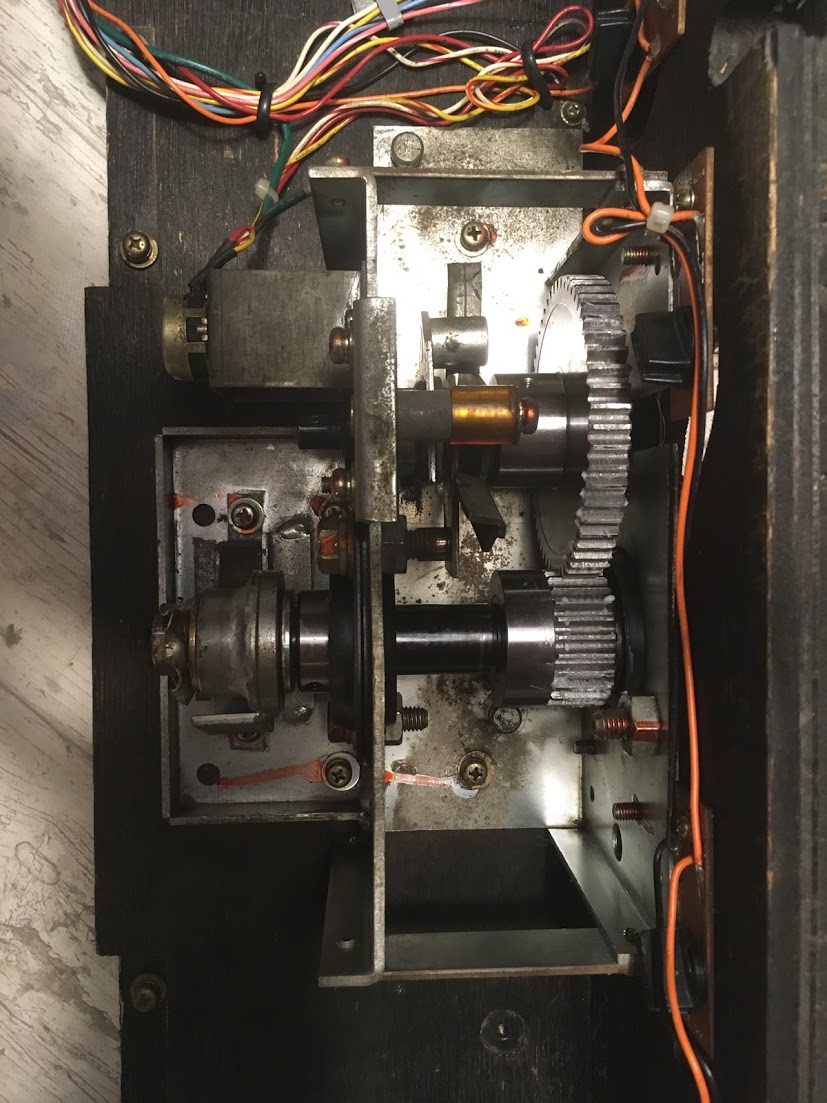
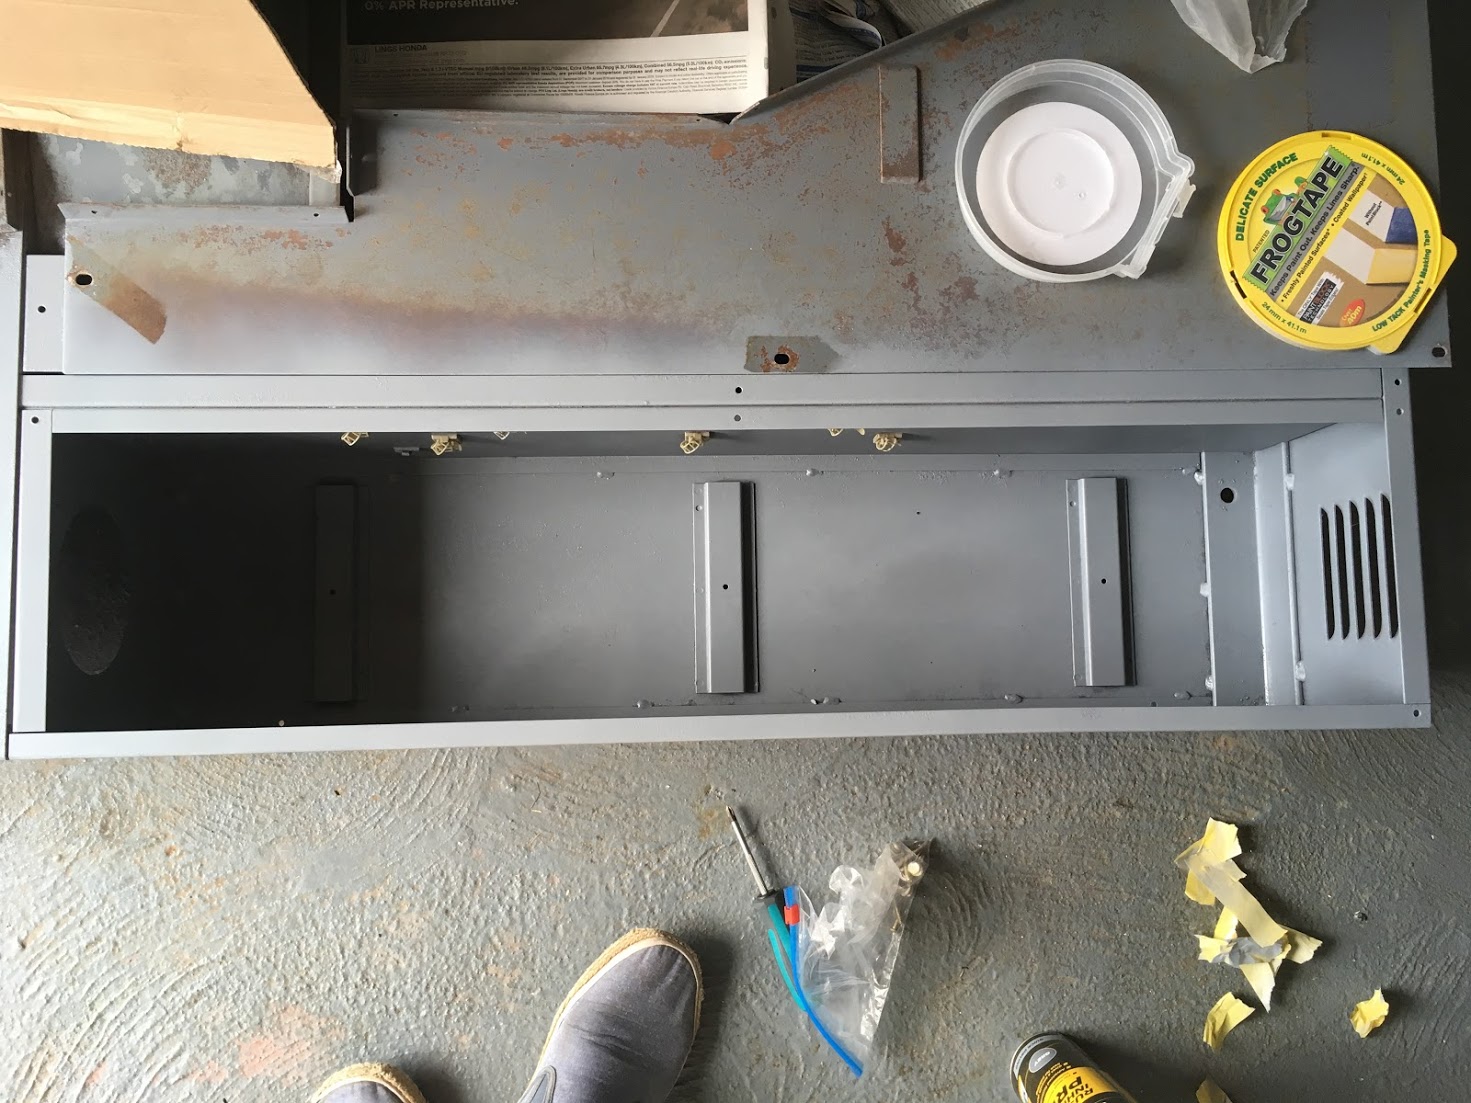
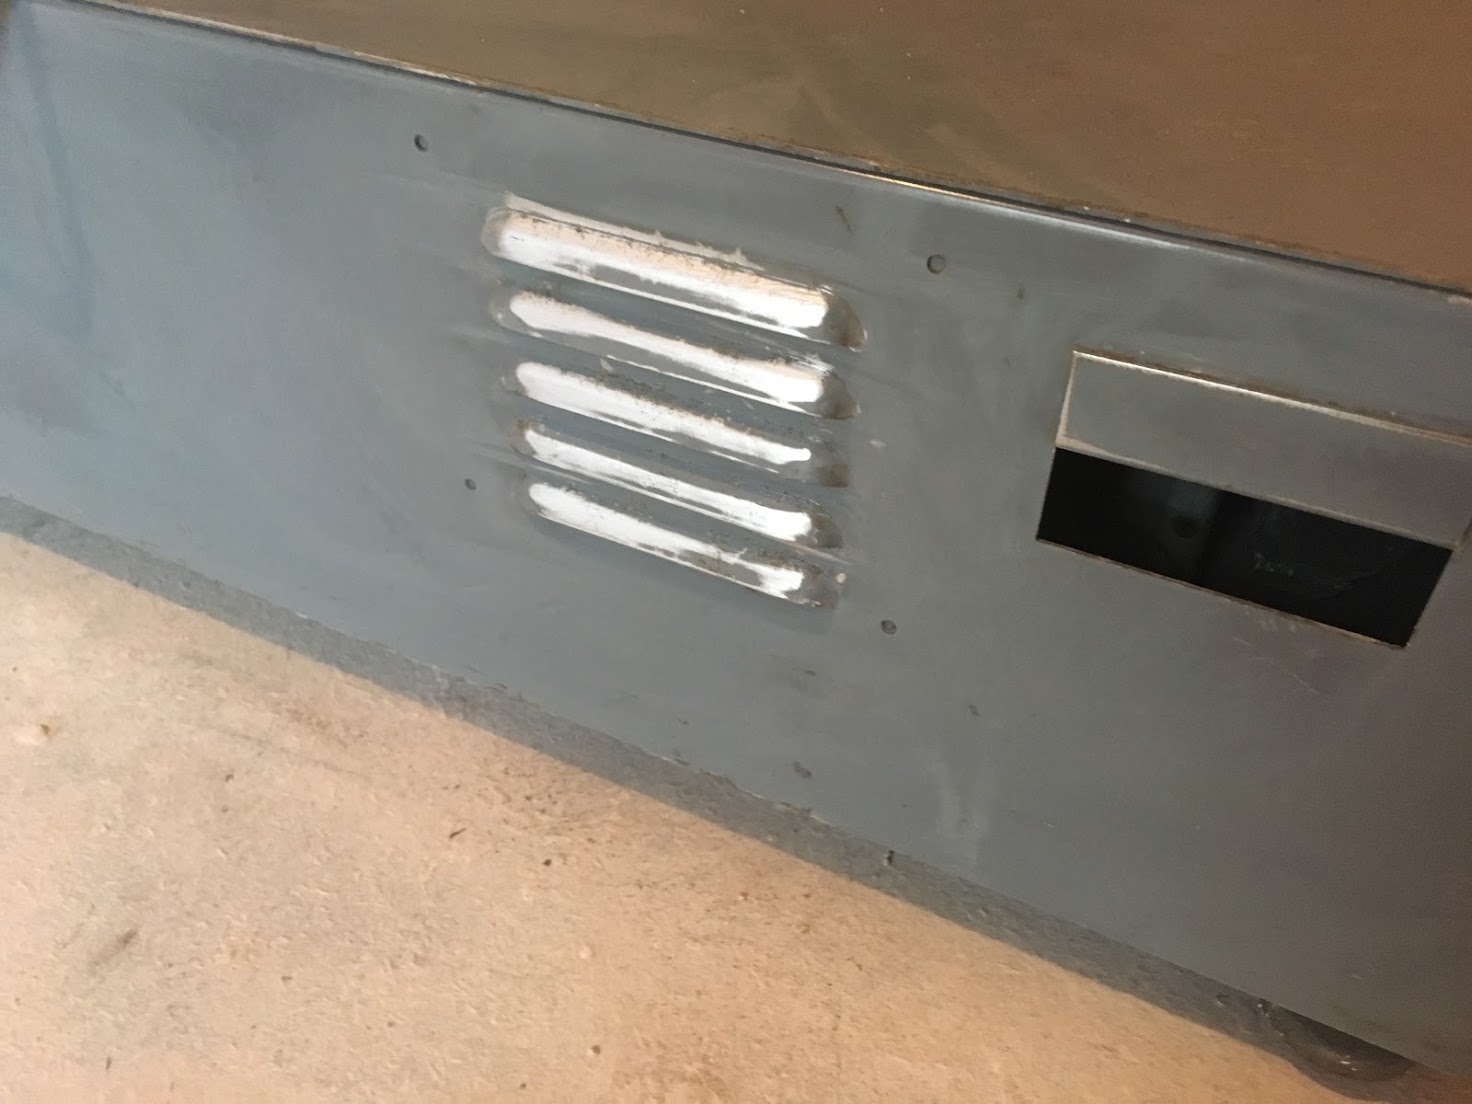
After.
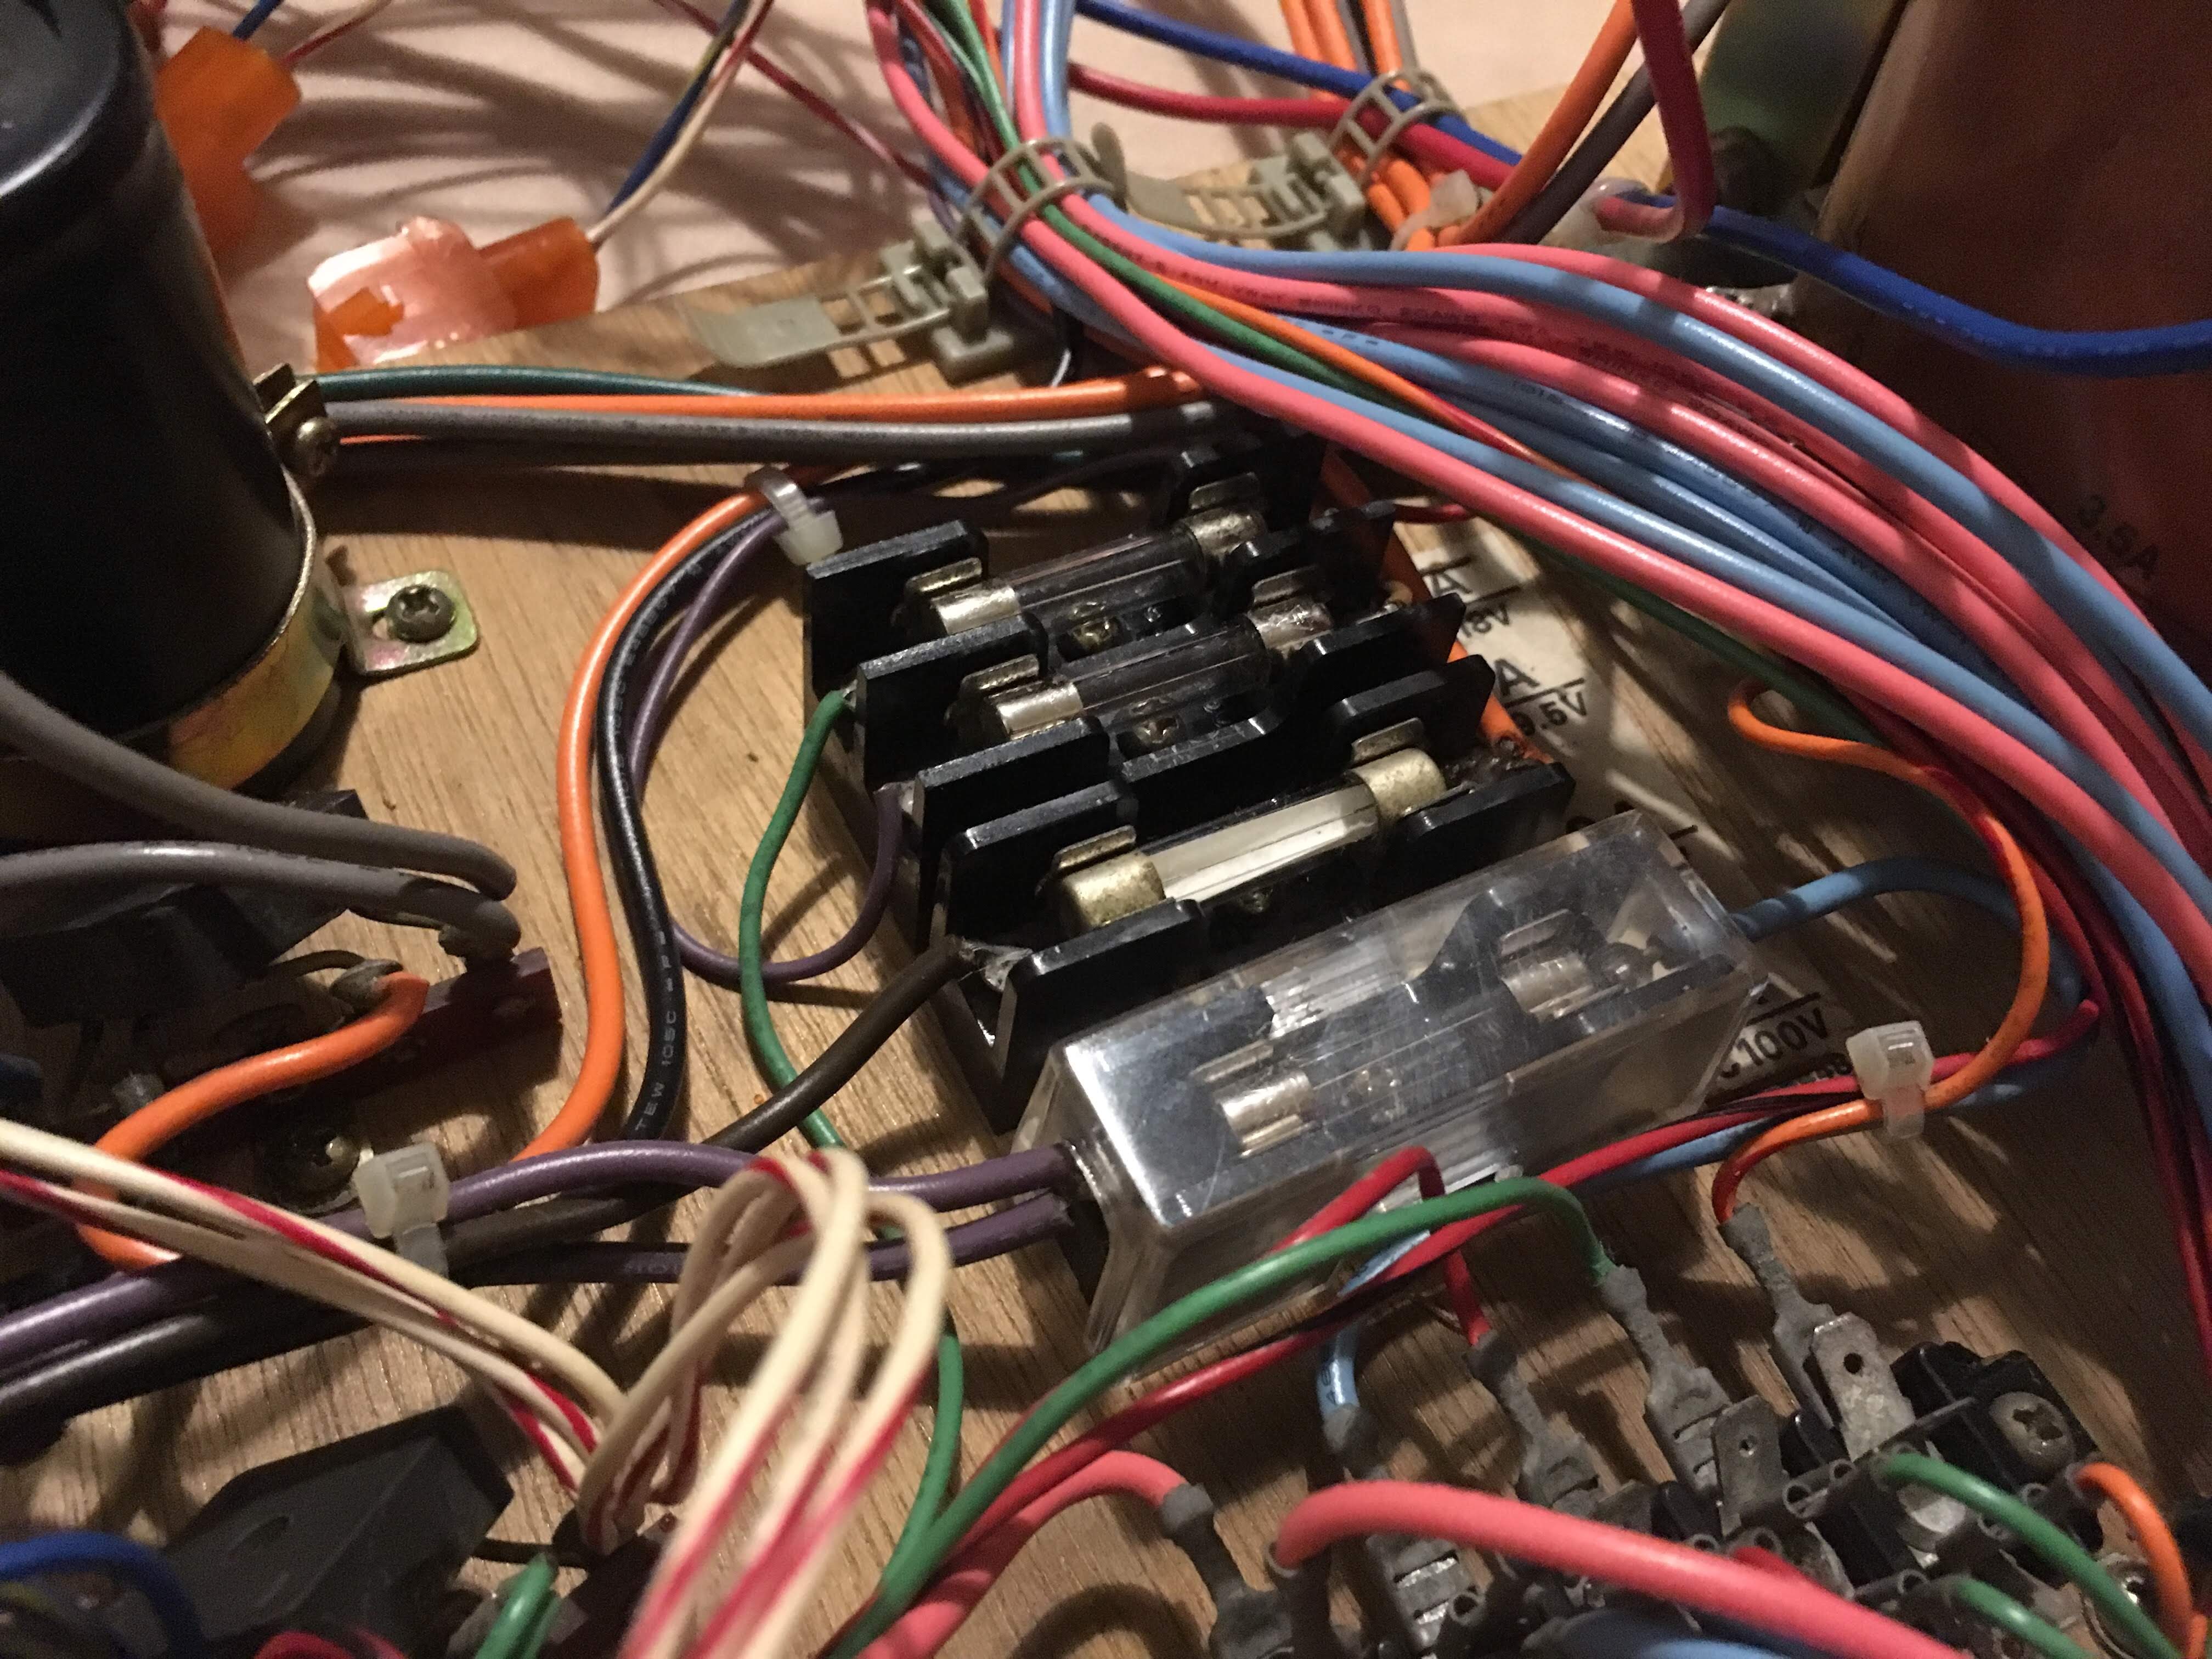
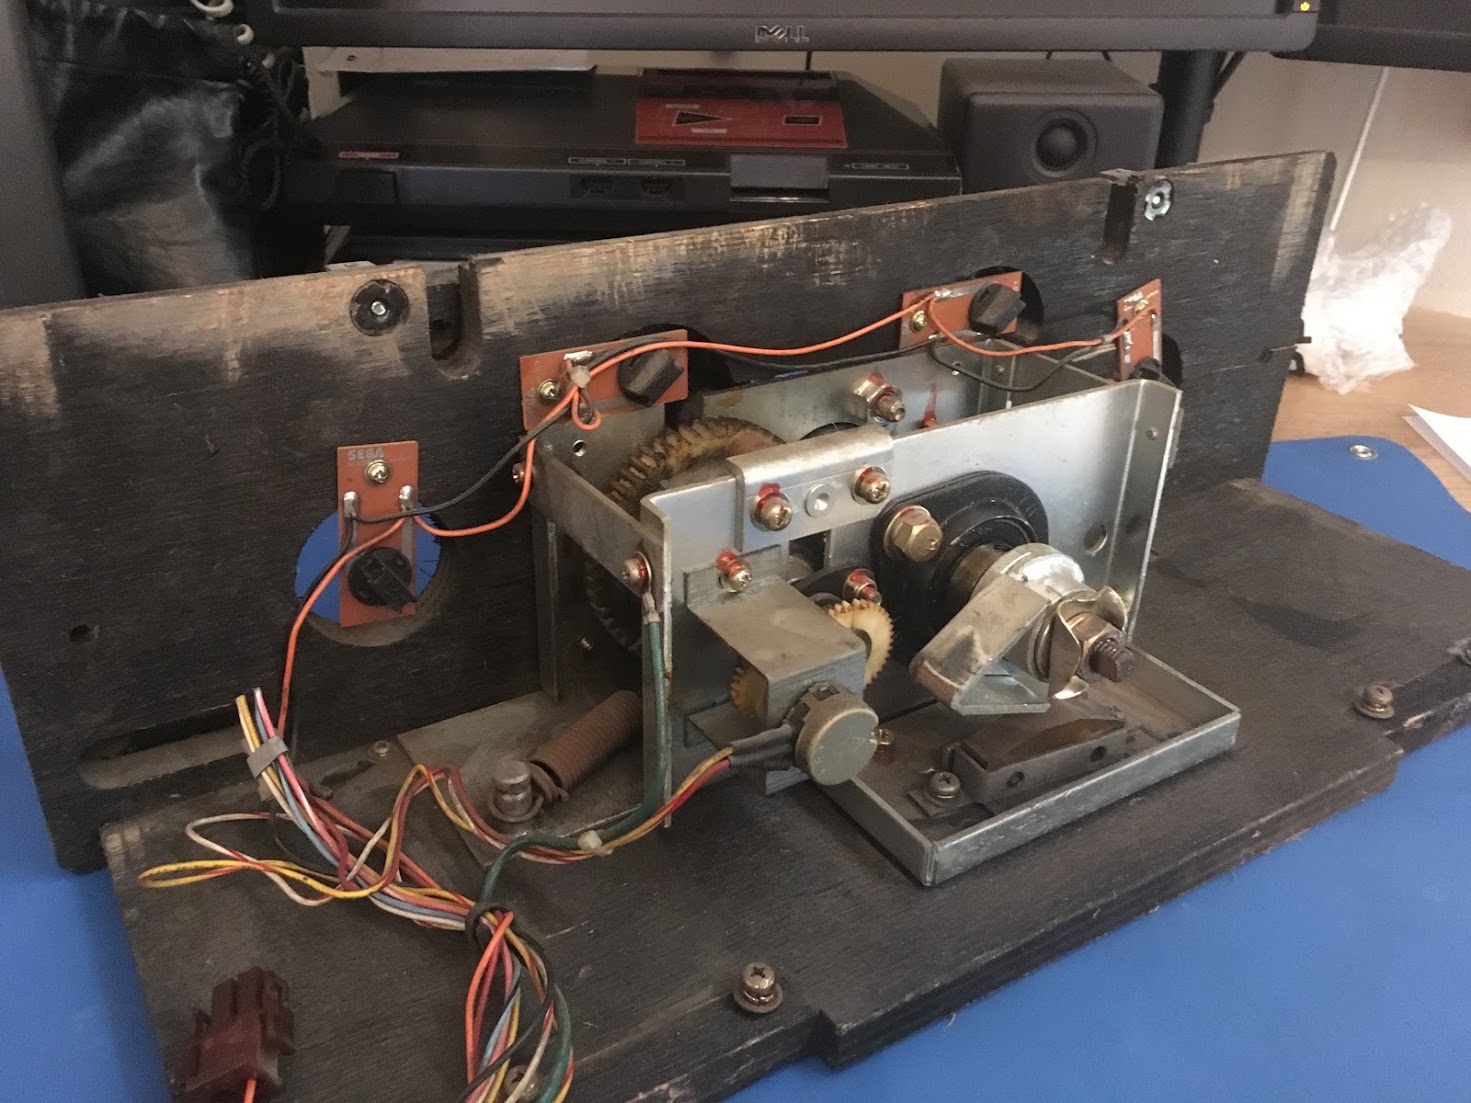
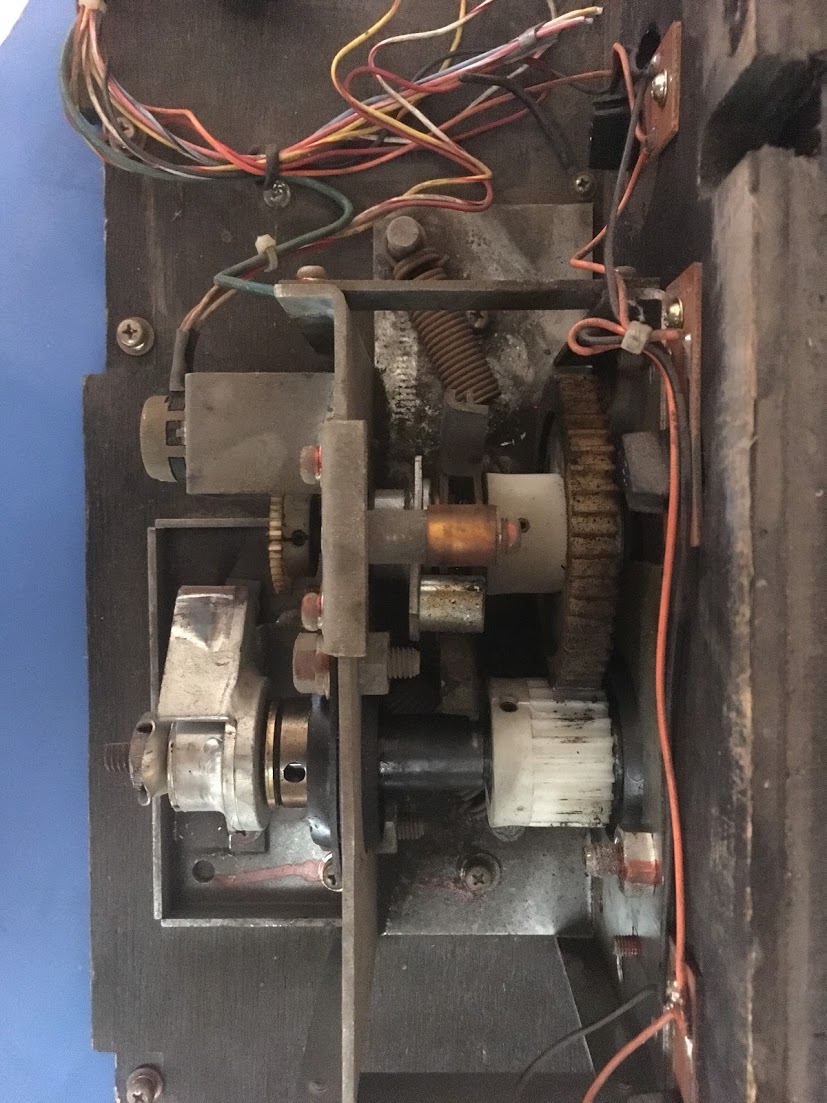
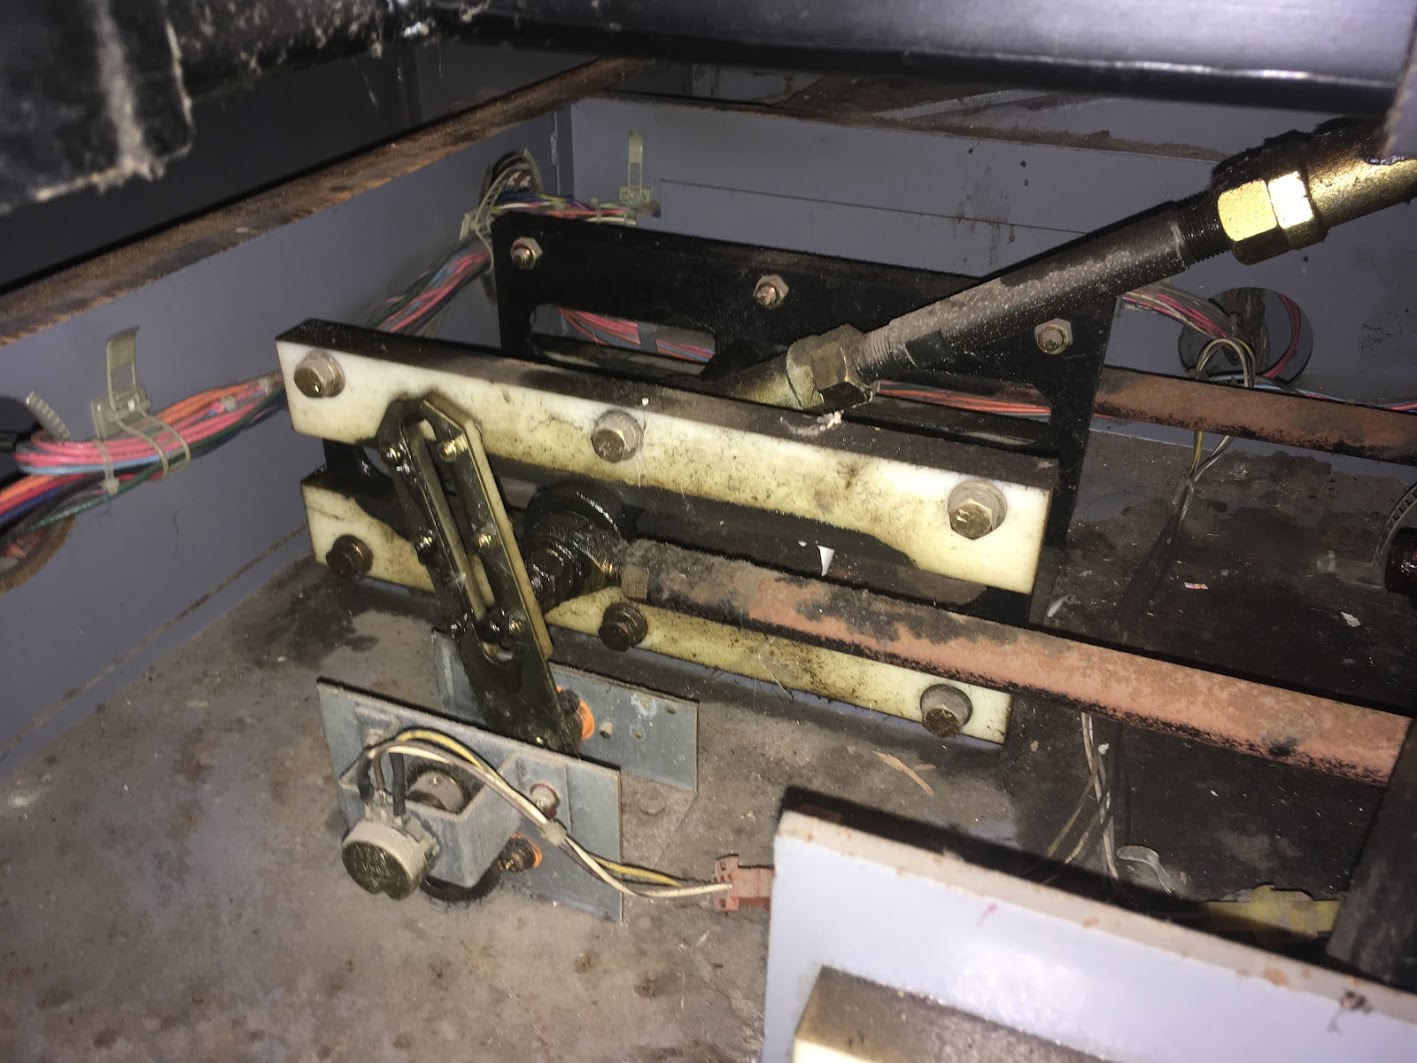
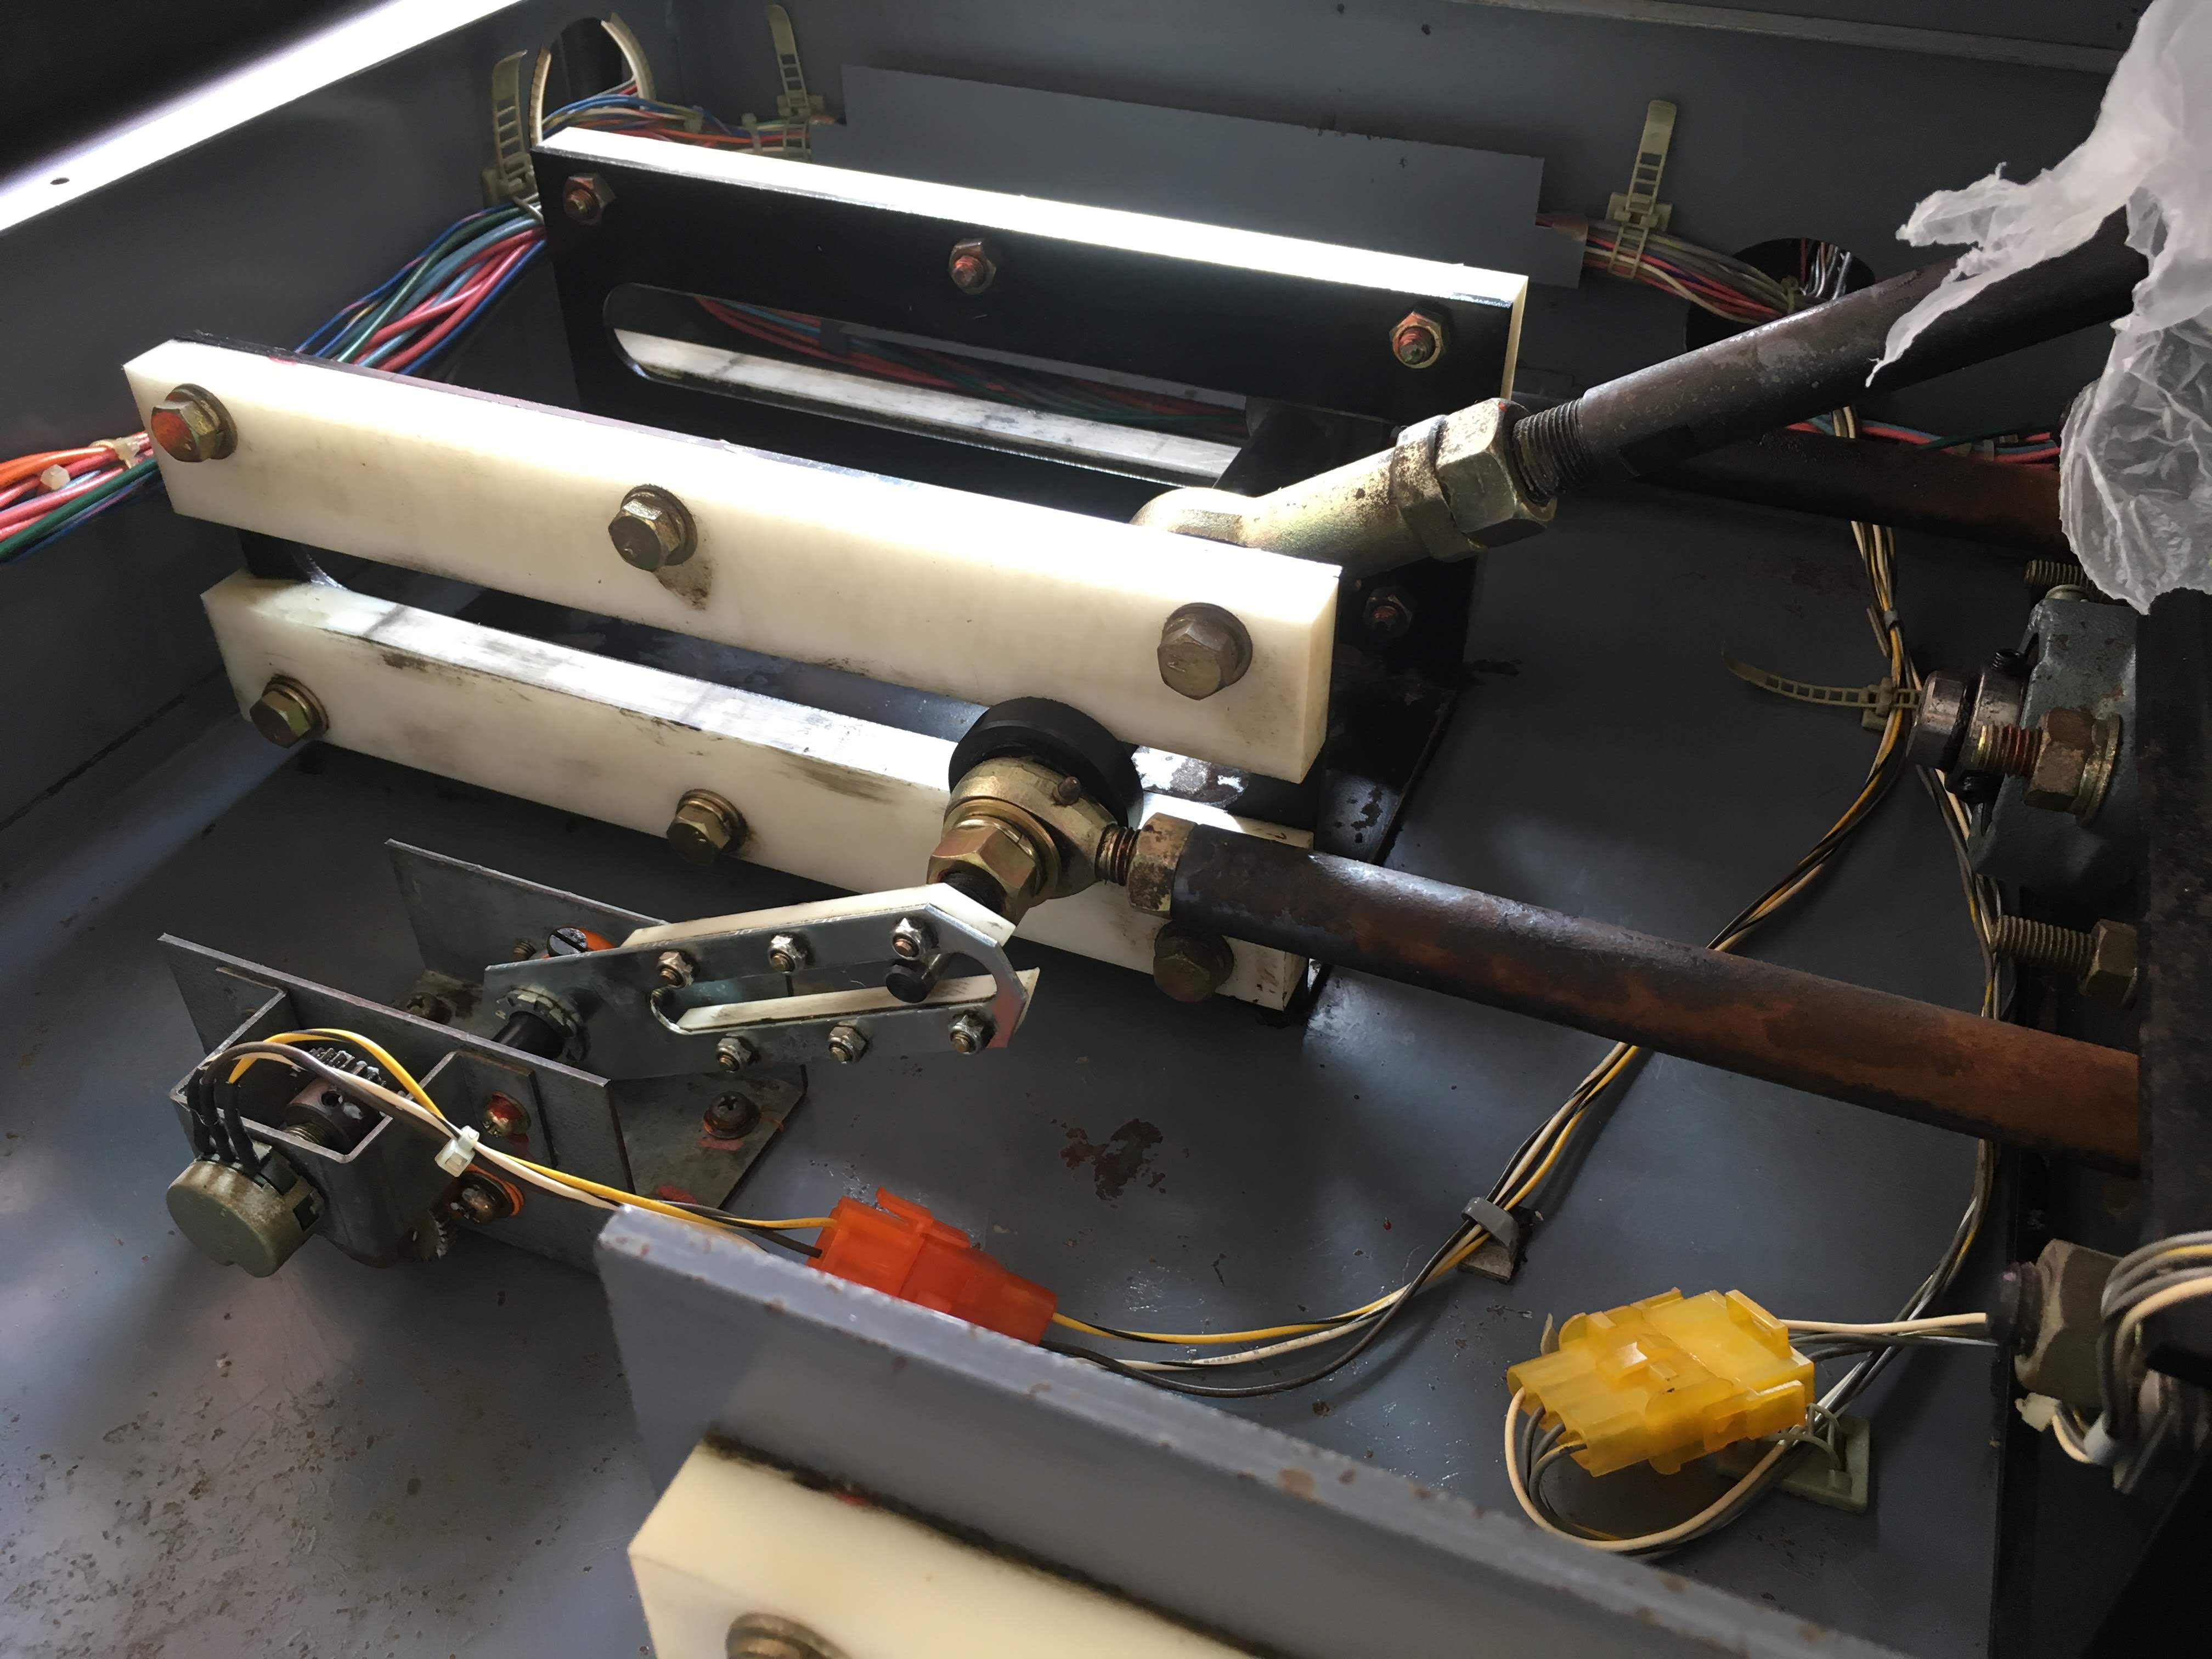
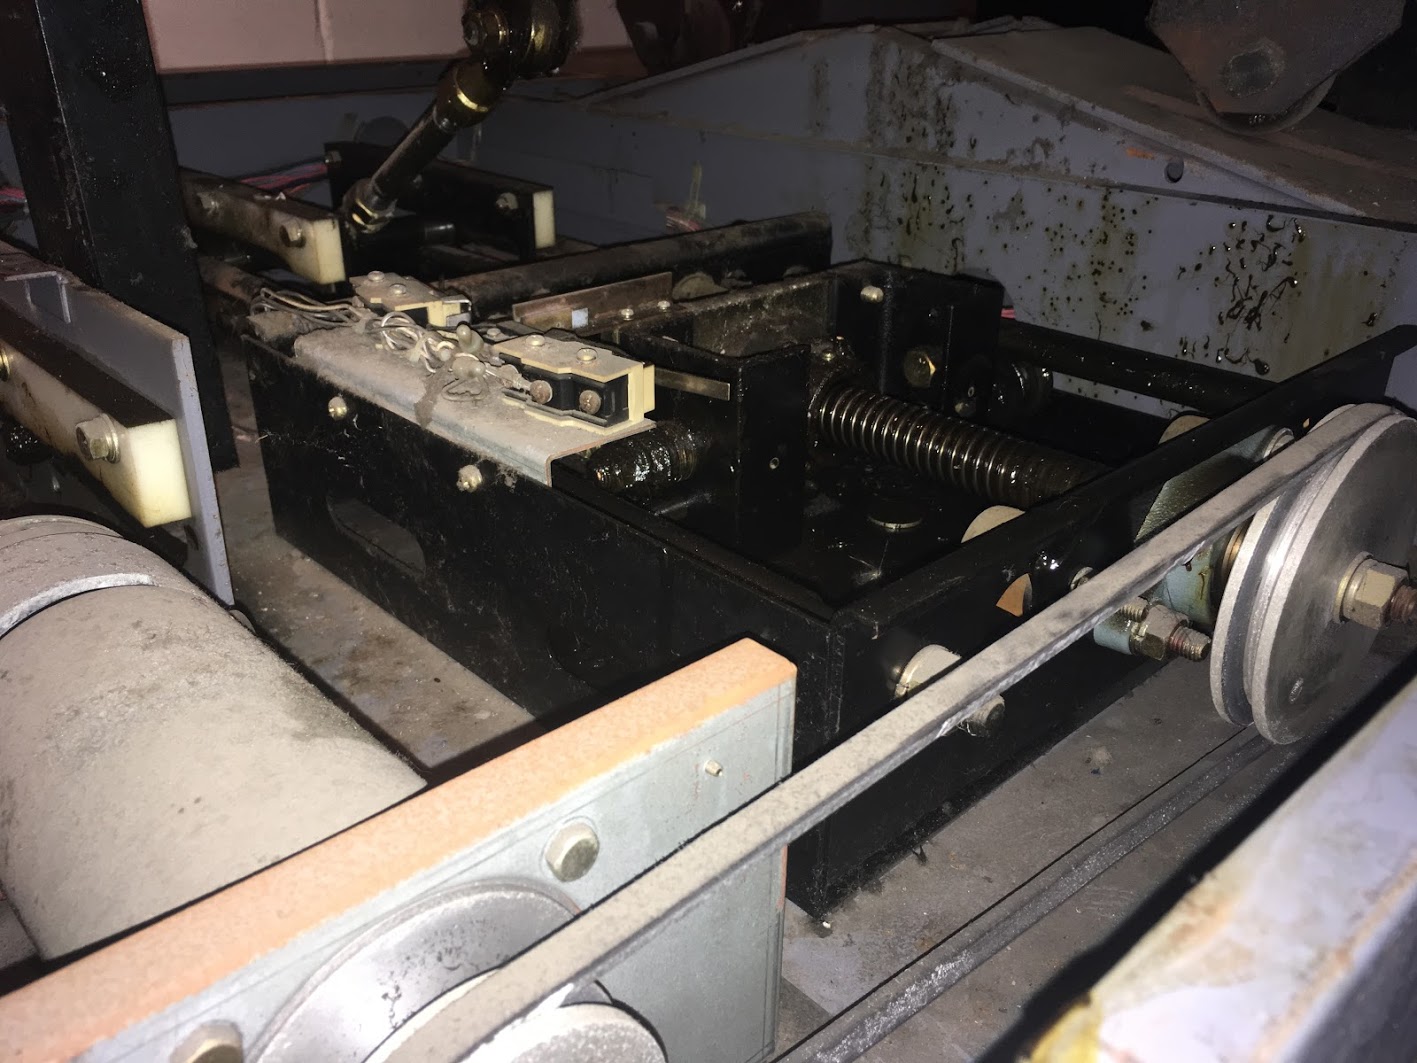
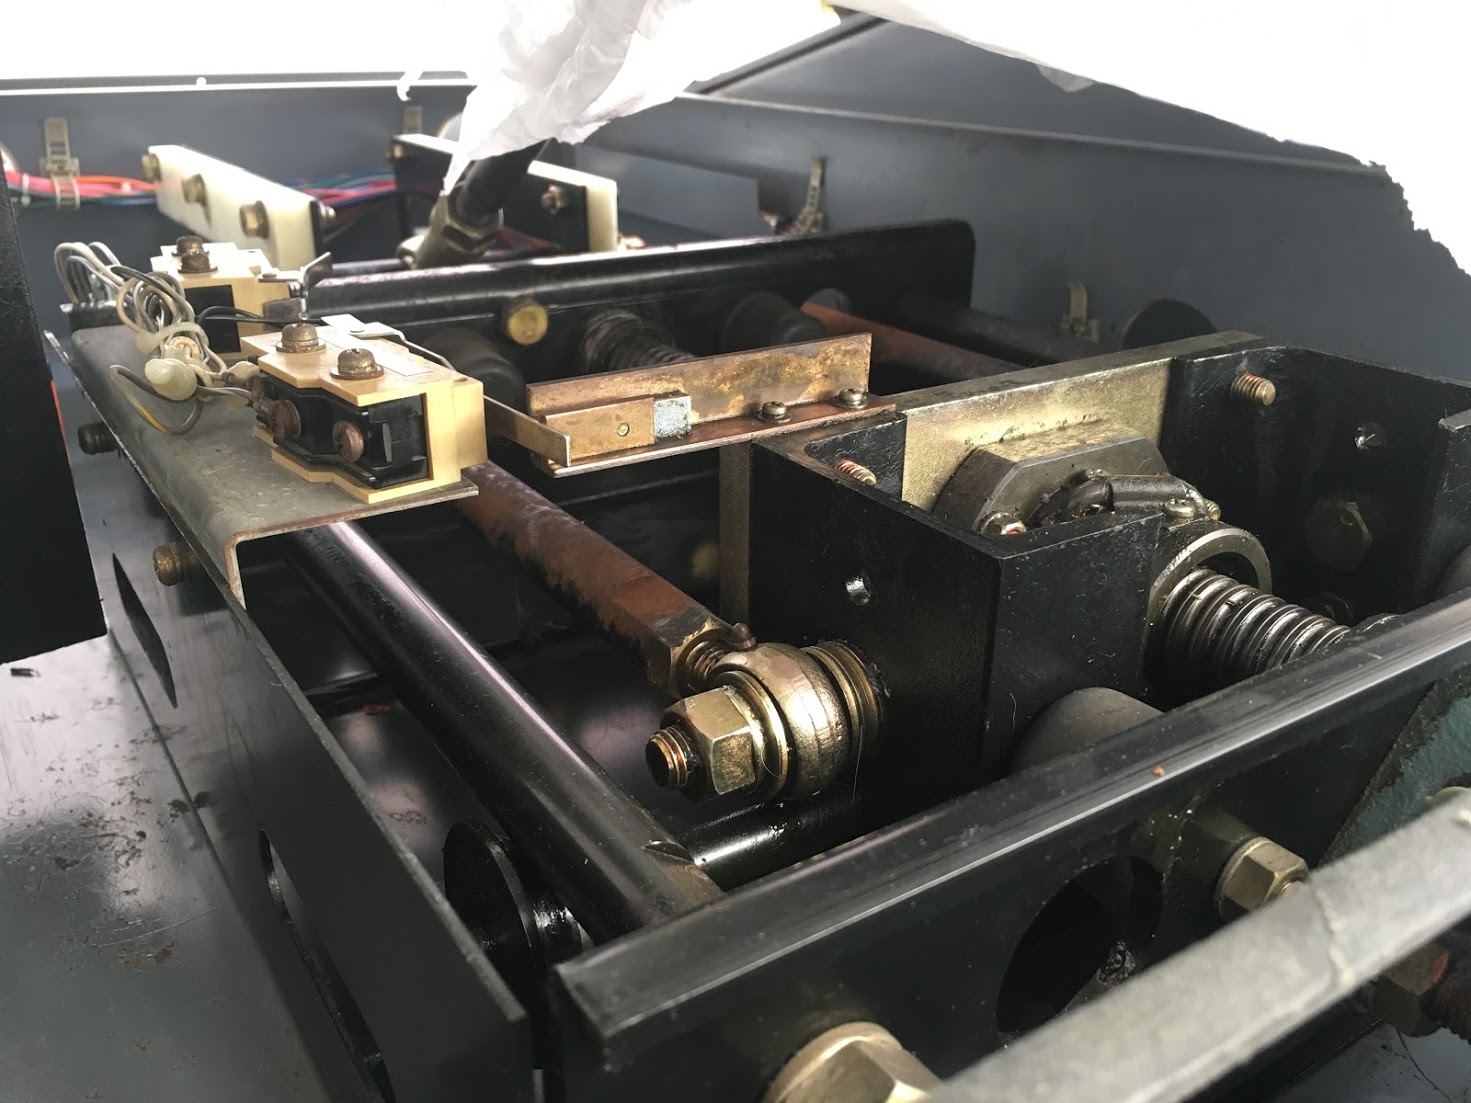
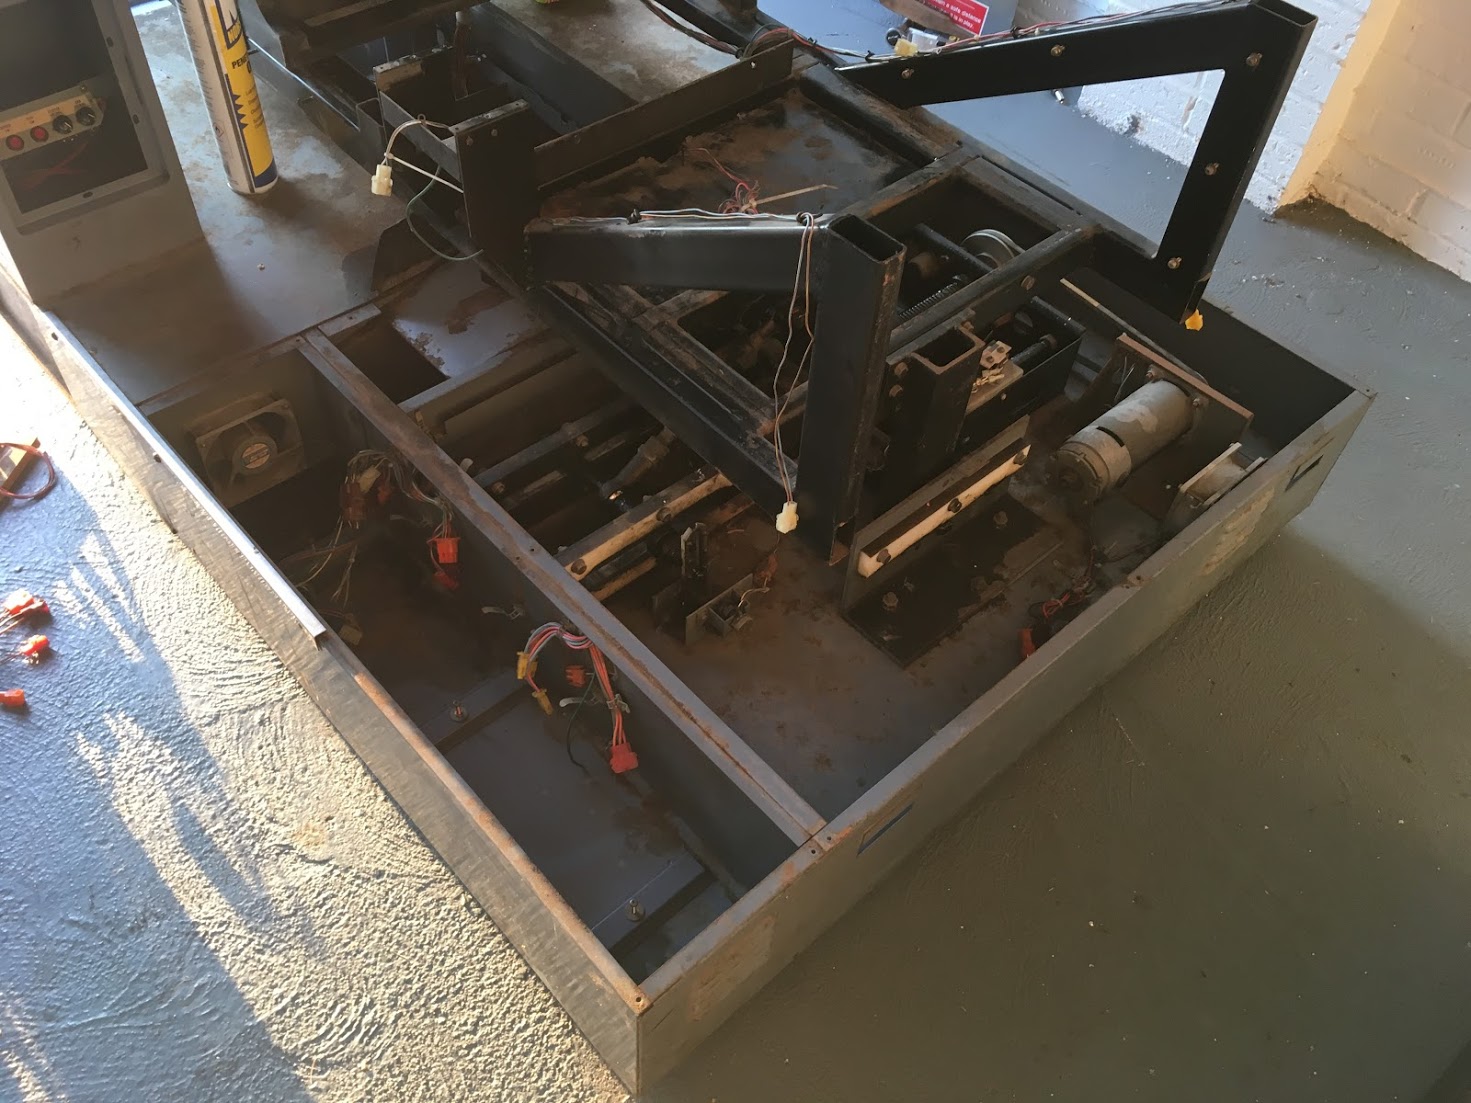
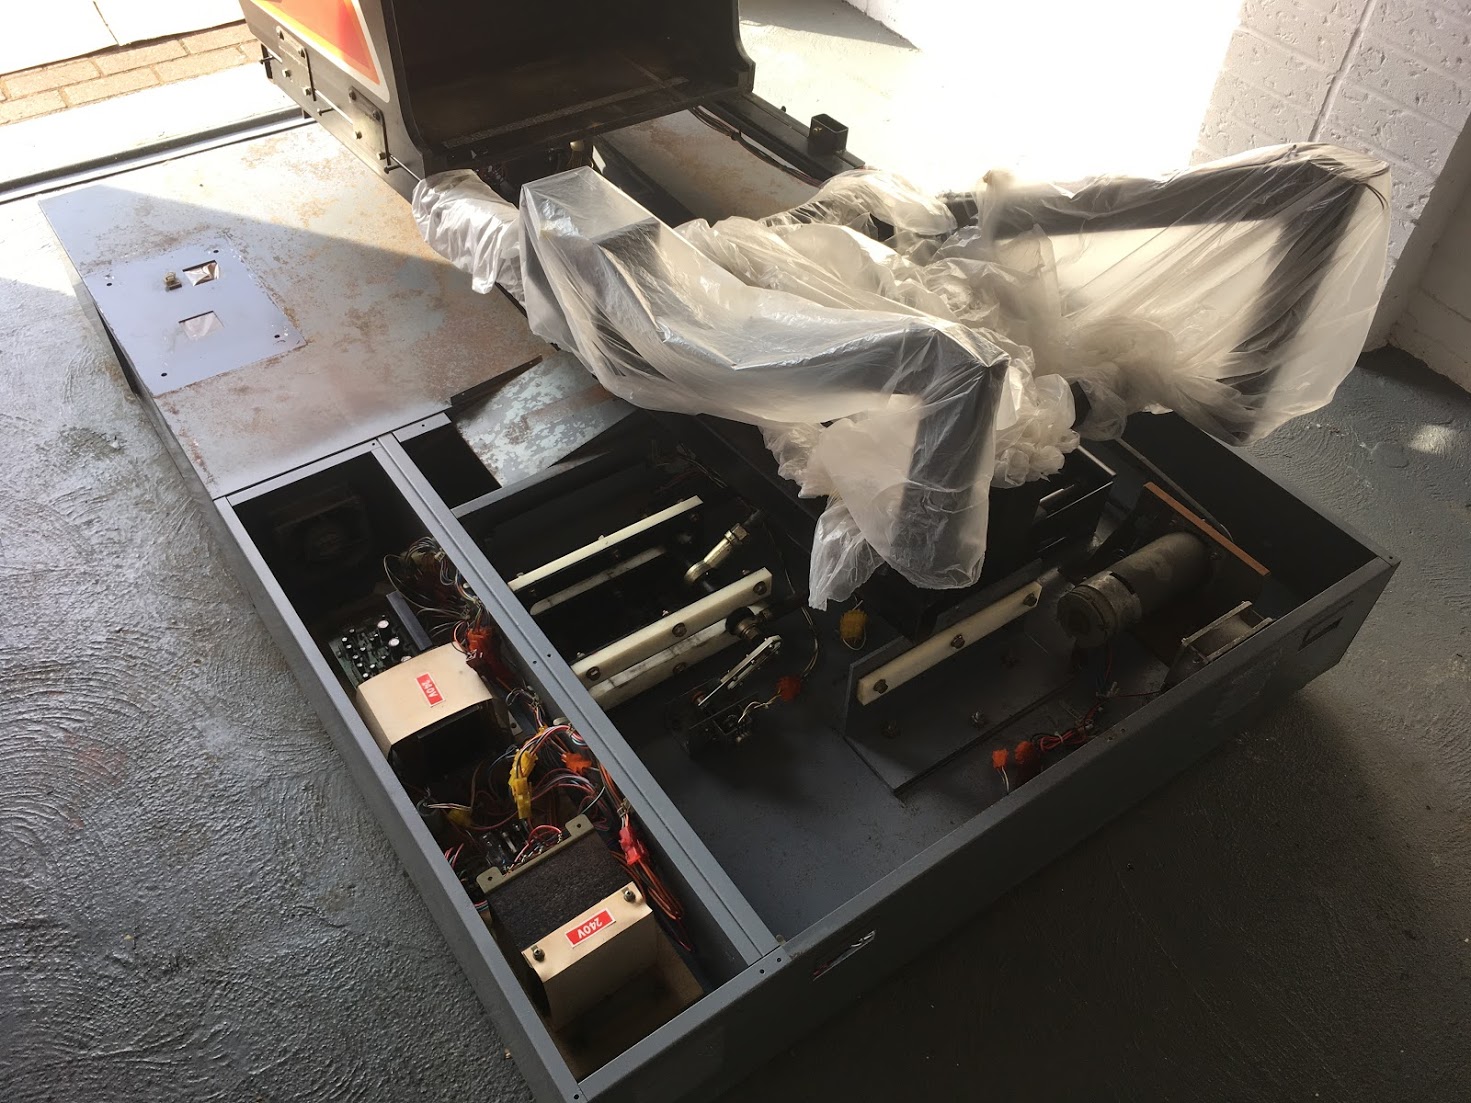
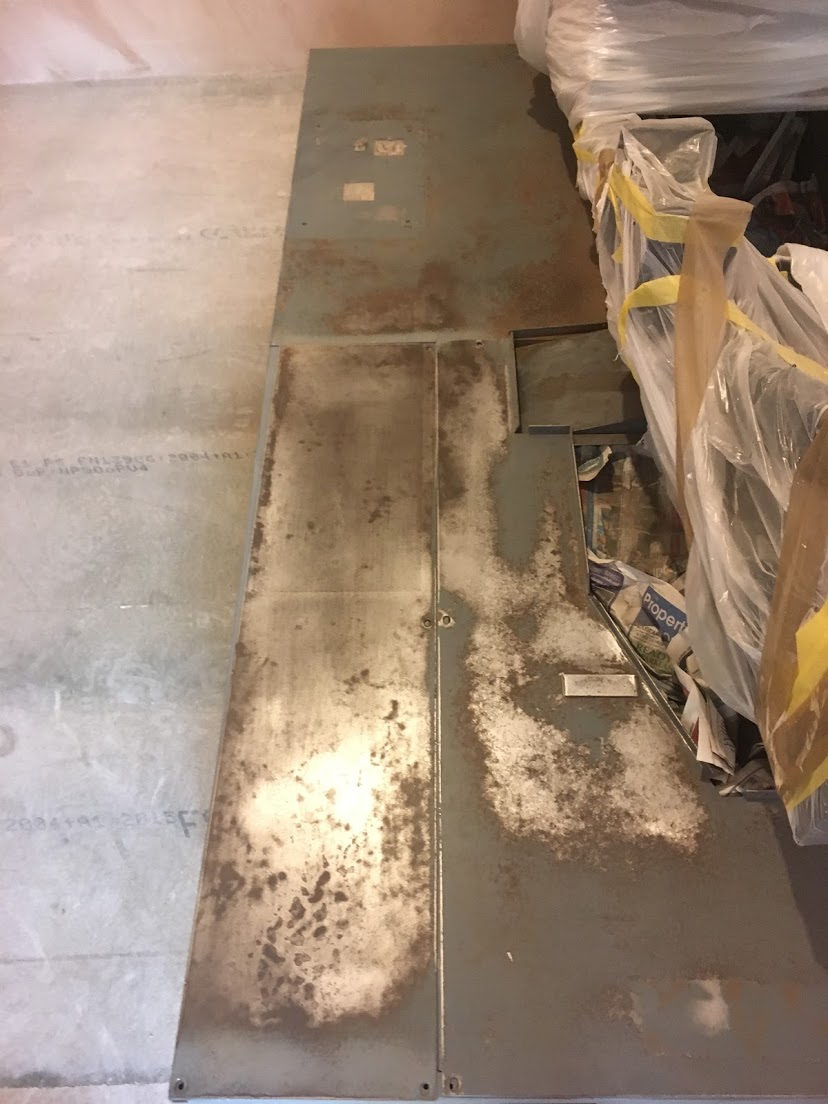
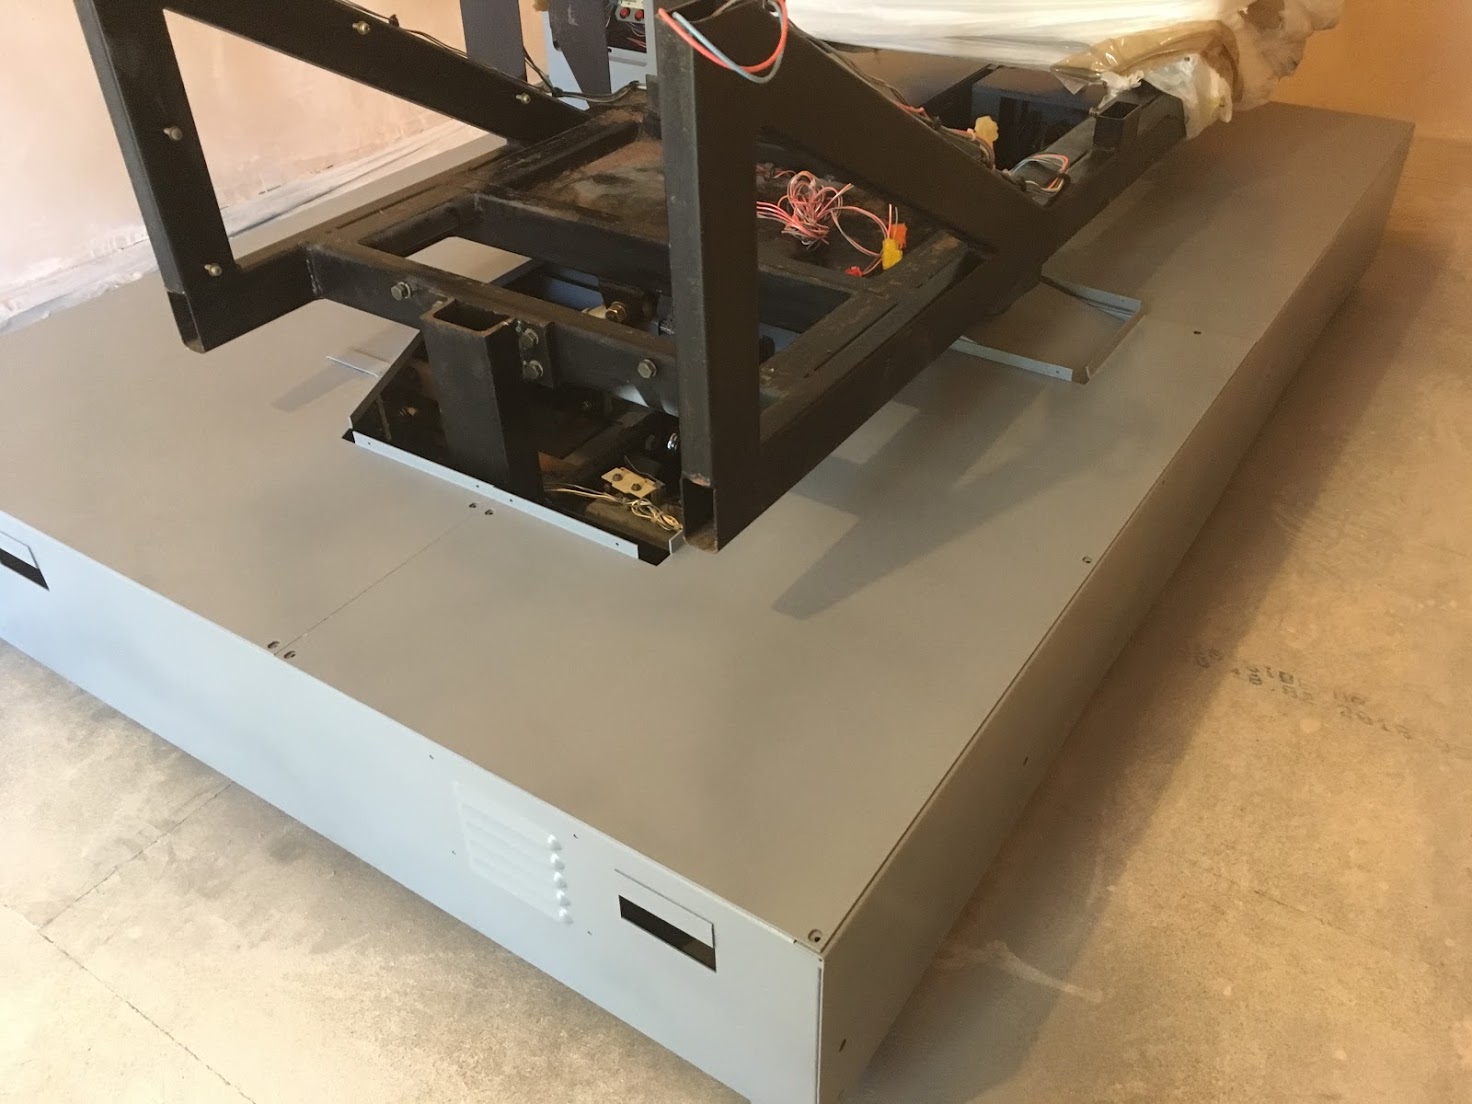
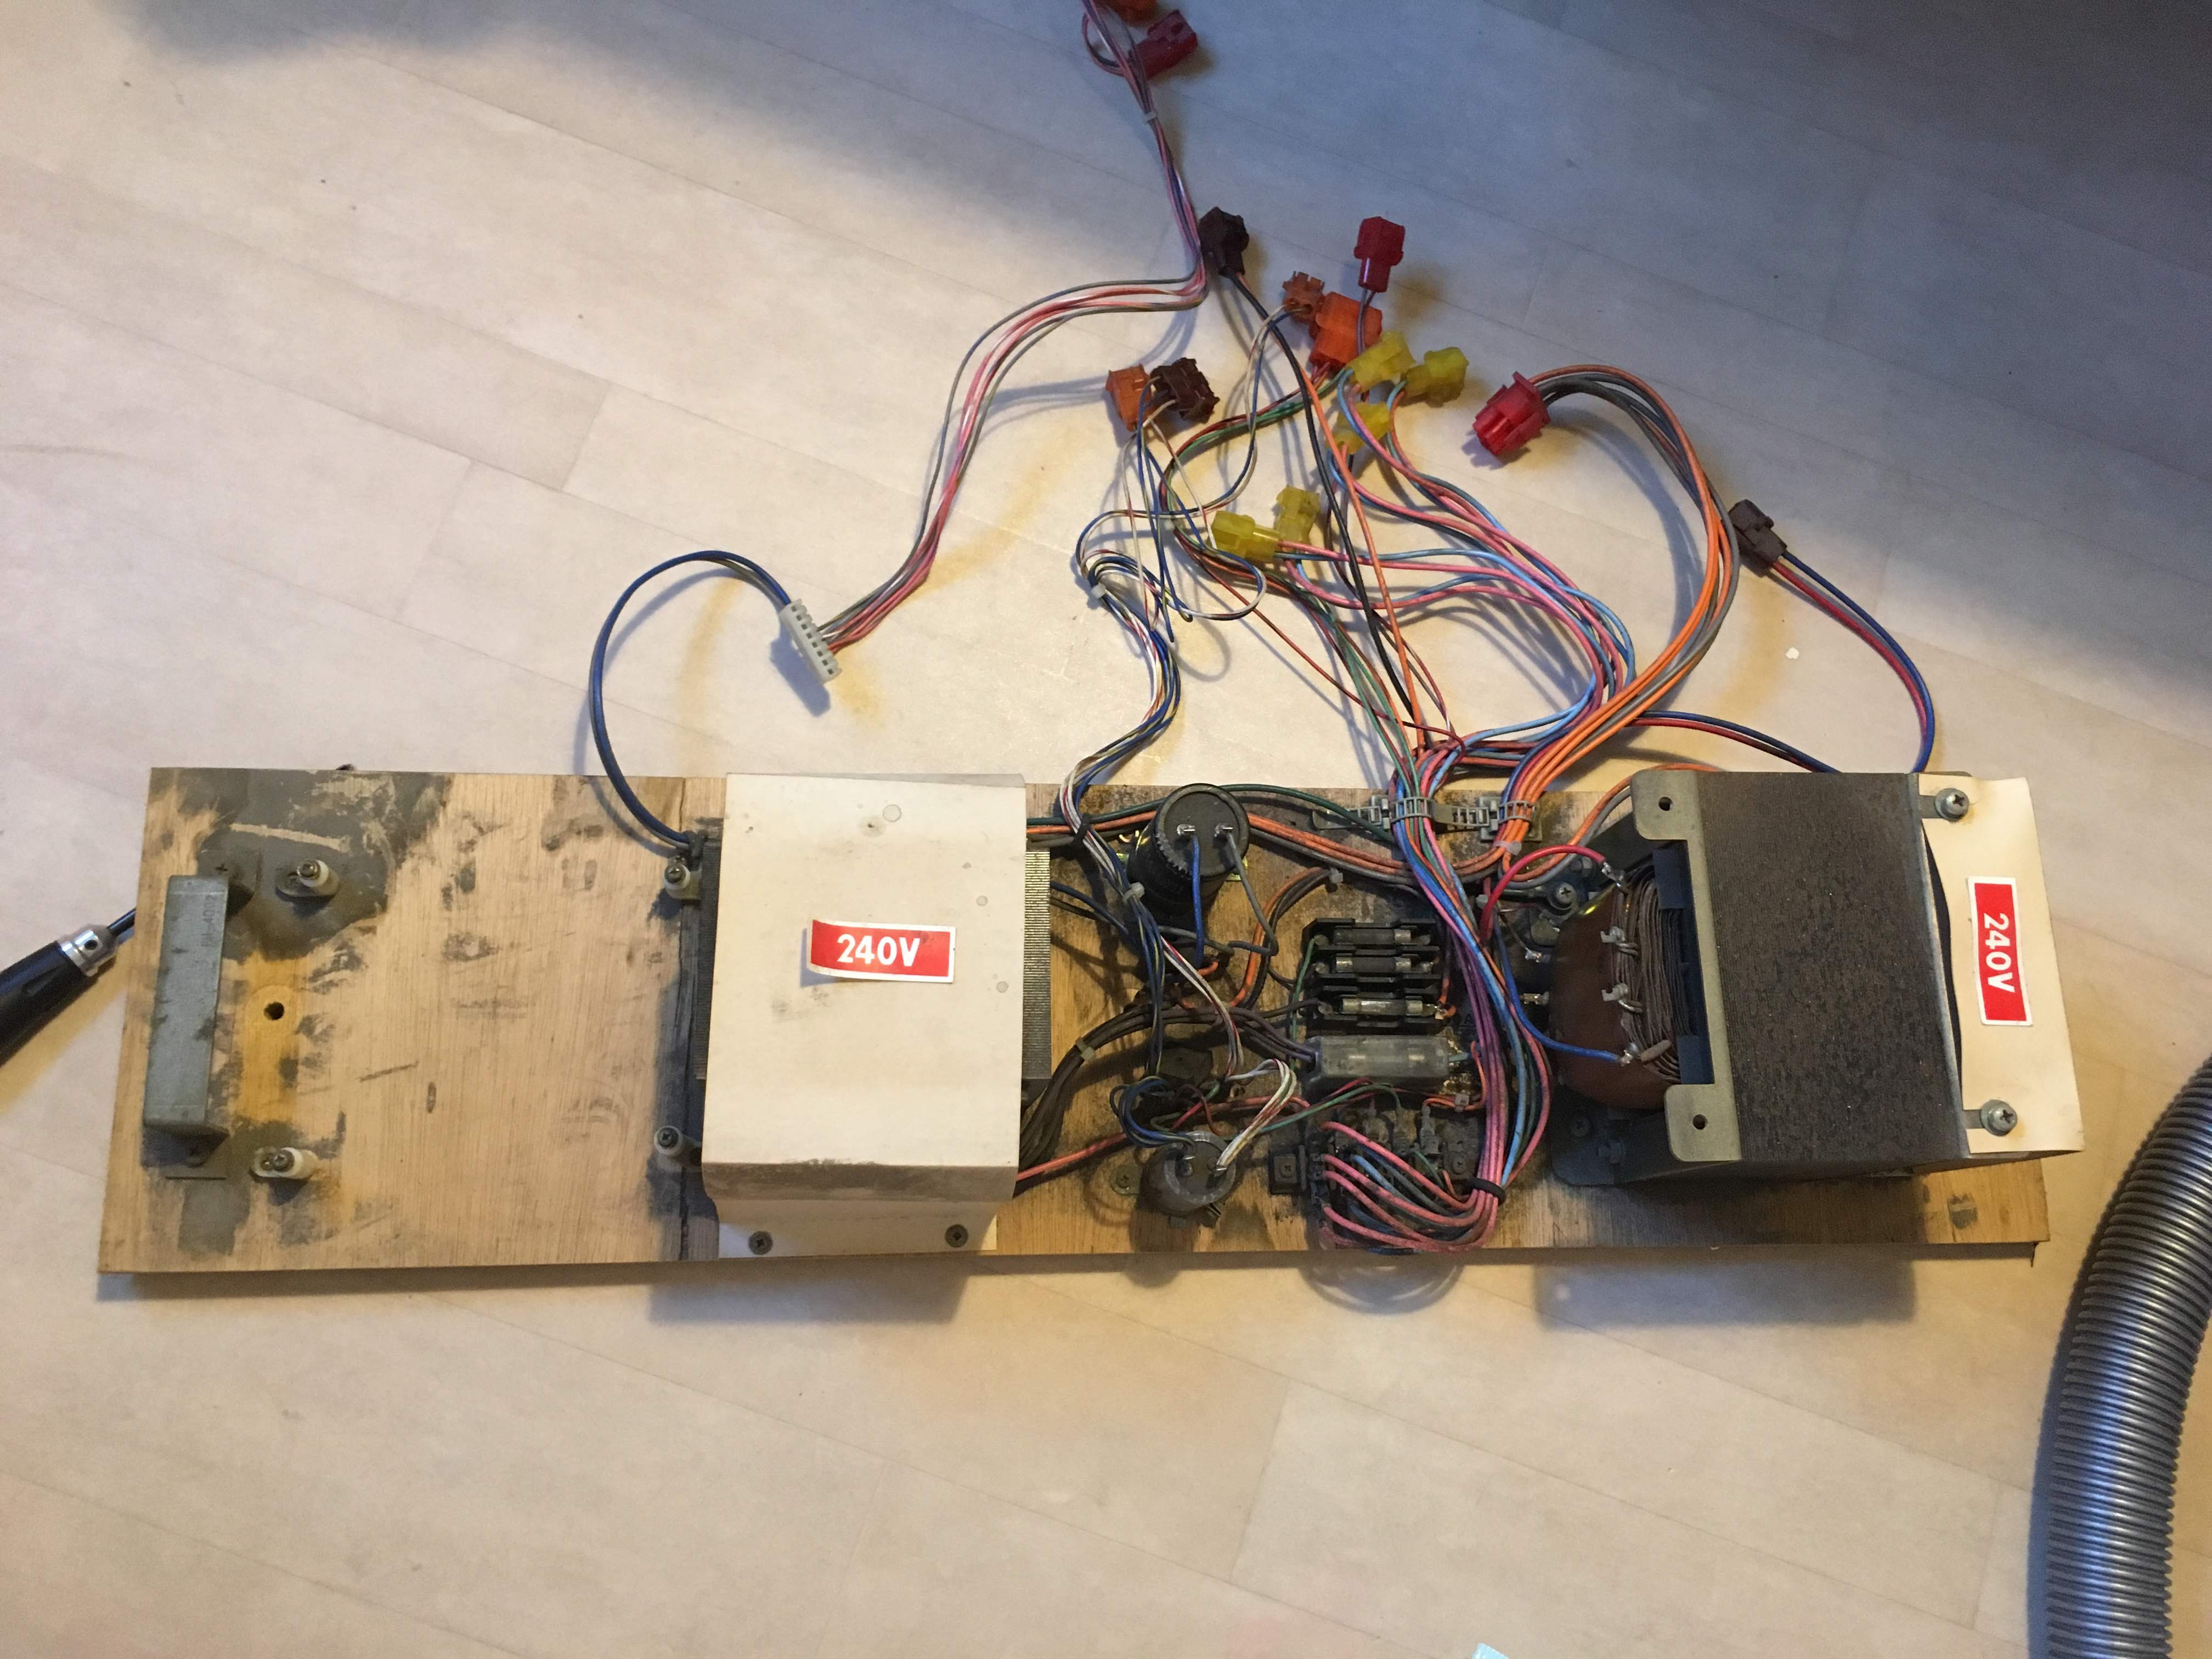
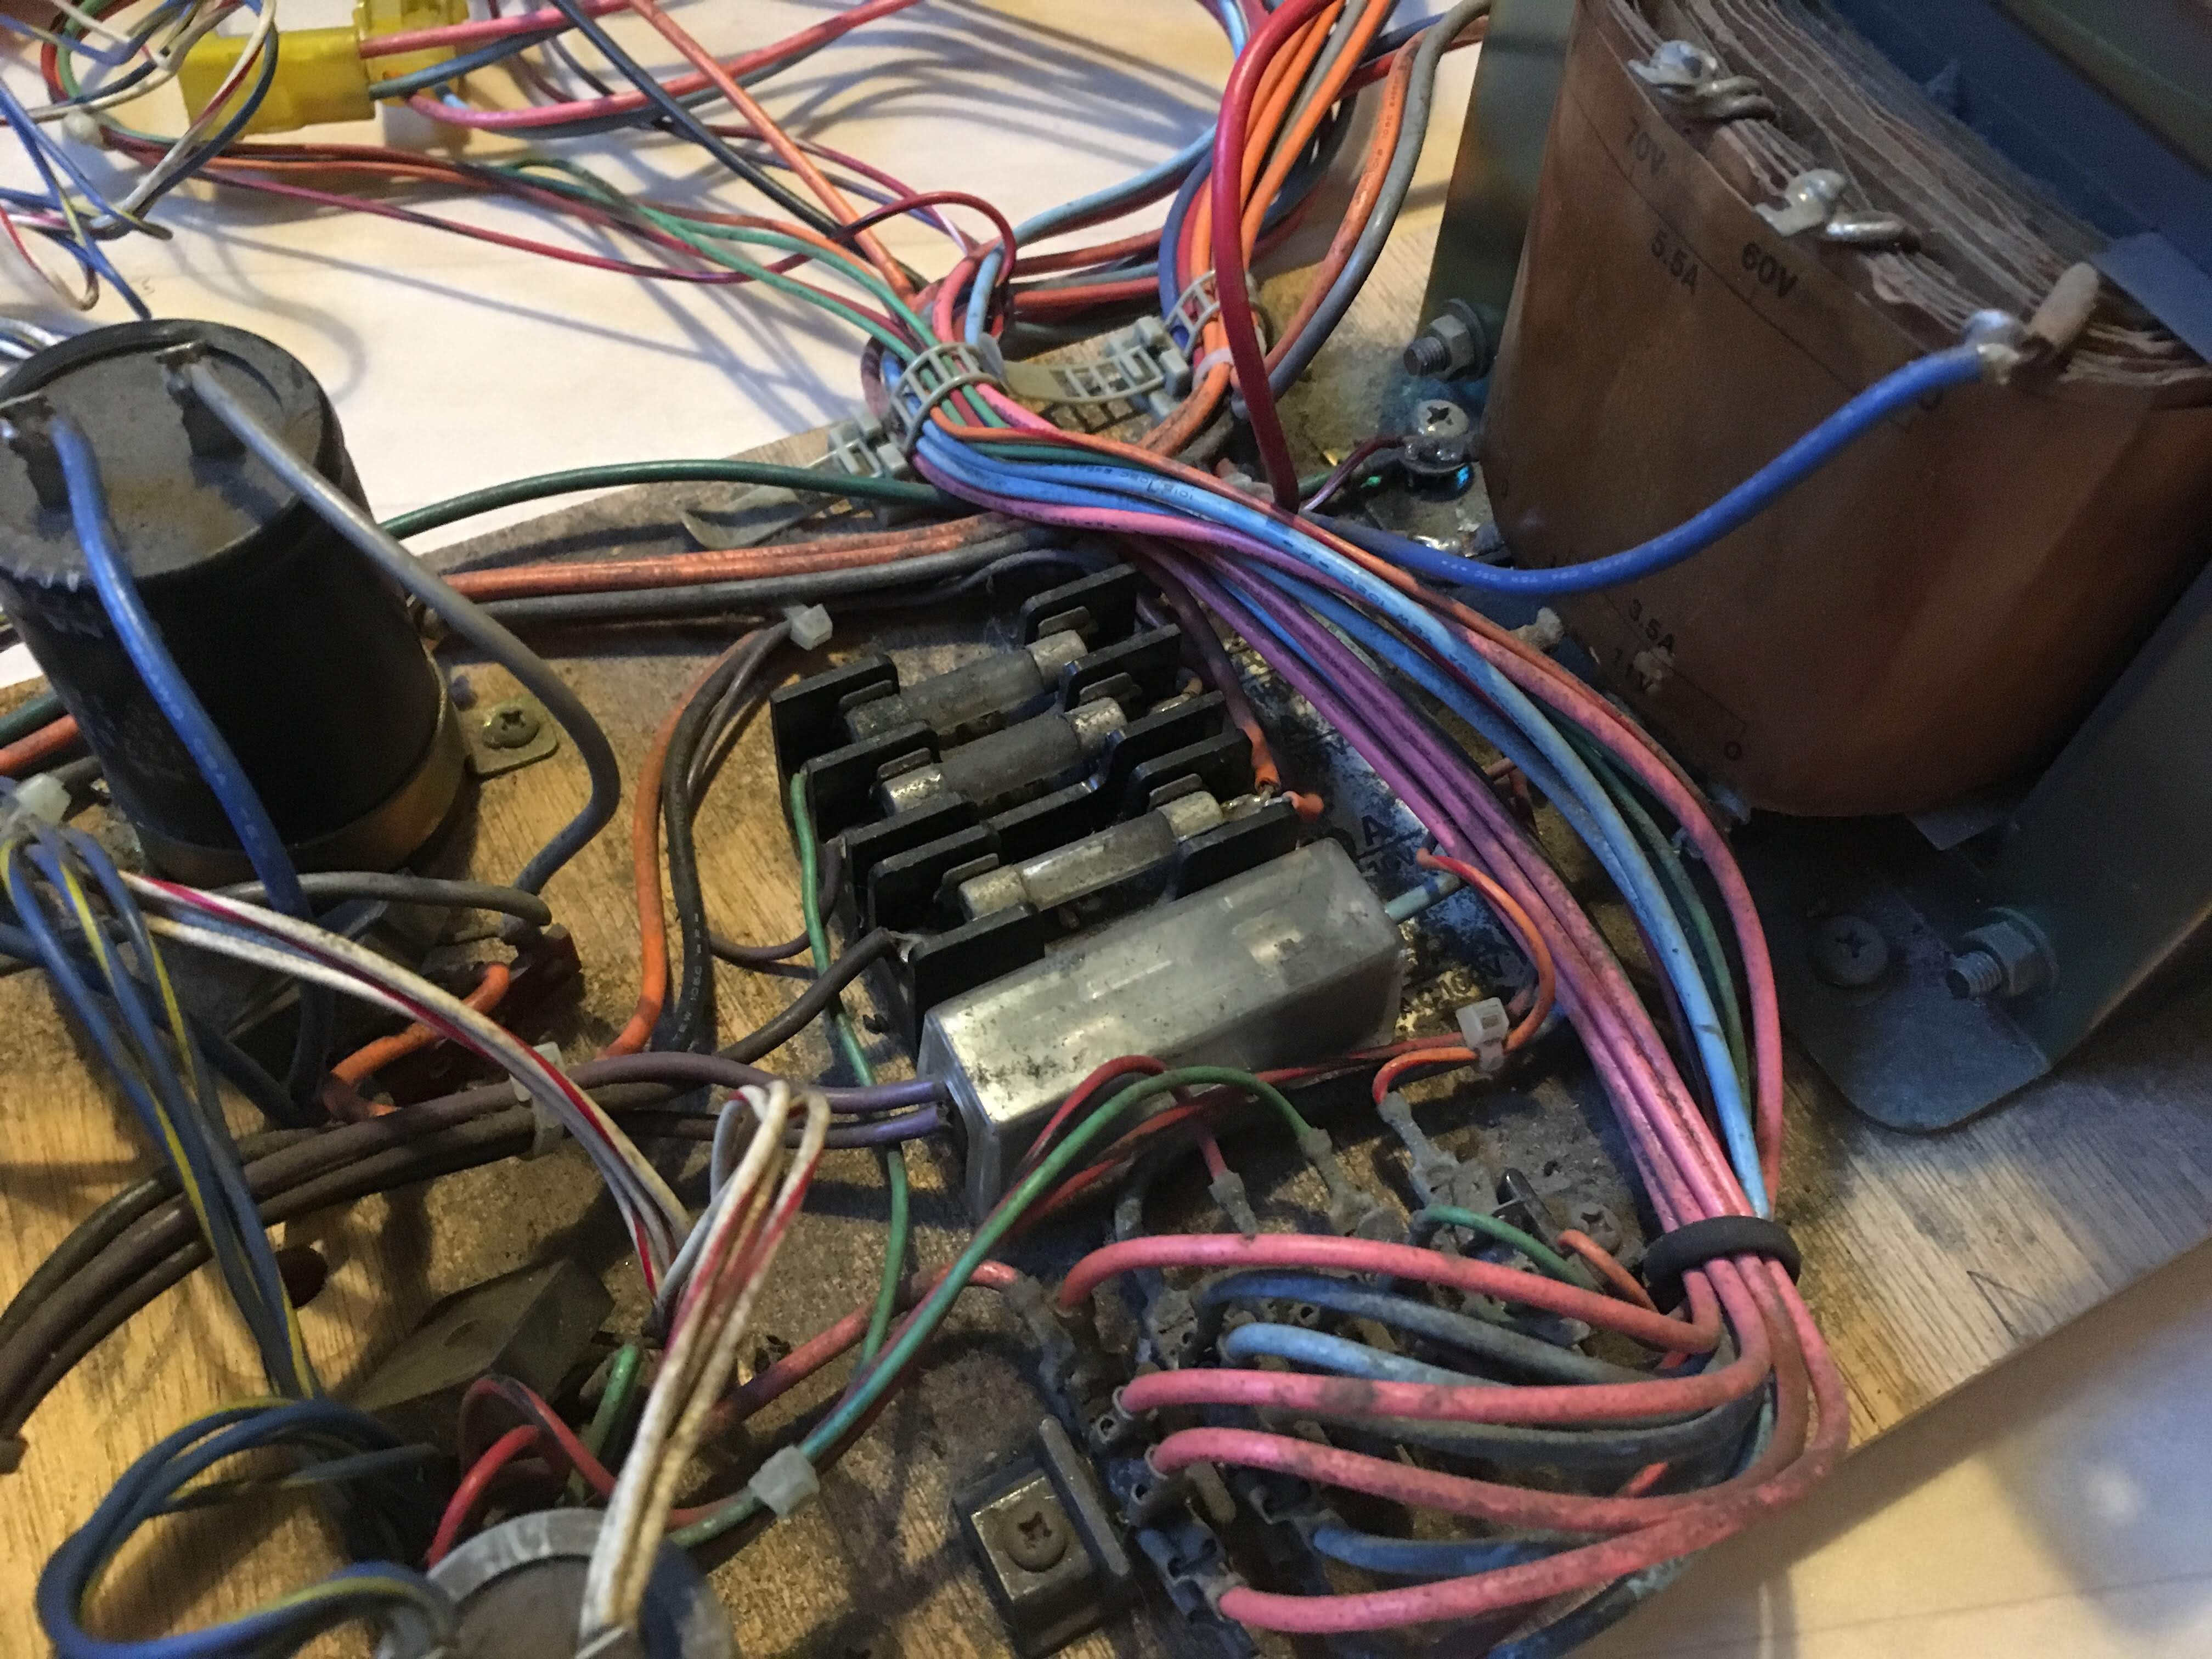
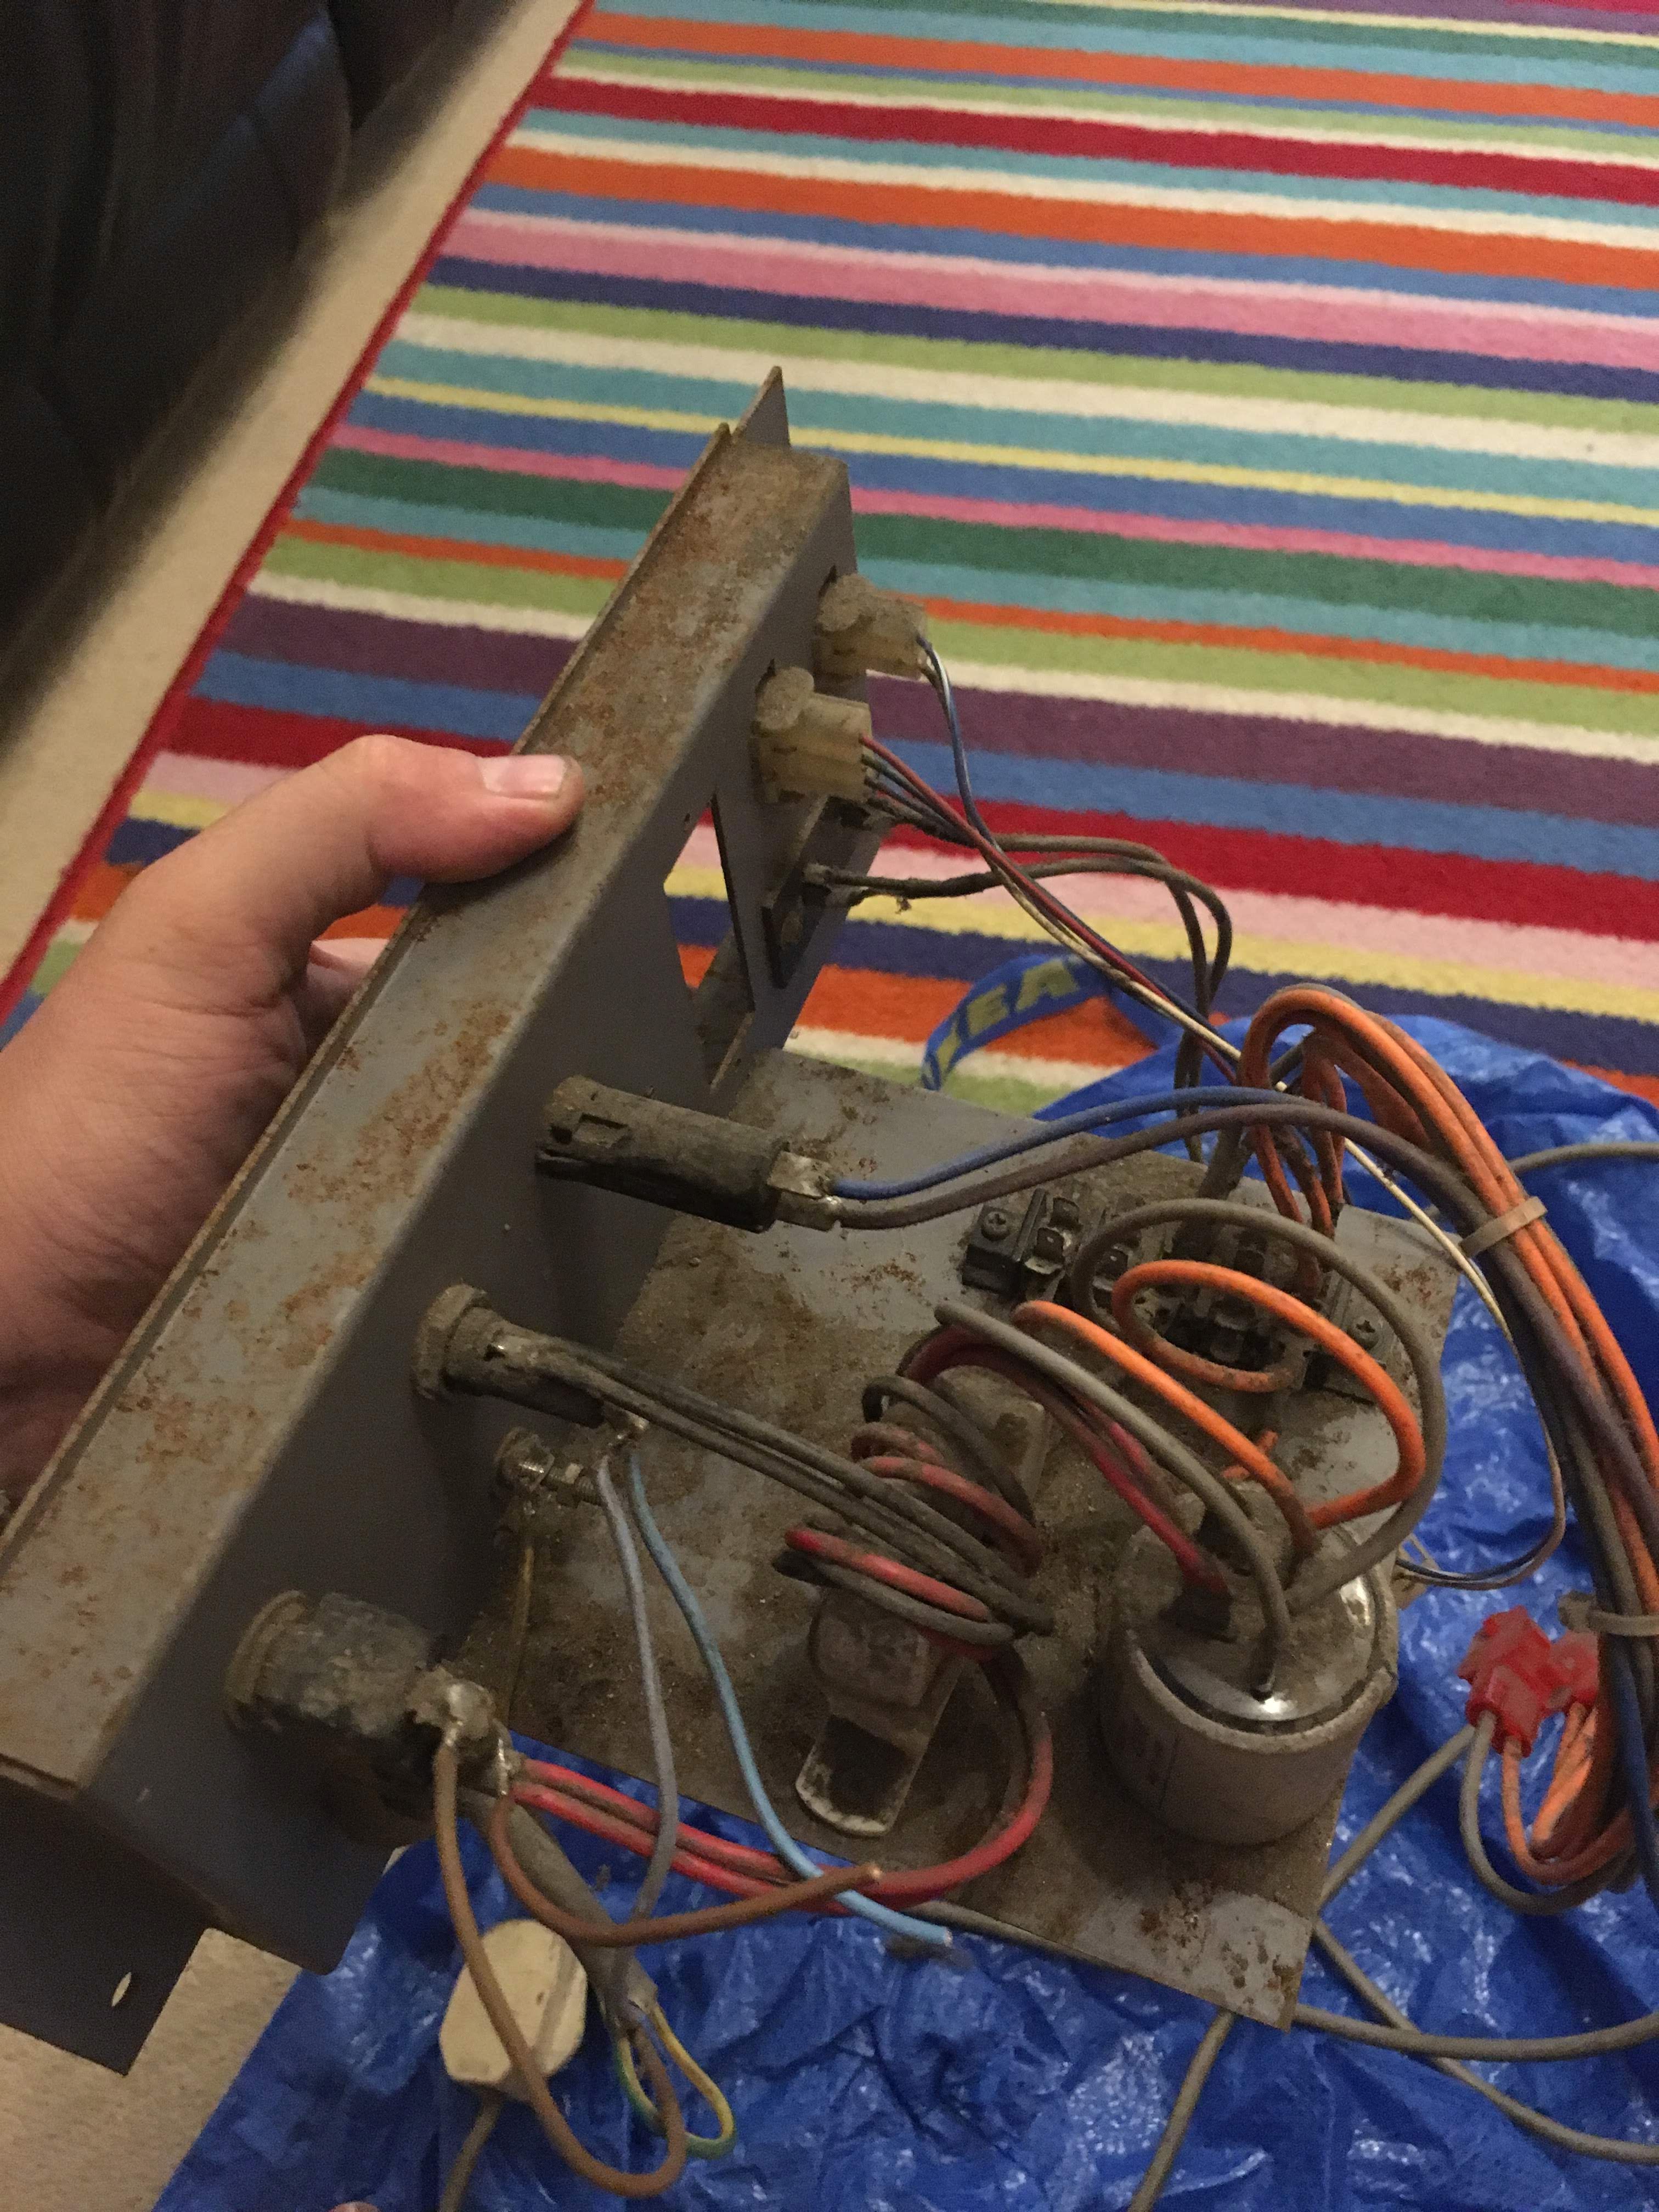
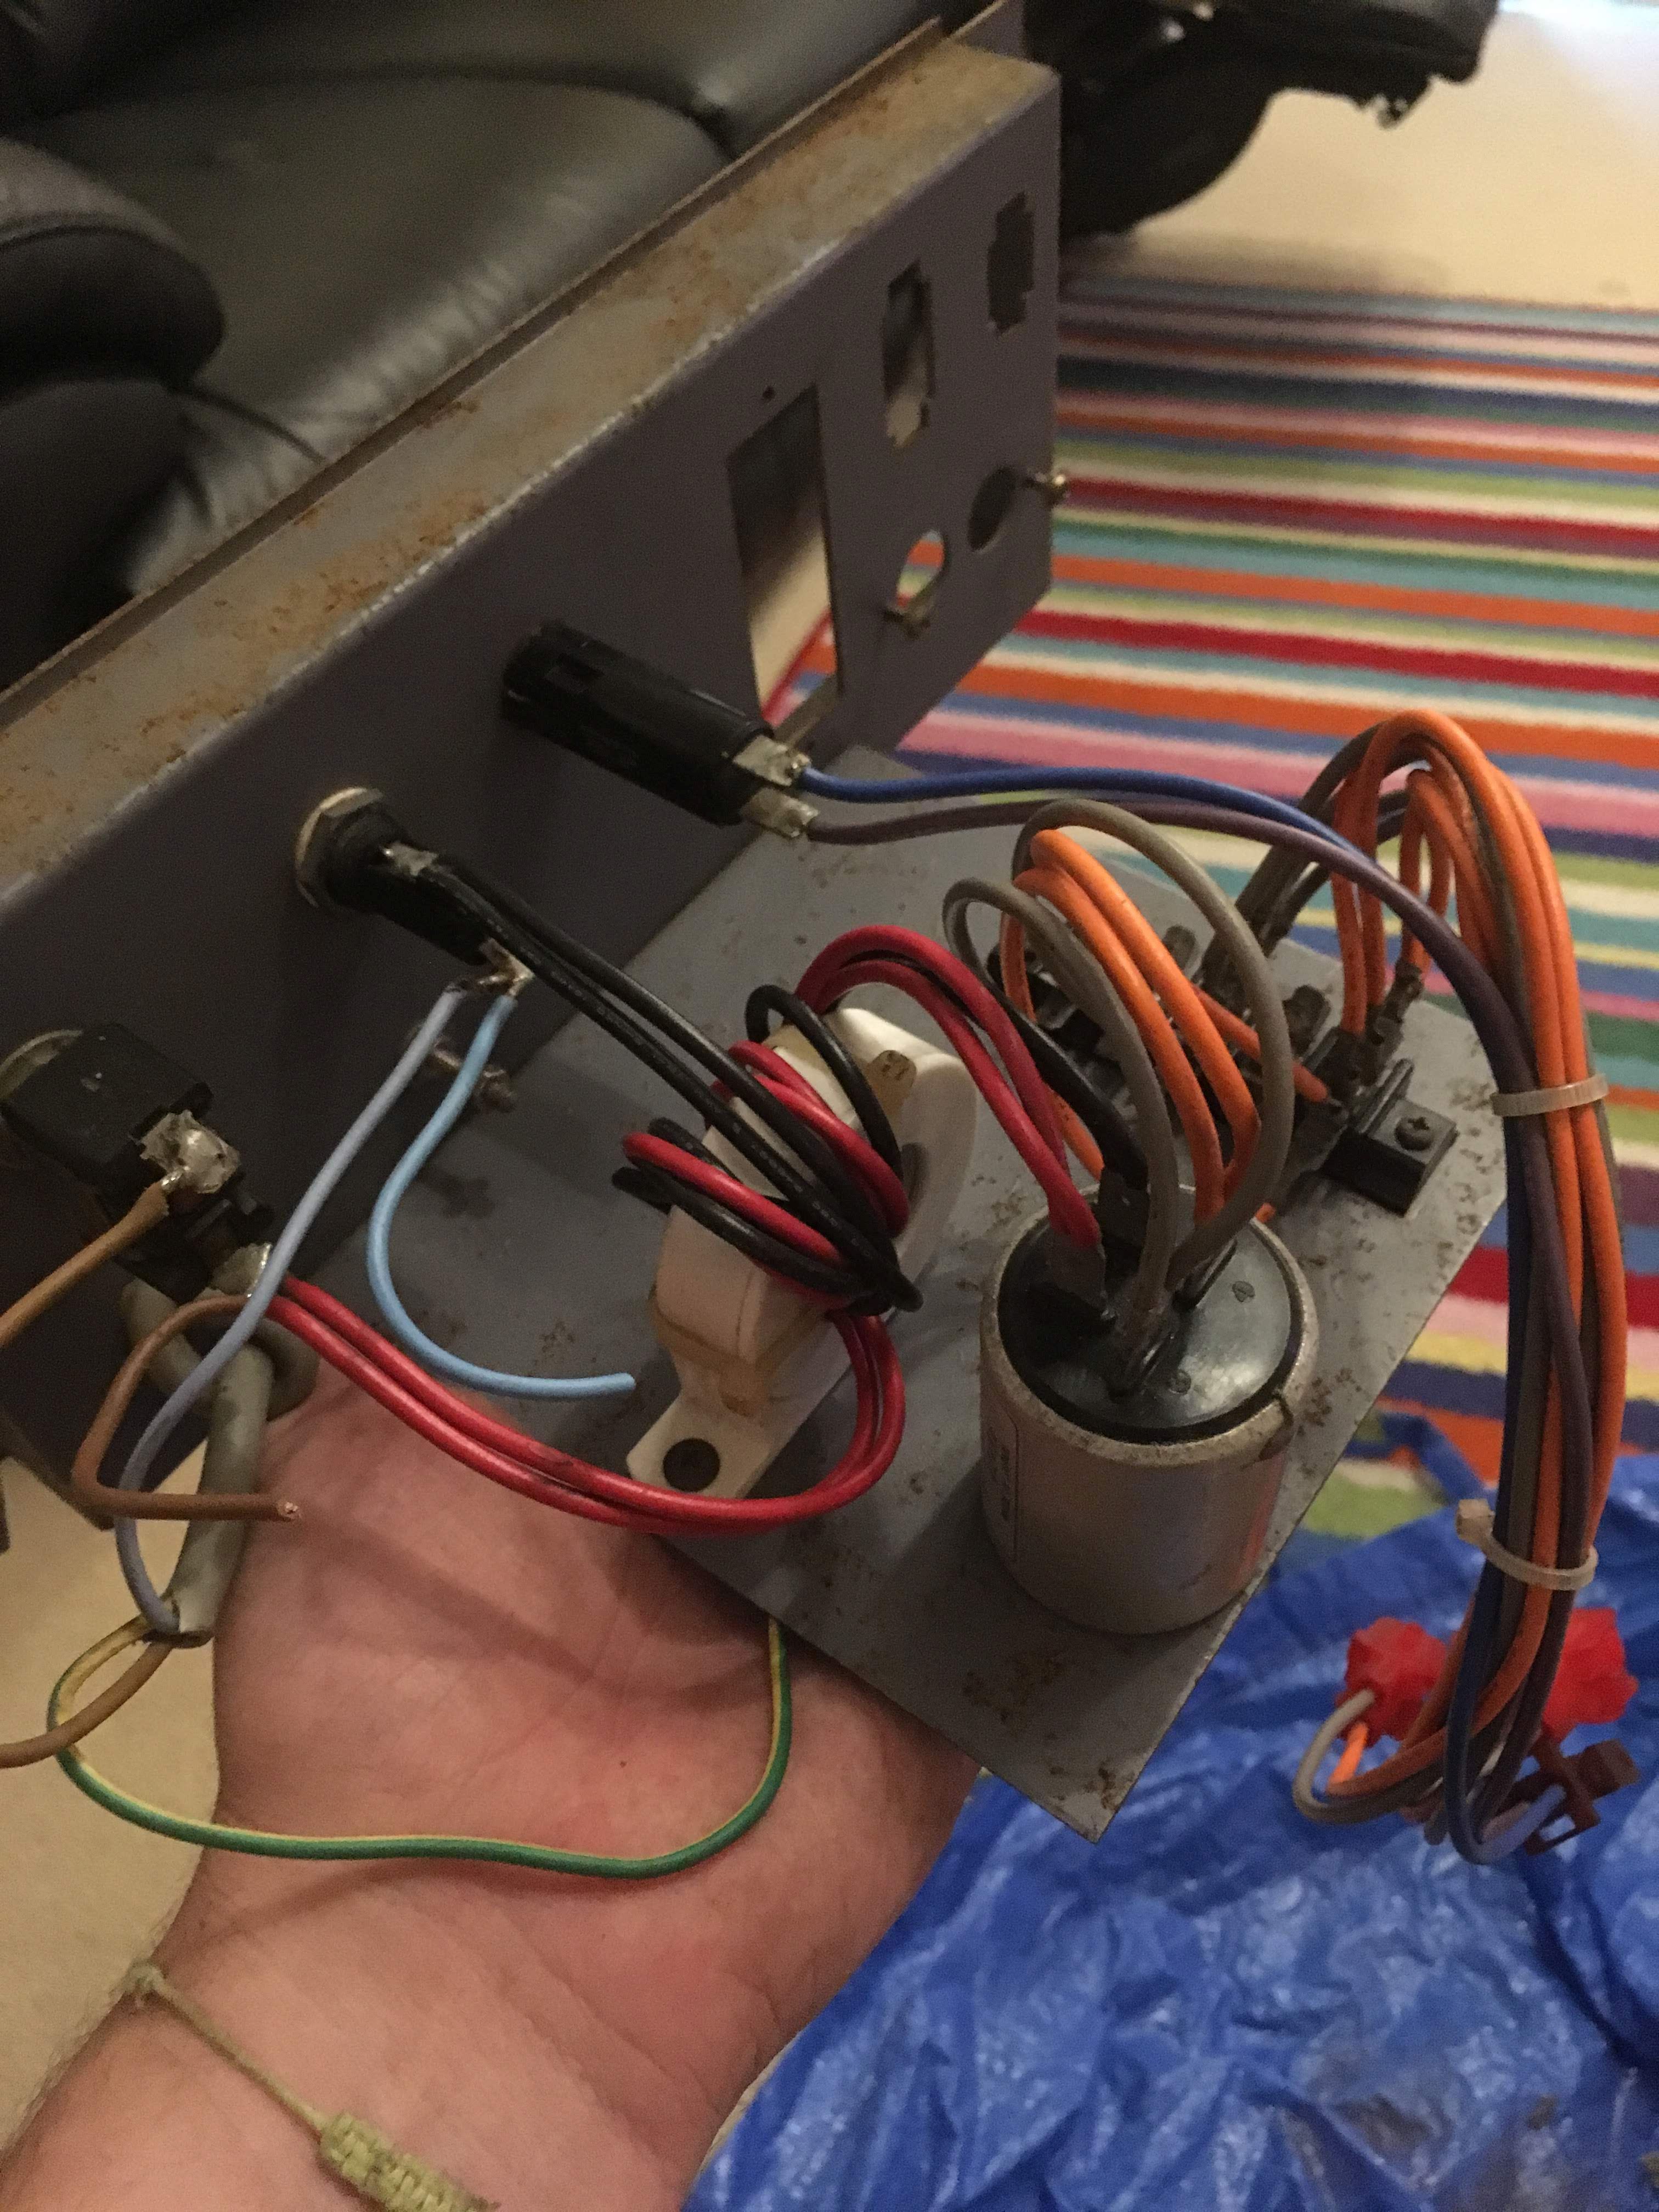
The AC Unit
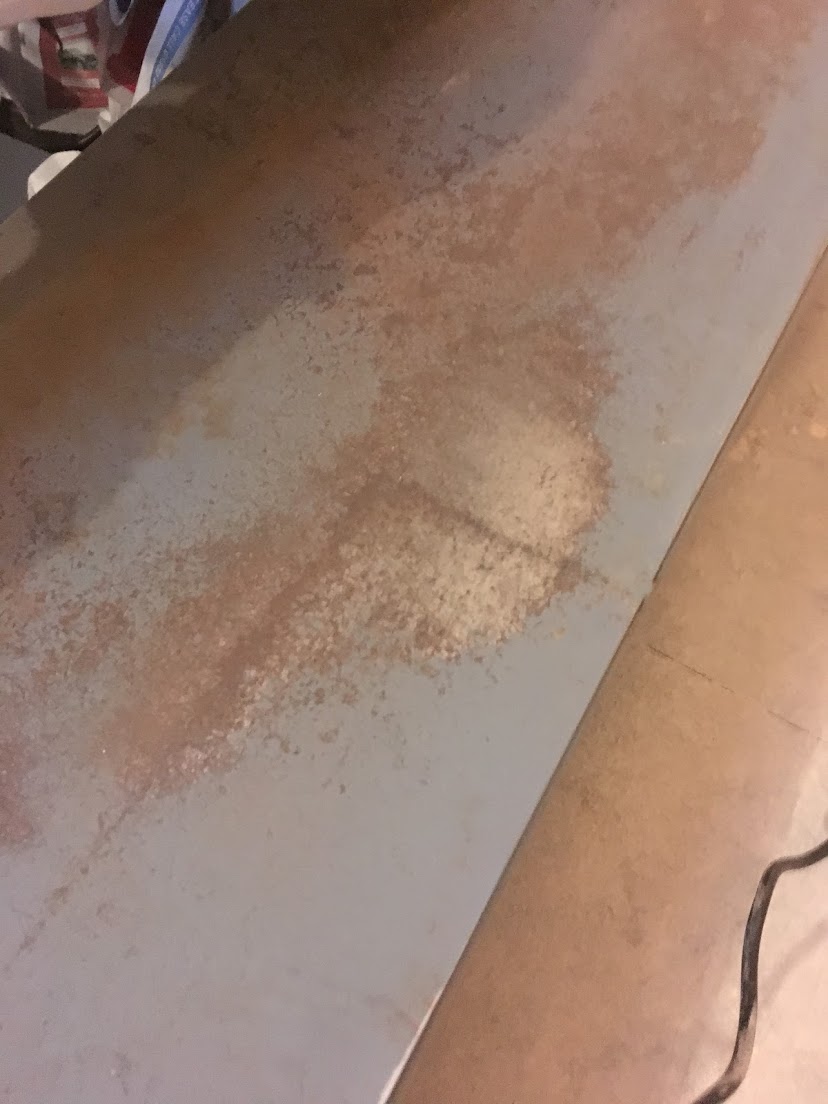
Some very odd wiring here, this was caked in dirt, this "before" pic is actually after removing one pinball a dead something an air hockey puck and a mountain of dirt fluff and other "things"
The mains wire was terrible and frayed so have removed, it also had another wire soldered directly to the back of it as it entered the unit that fed up to I assume a 240v screen they had used, removed all that wiring.
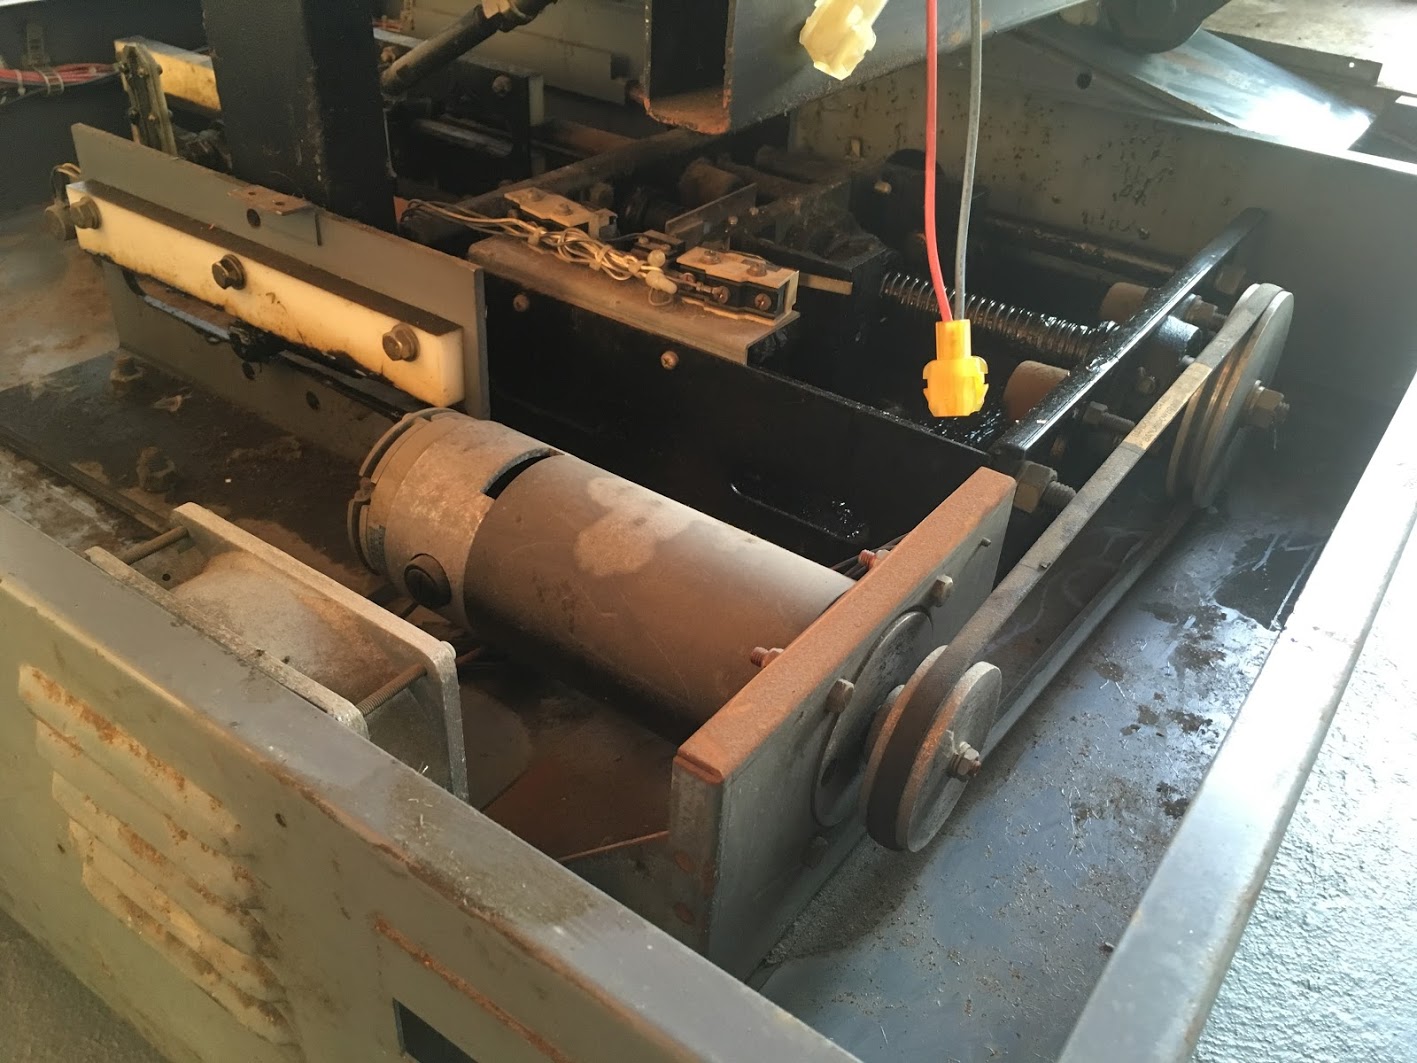
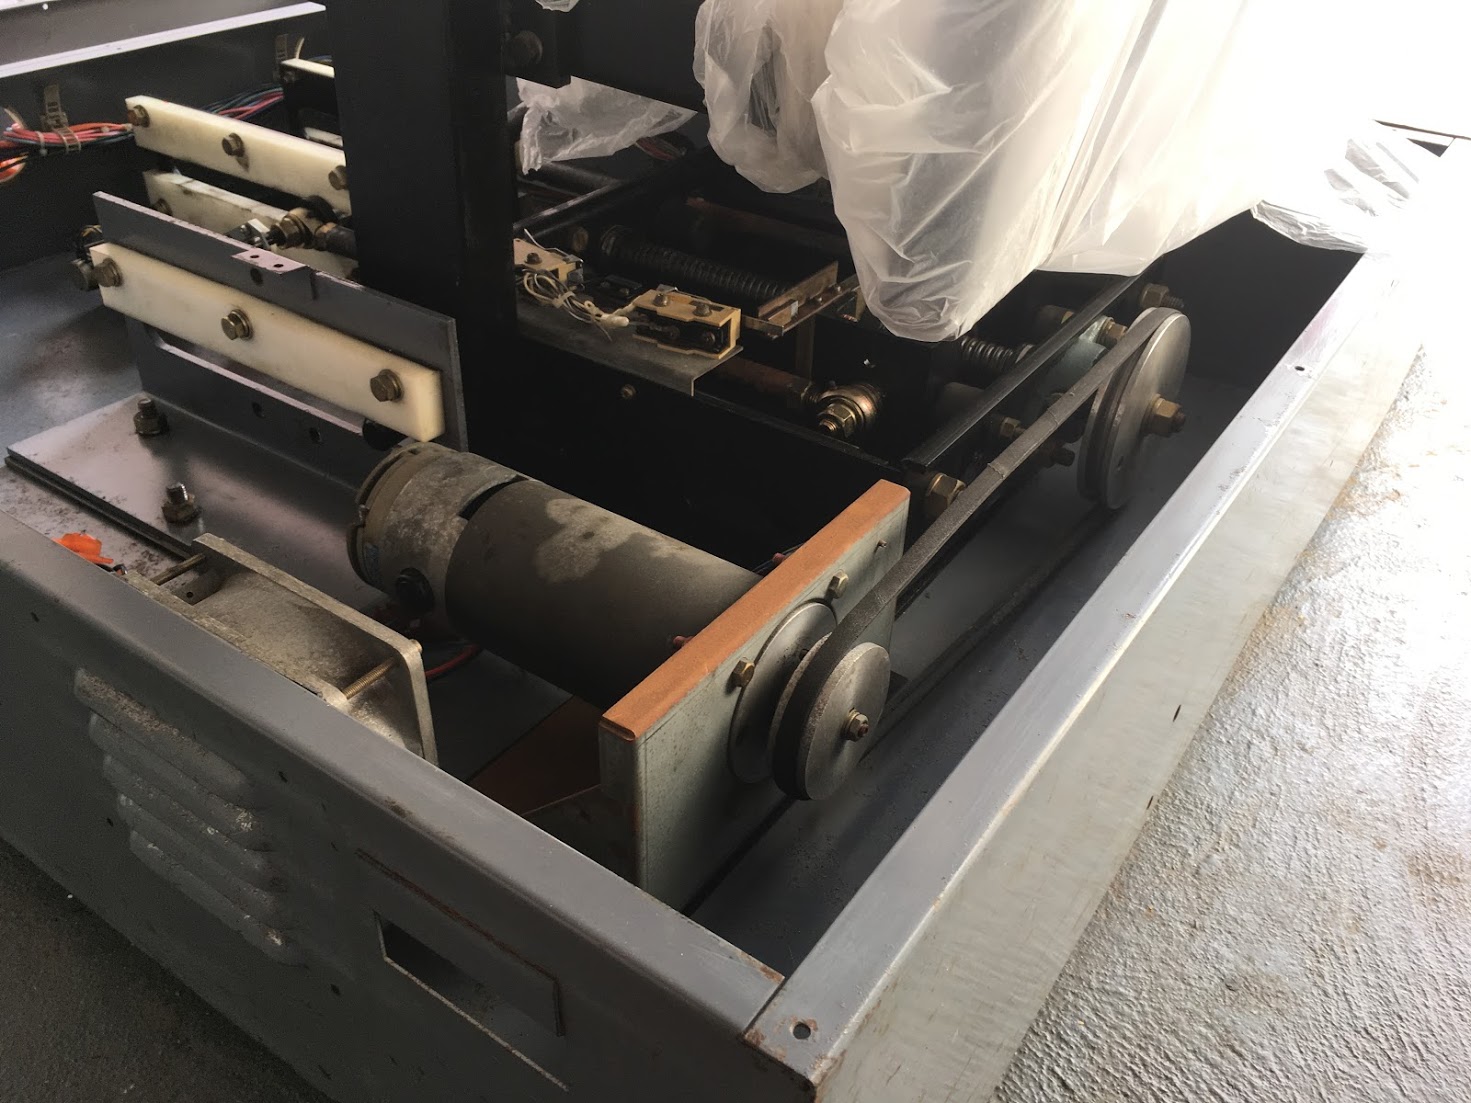
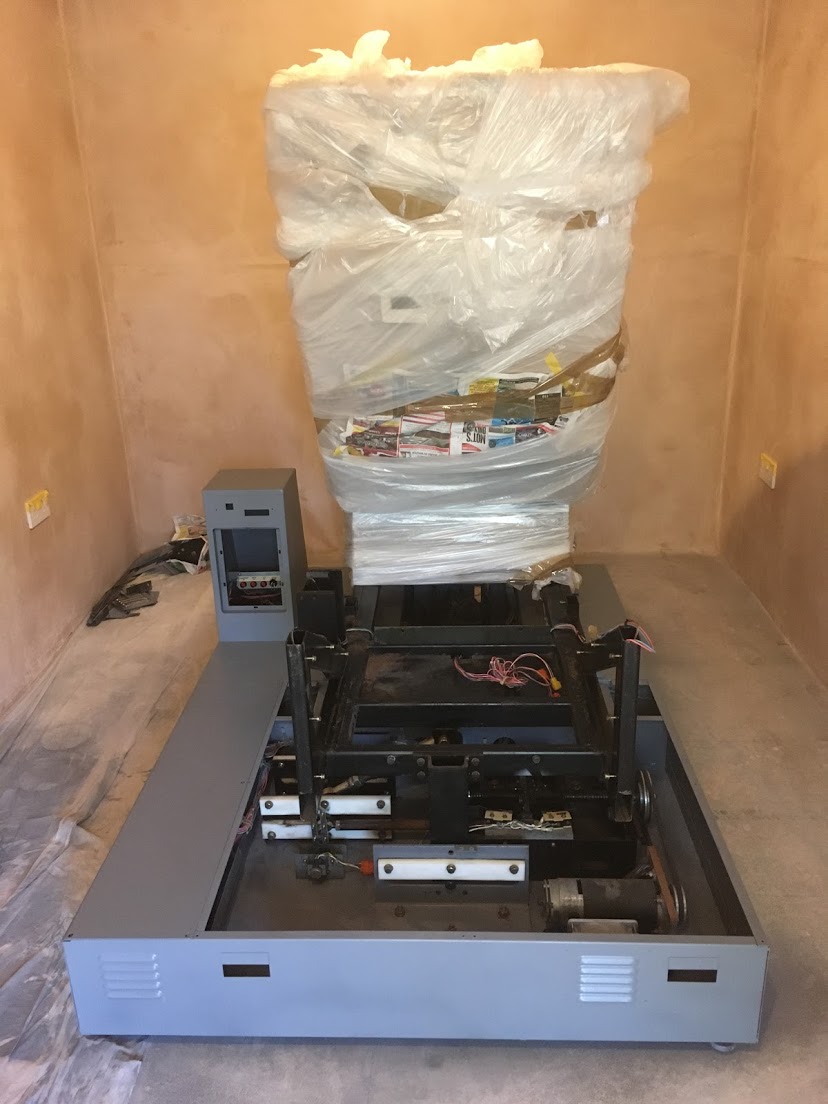
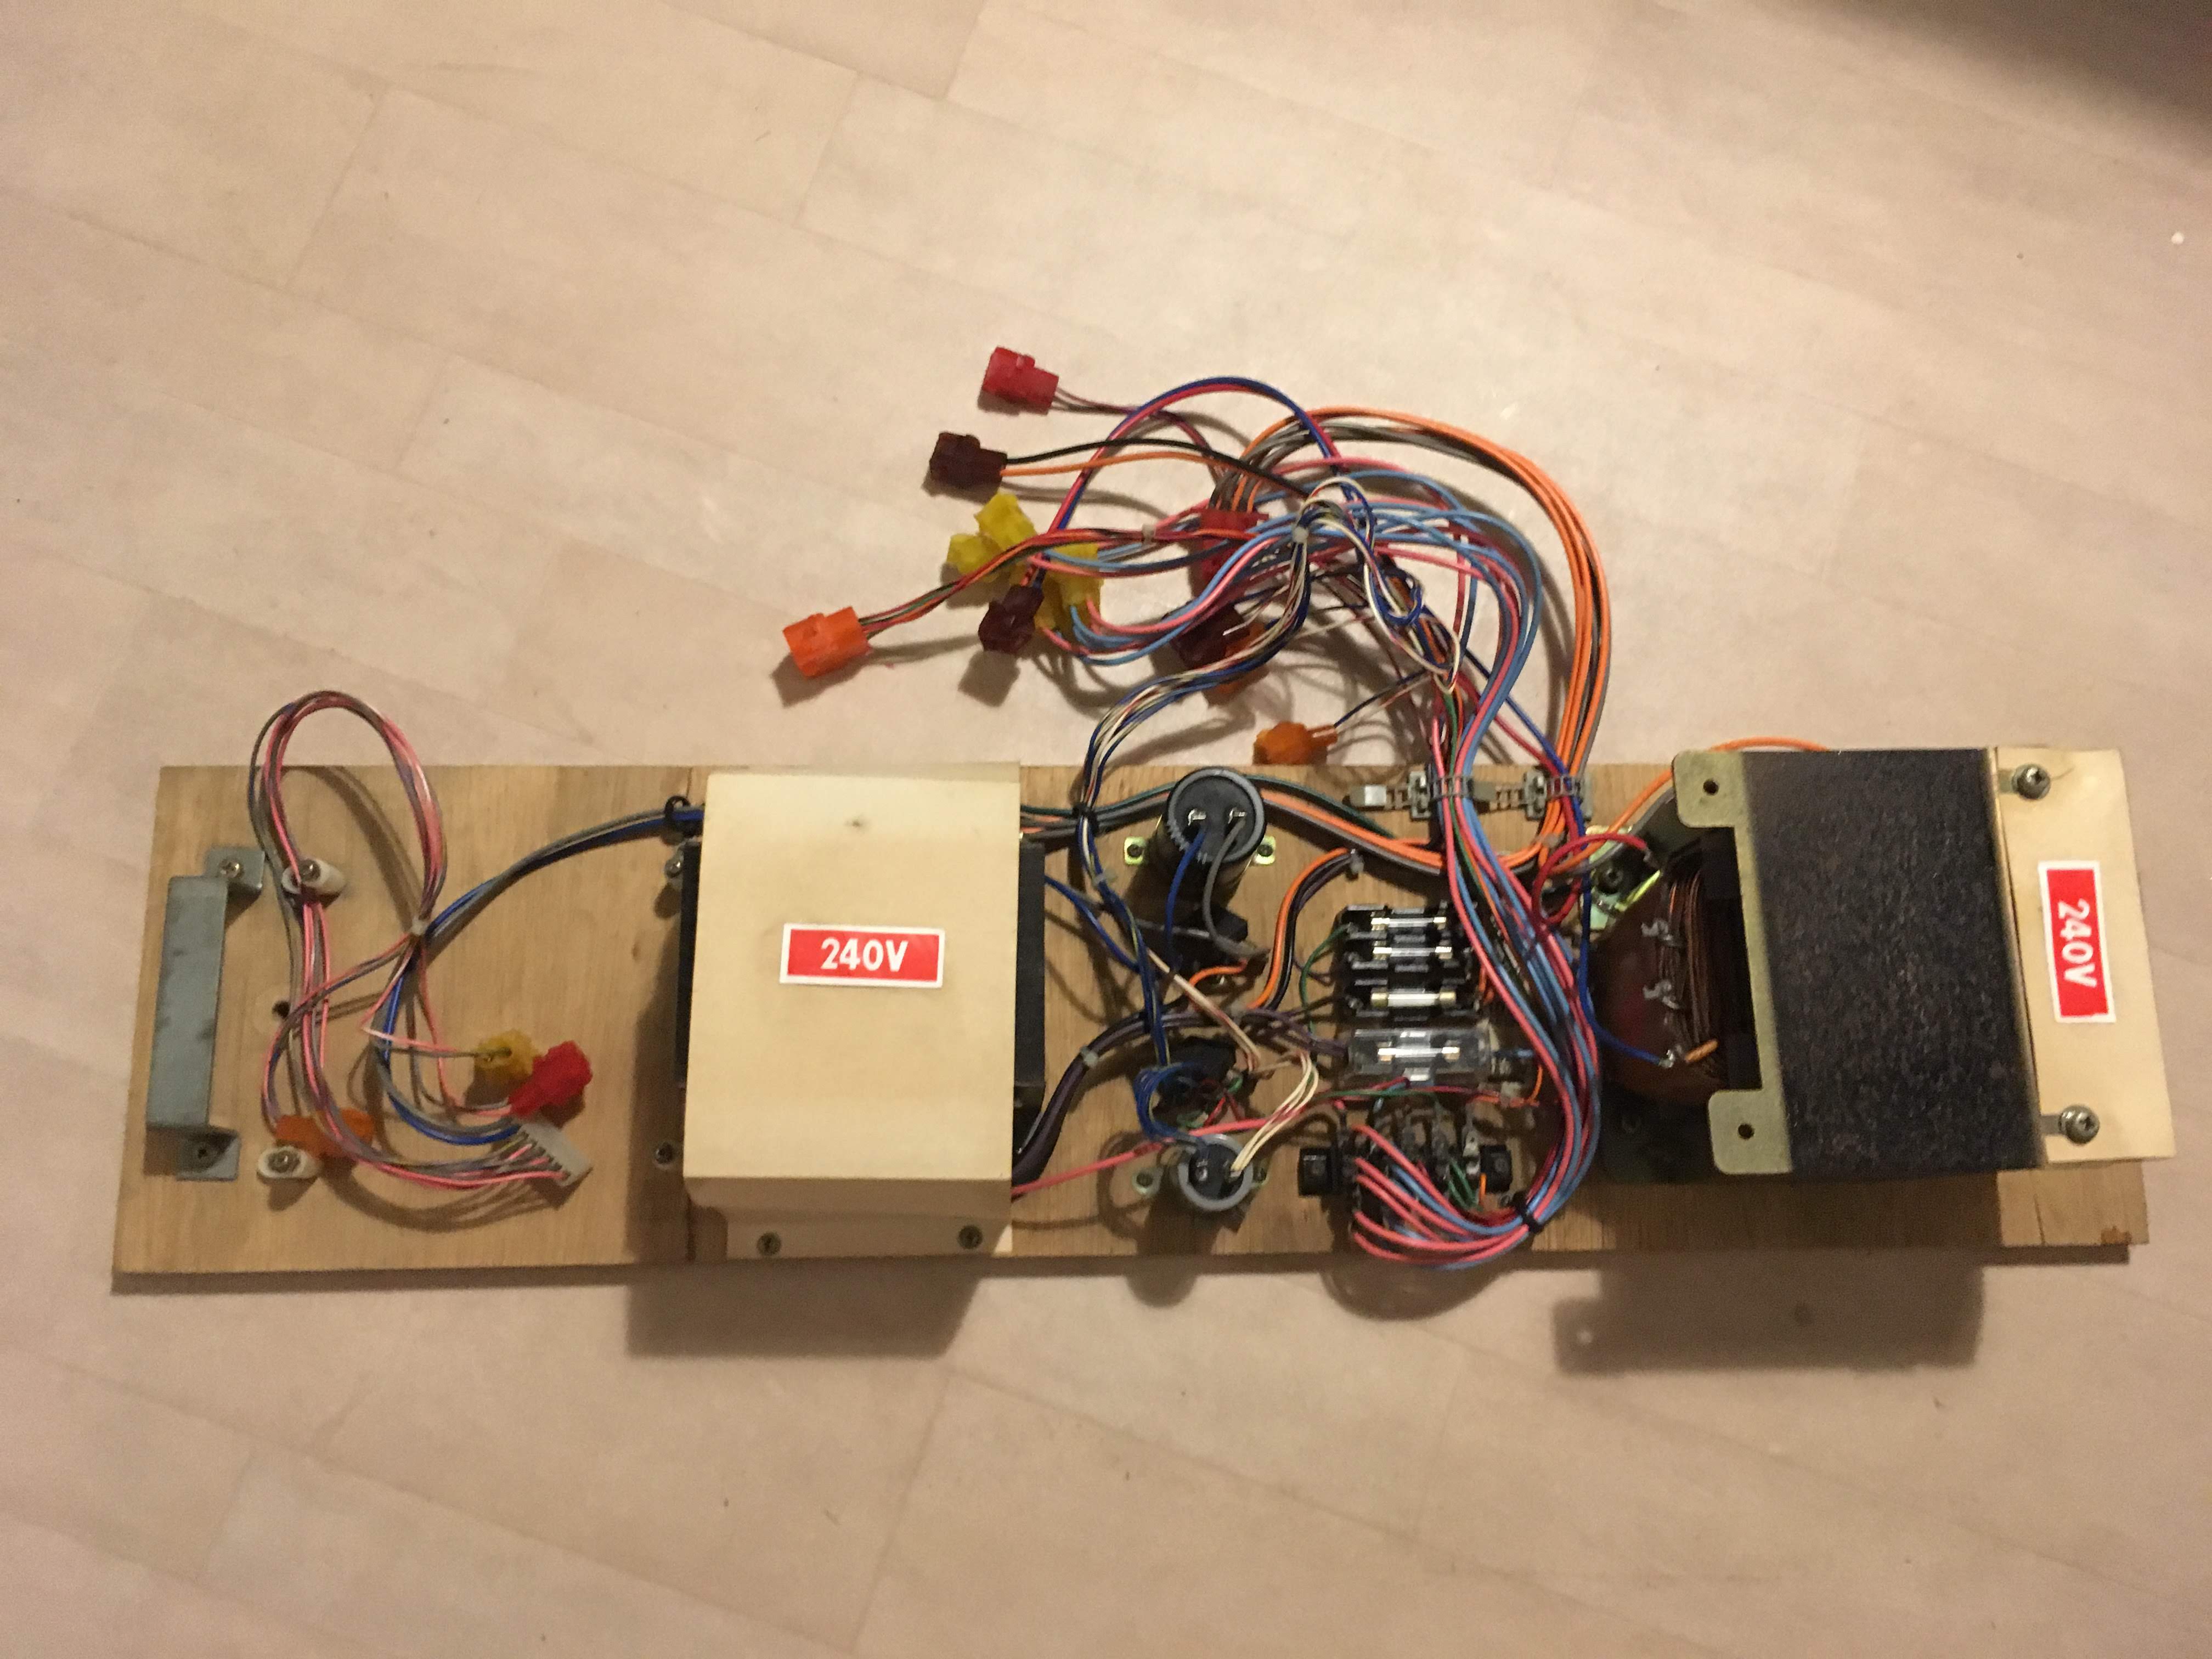
I have ordered a new cable snag and will replace the AC wire, this will mean I can then test the cab with no boards in just to see if fans come on and get some voltages etc. Will be ready with a fire extinguisher
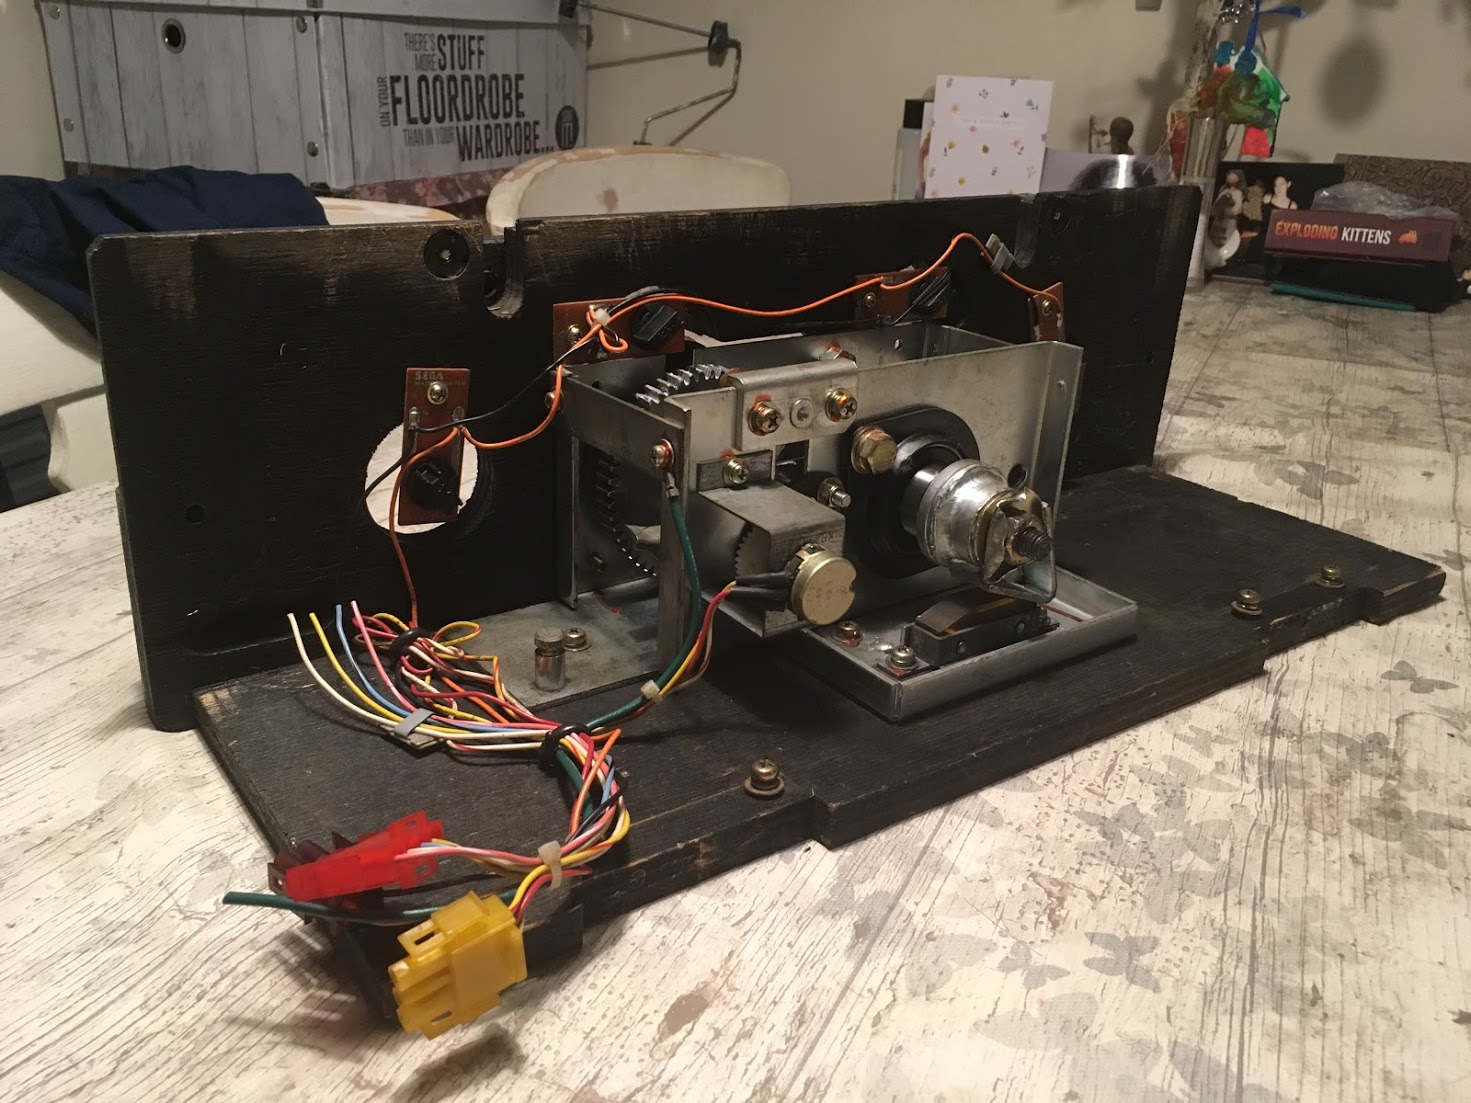
I will strip this board again later and paint or powder coat it once I know the color details.
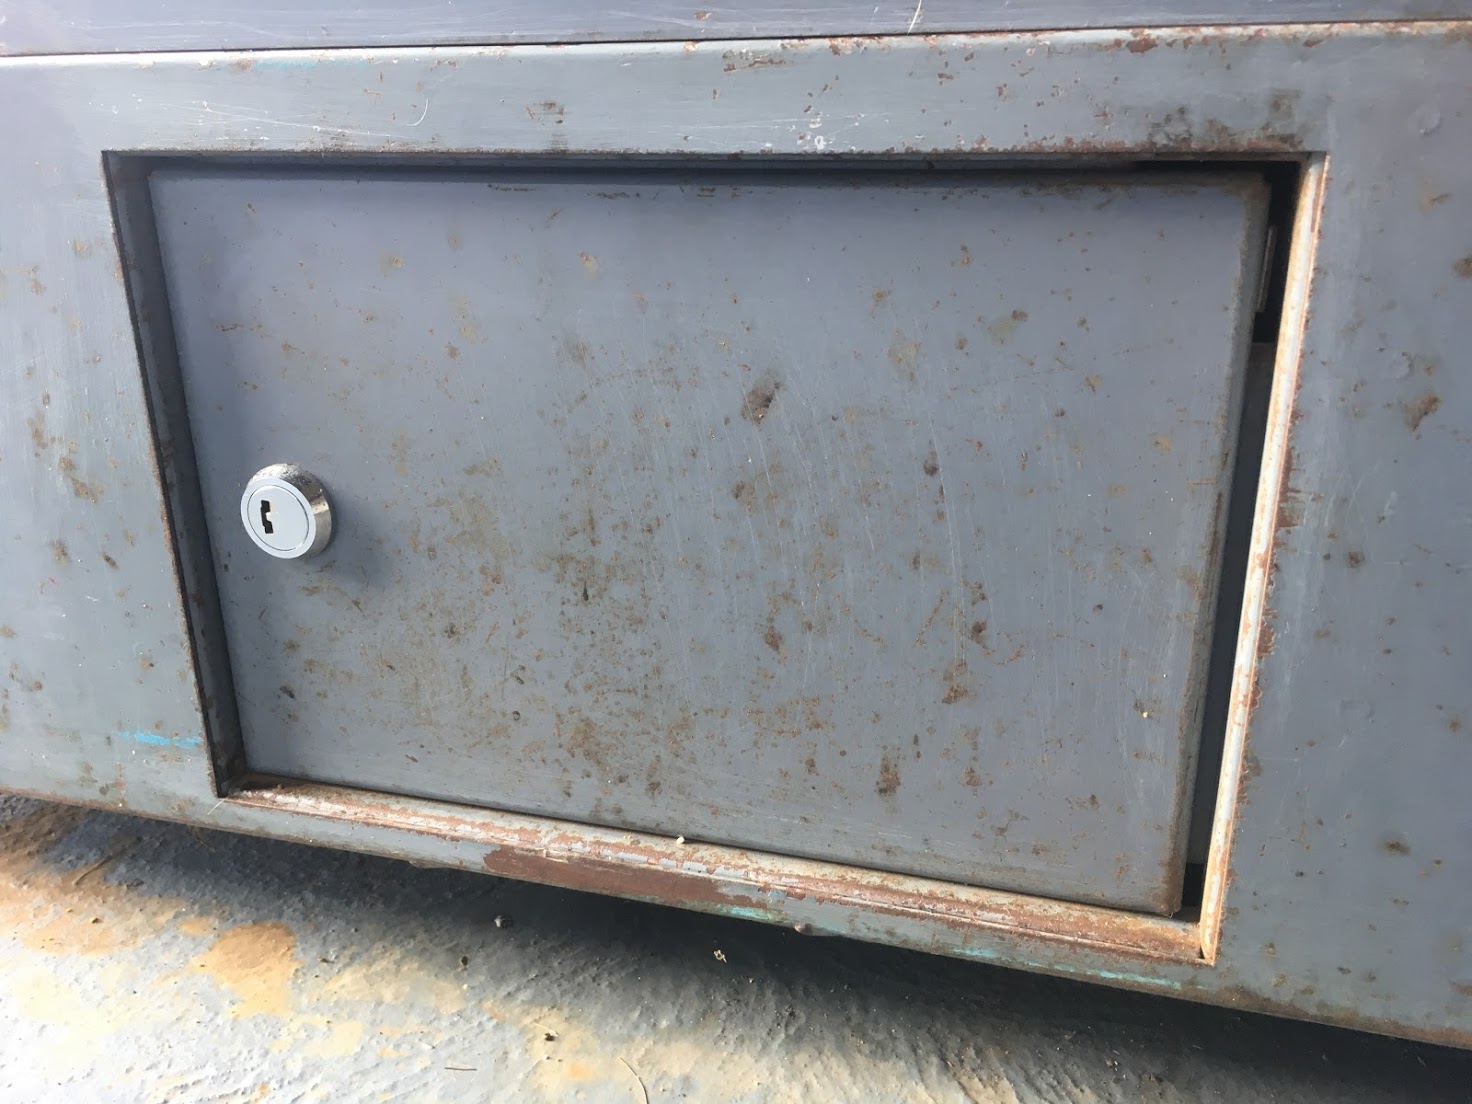
Before
After
clarkey2018-08-02 12:18:16
Still struggling to find a screen
, although a member here is going out of his way to try and help me find one so that is great!Little update.
The power Supply & Amp Board
Stripped it down cleaned everything checked fuses, solder joints etc. On the whole was in really solid just dirty shape. Seems the op had never had reason to touch it so no dodgy wiring mods.
After.
The AC Unit
Some very odd wiring here, this was caked in dirt, this "before" pic is actually after removing one pinball a dead something an air hockey puck and a mountain of dirt fluff and other "things"
The mains wire was terrible and frayed so have removed, it also had another wire soldered directly to the back of it as it entered the unit that fed up to I assume a 240v screen they had used, removed all that wiring.
I have ordered a new cable snag and will replace the AC wire, this will mean I can then test the cab with no boards in just to see if fans come on and get some voltages etc. Will be ready with a fire extinguisher
I will strip this board again later and paint or powder coat it once I know the color details.
Before
After
clarkey2018-08-02 12:18:16