Outrun Deluxe (Turbo De-conversion) Restoration

clarkey

Active member
Feedback
3 (100%)
Credits
94CR
J69 said:
Thanks

The bodywork looks amazing. Do the PCBs and monitor work ok?

Thanks! Currently don’t know on the pcb but I doubt it will without some work. I will be testing it once it’s back to a point where i can.

It had no screen when I got it, so I picked up a nos hanterex one.
 

clarkey

Active member
Feedback
3 (100%)
Credits
94CR
Fiberglass reassembled.

Right hand side pod mounted up.

IMG_0199.jpg


Left hand side pod and the spoiler back in.

IMG_0231.jpg


Chair back in, god this was a pain the butt! Took about an hour and a half to get it back in place.

IMG_0232.jpg


Headrest on (3 pairs of hands needed)

IMG_0234.jpg


IMG_0238.jpg


All wrapped up ready for the room it's in to now be painted, then I can finally unwrap the entire thing!

IMG_0248.jpg
 

clarkey

Active member
Feedback
3 (100%)
Credits
94CR
Room painted, starting to unwrap finally!

IMG_0362.jpg


Fully unwrapped at last, laid the carpet with it in the room, lots of shuffling.

1AEF948B-EFFD-43FD-BB91-F1AA6F651F37.jpg


Had a dress fit with the lights and speaker surrounds, looking good. Now it's time to finish it and get it working!

IMG_0386.jpg


IMG_0427.jpg


IMG_0385.jpg
 
  • Like
Reactions: cNp

clarkey

Active member
Feedback
3 (100%)
Credits
94CR
jase38 said:
It's looking like it's just rolled out of the factory, awesome work.

Thanks Jase, thats the idea
smiley2.gif
.

J69 said:
Dibs when you sell it LOL

Unless life circumstances force it I don't plan to
smiley36.gif


BristolMartin said:
Great restore. I am so looking forward to doing mine this year.

Be great to see some pics, if you need any info on paints etc let me know.
 

clarkey

Active member
Feedback
3 (100%)
Credits
94CR
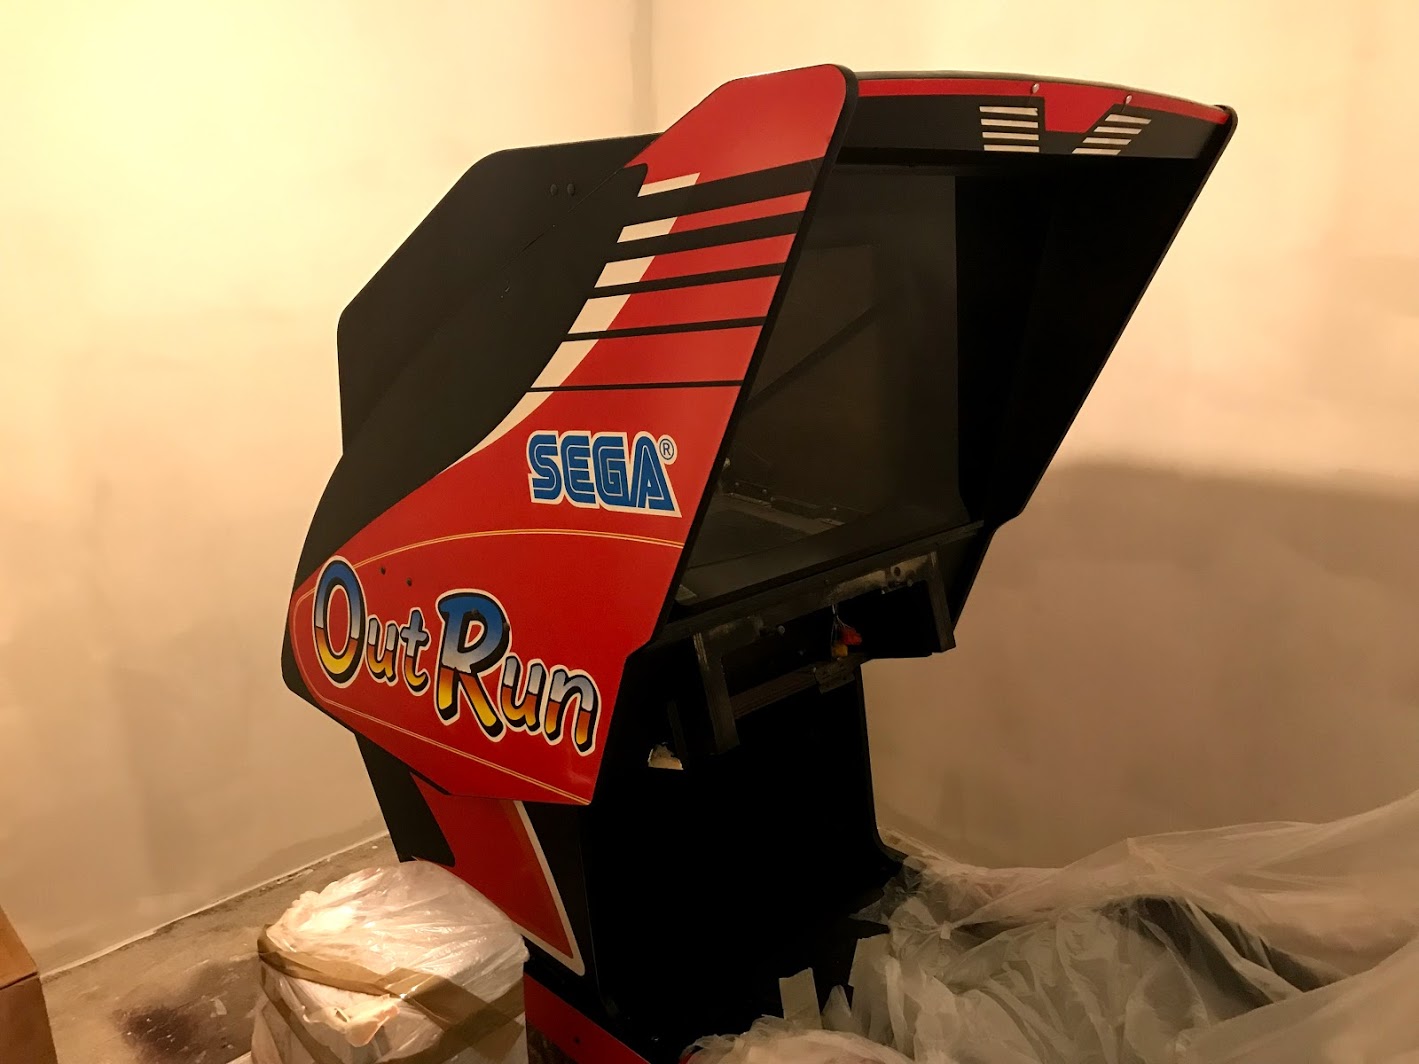
Masked and painted all the wood on the cab part of the machine.

IMG_0500.jpg


After

IMG_0700.jpg


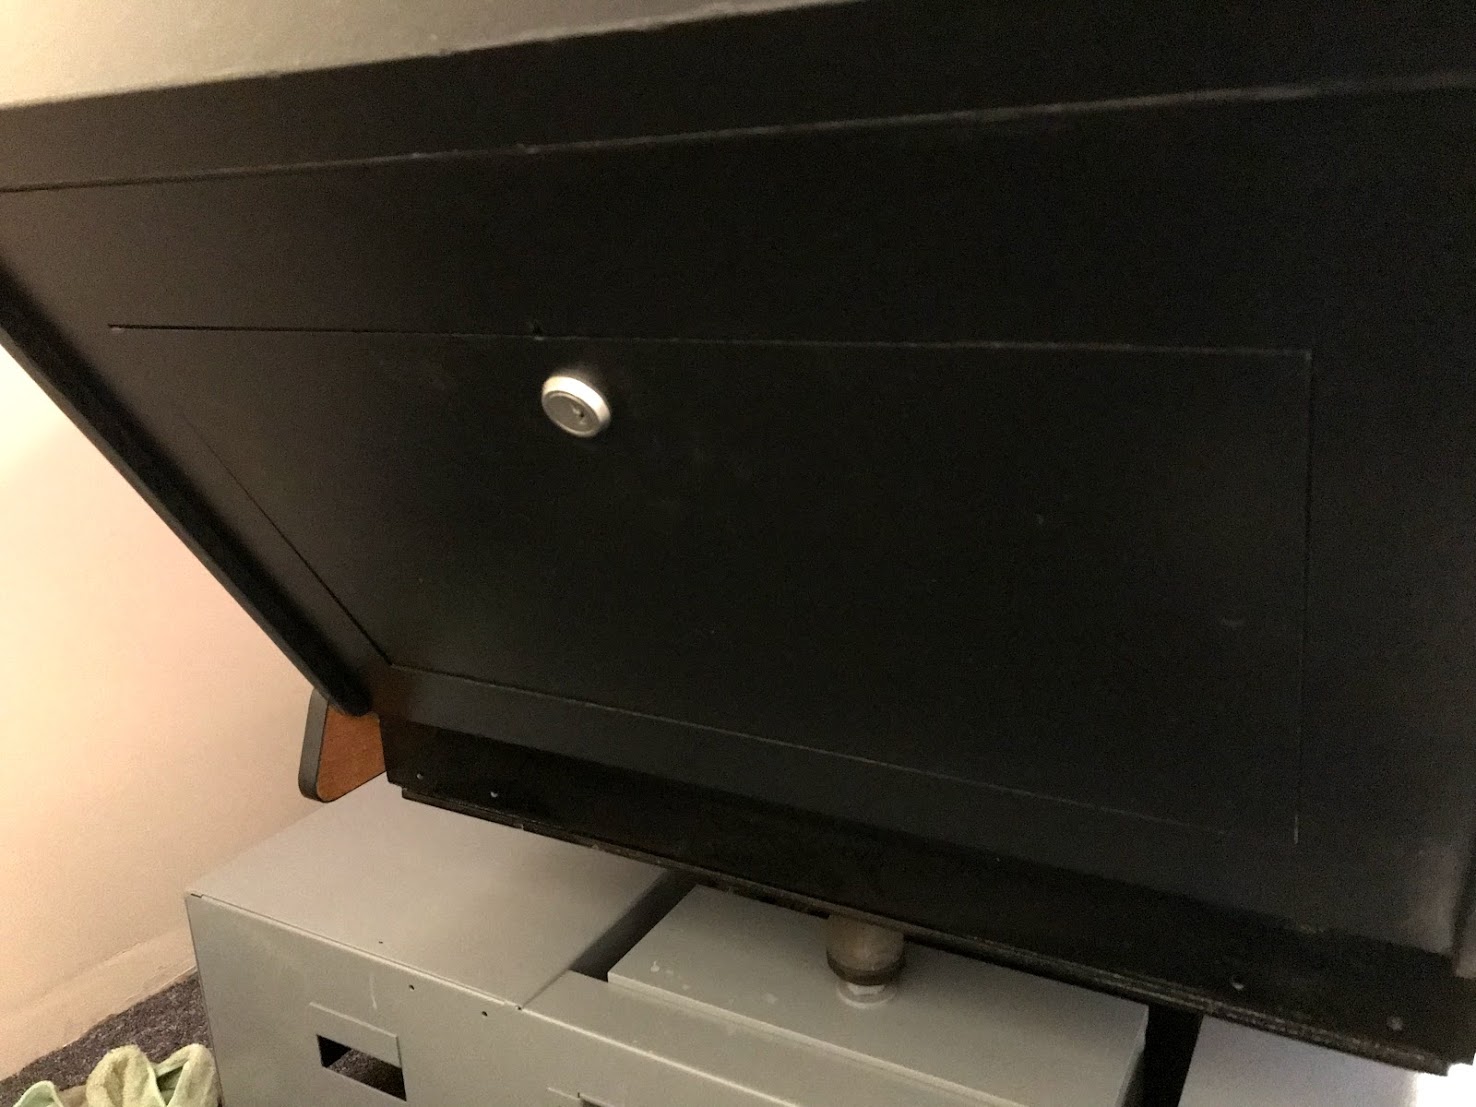
Repaired and painted the doors, painting all the metal parts and rewiring. Also put some 5380 locks in.
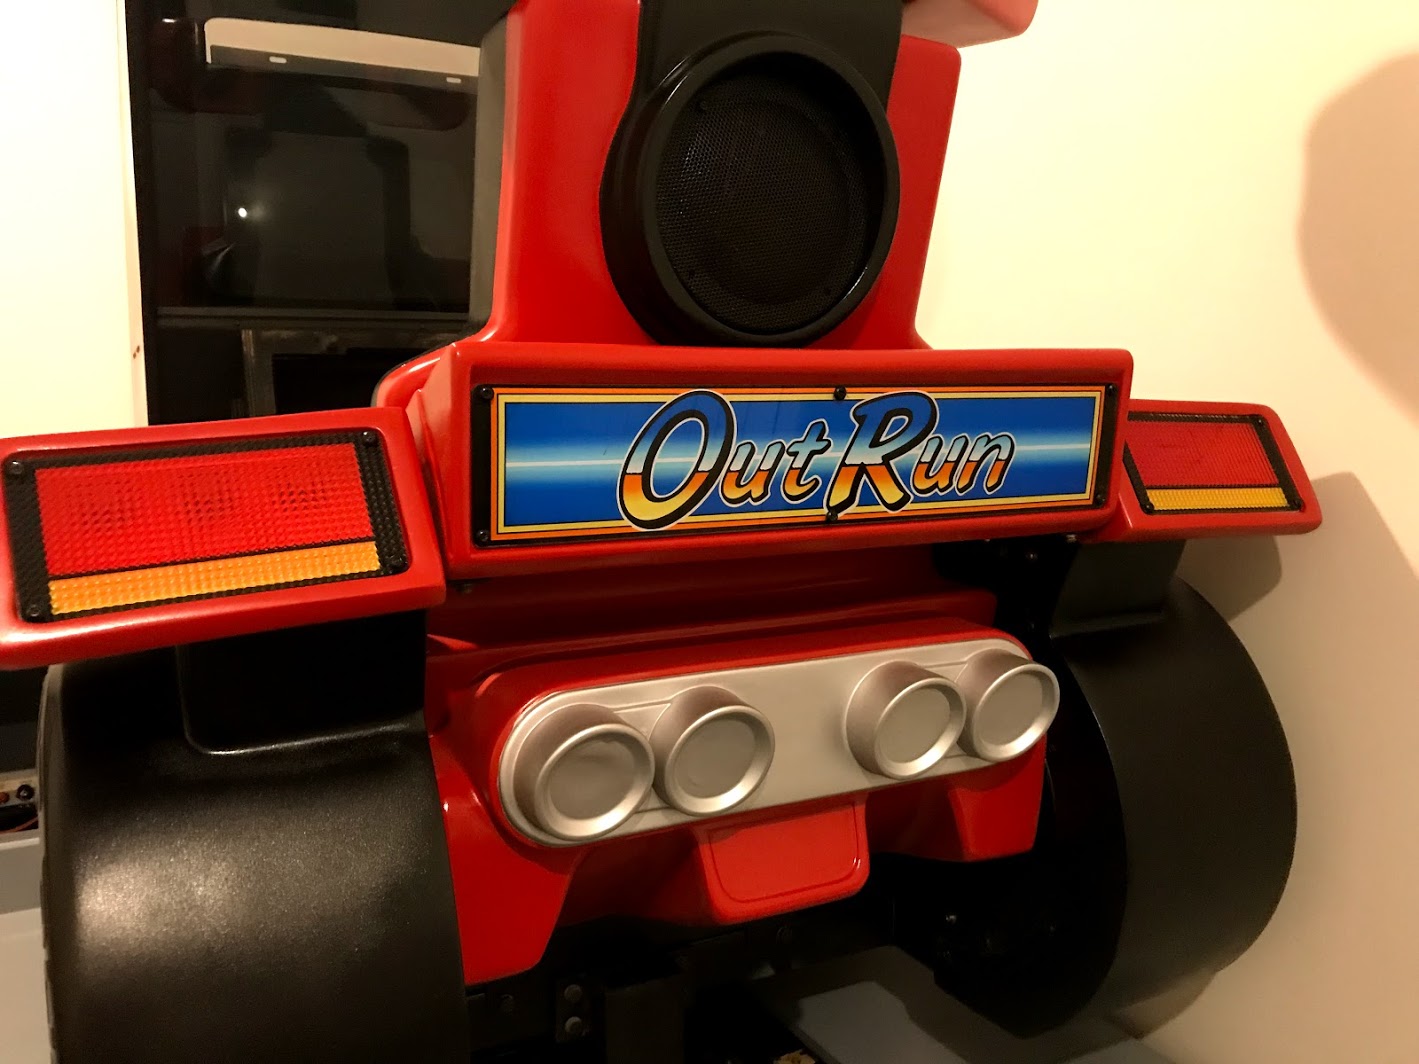
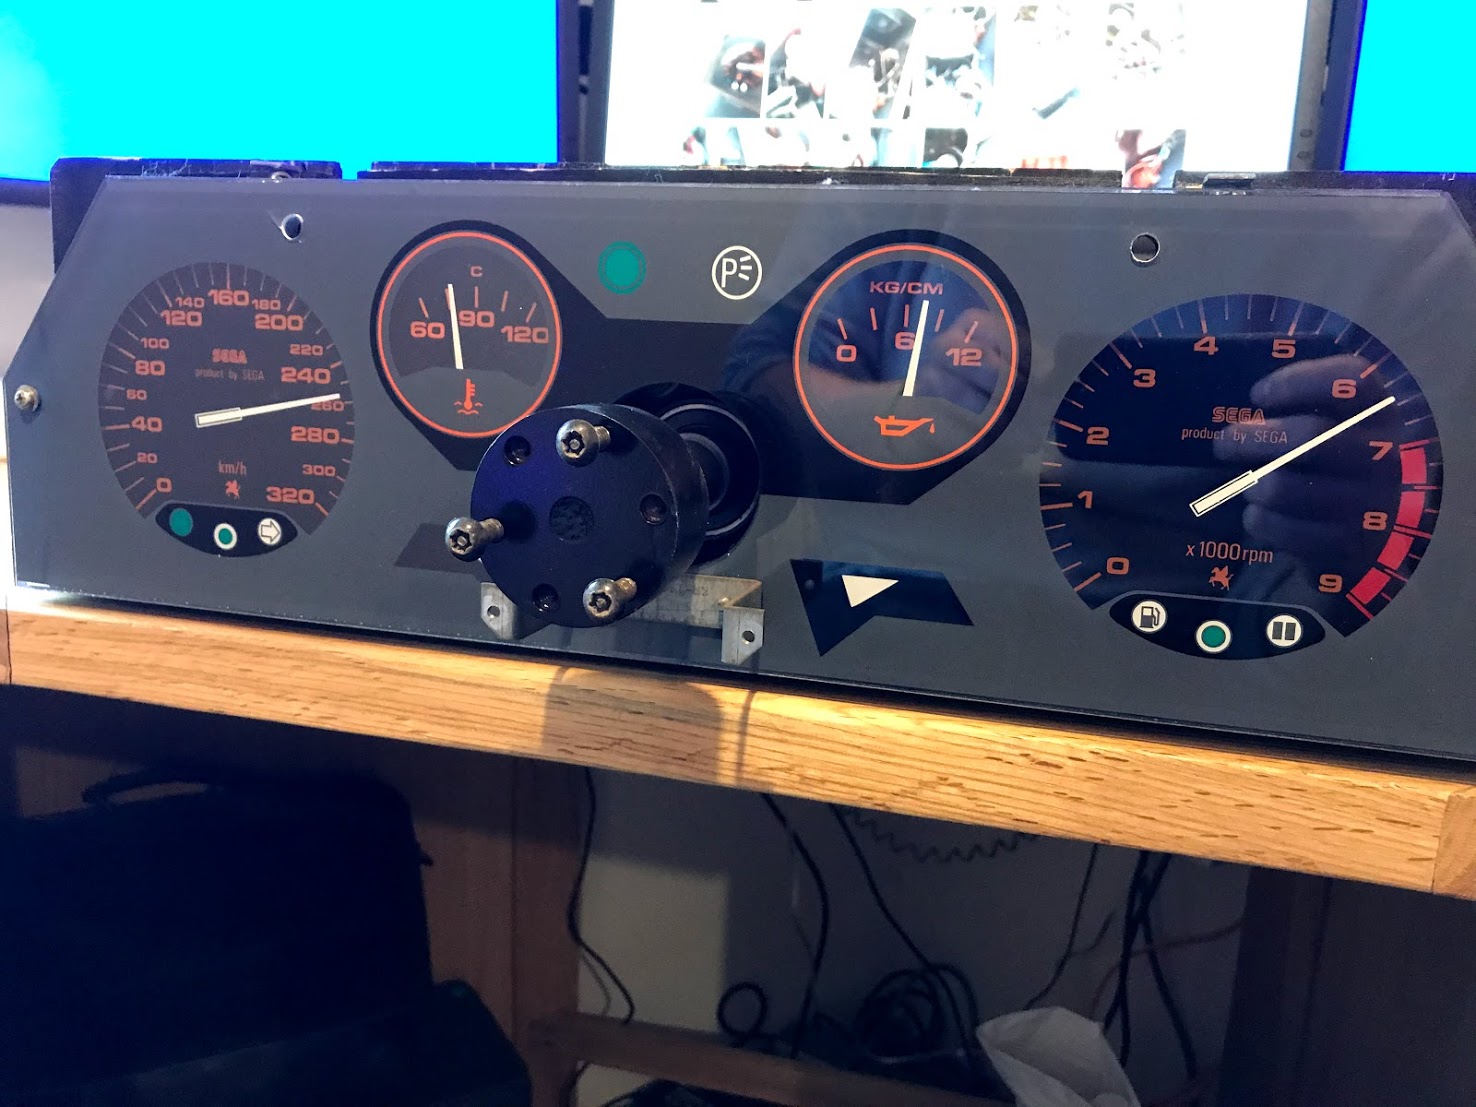
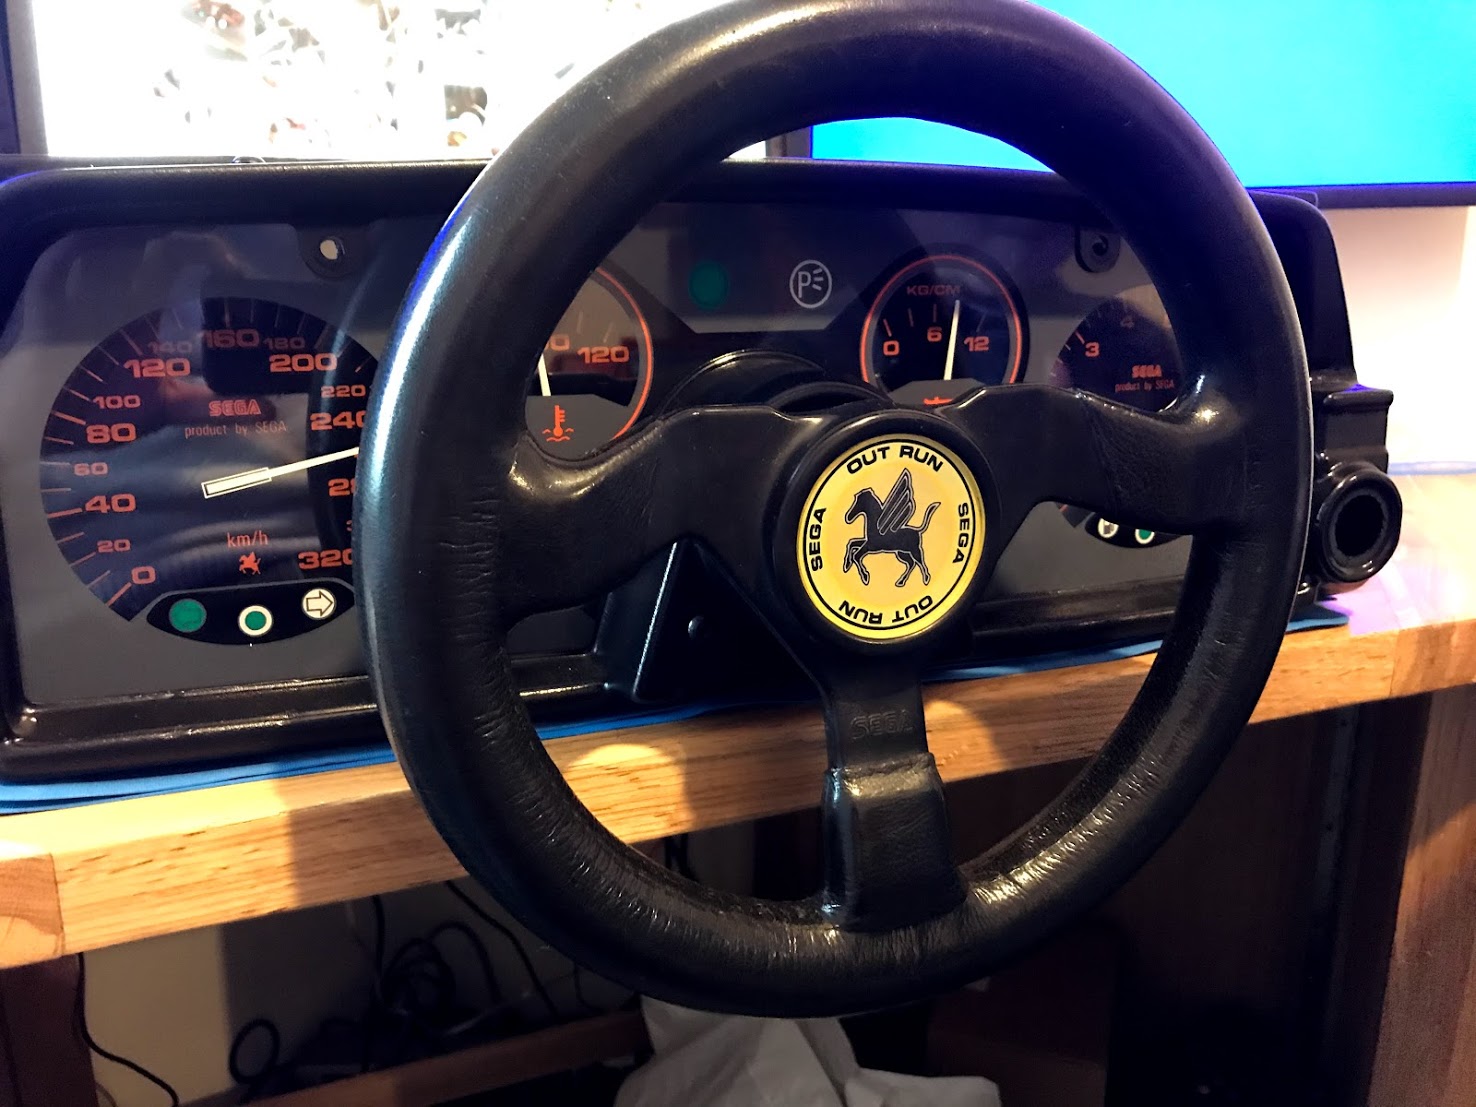
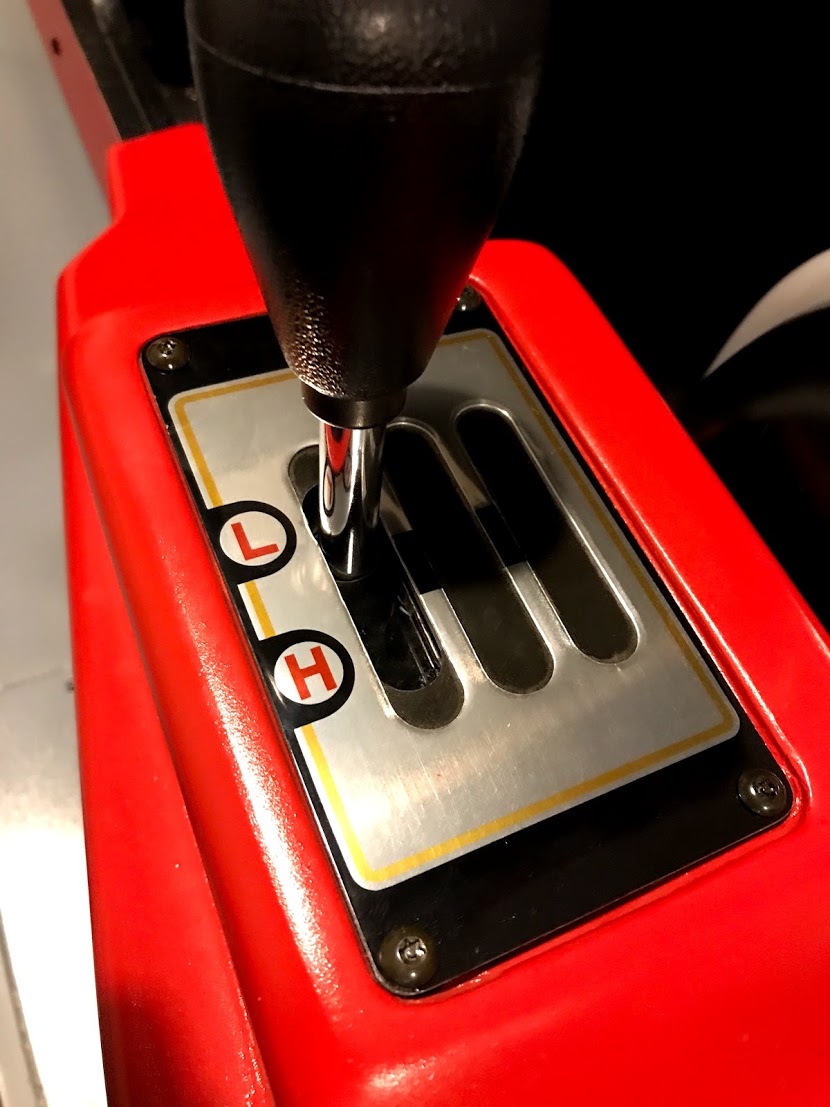
IMG_0701.jpg


IMG_0519.jpg


Finished the dash.

IMG_0430.jpg


IMG_0436.jpg


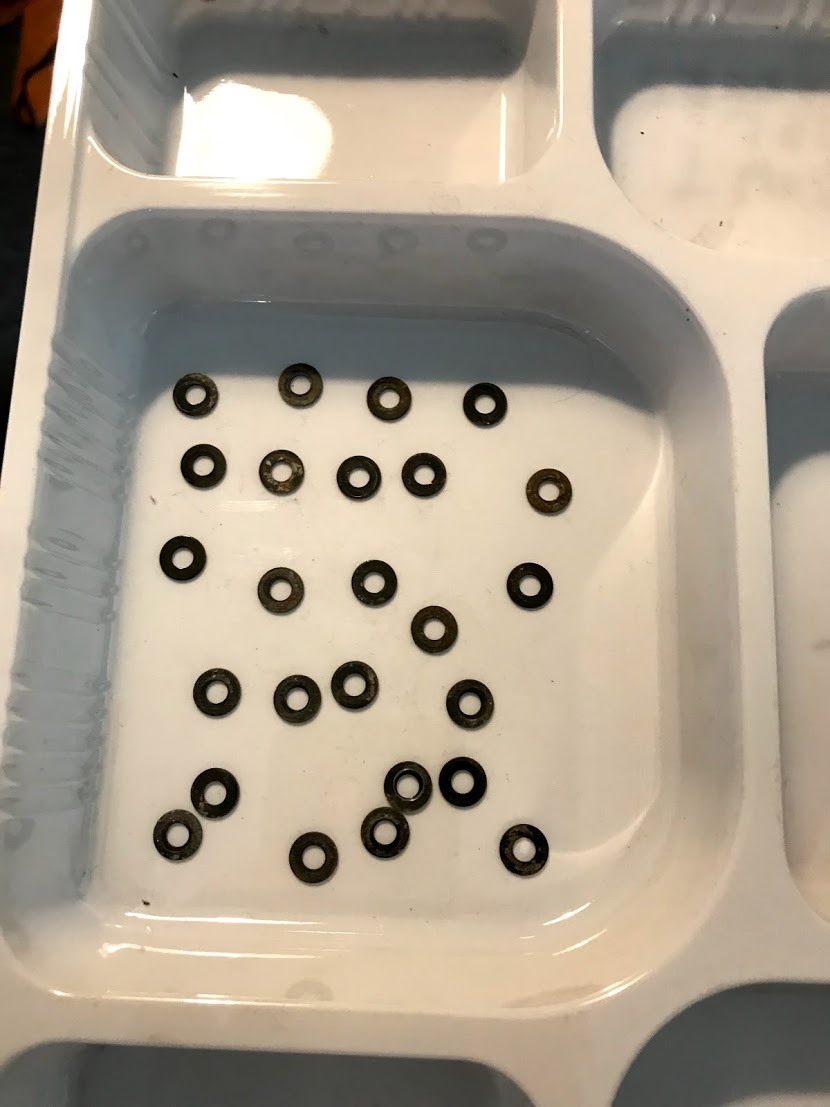
Painted lots of washers (I have issues
smiley36.gif
)

IMG_0503.jpg


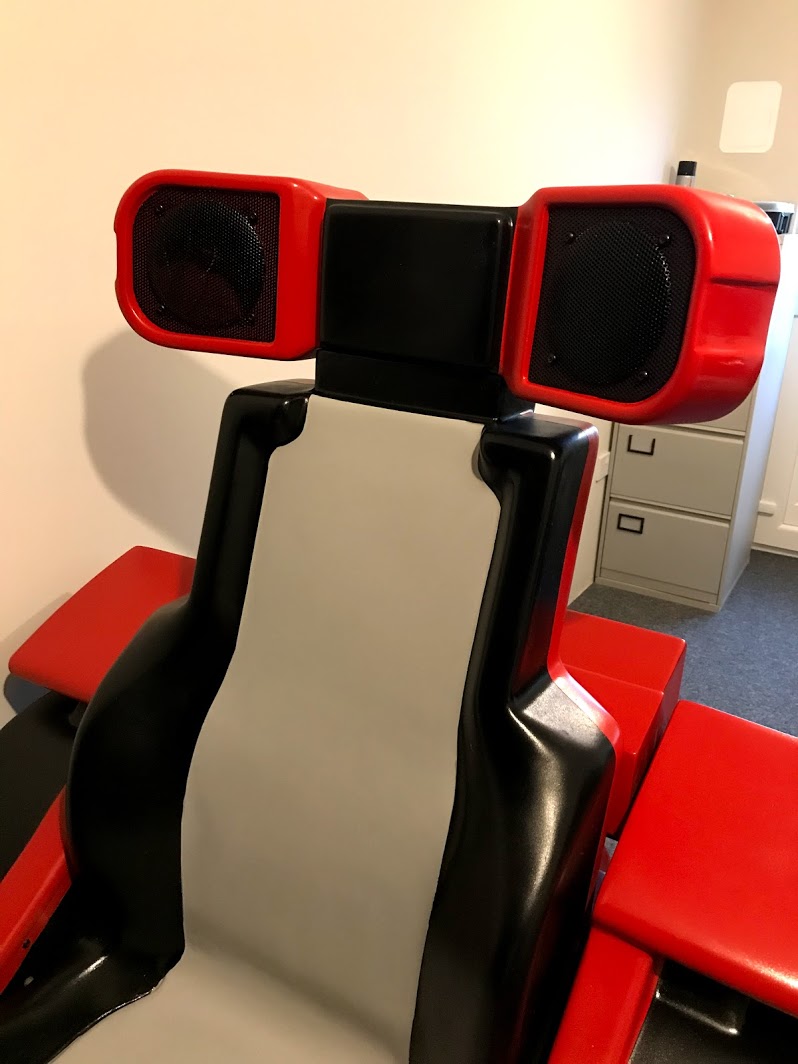
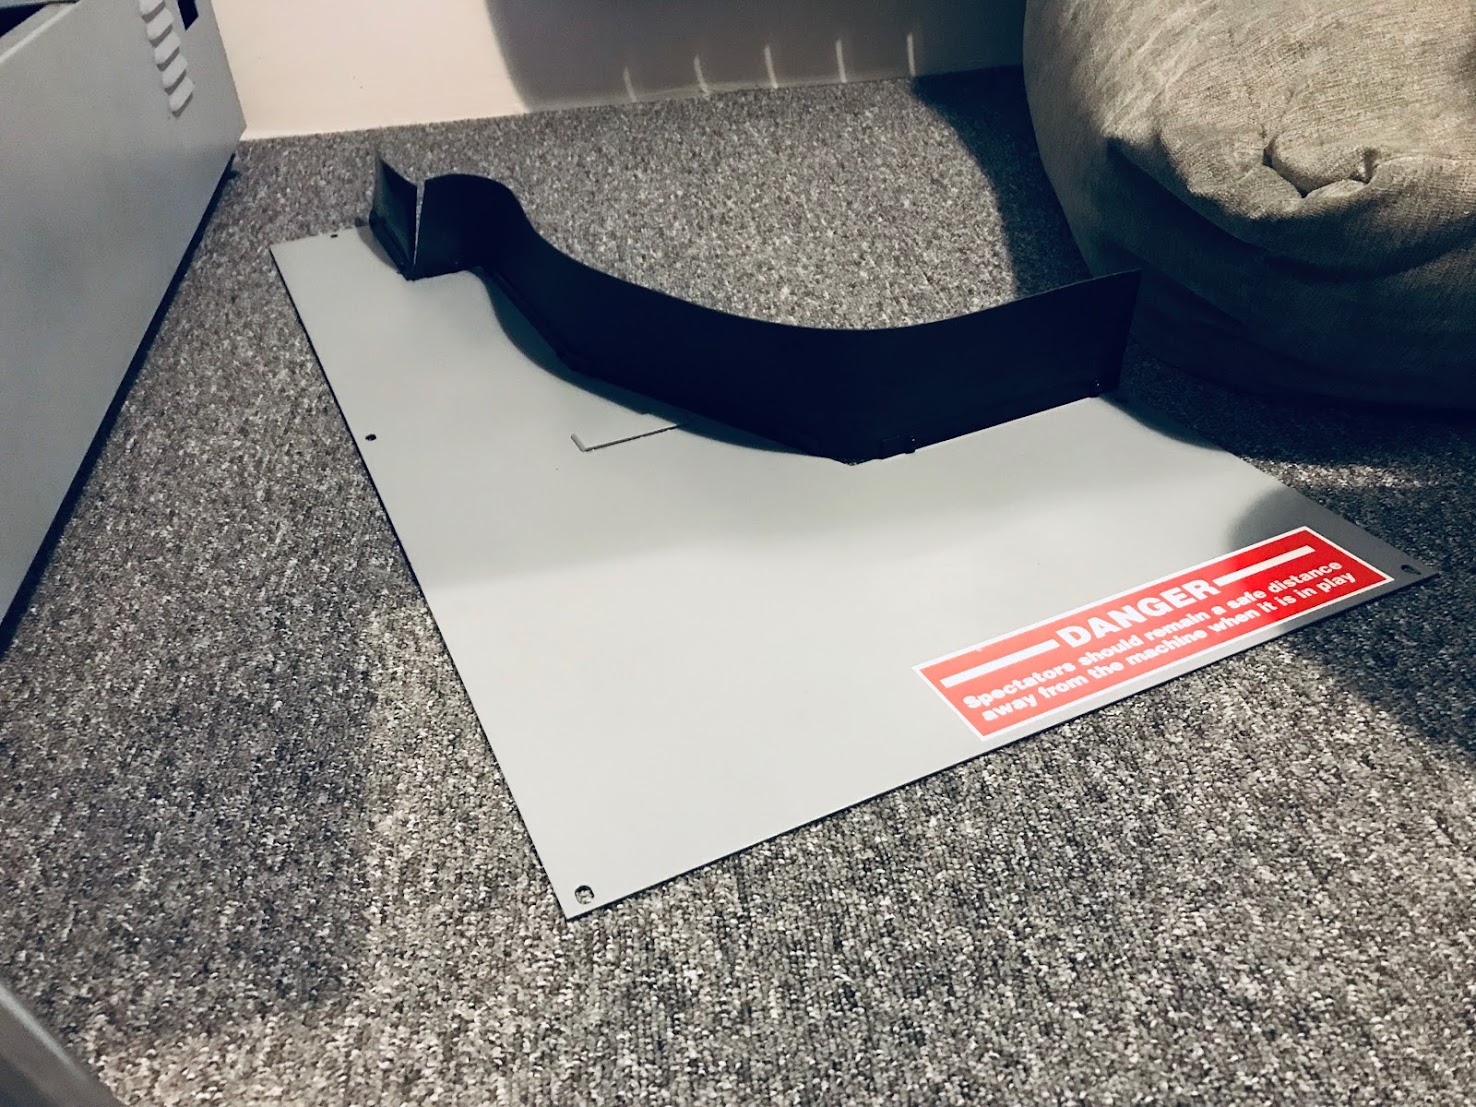
Used them to refit the rubber skirts.

IMG_0541.jpg


IMG_0544.jpg


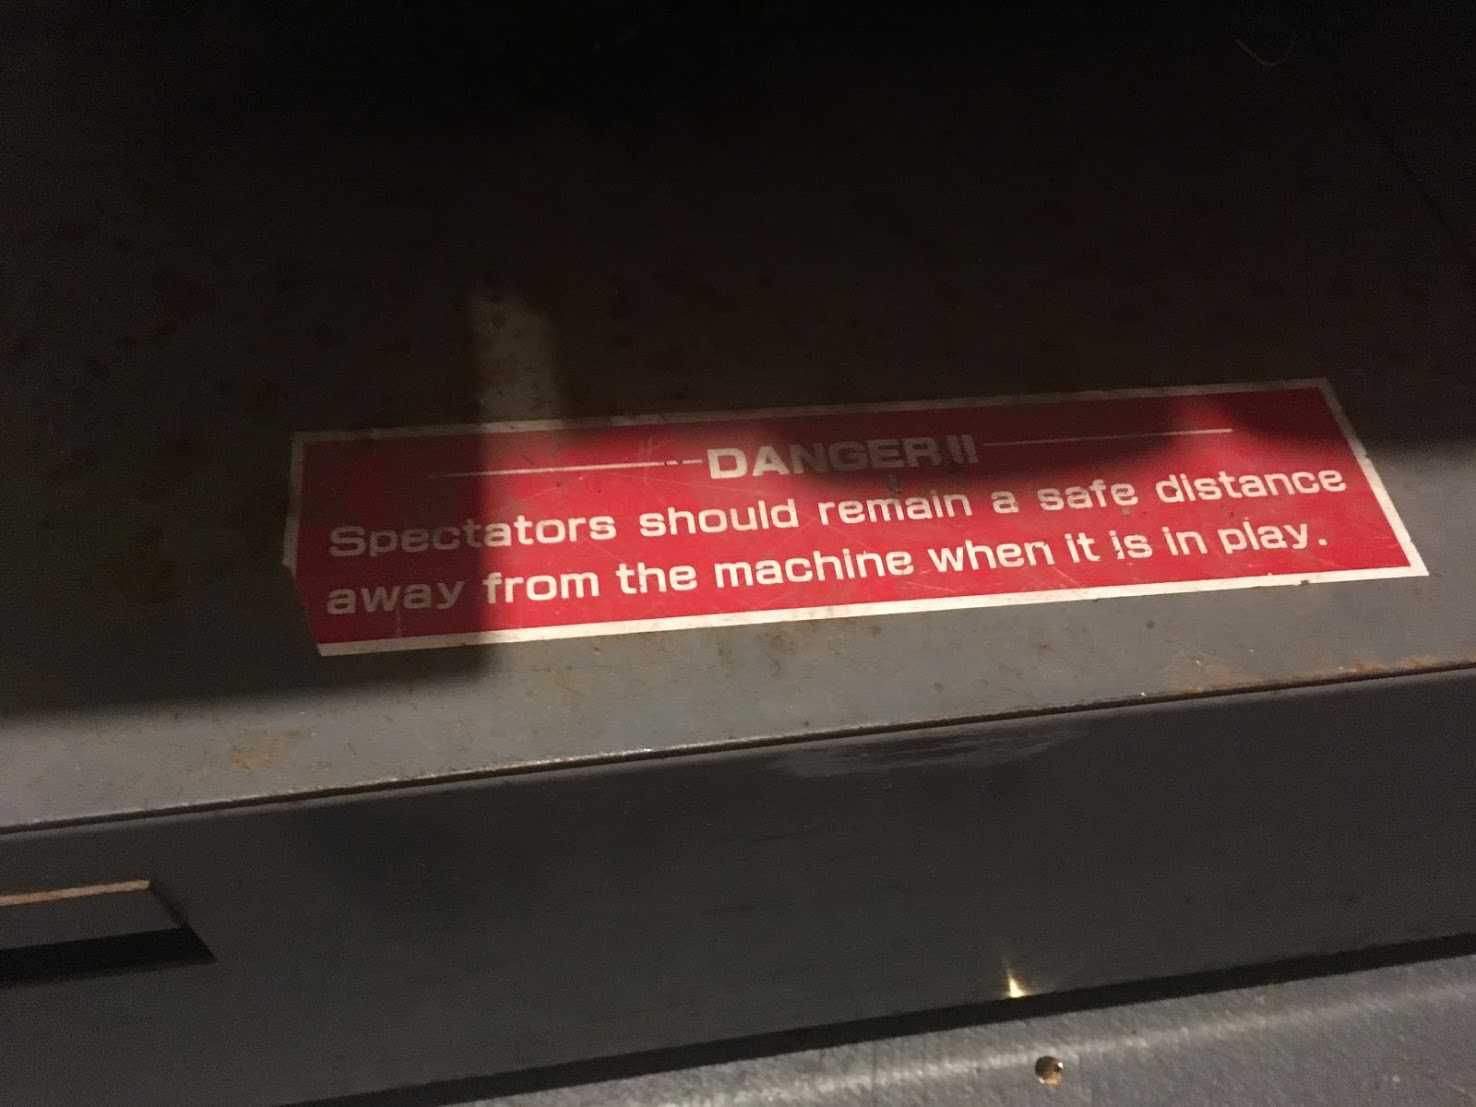
New warning sticker.

IMG_7839.JPG


IMG_0703.jpg


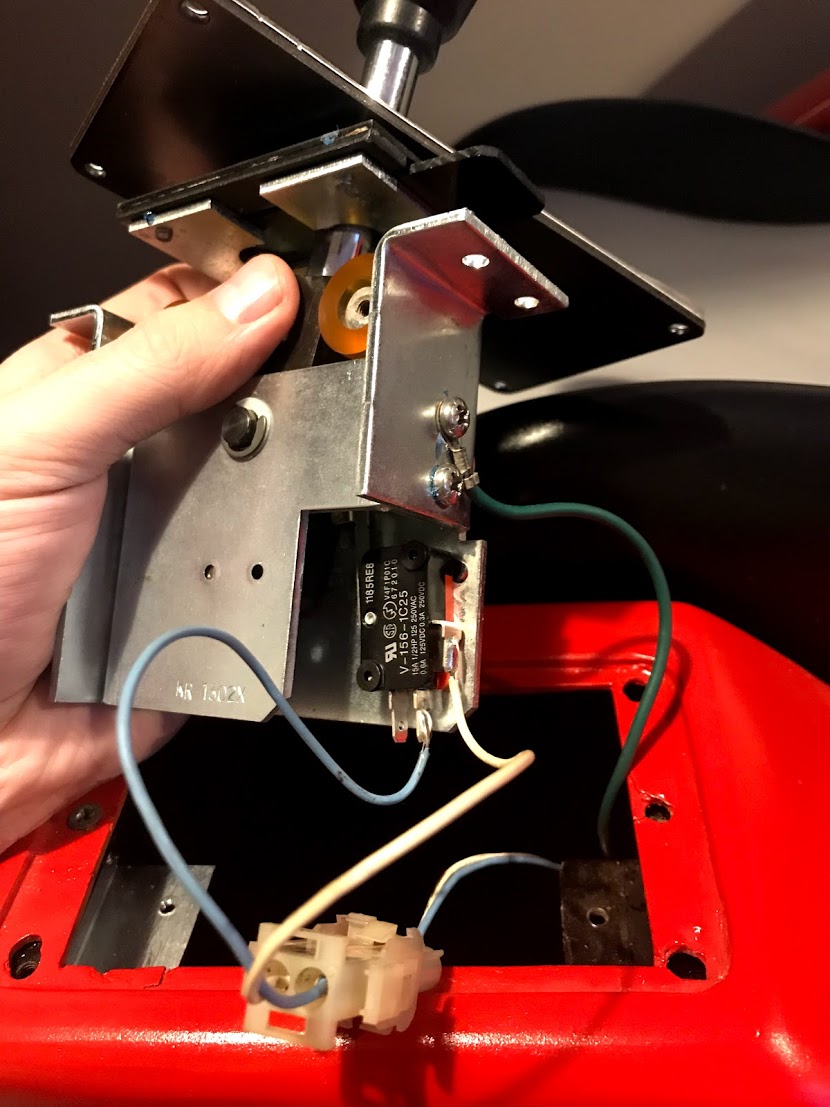
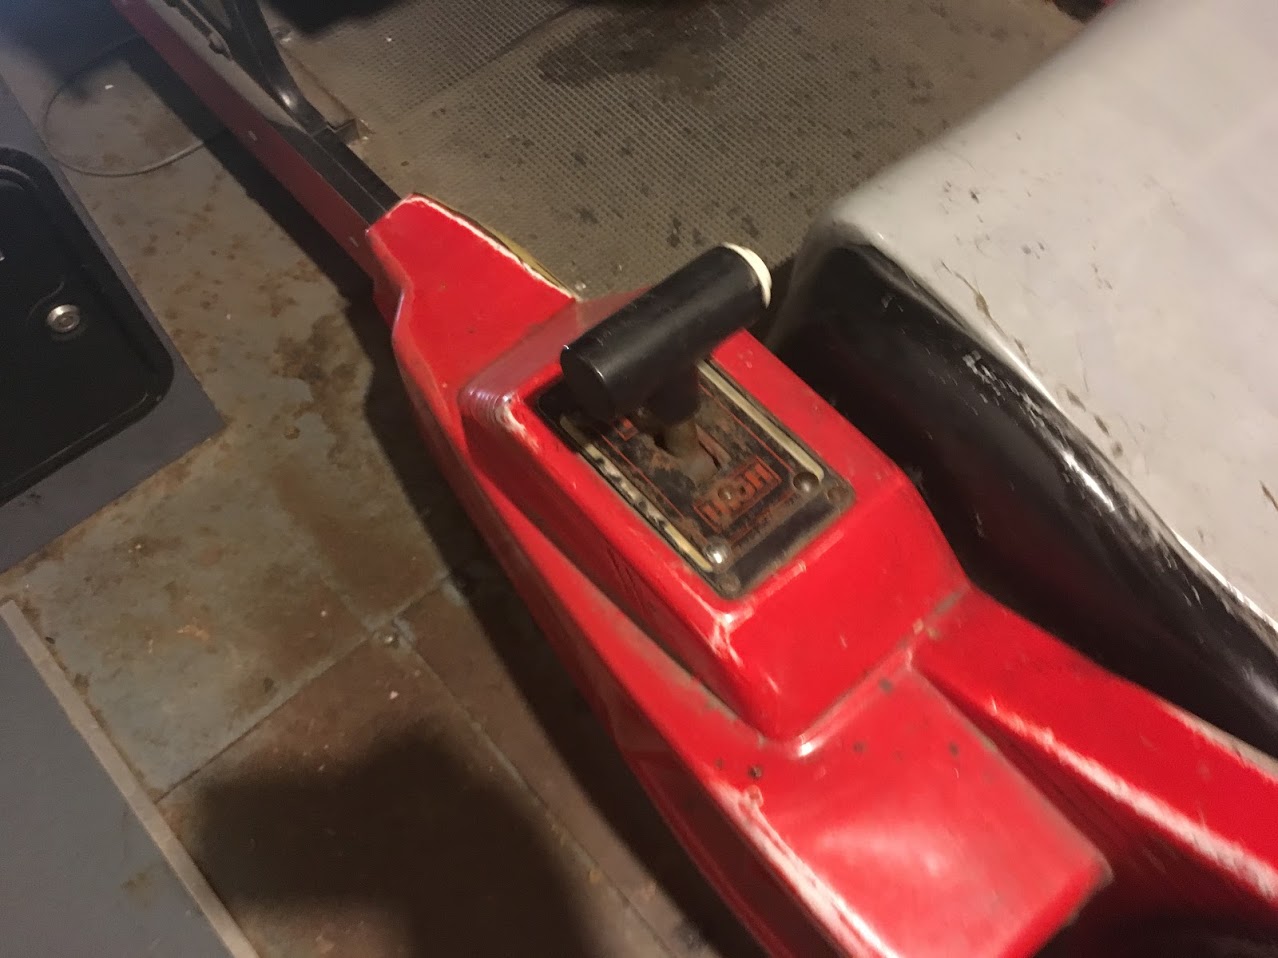
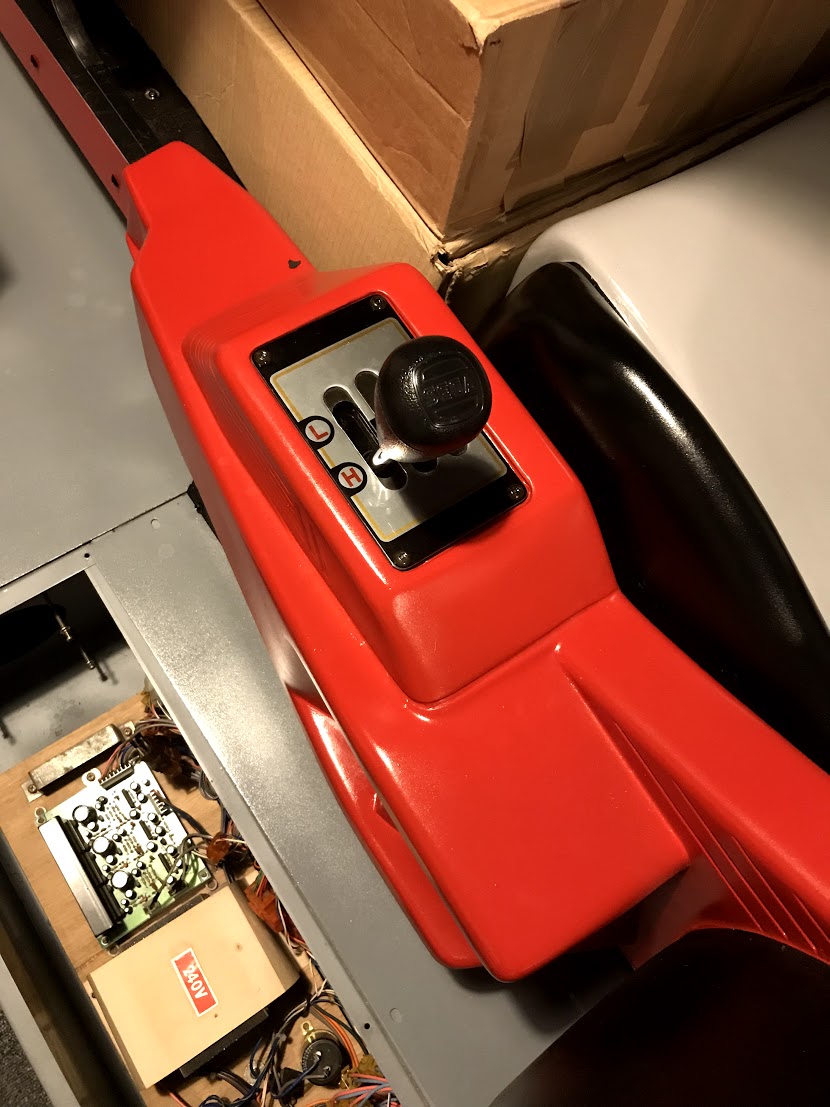
Fitted a new microswitch and reused all the old wiring to refit the gear lever.

IMG_0562.jpg


Managed to get some NOS screws as well
smiley4.gif


IMG_0570.jpg


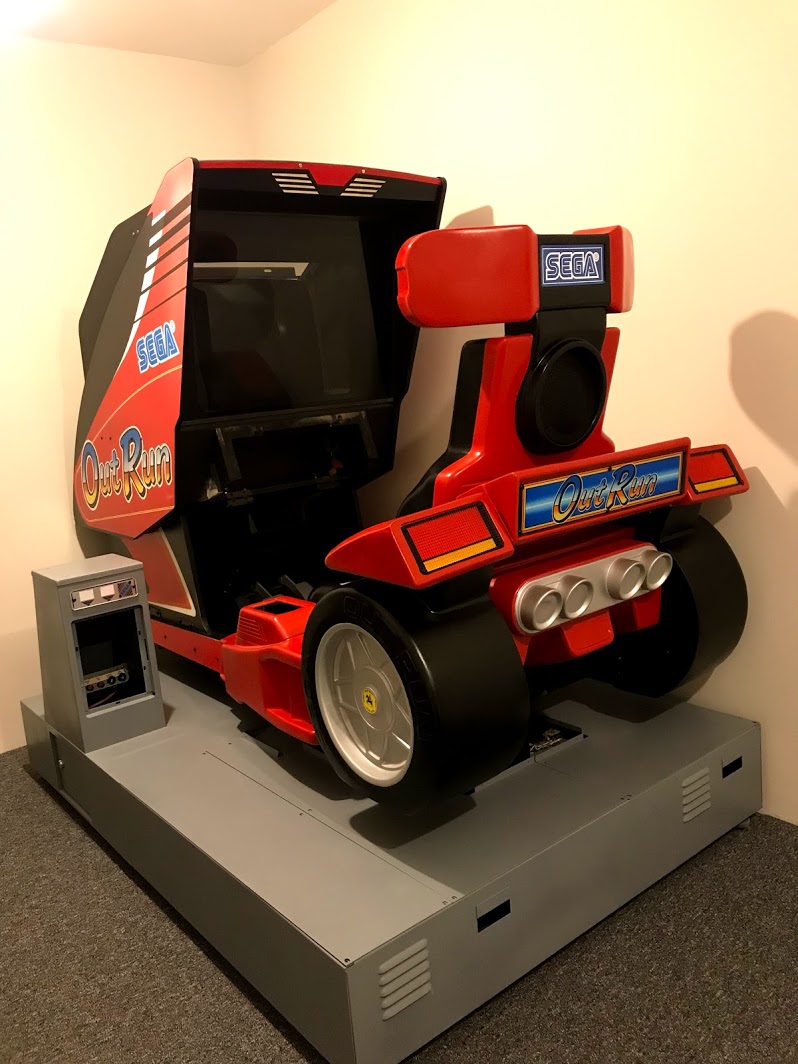
I think it looks better than it did!

IMG_7890.JPG


IMG_0704.jpg


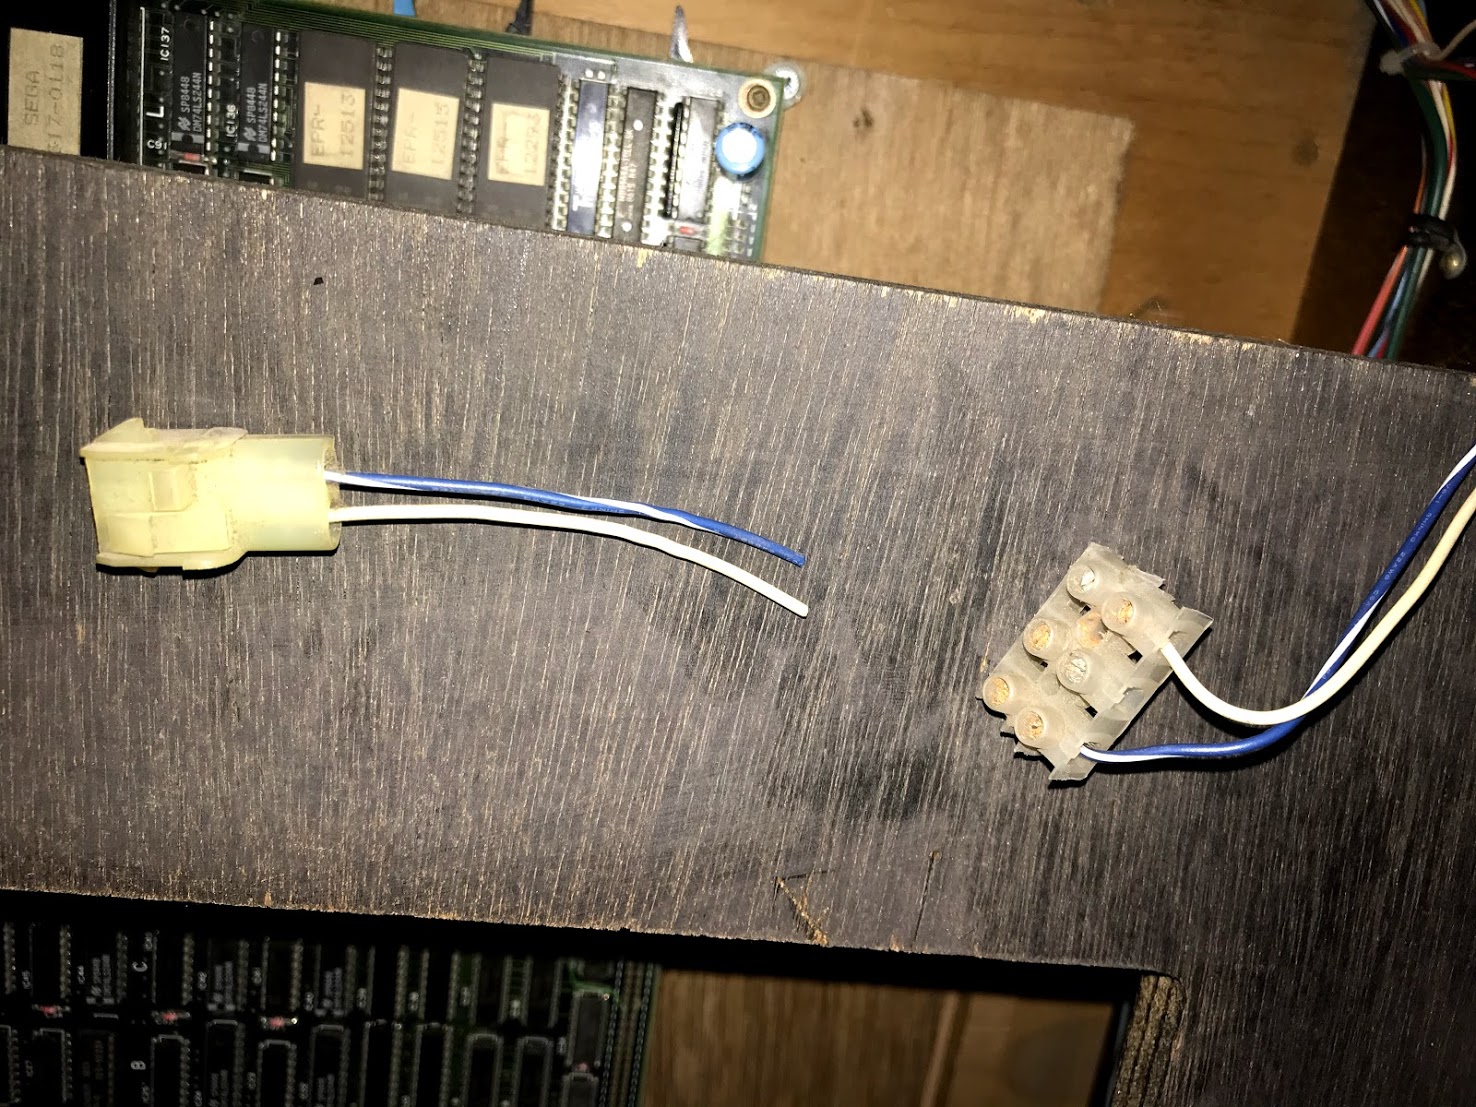
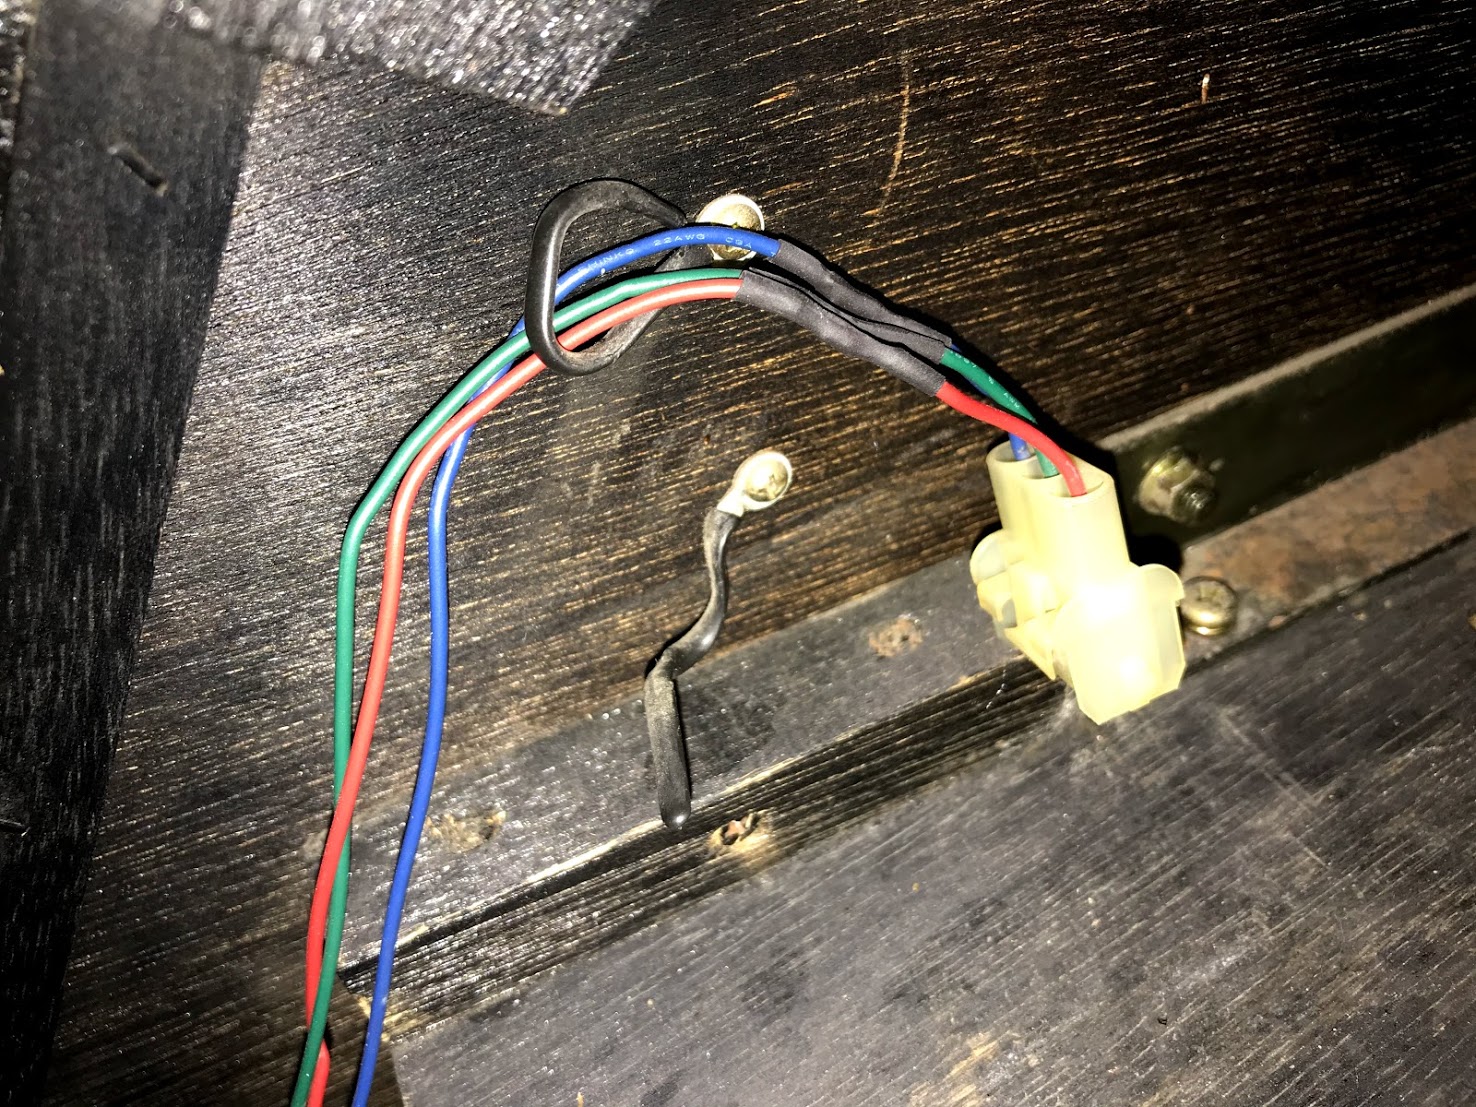
Where the replacement screen had been fitted they had chopped off the connectors and used choc blocks, I was really pleased to find that who ever did it simply chucked the cut off connectors into the machine where I found them many years later.

Spliced them back in.

IMG_0574.jpg


IMG_0575.jpg


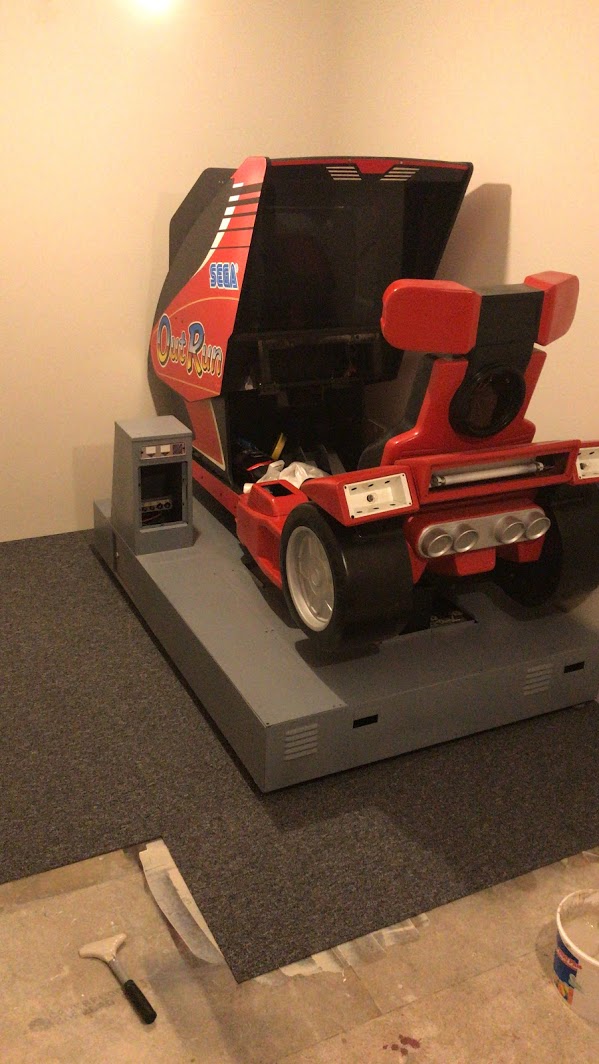
Used a car jack to lift the machine so I could install a replacement leg leveller into the bolt I welded in a few months ago.

5c336d48-d428-46f3-9c77-2628711915f3.jpg


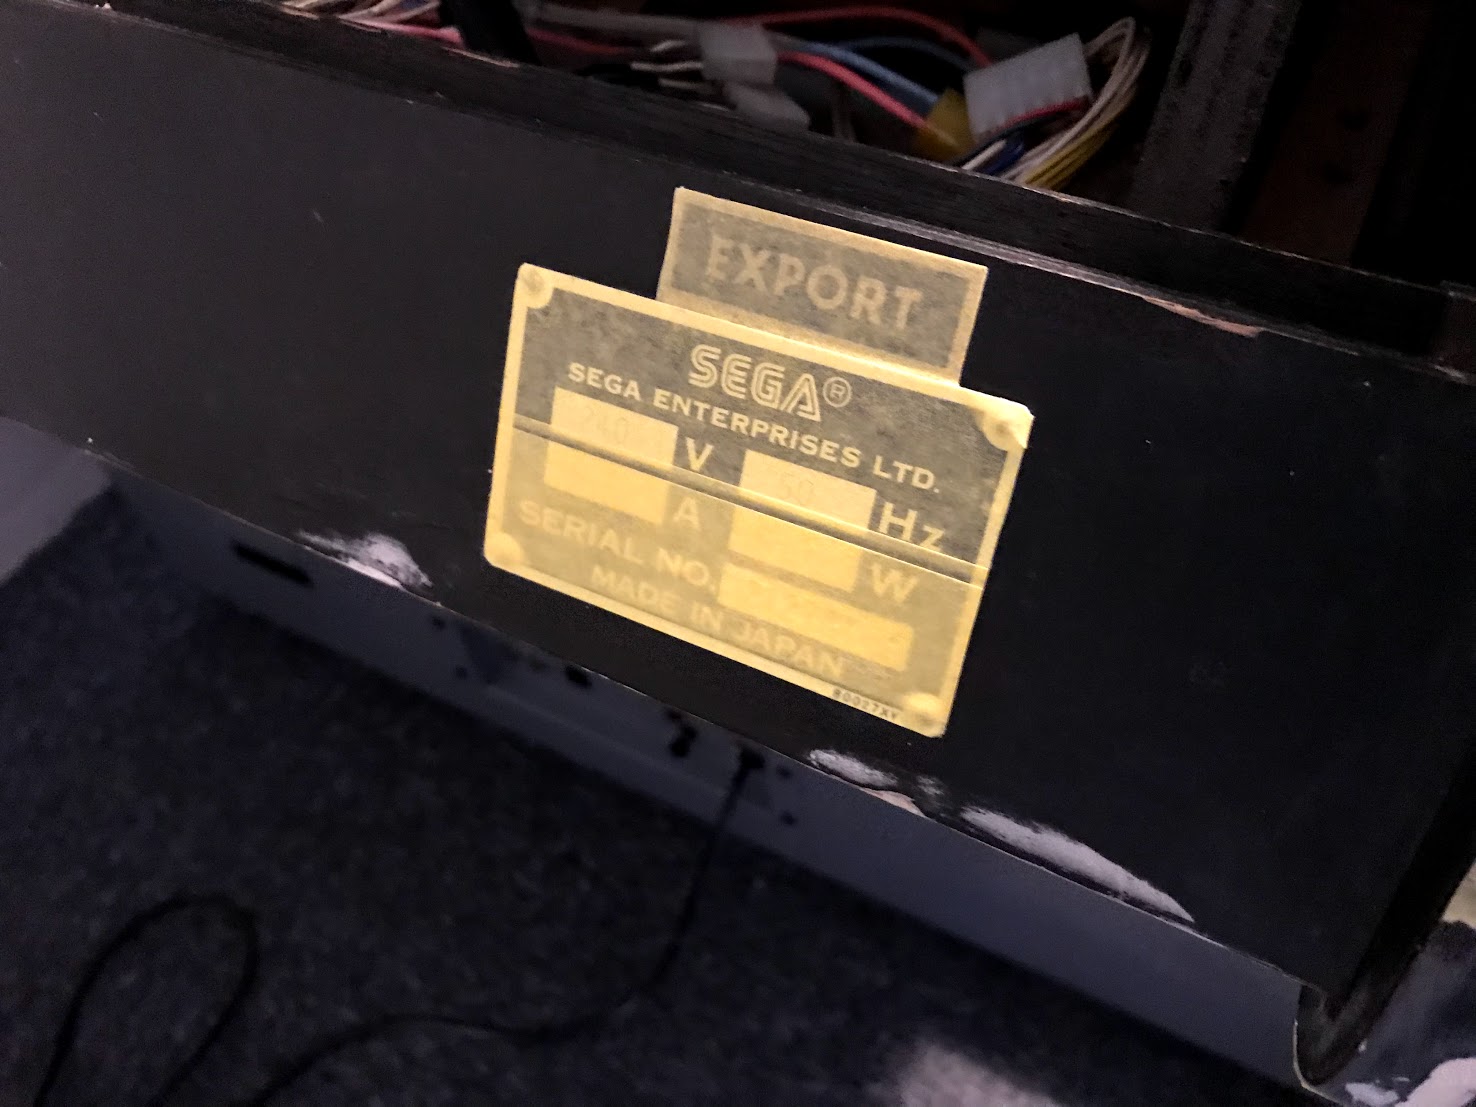
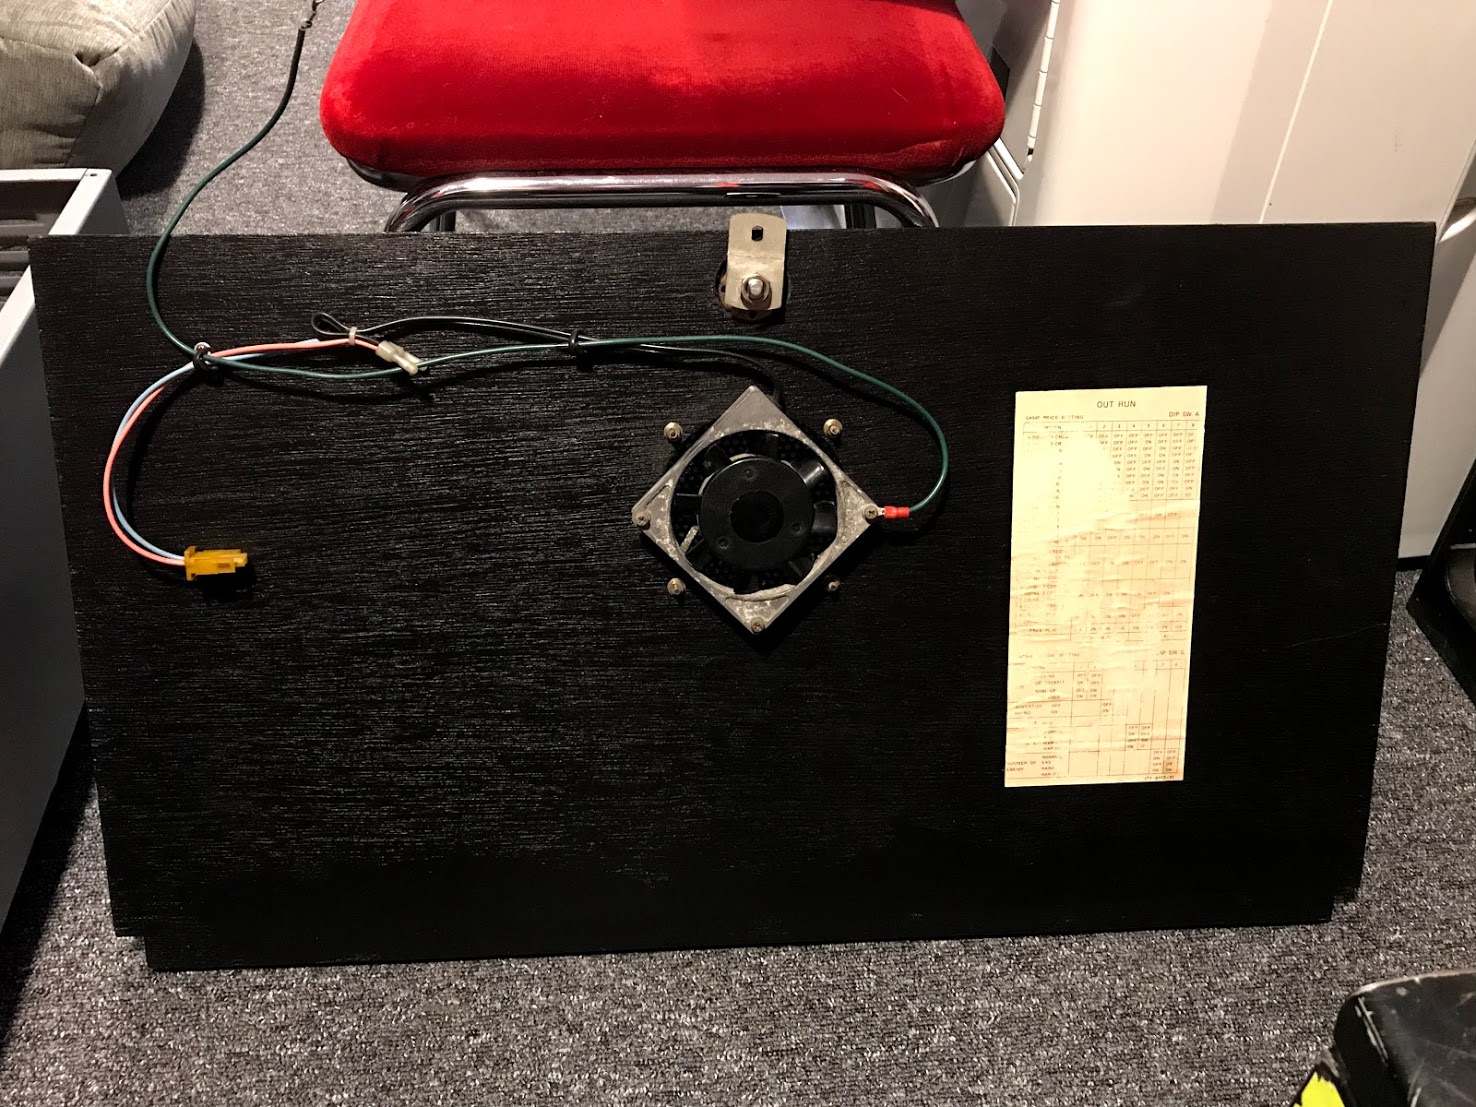
At this point I have started testing power lighting etc, found most of the bulbs had gone so ordered replacements including a flo tube. Thanks to some help on the slack channel traced and resolved some issues with the rear lights.

1b965c85-b748-4b2d-b838-17b517cfde57.jpg


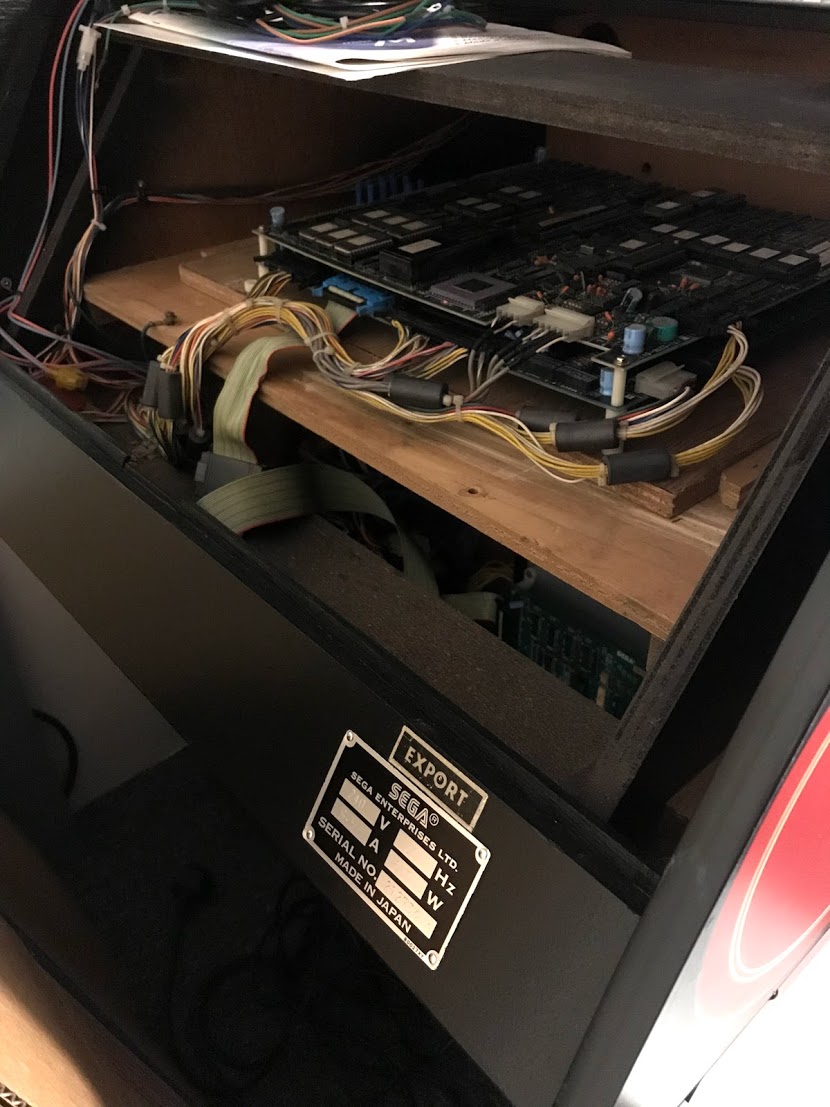
Next job is to mount the screen, then test / fix the PCB.

clarkey2019-01-20 22:21:21
 
Top