Outrun Deluxe (Turbo De-conversion) Restoration

Flinnster

The Dino King
vacBacker
Feedback
29 (100%)
Credits
2,562CR
smiley27.gif
Superb work! I totally approve of painting washers!
smiley2.gif


Shame about the font not matching on the safety sticker.
Bravo for sticking the repro on aligned properly to the base edge tho, unlike the original op attempt!
Flinnster2019-01-21 00:07:09
 

moomootown

Monkeyballer
Feedback
1 (100%)
Credits
77CR
Looks incredible wish I had this level of restoring skill...
Assume you’re going to pull it away from the wall before you test the movement!

Fabulous job
 

clarkey

Active member
Feedback
3 (100%)
Credits
94CR
Managed to locate the correct 14v 0.24 amp bulbs.

IMG_0707.jpg


Pleased how it looks.

IMG_0710.jpg


IMG_0712.jpg


IMG_0713.jpg


IMG_0711.jpg


As the screen mounting hardware was missing had to figure out how to mount the nos screen I have. Found some suitable heavy duty brackets at screwfix. Bit of drilling and cutting and they work well.

IMG_0811.JPG


Perfect fit, just got to polish the screen cover now and put that back.

IMG_0768.JPG


Now making some connectors to adapt this screen to the original wiring, thanks to a member on slack for donating some connectors.

I have dropped the leg levellers, given the mech a grease and once over. So as soon as the screen is wired in I can start testing PCB's, movement sound etc.
 

clarkey

Active member
Feedback
3 (100%)
Credits
94CR
Wired in the screen using some mate n lock connectors kindly donated by another member on here, has meant I could repair and keep all the wiring original. So if/when I get a Nanao screen for it one day I don't have to reverse any wiring changes.

IMG_0792.jpg


IMG_0950.jpg


At this point the screen is in, so cleaned up the plastic trim, painted the metal work, fed the rubber trims and polished the actual screen cover.

IMG_0943.jpg


IMG_0919.jpg


IMG_0942.jpg


IMG_0948.jpg


Next I wanted to sort the rubber matting.

Old and new.
smiley11.gif


IMG_0845.jpg


Stenciled it up.

770B57AD-EA6B-4277-A392-17EE974C5163.jpg


Cut

IMG_0848.jpg


IMG_0849.jpg


Much better, have a few bits of metal that screw in to hold it down to put on still.

IMG_0852.jpg


I cut the matts for the base as well and will bond them on in the next few days.

Almost done, main PCB is off with retroclinic being repaired/converted back to Outrun. Waiting on delivery of some new headrest speakers, fans for the base and the cab and a new switch mode power supply.

Once those arrive will fit them and should be ready to test/ hopefully have a play test
smiley4.gif


clarkey2019-02-13 23:28:34
 

clarkey

Active member
Feedback
3 (100%)
Credits
94CR
I have spent ages trying to find some in the right size depth etc. It’s really hard to match.

The ones I have ordered are smaller in size but I intend to use the old mounts. Will let you know how I get on.
 

clarkey

Active member
Feedback
3 (100%)
Credits
94CR
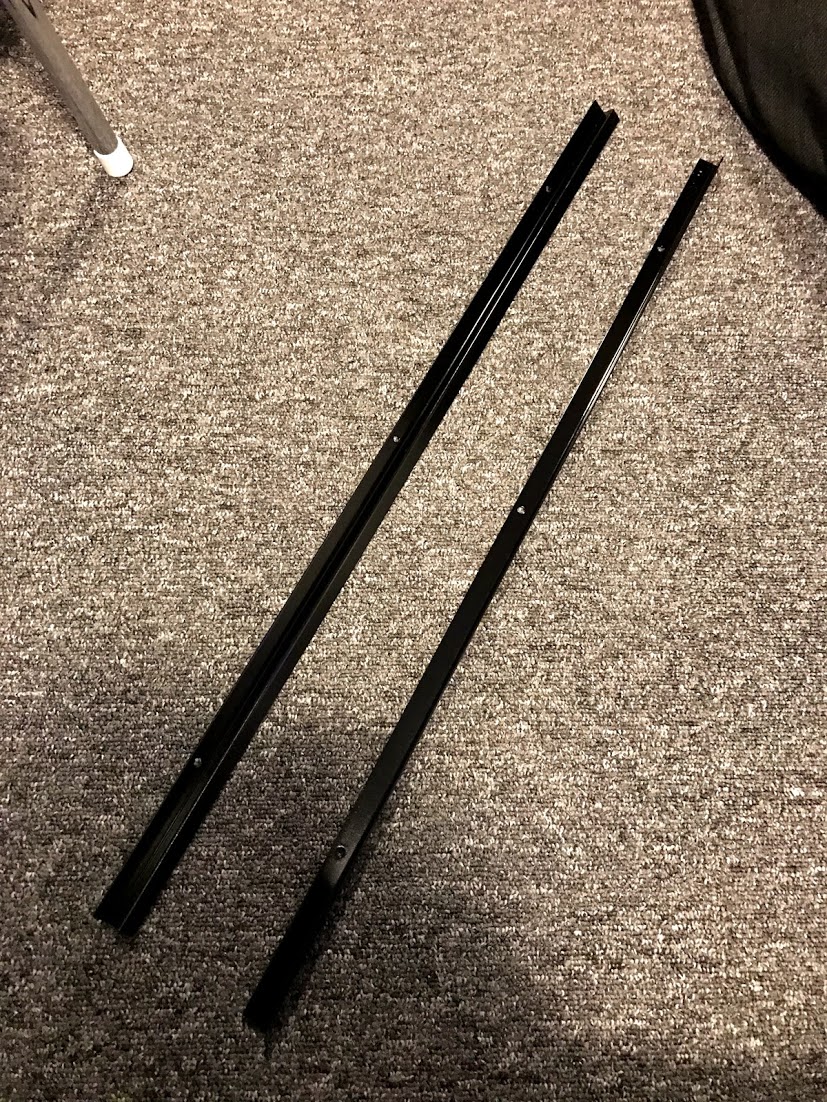
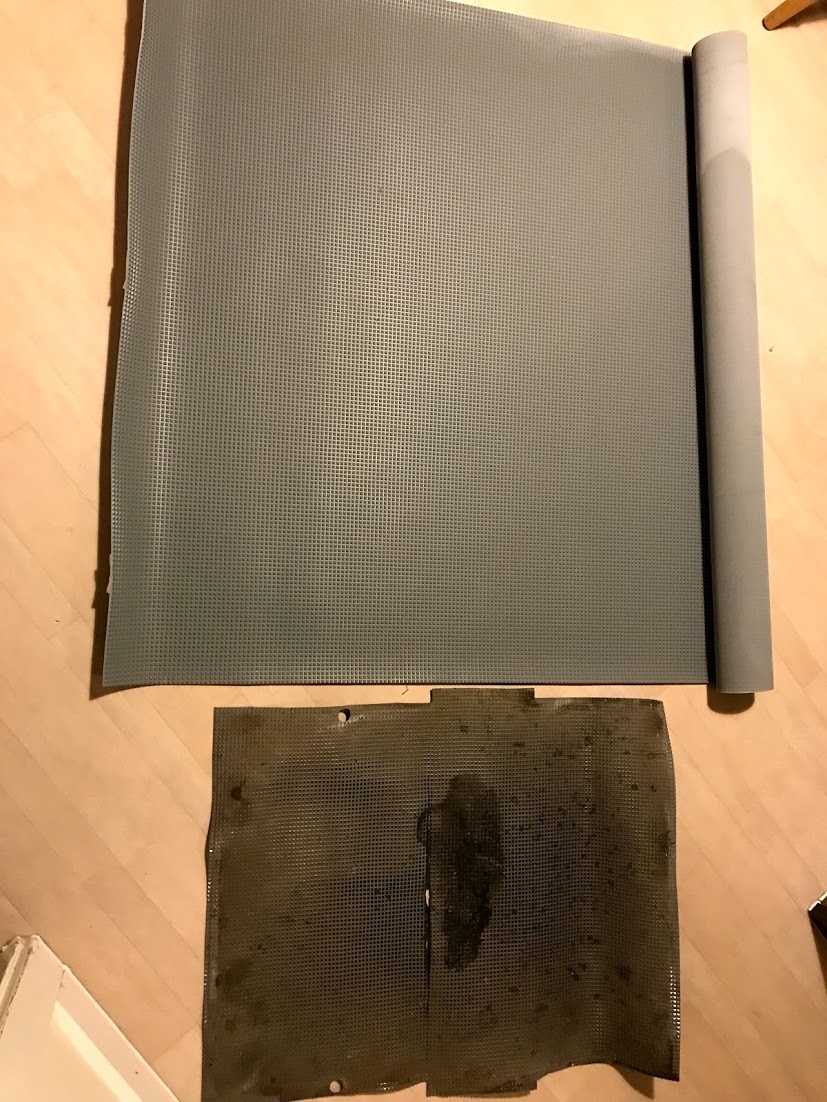
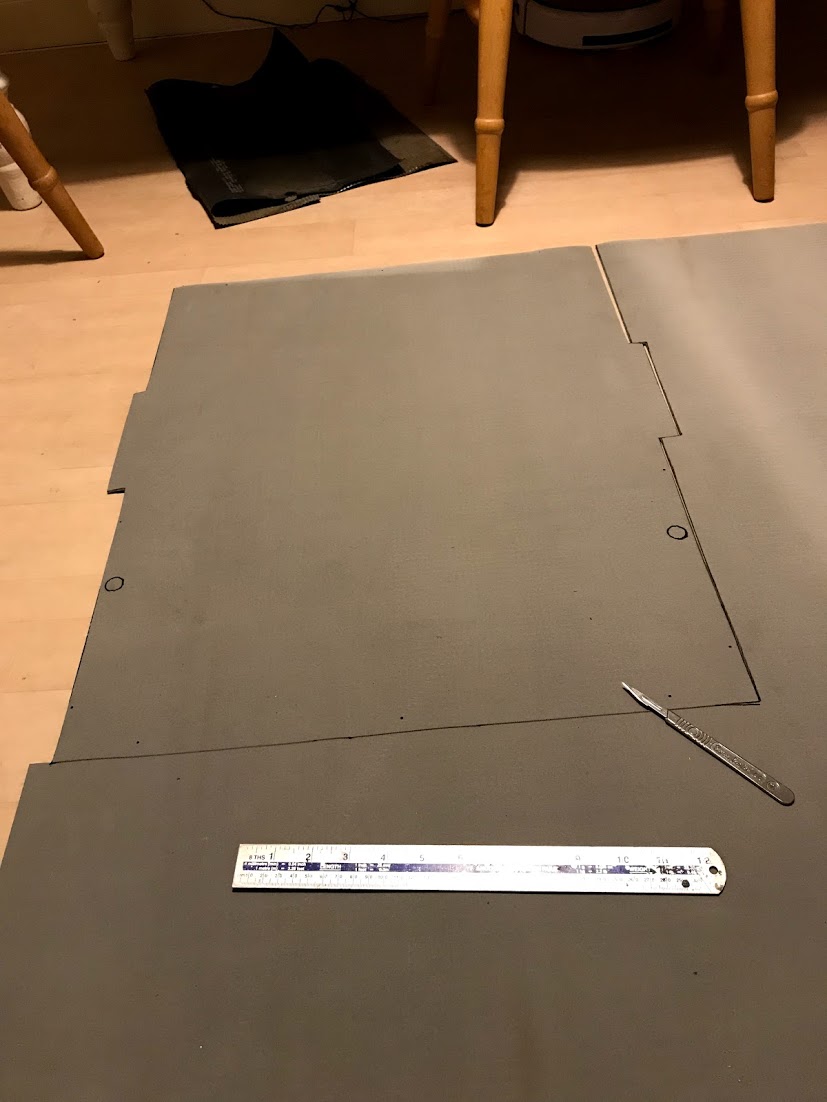
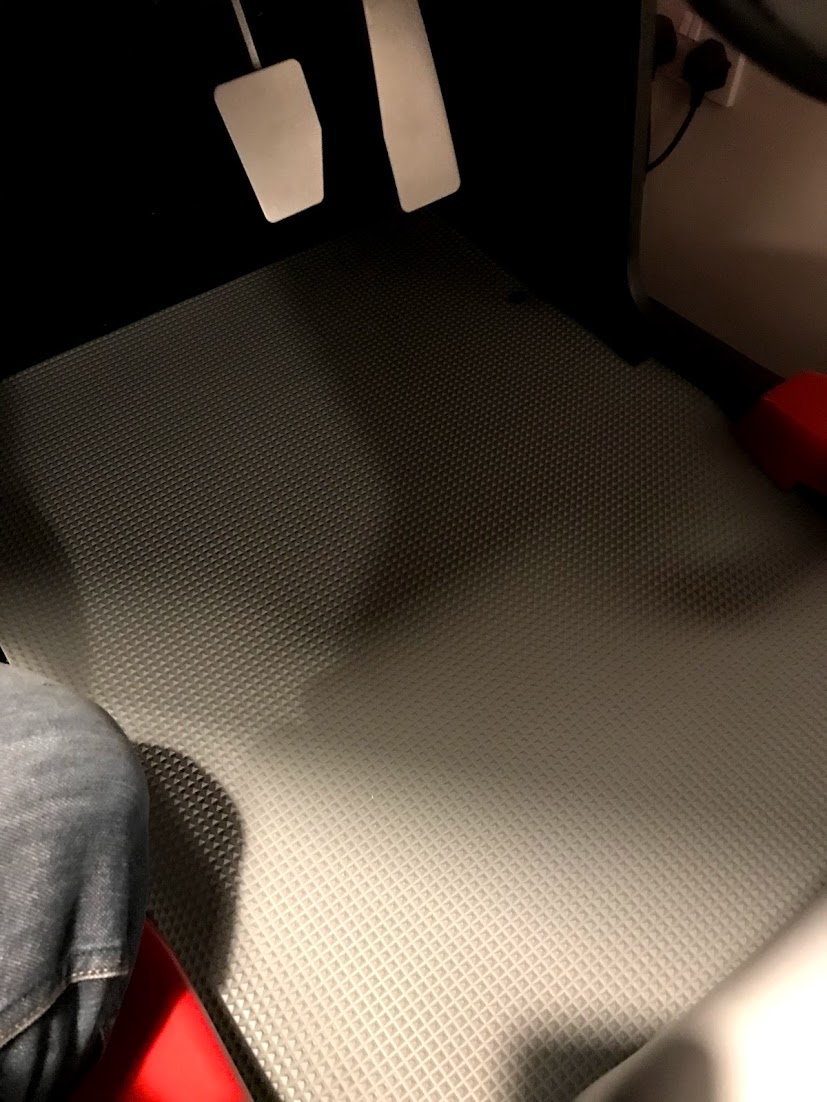
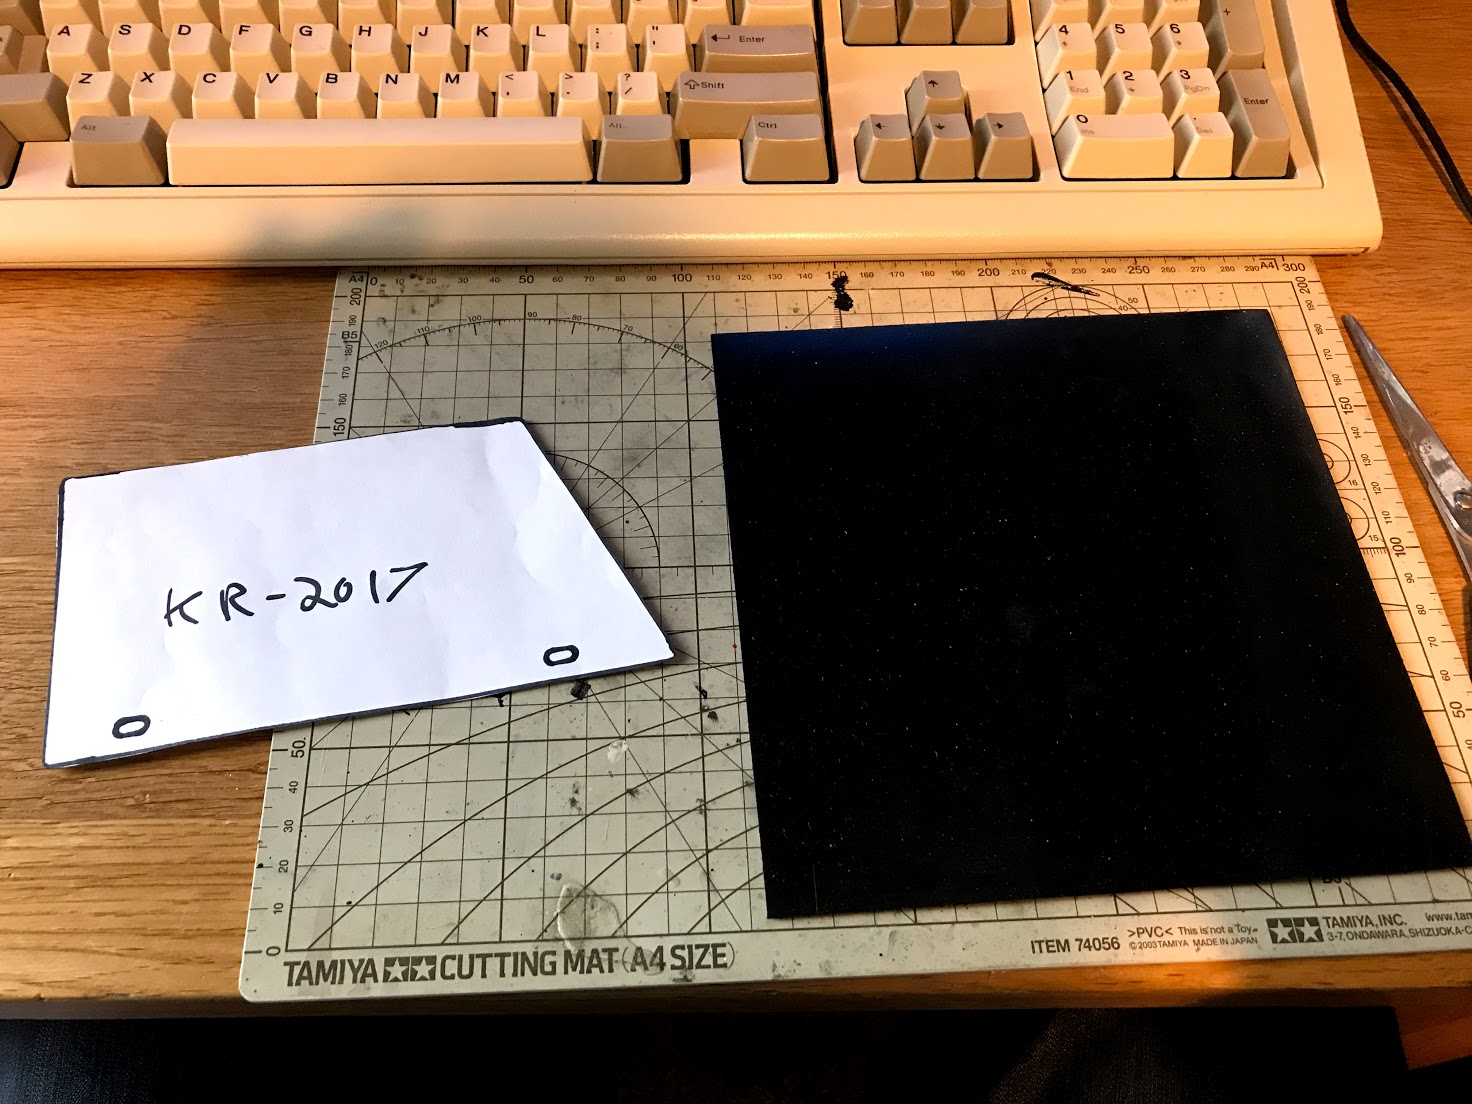
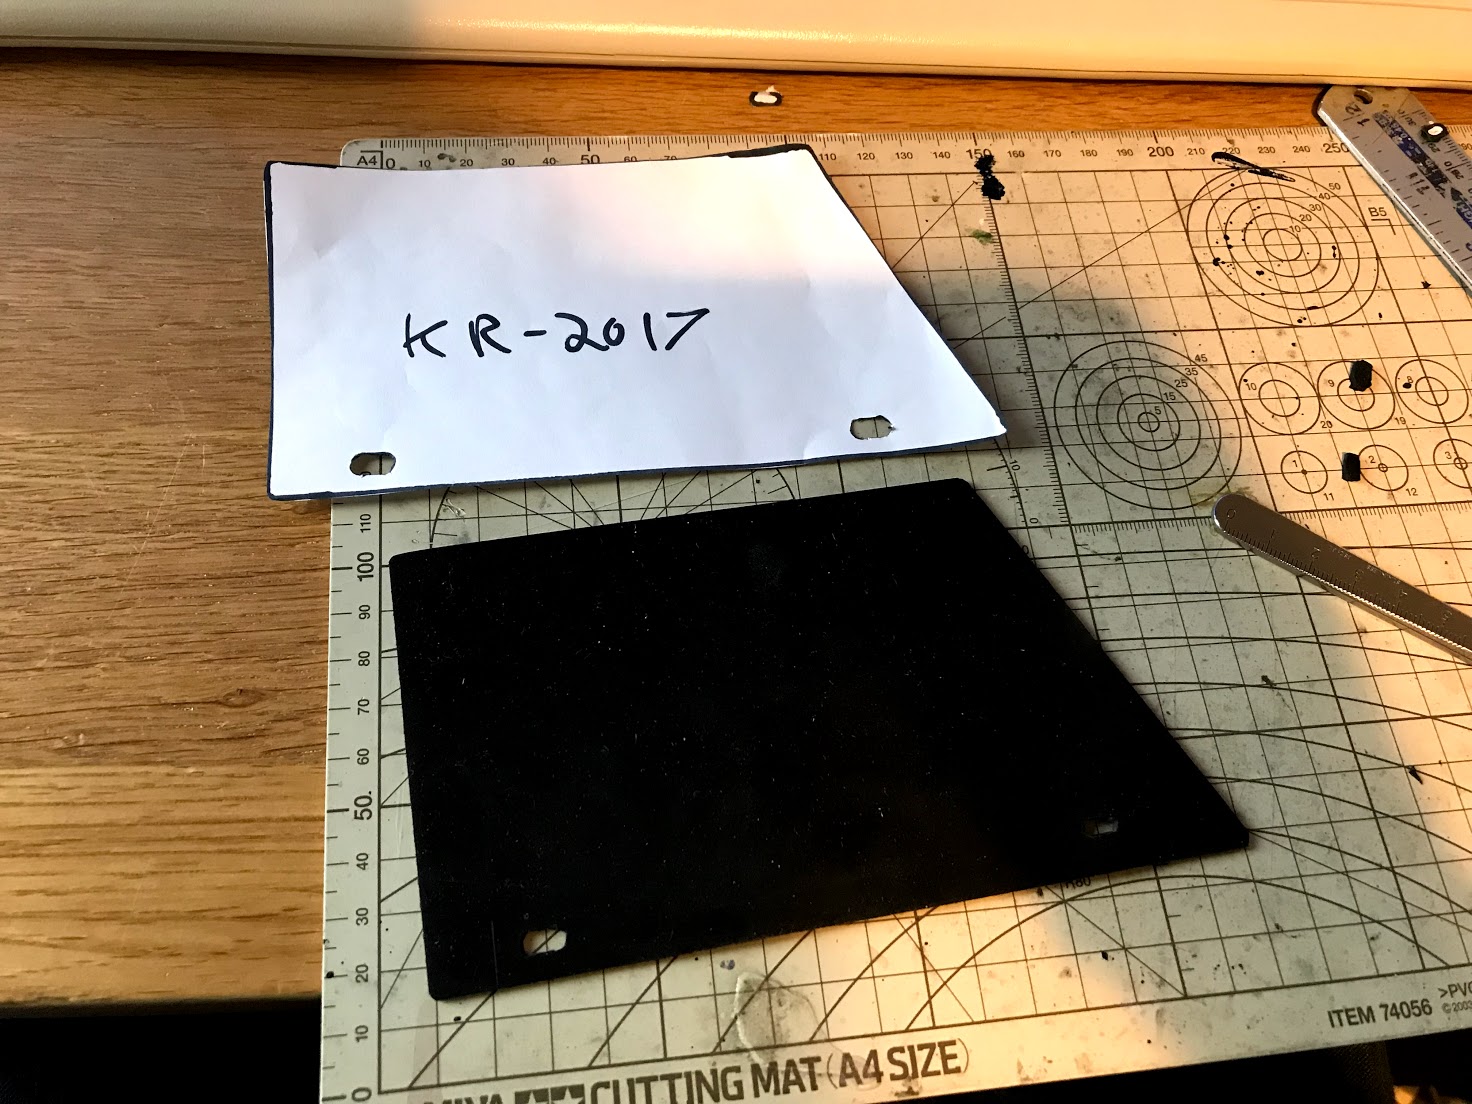
Next job was to recreate the missing rubber protector piece, luckily its the same as one I do have so made a template and recreated.

IMG_0901.jpg


IMG_0902.jpg


Mounted at the same time as the side strip.

IMG_1012.jpg


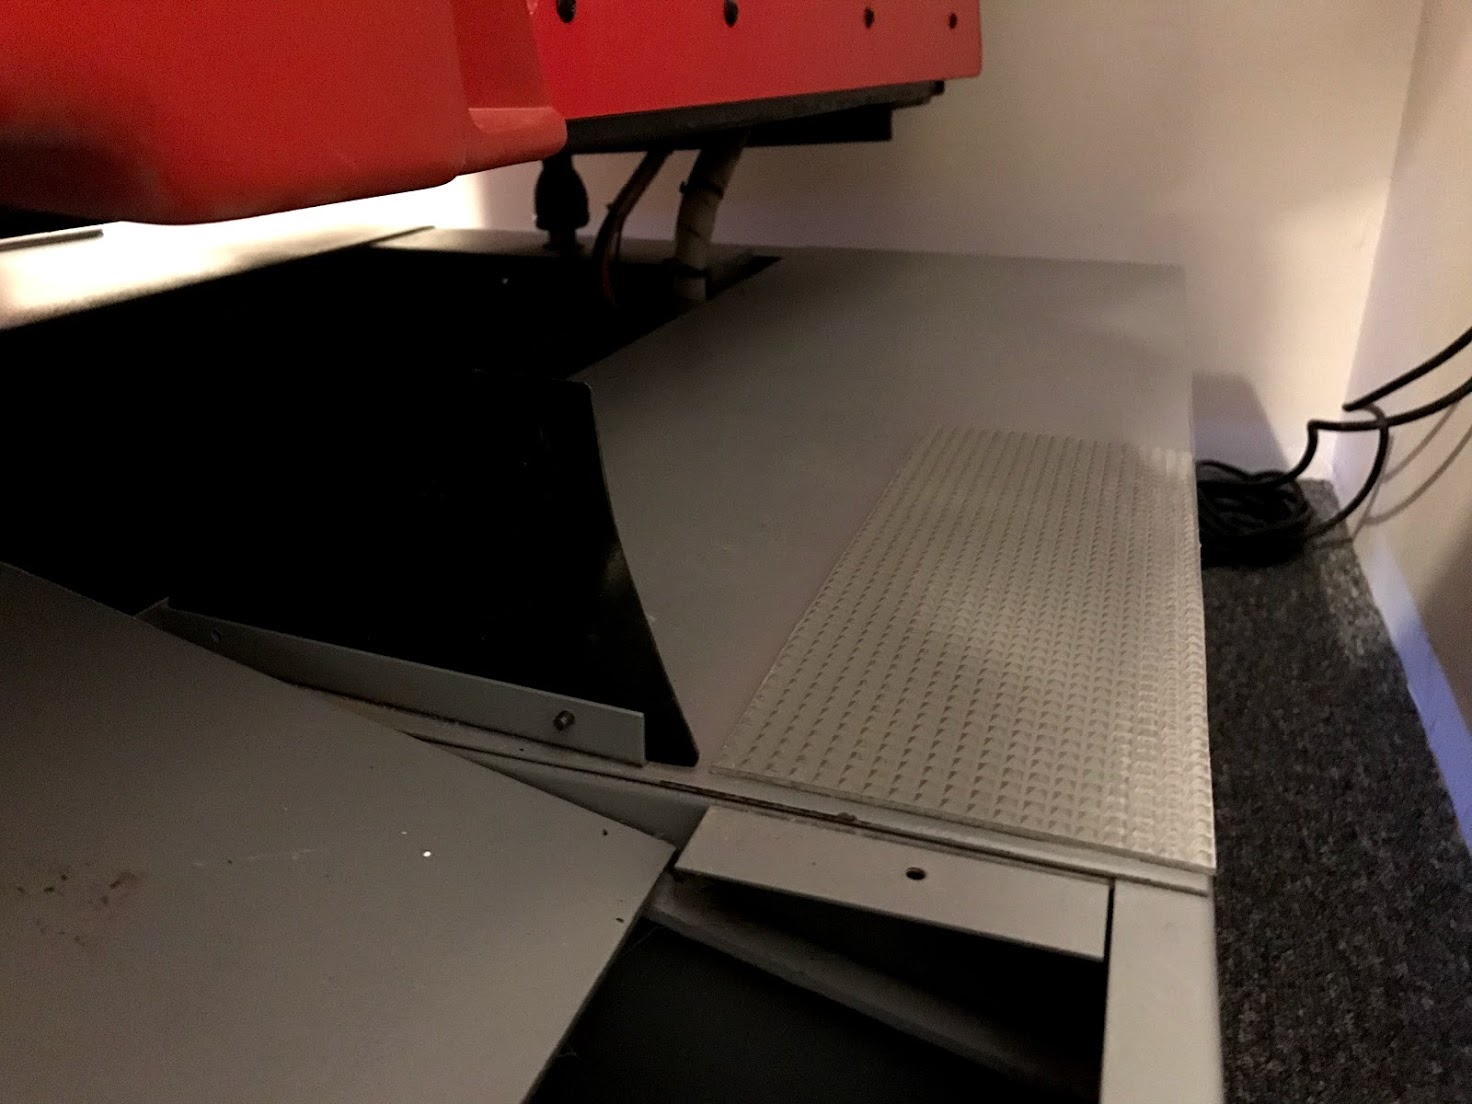
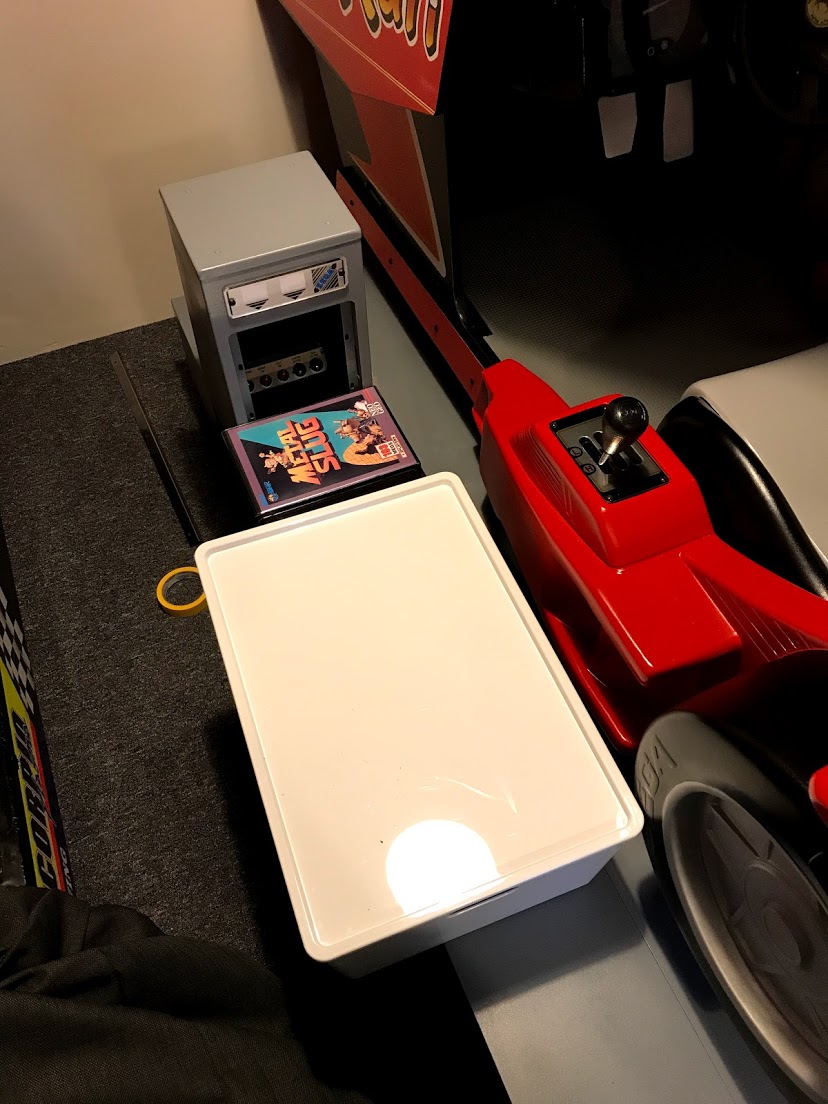
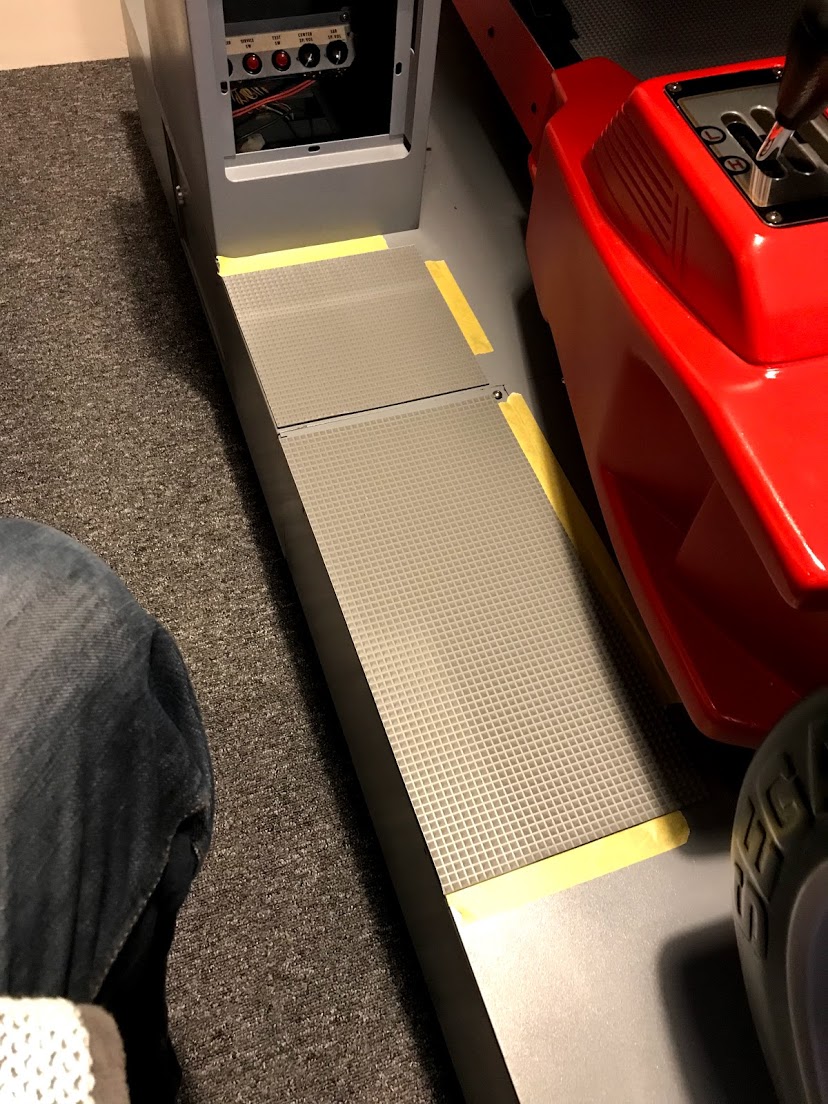
Glued on the rest of the step matts, needed some weight.

IMG_1005.jpg


Based the size off pictures, these look pretty close.

IMG_1008.jpg


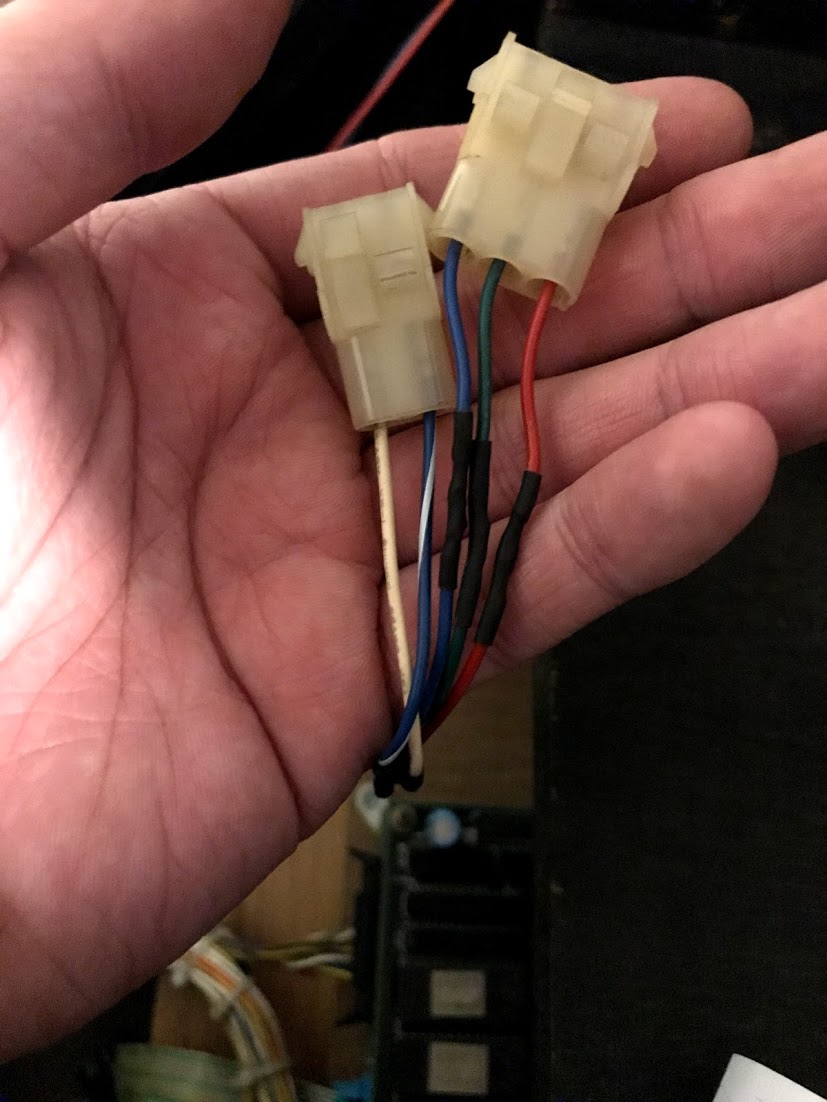
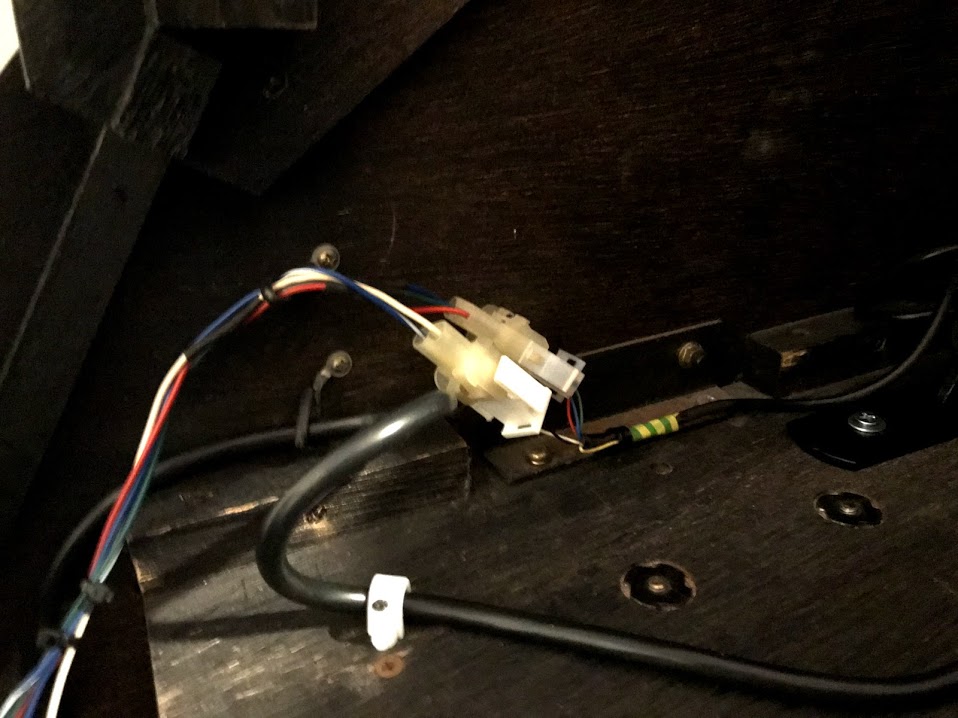
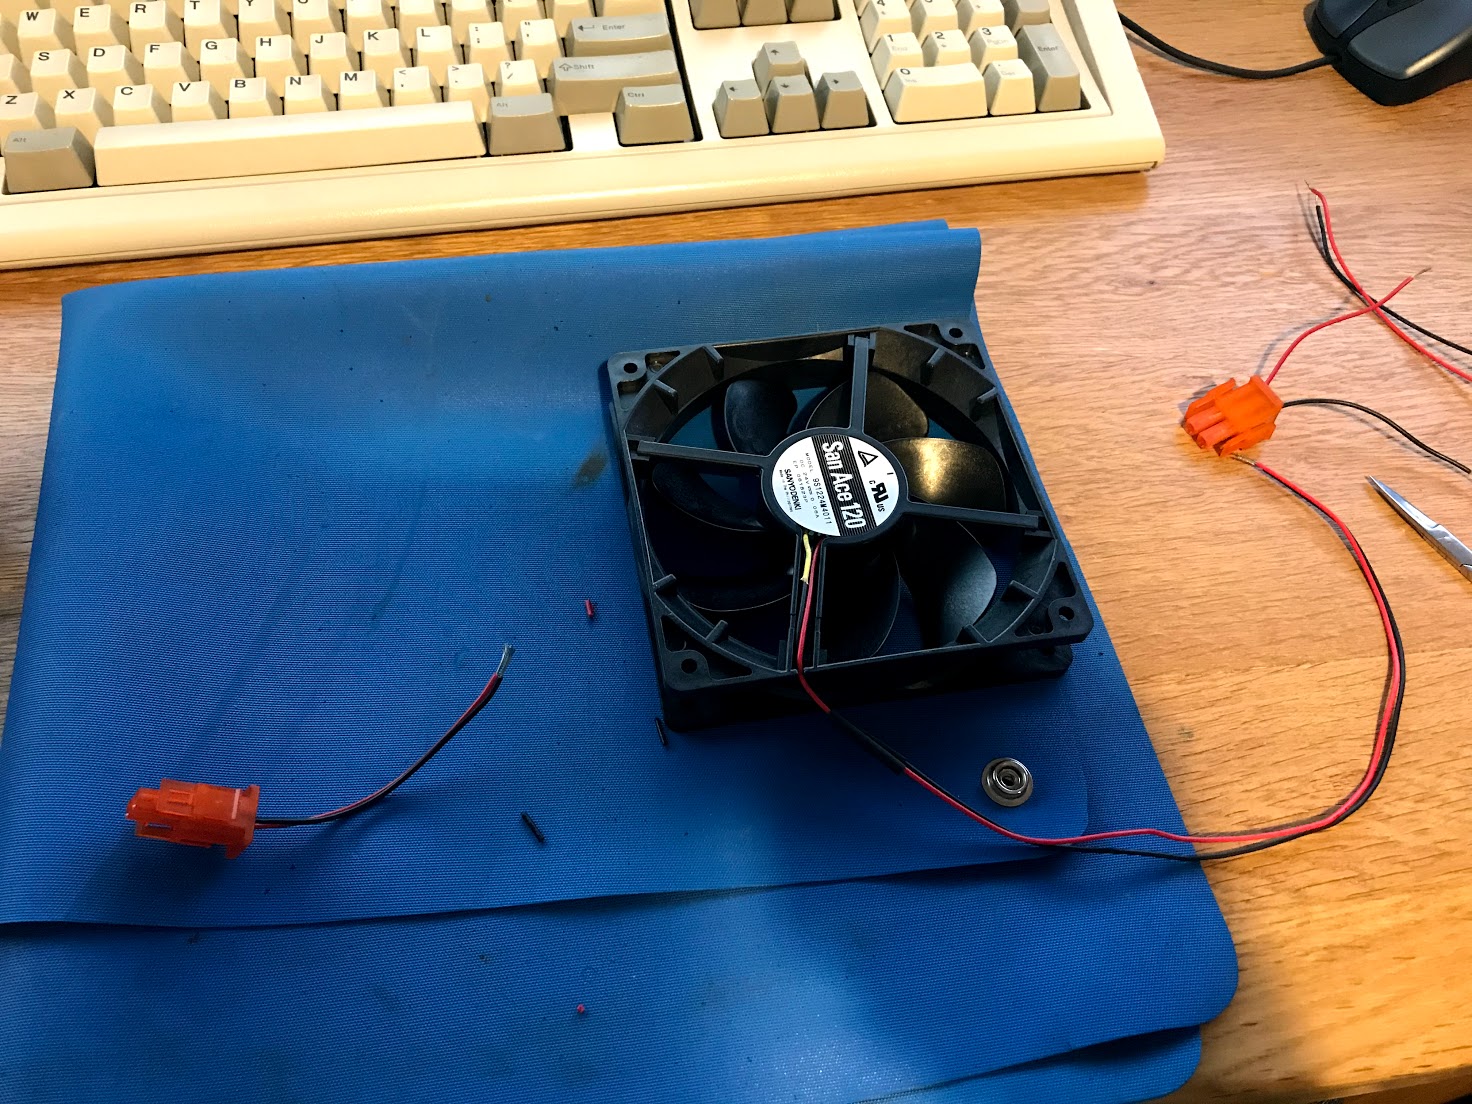
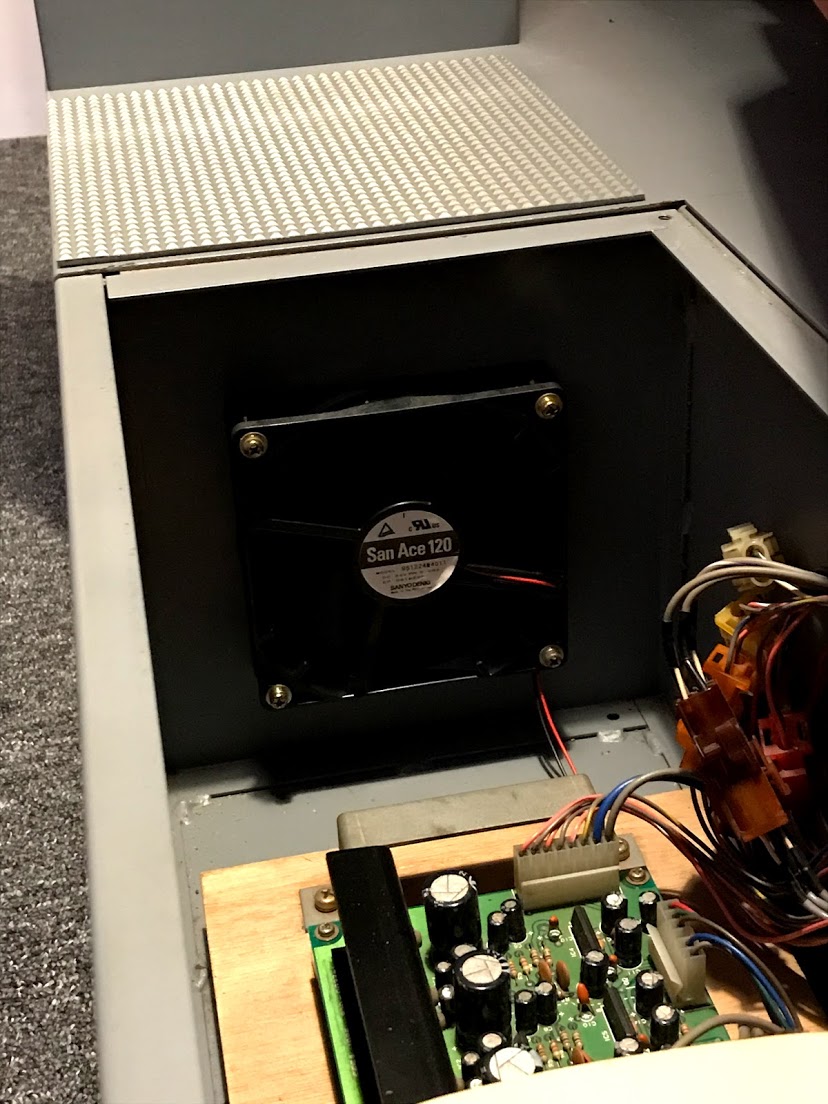
The 24v DC fans arrived, spliced the old connectors on.

IMG_1013.jpg


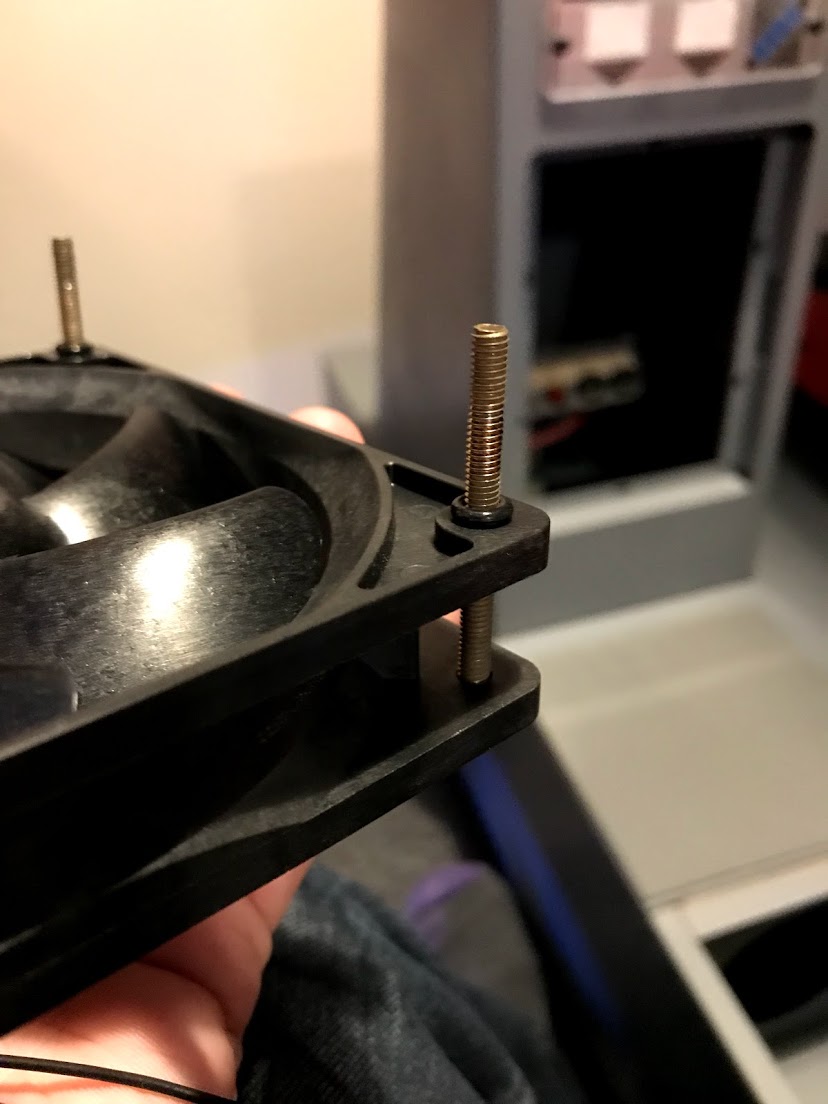
Added some bushings to keep them quiet.

IMG_1017.jpg


Fitted in, these are silent in operation.

IMG_1018.jpg


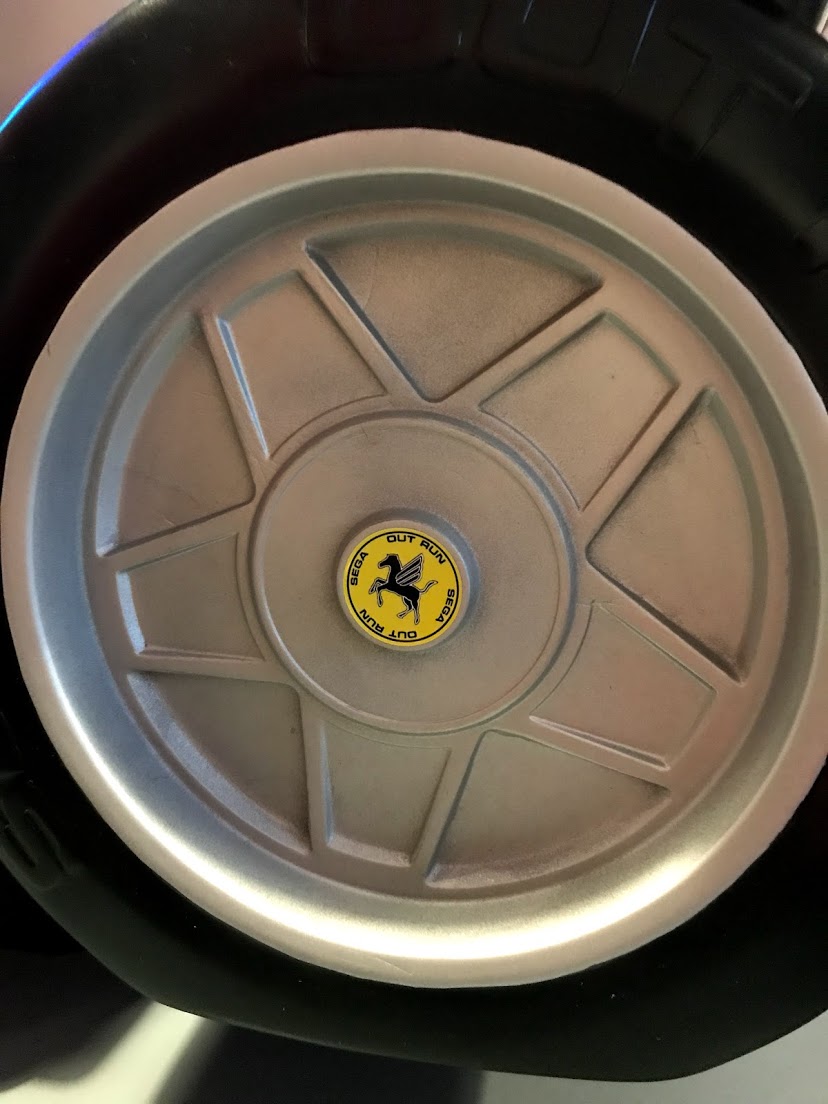
Installed the wheel badges, thanks to mykill for sending me these. I have loads left so if anyone wants any let me know (they are too small for the steering wheel)

IMG_1135.jpg


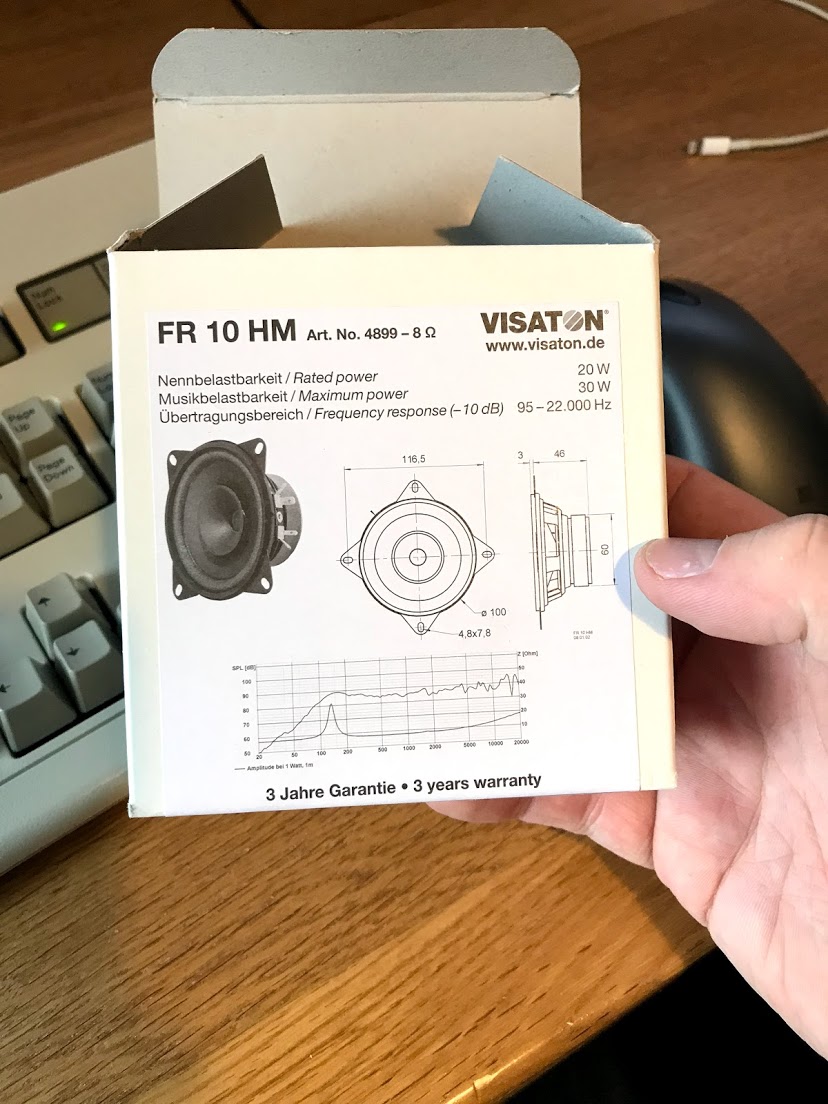
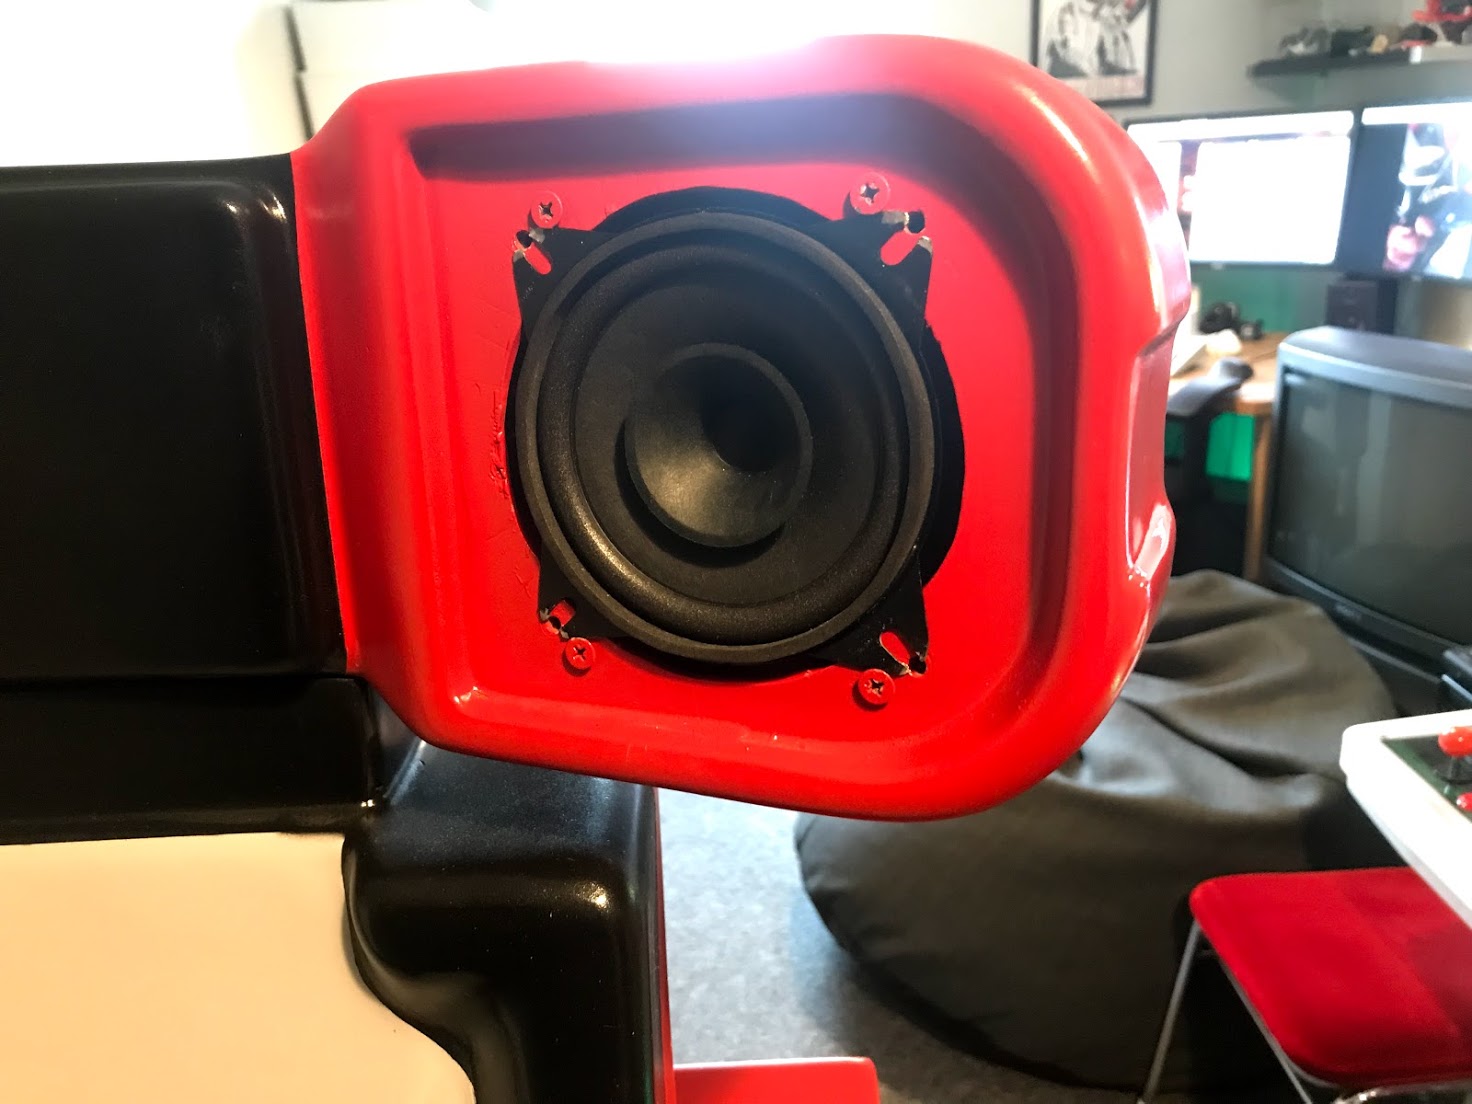
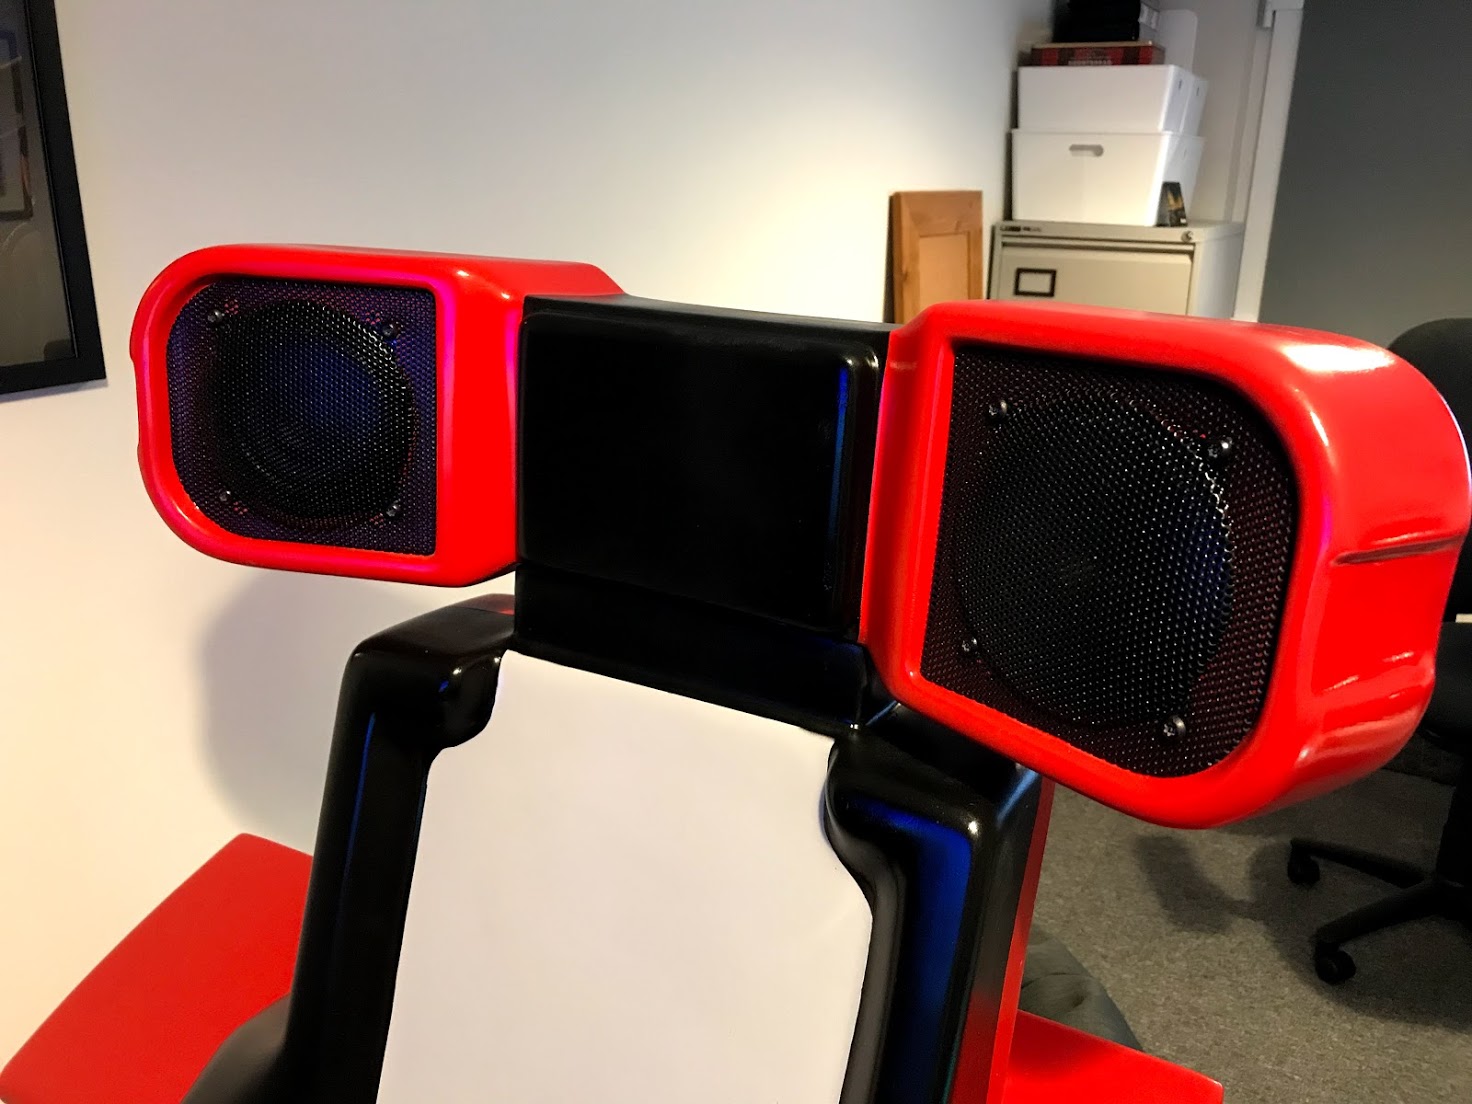
After spending an age found these speakers for the headrests, a small amount of modding them and they fit great, just added some washers to hold them in nicely.

IMG_1081.jpg


IMG_1080.jpg


IMG_1136.jpg


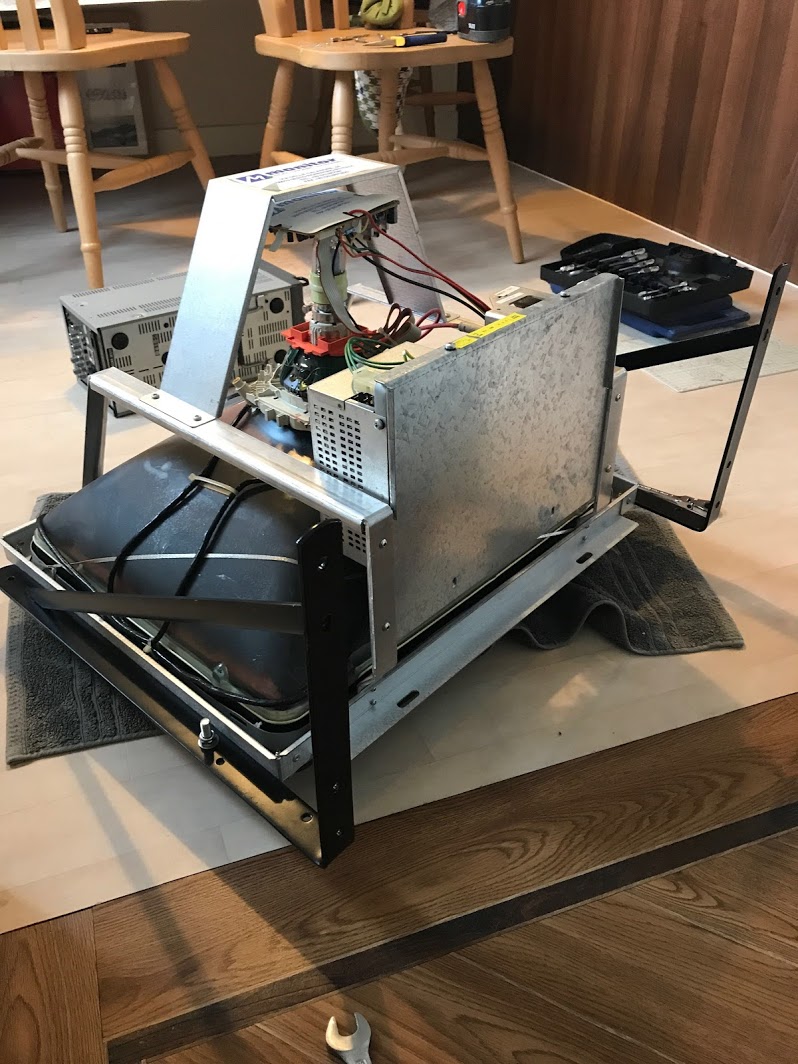
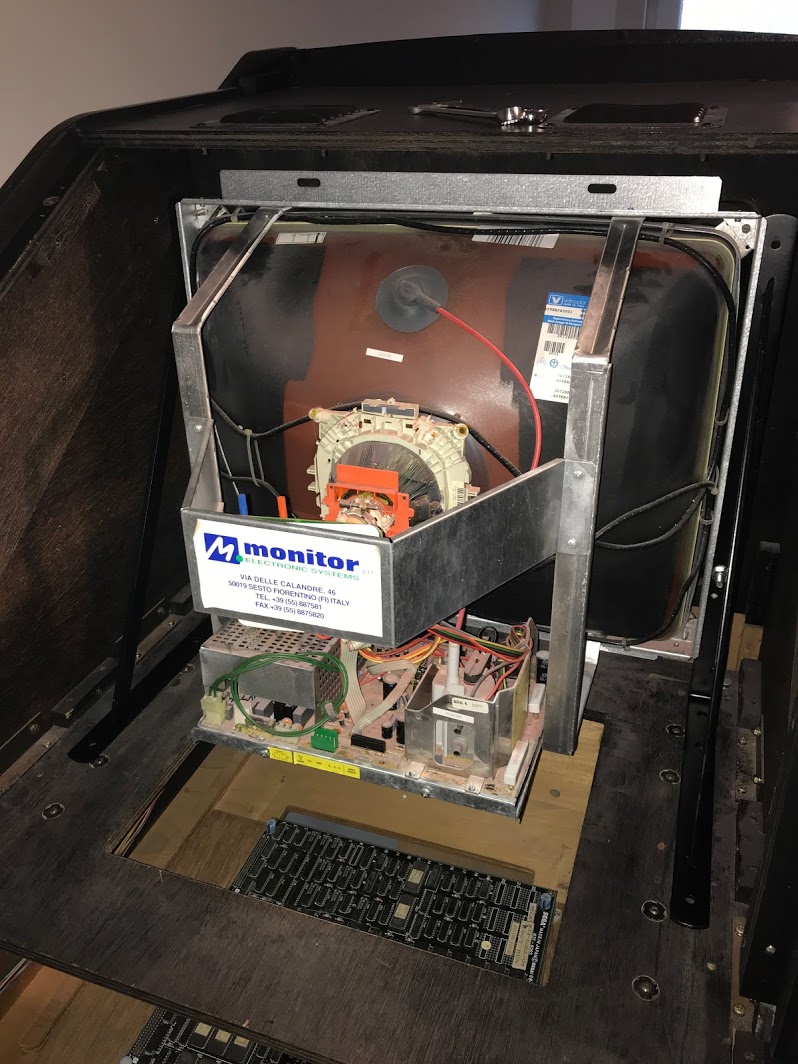
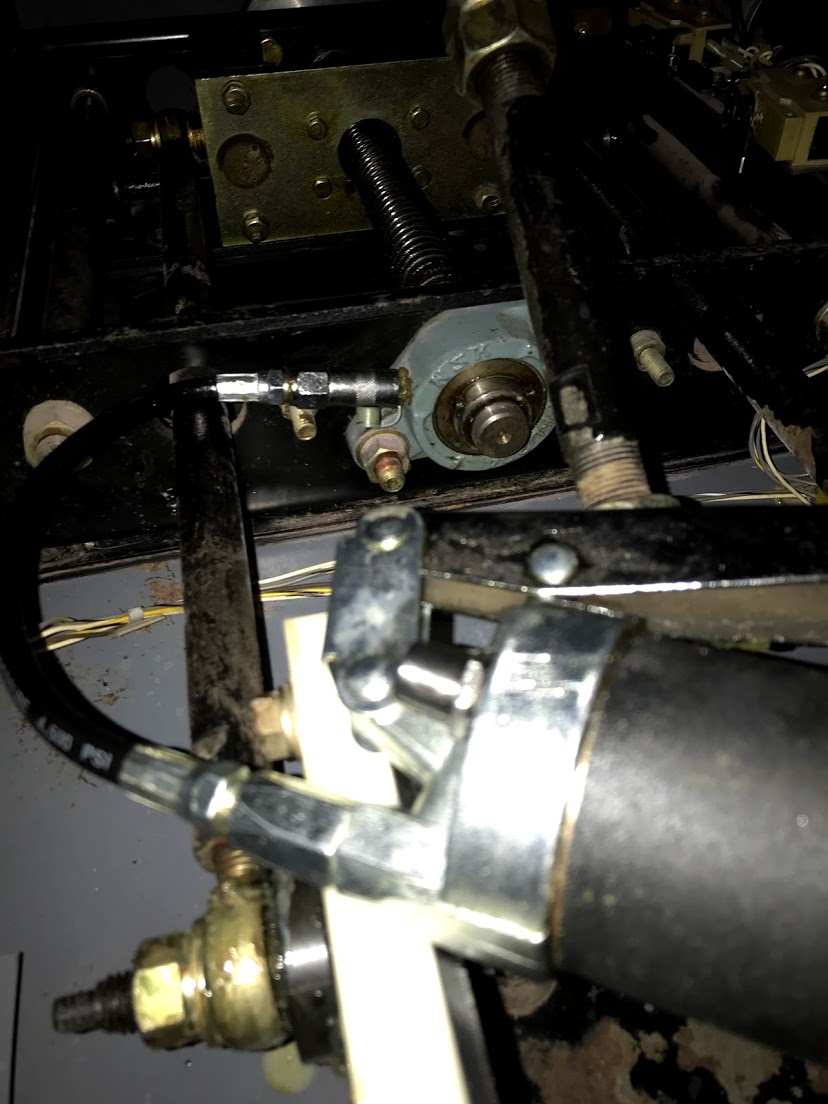
Spent ages following the manual greasing and aligning the movement mech.

IMG_1033.jpg


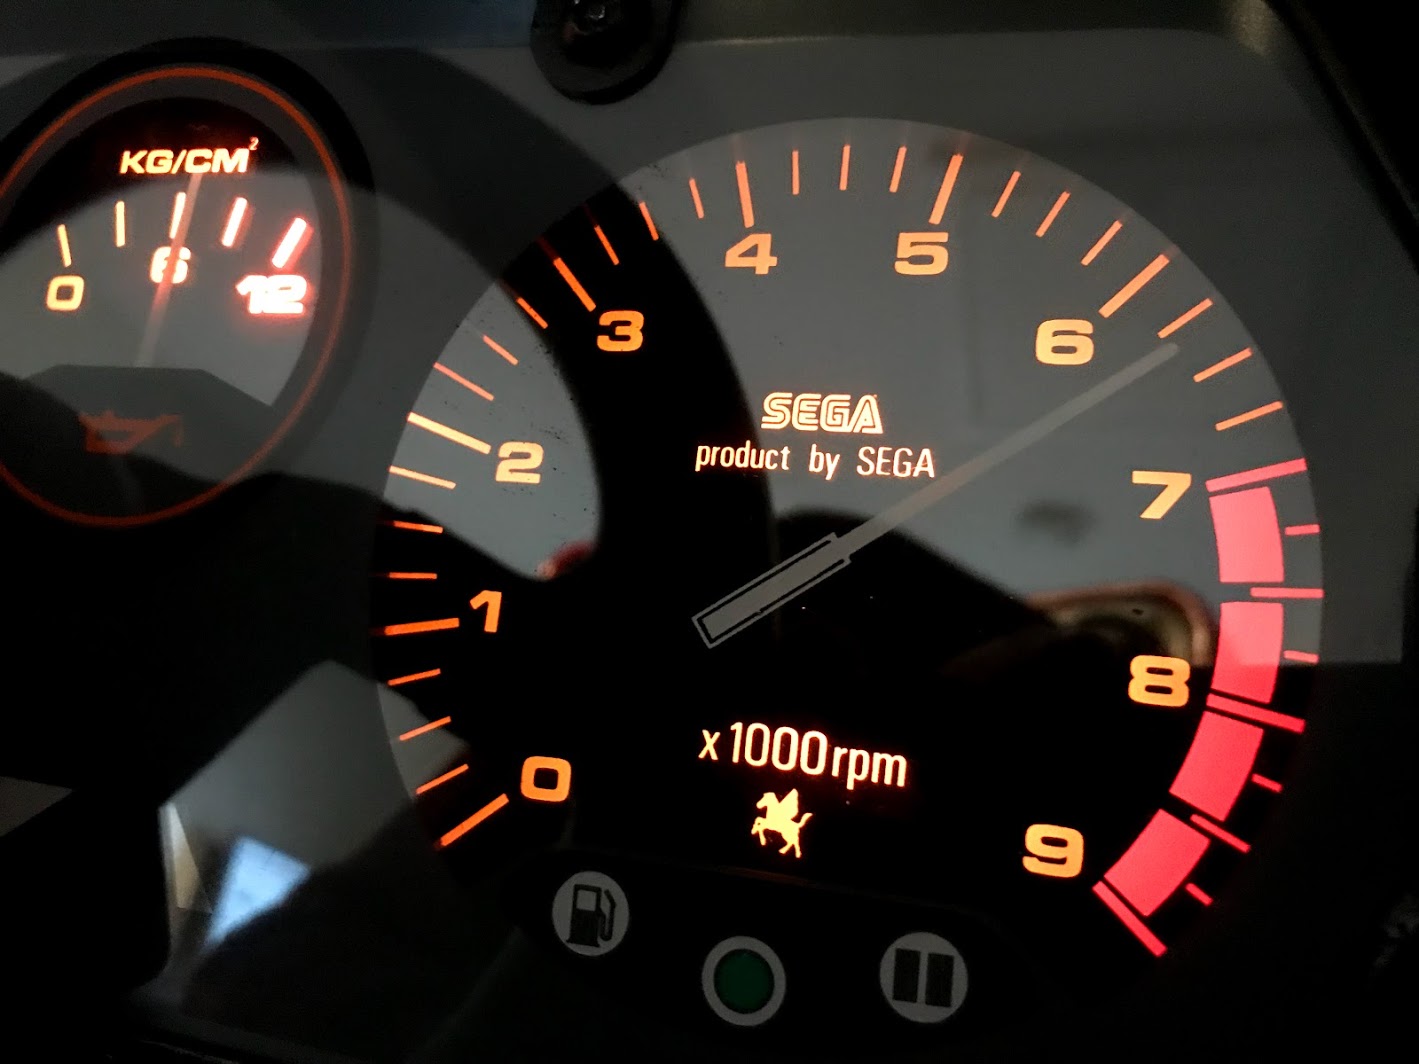
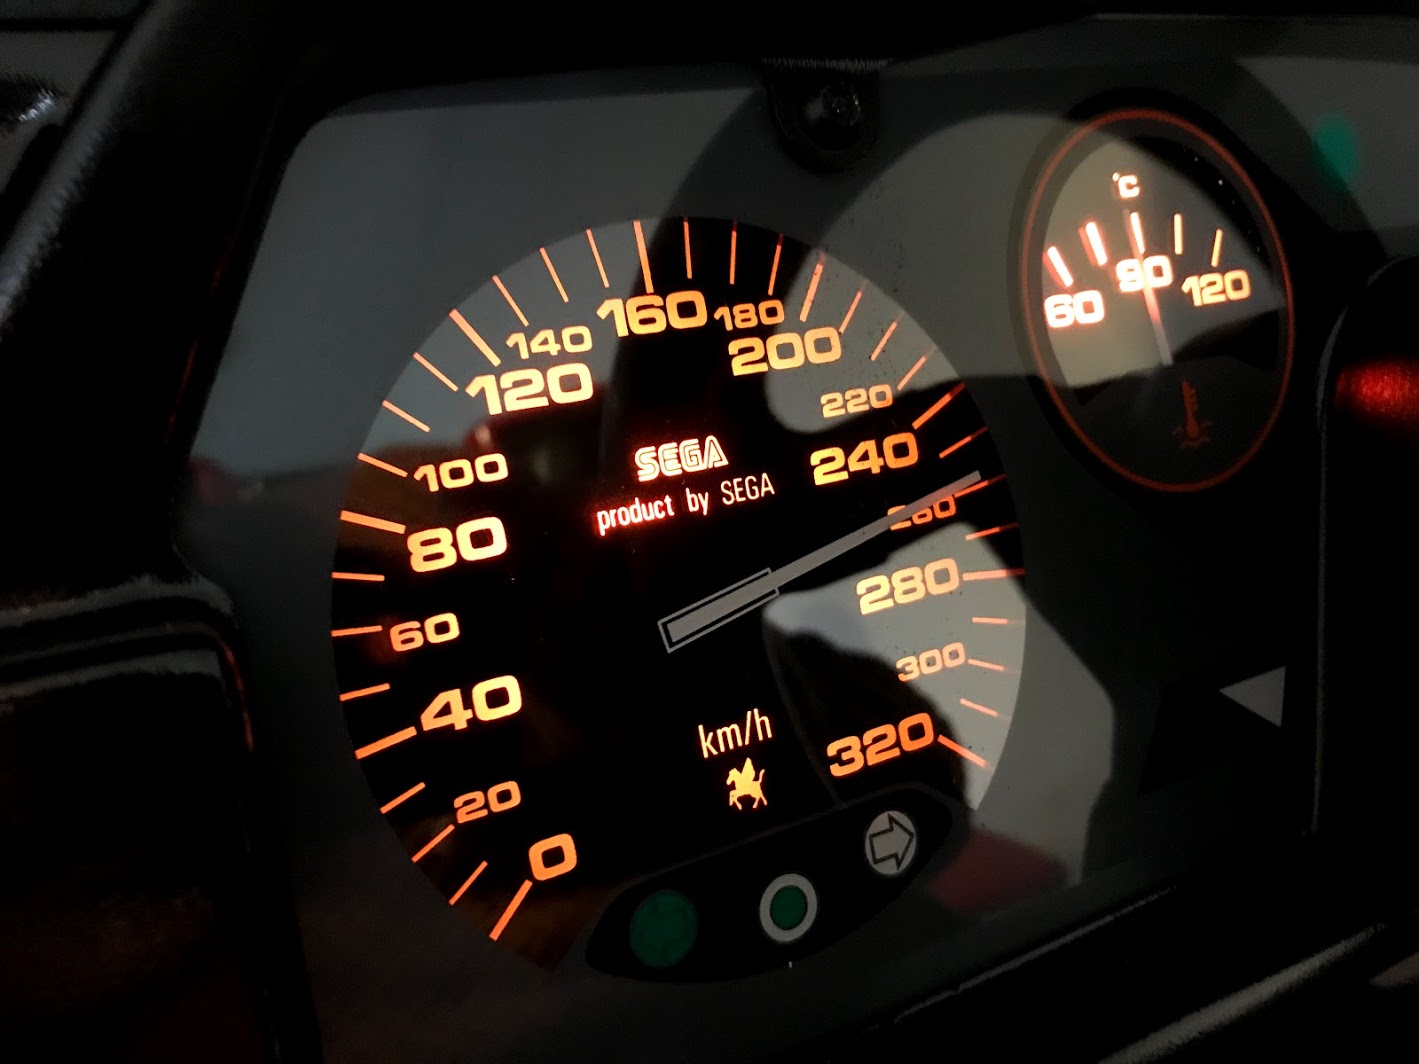
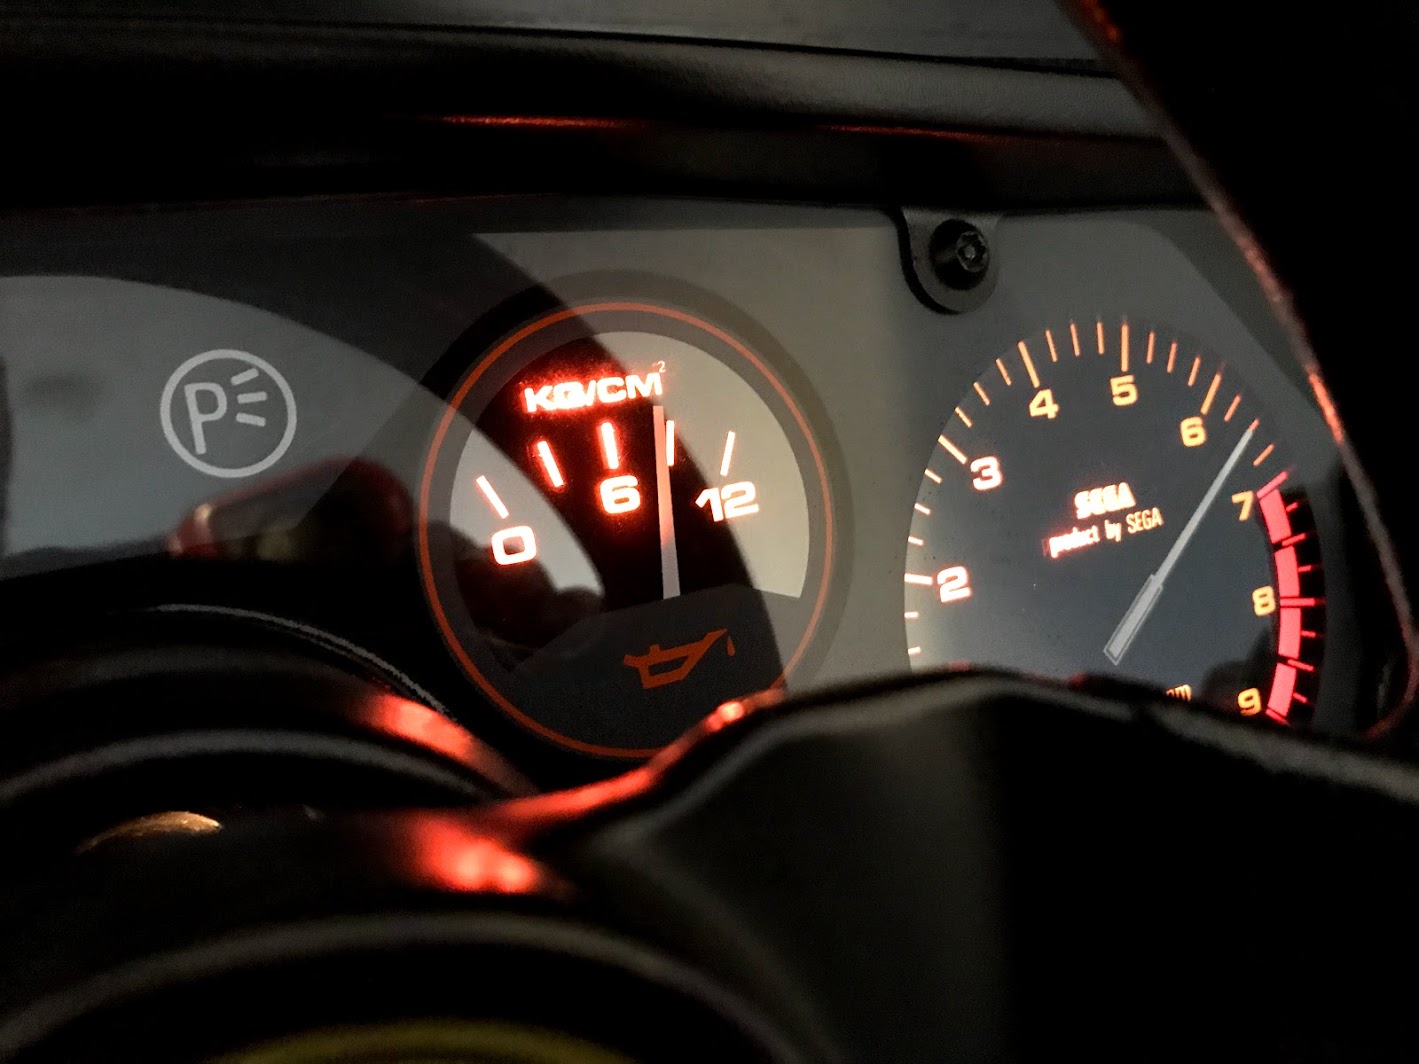
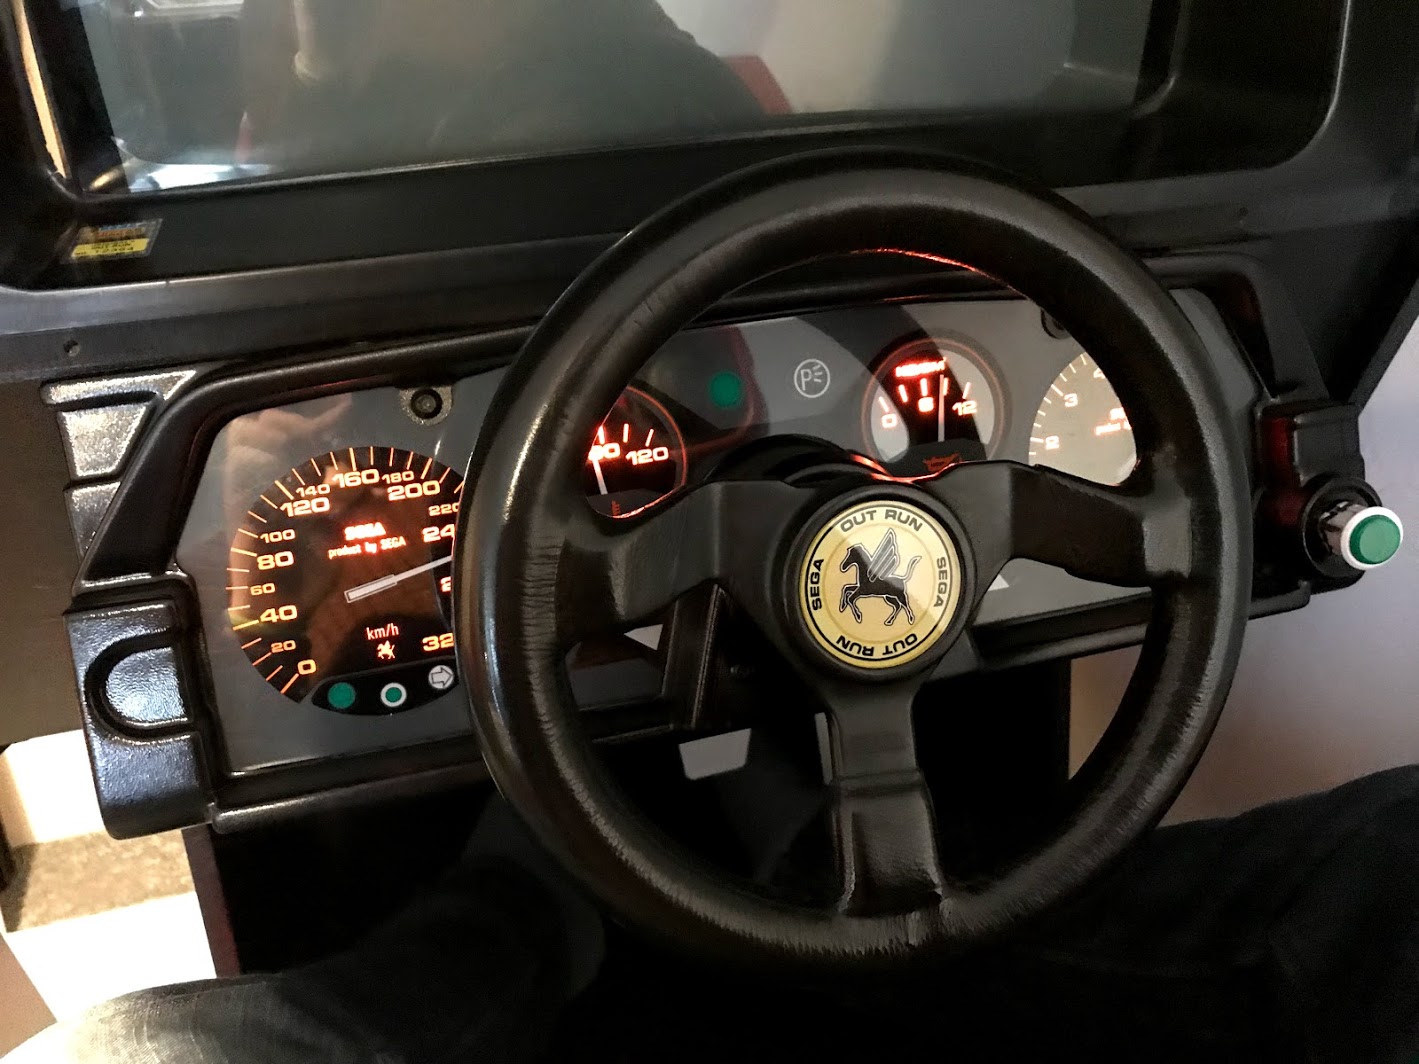
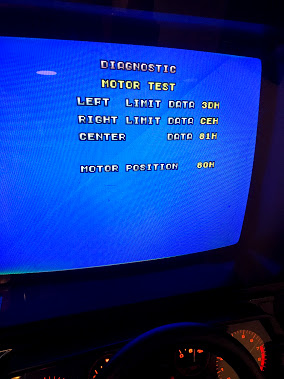
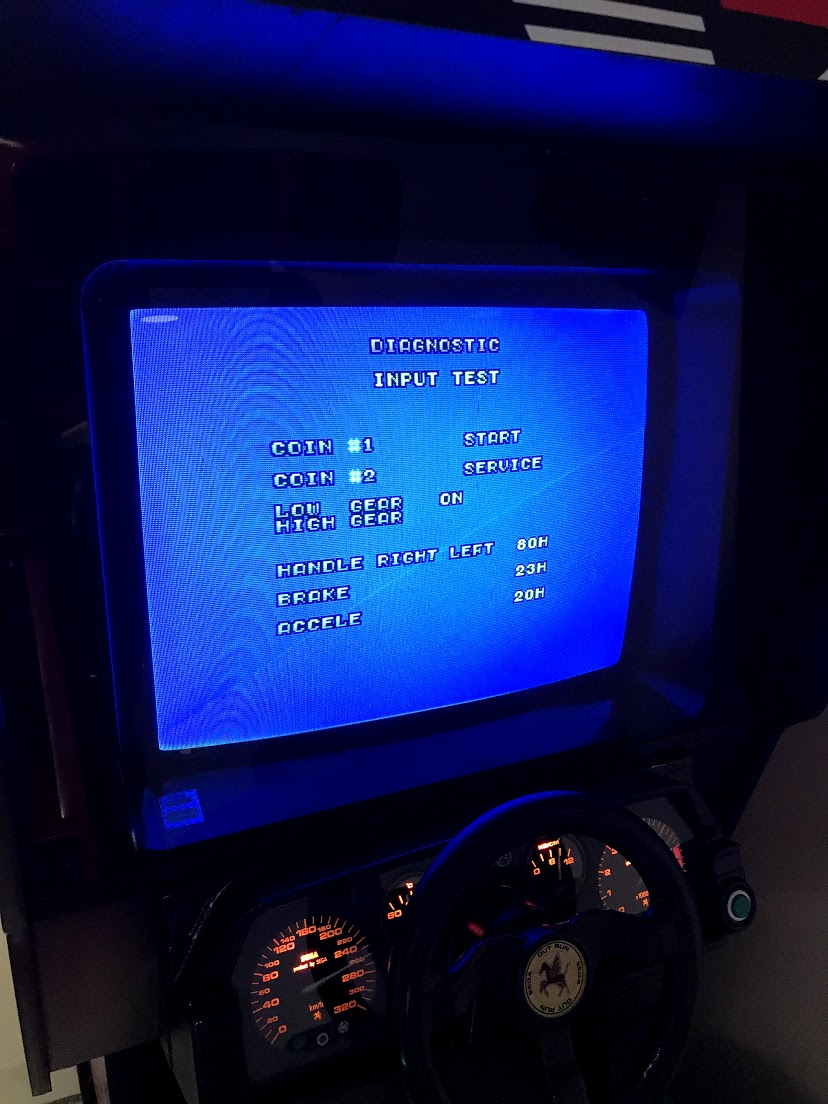
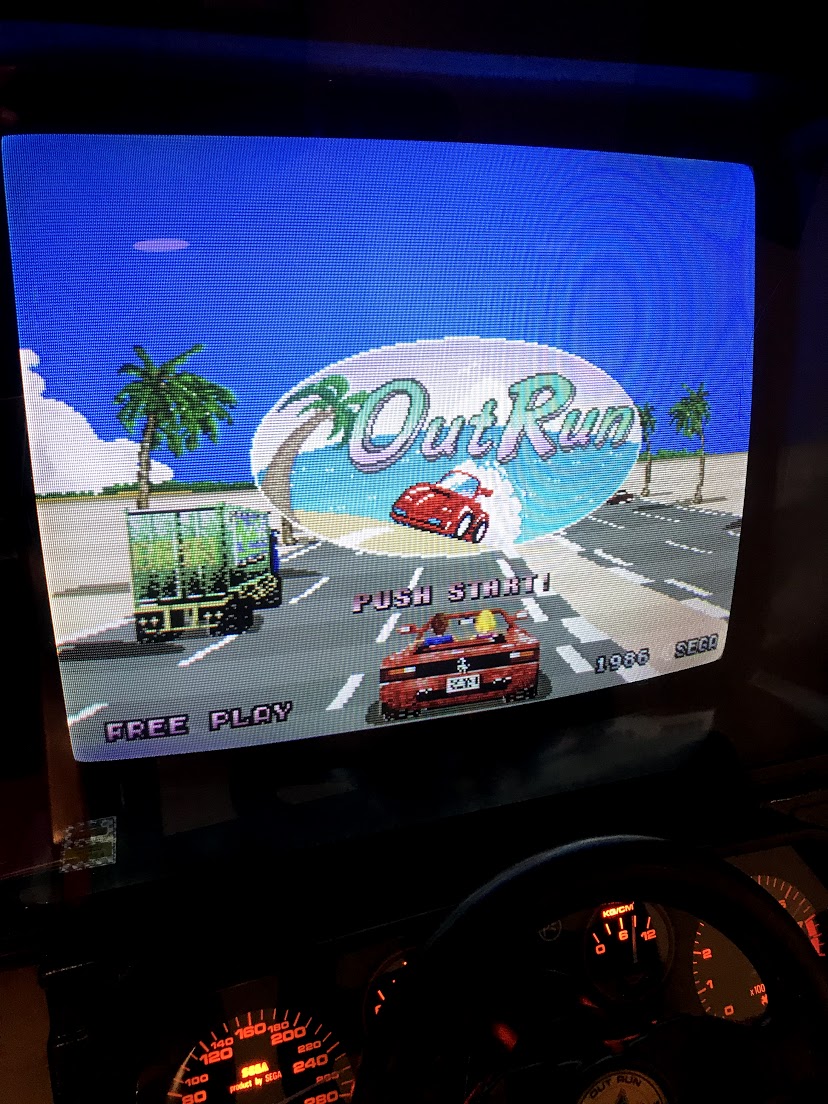
My PCB arrived back from retroclinic so calibrated all the pots.
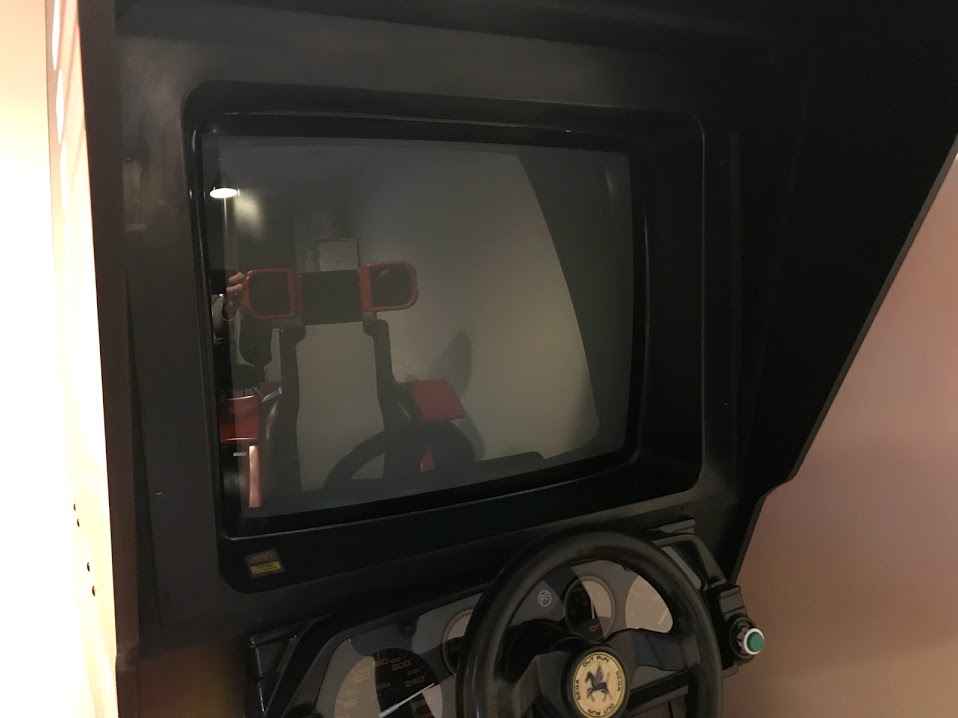
IMG_1137.jpg


IMG_1139.jpg


Pleased to see this
smiley36.gif


IMG_1140.jpg


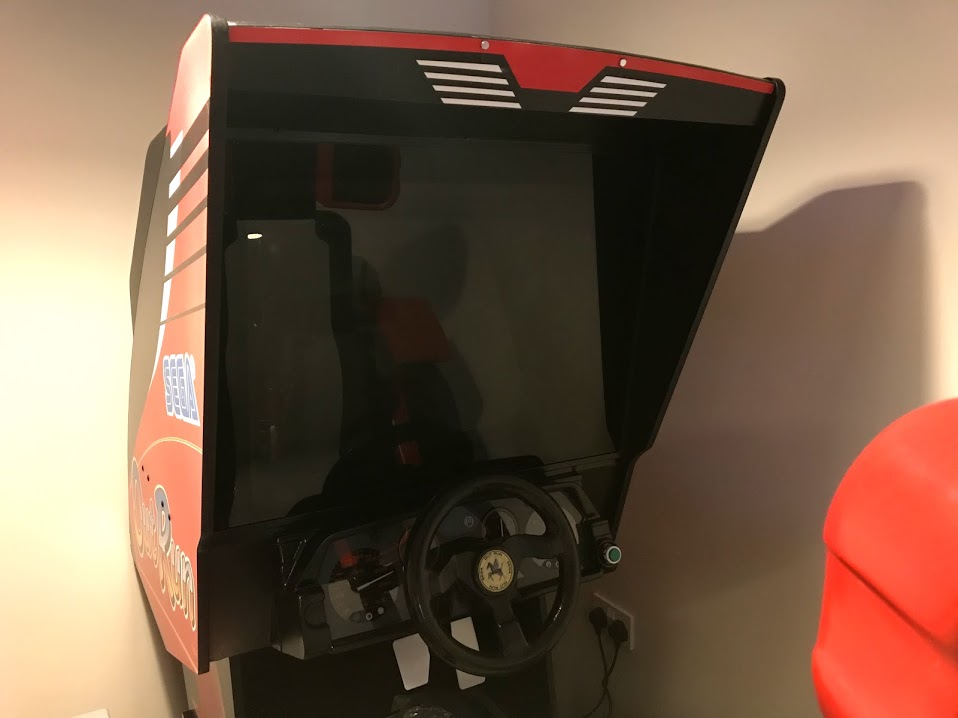
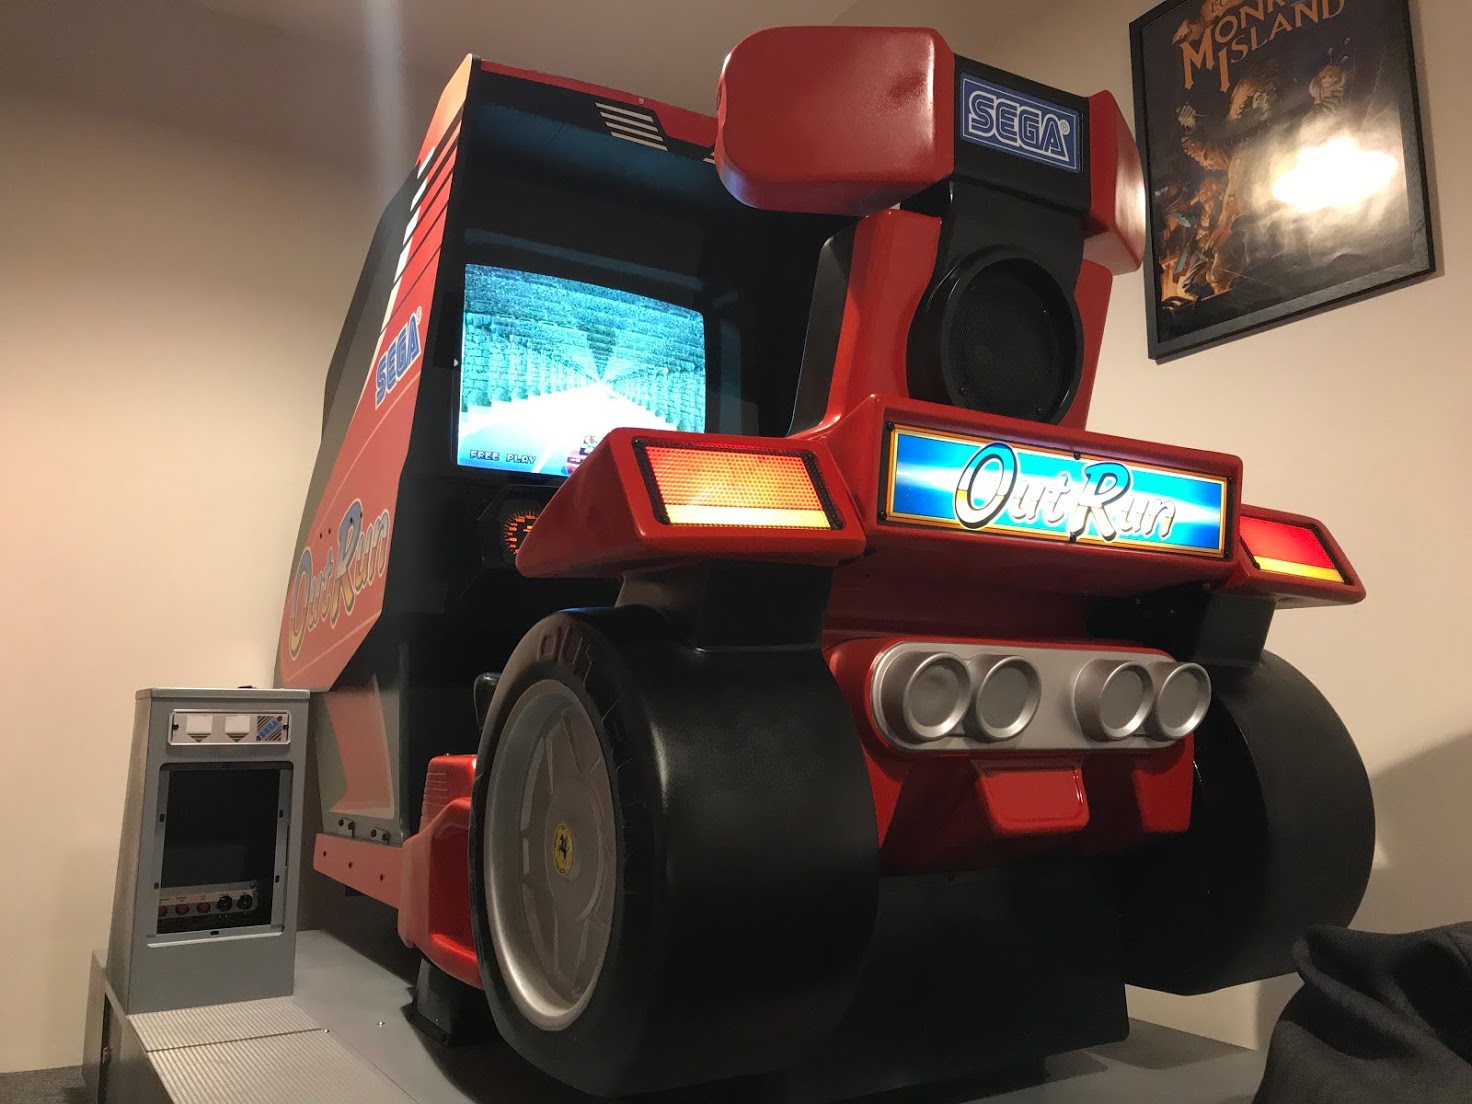
At this point she looks like this, just the wooden covers, coin door and chrome strips left to do.

IMG_1104.JPG


However the good news is that I can actually play it now, woohoo. Me and my two sons have been having a great time. This video below features the cab running the UKVAC reproduction drive PCB in it.

https://www.youtube.com/watch?v=Jzz7qQndEuE

clarkey2019-03-02 22:30:15
 

LAZORIAN

Active member
vacBacker
Feedback
2 (100%)
Credits
260CR
So good to see the progress, this is a great example of seeing something through properly. Now you can really start to reap the rewards of all the hard work.

Not sure if you mentioned it but what did you use to polish the plastics? Novus? Looks like you did them by hand anyway.
 
Top