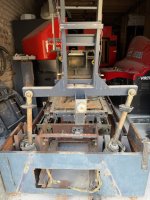
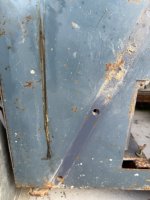
Sega G-LOC Air Battle Deluxe restoration project

Mariobros3

User
Credits
124CR
;)

A little more progress on the power supply assembly! I’m still working through removal and cleaning at this stage; none of the following parts has been electrically tested yet.

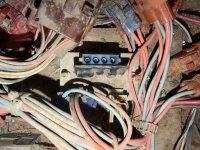
First up was the Sega 839-0233-02 board, listed in the manual as “SSR AC 2A DC5V BD”. This controls the red warning lamp on top of the cabinet, labelled “DANGER LAMP” on the wiring diagram.

IMG_6507.jpeg

IMG_6514.jpeg

It uses a Matsushita AQB2A1-ZT3/6VDC solid-state relay, also marked AQB312. The white connector carries the low-voltage control signals, while the blue connector carries the AC connections.

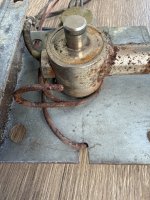
There was a thick layer of dirt on the component side, rust around the mounting points and some green corrosion on the blue connector contacts. Cleaning has made everything much easier to inspect, although some oxidation remains.

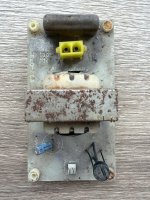
Next was the Sega 839-0339 board, described as “RECT BD +5V~24V”. This supplies the DC control voltage for the main 20 A solid-state relay, Sega part 450-5048.

IMG_6516.jpeg

IMG_6518.jpeg

The board contains a transformer, a W06 bridge rectifier, a Rubycon 10 µF / 35 V electrolytic capacitor and a fuse marked 0.1 A / 250 V.

The dirt has cleaned off nicely, but the transformer’s metal retaining bracket is still heavily rusted and will need further attention.

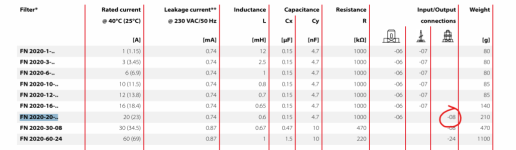
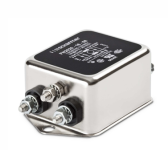
Finally, I removed the mains EMI filter, listed by Sega as part 270-5032, “NOISE FILTER 20A”.

IMG_6497.jpeg

IMG_6529.jpeg

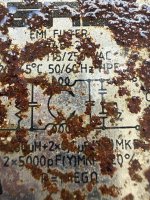
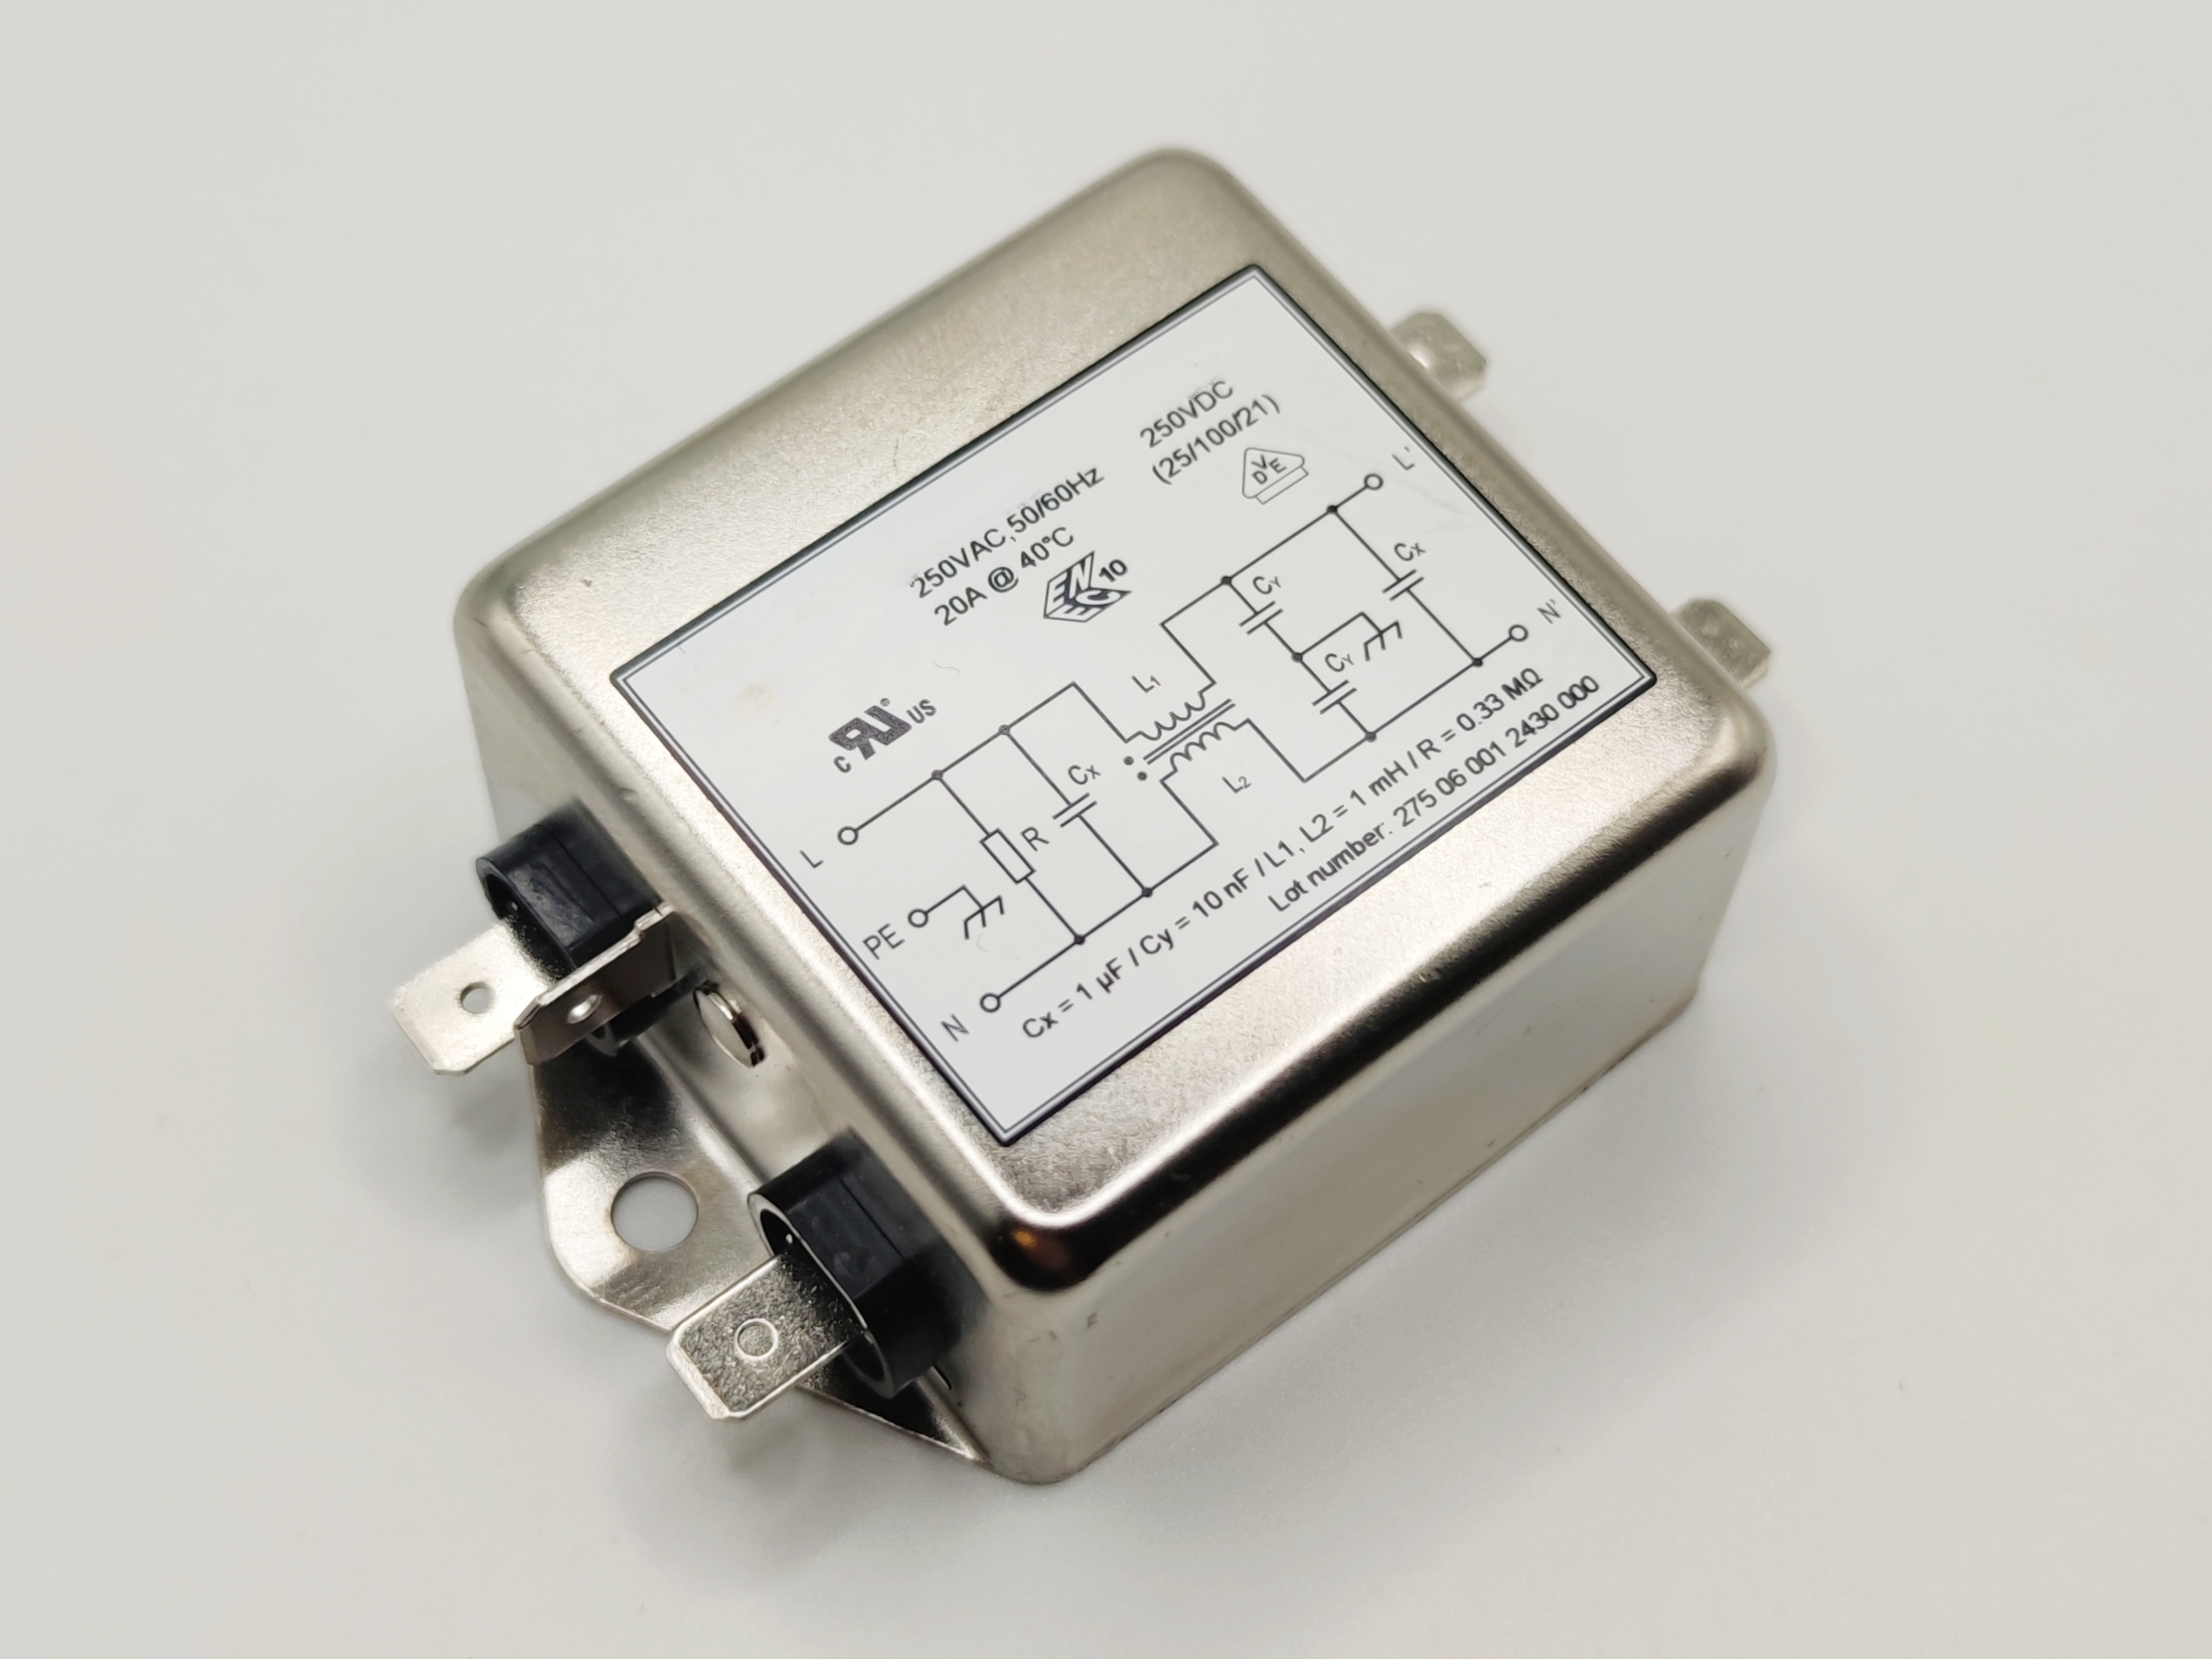
Its casing is badly corroded, making the markings difficult to read. Comparing it with a better-preserved example suggests that it is an SAE GA4B-20: the logo, casing and printed circuit diagram appear to match.

The comparison unit is rated at 20 A, 115/250 VAC, 50/60 Hz. Its label specifies 2 × 680 µH inductors, 2 × 0.1 µF X2 capacitors, 2 × 5,000 pF Y capacitors and a 1 MΩ resistor. These are the comparison unit’s markings, rather than measured values from my filter.

Has anyone replaced this filter in a G-LOC Deluxe or another Sega cabinet of the same period? I’d be interested in a suitable modern equivalent, particularly a part number someone has successfully used. Different mounting dimensions would be manageable.

More to follow!
 

Mariobros3

User
Credits
124CR
;)

A little more progress on the power supply section. The main components are now off the wooden mounting board, although the board itself is still putting up a fight!

First, a follow-up on the small Sega 839-0339 supply board shown in my previous update: the transformer’s retaining bracket has now been treated for rust. The surface looks much better, although the pitting remains visible.

IMG_6540.jpeg

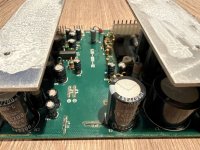
Next was the combined audio amplifier and regulated power supply. The G-LOC manual lists this as 601-6227-02, “PWR AMP W/SW REGU12V5A”, but the damaged label on my unit ends in “6227-01”.

Interestingly, the Daytona USA Twin manual also lists 601-6227-01. That gives us another documented application for this version, although it doesn’t establish where my unit came from or whether the two versions are interchangeable.

IMG_6537.jpeg

IMG_6539.jpeg

The PCB has received an initial clean, but more work remains. The metal cover is still heavily marked, and I’m looking for a way to clean it without adding scratches or damaging what remains of the label.

I also removed and cleaned the main solid-state relay, an Omron G3PA-220B, corresponding to Sega part 450-5048. This is the relay controlled by the small 839-0339 board.
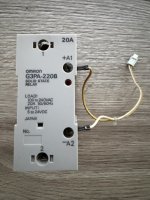
IMG_6568.jpeg


Its markings specify a 100–240 VAC load, rated up to 20 A, and a 5–24 VDC control input. With the cover removed, the power device cartridge is marked G32A-A20. Some corrosion remains on the terminal screws.

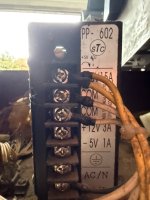
The main +5 V supply has also been removed. The unit fitted to my cabinet is a replacement STC PP-602, rather than the Sega 400-5089 listed in the manual.

The STC has +5 V / 15 A, +12 V / 3 A and −5 V / 1 A outputs, but only the +5 V and COM terminals were connected on the output side.
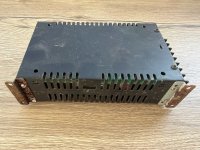
IMG_6548.jpeg

Both mounting brackets are badly rusted and still need cleaning and treatment.

Then came the large Sega 560-5167 transformer. Its rusty mounting screws made removal a little challenging, but it is finally out.

It provides 18.5 VAC / 6 A for the amplifier/regulator assembly and 100 VAC / 2 A for circuits including the monitor, fluorescent lighting, fans and upper warning lamp. Its metalwork still needs attention.

IMG_6558.jpeg

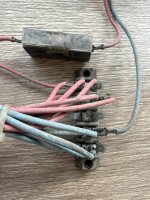
That leaves the wooden board, Sega GLC-4001, with the terminal blocks and some wiring still attached. Unfortunately, its remaining fixing screws are extremely rusty and I haven’t managed to loosen them yet.
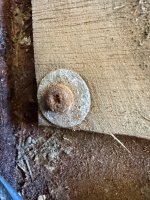
IMG_6559.jpeg

This is still the dismantling and cleaning stage. Apart from the fuse on the 839-0339 board, no electrical testing has been carried out, so none of these assemblies has been confirmed working.

More to follow — once those last screws agree to cooperate! :)
 

Attachments

  • IMG_6505.jpeg
    IMG_6505.jpeg
    75.1 KB · Views: 1
  • IMG_6553.jpeg
    IMG_6553.jpeg
    106.8 KB · Views: 1

John Bennett

Senior Member
vacBacker
Feedback
10 (100%)
Credits
5,256CR

Mariobros3

User
Credits
124CR
Thanks John, that’s a useful lead! :)

The label on the matching SAE GA4B-20 shows two 5,000 pF Y capacitors, so I’d ideally like to find a replacement with those included, to keep the installation close to the original without adding external components.

I’ll compare the Würth’s specifications and dimensions. Still at the dismantling and cleaning stage here, so I have some time to find a suitable replacement. Thanks for taking a look!
 

Mariobros3

User
Credits
124CR
Thanks John! :)

The main thing holding me back with this one is the terminals. The original SAE filter has threaded studs and nuts, and the cabinet wiring uses ring terminals. Ideally, I’d like to keep that arrangement and preserve the original wiring, so I’m looking for a similar filter with stud terminals.
 

Mariobros3

User
Credits
124CR
Thanks again for your help and patience, John! :)

The original filter’s case measures approximately 50 × 60 × 35 mm, with the mounting holes 75 mm apart, centre to centre.
 

John Bennett

Senior Member
vacBacker
Feedback
10 (100%)
Credits
5,256CR
No bother, it’s fun in a strange way.
Looks like that new filter is extremely close in size (50 x 64 x 30mm), might even be 1:1 on mounting holes (not that it matters on a piece of plywood).
 

Mariobros3

User
Credits
124CR
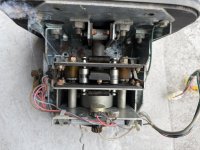
A little more progress on the motor driver mounting board: the wiring harnesses have been removed and cleaned, and most of the remaining brackets and spacers are now off.

Two connectors have cut wires that will need tracing and repairing. With one corner of the plywood damaged and several fixing screws spinning in their holes, I’m now leaning towards replacing the board.

I’ve also put together a dimensioned drawing of the GLC-4002 wooden base, which may be useful to anyone reproducing one.

The latest photos and details are in my French WIP.

More to follow! :)
 

Mariobros3

User
Credits
124CR
;)

A little progress on the G-LOC DX restoration. :)

Both wooden mounting boards have now been removed: the motor driver board support and the power supply base. Some of the mounting screws were so badly rusted that I had to cut away the wood around them to release the second board.

IMG_6662.jpeg

Removing it revealed quite a lot of corrosion underneath. There’s still plenty of work ahead on the metalwork!

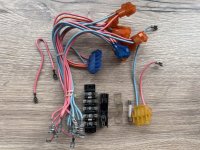
I’ve also removed the wiring harnesses and started cleaning them. Here’s a before-and-after example:

IMG_6689.jpeg

IMG_6690.jpeg

It’s good to see the wire colours and markings again. Cleaning is still in progress; electrical checks will come later.

I’ve measured both wooden boards and put together dimensioned drawings to help reproduce them. The drawings and the full photo updates are in the Gamoover thread.

Slowly getting there! :)

More to follow!
 

Mariobros3

User
Credits
124CR
A little more progress on the G-LOC DX. :)

The rear skirt and seat shell are now off. The skirt is cracked and torn, and the seat shell has several substantial breaks, particularly around the seat belt openings.

IMG_6617.jpeg

IMG_6736.jpeg

I’ve also measured the rear skirt and prepared a preliminary dimensioned drawing. The original is distorted, so the lower slit spacing still needs checking before making a replacement.

Next came the complete control stick assembly: four bolts underneath, three connectors to unplug, then the whole unit slides forwards out of its housing.

And this time, a pleasant surprise: the assembly is in good overall condition! There’s dust and some localised corrosion, but it looks much better preserved than some of the other parts.

IMG_6727.jpeg

Cleaning and mechanical and electrical checks are still to come, but finding something in decent condition is encouraging. :)

More photos and details in the Gamoover thread.

More to follow!
 

Mariobros3

User
Credits
124CR
A quick update on the G-LOC restoration :)

I’ve removed and dismantled the throttle assembly. One screw snapped during removal, and inside I found a broken, heavily rusted torsion spring (GLC-2108). The chrome-plated lever shaft was also badly corroded. It has now been cleaned, although I still need to decide how to restore the finish.

I’ve contacted Arcadefixit about the spring and a few other parts, so I’m waiting to hear what’s available.

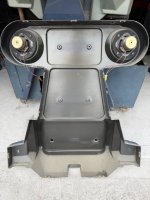
Next, I removed the rear seat covers, revealing the two speakers and the 10 W fluorescent lighting assembly. There’s plenty of dust and some rusty brackets, but everything is now accessible for inspection. I also found what appears to be the fluorescent starter loose at the bottom of the shell.

IMG_6738.jpeg

IMG_6747.jpeg

IMG_6627.jpeg

More photos and the detailed restoration log are available in my Gamoover thread.

More cleaning and checks to come! :)
 

Bods

Senior Member
vacBacker
Feedback
5 (100%)
Credits
5,349CR
Love seeing all the insides of these Sega Deluxe Cabs
Nice to see it has 4 speakers too, well currently 3 but i didn't know it had speakers in rear as I've never seen one in person
Only thing I find with many Sega cabs is the small speakers they used, Hang-on, Outrun and Space Harrier are pretty decent with good amps in Space Harrier being STK hifi power amp, Outrun with the Rear larger speaker on back of seat and Hang-on has pretty decent size on sides but After Burner upright, Thunderblade deluxe have the smallest speakers and sound is pretty rubbish, they all should have had subwoofers or bigger speakers
Turbo Outrun cockpit is decent, has small front speakers like in this cab but also subwoofer right under the seat which makes it much better than the later sega driving cabs OutRun 2 etc as those Subwoofers aren't upto much
F355 Dlx is more like it
Atari was good for the sound, like Star Wars cockpit with four 6x9 speakers, never seen an Atari machine with rubbish sound even Xybots there what 5" speakers but there in like a seperate enclosure and have a lovely bass sound to them in certain parts of the game.
Sega made such amazing quality machines and my only criticism is the poor sound due to tiny speakers and I feel most need an upgrade of some sort like Rail Chase, that needs a subwoofer adding
You can get decent bass sound from 4" speakers if they had some sealed boxes like on this G-Loc, the rear speaker, you could make a tube to fit over the round wood the speakers are fixed too so there like bass tubes, sealed air tight and they would be drastically improved like some of the 80s Stereo Grundig and Philips TV's had smallish 4/5" speakers but they were fitted in sealed plastic boxes and the sounded amazing
Honda CRX mk2 in Japan had option for sealed rear speaker tubes which sell for crazy money these days
 
Last edited:

Bods

Senior Member
vacBacker
Feedback
5 (100%)
Credits
5,349CR
The only G-Loc cab I've actually seen myself is the standard Sitdown
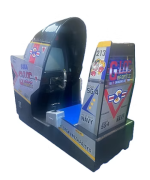
Years back I bought one of those German wall mount arcade cabs and the guy had one of these, it's probably the same one they are trying to sell because they are pretty rare, lovely thing if you don't have space for Deluxe, can't remember if he was selling it but I'm sure I did see it for sale at some point after around £600/700

The price here is crazy silly but when I saw the cab it was up north somewhere also
https://www.arcadebreakers.com/product-page/sega-g-loc-sit-down-arcade-machine

1790154791072.png
 

Mariobros3

User
Credits
124CR
Thanks Bods! :) Glad you’re enjoying the photos of the internals.

The two rear speakers are still in place, although I haven’t tested them yet. Your suggestion about speaker enclosures is interesting. For now, I’m concentrating on cleaning, checking and restoring what’s there, so I can hear how the original setup performs before considering any changes.

Thanks for sharing the Sitdown too! It’s quite a different cabinet from the Deluxe. This one is certainly keeping me busy — every part I remove adds something else to the list! :)
 

Mariobros3

User
Credits
124CR
Hi everyone,

A little more progress on the G-LOC Deluxe strip-down :)

I’ve removed the flexible guards around the rear support, « GLC-0006 — GUARD SHEET A » and « GLC-0007 — GUARD SHEET B ». Both show cracking and tears around the mounting areas. I’ve also taken measurements and drawn up dimensioned plans to help reproduce them.

IMG_6636.jpeg

The front half of the seat back, « GLC-1005 — SEAT FRONT », is now off too, giving a clear view of both sides. The two speakers are still fitted to their baffle boards and remain untested. I also removed the seat belt.

IMG_6639.jpeg

Next came the A-shaped rear support, « GLC-0001 — ASSY PILLAR ». I also removed the central shaft to allow the rear seat shell, « GLC-1006 — SEAT REAR », to come off.

With the shell removed, the rear frame and the two movement rods are much easier to inspect. There is considerable corrosion on the exposed rods, and the protective bellows are damaged. Their mechanical condition still needs checking.

IMG_6771.jpeg

One useful discovery was the original paint preserved beneath the rear support’s mounting points. These sheltered strips are noticeably darker than the exposed surfaces and should provide a useful reference when matching the colour. I suspect it may be the same shade as on the Galaxy Force Deluxe, but that still needs checking.

IMG_6772.jpeg

There is more work than I originally expected, but each part removed gives me a clearer picture of what needs attention. No new powered tests at this stage.

The detailed strip-down, with more photos and part references, is in my Gamoover WIP.

More to follow :)
 

Bods

Senior Member
vacBacker
Feedback
5 (100%)
Credits
5,349CR
Thanks Bods! :) Glad you’re enjoying the photos of the internals.

The two rear speakers are still in place, although I haven’t tested them yet. Your suggestion about speaker enclosures is interesting. For now, I’m concentrating on cleaning, checking and restoring what’s there, so I can hear how the original setup performs before considering any changes.

Thanks for sharing the Sitdown too! It’s quite a different cabinet from the Deluxe. This one is certainly keeping me busy — every part I remove adds something else to the list! :)

Yes you have a lot of work to do before considering anything like the sound :)

The boots on the rear posts that lift it, what should they actually look like because all the ones i've seen photo's of have looked the same like it has something missing
I'm surprised Sega didn't make something like this with the AirDrive System, it's so fast on movement compared to motors it would have really thrown you about
After a go on Rail Chase OutRun and Space Harrier seem quite tame and the Super Monaco GP makes my back hurt just watching videos of people playing it with that seat jolting about :LOL:
 
Top