Zacc Invaders - The Project

Mr20to5

Active member
vacBacker
Feedback
1 (100%)
Credits
1,365CR
Hi guys, new thread time owing to NEW CAB TIME !!! Woo Hoo!!
smiley32.gif


I have umm'd and arr'd over whether to start this thread here or on the repairs section, however, as I hoping to less repair and more restoring, here I have opted. Should those more wise than I disagree then please feel free to shunt this elsewhere.

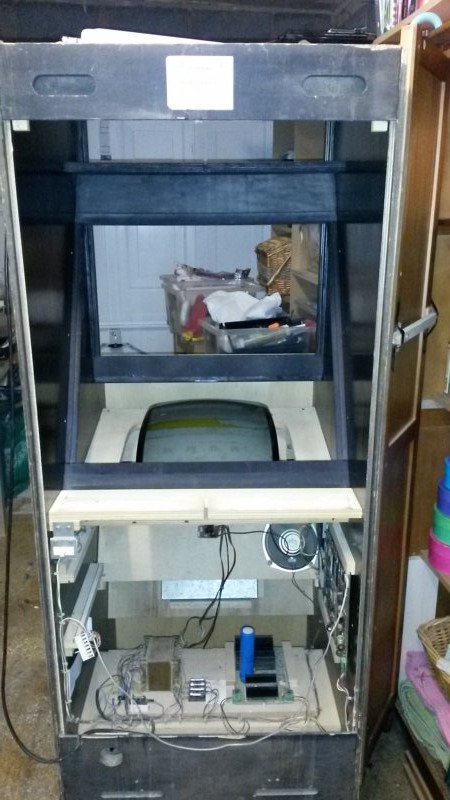
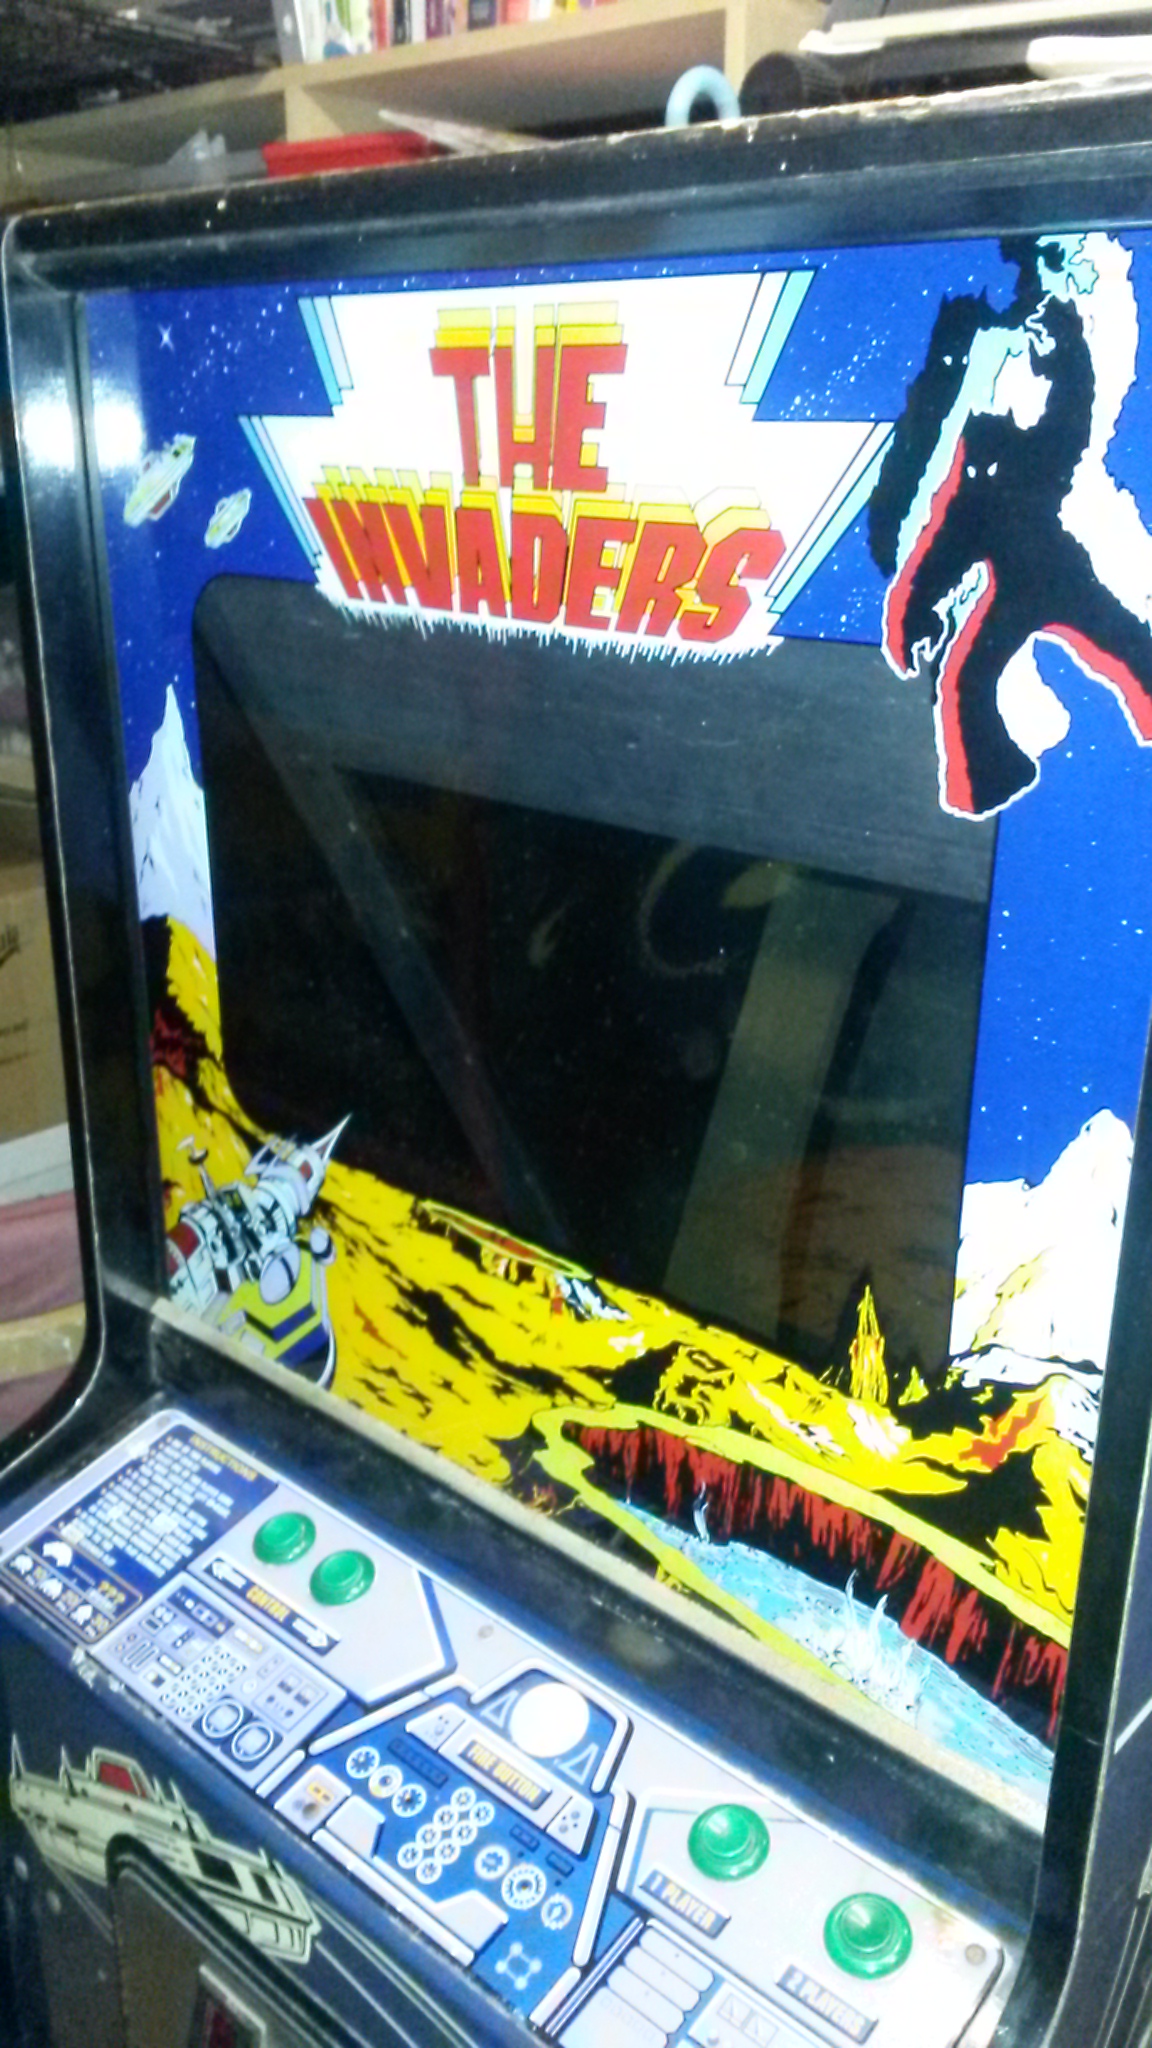
That said then, it is time to introduce Cab Number Two, my Zaccaria Invaders Cab. I intend to write quite a bit in this initial post, so to break up the words, here's piccie number one.
20150419_1718431.jpg


Putting a personal slant on this, this is one of the first cabs I can remember really playing again and again and again, as it was in a place we all went at school lunch break, with many a lunch money, sacrificed, converted into those big ten pence pieces and the battle for owning the high score raged on and on.

I bought this as "playing blind", which hints towards a monitor fault, but as those who know me/helped me/read my previous posts, will vouch, I am still ever the Noob, especially with all things electronic/electricity based. Which left me with an initial shaky 5 minutes with Zacc as the delivery van pulled out of my drive and I rolled the garage door shut, wondering if I had just made a mistake. Anyway, a couple of G&T's later and a night's sleep, I figured, "how bad/hard can it really be?"

A phrase I may return to as this thread continues.....

To try and still my anxiousness I set about making a 'to do' list, firstly to use as a reference for my progress through this, but also to be able to show myself all the things that I know I can fix myself (with a little help, guys, please).

So here's the list, good points first, and then I'll post some photos which will highlight some of the faults on the lists below;

Good Points;
Outside Zacc;
1. Bezel is in really good condition, no scratches, marks or cracks
2. Original silk screened CPO graphics are still in good condition underneath the plastics
3. Coin door (and mech) are intact and in reasonable condition. (coin bucket also in there)
4. Art work on the sides and front has no fading to it
5. back panel and locks intact

Inside Zacc;
1. Overall generally quite clean
2. Tube lights are in situ
3. Moon background is in situ
4. Mirror appears in good condition with no pitting or cracks
5. All the boards, PSU, chassis appear intact (although as a non worker clearly something is wrong)

Bad Points;
Outside Zacc;
1. T Moulding needs replaced as gouged and buckled in areas
2. Top front edge of cab has large scrapes/gouges in it
3. Metal holder for bezel is heavily pitted/rusted
4. Wooden CPO base has burns and gouges in it
5. Plastic CPO cover has slight melting to it in areas
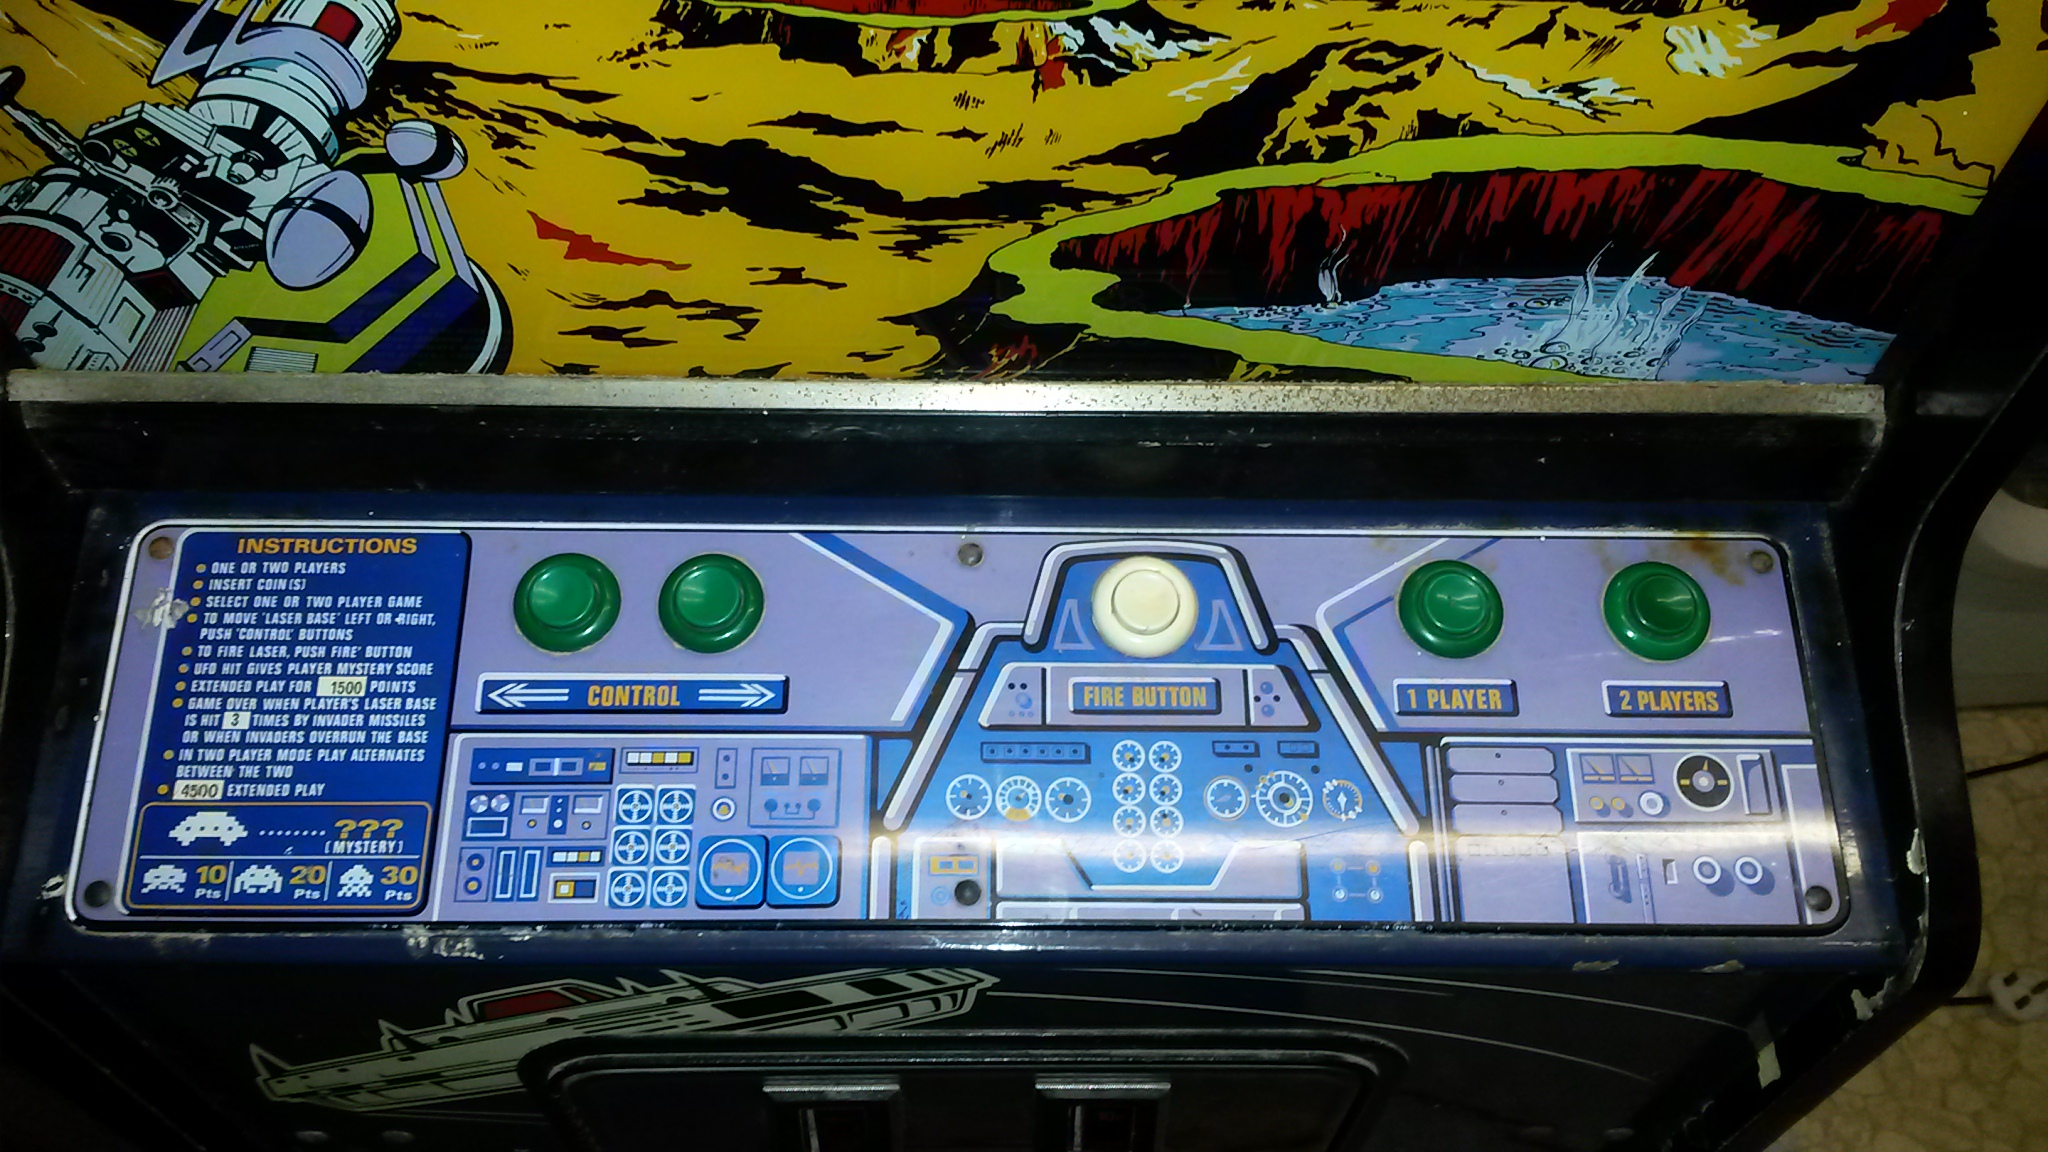
6. CPO buttons will need replaced as heavily marked/scratched
7. Coin slots need new inlays
8. Base and castors have seen better days
9. Every panel has stencilled paint on it from previous owner
10. Every panel has deep gouges in it at through to bare wood
11. Artwork has been scratched on every panel, some very deep/wide gouges.

Inside Zacc;
1. Monitor needs colour film replacing
2. Was bought with fault to monitor (not working at all)
3. Cardboard moon background has slight buckling to the top/middle
4. Cardboard moon background has slight tearing around fixing staples
5. Interior cardboard monitor surround needs replaced
6. May need visible interior area repainted black

Other than the above, Zacc is perfect !
smiley17.gif
However the good part of writing this list is that other than repairing the monitor fault, I think I can manage the rest (I say this with an optimistic spin)

Right then, I think that's about all for now, other than to post a few gratuitous photos of my new (bargain) purchase, then I'll post my progress with the monitor fault finding/fixing malarkey;

20150419_1717361.jpg


20150419_1718561.jpg


20150419_1719031.jpg


20150419_1728441.jpg


20150419_172854.jpg


20150419_173019.jpg


PS: I know the monitor chassis missing (the next post will explain)
PPS: Yes, I know I appear to have named my cab Zacc !!
smiley36.gif
 

Vamino

Insert coin(s)
vacBacker
Feedback
23 (100%)
Credits
2,667CR
Cool.
smiley20.gif


Now here's a project that will teach you what wires you can touch and what wires you shouldn't touch!
Some of your replies made me feel scared touching something I know wouldn't cause any grief.
smiley36.gif


Joking aside, good luck with the restore mate.
Nothing better than getting your own hands dirty rescuing a classic cab which you remember fondly as a child.
 

Mr20to5

Active member
vacBacker
Feedback
1 (100%)
Credits
1,365CR
Thanks Vamino support appreciated !!!

I removed the anode cap with my teeth, making sure my hands were very wet! I think that was right!!
smiley2.gif


Neil
 

Mr20to5

Active member
vacBacker
Feedback
1 (100%)
Credits
1,365CR
So, next post and this one will cover the progress so far with the monitor chassis. Not a whole lot to tell, yet, although it's looking promising in part.

As it stands, the game plays blind, I'm told, so before any power was surged into the capacitors and monitor chassis, my friendly delivery man, removed the chassis/anode cap for me. The intention was to post off and get fixed. However............

You probably all have a similar shop as the one I'm about to describe, it's a shop I walk past almost every day, as it right next to my kids school, but as it is a specialist shop and I have never required it's specialist services (and NO it's not one of THOSE shops
smiley9.gif
), I have never had the need to enter nor enquire.

The shop - Retel Electronics - Essentially a TV repair shop but lots of other stuff in the workshop awaiting their circuits to be prodded, ranging from radios, through guitar amps and even a lawnmower!

I had phoned ahead, with encouraging news, so I popped in with my monitor chassis in a box under my arm. There I was greated by a very happy, friendly guy, called Alf, The Boss! When I told him my tale, his response was "Ah, I used to repair arcade machines back in the day." Who would have thought !!

So I left my board in his seemingly more than capable hands for him to look over, he obviously doesn't have a similar monitor to hook it up to but he said he would check the capacitors, soldered joints, etc. All for just a tenner!
smiley32.gif


As I was leaving, he also offered to test out the rest of the cab/monitor if needed if I took it round, which is easy done as it literally is round the corner.

Not wanting to jinx anything and speak to soon, but hopefully he can find/fix whatever needs found/fixed and may become a valuable ally until I find a night class for dummies !!!

Also made some minor but effective cosmetic progress today, but that's another post altogether....

Neil
 

Gaming Heaven

Active member
Feedback
6 (100%)
Credits
106CR
Hi there

great work sounds like you are on to it all

I restored one of these I think the thread is over the road, was more of a clean up though

some points from me:

the fuse holders can can get very dirty and might need a good clean and switch spray

my connector from the monitor to the main pcb is iffy and a bit loose, need to replace some day but a bit of tweaking gets it sorted

good luck!
 

bbz149

Active member
vacBacker
Feedback
26 (100%)
Credits
1,608CR
Did you test those Fuse Holders? I had to give mine a very good clean when I got my Invaders

Edit: Just noticed the mention of Fuse holder in above post
smiley9.gif

bbz1492015-04-20 20:19:18
 

simonden

Active member
vacBacker
Feedback
20 (100%)
Credits
1,041CR
Yep, definitely check the fuse holders in these things.

In our Zacc Invaders, had one fuse holder so brittle it had snapped down the middle and the fuse was (just) holding it together. Another, the metal had broken on one side so the fuse was just resting on the fuse holder! Which explained why the monitor worked when it turned up and not 10 minutes later!

The good news is that they are only a couple of quid each at Maplin.
 

Mr20to5

Active member
vacBacker
Feedback
1 (100%)
Credits
1,365CR
Hi Guys,

Thanks for the responses so far. Early days yet, but really appreciate any feedback/advice throughout the life of this thread.

"GamingHeaven" - I found your post on J+ from last year. It was really good to read through it and pick up some tips from your findings. I had already considered what would be best on some of the artwork touch-ups that are required and had thought about using pens but thought it might be a poor man's option, but if it got Olly's approval then I may explore it more.

The common theme amongst the majority of responses so far, appears to focus on the fuse holders.... So, here's a funny story....

On receipt of the cab as various component parts were pointed out to me by the deliverer, we thought one of the fuses looked erm, 'fused'. As it turns out it wasn't, just the way the light was, but as we went to pick it out to look, at the slightest touch, the fuse fell out of the rather 'loose' holder. We did joke that maybe that was all that was wrong, but with our/mine mind(s) made up for removing the chassis, we carried on regardless.

So, the monitor chassis is with Alf (the afore-mentioned jolly TV repair man), getting looked over for the modest sum of ten English pounds. Should this come back as tickety boo, then, maybe the old 'it was sold not working, I changed the fuse, and now it works' scenario may well hold some weight.

Either way I think I will add this to the list of jobs to tackle, best to be safe rather than sorry. A wee trip to maplins should sort this. It was the bottom fuse in this photo that 'fell' out.

20150419_172929.jpg


And as for the reference to 'Don Boscos Boys Club' please see my next post....

Neil
 

Mr20to5

Active member
vacBacker
Feedback
1 (100%)
Credits
1,365CR
Hi guys,

A very short update before I start watching TV.

A good result with the magic eraser today.

Zacc is now officially no longer the property of Don Bosco and his Boys Club.

It is all mine! Mwa Ha Haaa!

20150420_190422.jpg


20150420_190755.jpg


20150420_190959.jpg


Should polish up nicely.

Neil
 

Mr20to5

Active member
vacBacker
Feedback
1 (100%)
Credits
1,365CR
simonden said:
If the fuse fell out, then it is not making good/any contact, will probably give you blackening at the end where it is arcing.

You need to go to the back counter in Maplin and give them the code otherwise they will bring out 10 types of the wrong fuse holders.  This is the right one: http://www.maplin.co.uk/p/fuse-holder-31mm-with-lugs-ku30h

Cheers pal, may save ten return trips !!
smiley17.gif


EDIT - Doh! My crap store only has 2 in stock.
smiley36.gif
neil16372015-04-20 21:24:11
 

Gaming Heaven

Active member
Feedback
6 (100%)
Credits
106CR
simonden said:
If the fuse fell out, then it is not making good/any contact, will probably give you blackening at the end where it is arcing.

You need to go to the back counter in Maplin and give them the code otherwise they will bring out 10 types of the wrong fuse holders. This is the right one: http://www.maplin.co.uk/p/fuse-holder-31mm-with-lugs-ku30h

thanks for this I would never have found the right ones - I will replace all mine most likely
 

Syrup2407

Active member
vacBacker
Feedback
5 (100%)
Credits
163CR
Hi Neil,

I will be certainly be keeping a close eye on this thread as I also have a Zac Invaders that I am getting back up and running (will post some pics at some point) Mine is pretty much in an identical state as yours (apart from I also have a main board fault I am working on). I also have some rust on the surround so I am looking forwards to seeing how you deal with that!

Let me know if you need any pics to cross reference against.

Cheers,

Gav
 

Mr20to5

Active member
vacBacker
Feedback
1 (100%)
Credits
1,365CR
Hi Guys,

Time for another update. I had intended on posting this yesterday but things got in the way and time escaped me, but I'm here now so let's get updating.

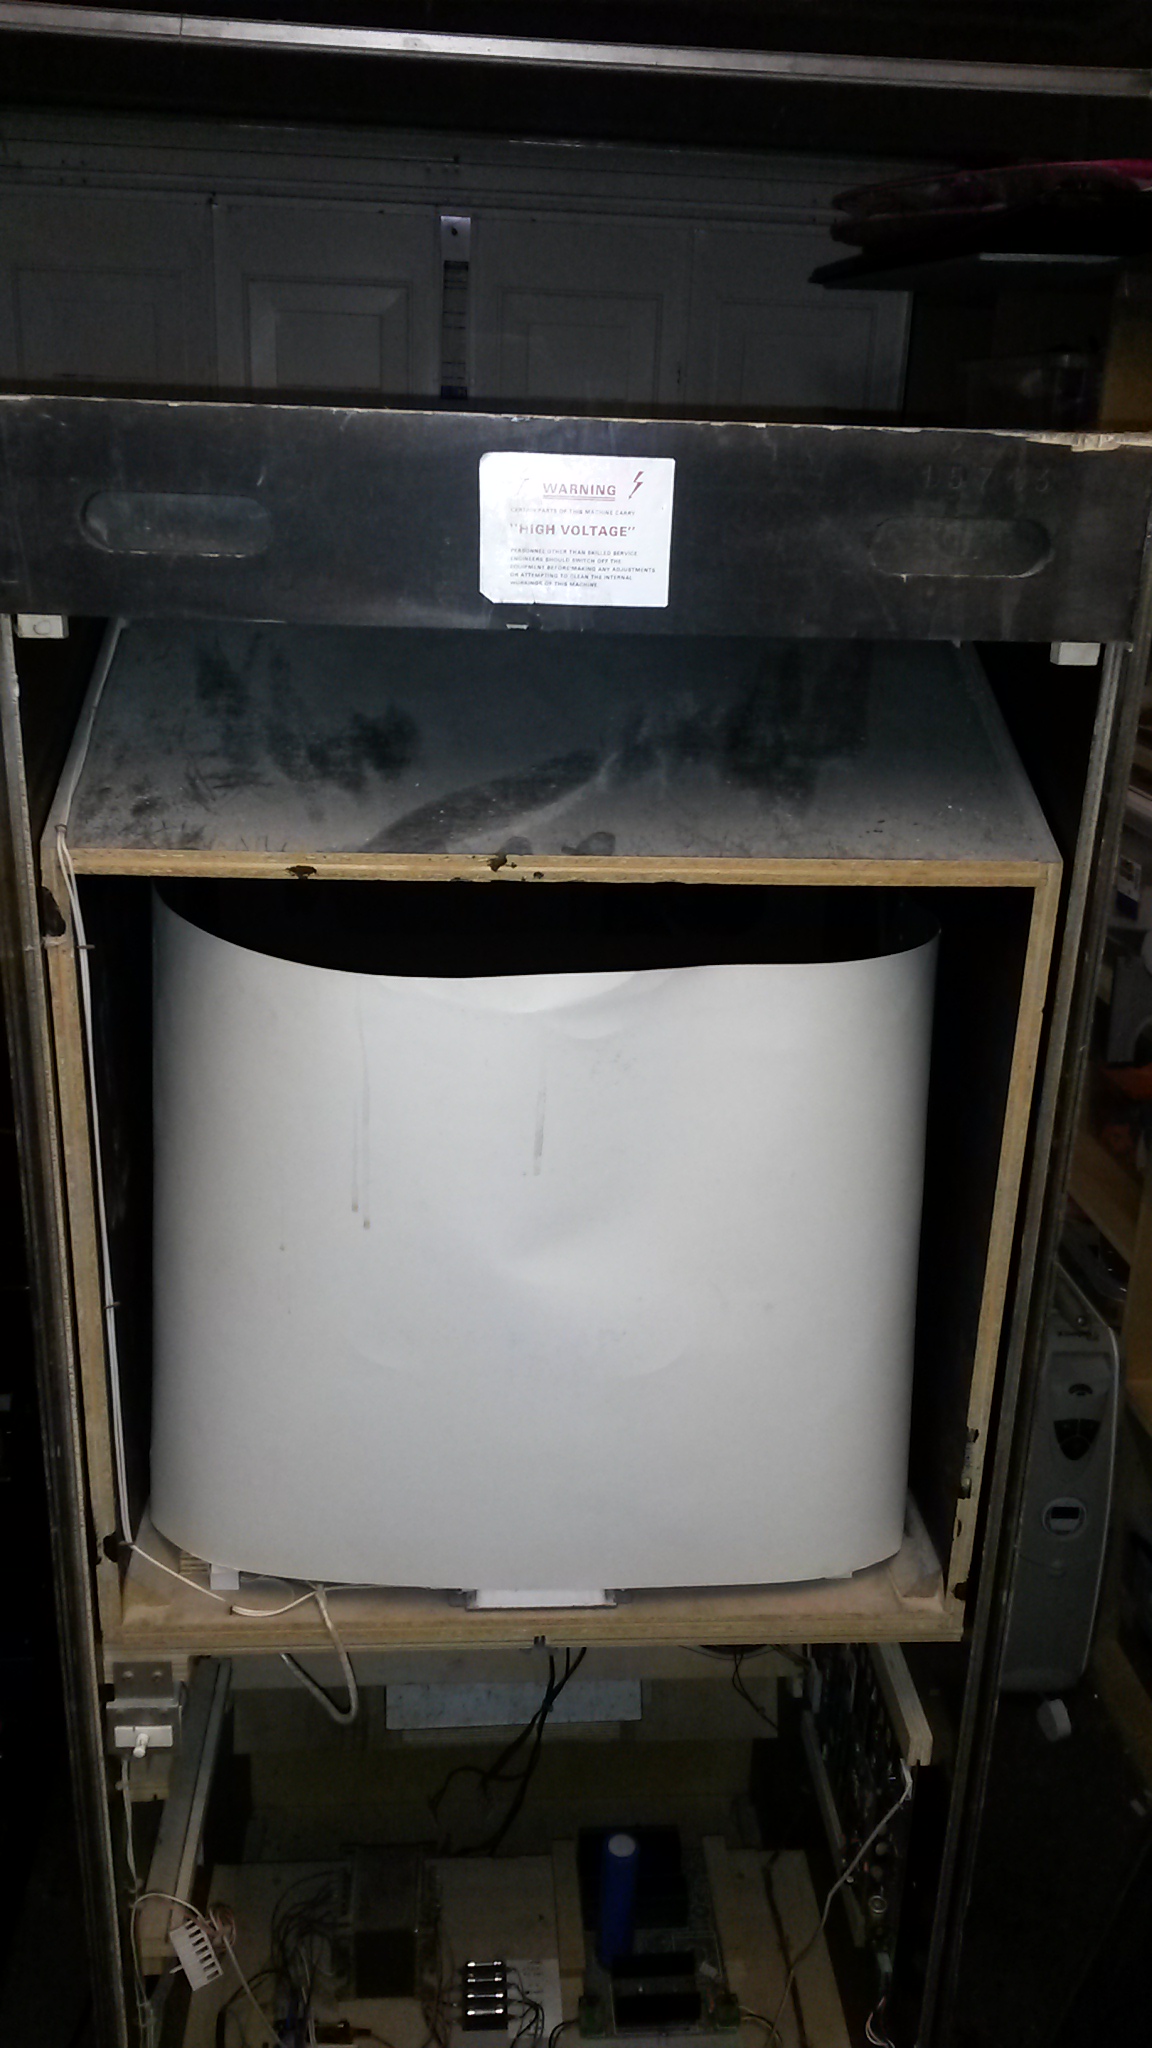
I spent some time on Monday and Tuesday having a basic clean up, removing the dust and cobwebs and seeing what lay underneath. Until I get Zacc's monitor issues sorted I decided to leave the bottom half alone and concentrate on the top half. And after (eventually) working out how to get into Zacc, my first impression was that of a very well built cabinet. Taking everything out that I needed to left me with just the shell and the monitor in place.

20150421_124639__1429685042_803571.jpg


The good news from this is that with everything out, the interior of the cab, once given a good clean, was very, erm, clean!. Certainly no need for a lick of paint as I had first thought. So, with marigolds donned, I set to the rest with a big bucket of soapy water, a good supply of microfibers and some car cleaning products, here's the results;

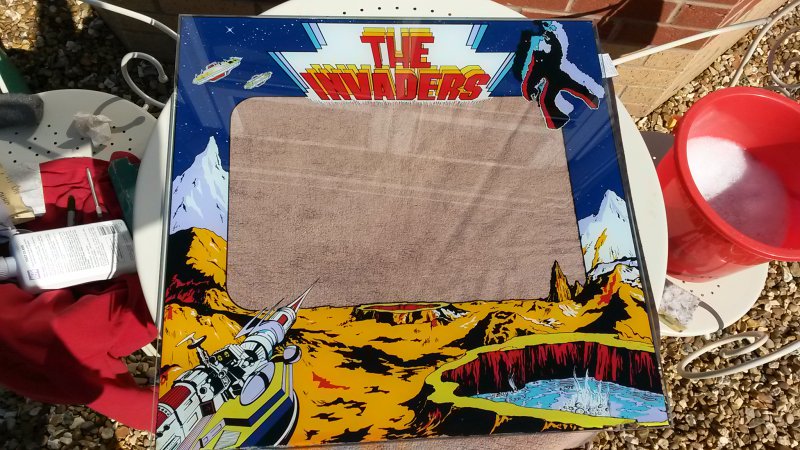
Bezel - cleaned up lovely, no cracks, scratches or anything untoward;

20150421_110040__1429684539_158901.jpg


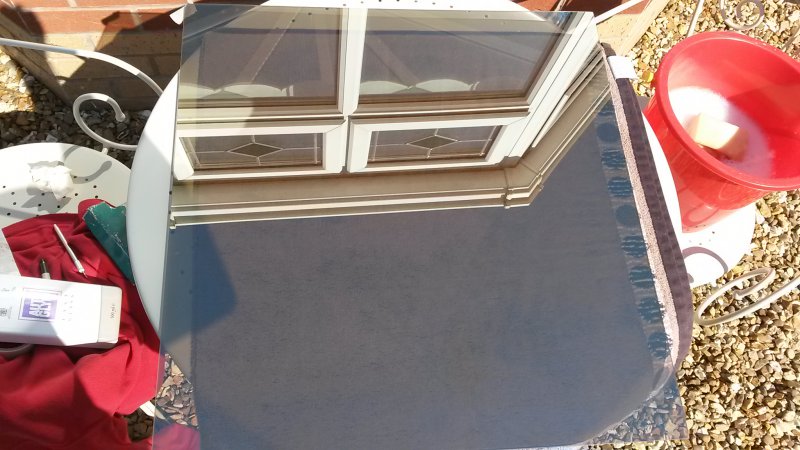
Mirror - again, under the dust it was in as new condition, polished up and could not find any flaw what so ever;

20150421_112045__1429684730_907271.jpg


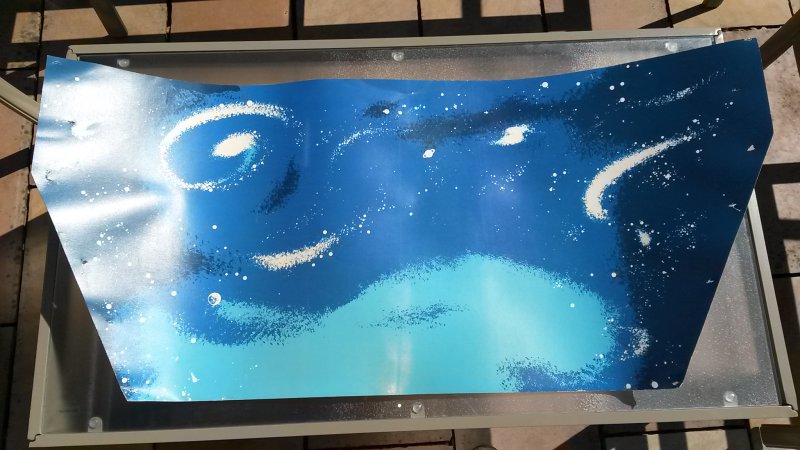
Space backdrop - this was a bit buckled when I got it, at the top, since taking this photo I have slightly dampened the cardboard on the rear and sandwiched it between two flat pieces of wood, which has sorted that out. On removing it from the darkness of the cab, it had a couple of brown stained lines running down it, as if some coffee, more likely beer, had been spilled on the top of the cab and dripped down. Magic eraser out, but anything more than the slightest of rubbing started to take the blue ink of the print, so I have tried my best and am confident that the little residue left will not be seen when inside the cab and playing the game;

20150421_113341__1429684776_69760.jpg


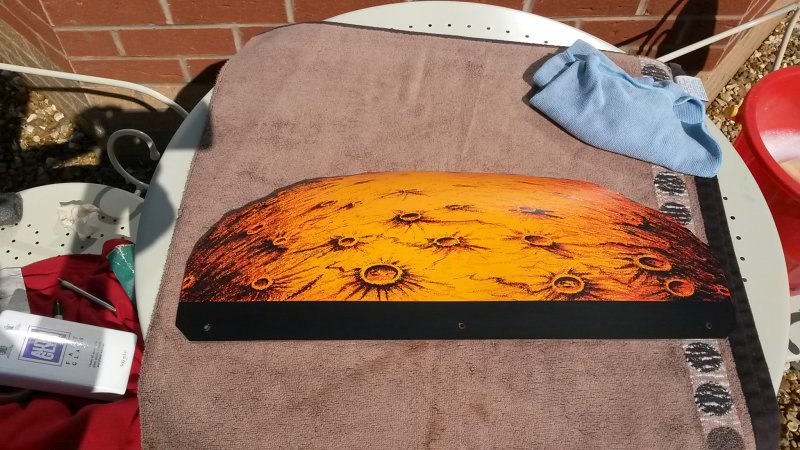
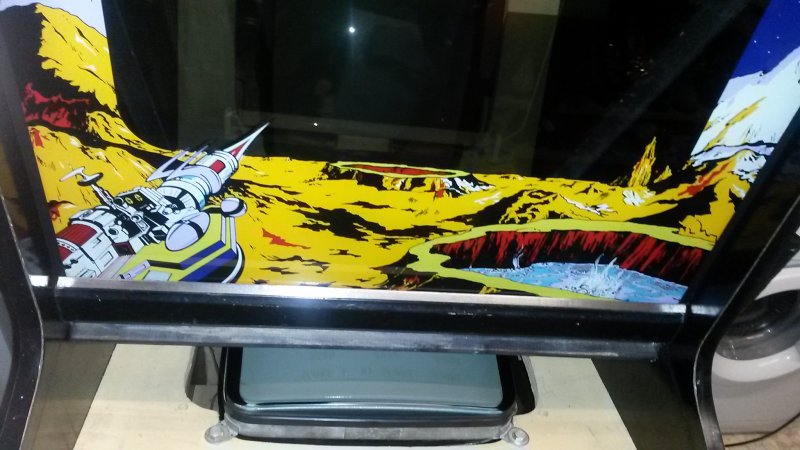
Moon foreground - another example of a good clean works wonders, I wish I had taken a before on this as the vibrant orange that came up when washed was amazing. It is plastic this, I had just thought it would've been cardboard like the space scene, so was able to give it a good soaking;

20150421_114007__1429684820_58224.jpg


Whilst at it, some other random bits from the bezel and mirror - boring photo, but I cleaned them, so here they are;

20150421_114707__1429684876_92997.jpg


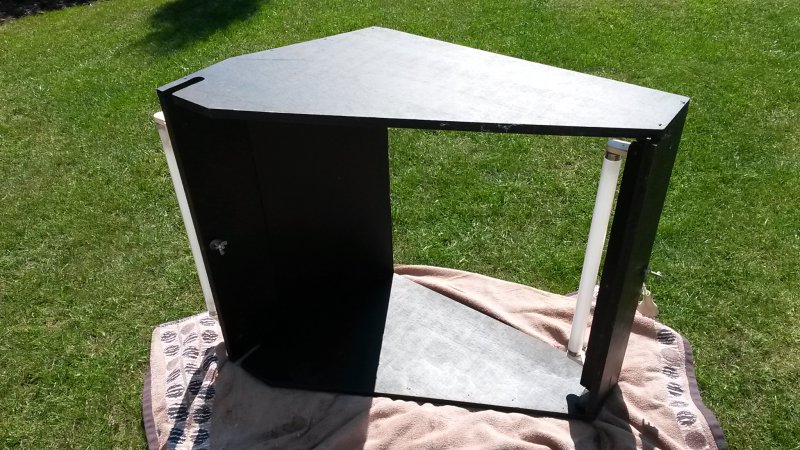
Next up was the 'wooden inside cab bit' - probably not the technically correct name - again, a good clean removed the cobwebs, dust and grime. All the old staples from where the backdrop had been attached were removed and the bare wood holes, touched up with a black Sharpie. Fluorescent tubes cleaned and good to go;

20150421_123915__1429684973_11445.jpg


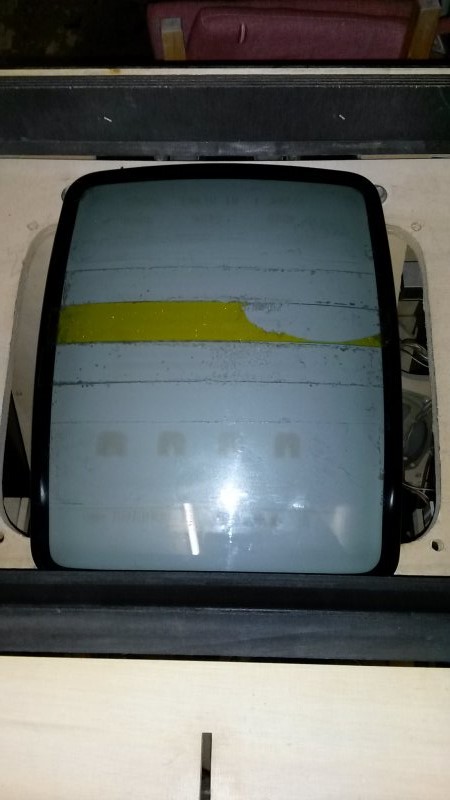
That was the last of the bits I had taken out and I turned my attention to the monitor, which as you can see, had parts of the coloured film peeling off, lots of previous adhesive left on the screen. There is also a good deal of screen burn, but I imagine this is to be expected with such static graphics and the age of the game. Here's the before;

20150421_124655__1429685126_46180.jpg


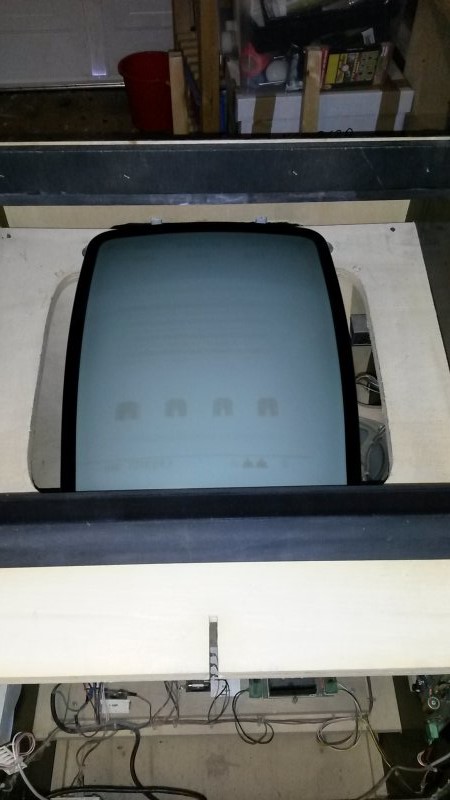
And the after. One of the benefits from shaving with a traditional single blade razor means I always have a supply of razor blades which come in handy for scraping crud from glass!! Voila;

20150421_130424__1429685163_11819.jpg


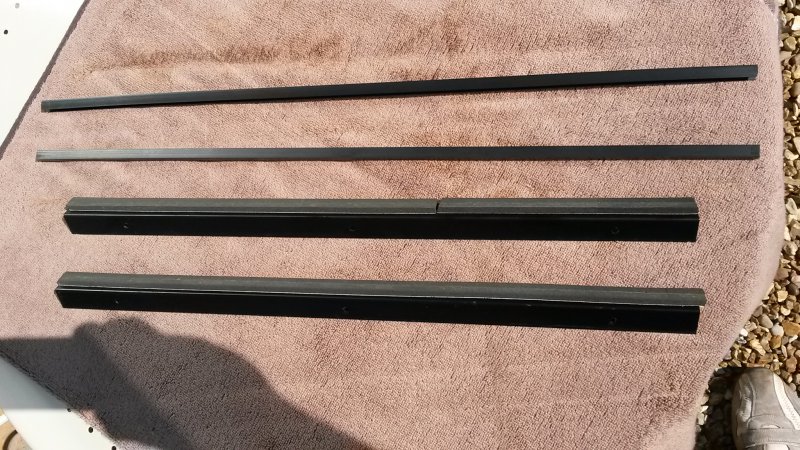
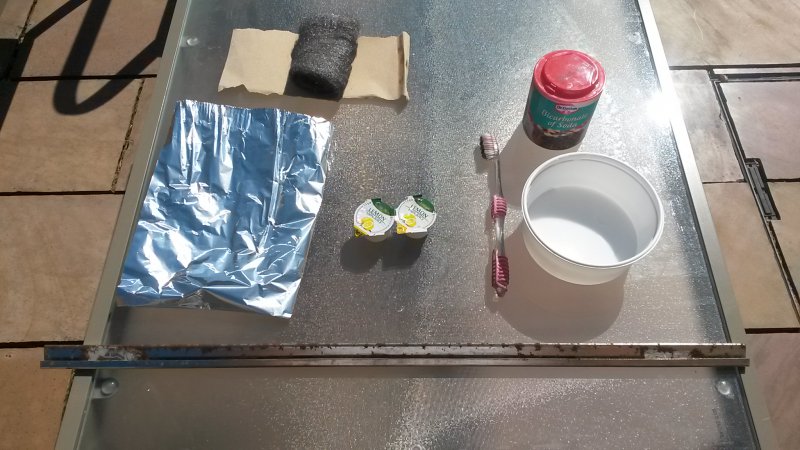
This left me with one last piece to attack, the metal strip that runs along the bottom of the bezel holding it in place. This was quite heavily rusted and pitted and the gloves were off. Amassing an army of household ingredients I prepared for battle. Bicarb of Soda, check. Lemon juice, check. Tinfoil, check. Fine steel wool, check;

20150421_142313__1429685228_73517.jpg


For those who are interested, I made up a paste with the bicarb and a tiny amount of water. Brushed this onto the metal strip and left. Cup of tea. Poured the lemon juice onto the dried paste, causing some bubbling and fizzing and left. Biscuits. Then dipped the tinfoil into water and rubbed and rubbed and rubbed. Finishing off with steel wool. The result, almost all but the deepest pitting removed !! Dremel out with polishing pad and removed that too. Final polish with the steel wool and back in place;

20150422_071628__1429685295_28733.jpg


And that concluded Tuesday's cleaning. Next up will be the control panel which I am going to dismantle and see exactly what is good and what is bad. However it is going to need the CPO removed and the wood thoroughly sanded. Comparing it to the blue paint on the sides of the cab the strip at the front of the control panel appears the best match, so I will pop to my local paint shop and get them to mix up a tester from a scan from this section and check I have a good match before I start sanding.

I also have a couple of questions to ask about the colour of the monitor films and the monitor black surround, but I will ask these over on the tech/repair forum in order to keep this thread dedicated to the resto itself.

Neil
 

Gaming Heaven

Active member
Feedback
6 (100%)
Credits
106CR
great work!

I have cig burns on my CP both the plastic and the wood so need to get onto that at some point

I also need to get the right drill bit buffer attachment and also follow your example with the paint colour matching
 

Mr20to5

Active member
vacBacker
Feedback
1 (100%)
Credits
1,365CR
Hi Guys,

Not much of an update with regards to shiny photos and resto progression, however I am well chuffed with some news that I just got, re; Zacc and thought I would share. Hopefully my pre-emptive celebrating will not jinx any end results.............
smiley5.gif


Earlier on in this thread, I explained how I bought the game playing blind, working sounds, no picture. How I found this wonderful little TV repair shop just round the corner with the world's friendliest man I now know, behind the counter. After he had had my monitor chassis for 2 days he rang me to tell me that he had found the fault and replaced a couple of resistors that had something to do with the HD Input (?), I think, which had blown a capacitor, or something similar, anyhow, the symptoms for the faults he found gave the right diagnostics for what I have, no signal/picture would have been getting anywhere near the screen. So, fingers crossed, all will be well. I am writing this stuck at work so, unable to go to the shop and retrieve said chassis and try it out.

Total cost; £10 for the fault finding and another £10 for the fixing! Surely an absolute bargain!!??

I am also a little wary of any other electrical faults that may lie hidden, still not having purchased a multi-meter - or learned what to prod with it!!
smiley9.gif
) so enquired about an 'MOT' for my machine. His reply, "no bother", he will do this, even pat testing, the whole of the innards of the cab, (little green sticker included), hooking up the monitor, etc for the princely sum of only............ten pounds !!!

I know I am speaking early doors and should probably wait til I am shooting those pesky invaders to prove the pudding, but, I was so chuffed, I thought I would share.

Happy Days!!

Neil
 
Top