Zacc Invaders - The Project

Mr20to5

Active member
vacBacker
Feedback
1 (100%)
Credits
1,365CR
Rawsome said:
Your cab is so clean inside. Mine was a split usage spider hotel and cemetery when I first picked up my Zacc. Looks very nice. Where did you get the button for the coin door? The red one.

Rory

Straight off the shelf at Maplins. Literally dozens of shapes and sizes to choose from.

Just make sure to get the ones that are push to make as opposed to the push to break.

Then you just need to wire up to the micro switch on the coin mech.

Neil
 

Mr20to5

Active member
vacBacker
Feedback
1 (100%)
Credits
1,365CR
Gaming Heaven said:
Neil

I need some help with painting the wooden blue part of my CP, can you explain - did you roller the paint on and how did you get the shade?

thanks

Hi pal,

Start with the paint shade as it's the easy one. When I took my CP to pieces, I simply took the wooden panel (stripped of the CPO and buttons, etc) to my local paint shop and they matched the paint colour and made up a 500ml tin of gloss paint. I tend to use my local (non DIY chain) as they are friendlier, more knowledgeable, actually get interested and care about getting the right shade and have worked there for years and really know their stuff. They matched it by eye, as they don't rate those patch machines, especially on glossed surfaces. Spot on match, for under £4.00.

Now onto the application. If this is akin to sucking eggs then I apologise, but as with all painting, especially gloss, it is 90% preparation, 10% application. This is what I did;

1. Quick sand of old paint using 100 grit sandpaper. Not too fussed about finish at this point, just need to key the old paint.
2. Applied a quick coat of new paint, using a fine finish roller.
3. New paint will look awful, but it will highlight all the bumps and dings more easily.
4. Using a fine filler (do not buy expensive brands - use Screfix own brand its about £3)fill all the dings, leaving slightly proud of surface.
5. Using a finer grit sandpaper about 240 grit, sand all this back, including the excess filler and the dings found in step 3.
6. Should now have a good surface ready to paint, so back out with the fine finish roller and apply new paint, thinly. Try not to over roller it.
7. Once dry, wet sand back again, using 1000 grit wet/dry paper, again the Titan range from Screwfix for a couple of quid are easily up to the job.
8. Another coat of gloss and repeat 7 and 8 until happy. Three top coats on mine.
9. Worth mentioning that unless you have a fancy dancy paint booth, you will likely get frustrated by the amount of dust that will seemingly be drawn onto your wet paint. As daft as it sounds, for the last couple of coats, I put my CP under a large CLEAN plastic box, one of those "under the bed storage" ones, turned upside down, to keep the dust off.

Oops, just read this back before posting and missed out really important bit. BEFORE EVERY PAINT APPLICATION, USE A TACK CLOTH TO WIPE OVER THE SURFACE.

Good luck.

Neil.
 

Mr20to5

Active member
vacBacker
Feedback
1 (100%)
Credits
1,365CR
Gaming Heaven said:
Neil

this is a great guide thanks you have convinced me, I will get it mixed up to colour match it - thanks again great info

Be aware that inevitably on an old cab, some panels will have faded at differing degrees to others. It may be unnoticeable at first until your perfectly matched paint on panel A looks a less perfect match on panel B.

But you can only do your best.

Good luck.
 

Mr20to5

Active member
vacBacker
Feedback
1 (100%)
Credits
1,365CR
All this talk of painting, made me get my roller out, here's another wee update;

Put the final top coat on the back of Zacc, not perfect by any means, but a lot better than before and it is the back after all. Also sanded back and polished up the two metal edging strips on the removable panel...

20150510_115131__1431284226_64423.jpg


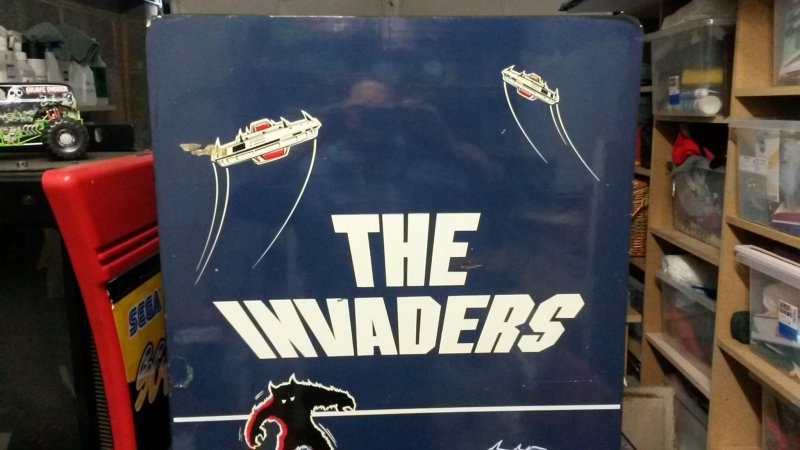
Then I turned my attention to try to restore some of the deep gouges to the panels. I decided to start with the left side (no reason) and I started looking at the top half of the panel, above the white line of the artwork. From a distance, maybe not too bad...

20150510_115530__1431284276_61511.jpg


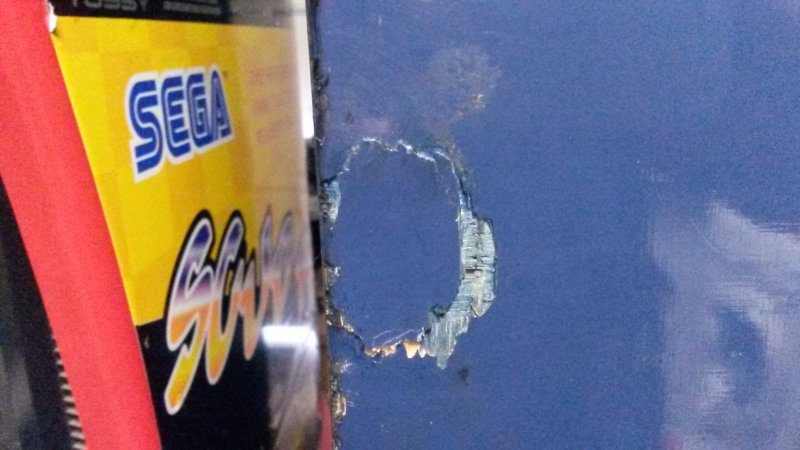
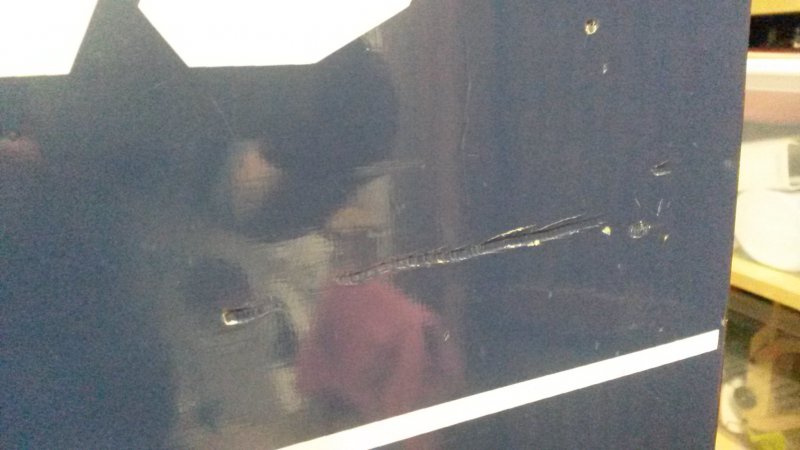
But closer up, here's some of the worst dings...

20150510_115547__1431284317_84275-1.jpg


20150510_115557__1431284380_68941.jpg


20150510_115615__1431284436_35551.jpg


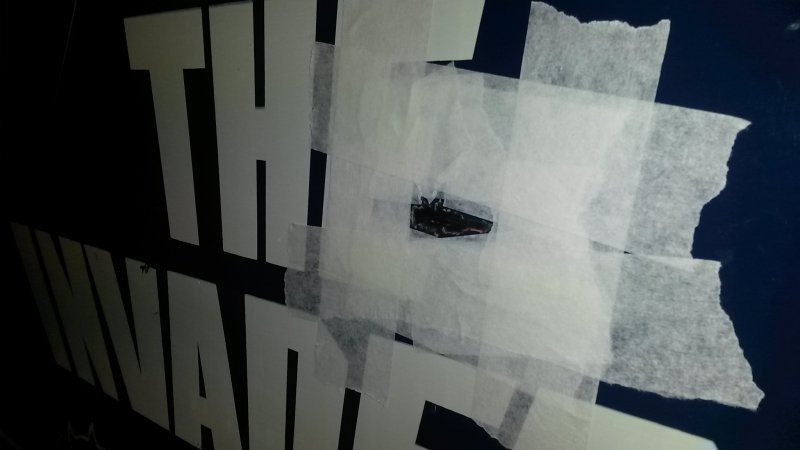
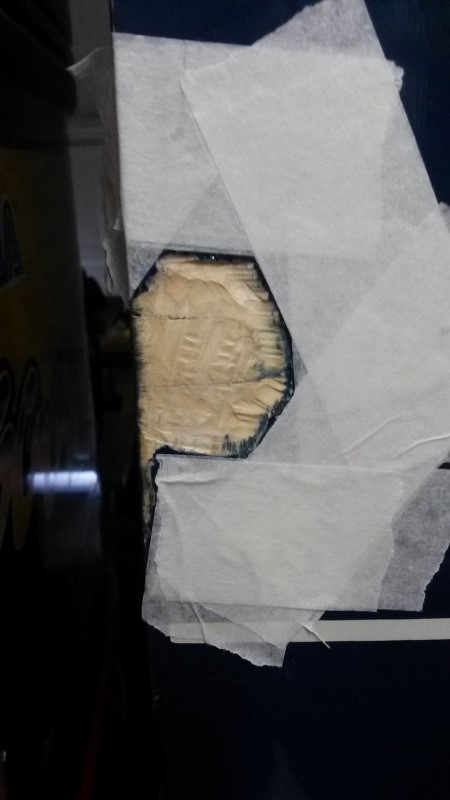
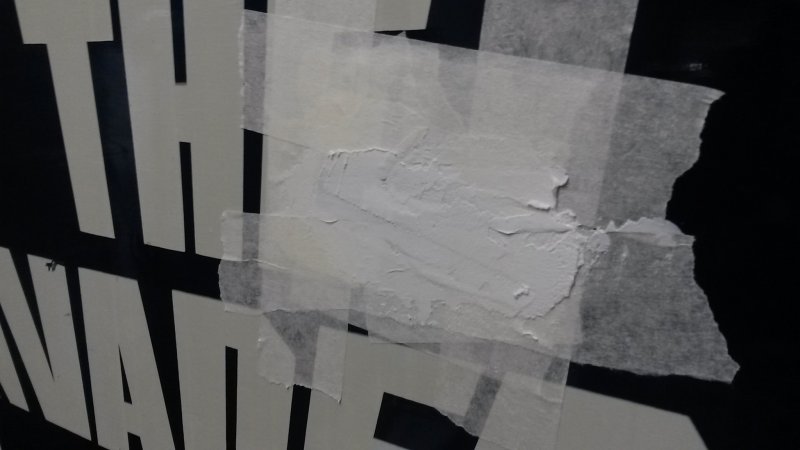
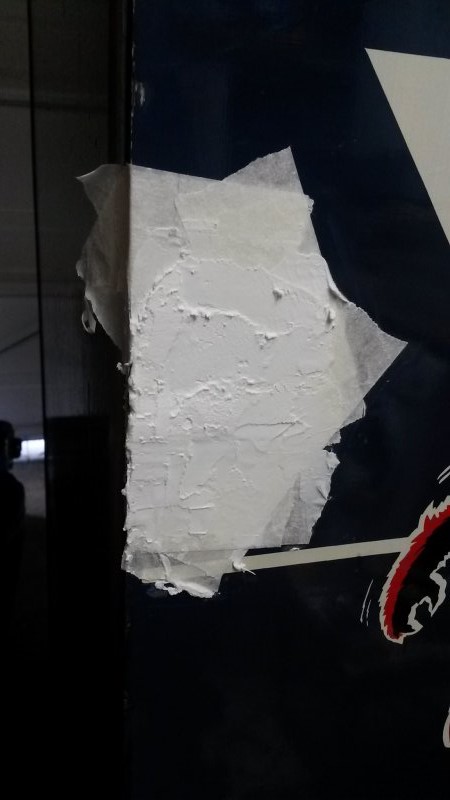
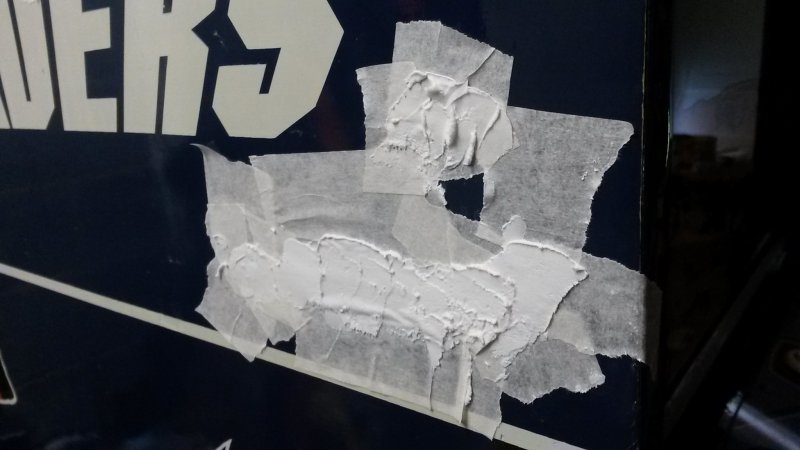
The process I have employed is to start by carefully sanding away the dinged paintwork, previous quick fixes, etc, using my Dremel and then placed masking tape, as close, as I could around the edge, to protect the undamaged paintwork, when it's time to start sanding. Then on with the fine filler and wait...

20150510_121129__1431284490_11681.jpg


20150510_122222__1431284539_75012.jpg


20150510_121310__1431284851_18370.jpg


20150510_122444__1431284723_75008.jpg


20150510_123635__1431284794_87729.jpg


And whilst waiting for the filler to set, I decided it was play time...

20150510_140754__1431284899_33164.jpg


And that was the end of restoring in favour of playing. On an aside, set my best time on Scud Race medium level on first go. Result.

Until next time.

Neil
 

Mr20to5

Active member
vacBacker
Feedback
1 (100%)
Credits
1,365CR
Hi guys,

About time I posted another update. Slow progress this week in favour of playing!
smiley4.gif


Anyway as I literally wait for the paint to dry, here we go. ...

Previously applied fine filler wet sanded to 1200 grit and ready for paint.

20150511_205549.jpg


20150511_194612.jpg


20150511_205607.jpg


First coat of paint on but more going to be needed.

So whilst I am waiting I measured up, cut and applied the coloured film I bought from Ebay. I had considered some pre cut kits but they were expensive, this option cost me under four quid for both colours including postage.

http://m.ebay.co.uk/itm/361090359207?nav=SEARCH

I cut the green strip straight, ie without the middle bit at the bottom as I was unsure how easy the film would be to cut/apply. As it happens it was a doddle. May well remove and redo although there are no graphics on this section so unsure of its purpose.

The second photo doesn't show it great as the camera shows the magenta strip as far more visible / dark than it actually is, and the green quite washed out.

20150514_165646.jpg


20150514_171418.jpg


Very happy to now be invading space in colour.

Now where did I put that paintbrush......

Neil
 

Rawsome

lost my cab cherry
Credits
72CR
neil1637 said:
Hi Guys,

A quick update on progress this morning. (Before I get ready to set of for The Arcade Club/New Frontier !!! Woo Hoo!!)

Let's start with a slight quandary - to restore or replace.

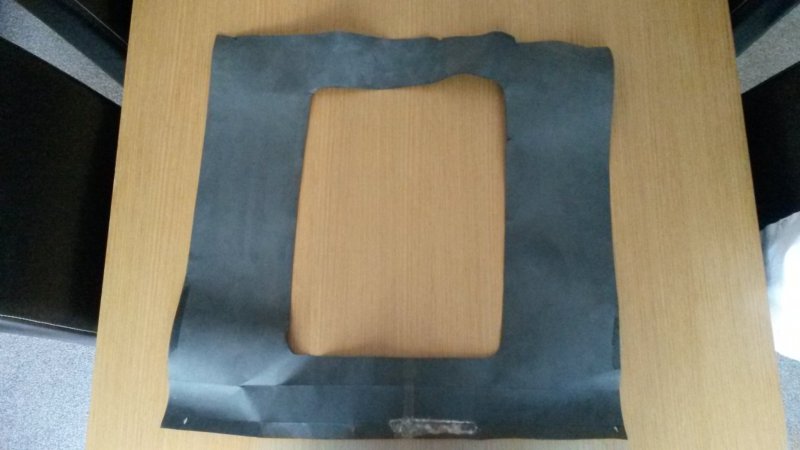
Here is a picture of the cardboard surround that sits around the monitor screen itself. As you can see it is not in the best nick, but on the other hand, I can only assume that this would be the original, so is it worth saving?

20150423_182602__1429954632_18637.jpg


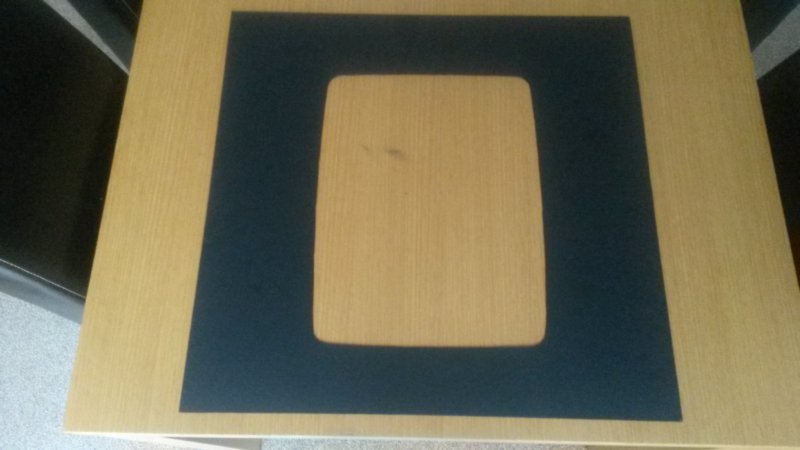
So, for now, a quick trip to The Range and a couple of quid later, I had acquired a nice big sheet of A1 card and using the old surround as a template, I cut myself a new one. Coloured in the edges with a Sharpie and Hey Presto..

20150424_073214__1429954681_35591.jpg


When offered up this is a lovely fit and all but invisible when looking through the bezel. I am impressed but will still keep hold of the original, as you never know. But would be interested in where opinion lies with this?

Ransome I hope this helps you in your quest also.

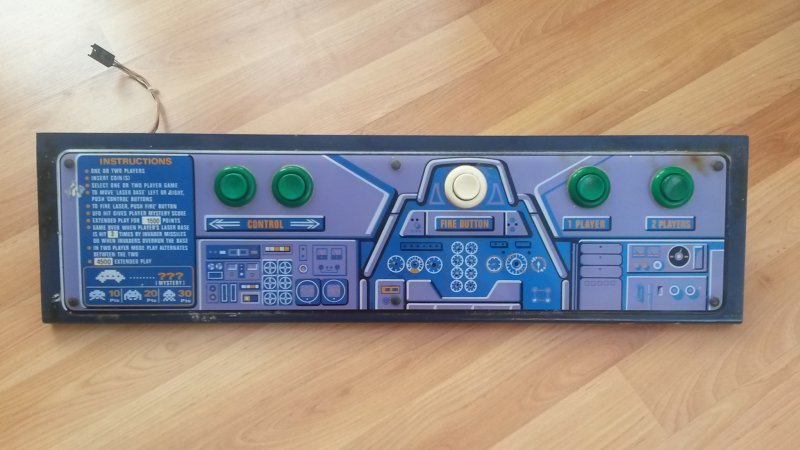
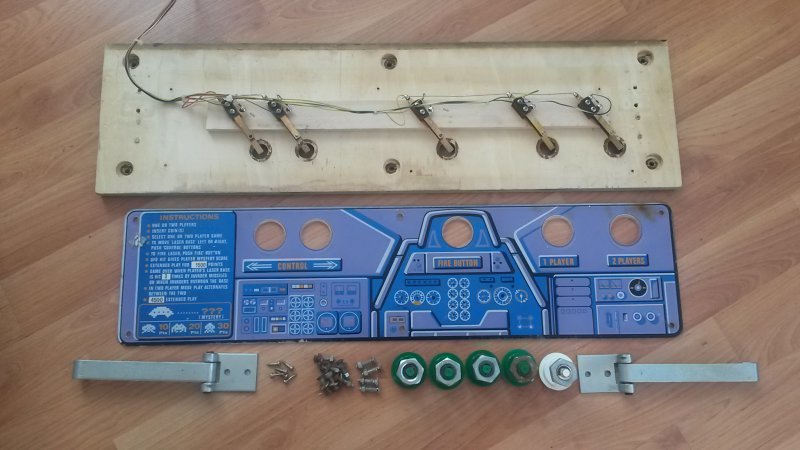
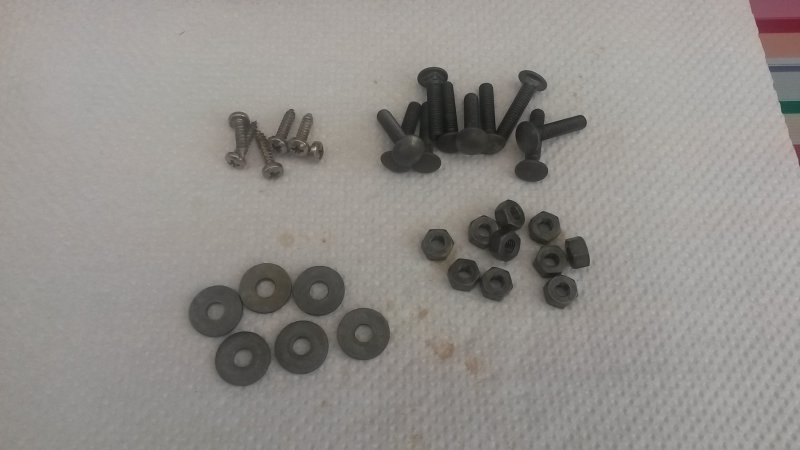
Next up, the control panel. Dismantled it mostly, to find the overlay in reasonable condition, a little scratching round the edges underneath and some cig burns in a couple of places but nothing too severe. The buttons I would want to replace, as they are badly discoloured and chipped in places. The screws, nuts and bolts were all badly rusted all over. Here's the photos;

20150423_071344__1429954379_87040.jpg


20150423_073245__1429954482_44719.jpg


First up - the rusty bits. 24 hours soaking in some manky vinegar I found in the back of a kitchen cupboard and viola; (it really is that simple, no scrubbing, sanding, polishing, anything, just soak in vinegar and shake every no and then when you walk past).

Before

20150423_081536__1429954577_69876.jpg


After

20150425_114016__1429958521_67918.jpg


That's it for now. Onto the control panel itself next, which I am half way through doing, hopefully get finished soon, but would be good if anyone could point in the direction for getting replacement buttons, the ones I keep finding on tinternet searches all come with the microswitches attached which I obviously don't need.

Thanks for looking.

Neil

What size is the monitor in your cab, Neil?
 

Mr20to5

Active member
vacBacker
Feedback
1 (100%)
Credits
1,365CR
Rawsome said:
What size is the monitor in your cab, Neil?

Hi pal, Not sure what dimensions you are after so here's all of them;

Width 12"
Length 15.5"
Diagonal 18.5"

If you are looking at replacing the surround then you will need genuine A1 sized card and not the slightly smaller sizes offered by the likes of Staples. Just not quite big enough.

Cheers,

Neil
 

Rawsome

lost my cab cherry
Credits
72CR
Is this the stuff that I need?

http://www.hobbycraft.co.uk/daler-rowney-canford-paper-a1-jet-black/562203-1020
 

Mr20to5

Active member
vacBacker
Feedback
1 (100%)
Credits
1,365CR
It looks ok. Although it is out of stock.

I got mine from The Range. Tried Staples but there's was not true A1 and too small.

Good luck.

Neil
 

iamjimmi

Active member
vacBacker
Feedback
8 (100%)
Credits
494CR
Great restore thread....

How did your painting the sides go? I have been putting off a Taito SI restore because I couldn't figure how I would get a close enough paint match...

Also your CPU looks mint after polishing. On mine there was a noticeable indentation where I polished out the burns. I couldn't see that out yours... perhaps my burns were just too deep?iamjimmi2015-05-19 23:06:37
 

Mr20to5

Active member
vacBacker
Feedback
1 (100%)
Credits
1,365CR
iamjimmi said:
Great restore thread....

How did your painting the sides go? I have been putting off a Taito SI restore because I couldn't figure how I would get a close enough paint match...

Also your CPU looks mint after polishing. On mine there was a noticeable indentation where I polished out the burns. I couldn't see that out yours... perhaps my burns were just too deep?

Hi pal,

The painting is going slowly due to work just now (and playing!, and is producing mixed results. All of which are vastly improved on what was there before, but being a perfectionist, some panels/areas have slightly faded so look different to the matched paint.

Still not happy so continuing to try and alter paint shade by remixing. Once done I'll post some photos.

As for the CP, it was gentle polishing across the whole surface, for a long time, as opposed to quick hard rubbing of only the affected area.

Cheers

Neil
 

Rawsome

lost my cab cherry
Credits
72CR
I also grabbed a miniature push button off Amazon to replace the coin reject button. £1.60 with delivery...bargain! Nice idea...thanks for the inspiration!
smiley1.gif
 

iamjimmi

Active member
vacBacker
Feedback
8 (100%)
Credits
494CR
neil1637 said:
iamjimmi said:
Great restore thread....

How did your painting the sides go? I have been putting off a Taito SI restore because I couldn't figure how I would get a close enough paint match...

Also your CPU looks mint after polishing. On mine there was a noticeable indentation where I polished out the burns. I couldn't see that out yours... perhaps my burns were just too deep?

Hi pal,

The painting is going slowly due to work just now (and playing!, and is producing mixed results. All of which are vastly improved on what was there before, but being a perfectionist, some panels/areas have slightly faded so look different to the matched paint.

Still not happy so continuing to try and alter paint shade by remixing. Once done I'll post some photos.

As for the CP, it was gentle polishing across the whole surface, for a long time, as opposed to quick hard rubbing of only the affected area.

Cheers

Neil

So polishing the whole control panel... that makes sense but guessing that takes some time - you must have a lot of patience!

Look forward to seeing the results of your painting. Before I realised how differently paint fades, I had what I though was a great idea... Buy two machines - one with a good right hand side and one with a good left hand side. And make one mint cab (to keep) and one rough cab (to sell). But as soon as I got the machines next to each other, I realised that was not going to work - the paint shades are very different on both machines.
iamjimmi2015-05-21 23:27:54
 
Top