Lordsvale Neo Geo MVS restore and upgrade

Mikonos11

Active member
Credits
88CR
There are more tips you can check. If you look closely:

- I designed a perfect aligements with buttons labels and holes. I repeted it in 2 Player. Buttons, labels, distances are same in Player 1 and Player 2.

- I centred 3 starts buttons perfectly too.

- In last sample, I did a reference of your work: I checked your banding widths and some are a little narrow. Beware!

- I suspect that star of directions has continuous arrow, not isolated arrows.

- I designed a point for to sign centres of all buttons and sticks. I recomended you to work with this concept instead of to draw white button circles.

- In last sample too, you can see than I designed a surplus. With CPO is important to work in that way.

---------------------------------------------------------------------------------------

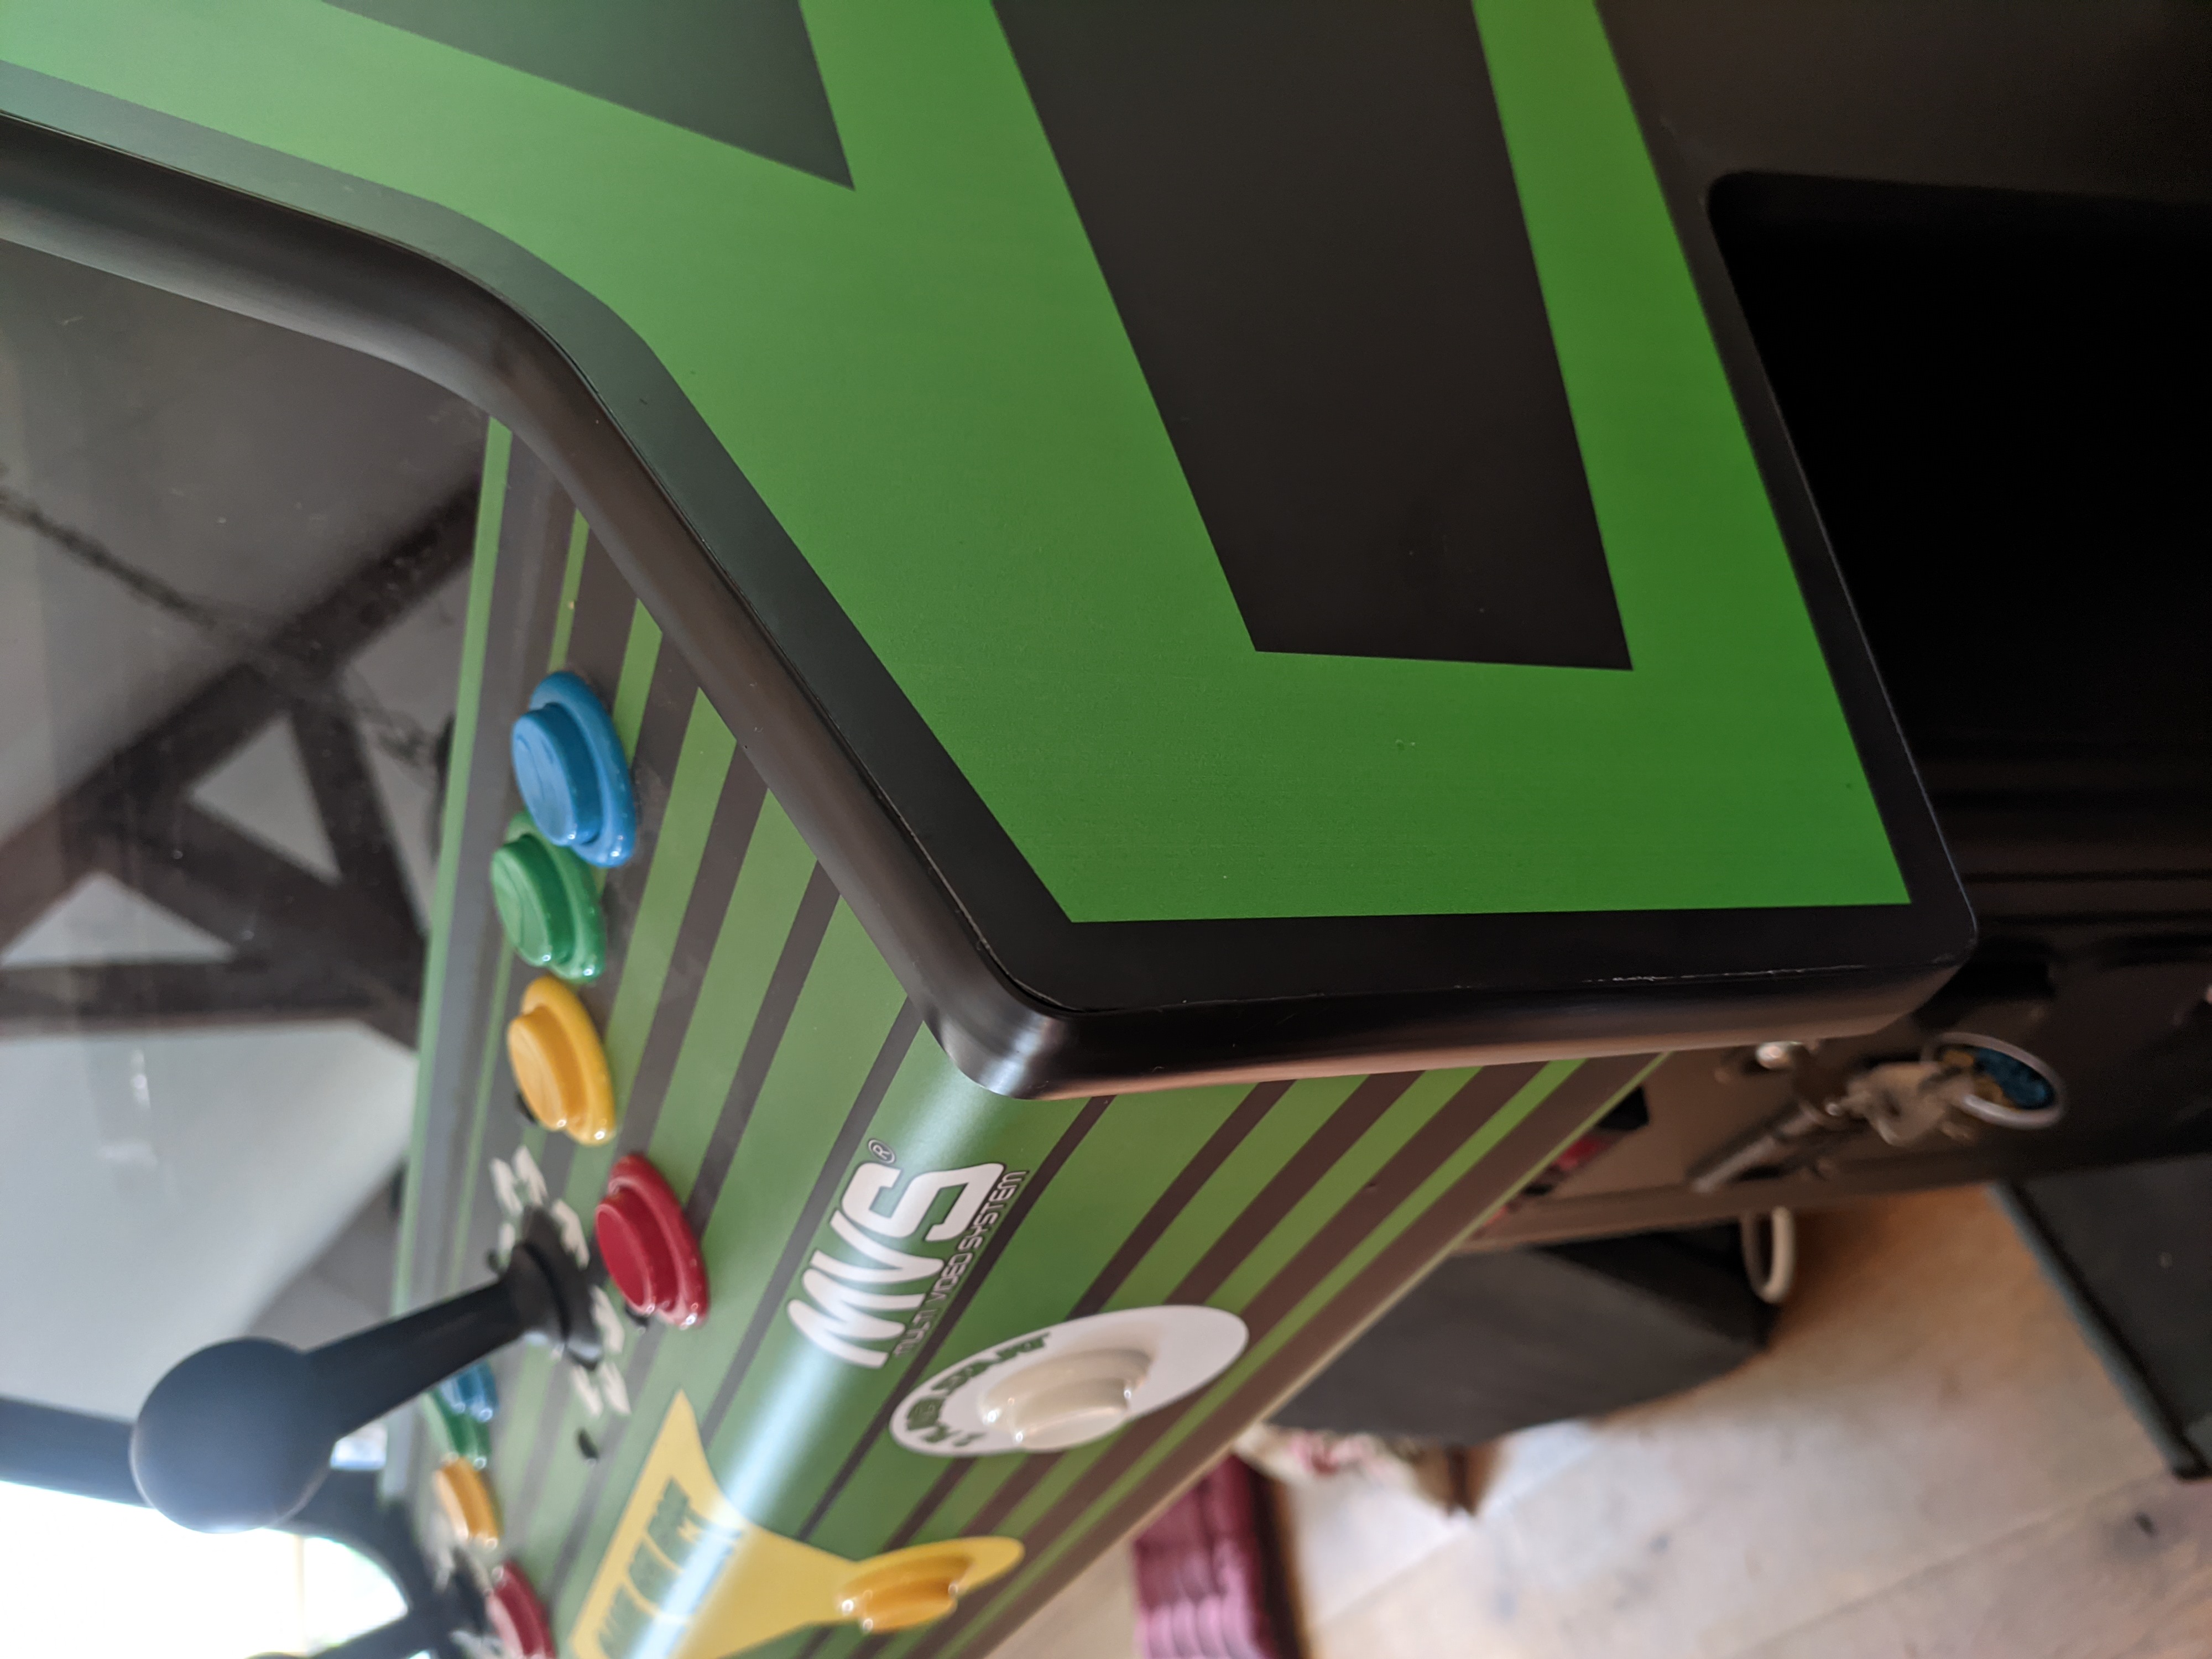
Show me details of your Green Neo Geo, please!

*I can offer you tips for reproductions, if you want. I have a lot of tricks. :)

Greetings

Mikonos112020-06-14 15:26:38
 

mourix

User
Credits
307CR
I will take a look at it all! Thank you :) I don't have scans for the Neo Geo, so there is no good comparison material.

For now let's continue with the restoration
smiley1.gif
 

mourix

User
Credits
307CR
Control panel time
smiley40.gif


This was the original control panel. It had only three buttons per player despite the wiring for the fourth one being available below. The buttons are not dirty, they are in fact disintegrating to dust...:
yFnNNxih.jpg


This is my result:
2P6tLVdh.jpg


So how did I get here? Well, this one turned out to be quite difficult. I had a simple idea of using the metal from some dollar store stainless steel plates. I cut up pieces and braced the bottom:
hym1QRIh.jpg


Drilled starter holes based on a template I had printed:
JrkybWzh.jpg


I then filled the holes and started dry drilling with my hole saw:
KGix5DRh.jpg


And then... BANGG The hole saw got stuck in the steel and completely bent the drill. I then tried to drill the last holes, at which point my whole drill machine quit working entirely.
Oh, and the steel also got loose. Fast forward to me buying a new second hand drill machine and cutting up some softer metal..:
xGc1Ha3h.jpg


Finally filled it for real this time. The holes are a bit on the big side, but this will work:
6n4fmVAh.jpg


Hit it with some coats of primer:
aLiQkpGh.jpg


Finally, the long discussed CPO is on:
2u0HdyNh.jpg


I kept the original Suzo sticks but swapped the buttons with Ultimarc Goldleafs:
Yq3s70Lh.jpg


Repainted the joystick bolts and it's done!:
V4F6CSTh.jpg


I am pretty happy with the result. Main lessons of the day:
*Don't use stainless steel if you don't have the experience to drill it, even if the sheet seems thin.
*Use a stepped drill instead of a hole saw if you want perfect holes.
*Use drilling grease for metal.
*If a drill gets really hot, stop drilling or you will have to buy a new machine...
 
Last edited:

Mikonos11

Active member
Credits
88CR
mourix said:
I will take a look at it all! Thank you :) I don't have scans for the Neo Geo, so there is no good comparison material.

For now let's continue with the restoration
smiley1.gif

It was a pitty you finished your CPO, because I´m a gatherer of arcade cabinets and pinball machines photos and I have near details of this green control panel (I drive a preservation project of arcade and pinball artworks and I collect a lot of documentation). For example:

- MVS vector logo you can find in internet is wrong. Many people reclyced it for his reproductions.

- Same case of Neo Geo Logo.

- Font you used in "Game Select" is wrong. check "G" and "C" in special. Even letter distances are wrong.

- in Curved text "P" of "Player" has not white hole because black stroke effect.

There are a lot of differences. Important is if it works for you. This is the most important thing, of course!

I will show you photos later. If you have the opportunity of work again in your green control panel overlay, maybe you can considere some of these details.

Greetings!

Mikonos112020-06-16 10:19:34
 

mourix

User
Credits
307CR
This is an improved version of the vector made by Cools. Until someone scans their control panel, this is alright to me. I don't want to make another version that is still incorrect.

Let's work on the machine now!

mourix2020-06-16 16:39:42
 

mourix

User
Credits
307CR
Got a new job in june, but I am slowly continuing this restore. Let's start easy by making some new bottom stands with wheels.

Before:

sCE6Rlsh.jpg


After:

i9dQx8th.jpg


mourix2020-10-17 20:56:19
 

mourix

User
Credits
307CR
The original sound system just wasn't cutting it for me. Look at those tiny magnets:
nAkG2hTh.jpg


I got a really good deal on these Alpine SPG-13C2's. What a difference:

hXNfEP4h.jpg


Step one was to take out the speakers grilles and repaint them. A vinegar bath and some hammerite cleaned it right up:

WA8Fzxoh.jpg


The new speakers got a tweeter that sticks out tho. You need to make a spacer to be able to attach it:

IsitOaZh.jpg


Looks pretty nice, right?

666yVyRh.jpg


Cleaned right up
smiley1.gif


K0w6vf3h.jpg


mourix2021-01-28 20:36:05
 

mourix

User
Credits
307CR
The MV-2F only got a 2x3W speaker amp. With these 87dB efficiency
speakers you really notice you can't crank the volume. I would recommend
4 Ohm 90dB+ ones if you aren't gonna put an external amp. So...
I found an awesome external amp.

This TA2024 got a volume adjustment,
proper decoupling caps, and a 3.5mm jack you can connect straight to the
neo geo headphone out. Just add some hardware:

KKCttI2.jpg


Then, you connect a 3.5mm jack cable to the
Neo Geo motherboard, spade plugs to the speakers, and U shaped ones to the
switching PSU already in there. This way, the whole amp circuit is non destructive. At the end it looks something like this:

dZTDfn6.jpg


I placed it in the coin door with double sided tape:

Vkij9lX.jpg


The end result I'm really happy with. The bass and volume are enough to throw a party, and I can even change the volume easily without opening the back door.

mourix2021-01-28 20:48:02
 

mourix

User
Credits
307CR
Next up: SIDE ART

This is what we are working with. Bare black sides with some scuffs:

9VgmtUo.jpg


As a baseline, I filled and eventually painted all the spots that would be covered by art:

4GqbkQi.jpg


To get an outline, I put tape on the sides to stitch multiple scans I made together:

NYWHRBK.jpg


Which then led to this:

pbMFHQl.png


I had them printed and spent half an afternoon putting them on:

CKs63Ei.jpg


With this being the end result:

lXreukT.jpg


In other news, the Aliexpress T-molding I got was crap... Ill buy the proper US stuff from now on...
 

BlackSpy

Newbie
Credits
9CR
I've a friend who once upon a time did graphic design for cabs, I pomise you there is more thought and effort going into the recreation of these designs than would have ever gone into their design! Facinating work though.
 

mourix

User
Credits
307CR
Thanks for the insight. You may well be right. From my experience, these original line/stroke artworks don't have much symmetry at all, even in parts
where you would expect it.
 

eliotcole

Active member
Feedback
7 (100%)
Credits
739CR
niiiiiiiiiiiiiiiiiiiice ...
...
I'm hoping to lend my two which I'm working on to a similar museum in the UK! (because in a few years time it'd be nice to have them somewhere about the place)
 

mourix

User
Credits
307CR
niiiiiiiiiiiiiiiiiiiice ...
...
I'm hoping to lend my two which I'm working on to a similar museum in the UK! (because in a few years time it'd be nice to have them somewhere about the place)
Nice! This one did get sold to the museum. Their original plan was to put this compact Lordsvale in their private office area. It was awesome to see they did replace their public Electrocoin 6-slot with this one in the end.

To be honest, the American Neo Geo cabs are the big grail for me. I am still praying for someone like classicarcadecabinets.com or any other awesome person to make an accurate plan:(
 
Top