My first restoration; Initial D ver2

Vamino

Insert coin(s)
vacBacker
Feedback
22 (100%)
Credits
2,646CR
garysmith2001 said:
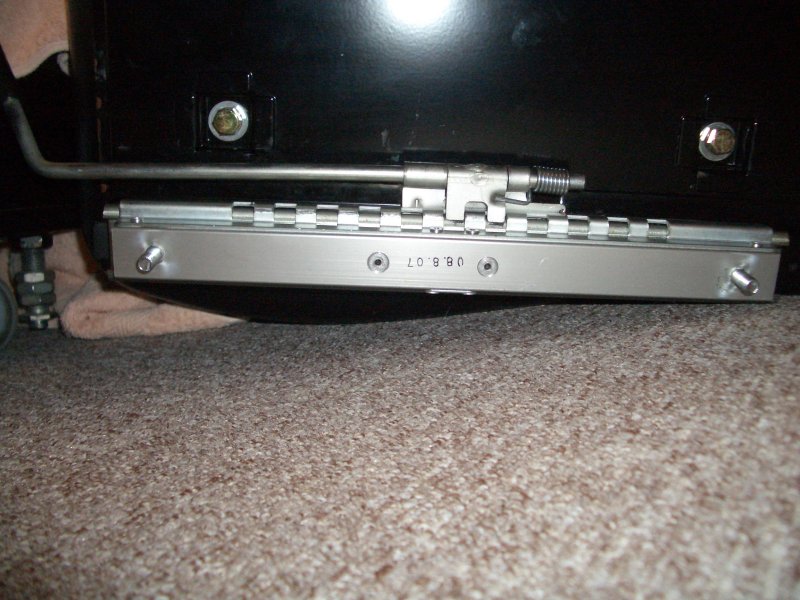
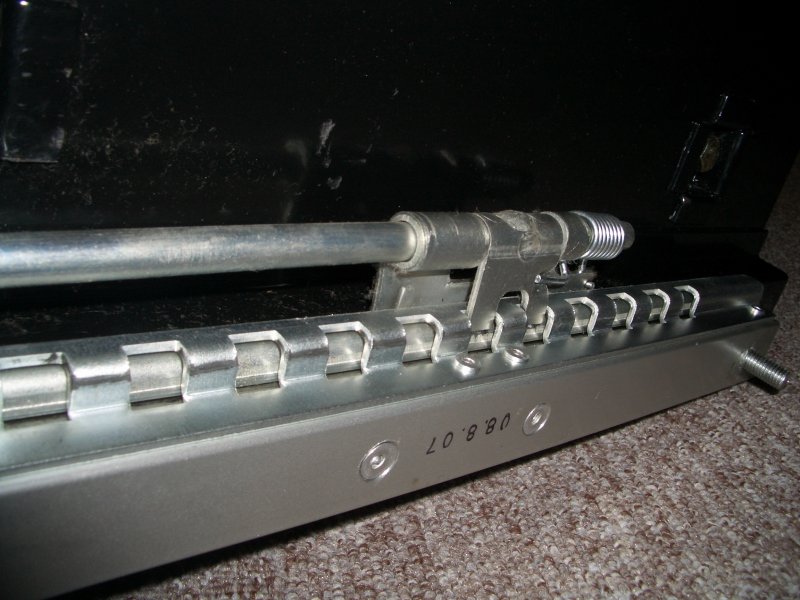
Had the seat off my cab earlier this week so took a couple of pics of the seat adjuster..

seat_adjuster1.jpg


seat_adjuster2.jpg

Thats awesome mate!! Thanks a lot.
smiley4.gif

Your cab looks so clean. Hmm, I wonder if I can make something now I can kinda see how it works.

I'm no expert solderer tbh, but, desperate times call for desperate measures.
I was desperate to play and the easiest and quickest way to do it was to buy a LOPT and try fitting it myself! It isn't that difficult tbh, the LOPT is screwed to the chassis, so once the old one is desoldered it's a piece of cake to resolder in place mate once is screwed back in, it was just taking it out that was the pain.

Cheers.
 

strykr

Active member
vacBacker
Feedback
11 (100%)
Credits
1,345CR
Vamino said:
Thats awesome mate!! Thanks a lot.
smiley4.gif

Your cab looks so clean. Hmm, I wonder if I can make something now I can kinda see how it works.
Cheers.

If you get around to having a go trying to make one let me know how it goes, mine is missing on my cab :(
 

Vamino

Insert coin(s)
vacBacker
Feedback
22 (100%)
Credits
2,646CR
Just a tiny update....

I bought an old Daytona 2 seat off Mo, complete with Gull wing speakers, sub woofer and a working seat adjuster.
smiley1.gif


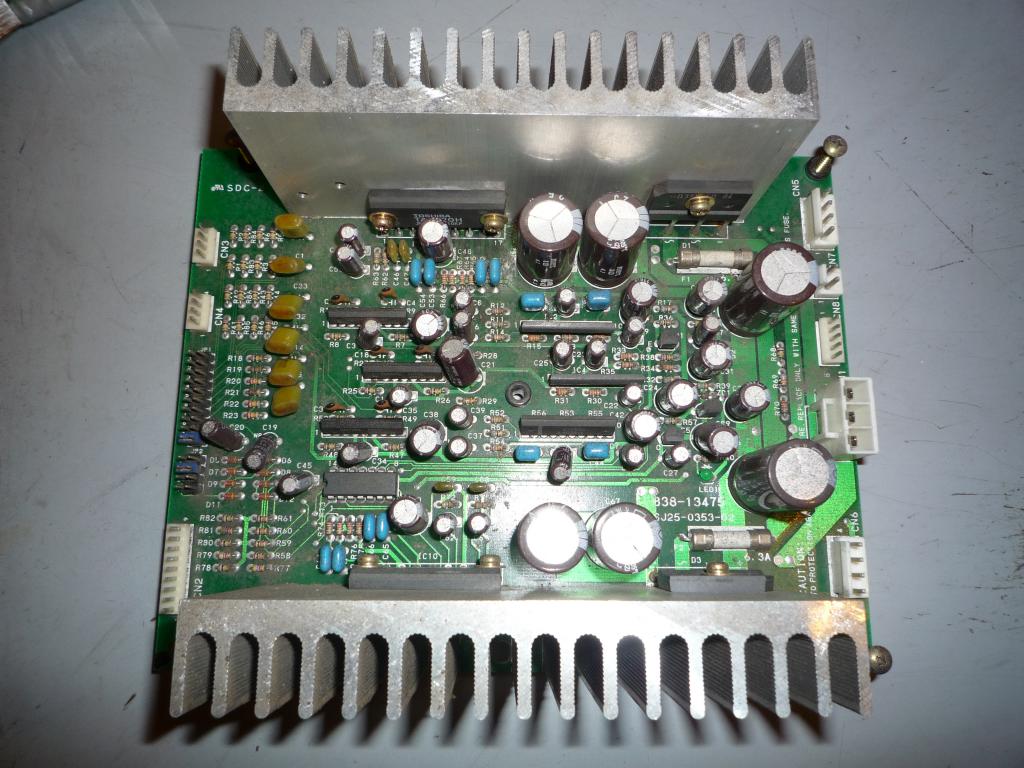
Dual_amp.jpg

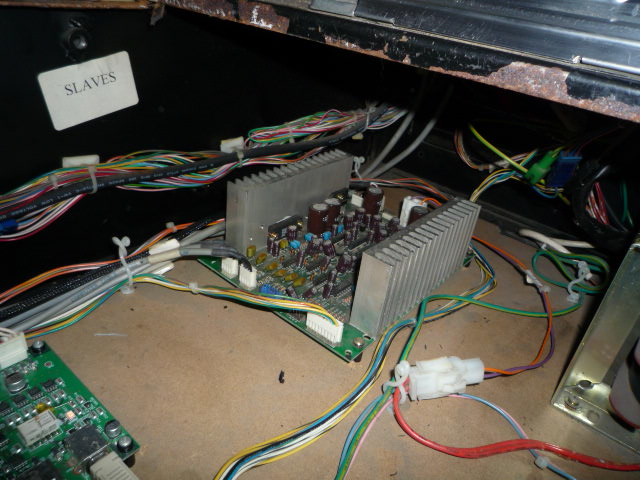
I also bought a dual amp off Mo.

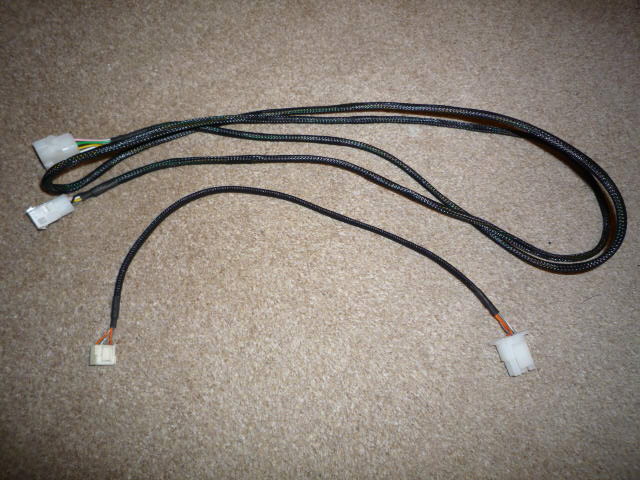
P1100009.JPG

Bought some cable and connectors off ebay and made a couple of cables to connect to the Gull wing speakers.

P1100011.JPG

Fitted into the cab.
smiley1.gif


Sounds much better once the front and Gull speaker levels are sorted, but when the Gullwing speakers are played by themselves they are a little weak sounding tbh. So, I'm now gonna try and find some better speakers for the Gull wing pods.

There has to be some decent car speakers out there that will fit in the pods, I may have to mod the pod cover though to remove some plastic, no biggie though.

The next thing to do is to source a low pass amp and make a loom for it. I've tested the sub and it does work. I may need to add some cabling to the third pot on the VTS board, but I'll will cross that bridge when we get to it.

After all the electronics are sorted, then I'll start on the metalwork and get that up to scratch as it's a bit rusty/flakey.

Cheers.
 

Lid

User
Feedback
1 (100%)
Credits
18CR
Vamino said:
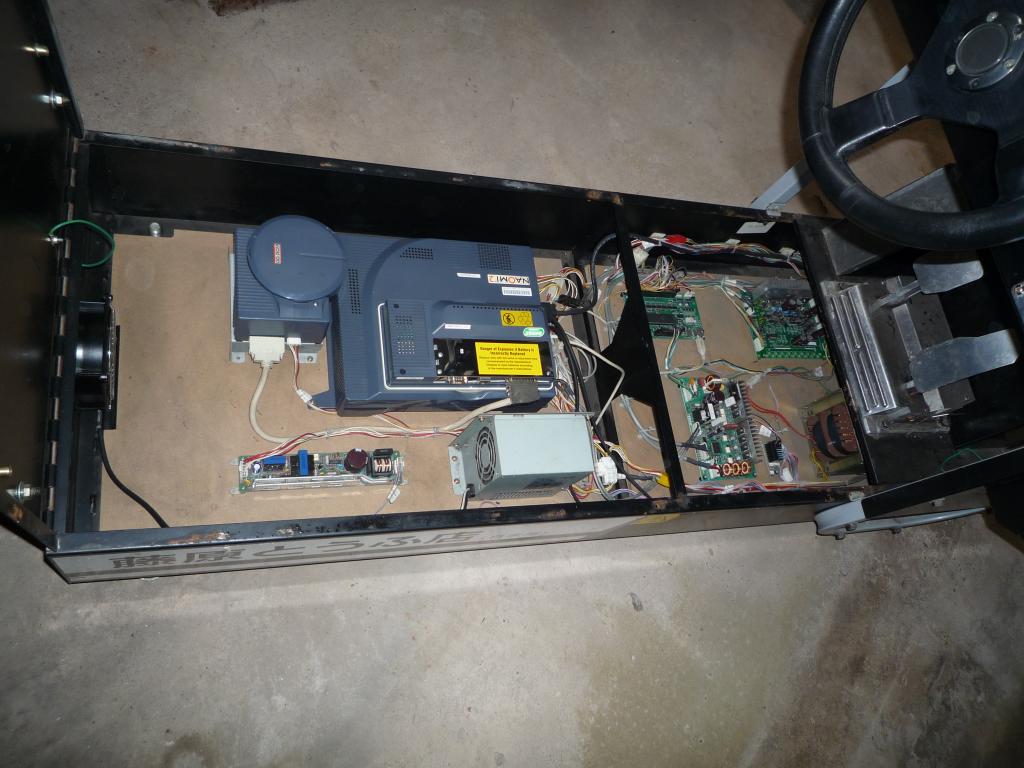
I've cleaned the electronics externally and internally as they were caked with crud.
I work in IT fixing/maintaining a variety of POS/Computers/Printers, so I'm a great believer of preventative maintenance. Since I had no idea how long it's been sitting around, I didn't want to risk powering it up before cleaing.
id2_internals.jpg

Digging this up from a while ago as I have just got an ID 3 cab and want to give it a clean up and hopefully fit gullwing speakers and subwoofer.

Out of interest what do you use to clean the game boards? I am never sure what is safe to do without causing any damage either by moving something or static. Do you just brush all of the crap of the boards, use compressed air or something else?
 

Vamino

Insert coin(s)
vacBacker
Feedback
22 (100%)
Credits
2,646CR
I used a combination of compressed air and a brush made from horse hair, you can use specific brushes made for electronics but I prefer softer brushes that are made from horse hair. If you do take it apart to clean then make sure you try not to flex the Naomi motherboard too much as they are notorious for developing glitches after the solder has cracked underneath the chips.

Hmm, I really should update this thread....

The once glitchy N2 has been fine for 2 1/2 years! I've still got a spare that I bought off the Geezer.

Another thing, although I had a few problems in the beginning this cab has been 100% reliable since sorting everything out, basically stuff that just wears out with it being turned on all the time on site. I now know this cab was in pretty good shape to begin with as I've bought some pretty dire cabs over the years.
smiley36.gif


Since the last update I've fitted a new PFX screen, bought an OR2SP kit, retro fitted an ID1 view panel/coin tower w/card reader, fitted some nos parts, fitted an official Sega CF kit and also fitted a bass transducer from a D2 deluxe into the seatback. I still haven't had the opportunity to get the metalwork powdercoated though, when OCD kicks in the I'll no doubt get that sorted.

Still looking for the LH side panel art and Jp/USA topper as well, it seems like it's a never ending mission!
smiley36.gif


All in all this is still my favourite cab out of all my cabs, I've spent quite a bit on this cab but it still looks a bit scruffy due to the rusty/flaking paintwork. Sometime in the future I'll try and do an update to show the cab as it is.

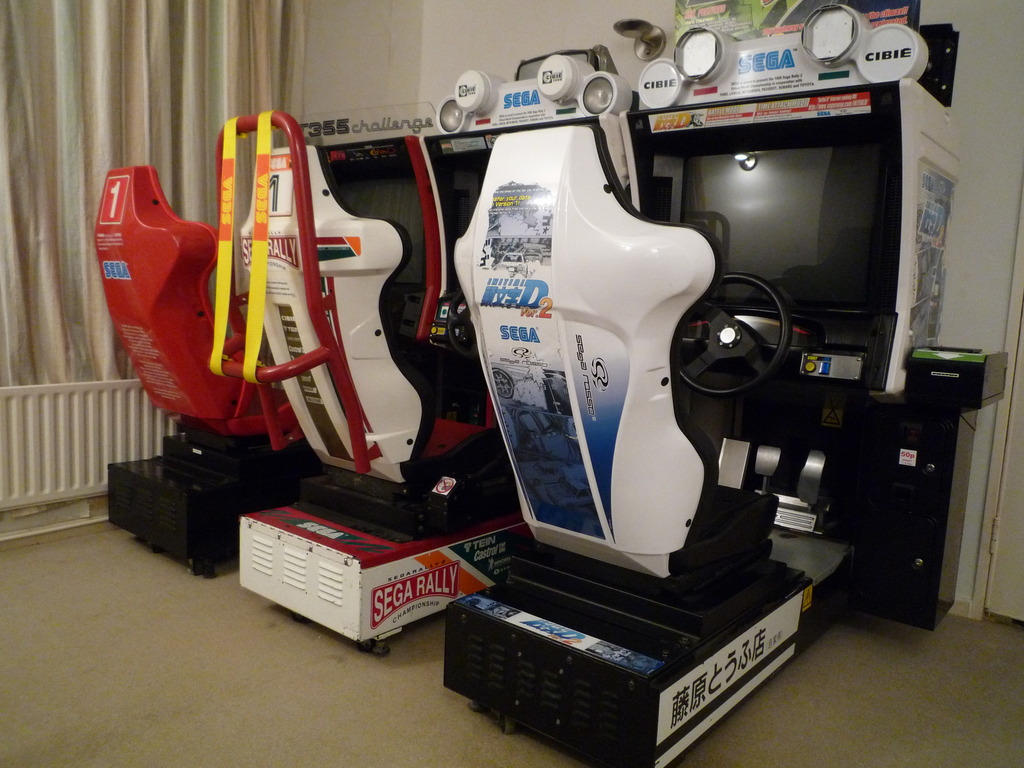
Here's a placeholder pic until I get around to doing an update:

Cabs_after.jpg
 

Lid

User
Feedback
1 (100%)
Credits
18CR
Thanks for the reply. I will have a look around for some brushes as mine isn't the cleanest inside.

Another 2 quick questions if you don't mind. Have you ever replaced nuts, bolts and washers for the ID or any other black based racer? It seems a lot harder to find the parts in black than normal steel.

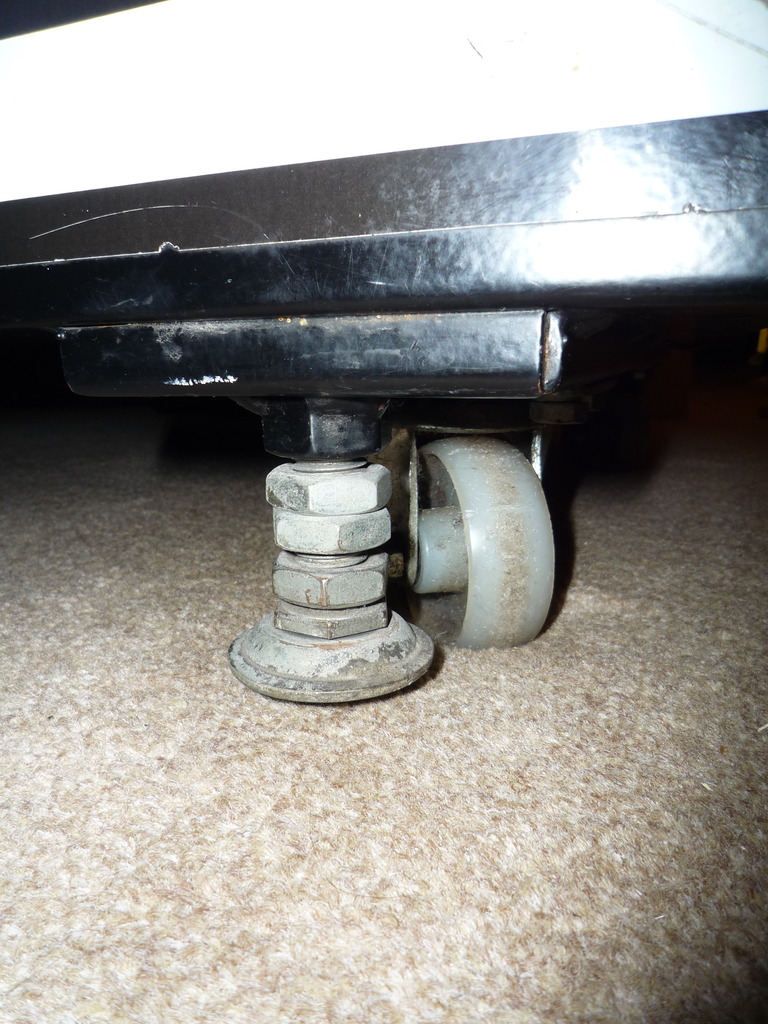
Also do you have the original adjustable feet/levellers on the ID? All of mine are missing and I was wondering what they are meant to look like so I can try to find something as close to the original as possible.

Thanks

Liam
 

Vamino

Insert coin(s)
vacBacker
Feedback
22 (100%)
Credits
2,646CR
The security screws seem pretty difficult to find, but I did manage to find a US seller selling some NOS Sega Driver screws a while back, it was an expensive exercise but they finished off the dash nicely.

I do have the leg levellers on my cab, it's a bit difficult to get a pic right now. I'm sure I have one in my box o'screws, I'll have a look over the weekend and see if I can sort out a decent pic if no one else can chime in.
 

Lid

User
Feedback
1 (100%)
Credits
18CR
Thanks for the link Outrun. Saw your message over at the other forum as well so thank you for that.

I did look at those leg levellers originally but I didn't think they would be long enough so wasn't sure if they were the correct ones. After another measure they look like they should do the trick so I will message to see if there is any chance of new stock arriving.
 

Lid

User
Feedback
1 (100%)
Credits
18CR
Outrun2 said:
I haven't measured the ones on my cab but looking at Andy's website you might be better with the M16x100 type

Does it not state the size in the manual- I don't one to hand I can check.

The ID 3 Twin manual I downloaded doesn't have a measurement but does have a part number of 999-0167. Searching for 999-0167 leg leveler I have found this reference which says 3" which is about 75mm.
 

Outrun2

Colonel Outrun
Feedback
5 (100%)
Credits
1,153CR
That's a US part number - you must be looking at the US manual. Make sure you look for the UK version..

The part number you need is 601-5699UK-01 which is M16x100 c/w 1 nut (there is a -03 number which is c/w 3 nuts but it doesn't really matter which you get).

edit:

The UK iD single cab manual isn't available online, but the UK twin version will be the same for most purposes and Sega have been using the same basic parts on drivers since the early/mid nineties..

http://d2q2ufly9wqg0k.cloudfront.net/sharedfiles/Initial%20D%203%20TWIN%20Manual_0.pdf

Outrun22016-05-13 13:18:24
 

Bods

Senior Member
vacBacker
Feedback
4 (100%)
Credits
4,972CR
Just been looking if I had any leg leveller but can't seem to find any, must of used the spare ones on the last machine as they always seem to be broken or bent

Not that I can get to most parts of the shed for all the crap
 

Vamino

Insert coin(s)
vacBacker
Feedback
22 (100%)
Credits
2,646CR
I finally managed to find the leveler, but it seems it may be a home made one?

Here's some pics of one off my cab and the home made one, I couldn't take off the one from my cab due to not being able to tilt it over by myself. Mo (videotronics) should have some.

l1.jpg


l2.jpg
 

Vamino

Insert coin(s)
vacBacker
Feedback
22 (100%)
Credits
2,646CR
OK, here's a brief update of what I have done to the cab so far.

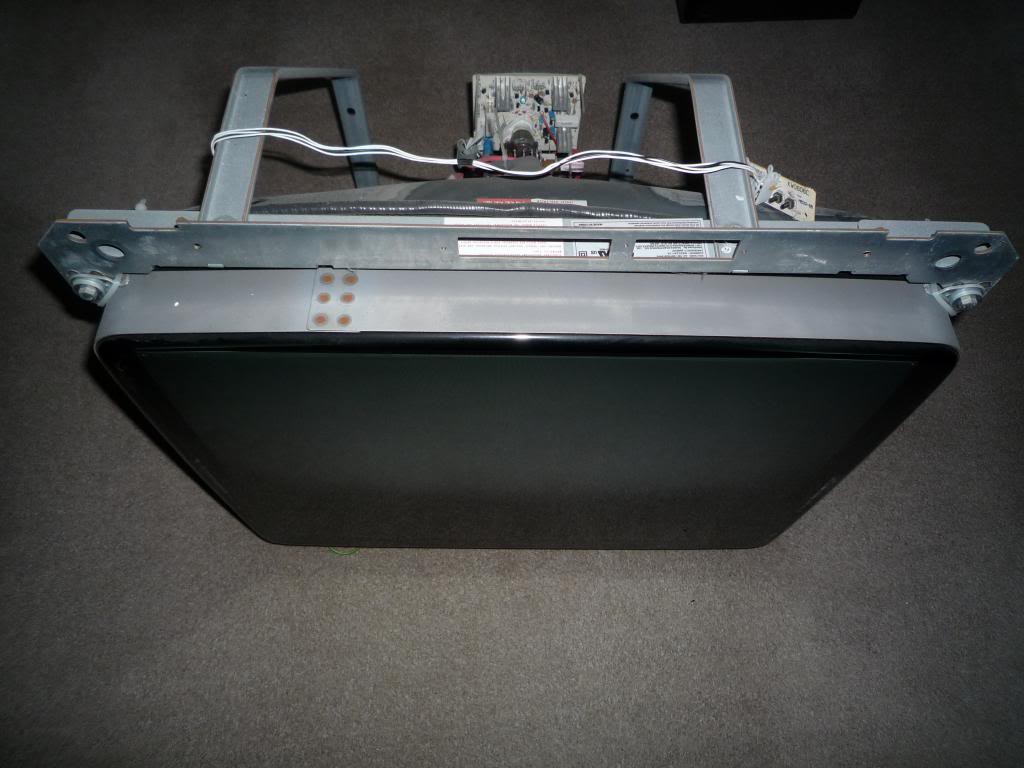
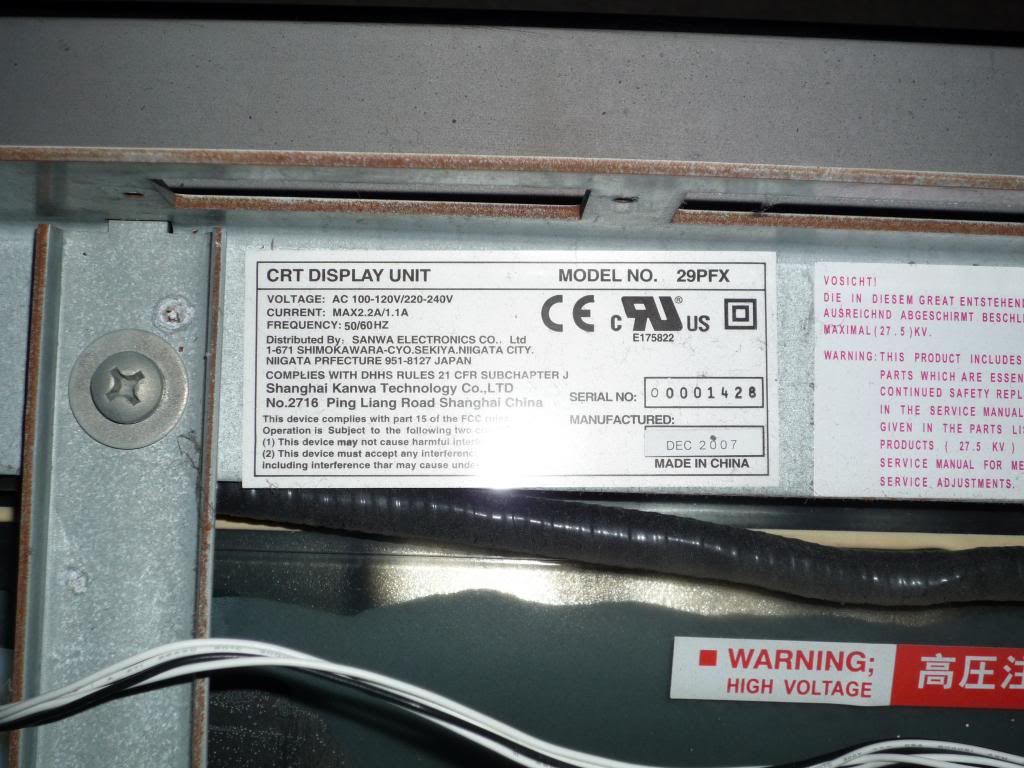
After fitting a new lopt and capkit to the Sanwa 29e31s monitor I still wasn't happy. The picture was OK but I just wasn't happy with blues and reds when compared to a Nanao. (I had to send it off to Grant as it didn't work after fitting the capkit, turned out to be a capacitor put in the wrong way
smiley36.gif
)

I think Gary mentioned in his ID to OR2 conversion thread he mentioned Nanao 2932 with burn > Sanwa with no burn. I'd completely agree with that statement as the monitor on my F355 is so much superior when it comes to clarity and colours.

So.....I sold the monitor at a loss just to be rid of it after finding a burn free Sanwa PFX.
smiley1.gif


PFX_1.jpg


PFX_2.jpg


PFX_3.jpg


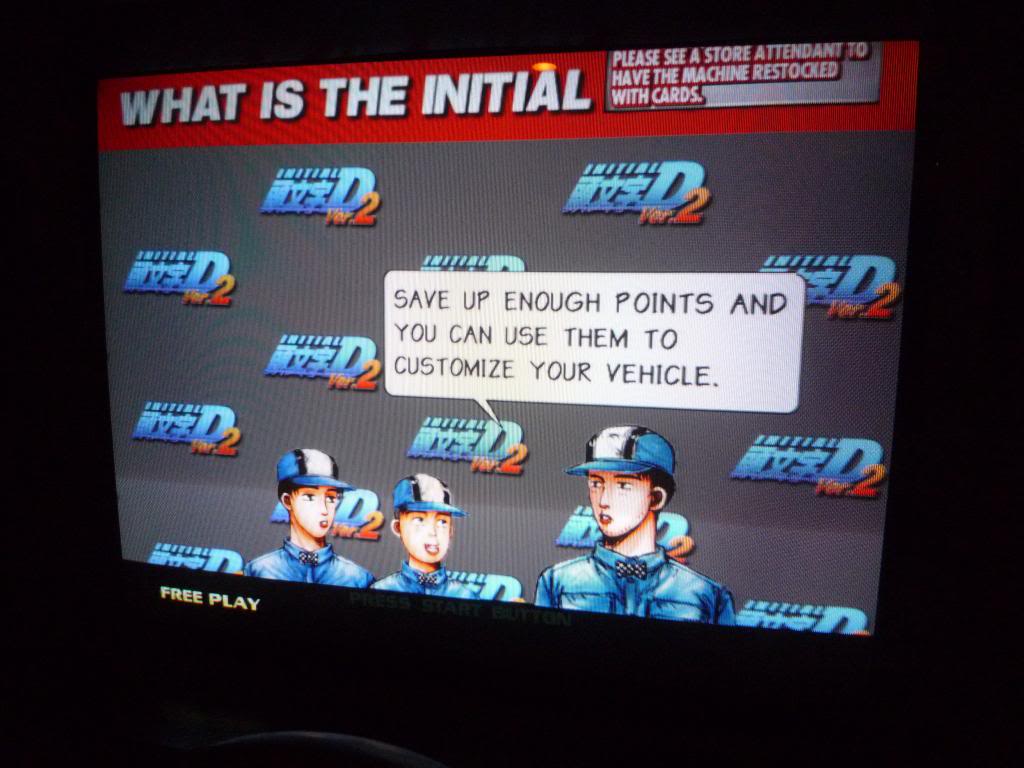
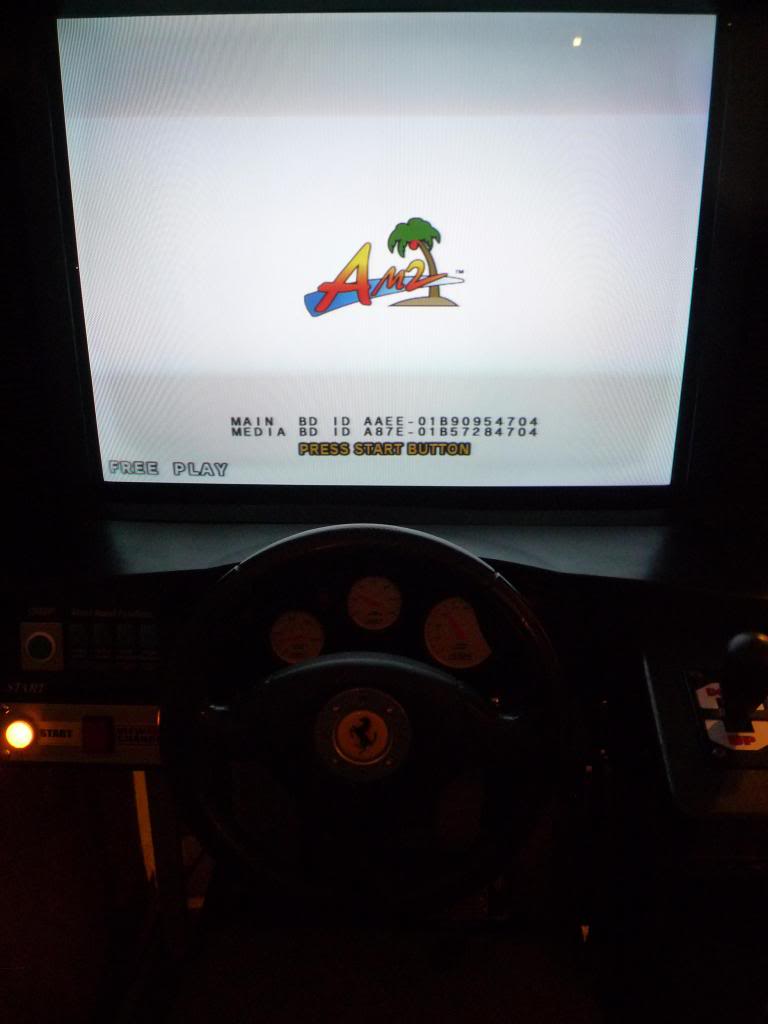
The picture I took doesn't do the monitor justice, the difference is night and day when playing OR2 SP. Since this is an ID thread there is no need to post pics of OR2 bits everyone has seen before.

OR2_pfx2.jpg


OR2_PFX.jpg


or2_pfx3.jpg

Vamino2016-05-24 18:43:47
 

Vamino

Insert coin(s)
vacBacker
Feedback
22 (100%)
Credits
2,646CR
OK I lied, onto the OR2 dash.
smiley36.gif


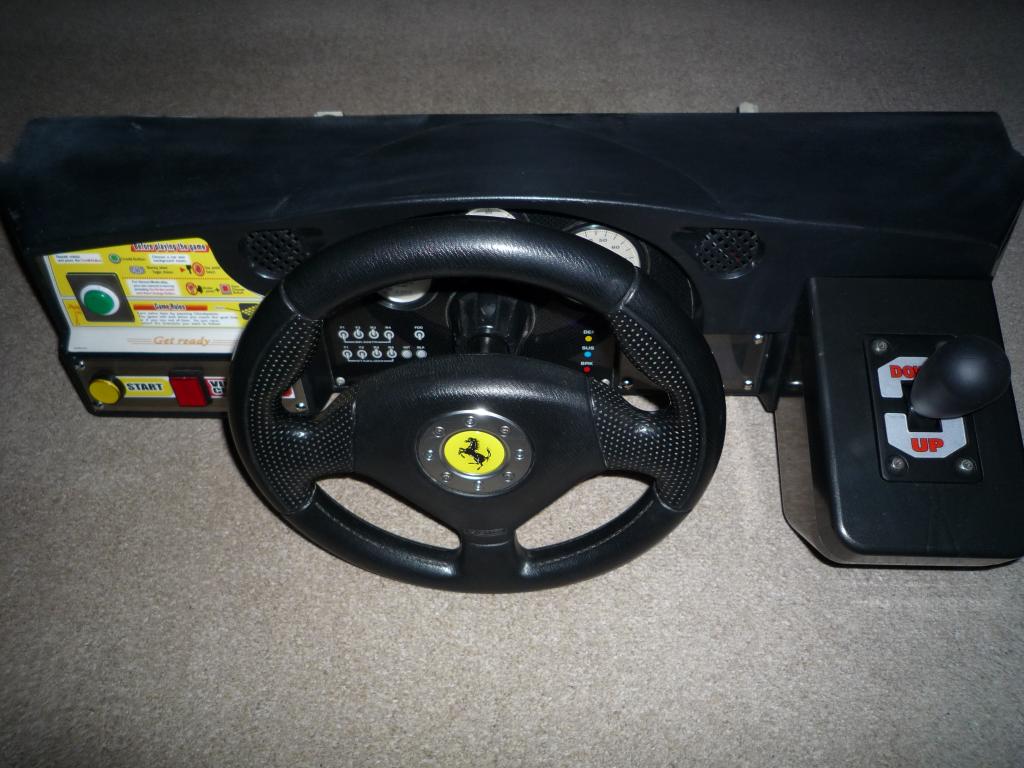
Obligatory OR2 dash shot.
Nos shifter plastics, nos shifter and nos Ferrari center cap w/screws all sourced from Gary.
smiley20.gif


P1100224.jpg


Back to the ID...........

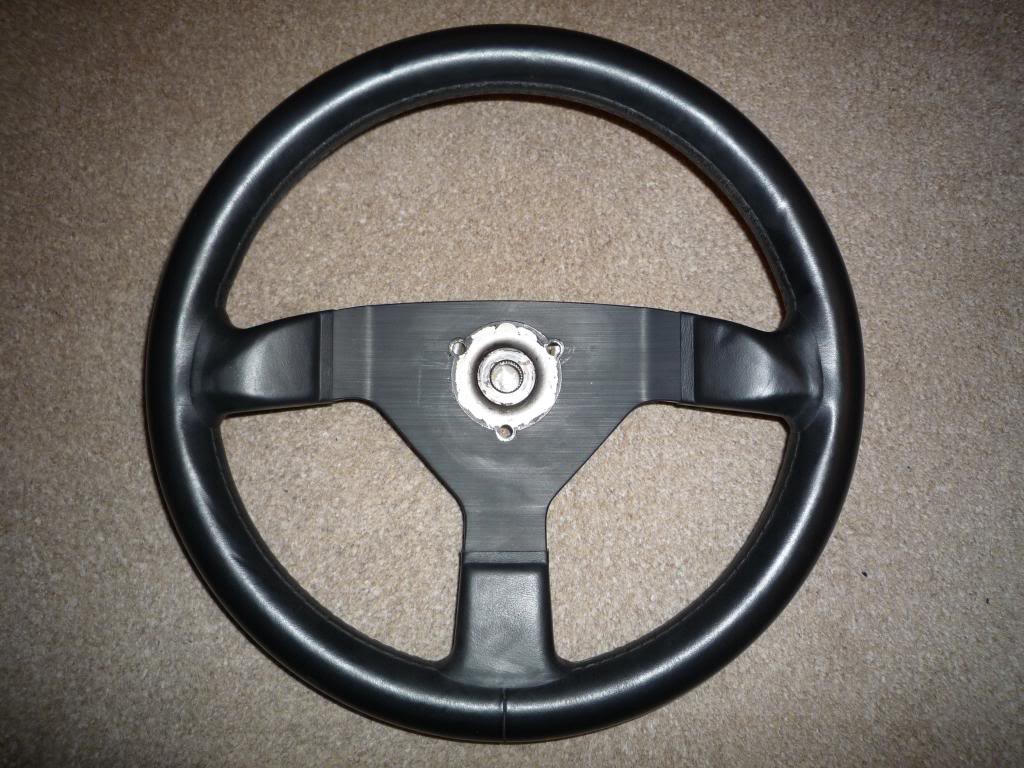
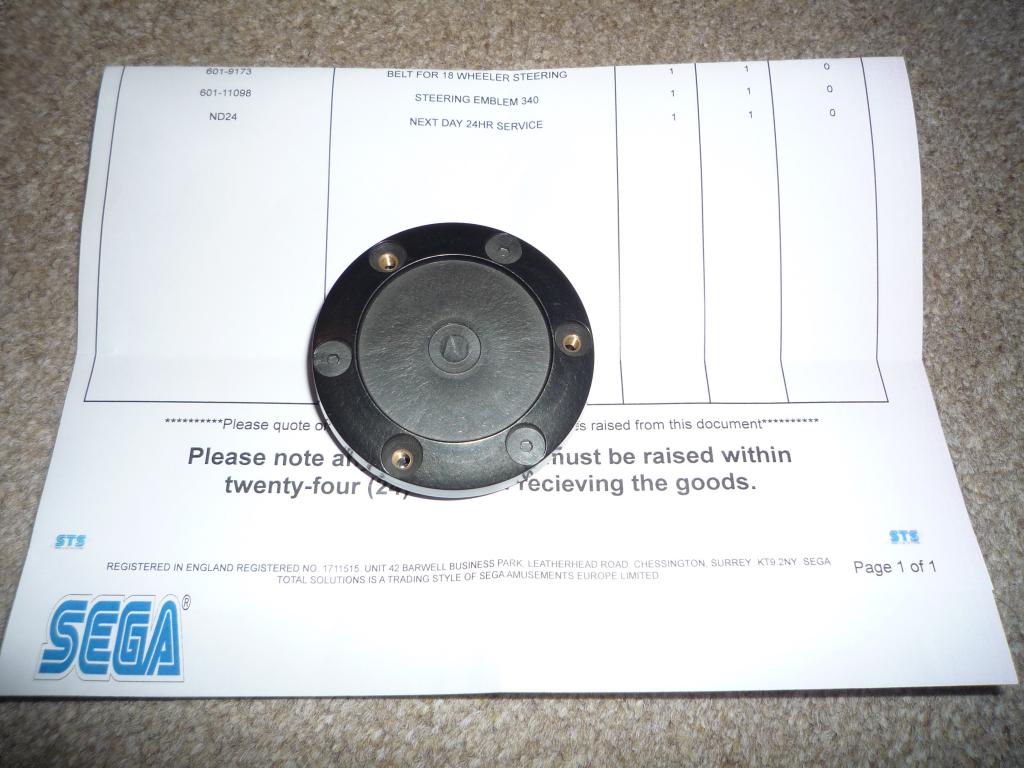
Nos wheel and nos center cap.
P1100226.jpg


P1100633.jpg


Vamino2016-05-24 18:52:33
 

Vamino

Insert coin(s)
vacBacker
Feedback
22 (100%)
Credits
2,646CR
I'd already retro fitted the gull box speakers and subwoofer, but it just wasn't enough.
smiley2.gif

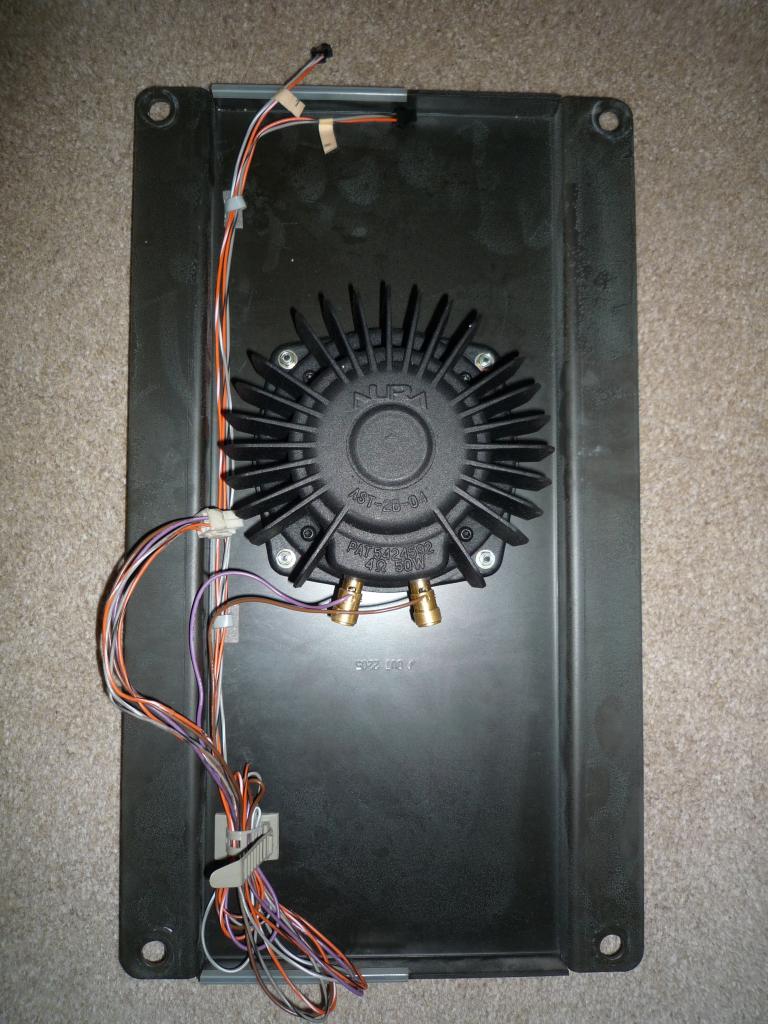
So after scavenging parts from a Daytona 2 Deluxe cab I fitted the bass transducer that is fitted standard inside the back of the D2 seat.

Transducer.jpg


This really makes a difference in conjunction with the under seat woofer, I now feel the bass now rather than it just tickling my bum.

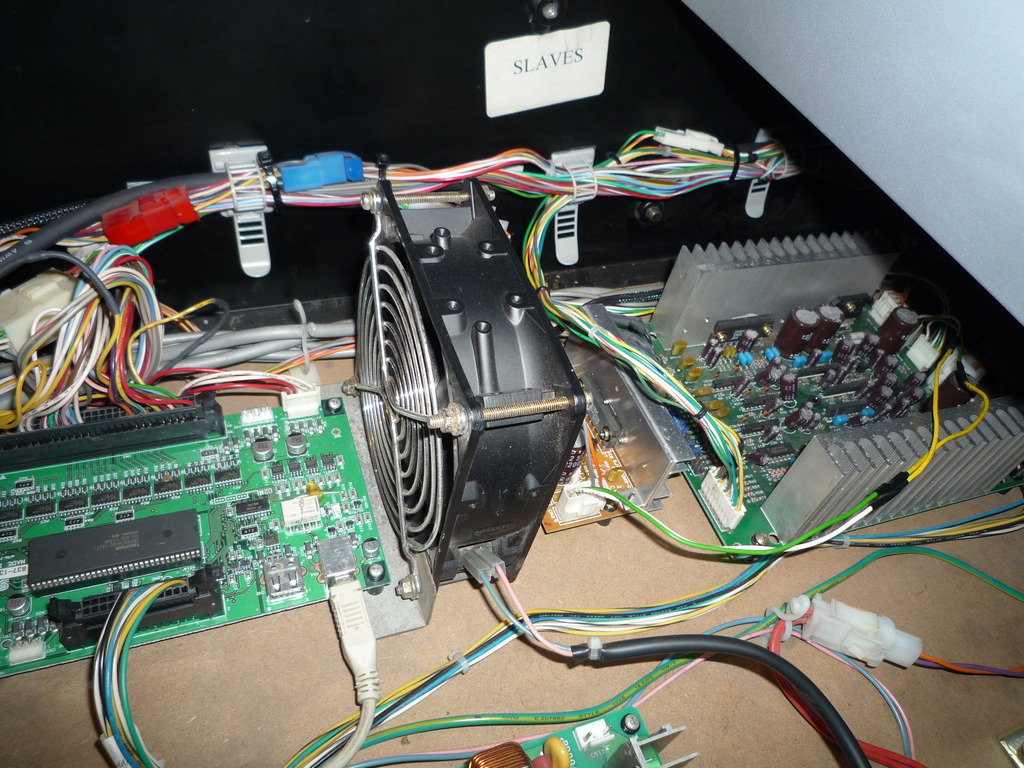
I've kinda cheated with how it's connected to the sub amp at the moment. I wired the sub and transducer to the low pass amp, within a week I blew my first subwoofer speaker. When I investigated I noticed the low pass amp was getting incredibly hot powering both speakers, so I installed a large fan to blow over the amp.

low_pass_cooling.jpg


I've been running it like that for over a year and it's lasted fine once the amp is cooled with a fan, even when cranked up it hasn't missed a beat.

I do have the transducer amp from the D2 and hopefully one day I can find a bass speaker from a Club Kart to fully complete the speaker upgrade.
smiley1.gif

Vamino2016-05-24 19:06:50
 

Vamino

Insert coin(s)
vacBacker
Feedback
22 (100%)
Credits
2,646CR
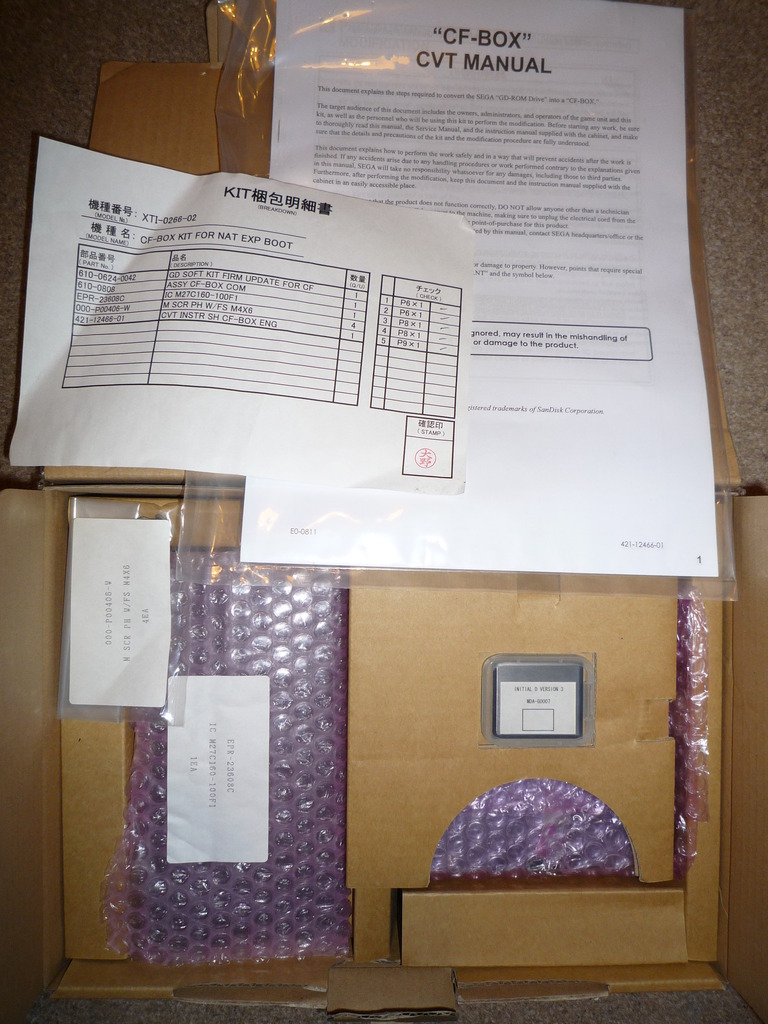
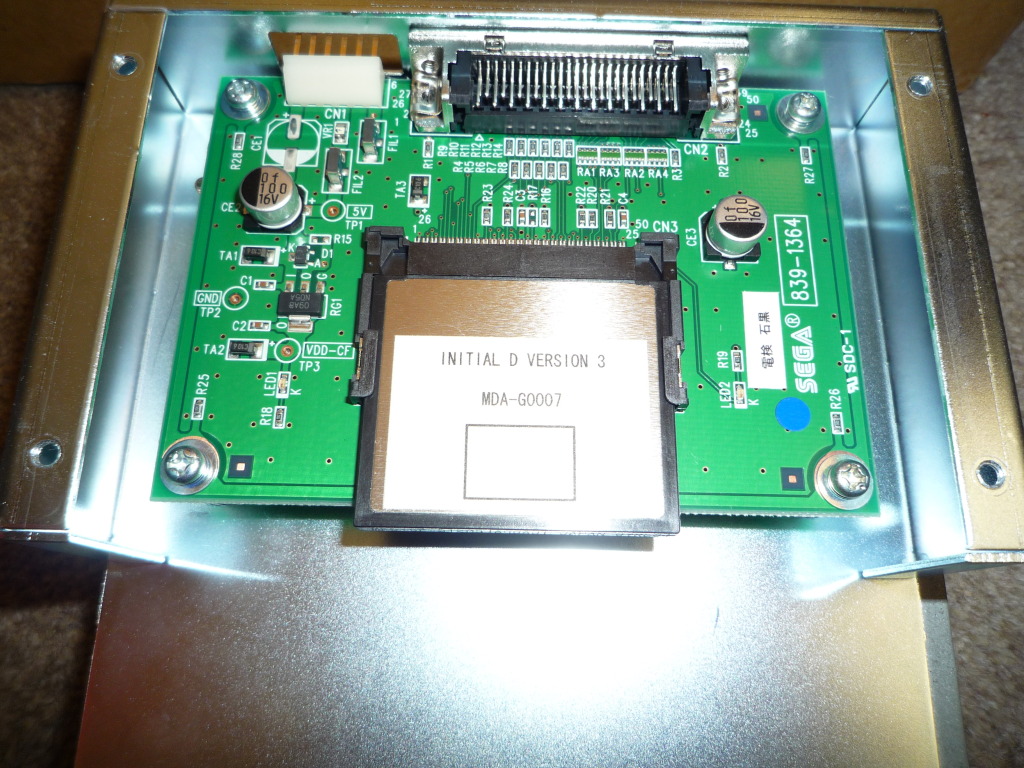
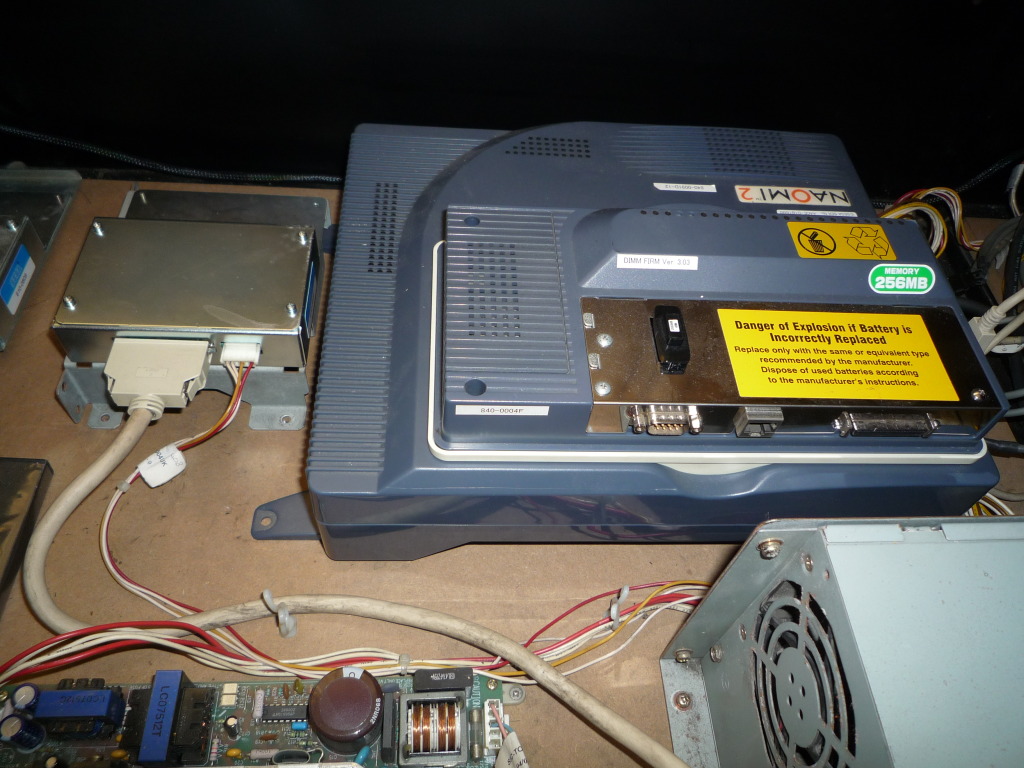
One of the last things I've done to the cab is to upgrade to the CF solution. An ID3 official Sega kit was purchased off the forums. IDchappy done me a really good deal on the kit, big thanks for that mate.
smiley20.gif


cf1.jpg


cf2.jpg


cf3.jpg


One thing to note, when I updated the firmware from the GDRom it wiped all my laptimes from the Naomi, that pissed me off so much I stopped playing it for a while.
smiley19.gif


I was also lucky to find a topper from a Single Max Tune cab. It's the same width as the Sega drivers so it makes a decent substitute until I can find the Jp/USA topper. I still need to wire it up, I havn't looked into that just yet.

Anyway, I've still got quite a few things to source/do to complete the cab:

>Parts needed:
A new LH Panel.
Jp or USA ID topper.
Original PF Bezel. (Mine has been grinded to fit.
Japanese v-shaped seatback.
Full set of Jp art
Club Kart subwoofer
Maybe reshell it into the superior Jp metalwork.

>To do:
Powdercoat the metalwork
Fit larger transducer/sub amp.

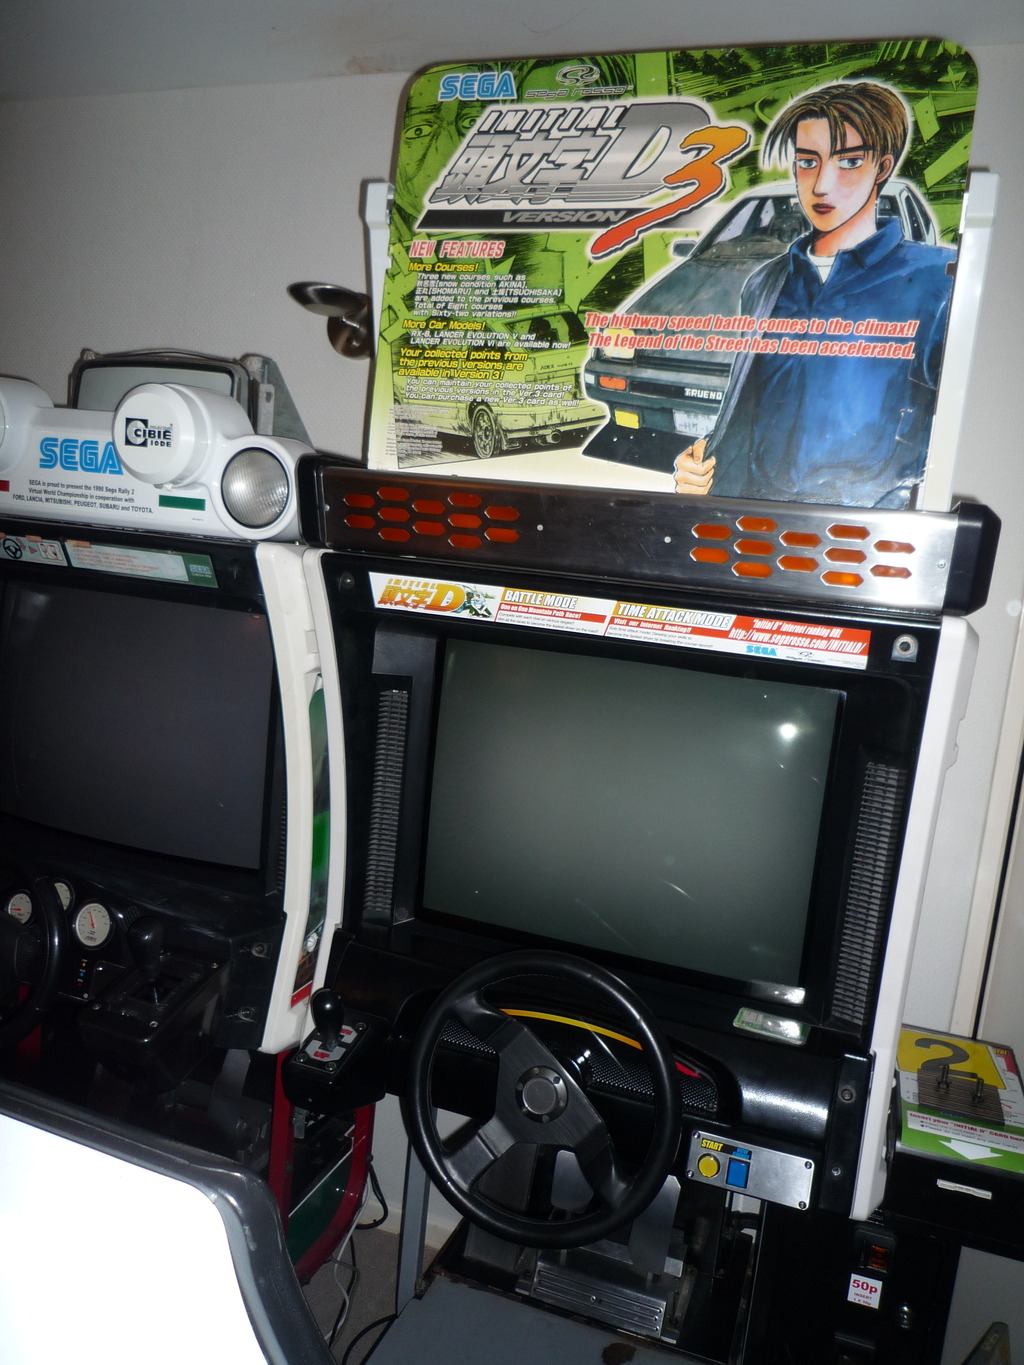
And here she is, sporting ID1/2/3 artwork and an ID3 pop card that Gary kindly donated.
smiley1.gif


id_frankencab.jpg


So hopefully in another couple of years I'll have another update.
smiley36.gif


Cheers.
Vamino2016-05-24 19:26:58
 
Top