Return of the Jedi Restoration in 7 Easy Steps

iamjimmi

Active member
vacBacker
Feedback
8 (100%)
Credits
492CR
Step 1 – get yourself a Jedi

A couple of years ago I picked up an Atari Return of the Jedi in need of loving care and attention.

ROTJ generally gets a bad press in my opinion. I think this is mostly down to people’s expectation that Atari would have released a Star Wars clone. But look at the game on its own merits and there is a really good shooter here. In fact, I’m going to go out on a limb and say that I actually prefer it to Star Wars!

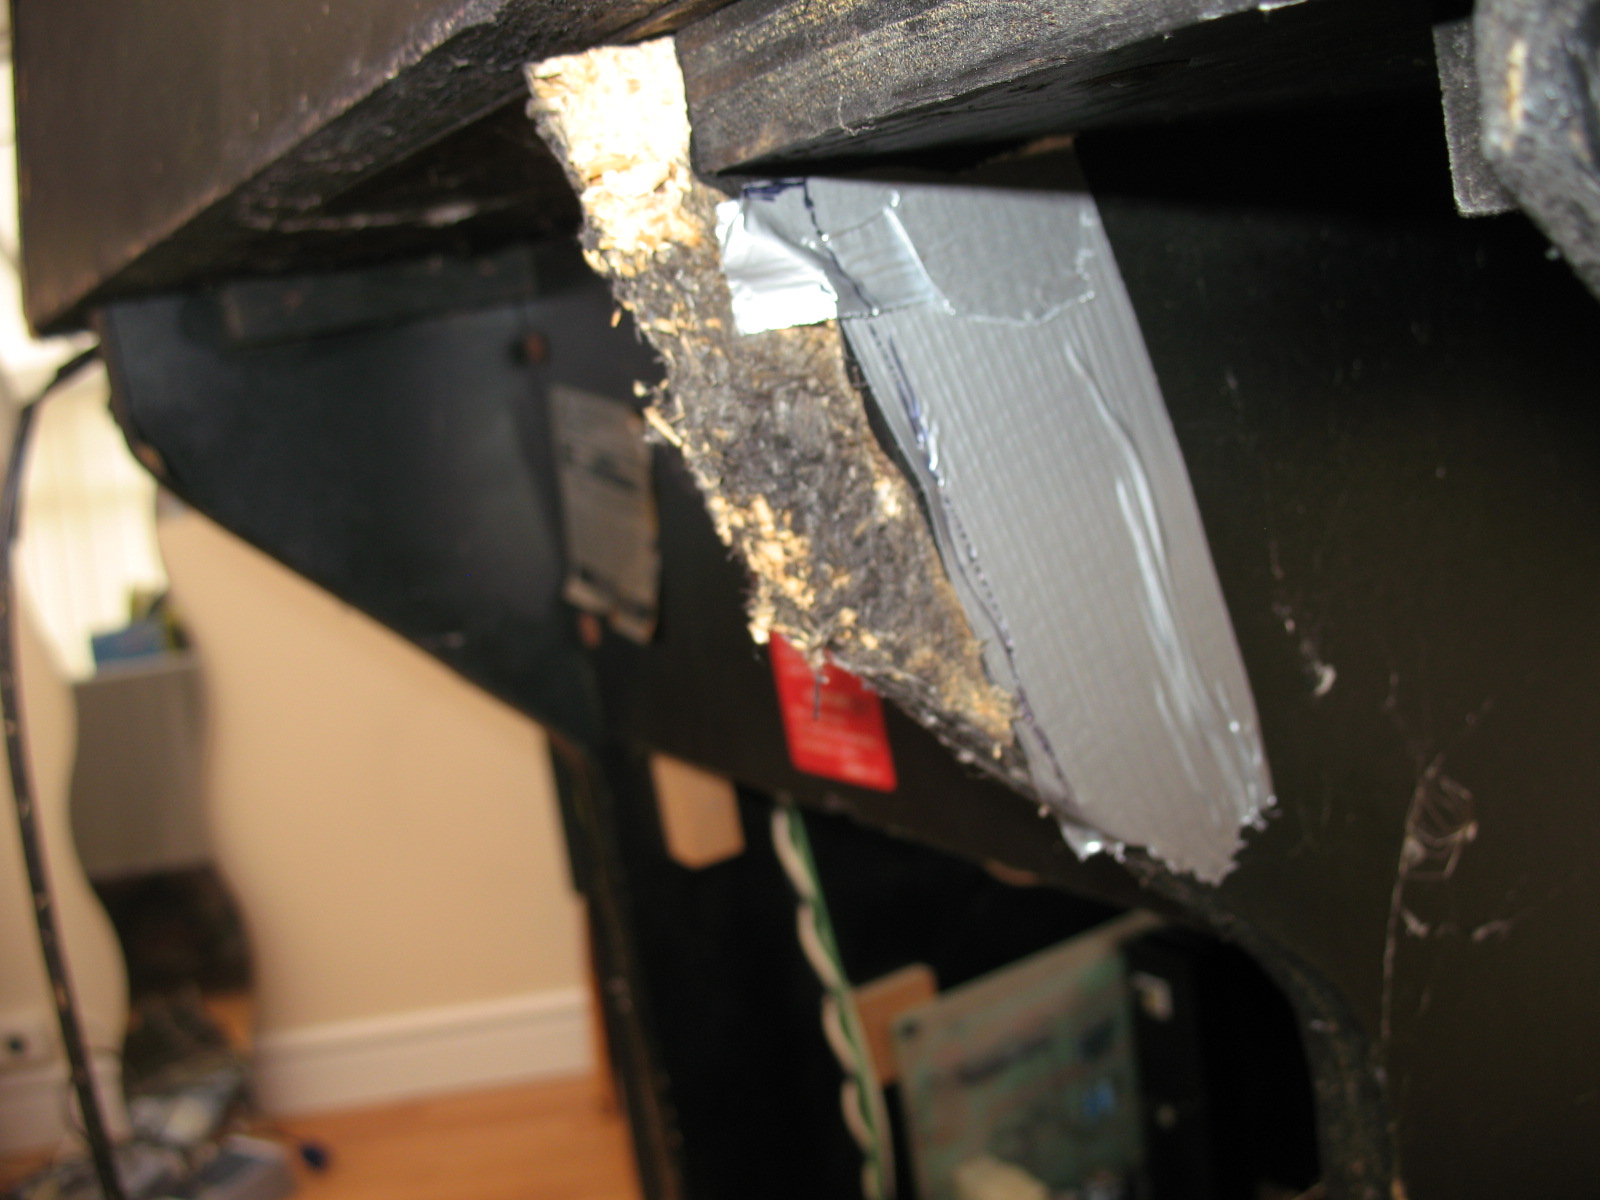
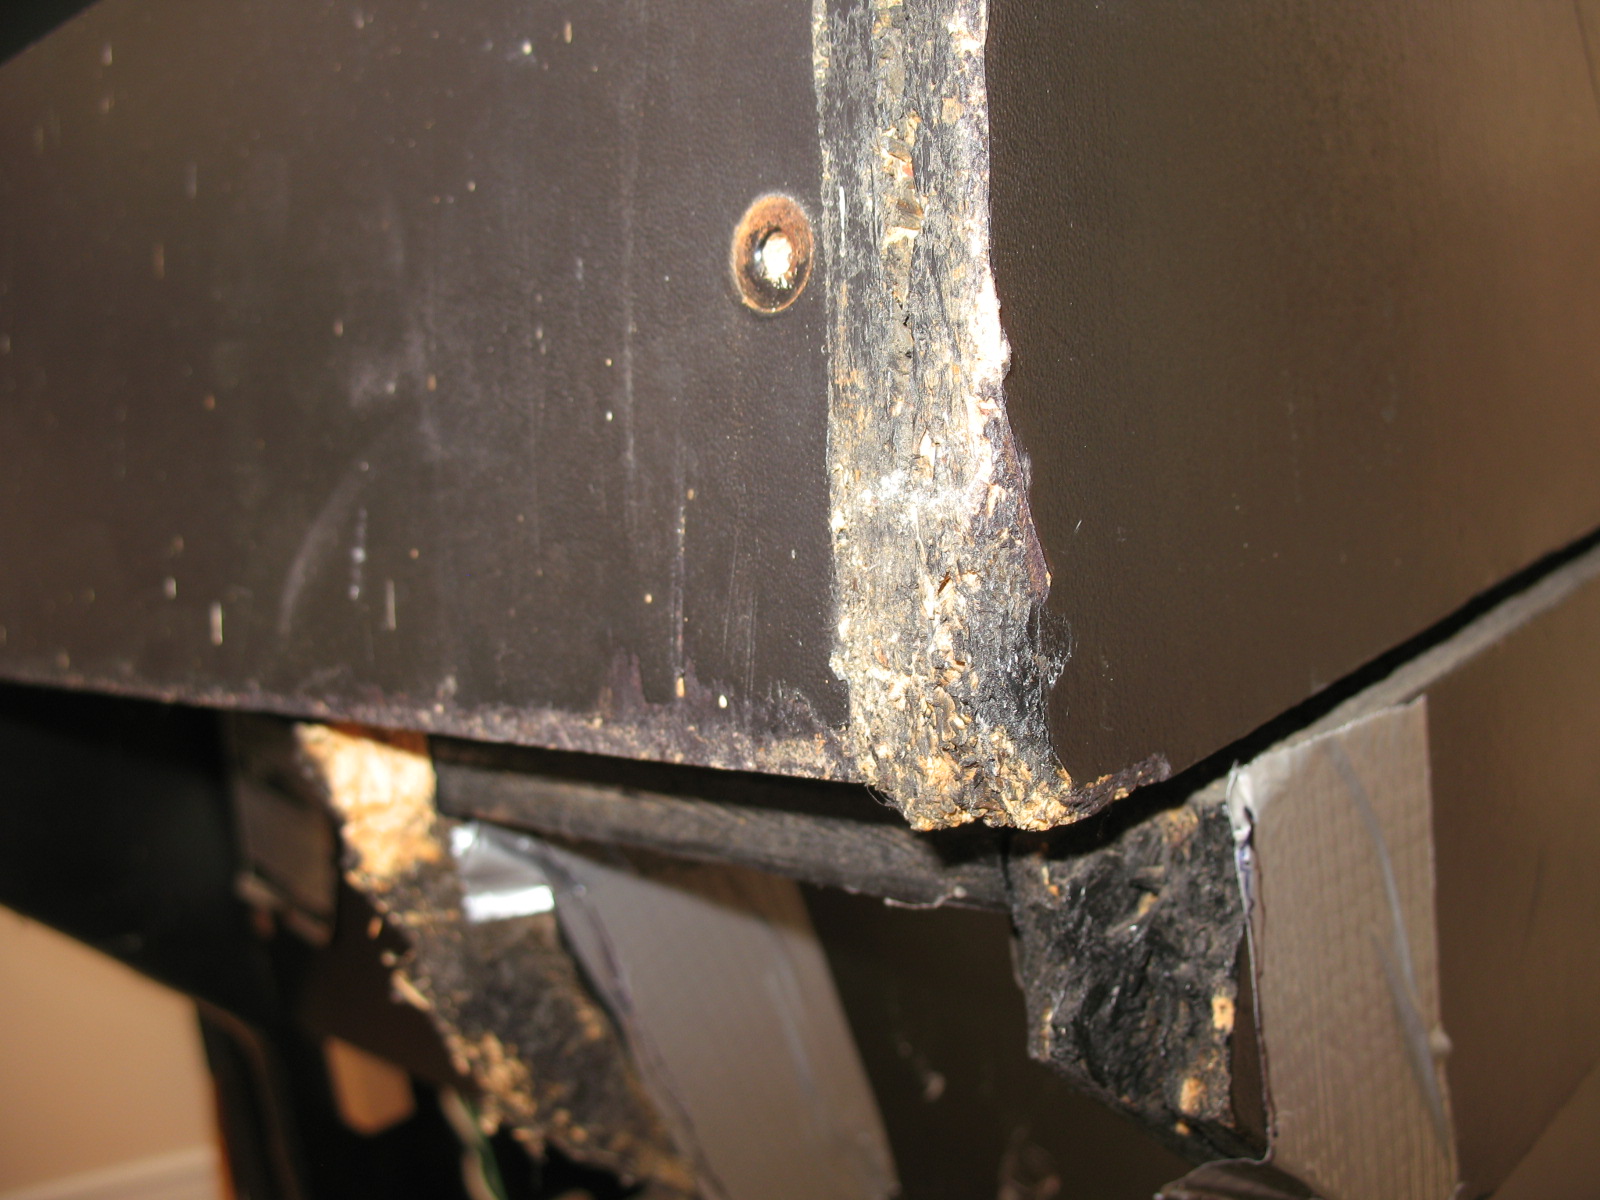
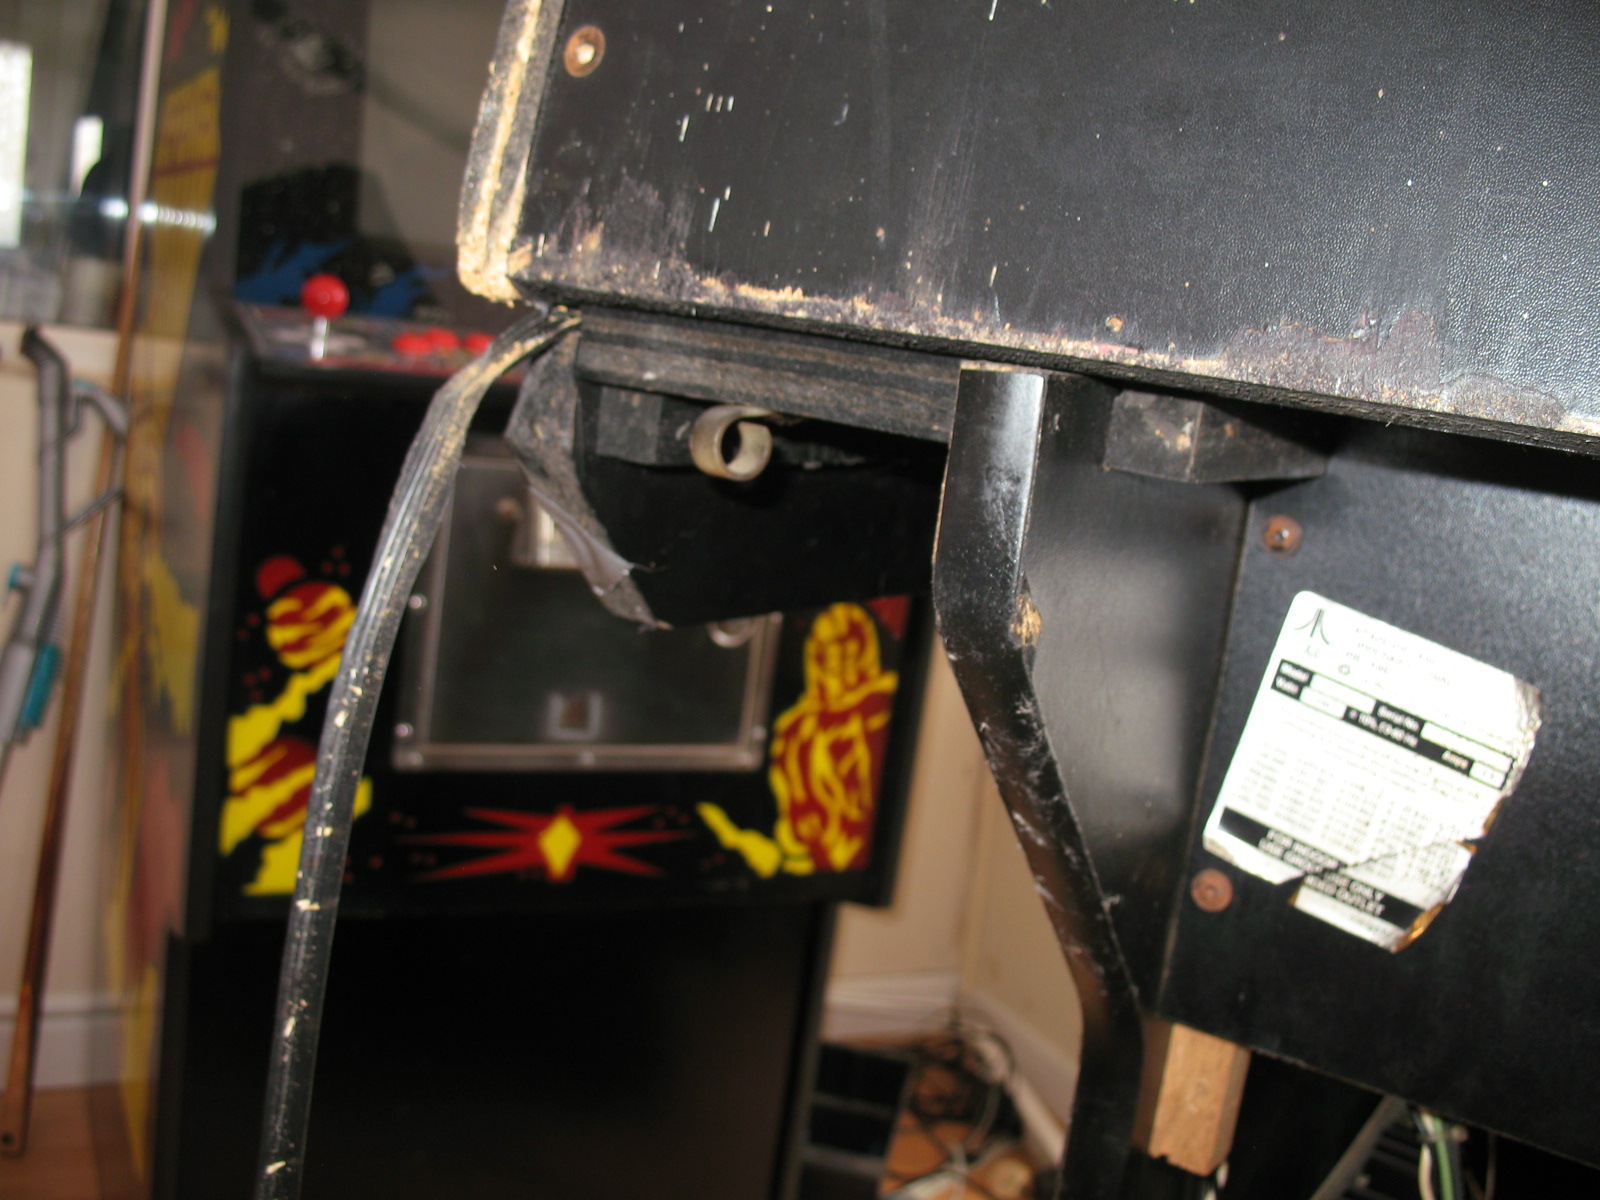
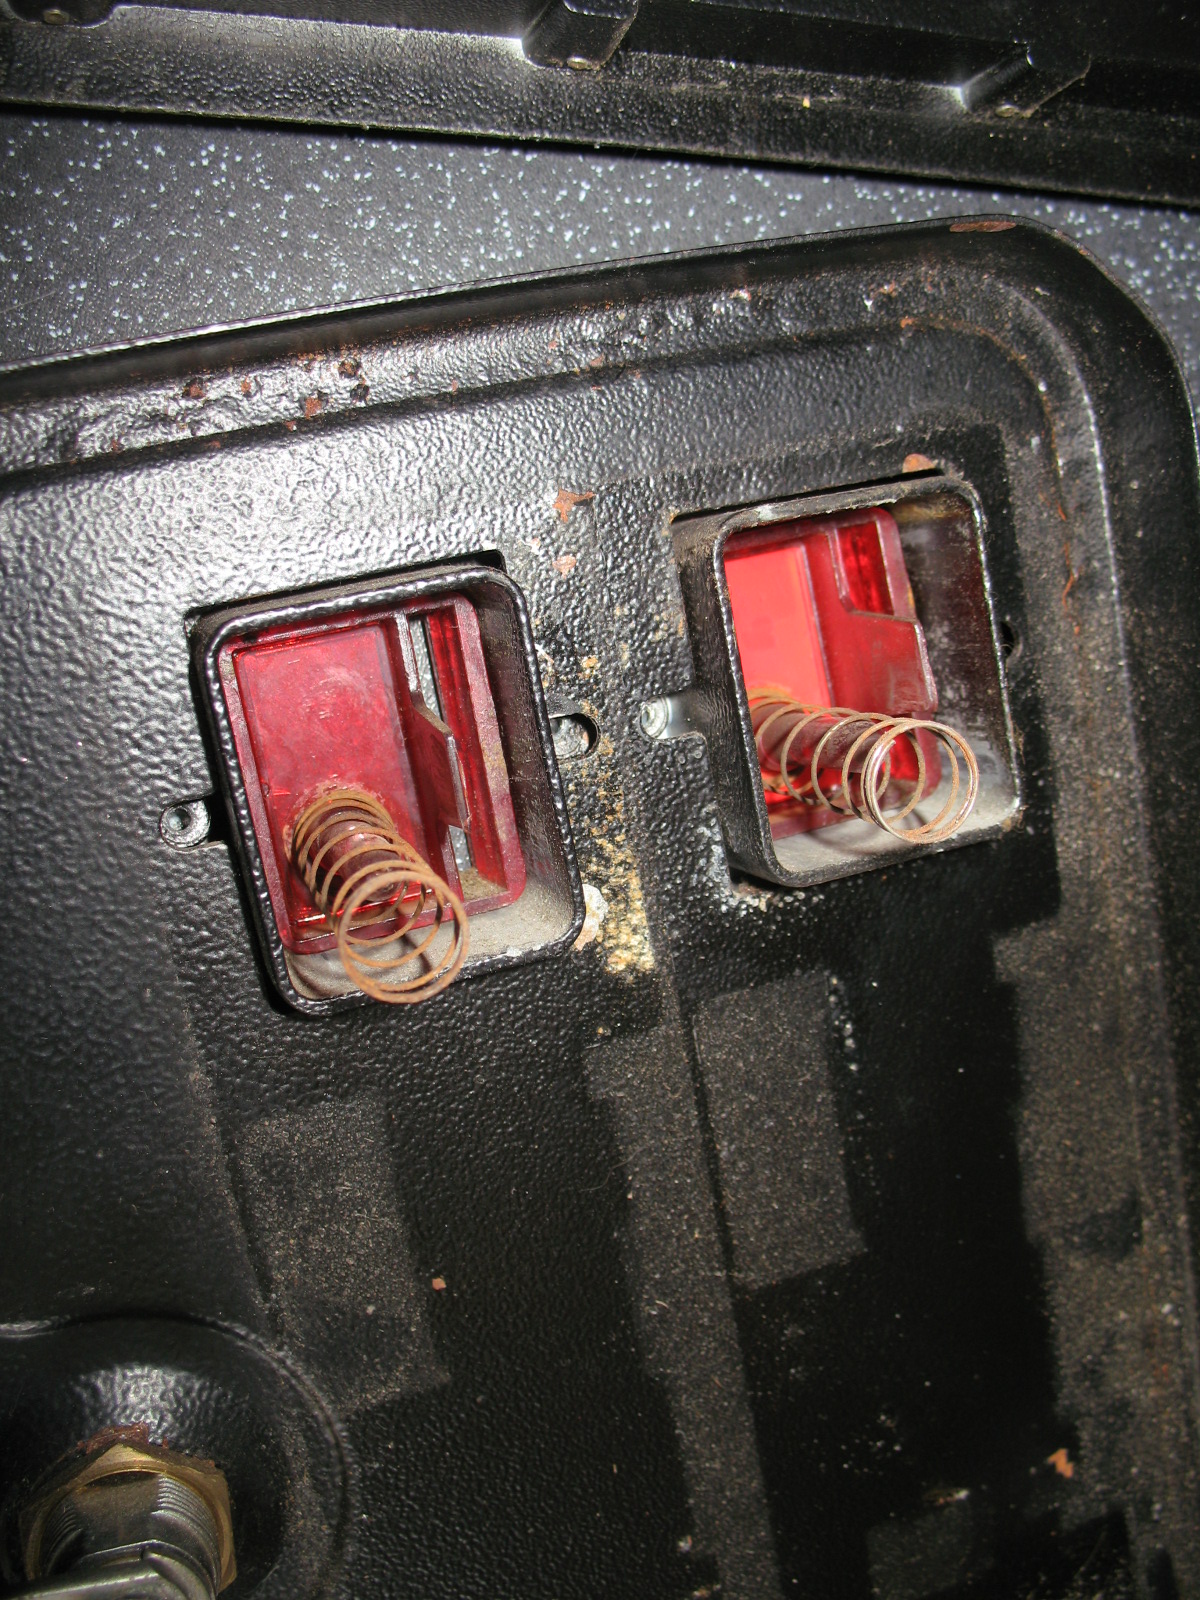
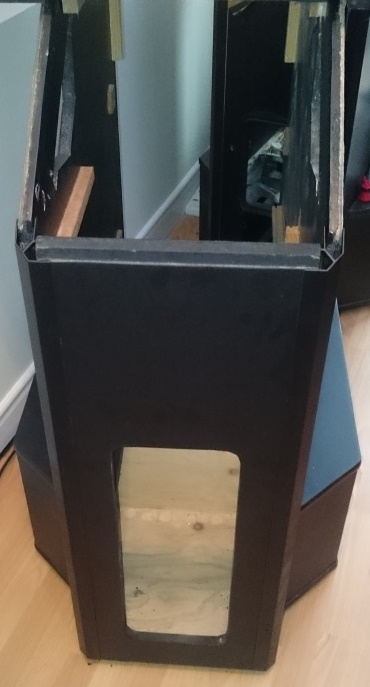
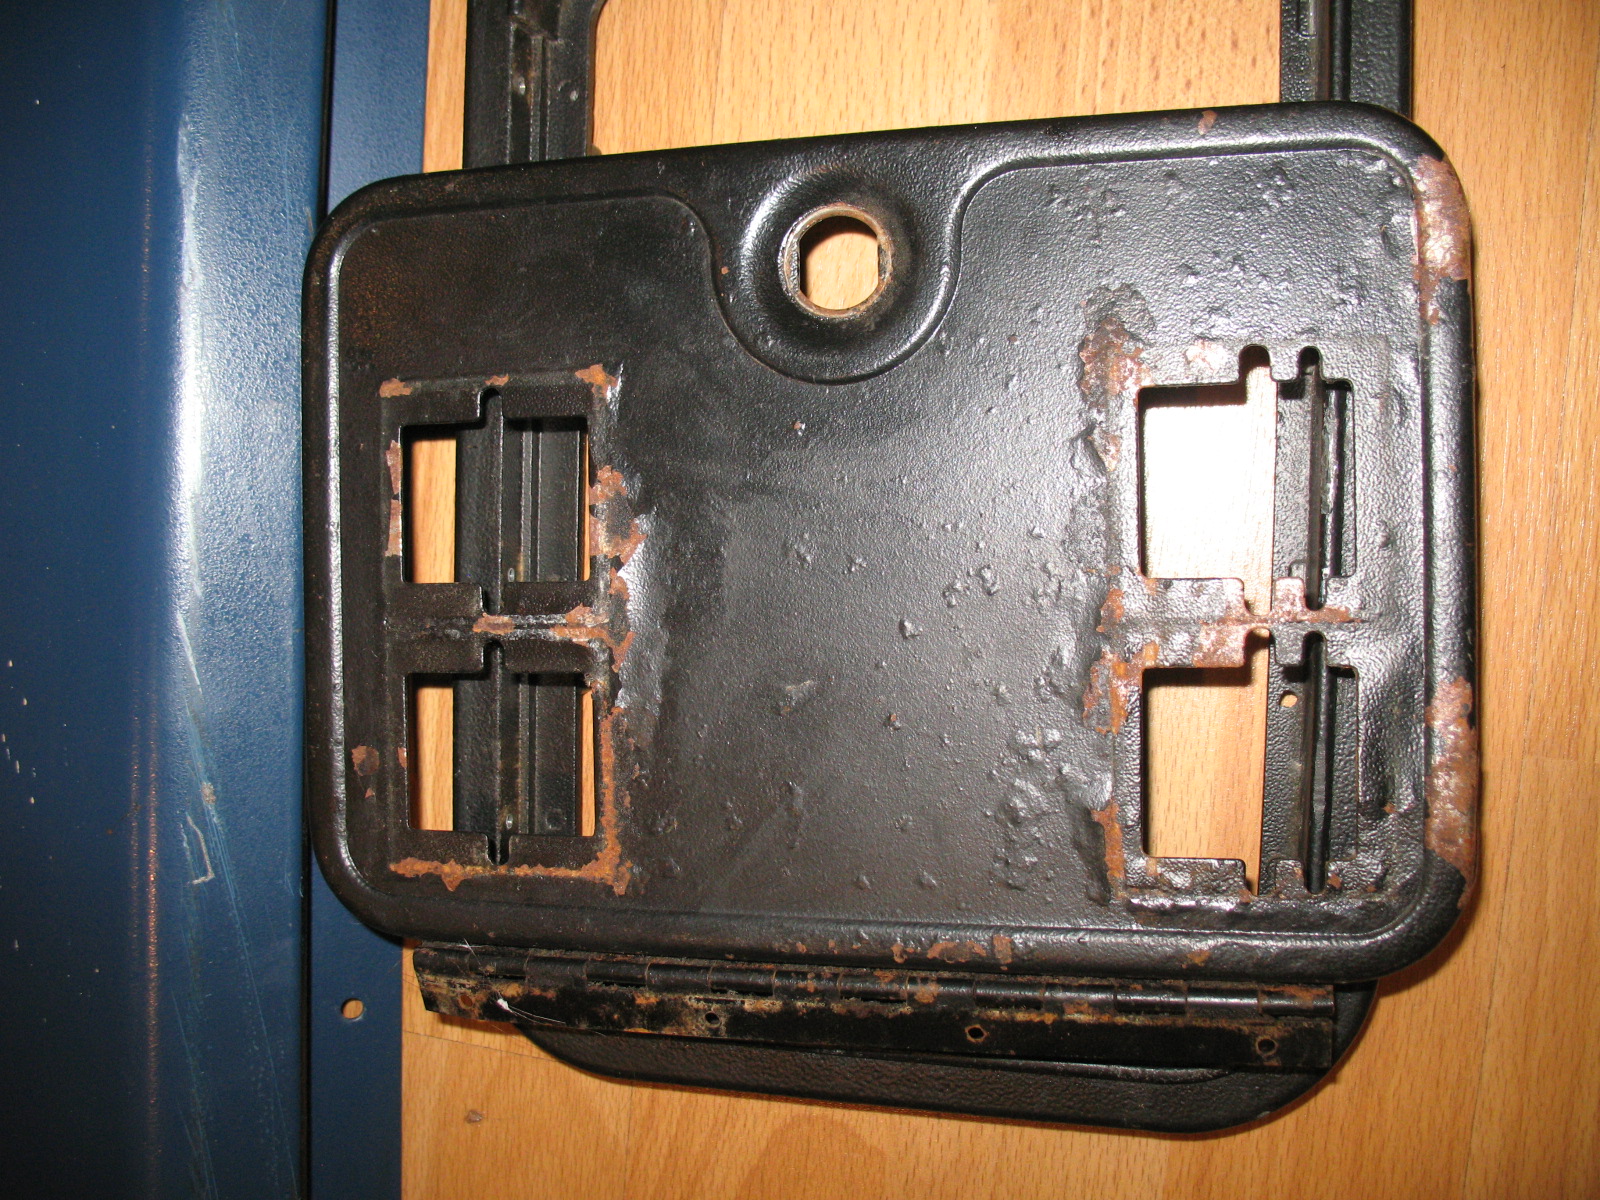
Cosmetically the edges and corners were pretty beat up, much of the t-molding was missing, the control panel had been damaged by cigarette burns, the yoke was very worn, the coin doors were damaged and rusted, the side art was missing, the control panel decals were missing and the yoke had the Star Wars decal instead of the ROTJ.

On the plus side, it powered up and played! But the control was very erratic and not all of the fire buttons worked. The screen was fairly badly burnt and the marquee light didn’t work.

I’ve tidied up a few machines but have never embarked on a full restoration and originally thought this one might take a couple of months. Well, two years later (!) it is virtually finished... I just need one final decal from across the pond, so hope to have it completed within the next couple of weeks.

So far, I am pretty pleased with the result…. I stopped counting the hours and pounds that went in this a long time ago…. I had a few major setbacks and at times became so disillusioned that I had to park it for months before I could muster the enthusiasm to continue.

Over the next week or so, I will be posting details of the steps that I went through for the restoration. Hopefully you will find the journey interesting and maybe some of the lessons that I’ve learnt will be invaluable for anyone embarking on a similar project.

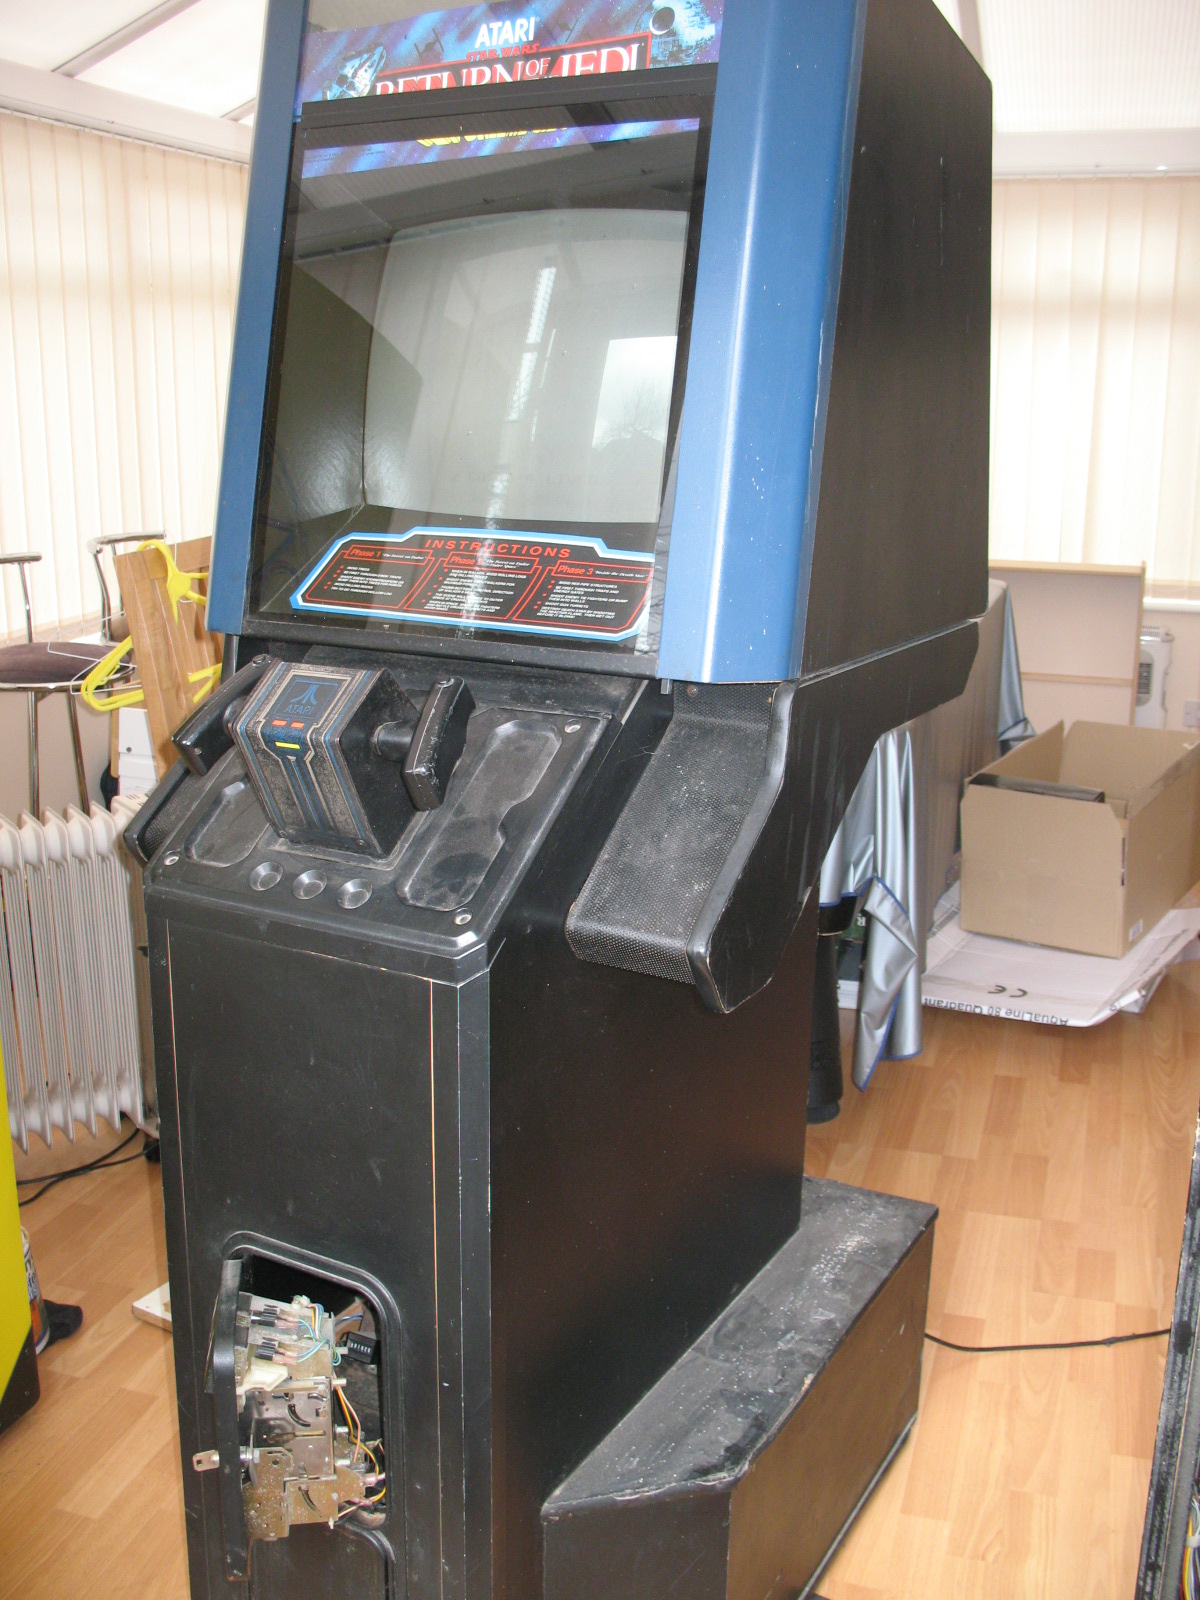
So to kick things off, some pictures of what I started with….
Jedi_Before.JPG


IMG_4229.JPG


IMG_4226.JPG


IMG_4243.JPG


IMG_4256.JPG


IMG_4494.JPG


IMG_4496.JPG


IMG_4513.JPG


IMG_4705.JPG


IMG_4743.JPG
iamjimmi2015-12-03 22:03:51
 

Vamino

Insert coin(s)
vacBacker
Feedback
23 (100%)
Credits
2,667CR
I always like threads like these.
On the one hand it's nice to see a full restore in one go, but on the other hand it's also nice to see the community pull together to help and motivate the guy restoring the cab.

I liked ROTJ when it first came out, I played it recently at Arcade club and forgot how bloomin' hard it its!
 

DanP

Administrator
Staff member
vacBacker
Feedback
5 (100%)
Credits
2,196CR
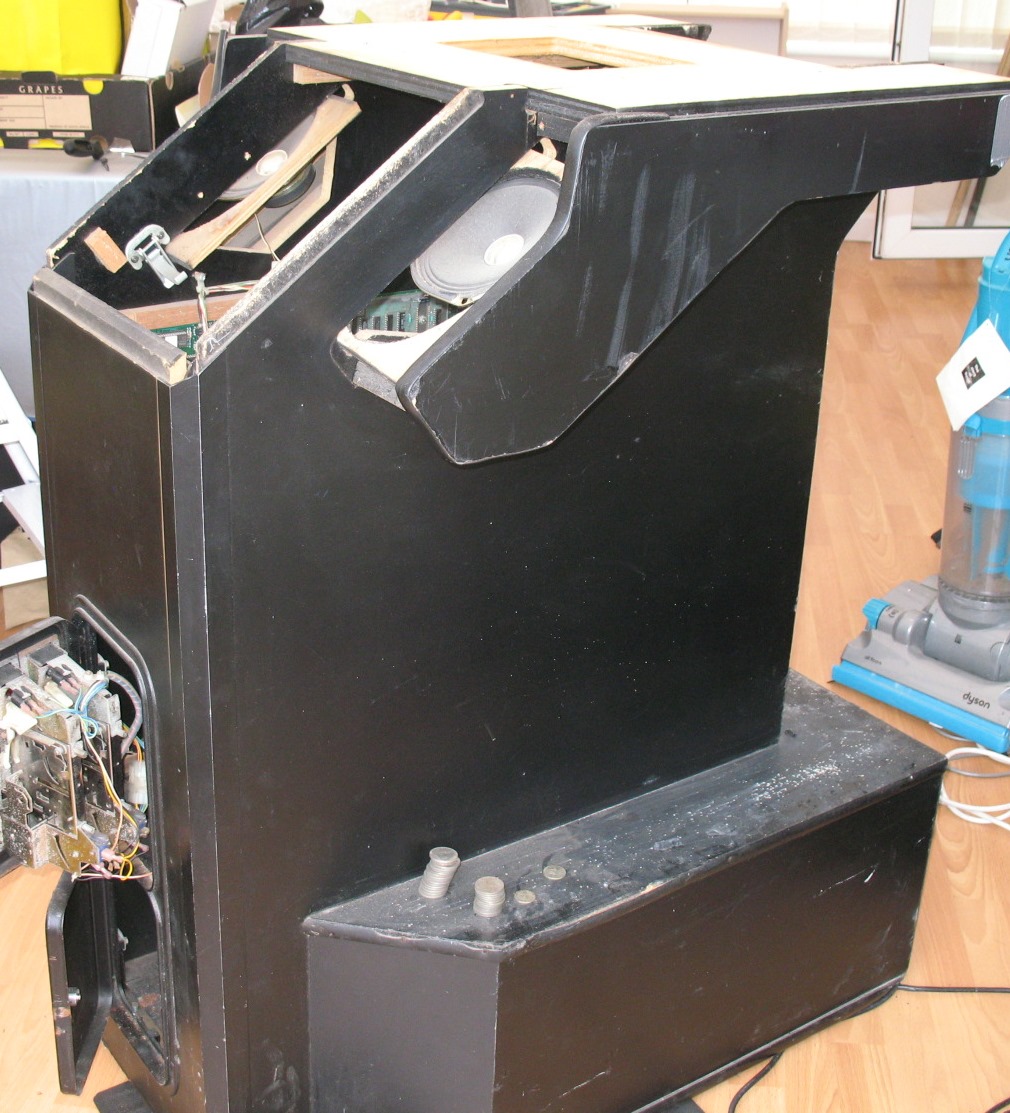
This pic shows why arcades used to be everywhere. Assuming the coins were just 10p's (and they probably were 50p's in the left slot) there's over £6.5k in takings over it's lifetime for a cab that cost ~£1500 brand new. Take out something for rent, electricity, etc it's still a tidy profit.

IMG_4743.JPG
 

iamjimmi

Active member
vacBacker
Feedback
8 (100%)
Credits
492CR
big10p said:
Fuzzy said:
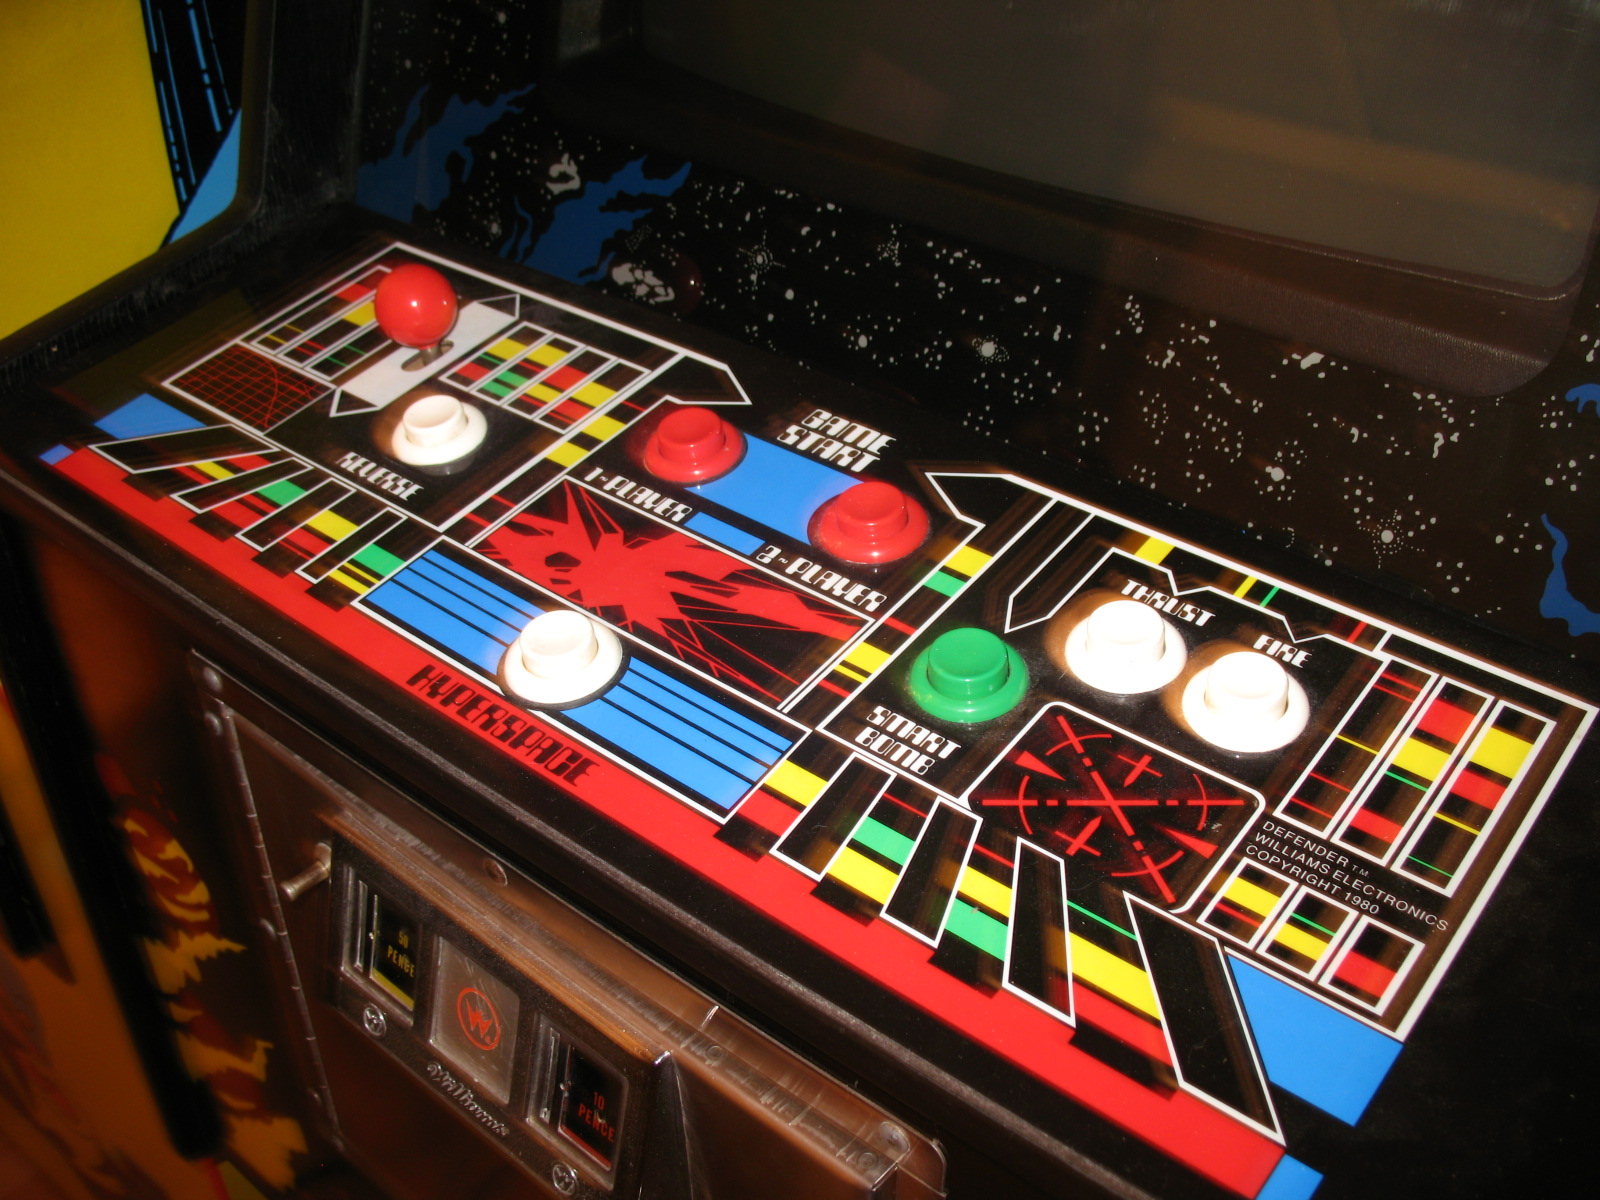
Love a good resto thread, and sorry to go slightly off topic, but WHAT IS THIS BLASPHEMY?!?! 
smiley36.gif


def_cp.png

lol that caught my eye, too. 
smiley36.gif

Haha - now that's a keen eye!

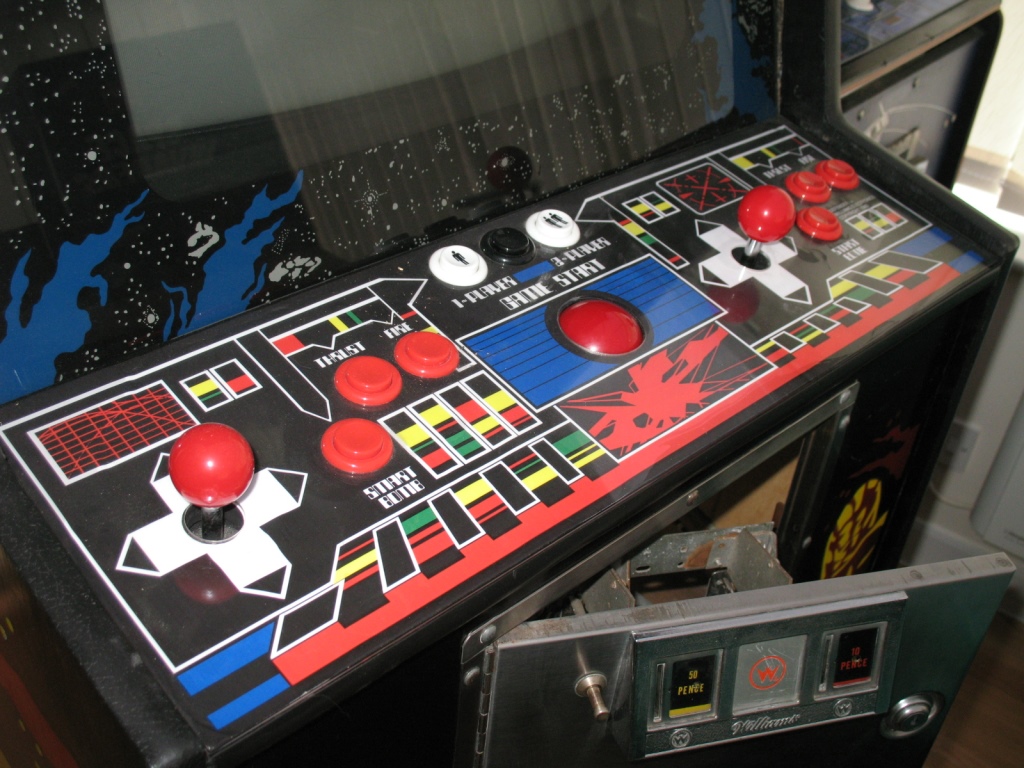
Rest assured the Defender is 100% original - even running an original Williams power supply. However I have made a control panel that I swap in when I want to run Mame. The Mame set-up is totally non destructive so I can swap it out and you would never know...

Picture of control panel attached. I think it looks in keeping with the Defender look....

control-panel.JPG


Next Jedi post tomorrow....
 

iamjimmi

Active member
vacBacker
Feedback
8 (100%)
Credits
492CR
Step 2 The Woodwork

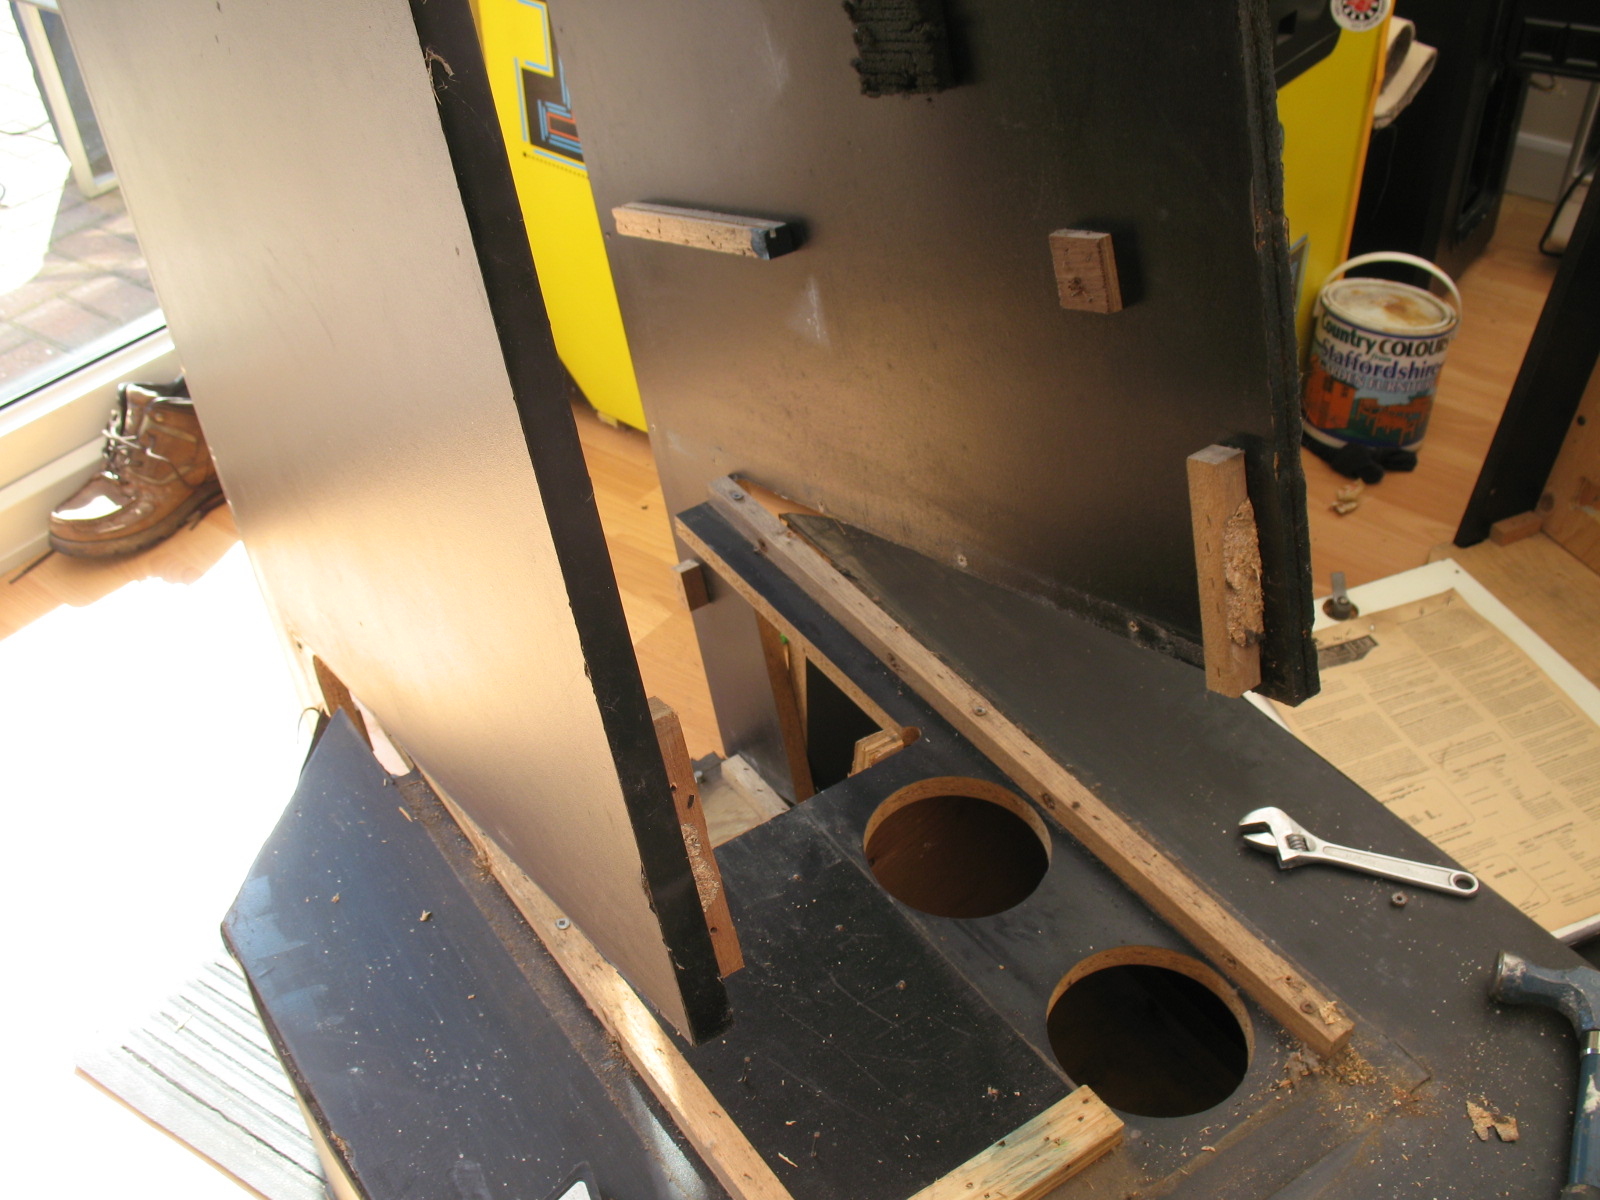
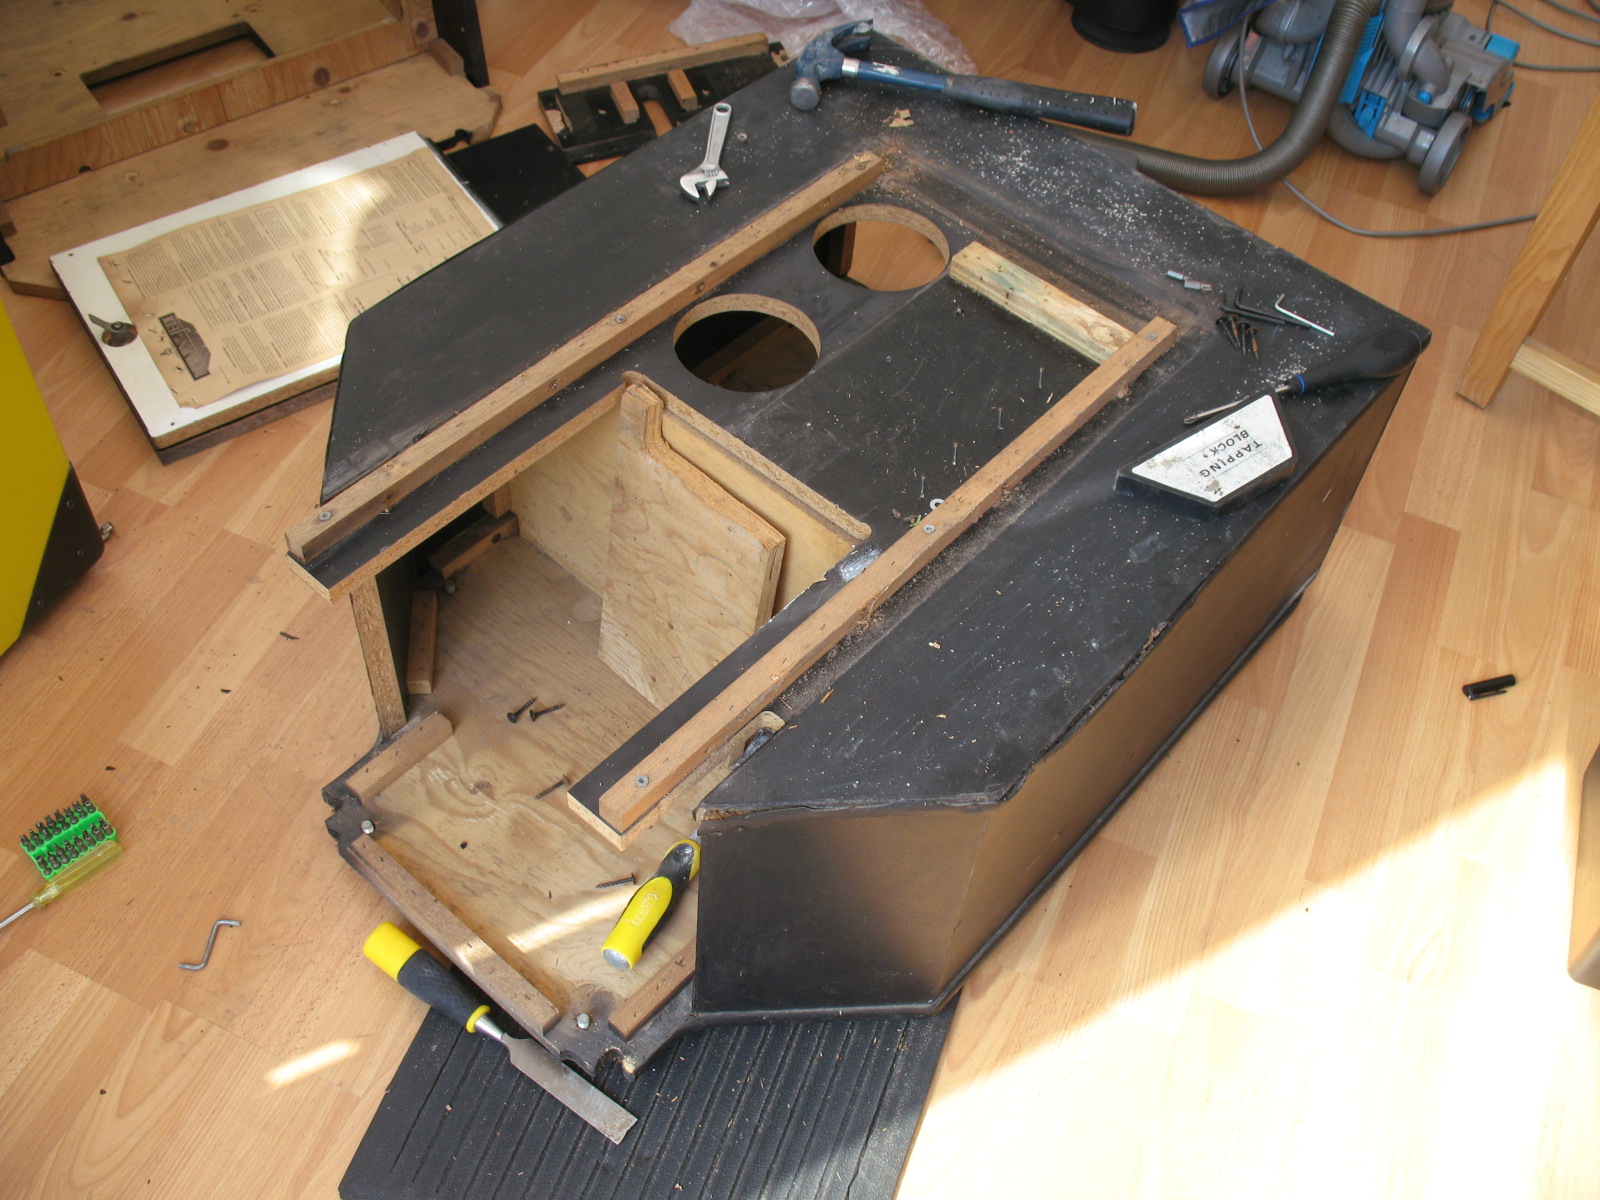
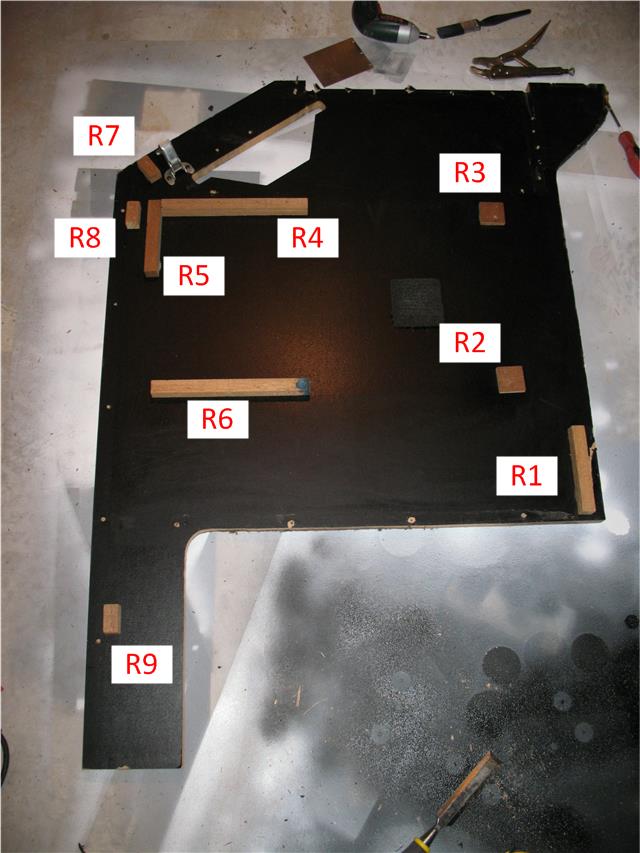
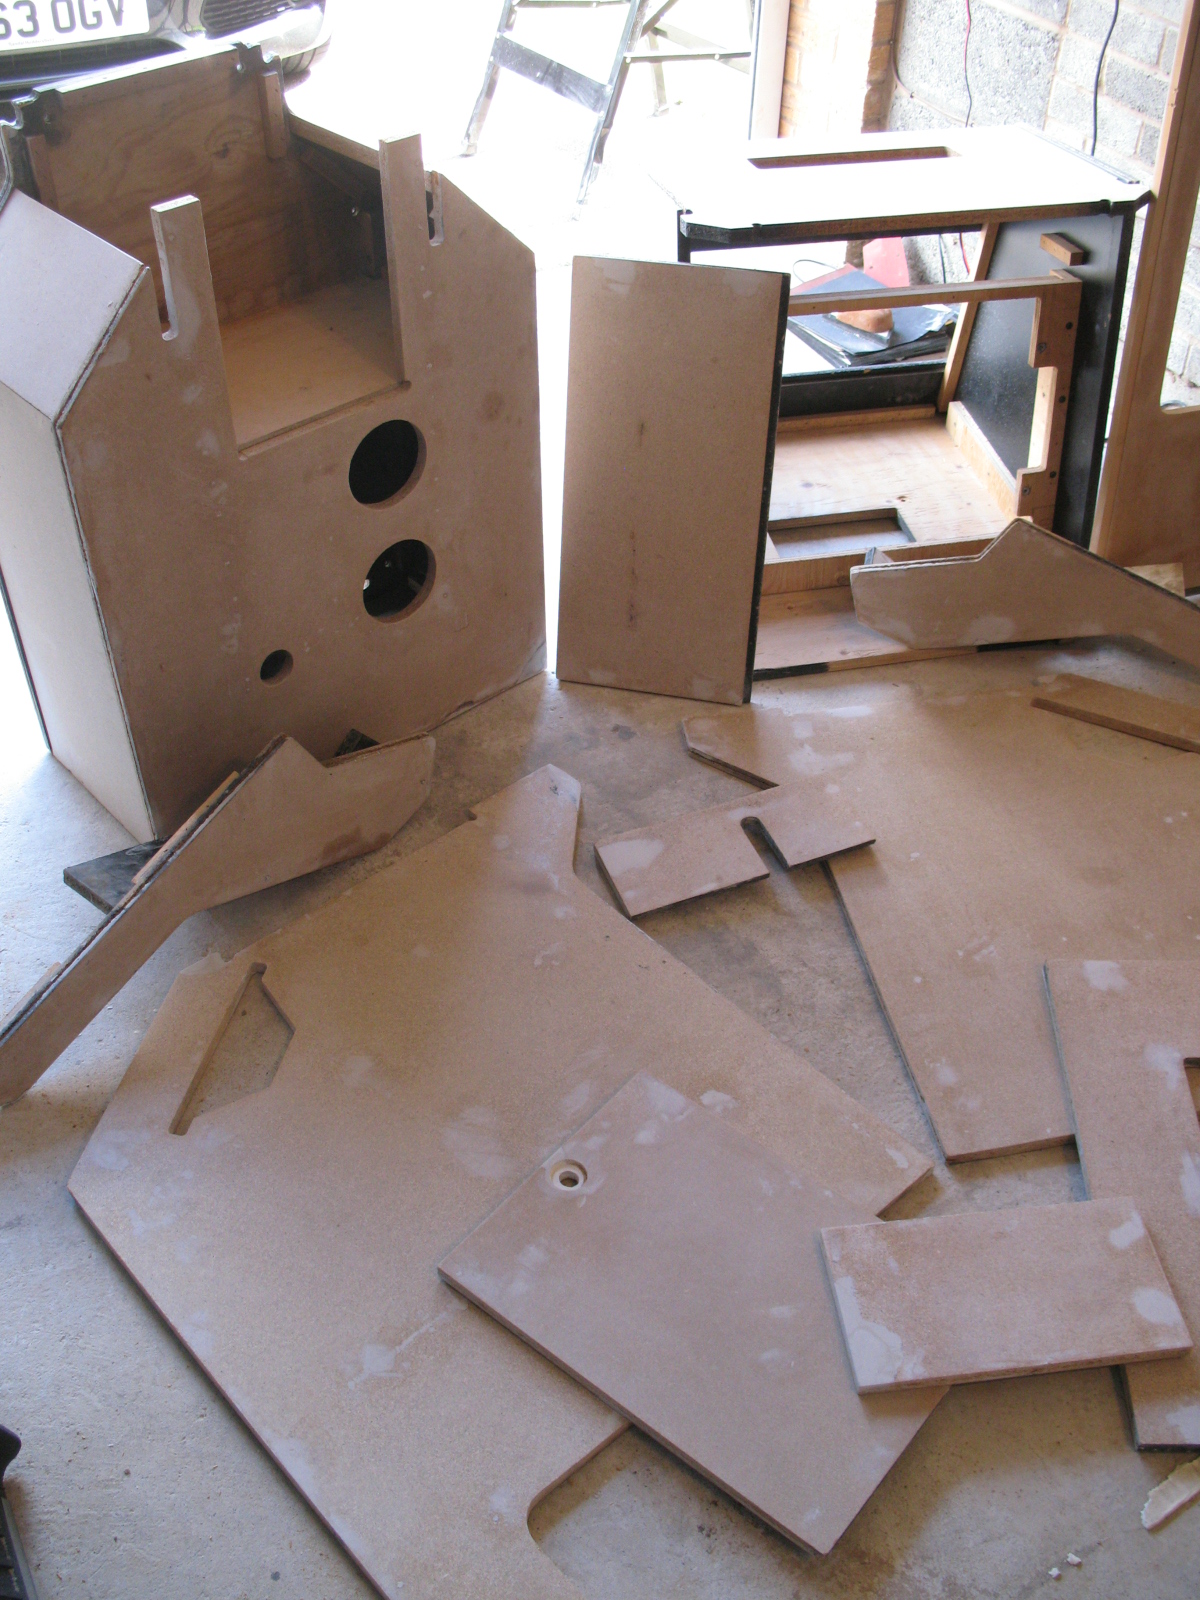
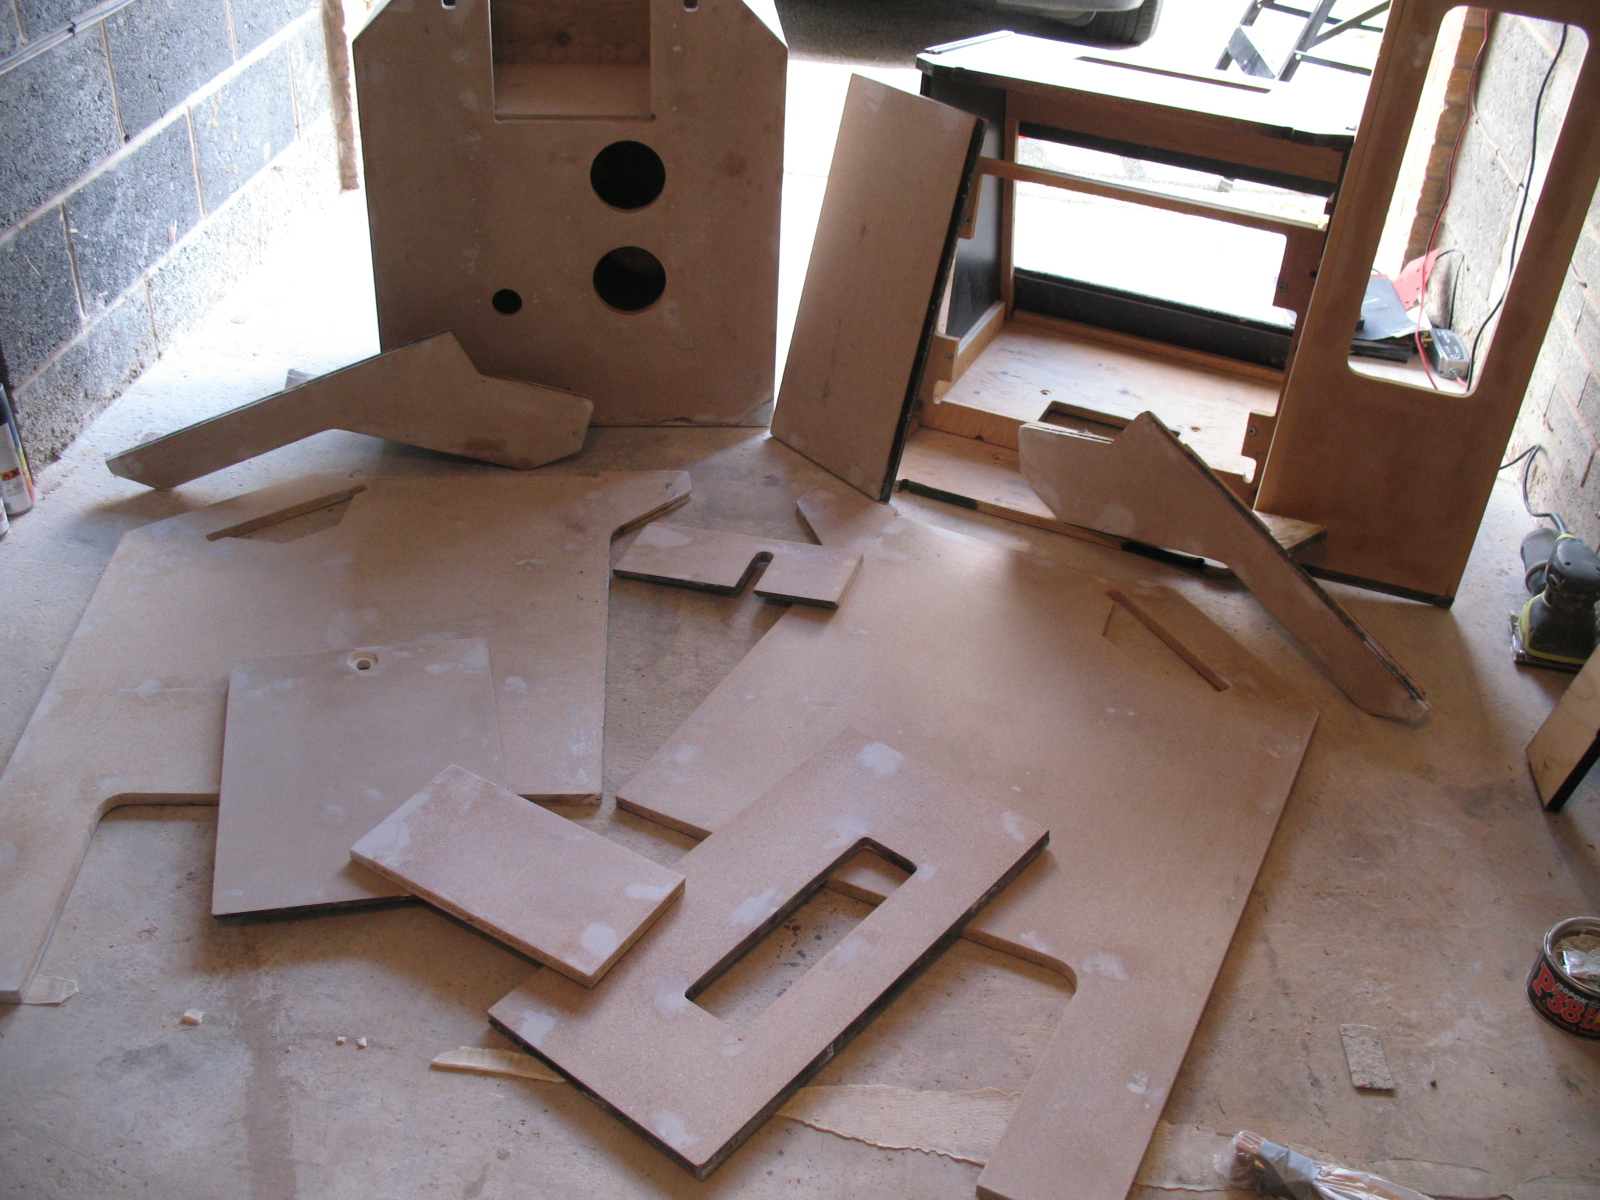
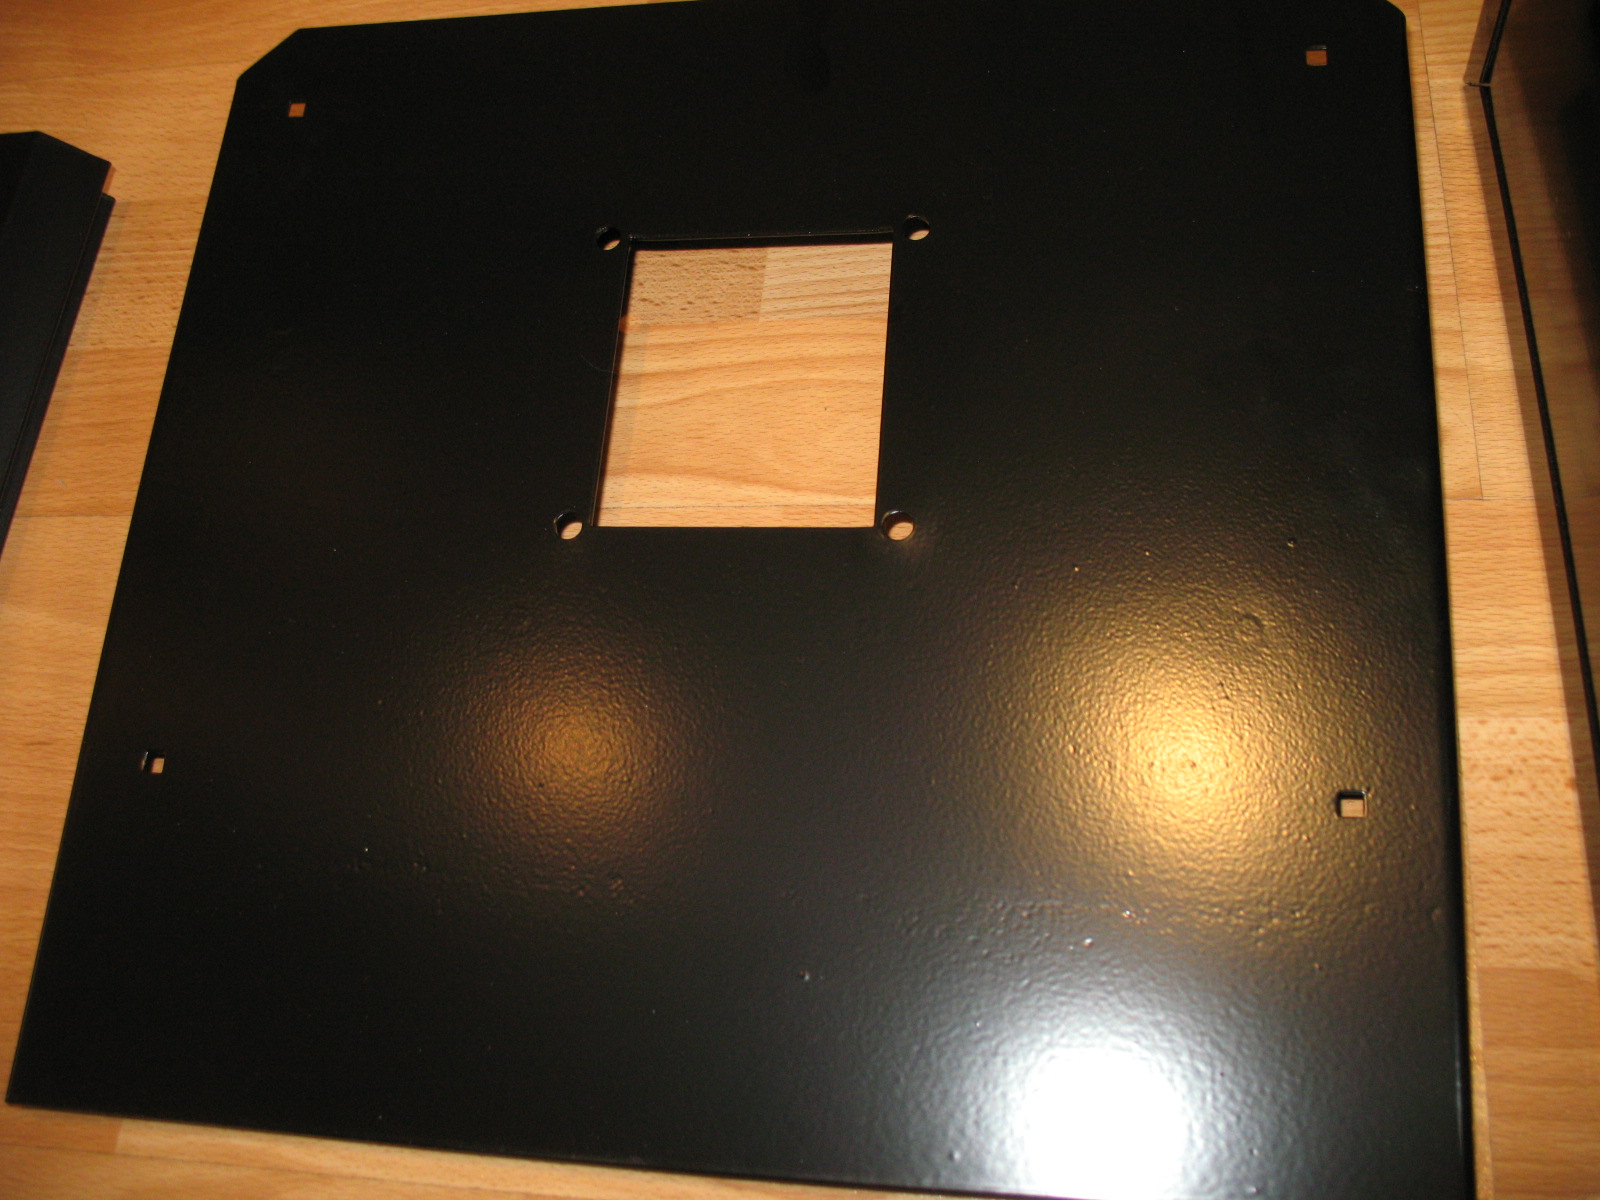
I really didn’t like the idea of taking the cab apart, but after much deliberation I decided I had no choice. To repair the gauges, edges and corners meant replacing the black vinyl, and cutting the vinyl to fit was going to be just too much of a compromise.

1_Topless.JPG


2_Off.JPG


3_Bottom.JPG


4_Bottom.JPG


6_Serial.JPG


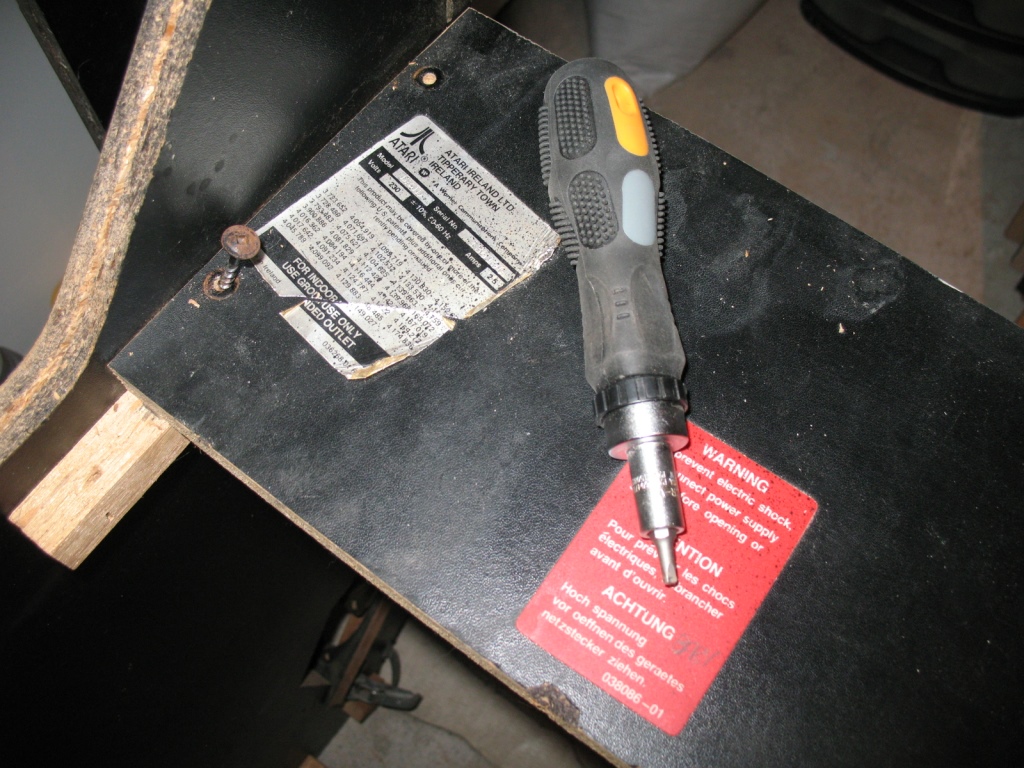
** TIP ** Take photos. Take LOTS of photos. Take measurements. And label and bag up all of the screws/small parts. It slows the tear down considerably but speeds up the rebuild significantly.

7_Measure.jpg


8_Measure.jpg


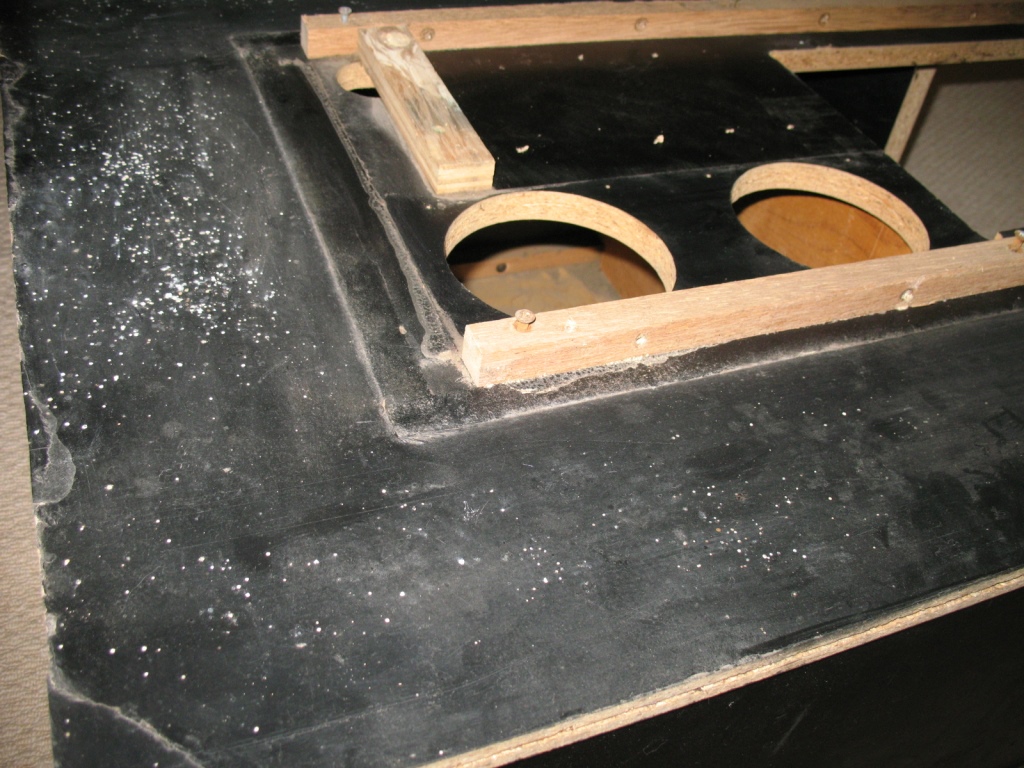
Once the cab was dismantled, the old vinyl had to come off – a heat gun and lots of patience.

9_Top.JPG


And we finally have a naked Jedi!

10_Naked.JPG


12_Naked.JPG


Getting the edges nice and square was a top priority – using the filler of choice P38 (UK Bondo). It’s a bit of a bugger to sand, but the finish is nice and strong. The gauges all got similar treatment and the T-Molding grove filled in readiness for routing.

One of my few compromises was to the speaker housing. The corners had taken a lot of damage. To repair them properly I could have made a wooden plug and recreated the shape perfectly, but my wood working skills aren’t this good, so I opted for repairing them with filler to recreate their shape. The result was two identically shaped housings but they were about an inch shorter than they should be.

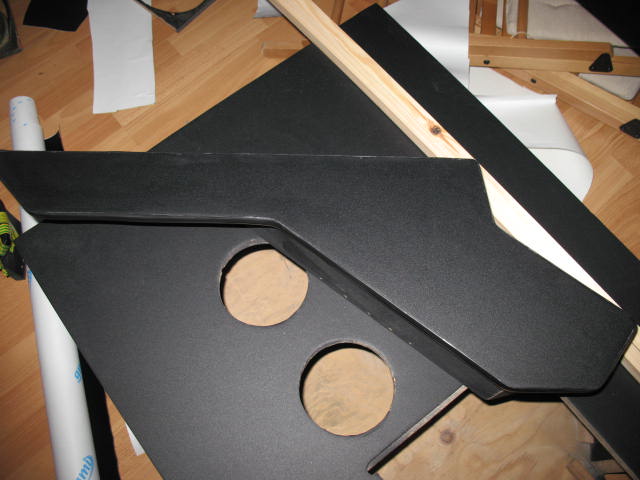
Russ J kindly helped out on the routing (thanks Russ) and then it was just a case of reapplying the black vinyl. I sourced a roll of vinyl from one of my favourite retailer’s thisoldgame.com (Kendra is a legend – very professional service and quality products). Unfortunately the finish wasn’t correct – it’s a smooth finish whilst the original machine has a texture (I wonder if the USA cabinet has a smooth finish?). After trying a few different samples, I eventually settled on the Black Pica sold by Happ Controls. This stuff is virtually identical to the original IRE Atari finish – very impressed. The vinyl from thisoldgame came in handy for the inside of the cab, so it wasn’t wasted.

One of my concerns was how to keep the vinyl secure… the last thing I wanted was the vinyl to start peeling after a year or two. Everyone has their own preferred application method, so I set out experimenting with various methods of adhesion to try and determine the best method. I have a thread on KLOV of my not so scientific experiment!:

Vinyl Application Experiment

But to cut to the chase, the winning combination was starting with a very smooth surface, priming with a spray paint and once the primer has dried apply a product called 3M 94 Primer. Once the vinyl goes down on this, it’s never coming off.

13_After.JPG

14_After.JPG

16_After.JPG


** TIP ** Use the 3M 94 Primer is a very well ventilated space
** TIP ** The Jedi has a number of panels with big cut outs. It’s very easy to screw up the vinyl application when you apply vinyl over gaps. A very effective solution to this is to make plugs (e.g. wooden cut outs) to sit into the gaps – apply the vinyl and then knock out the plugs before cutting the vinyl using a sharp scalpel.

iamjimmi2015-12-05 19:41:13
 

big10p

Coins detected in pocket!
vacBacker
Feedback
12 (100%)
Credits
5,976CR
Wow, you've put a lot of effort into this so far, and it's looking great! Glad to see you got a nice big 10p stack, for your troubles.
smiley14.gif
 

LAZORIAN

Active member
vacBacker
Feedback
2 (100%)
Credits
260CR
Yipes that looks like a lot of work but certainly worth it, great effort!
I could do with putting a block in my base to reinforce it,
they are great looking cabs but quite heavy for the amount of support the base gives.
 

iamjimmi

Active member
vacBacker
Feedback
8 (100%)
Credits
492CR
big10p said:
Wow, you've put a lot of effort into this so far, and it's looking great! Glad to see you got a nice big 10p stack, for your troubles. 
smiley14.gif

Is it just me that get's a real kick from finding old 10ps in old cab?!
 

big10p

Coins detected in pocket!
vacBacker
Feedback
12 (100%)
Credits
5,976CR
iamjimmi said:
big10p said:
Wow, you've put a lot of effort into this so far, and it's looking great! Glad to see you got a nice big 10p stack, for your troubles.
smiley14.gif

Is it just me that get's a real kick from finding old 10ps in old cab?!

I love it. Bit like winning on a fruit machine.
smiley17.gif
 

iamjimmi

Active member
vacBacker
Feedback
8 (100%)
Credits
492CR
Step 3 Heavy Metal

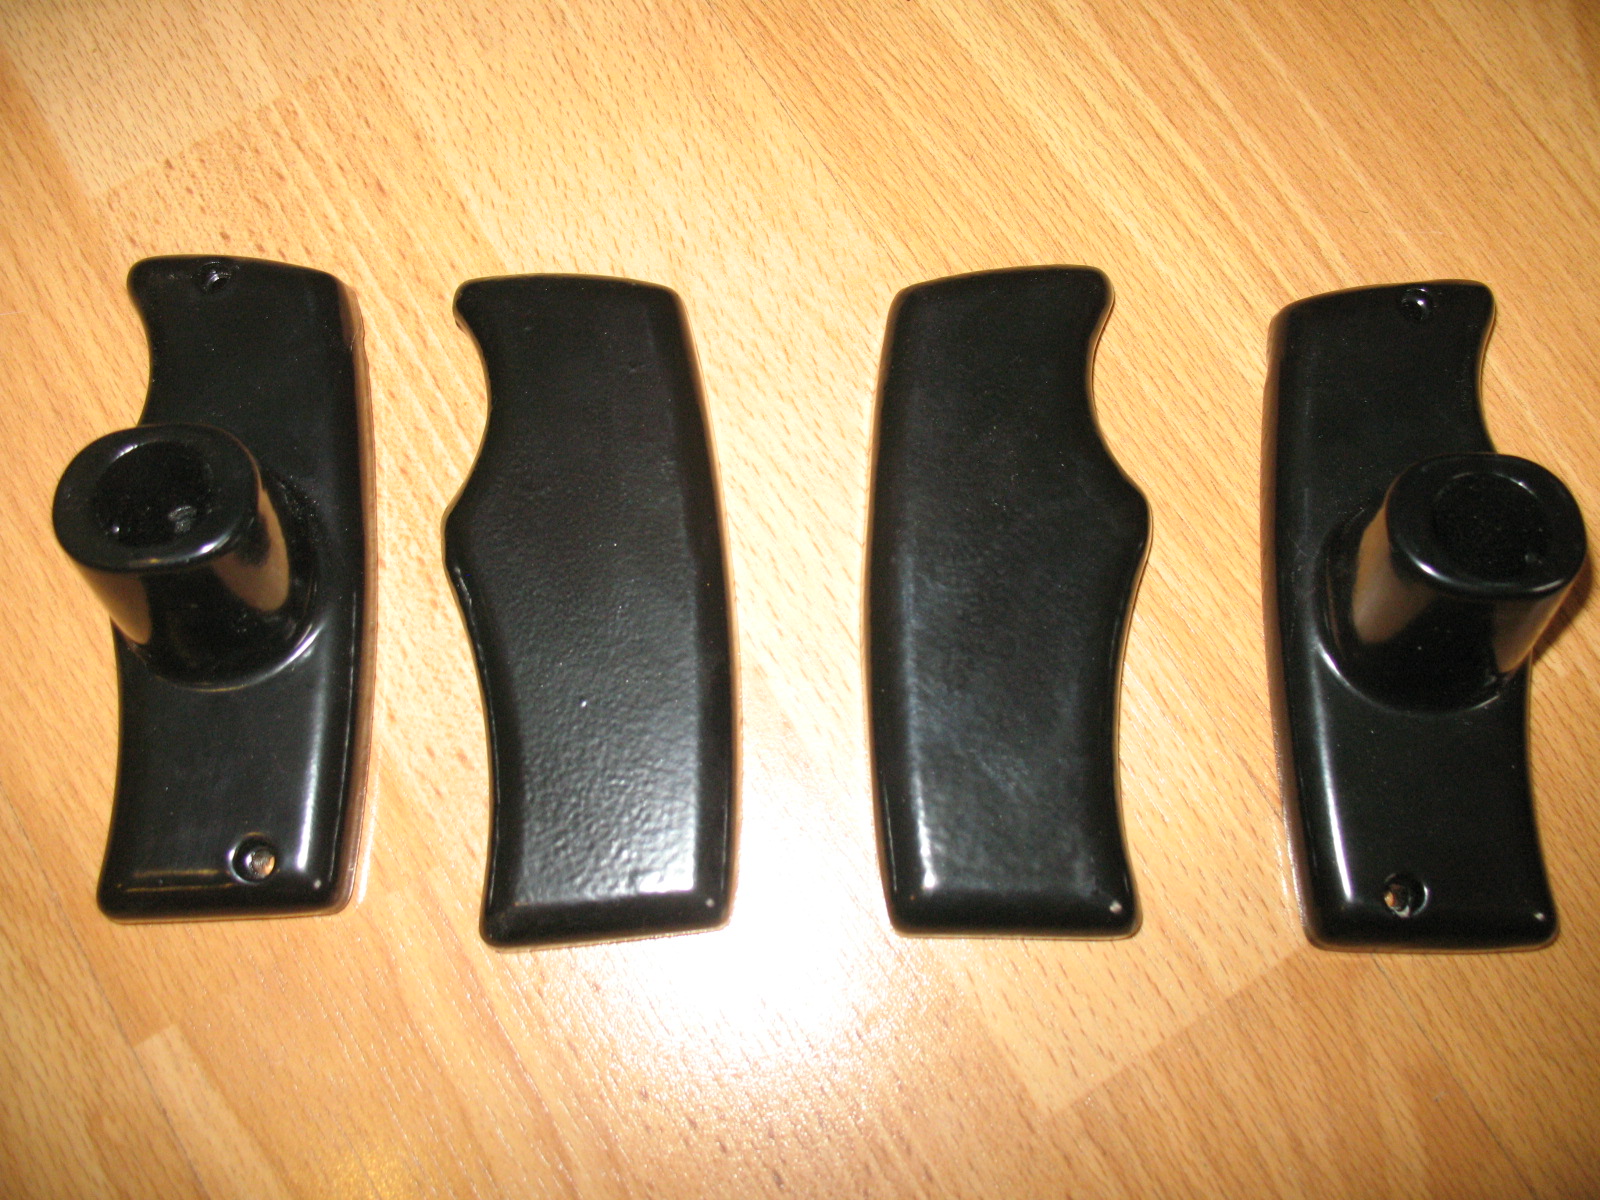
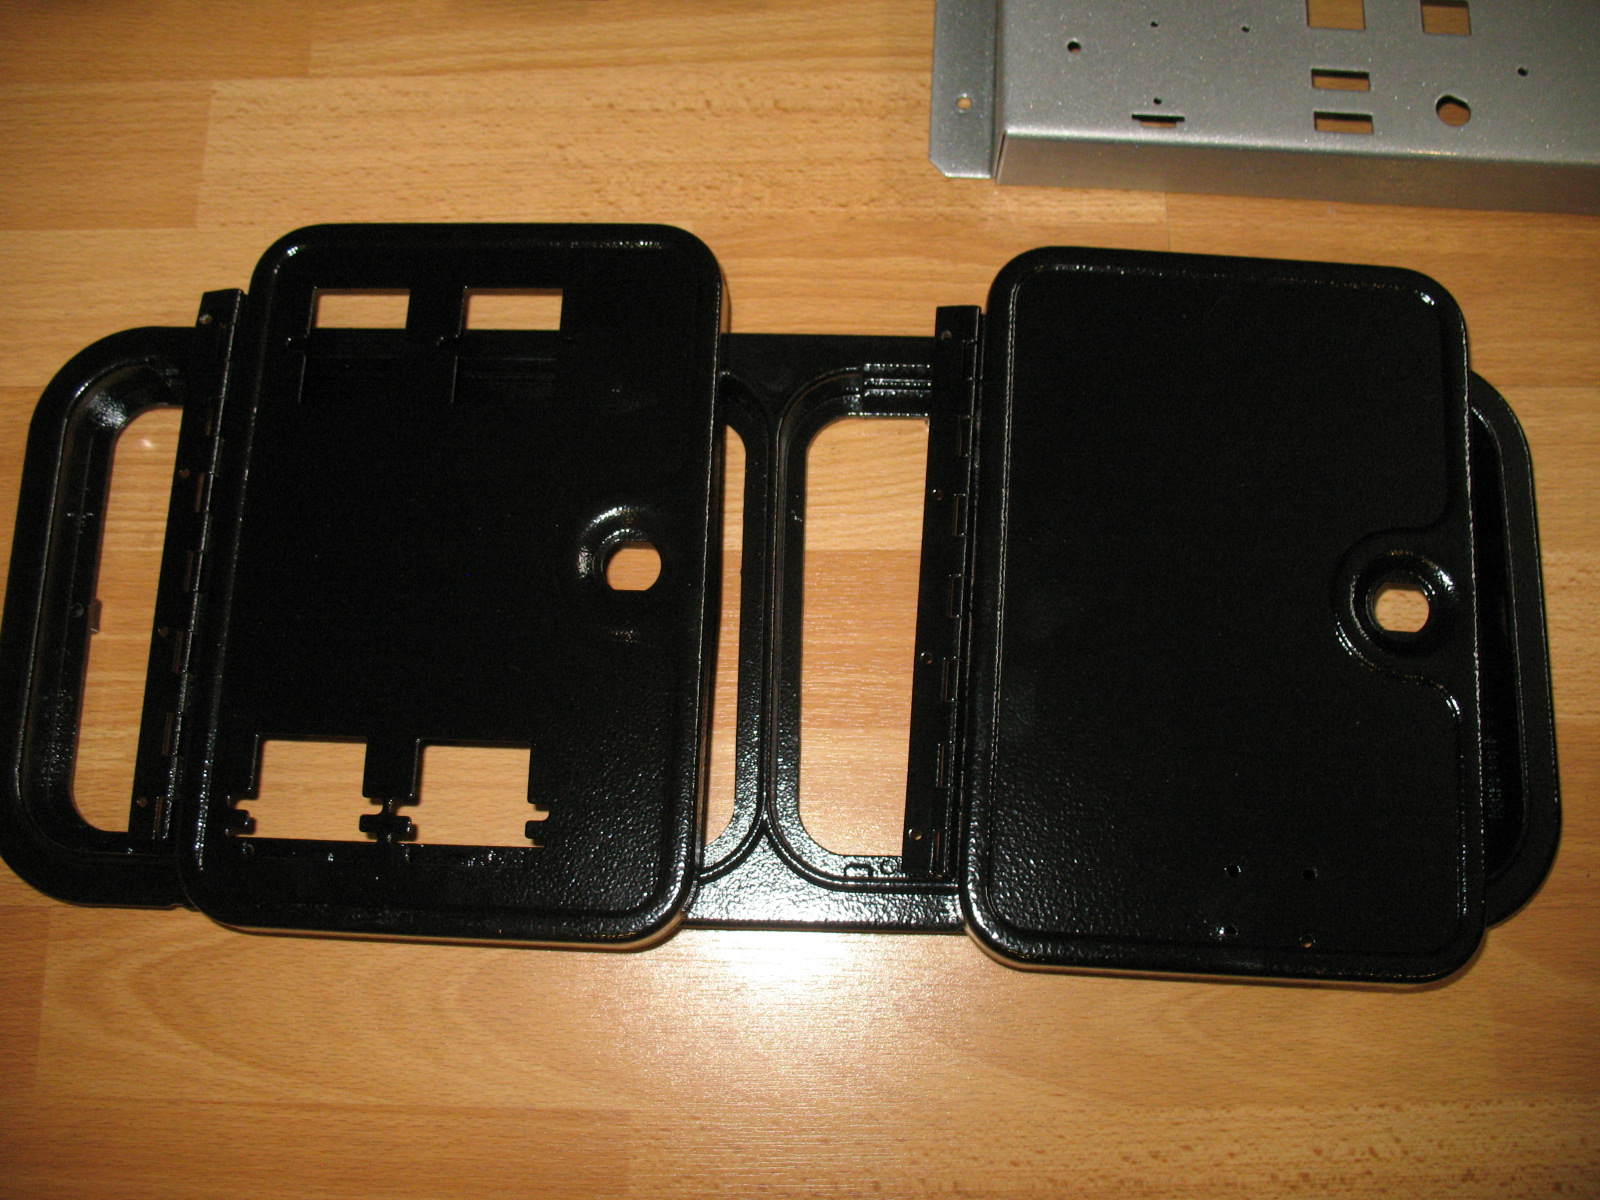
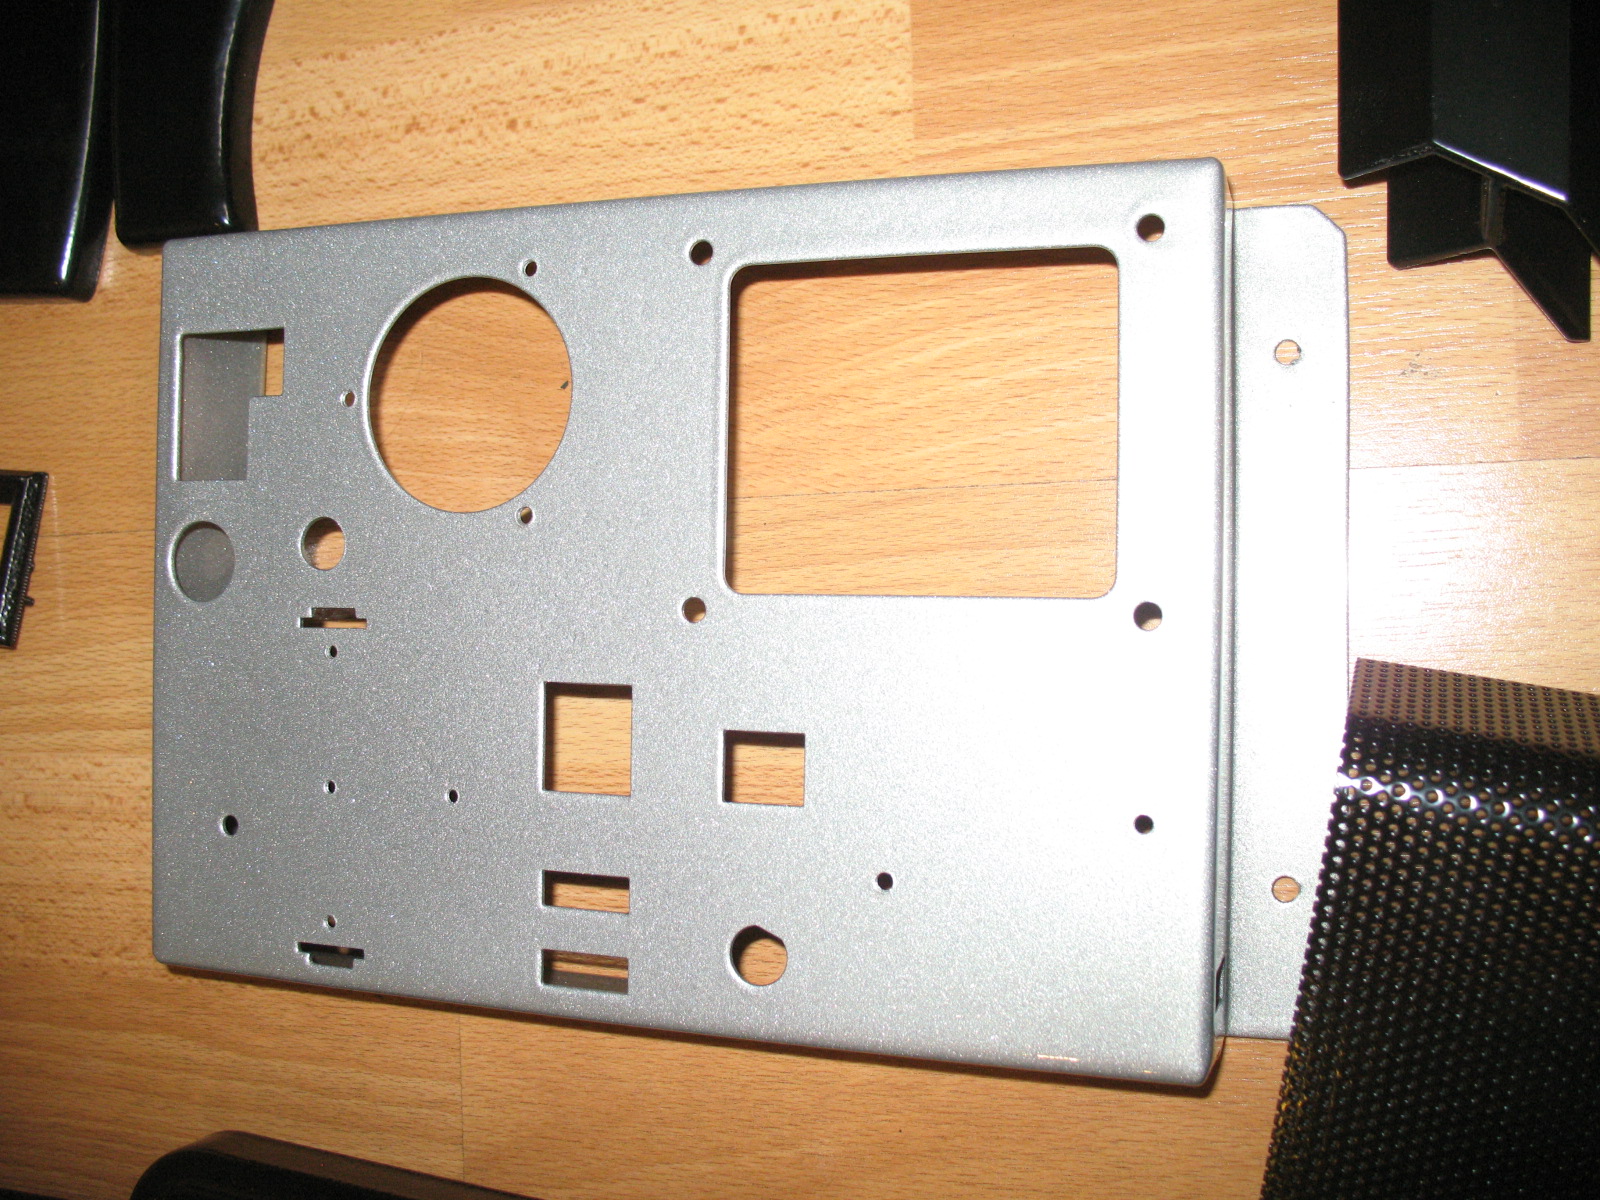
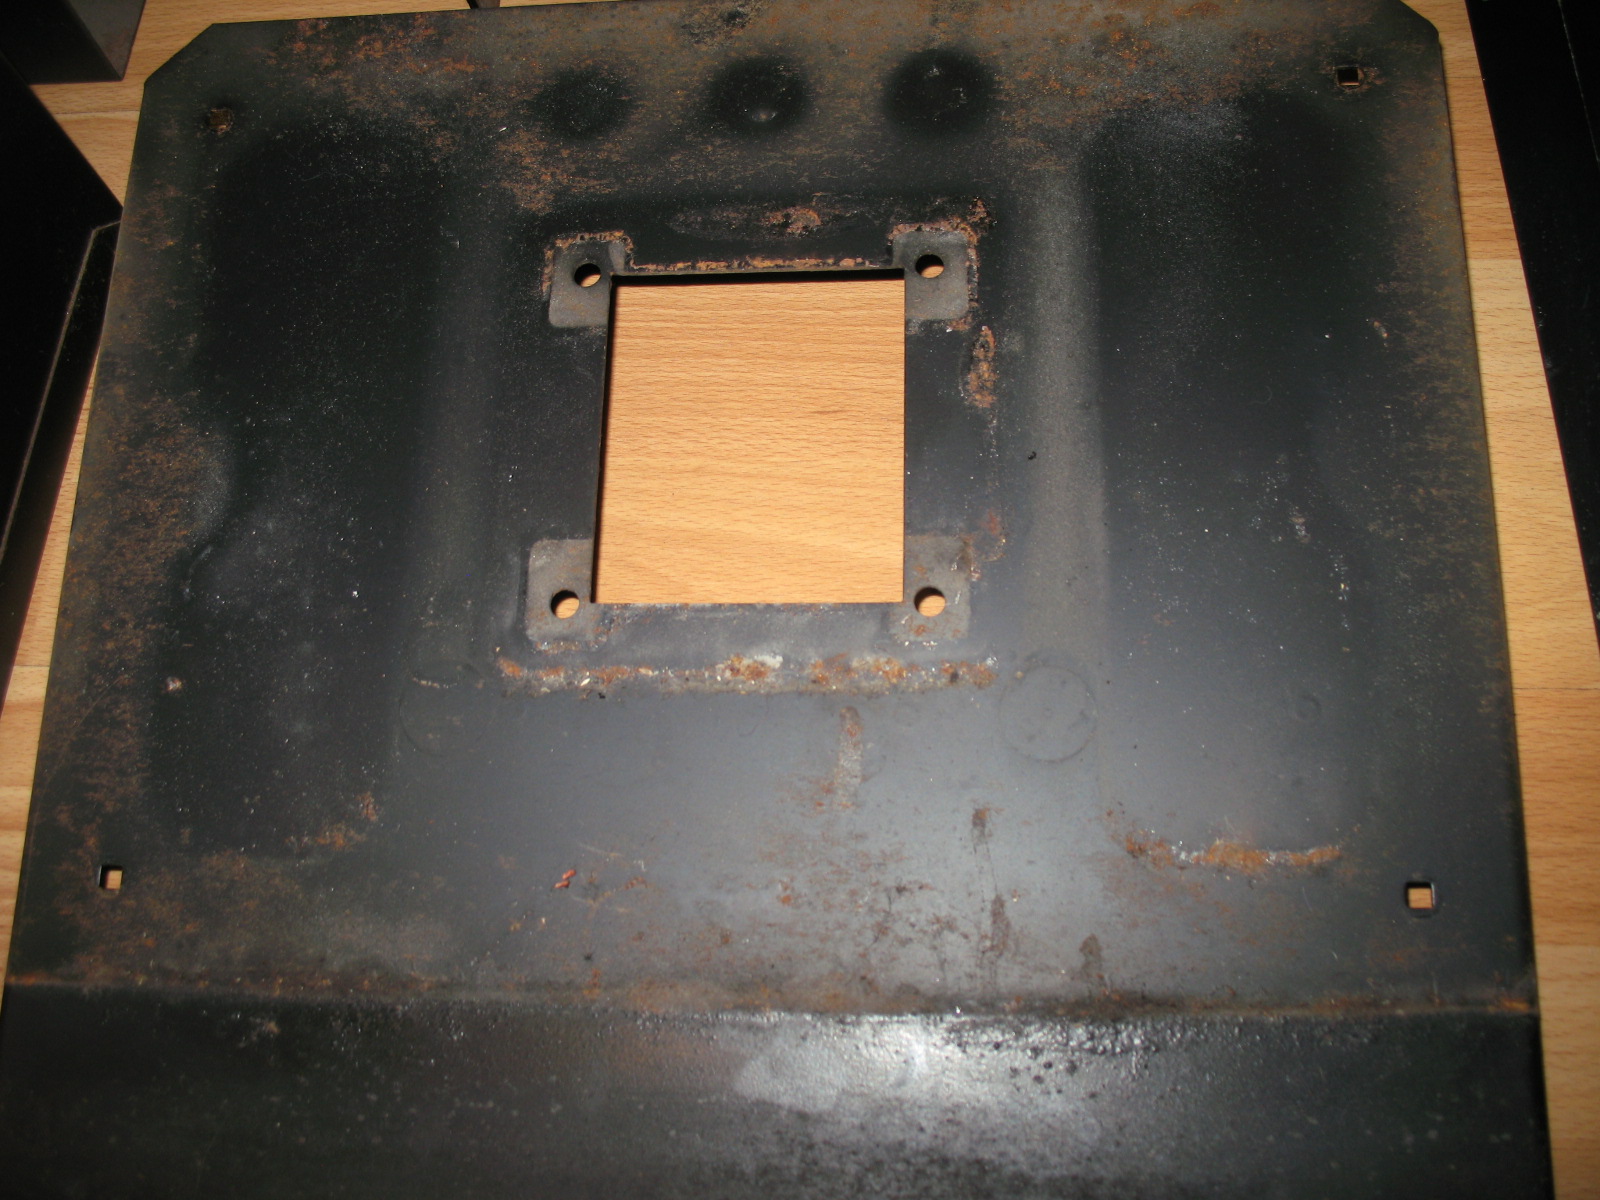
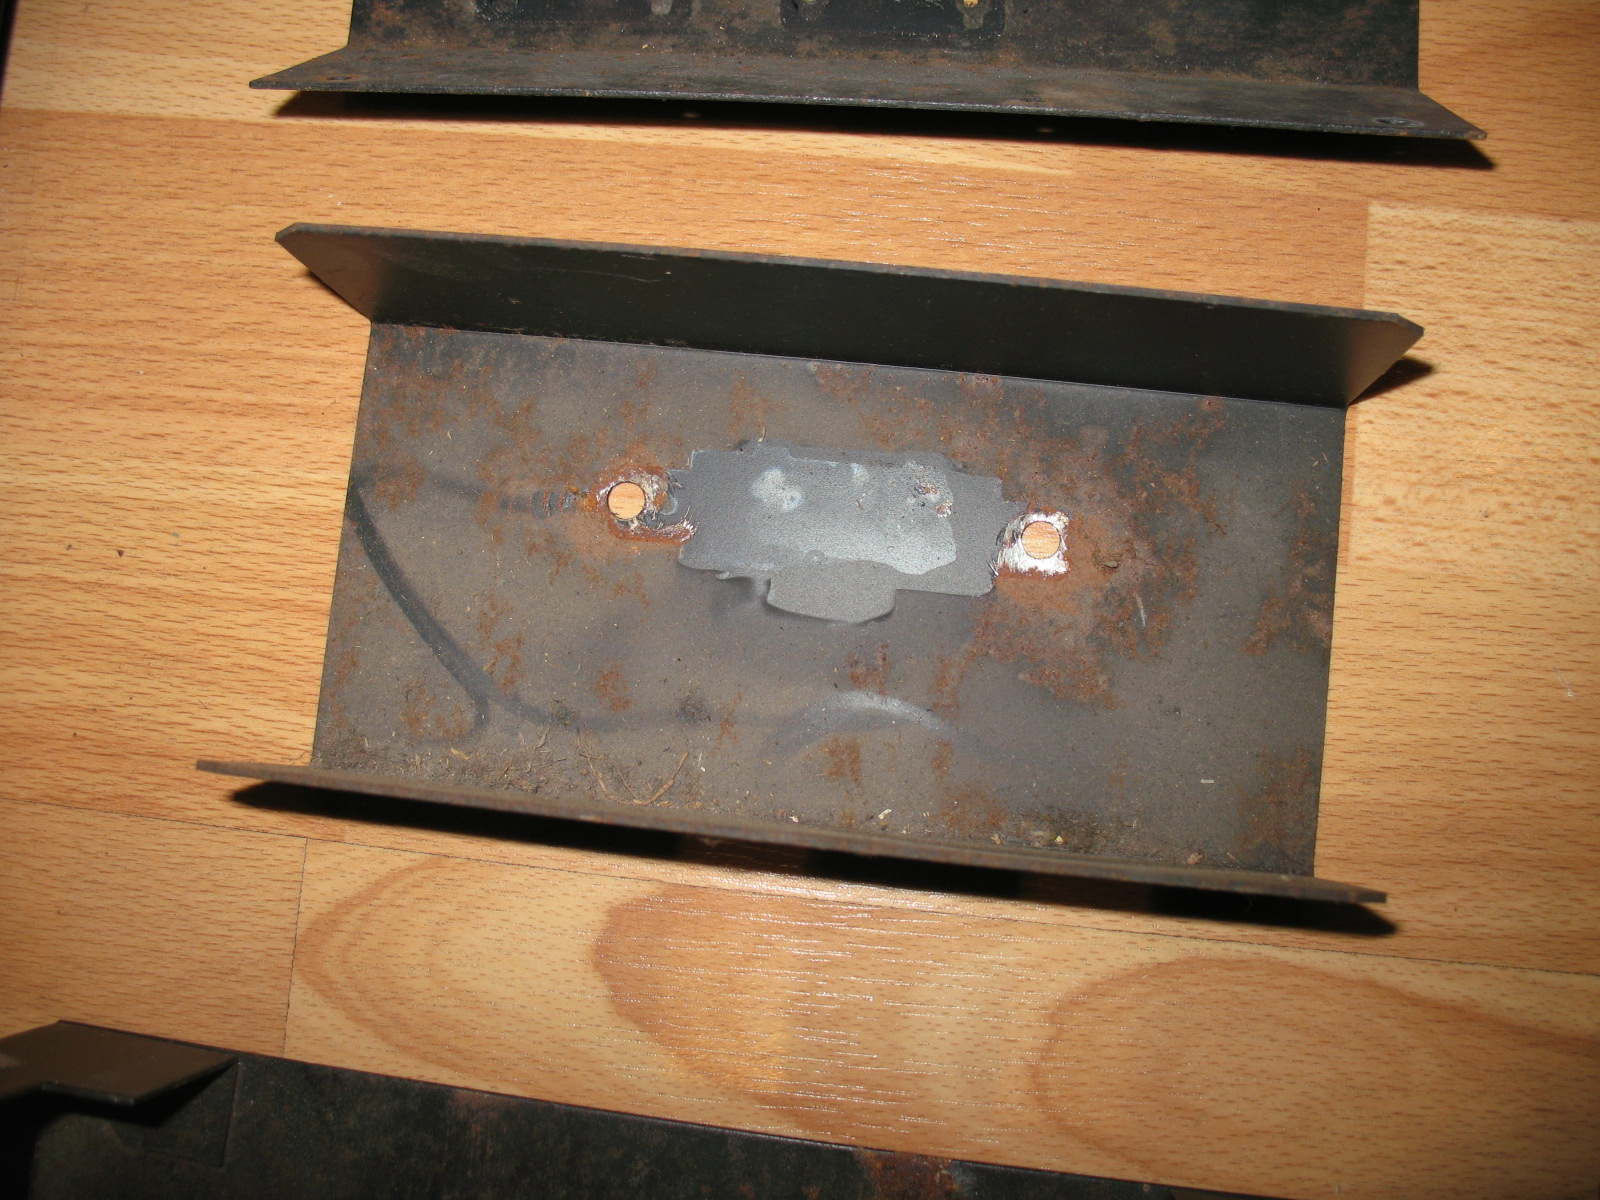
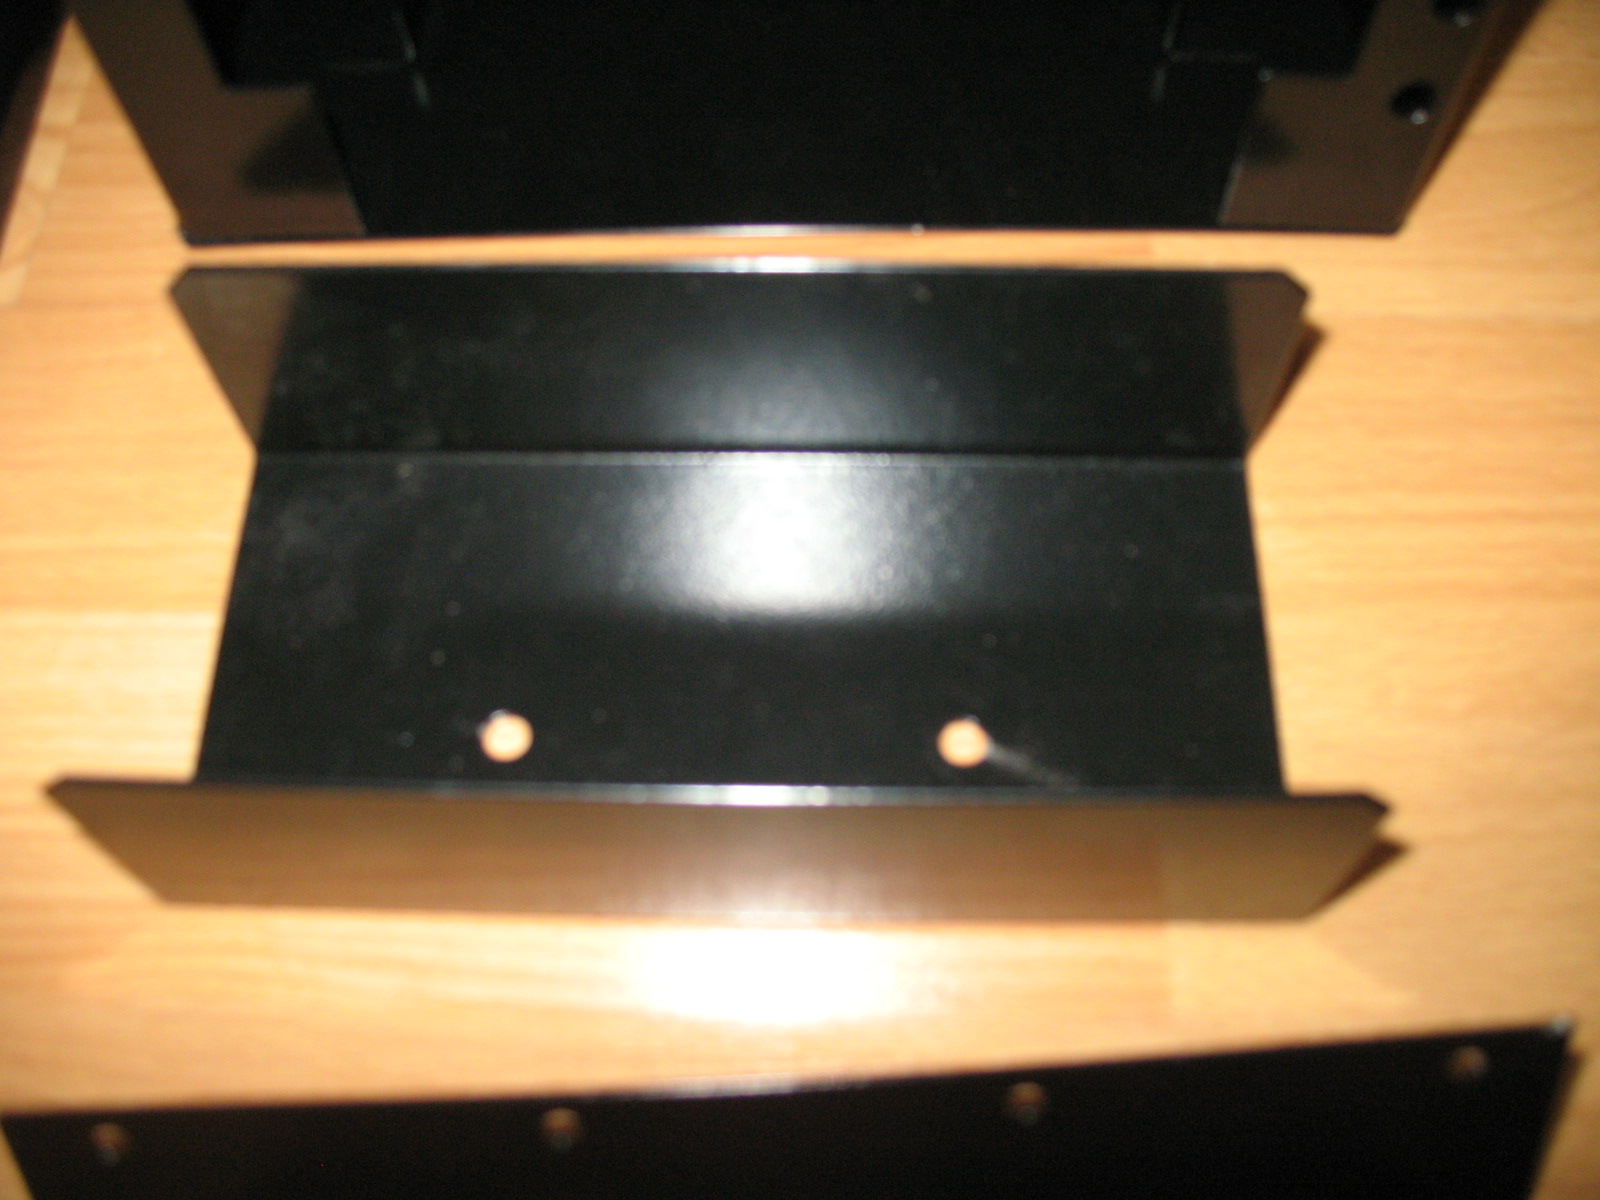
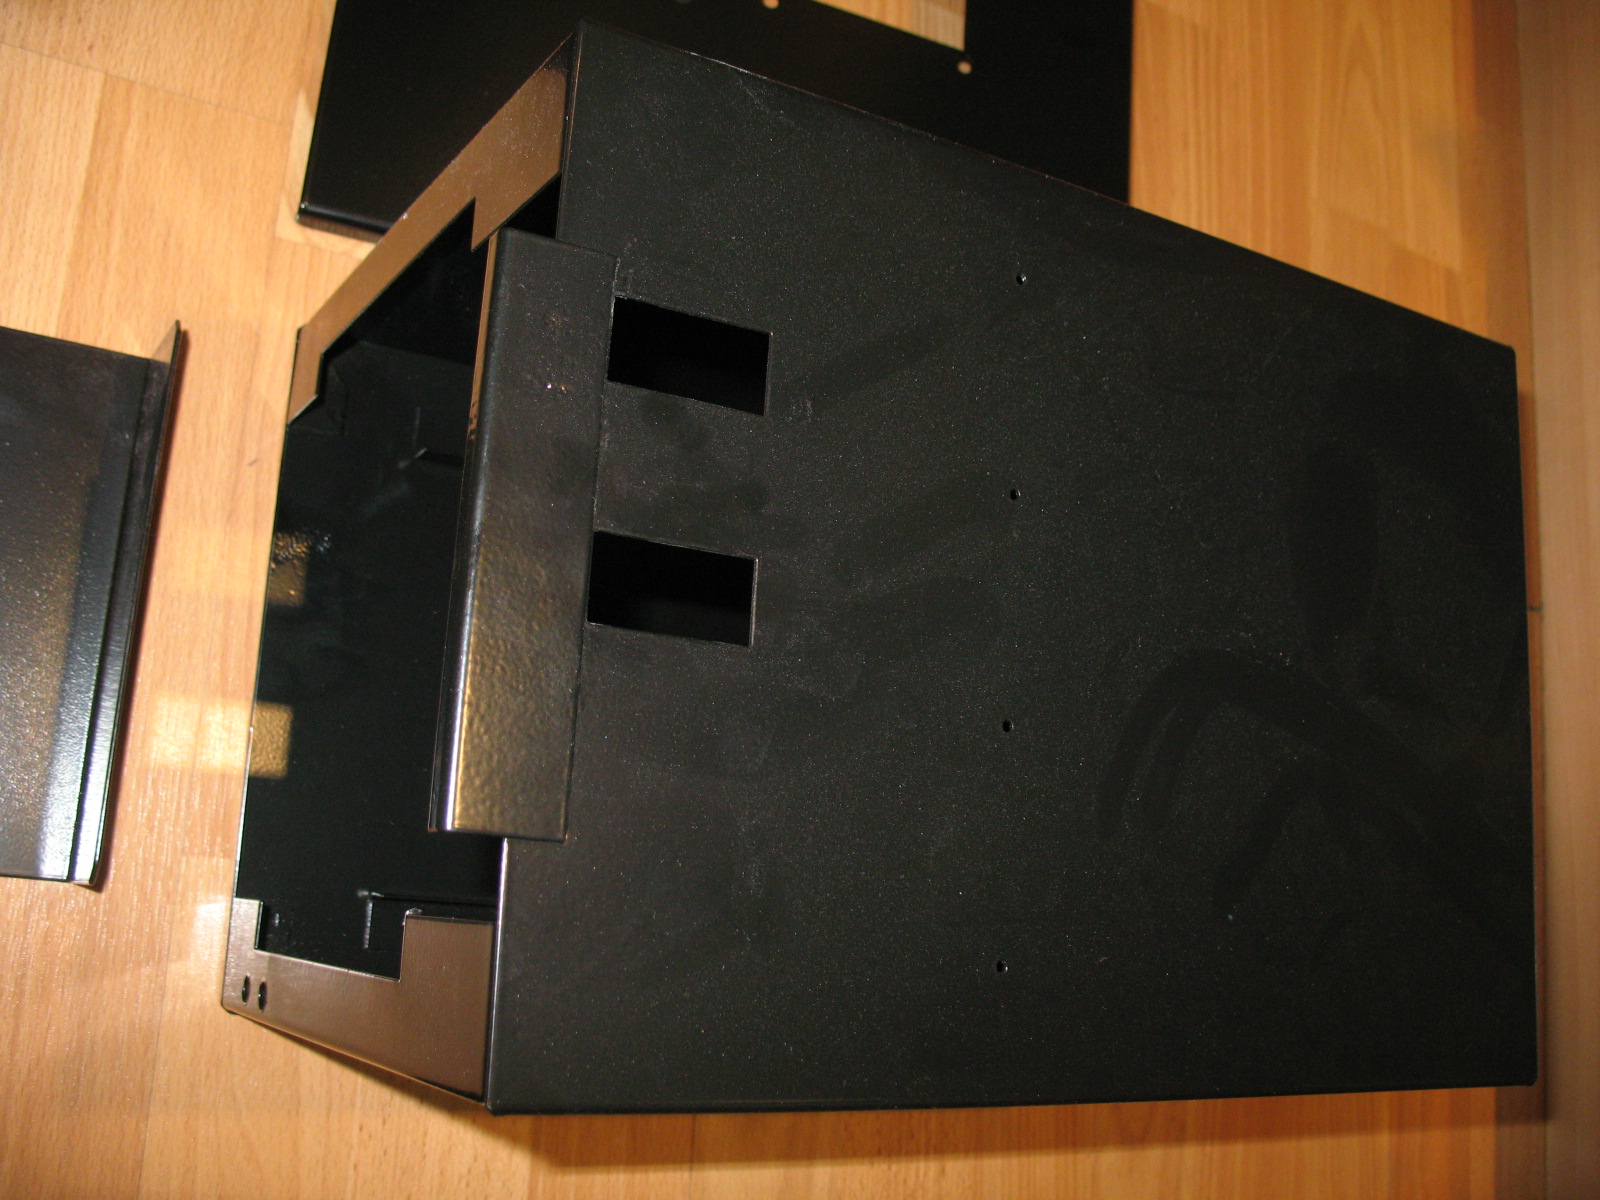
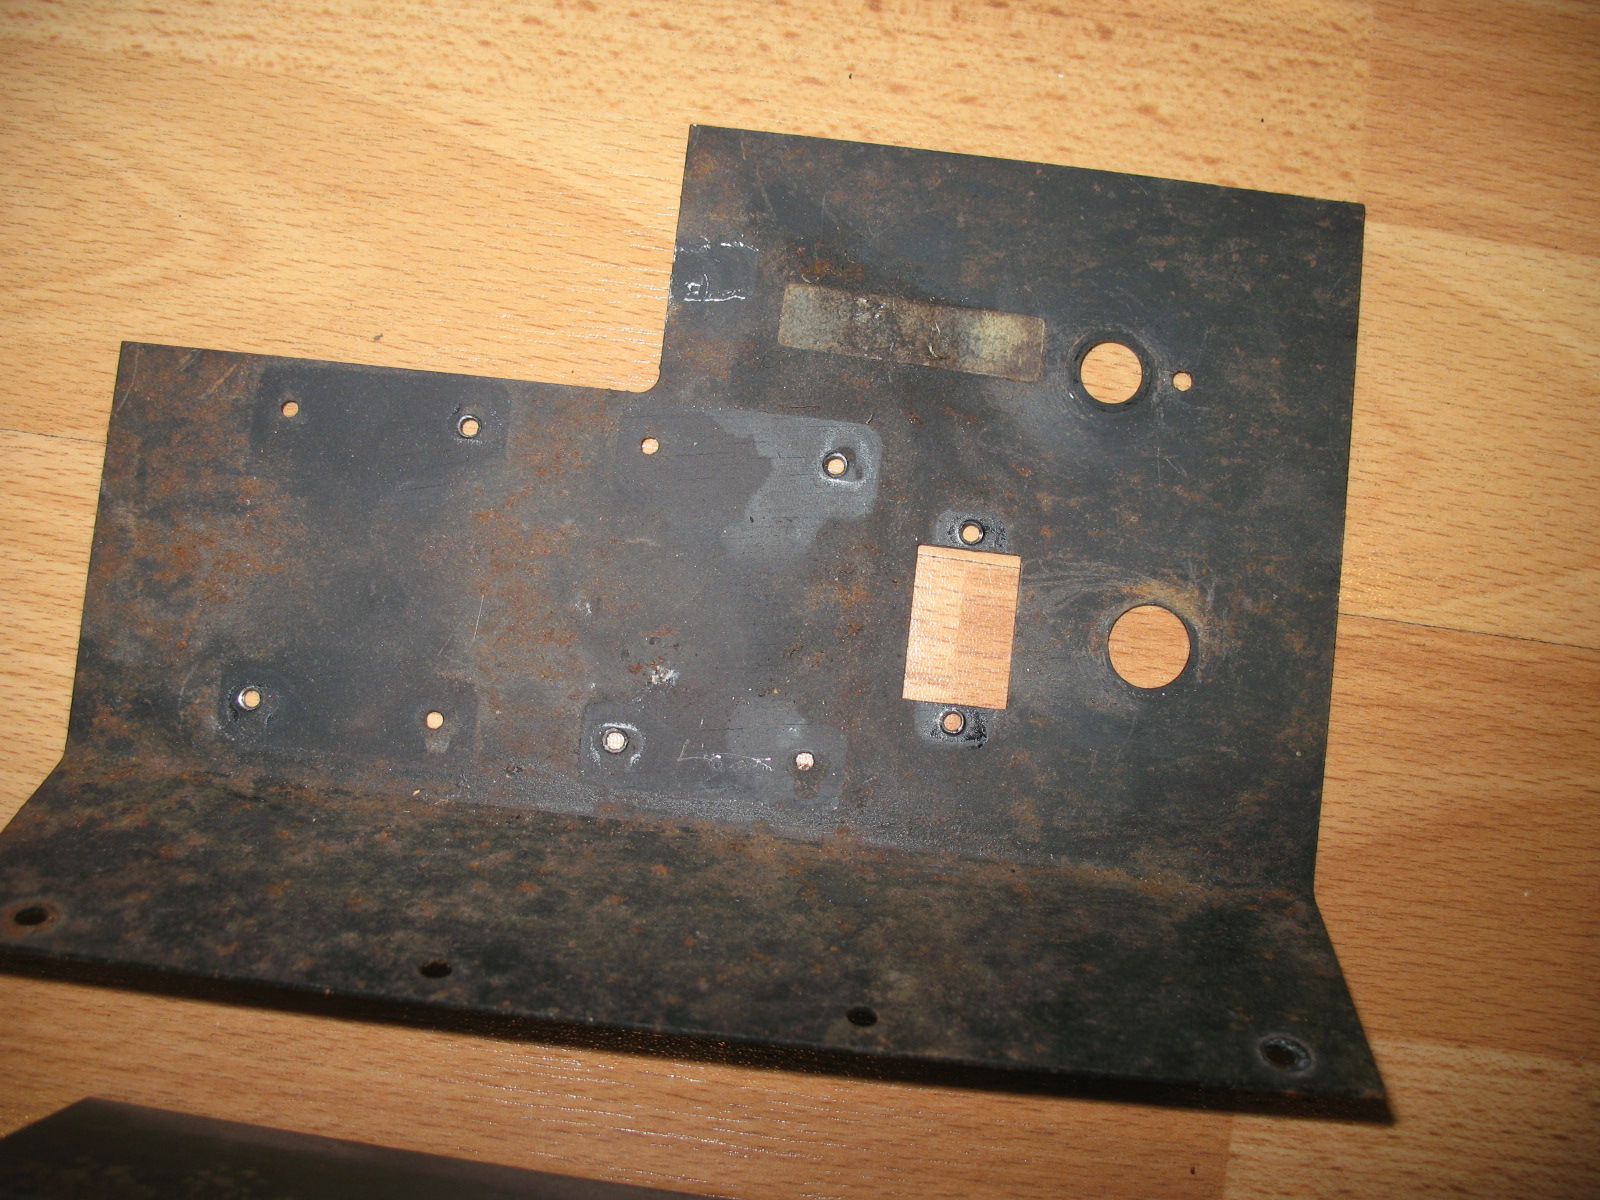
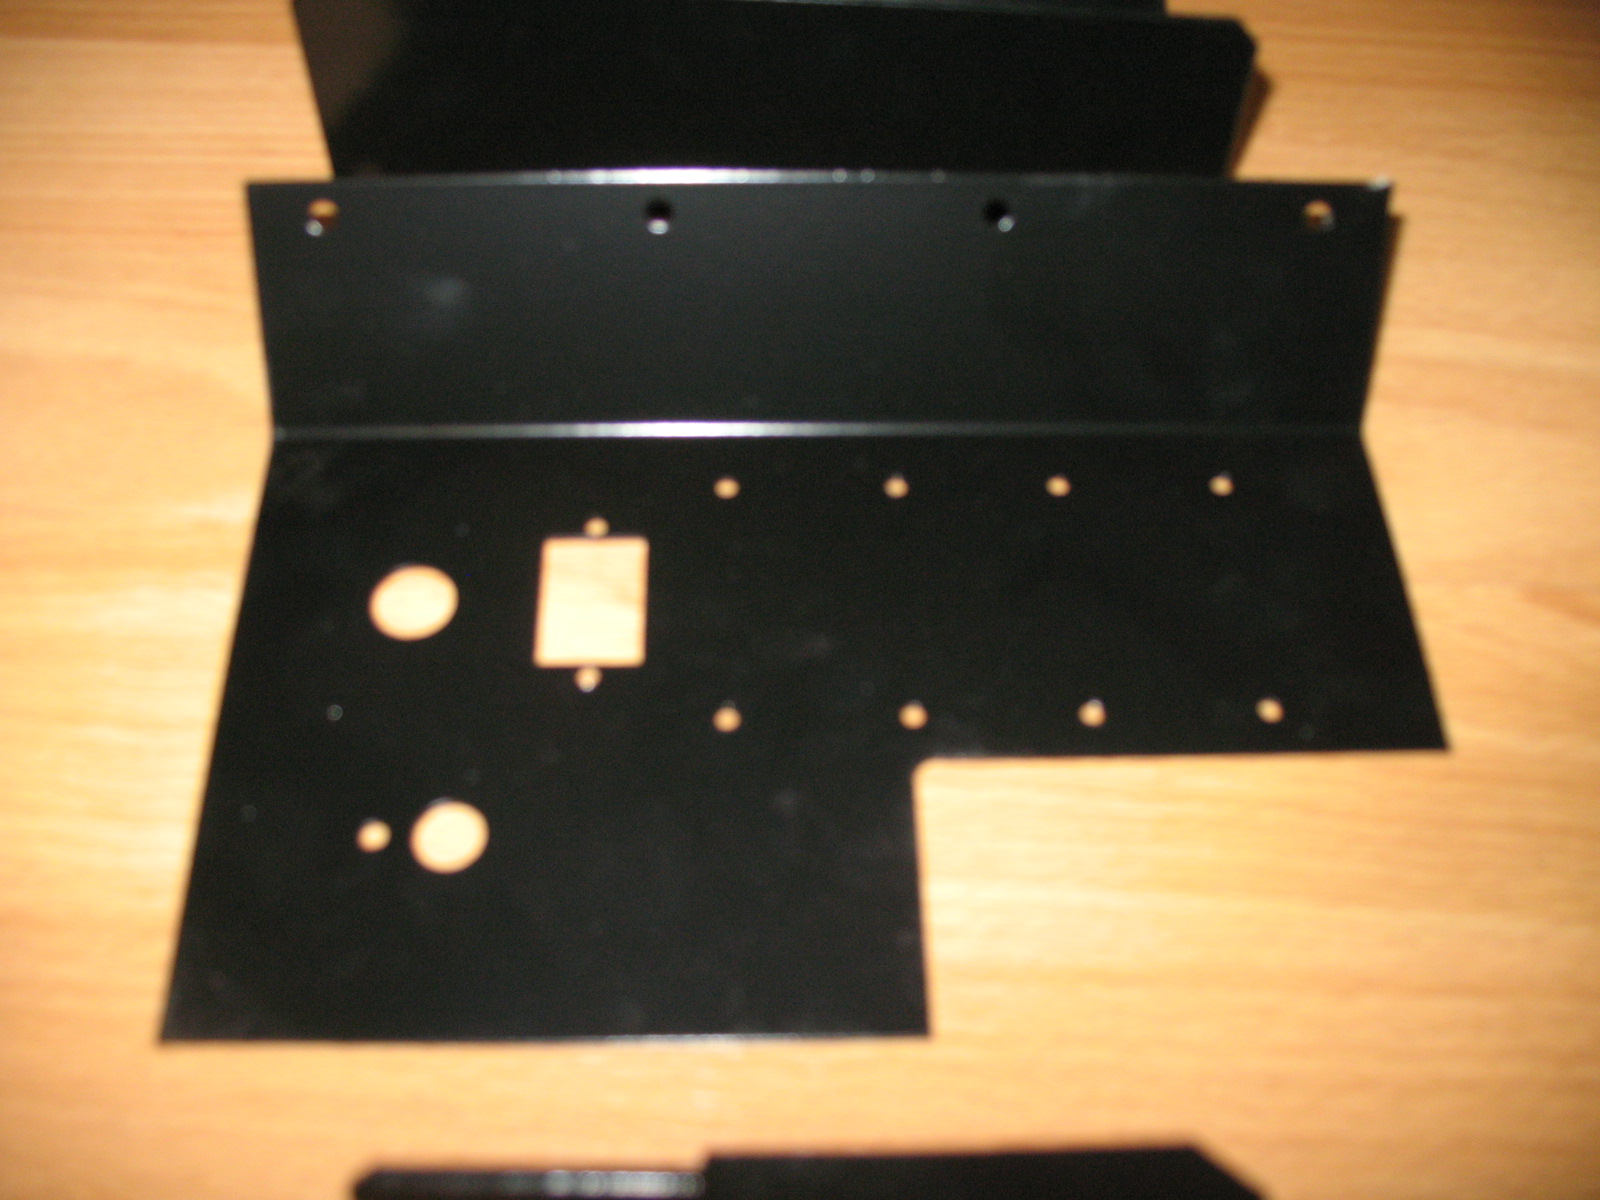
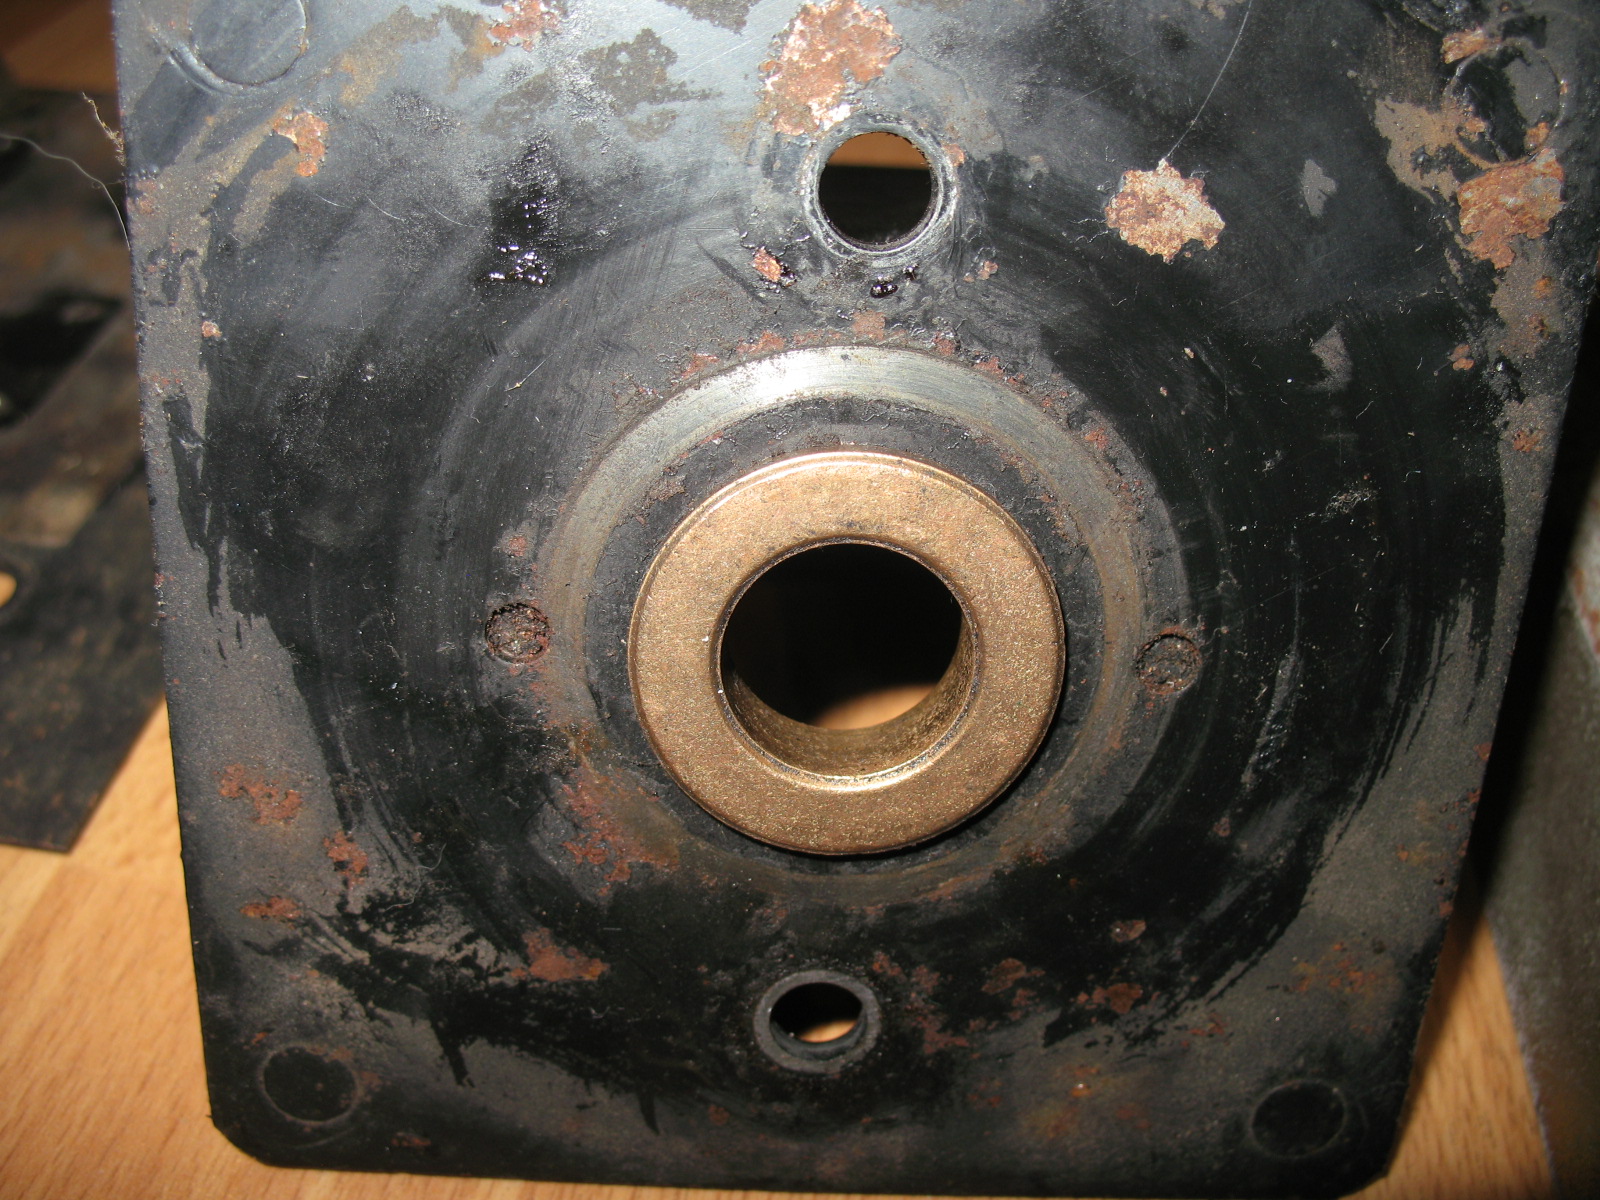
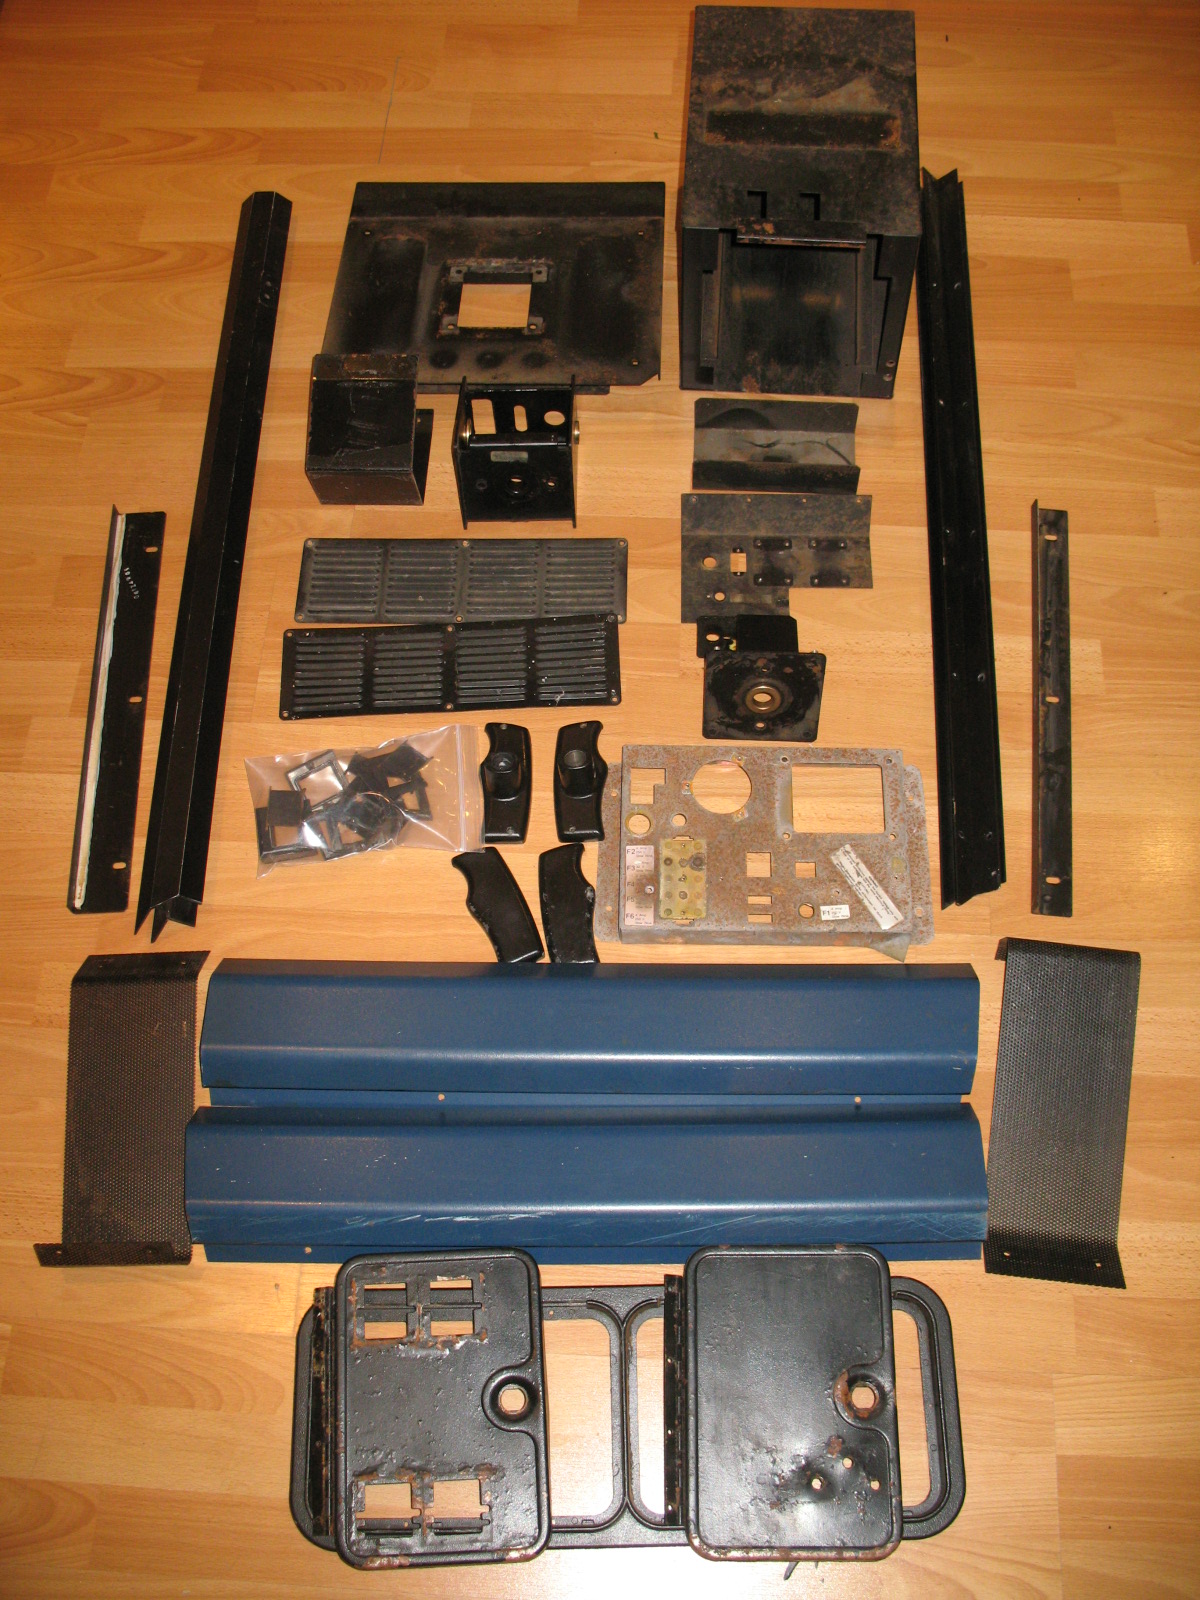
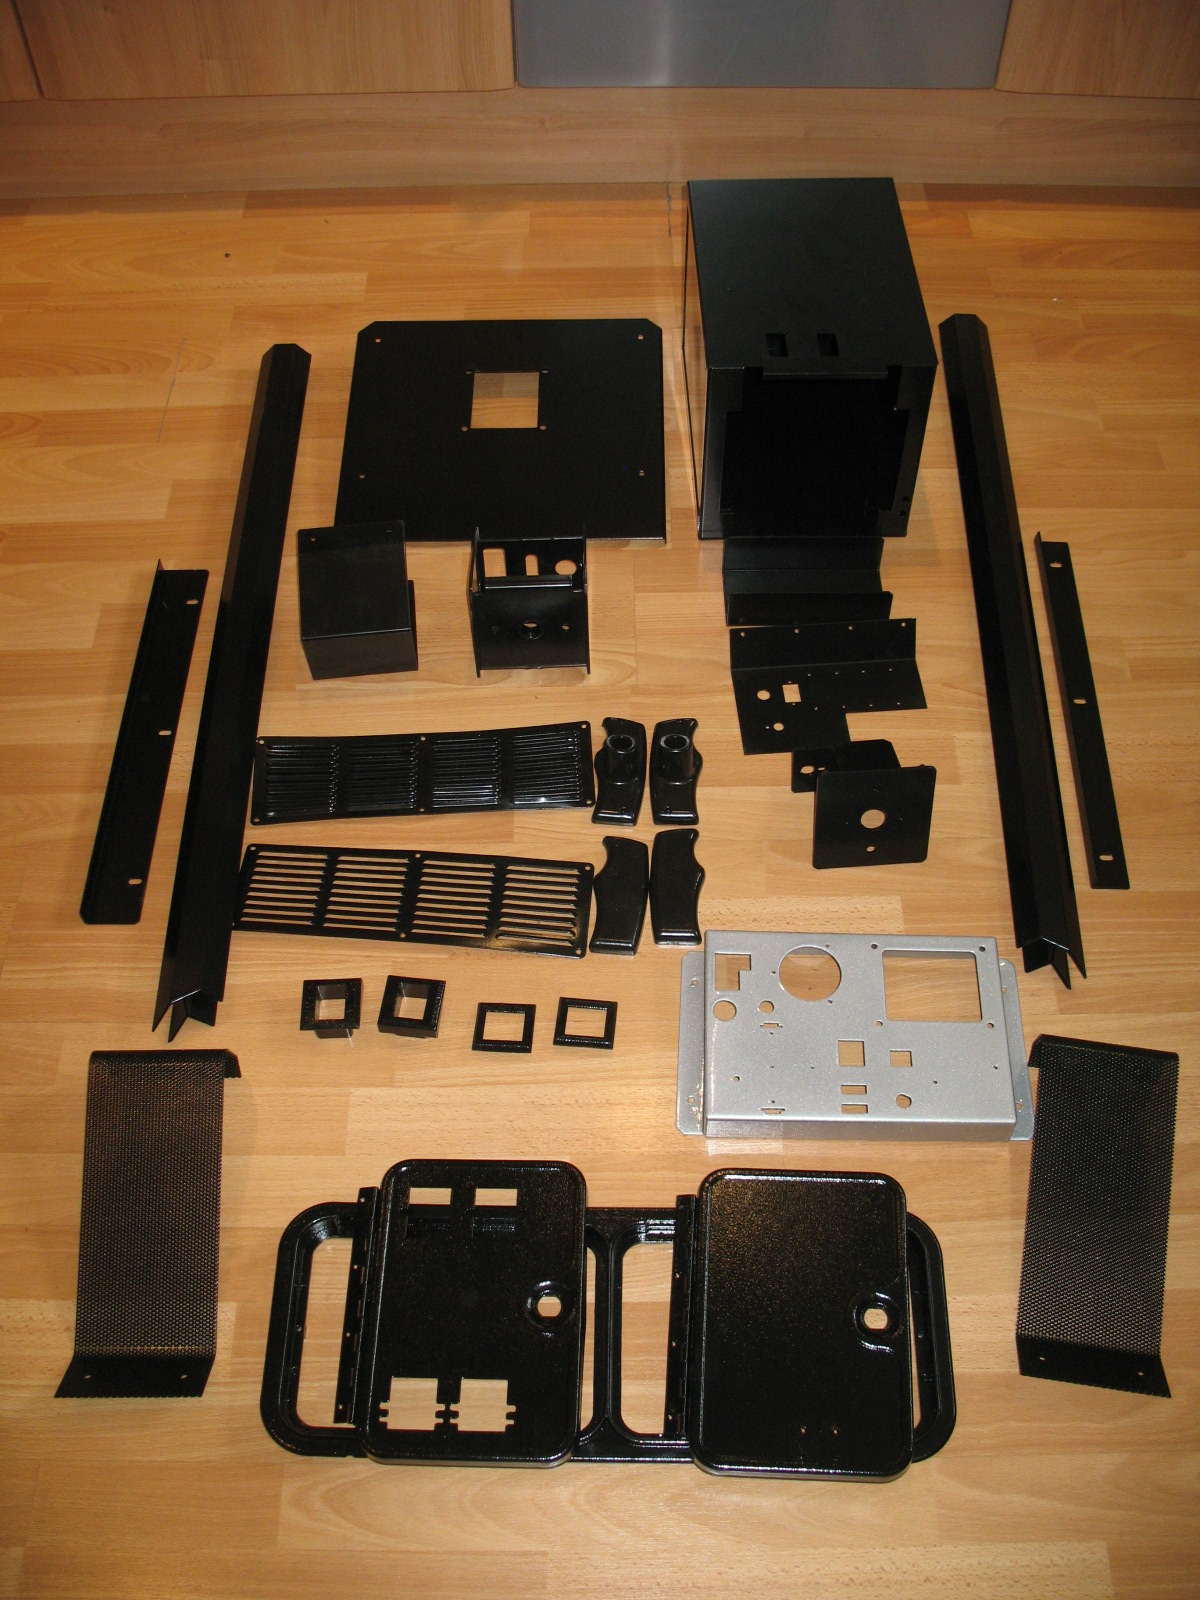
Next step - the metal work. For me, this is one of most satisfying aspects of a resto... there is something quite miraculous what a bit of sand blasting and paint can do to a pile of rusty scrap metal.

And my miracle workers were MSS powder coaters in Morley, Leeds.

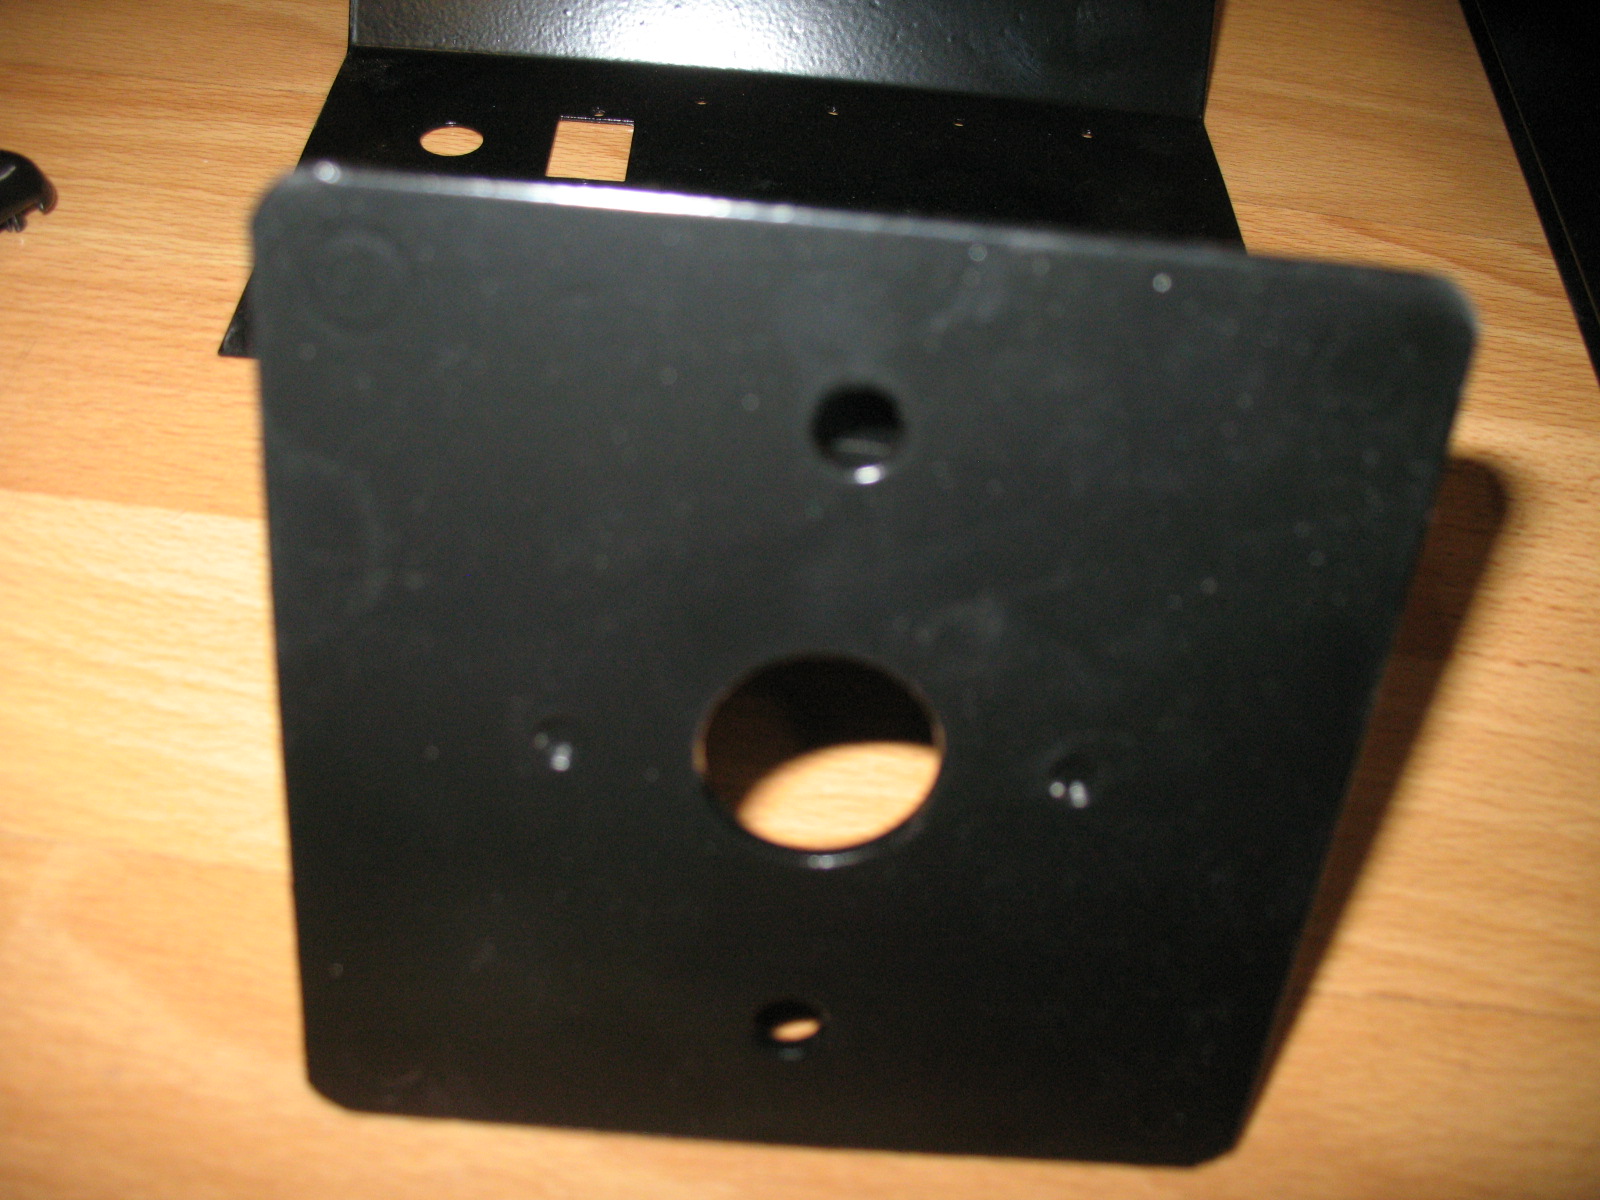
Here are a few before and afters....

1Before.JPG

1After.JPG


2Before.JPG

2After.JPG


The power brick was very corroded, so I asked them to coat this in silver, but more of this later.

3Before.JPG

3After.JPG


4Before.JPG

4After.JPG


5Before.JPG

5After.JPG


6Before.JPG

6After.JPG


7Before.JPG

7After.JPG


8Before.JPG

8After.JPG


9Before.JPG

9After.JPG


MSS couldn’t help with the two blue metal side panels - these have a textured finish that the powder coaters couldn’t replicate – and their colour pallet was fairly limited. But luck was on my side and I stumbled across Chris at Autobody Care Ltd, Pudsey, Leeds. Lucky for two reasons… (i) he runs a high end body shop and (ii) he had a Galaxian is his waiting room!

Chris colour matched the blue panel to a Green/Blue 2K Satin. I think it was a VW paint. But it’s a really close match to the originals. Check out the photos below with an original Jedi on the left and the colour matched panel on the right.

IMG_0046.JPG

iamjimmi2015-12-07 19:02:40
 

iamjimmi

Active member
vacBacker
Feedback
8 (100%)
Credits
492CR
DanP said:
This pic shows why arcades used to be everywhere.   Assuming the coins were just 10p's (and they probably were 50p's in the left slot) there's over £6.5k in takings over it's lifetime for a cab that cost ~£1500 brand new.   Take out something for rent, electricity, etc it's still a tidy profit.

Note quite £6.5K... I reckon I found nearly 3 quid of their takings in 10ps trapped inside! Cue evil laugh.....Muhahahaha
 

big10p

Coins detected in pocket!
vacBacker
Feedback
12 (100%)
Credits
5,976CR
That's quite a lot metalwork for one cab! I only had a double coin door and 2 marquee brackets for the coaters, last time. Good colour match, BTW - I can't tell the difference.
 
Top