
You are using an out of date browser. It may not display this or other websites correctly.
You should upgrade or use an alternative browser.
You should upgrade or use an alternative browser.
Return of the Jedi Restoration in 7 Easy Steps
- Thread starter iamjimmi
- Start date


dj_yt said:Wowza! A really involved restoration this one. You certainly went to town.
I would have been sh*tting bricks like Jabba the Hutt when I had that cab apart in so many pieces.
It's fair to say, I was....
Great thread this! cracking restore


Those replacement tubes are spot on - I've been systematically replacing all my fluoros with these for a while, you can't see the individual LEDs btw - certainly on the frosted warm white ones, they also seem a little brighter than a standard 15w fluoro.
That's great news... iamjimmi2015-12-09 22:41:18
Those replacement tubes are spot on - I've been systematically replacing all my fluoros with these for a while, you can't see the individual LEDs btw - certainly on the frosted warm white ones, they also seem a little brighter than a standard 15w fluoro.
That's great news...
iamjimmi2015-12-09 22:41:18Step 6 - All together now
Time to start putting it back together…
As noted earlier - the photos and labelled-up screws and parts proved to be invaluable. It also helped having a second Jedi to refer to - but not everyone will have that luxury!
Much of the original machine was put together using staples around an inch long. These need a pneumatic staple gun which I don't have, so I used a lot more screws than it was originally built with.
And this is where this posting should end, but I'll come clean about my two major screw ups...
The first screw up was the groove cut for the T-Molding. As I noted early Russ J kindly popped over to help with this (if you have seen his Robotron scratch build thread, you'll know he the man when it comes to joinery). As is good practise, we used a scrap piece of wood and a small T-Molding off-cut to ensure the slot position would be perfectly centre.
It was only after I had applied the vinyl that I tried a longer length of T-Molding. Big problem... the slot was too wide for the T-Molding. It just wouldn't grip it tightly or sit flush.
So tried a variety of methods to rectify it... I bulked out the grove with bits of wood, tried lining the grove with tape and tried securing the T-Molding with hot glue. This was typical of the result:
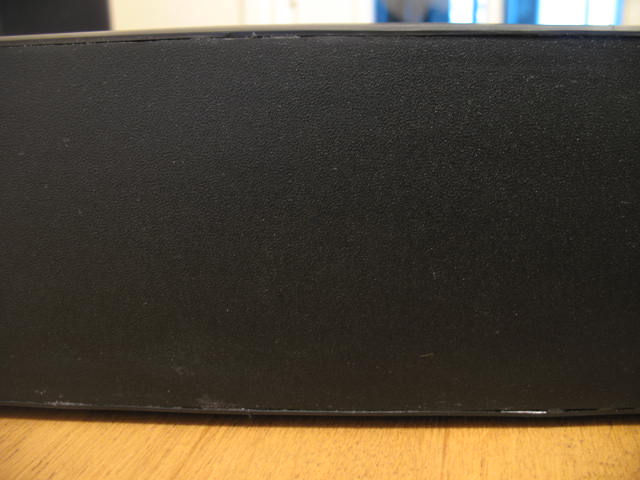
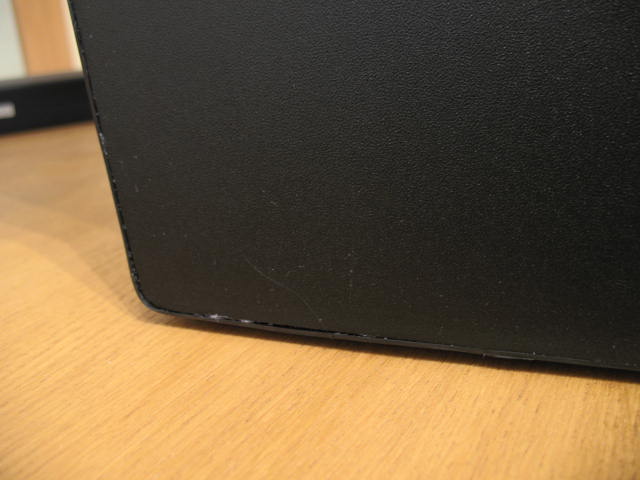
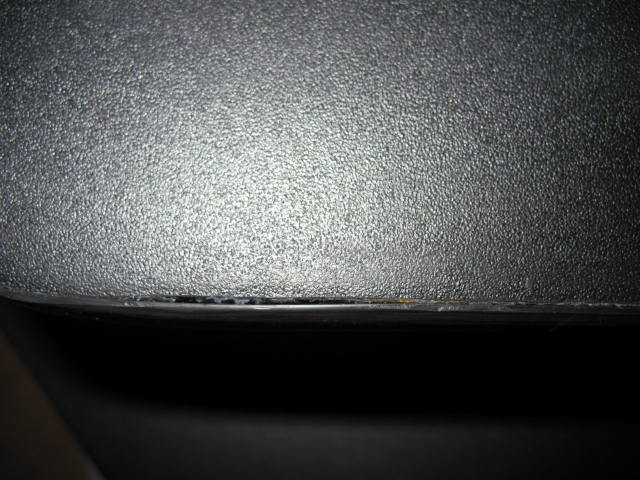
I couldn't face refilling the grove and re-cutting, so forged ahead in denial and fitted all of the T-Molding (a not insignificant amount - typically one and half times a typical cab).
But the more I looked at the result, the more I knew what I had to do... so I finally refilled the slot and re-cut using a thinner blade.
For future record, I lifted these blade details from t-molding.com:
Slot Cutter 0.080" 3-Wing
Use with T-Molding that has a 7/64" wide spine (including the barbs).
Slot Cutter 1/16" 3-Wing
Use with T-Molding that has a 3/32" wide spine (including the barbs).
Slot Cutter 3/32" 3-Wing
Use with T-Molding that has a 1/8" wide spine (including the barbs).
** TIP ** MEAUSURE TWICE - CUT ONCE (Duh!)
This was a real demoralising set-back and it actually took some months before I could face tackling the job, but the result was worth it:
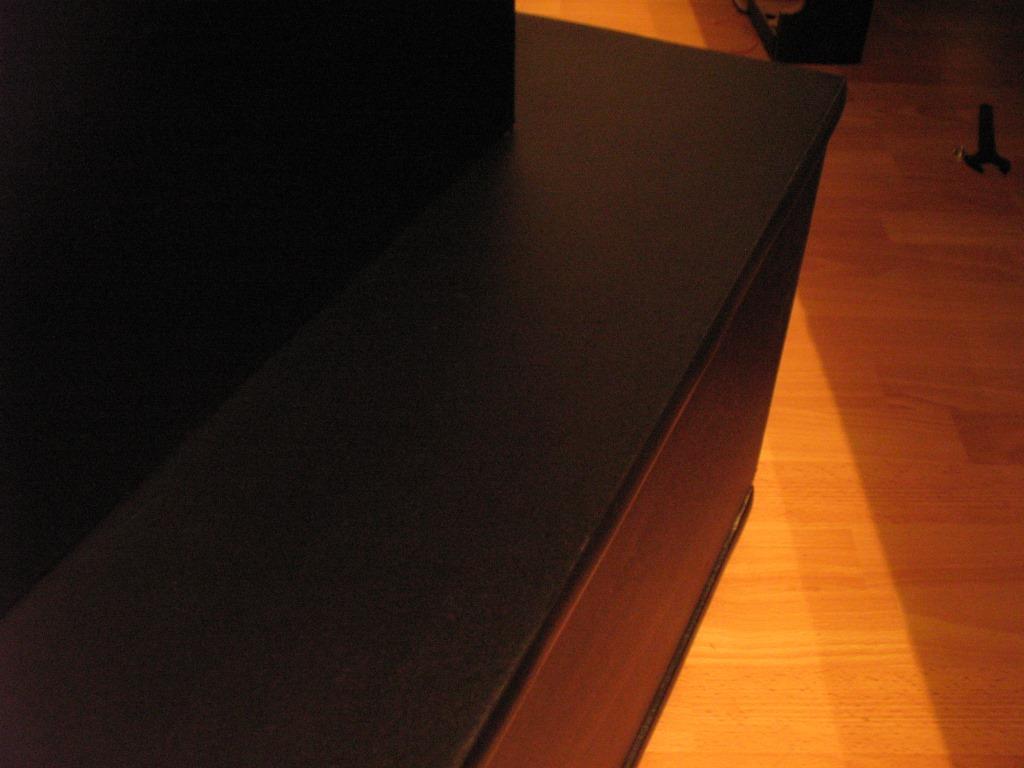
The second screw up was the side panels. They have a grove at the top for the control panel:

I had assumed the grove was on the inside edge, but not so. I only found this out once I had rebuilt the base and found the control panel wouldn't fit... it dawned on me that I had mixed up the left and right panels. What a dumb ass....
So just swap them over … Two problems with that… firstly the inside vinyl was the smooth finish vinyl from thisoldgame – so if I swapped them over the smooth finish vinyl would be on the outside, and secondly I had attached the PCB mounting brackets to the inside panels – these wouldn’t look too good on the outside of the cab.
This was another major set back that forced me to take a long break from the restoration. Anyway a few more months later I rallied enough enthusiasm to figure out what I could do. I built up the cut out grove with P38 and then routed a new grove on the correct side. I was worried about damaging the vinyl but I had not option – and fortunately the grove was cut without incident.
** TIP ** Write a big letter "L" on your left hand and a big letter "R" on your right hand, so you don't mix up you left and rights! I'm thinking of getting them tattooed
 .
.
Other little bits were done like swapping the leg levellers with nice Teflon ones.
And we are are getting there....
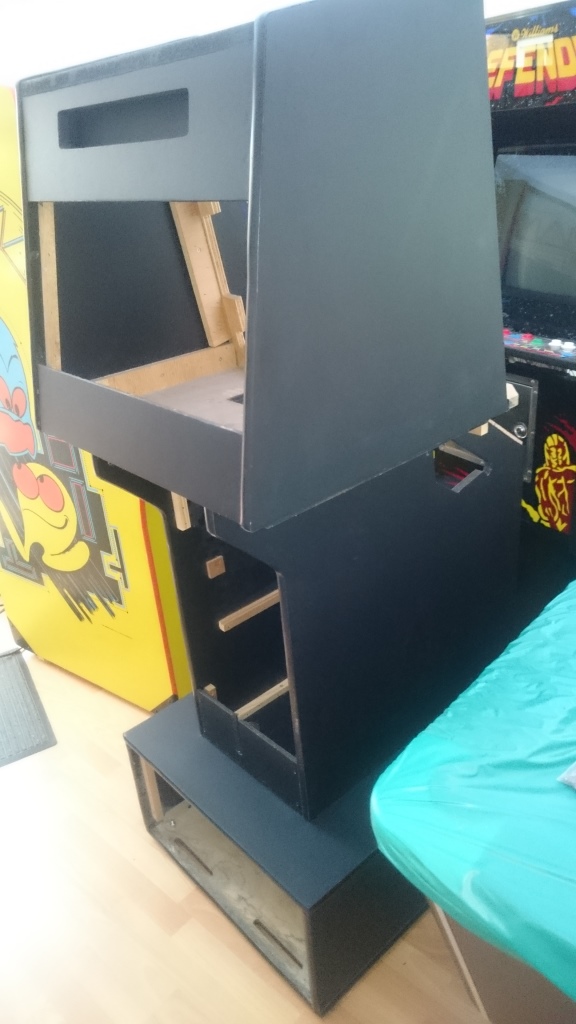
Tomorrow was going to be my last post, but this posting must be cursed as I messed up one of my last jobs - to over paint the black border that goes around the glass monitor screen. I left the masking tape on too long and when I removed it, it lifted up bits of the newly applied paint. Aaaargh! So I've got to try and rectify this before my last posting.
This means a little delay I'm afraid as me and Mrs iamjimmi are off to Iceland for a few days tomorrow... so please hang in there for the last instalment which should be towards the end of next week!iamjimmi2015-12-10 19:45:00
Time to start putting it back together…
As noted earlier - the photos and labelled-up screws and parts proved to be invaluable. It also helped having a second Jedi to refer to - but not everyone will have that luxury!
Much of the original machine was put together using staples around an inch long. These need a pneumatic staple gun which I don't have, so I used a lot more screws than it was originally built with.
And this is where this posting should end, but I'll come clean about my two major screw ups...
The first screw up was the groove cut for the T-Molding. As I noted early Russ J kindly popped over to help with this (if you have seen his Robotron scratch build thread, you'll know he the man when it comes to joinery). As is good practise, we used a scrap piece of wood and a small T-Molding off-cut to ensure the slot position would be perfectly centre.
It was only after I had applied the vinyl that I tried a longer length of T-Molding. Big problem... the slot was too wide for the T-Molding. It just wouldn't grip it tightly or sit flush.
So tried a variety of methods to rectify it... I bulked out the grove with bits of wood, tried lining the grove with tape and tried securing the T-Molding with hot glue. This was typical of the result:
I couldn't face refilling the grove and re-cutting, so forged ahead in denial and fitted all of the T-Molding (a not insignificant amount - typically one and half times a typical cab).
But the more I looked at the result, the more I knew what I had to do... so I finally refilled the slot and re-cut using a thinner blade.
For future record, I lifted these blade details from t-molding.com:
Slot Cutter 0.080" 3-Wing
Use with T-Molding that has a 7/64" wide spine (including the barbs).
Slot Cutter 1/16" 3-Wing
Use with T-Molding that has a 3/32" wide spine (including the barbs).
Slot Cutter 3/32" 3-Wing
Use with T-Molding that has a 1/8" wide spine (including the barbs).
** TIP ** MEAUSURE TWICE - CUT ONCE (Duh!)
This was a real demoralising set-back and it actually took some months before I could face tackling the job, but the result was worth it:
The second screw up was the side panels. They have a grove at the top for the control panel:
I had assumed the grove was on the inside edge, but not so. I only found this out once I had rebuilt the base and found the control panel wouldn't fit... it dawned on me that I had mixed up the left and right panels. What a dumb ass....
So just swap them over … Two problems with that… firstly the inside vinyl was the smooth finish vinyl from thisoldgame – so if I swapped them over the smooth finish vinyl would be on the outside, and secondly I had attached the PCB mounting brackets to the inside panels – these wouldn’t look too good on the outside of the cab.
This was another major set back that forced me to take a long break from the restoration. Anyway a few more months later I rallied enough enthusiasm to figure out what I could do. I built up the cut out grove with P38 and then routed a new grove on the correct side. I was worried about damaging the vinyl but I had not option – and fortunately the grove was cut without incident.
** TIP ** Write a big letter "L" on your left hand and a big letter "R" on your right hand, so you don't mix up you left and rights! I'm thinking of getting them tattooed
Other little bits were done like swapping the leg levellers with nice Teflon ones.
And we are are getting there....
Tomorrow was going to be my last post, but this posting must be cursed as I messed up one of my last jobs - to over paint the black border that goes around the glass monitor screen. I left the masking tape on too long and when I removed it, it lifted up bits of the newly applied paint. Aaaargh! So I've got to try and rectify this before my last posting.
This means a little delay I'm afraid as me and Mrs iamjimmi are off to Iceland for a few days tomorrow... so please hang in there for the last instalment which should be towards the end of next week!iamjimmi2015-12-10 19:45:00

Step 7 Make it pretty
Ok, back from Iceland. And forgive the obvious pun but Iceland is cool. And yes, we did see the Northern lights. Also stumbled across a little retro arcade in Reykjavik:

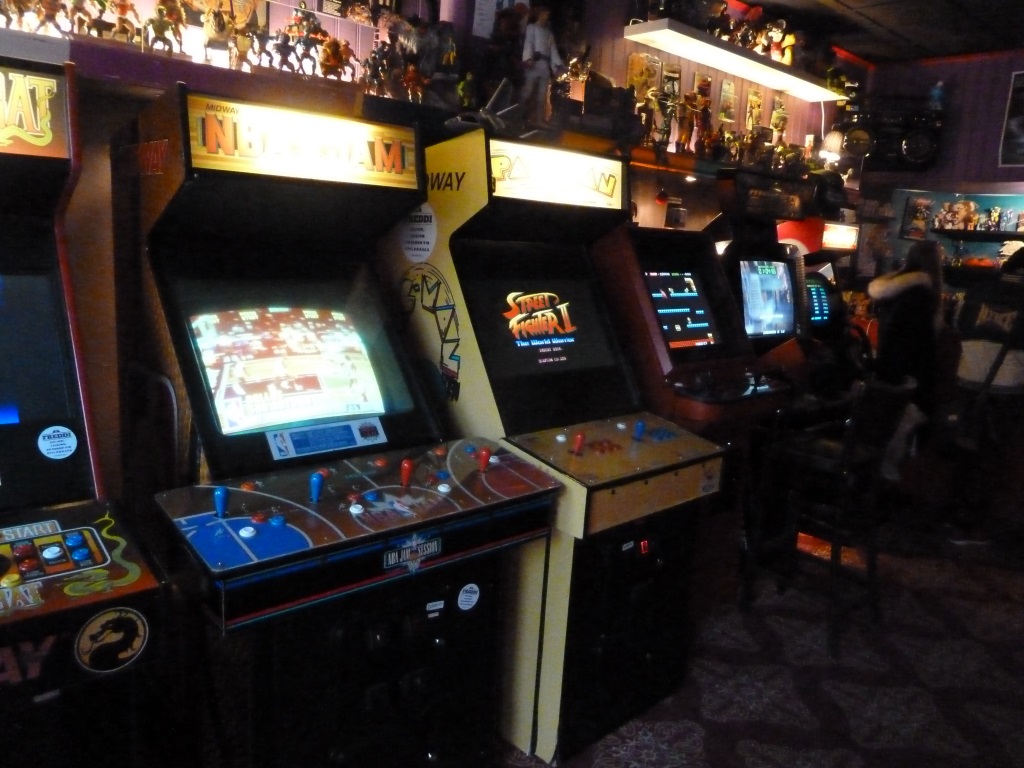
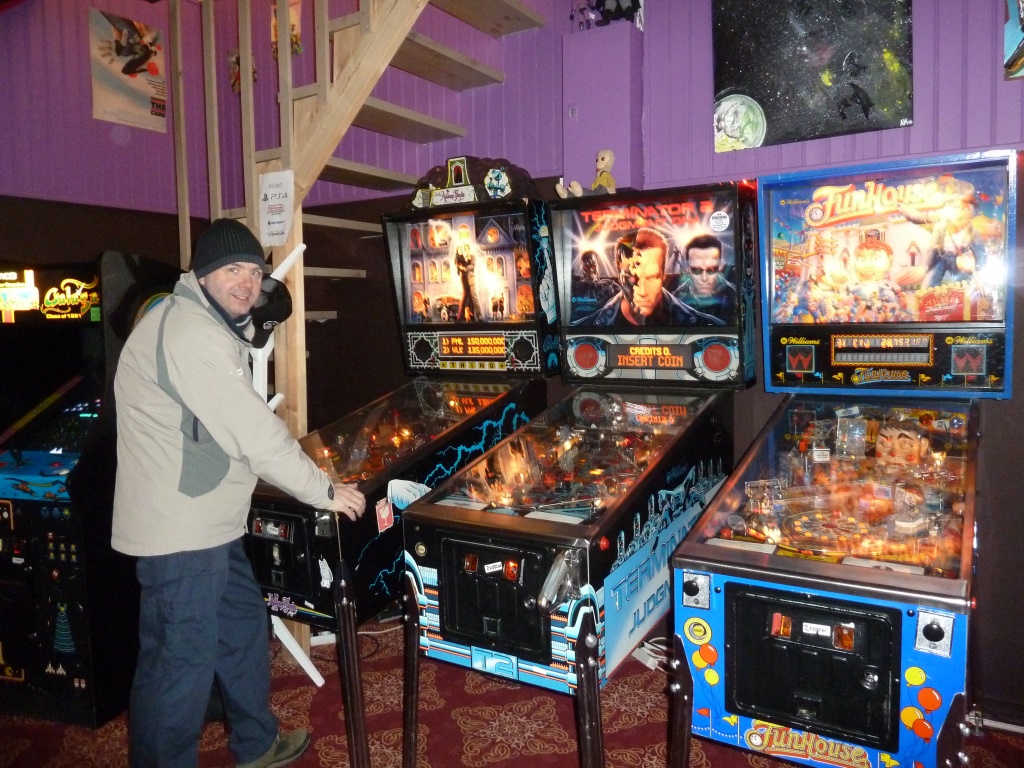
But back to topic…. The black border on the glass bezel was chipped in a number of places:
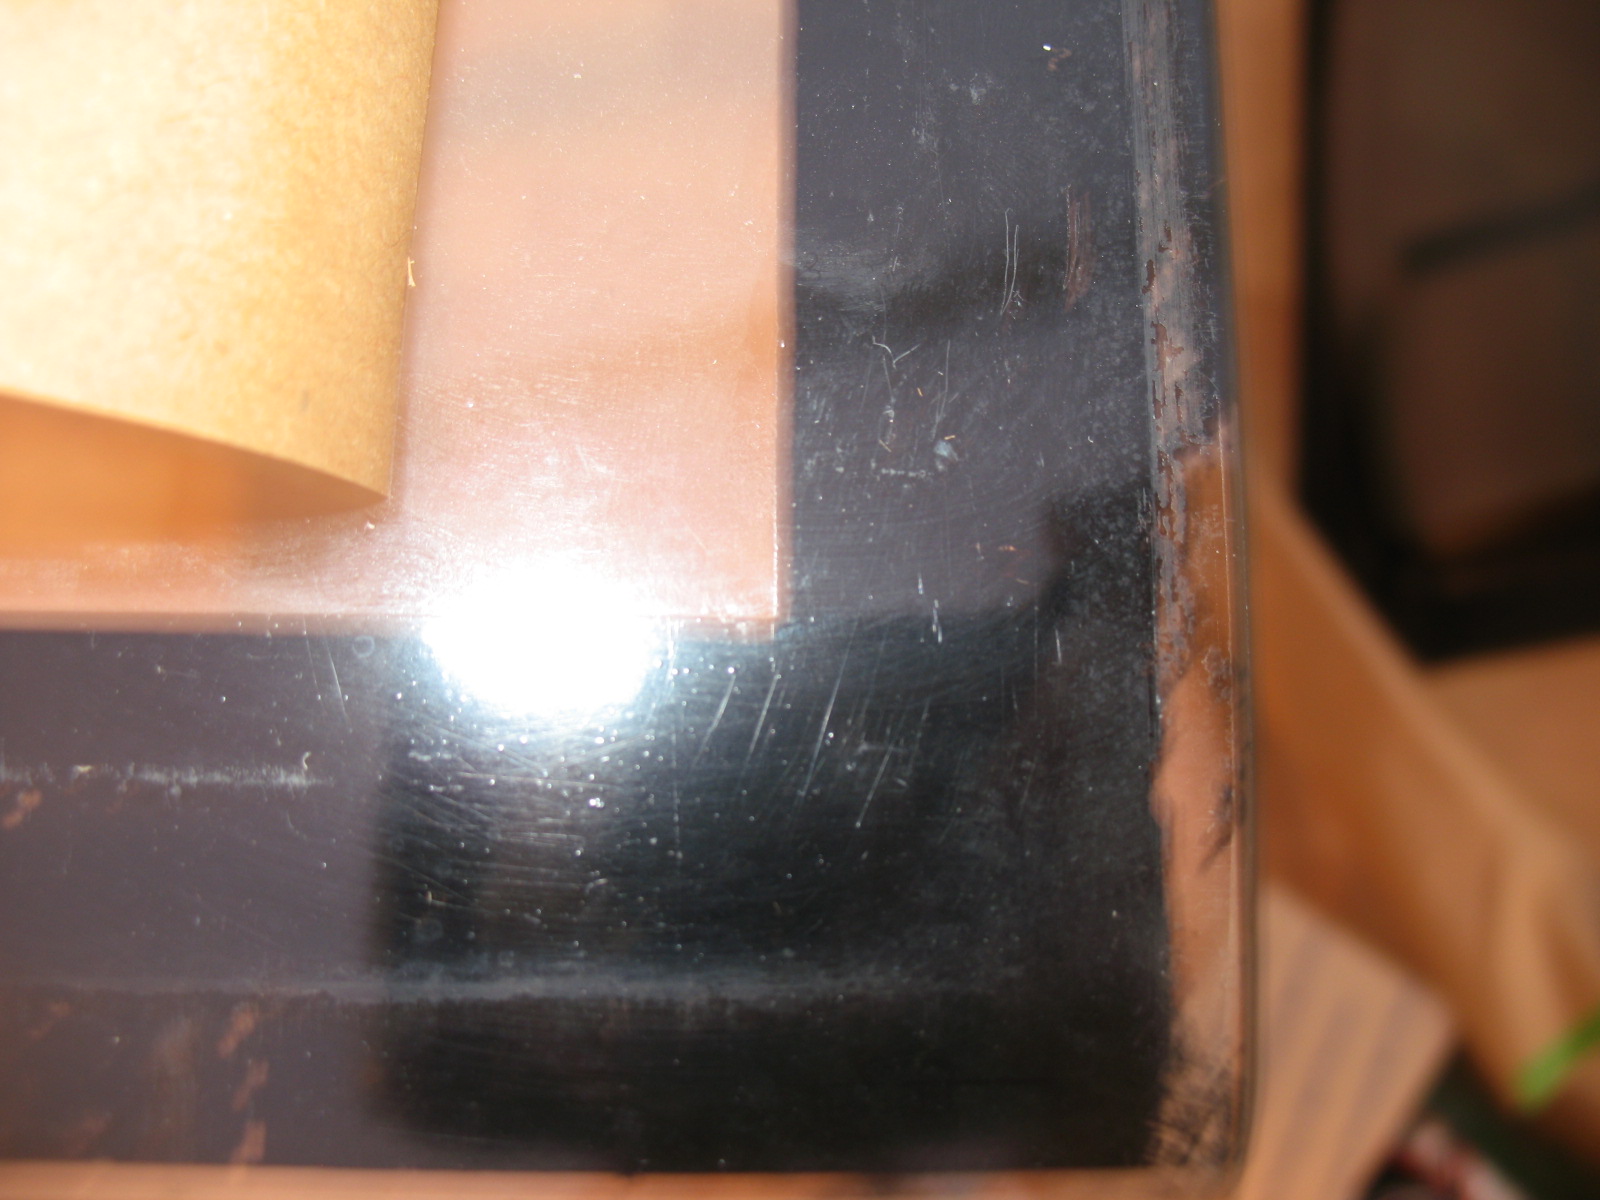
I masked it up and sprayed it over.
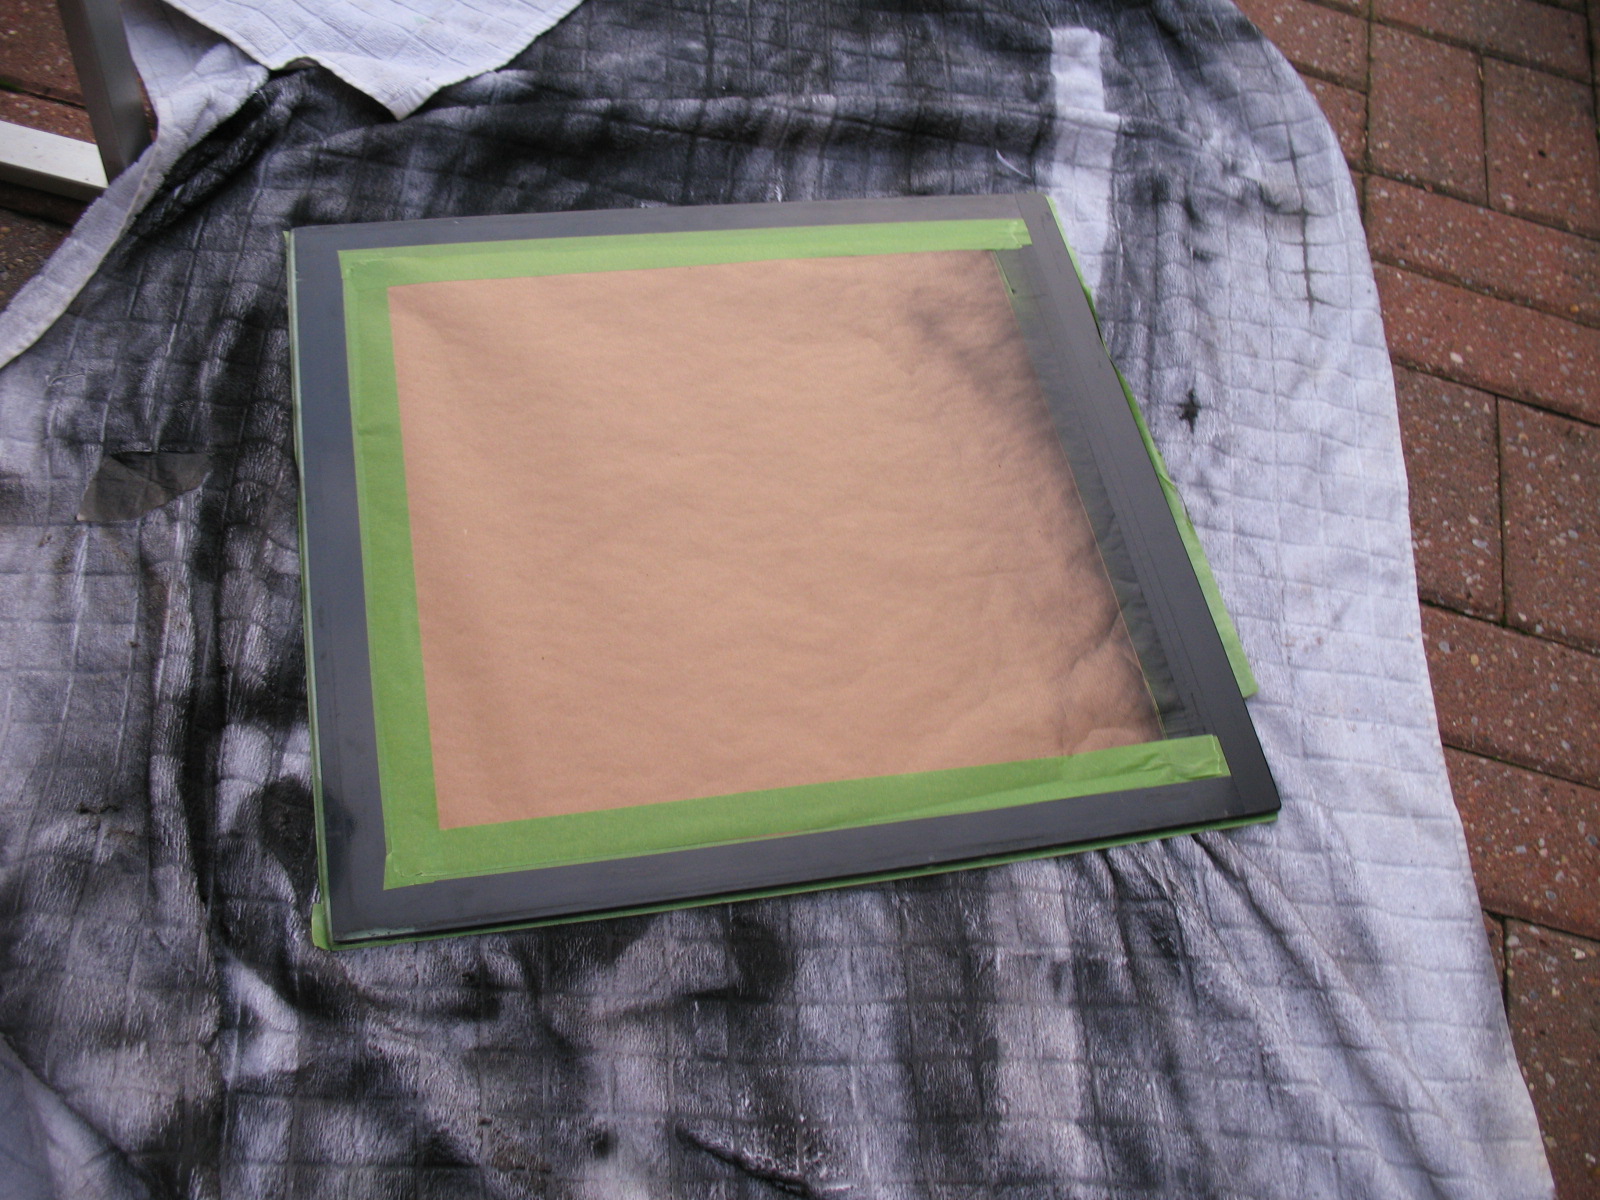
As I noted in my last posting I left the masking tape on too long and lifted the newly applied paint when I removed it.
** TIP ** When spraying glass, remove the masking tape immediately after spraying!
Really I should have used glass paint, so I might revisit this one day.
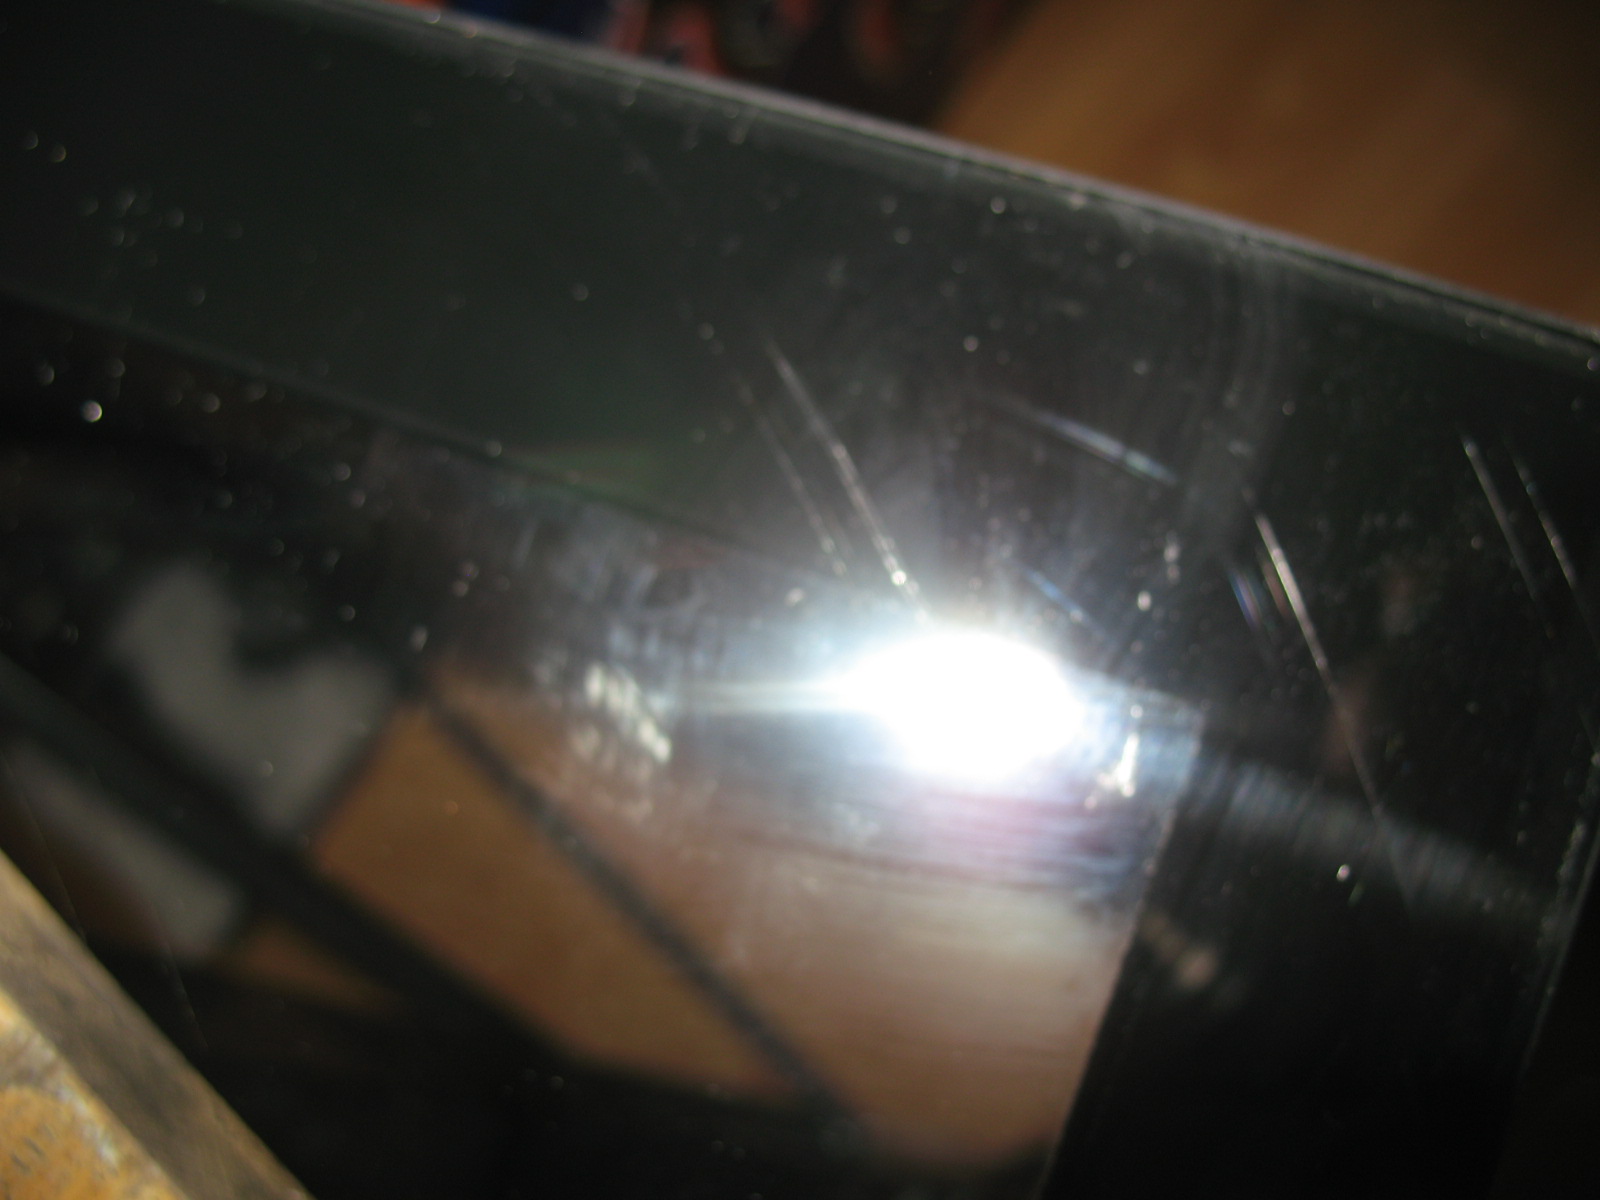
The monitor shroud had seen better days:
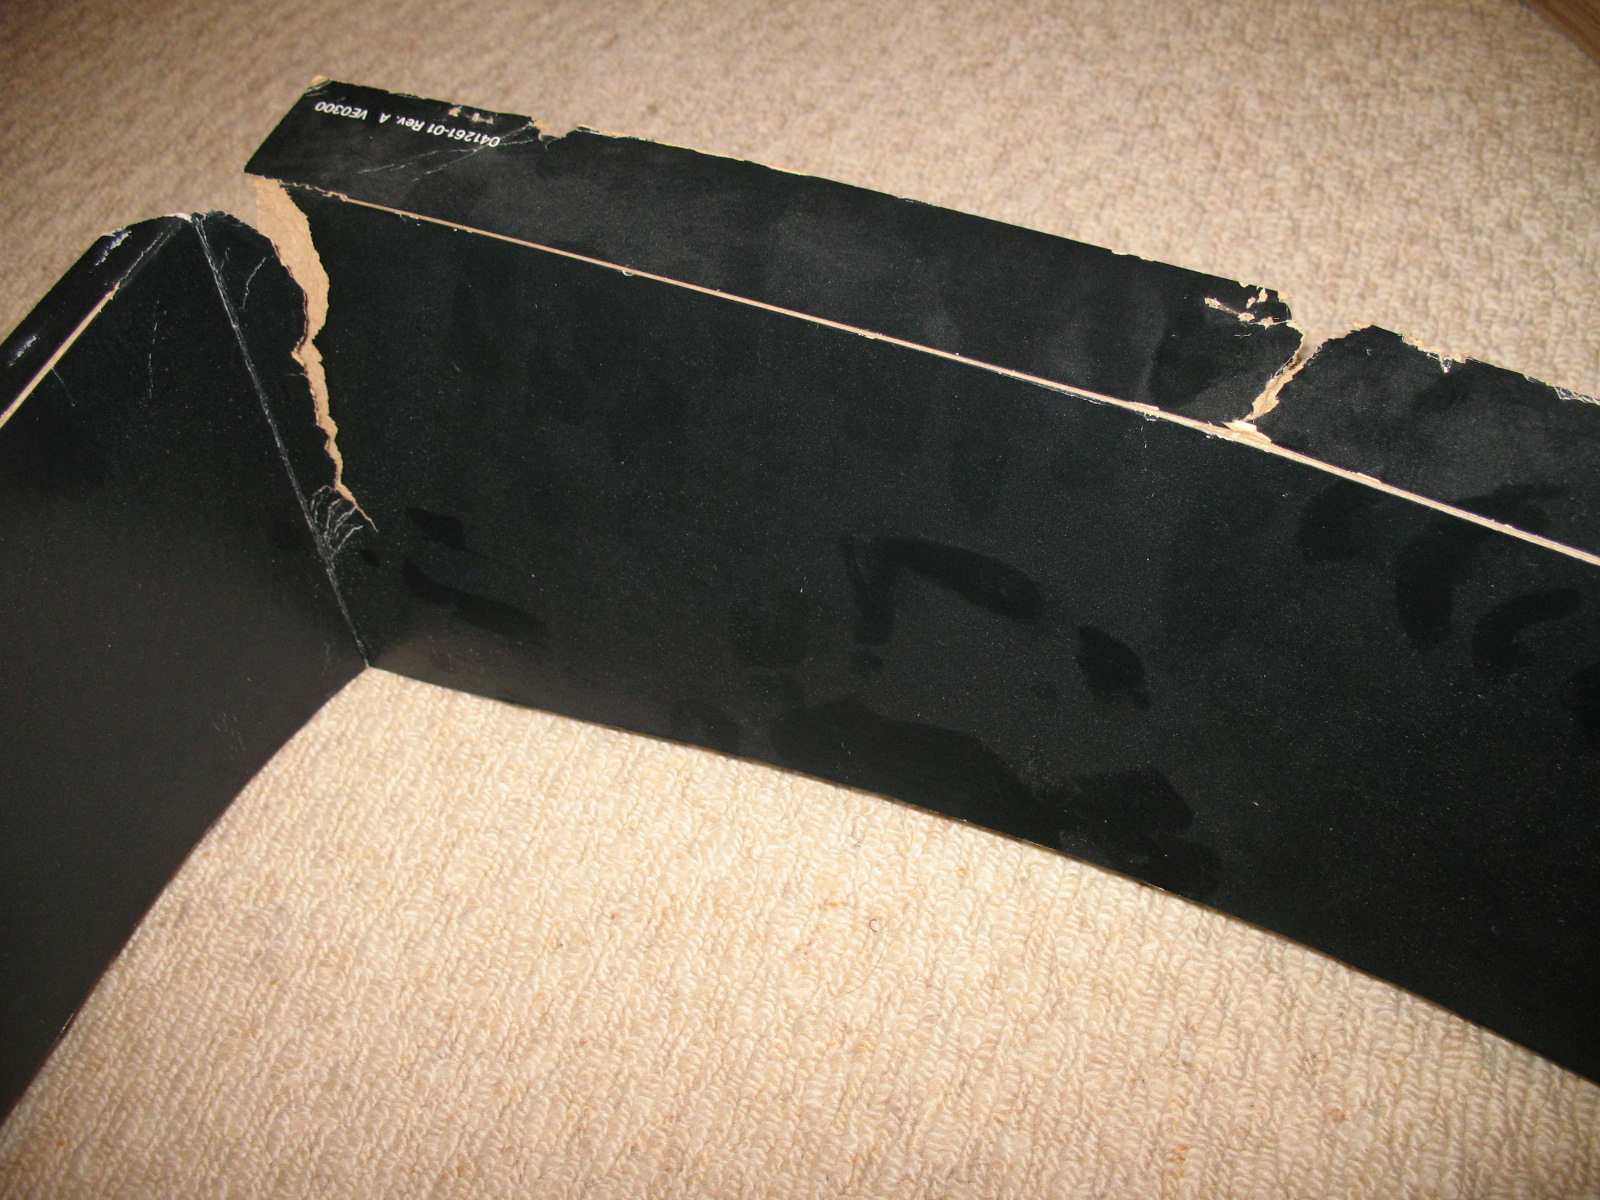
I sourced an instruction decal from thisoldgame and a replacement monitor shroud from joeycuda on KLOV.
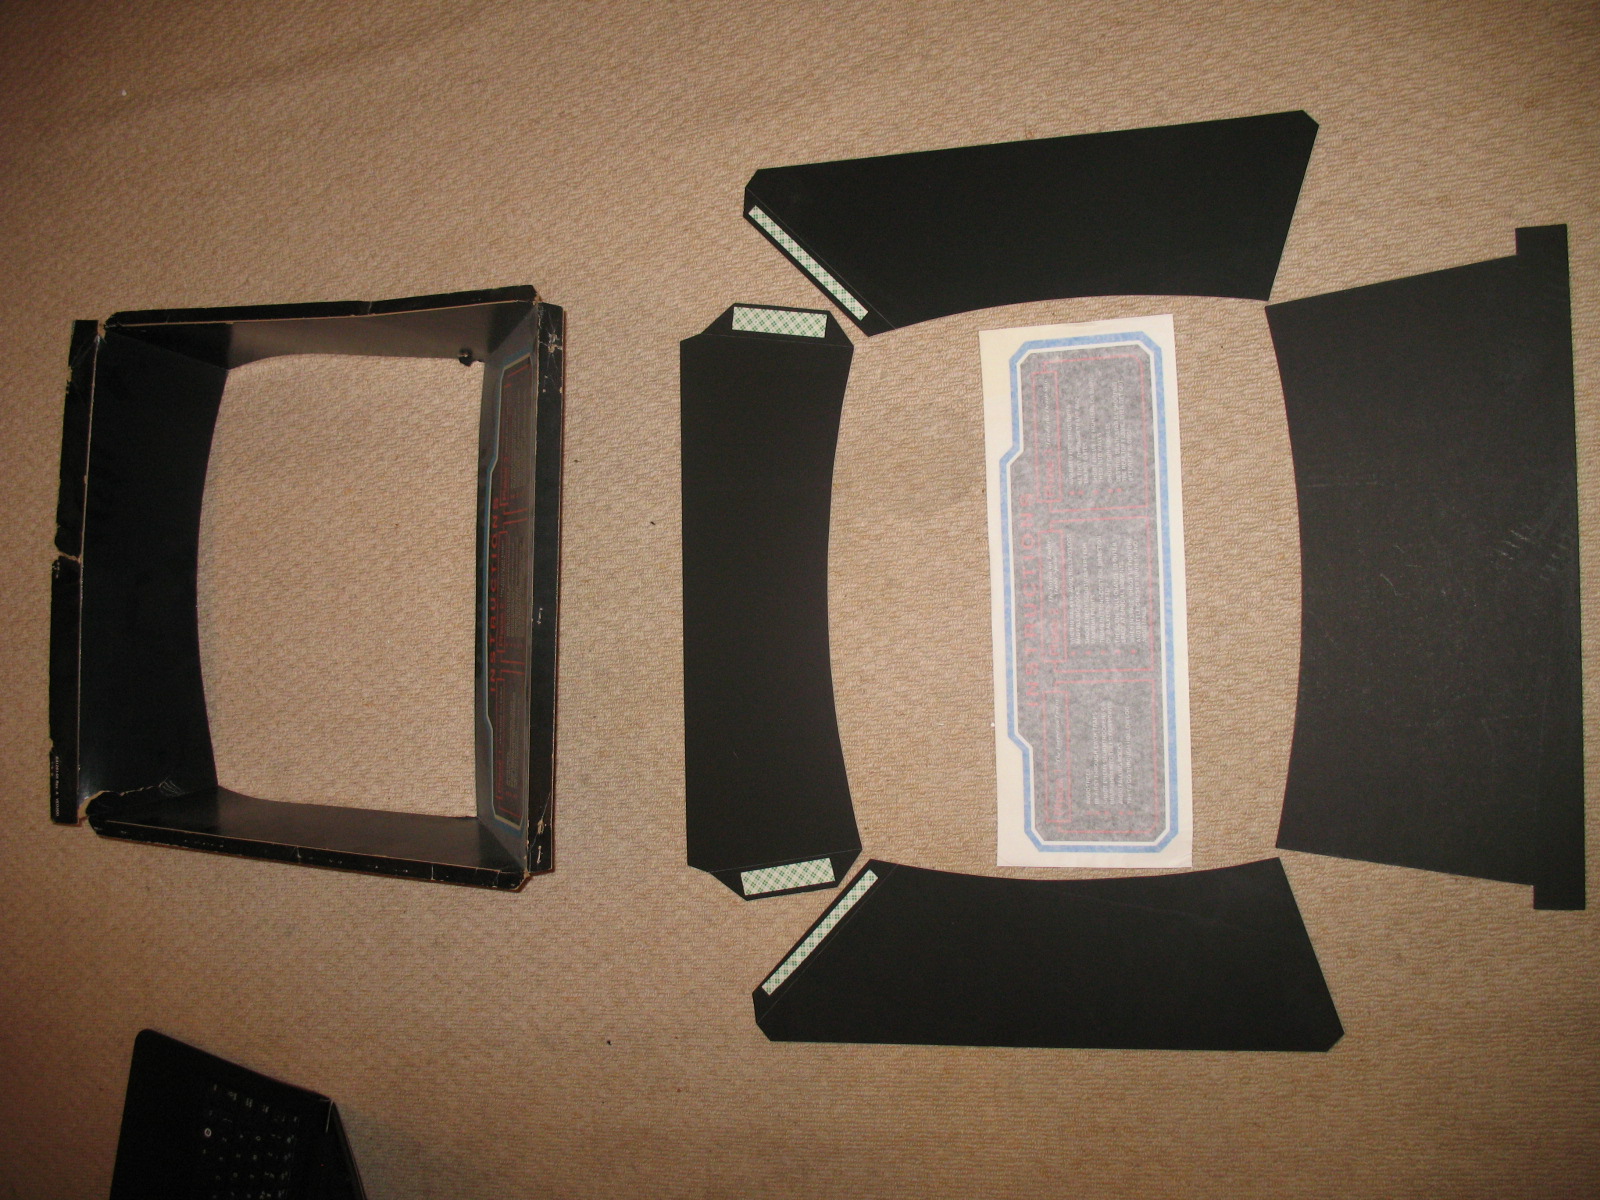
The repro shrouds are great quality but I managed to screw up the application of the decal – I didn’t quite get it straight and cardboard isn’t very forgiving when it comes to repositioning a decal.
Rather than order another from the states, I used the shroud sent from joeycuda to cut one out from scratch. Cutting by hand is never going to be as neat as a machine cut, but a great tip is to use card with a black core and then you can sand the edges to get a pretty professional result.
I used a sanding block with curved edges to good affect.


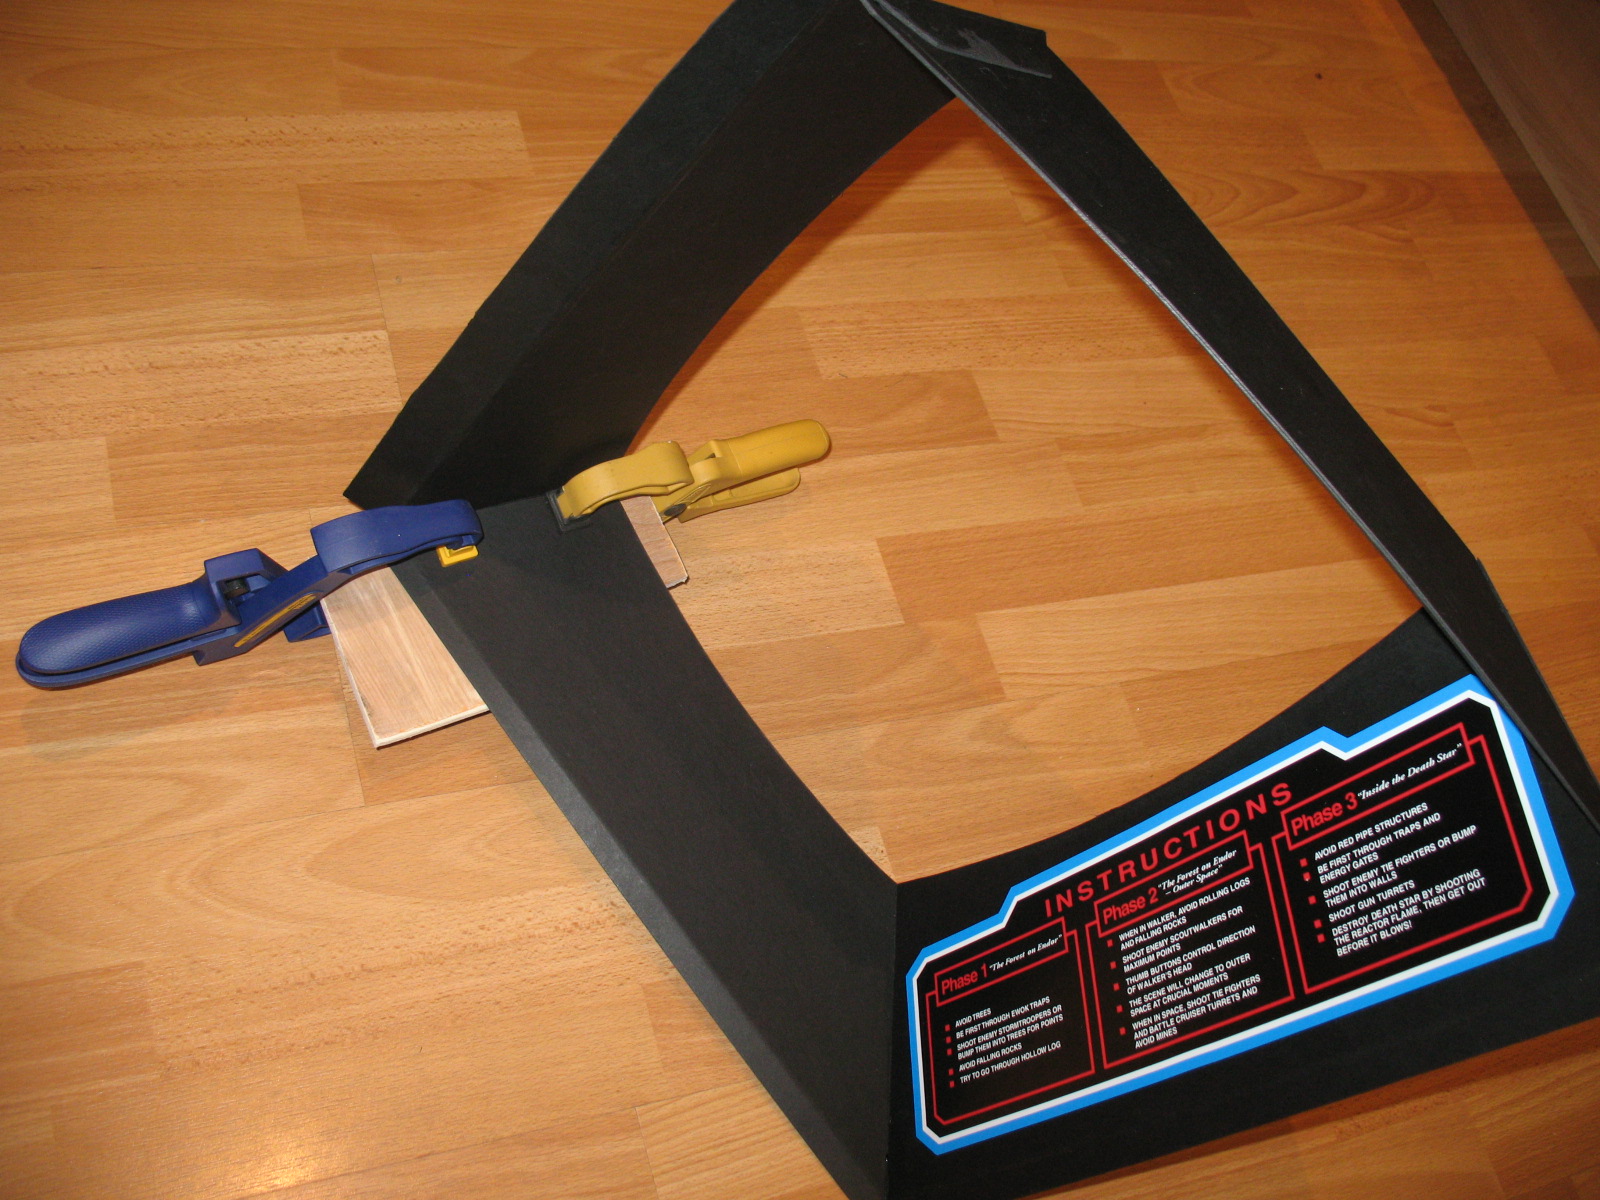
** TIP ** If making a cardboard monitor shroud use black card with a black core.
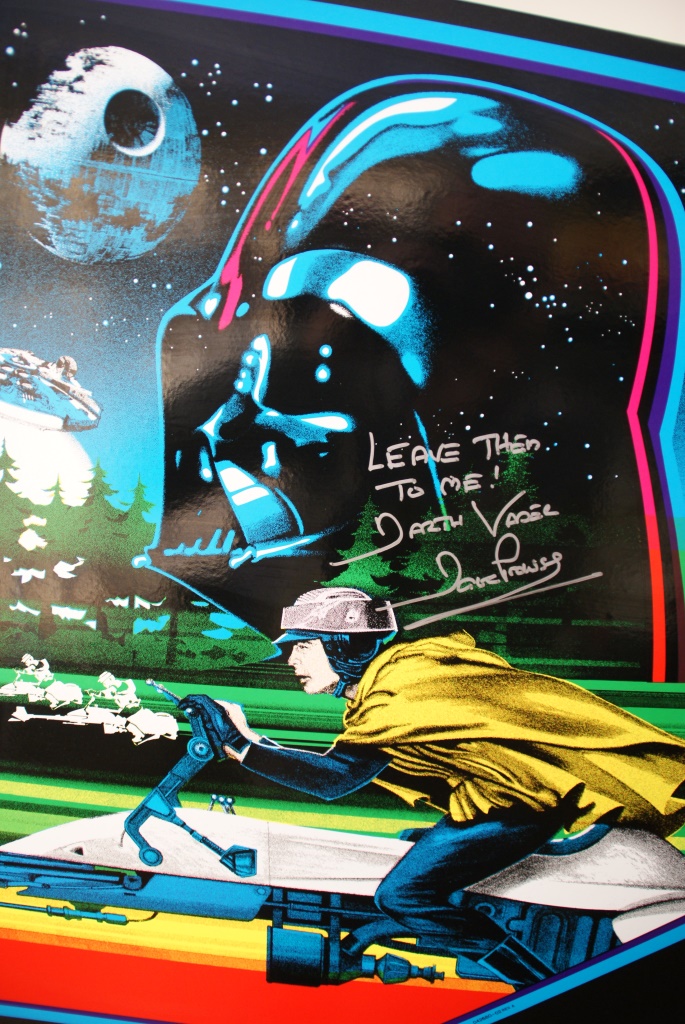
The ROTJ side art has only recently become available. I sourced the side artwork from phoenixarcade who have reproduced the artwork from the original Atari films. The quality and accuracy is superb.
Blatantly stealing an idea from RGP’s visit to Play in 2014 (who got David Prowse aka Darth Vader to sign his Star Wars machine), I took the opportunity to do the same when I saw that David was appearing at Sheffield comic con:

Applying the side art was seriously stressful. But with the help of Mrs iamjimmi we got it positioned just about right.
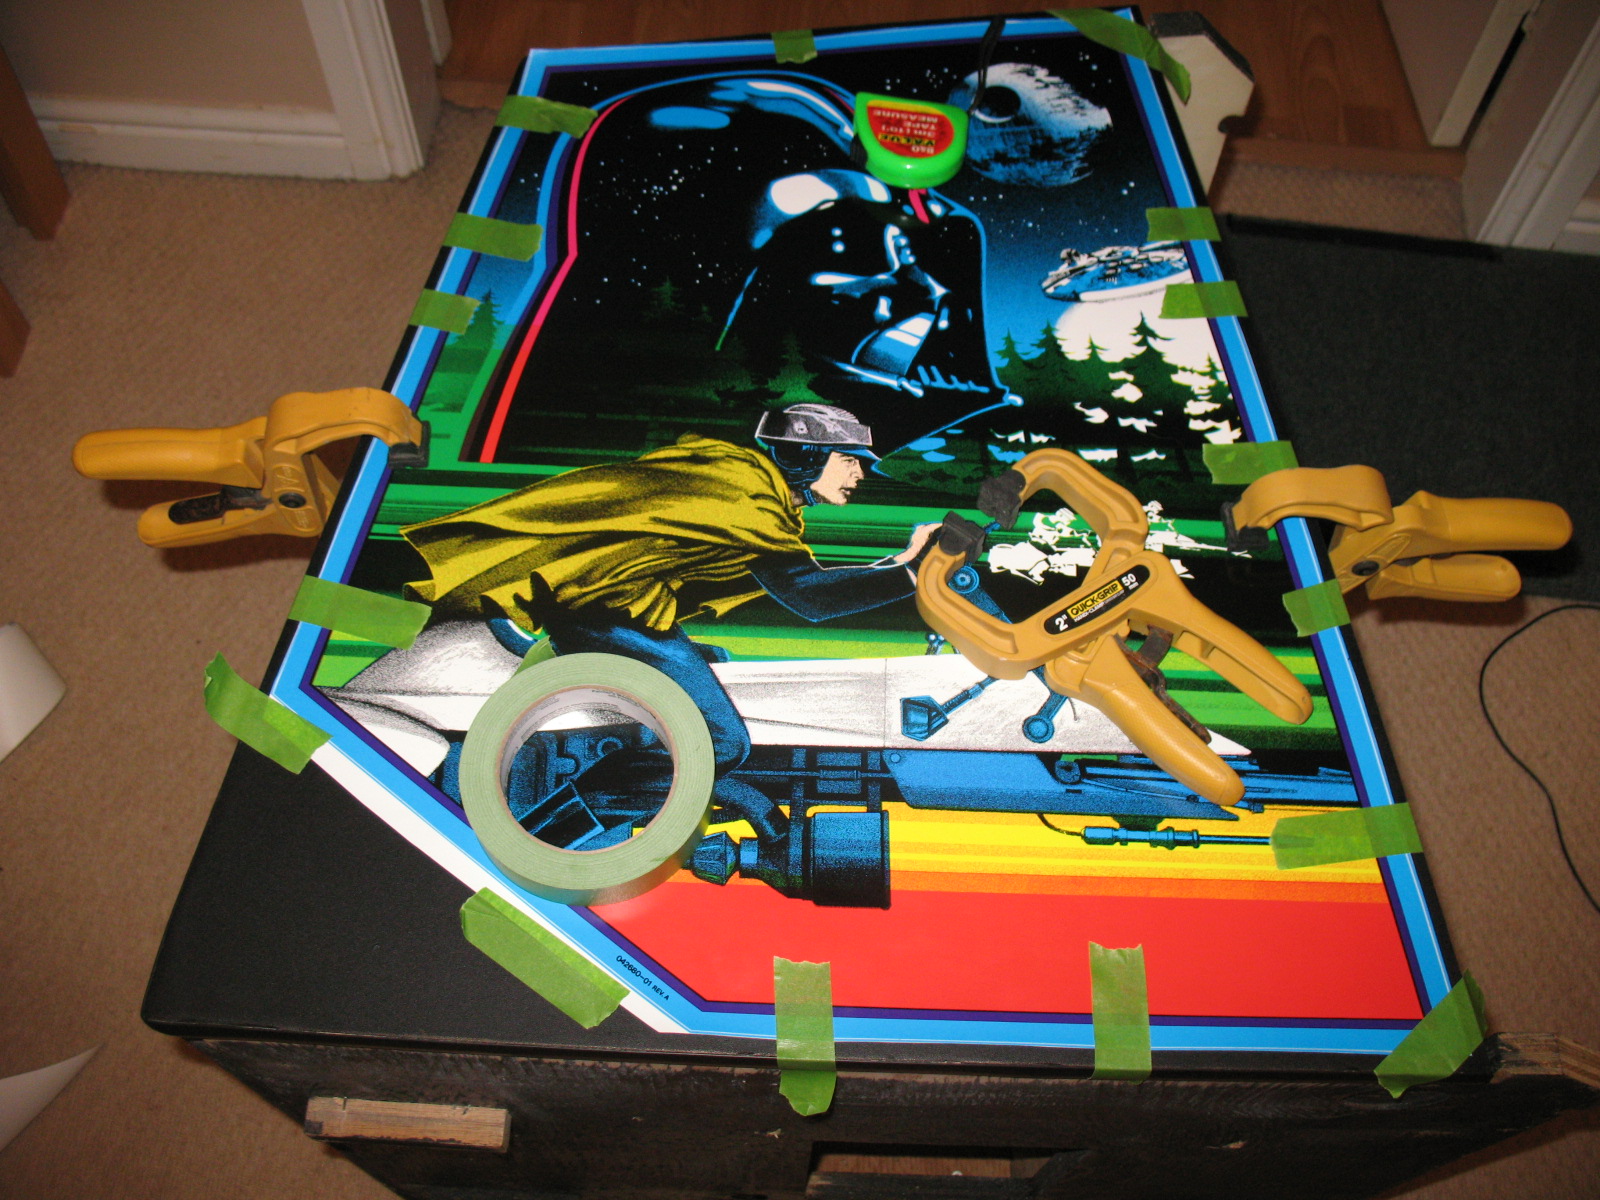
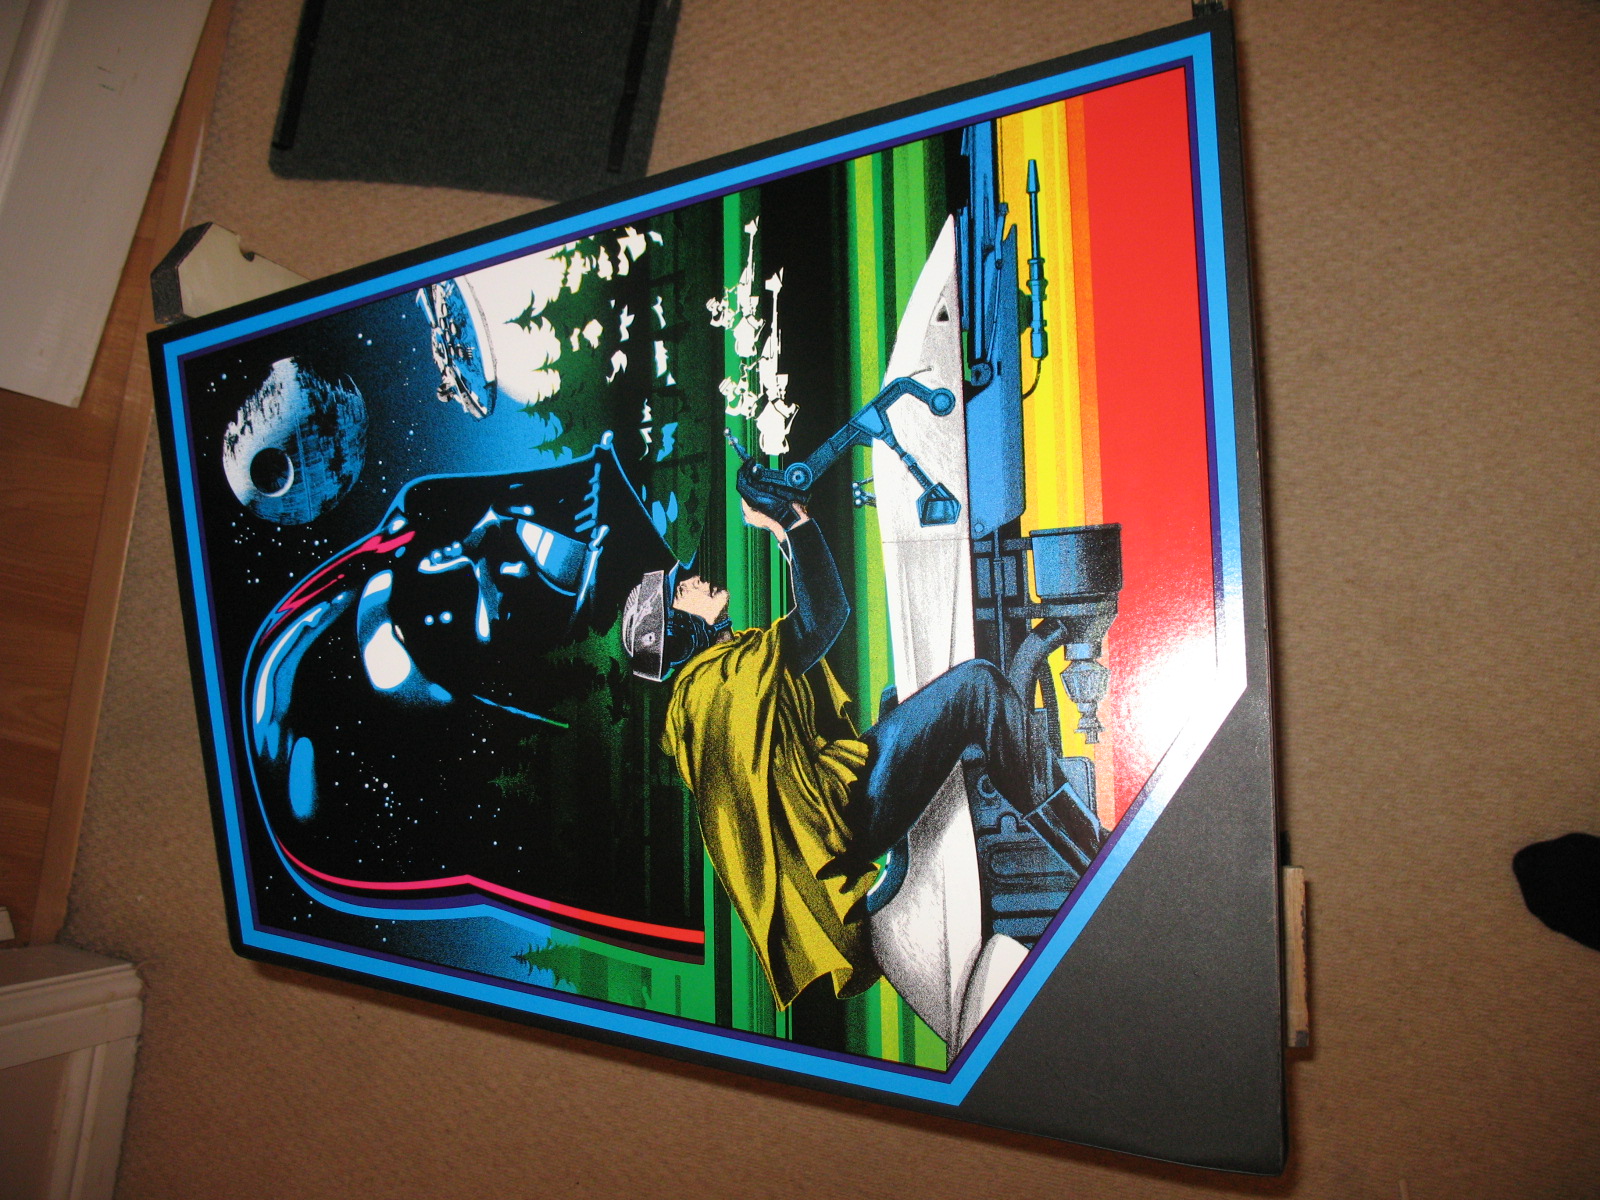
** TIP ** When applying a decal over vinyl, do not use cleaning products on the vinyl prior to the decal application – many products can make the vinyl very slippery and your decal will not adhere.
Yoke housing next and again a fantastic decal from phoenixarcade. First class reproduction. As is my way, I screwed the first decal up by aligning the pre-cut holes with the housing screw holes. You would think this would be sensible thing to do but the decal was just a couple of mm off centre when applied. It doesn’t matter if the pre-cut holes do not align perfectly with the screw holes as the screw tops will cover up a small misalignment.
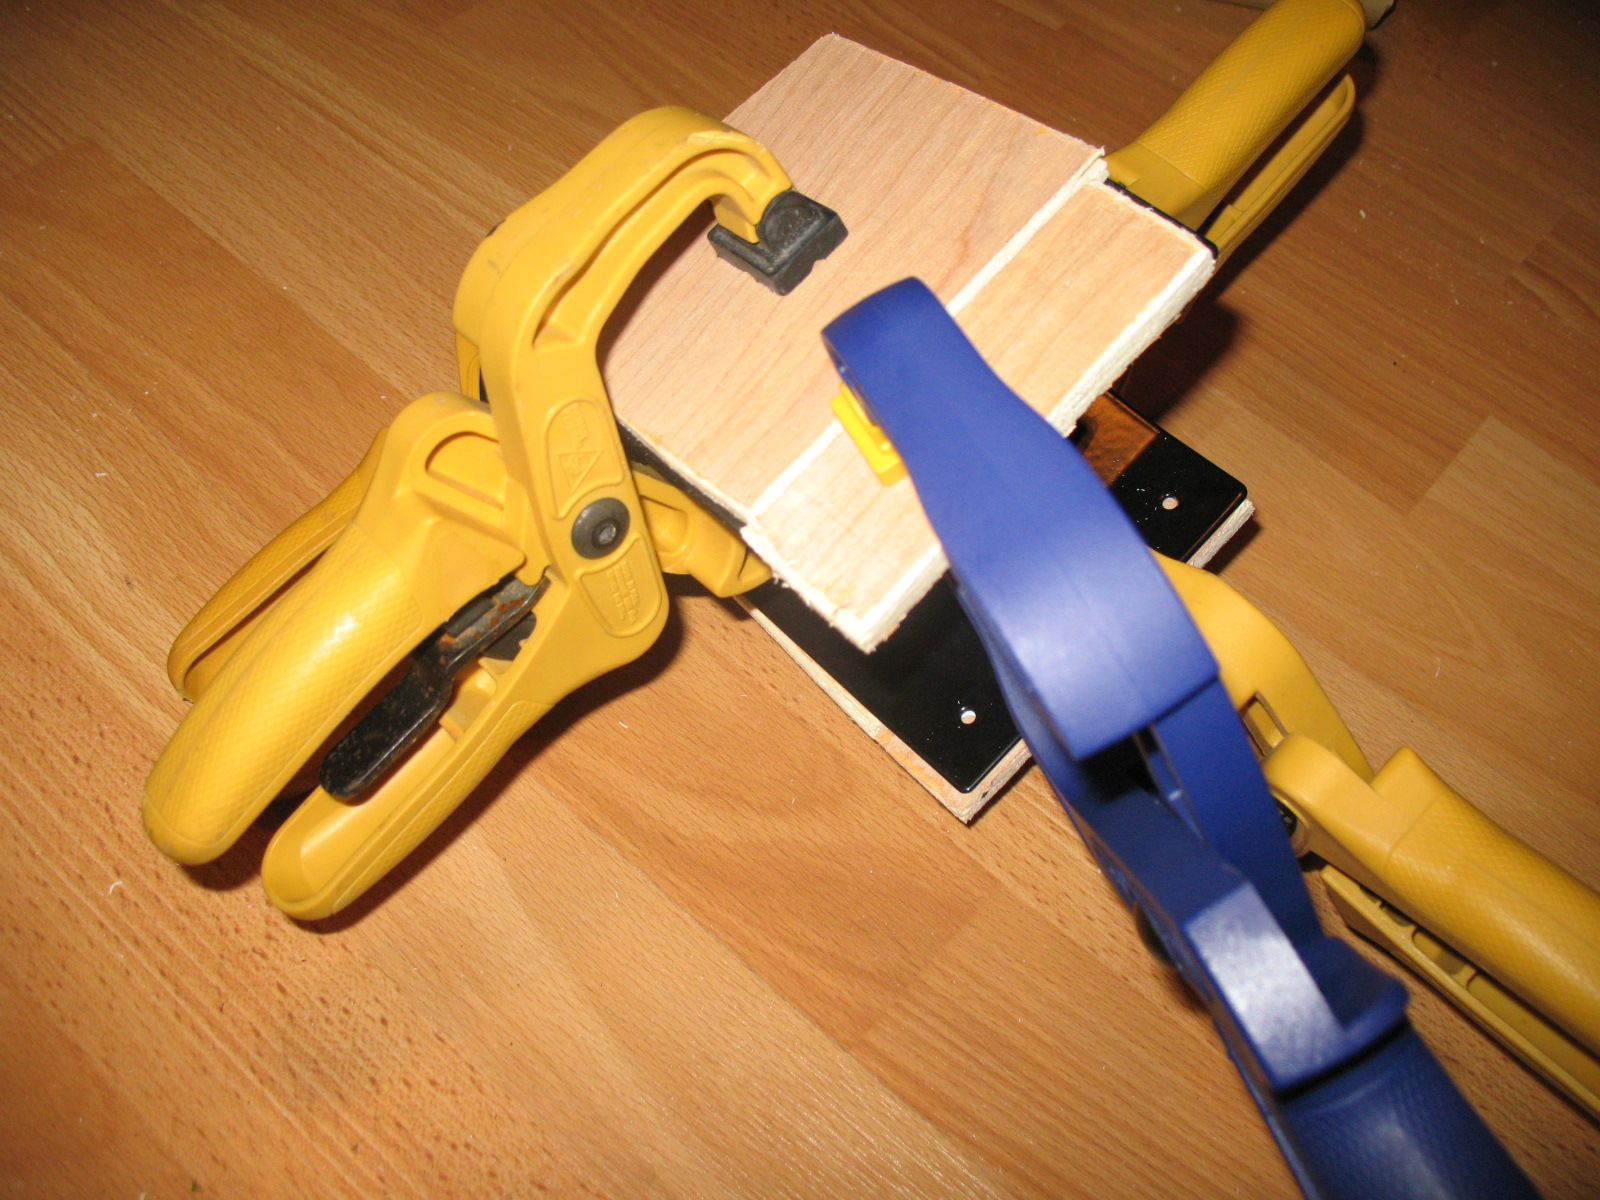
** TIP ** Wet the metal housing before applying the yoke decal – this will give you a chance to reposition it.
The control panel decals proved to bit a bit tricky to track down – nobody was reproducing them. I had fortunately picked up a set of NOS decals many years ago. I didn’t want to use these as they are so rare, but I was able to get a good scanned image to our UK decal guy muddymusic. Olly printed me a really nice set (thanks Olly) and I was all set to use these until about 3 weeks ago when I noticed that thisoldgame has produced a set. I sent off for a set to compare and finally went with thisoldgame’s set (sorry Olly). Nothing to do with the quality of muddymusic's printing (which is first rate), but the source material – it looks like the image thisoldgame have used has been given the photoshop treatment as it is marginally sharper.
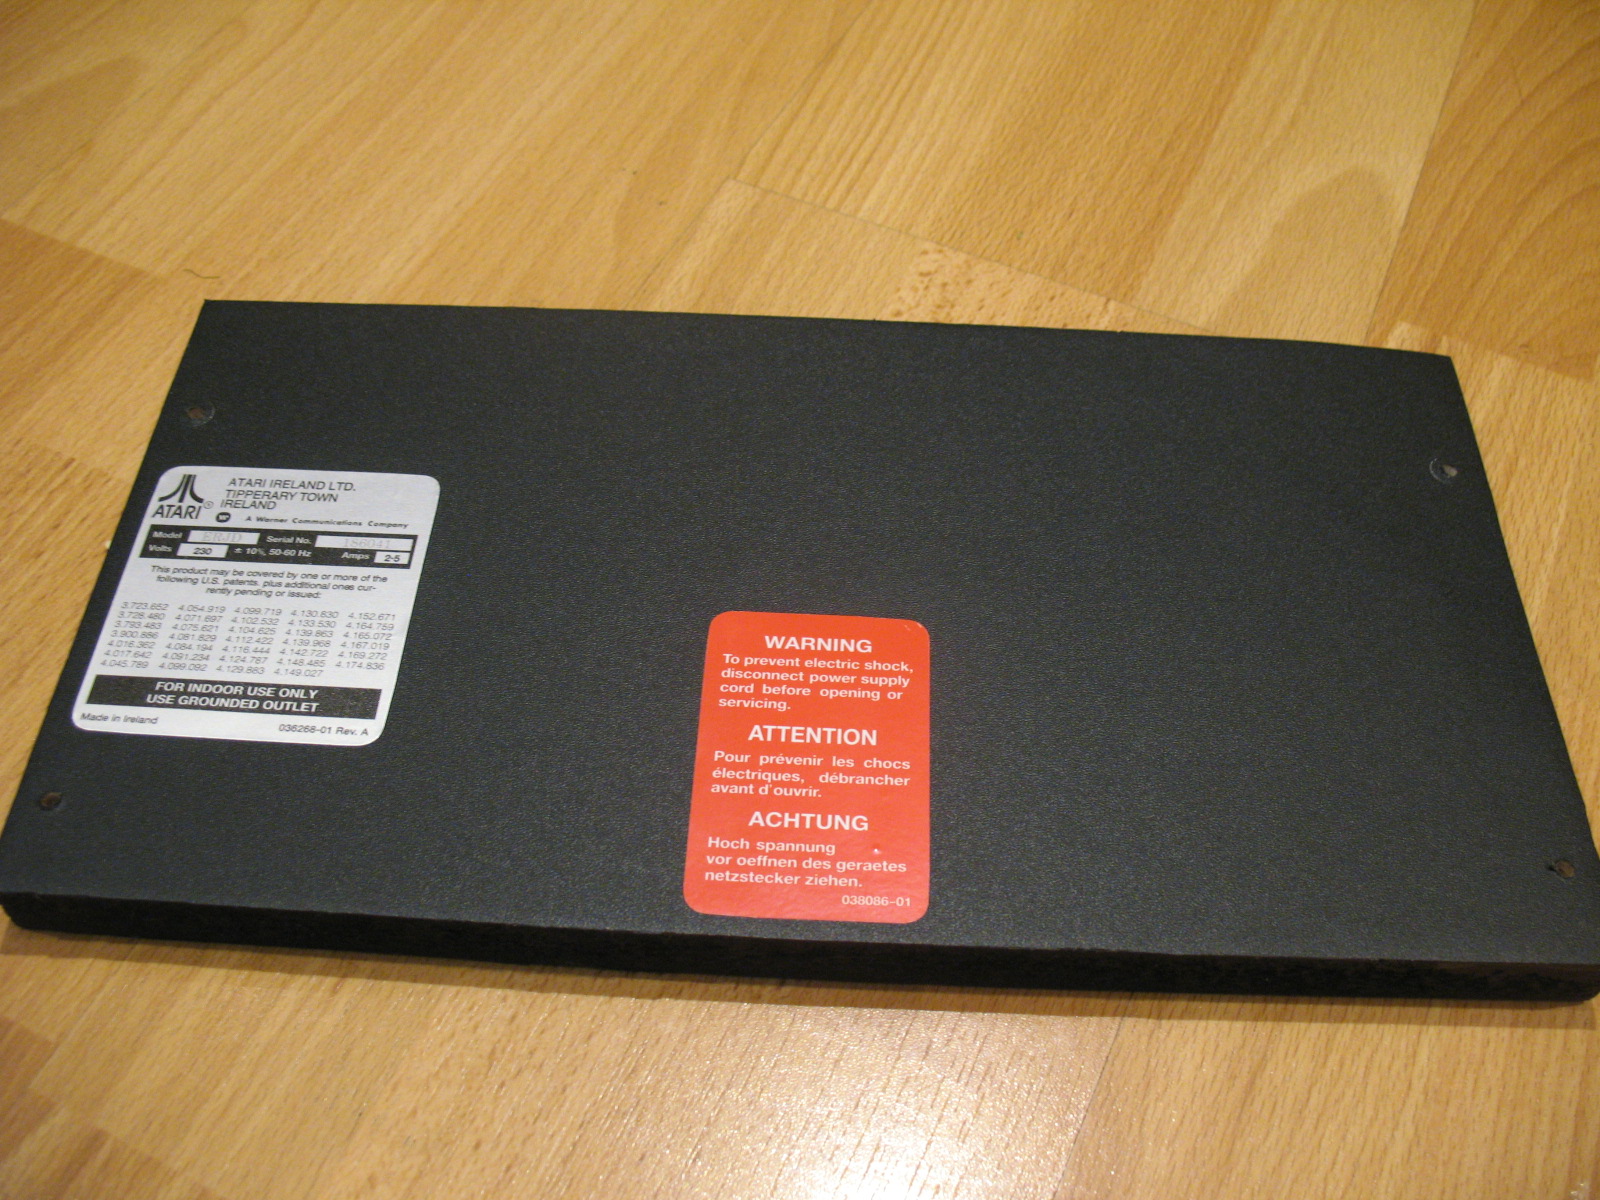
I didn’t think that I would ever source the next decal– the serial number sticker. This is an aluminium sheet decal with the cabinet details imprinted into the foil. That was until I came across etienneodk on KLOV. You can send him your serial number, the machine revision, and even the correct font and he will reproduce a faithful reproduction. What an asset to this hobby… I think this might be my favourite part of the restoration!

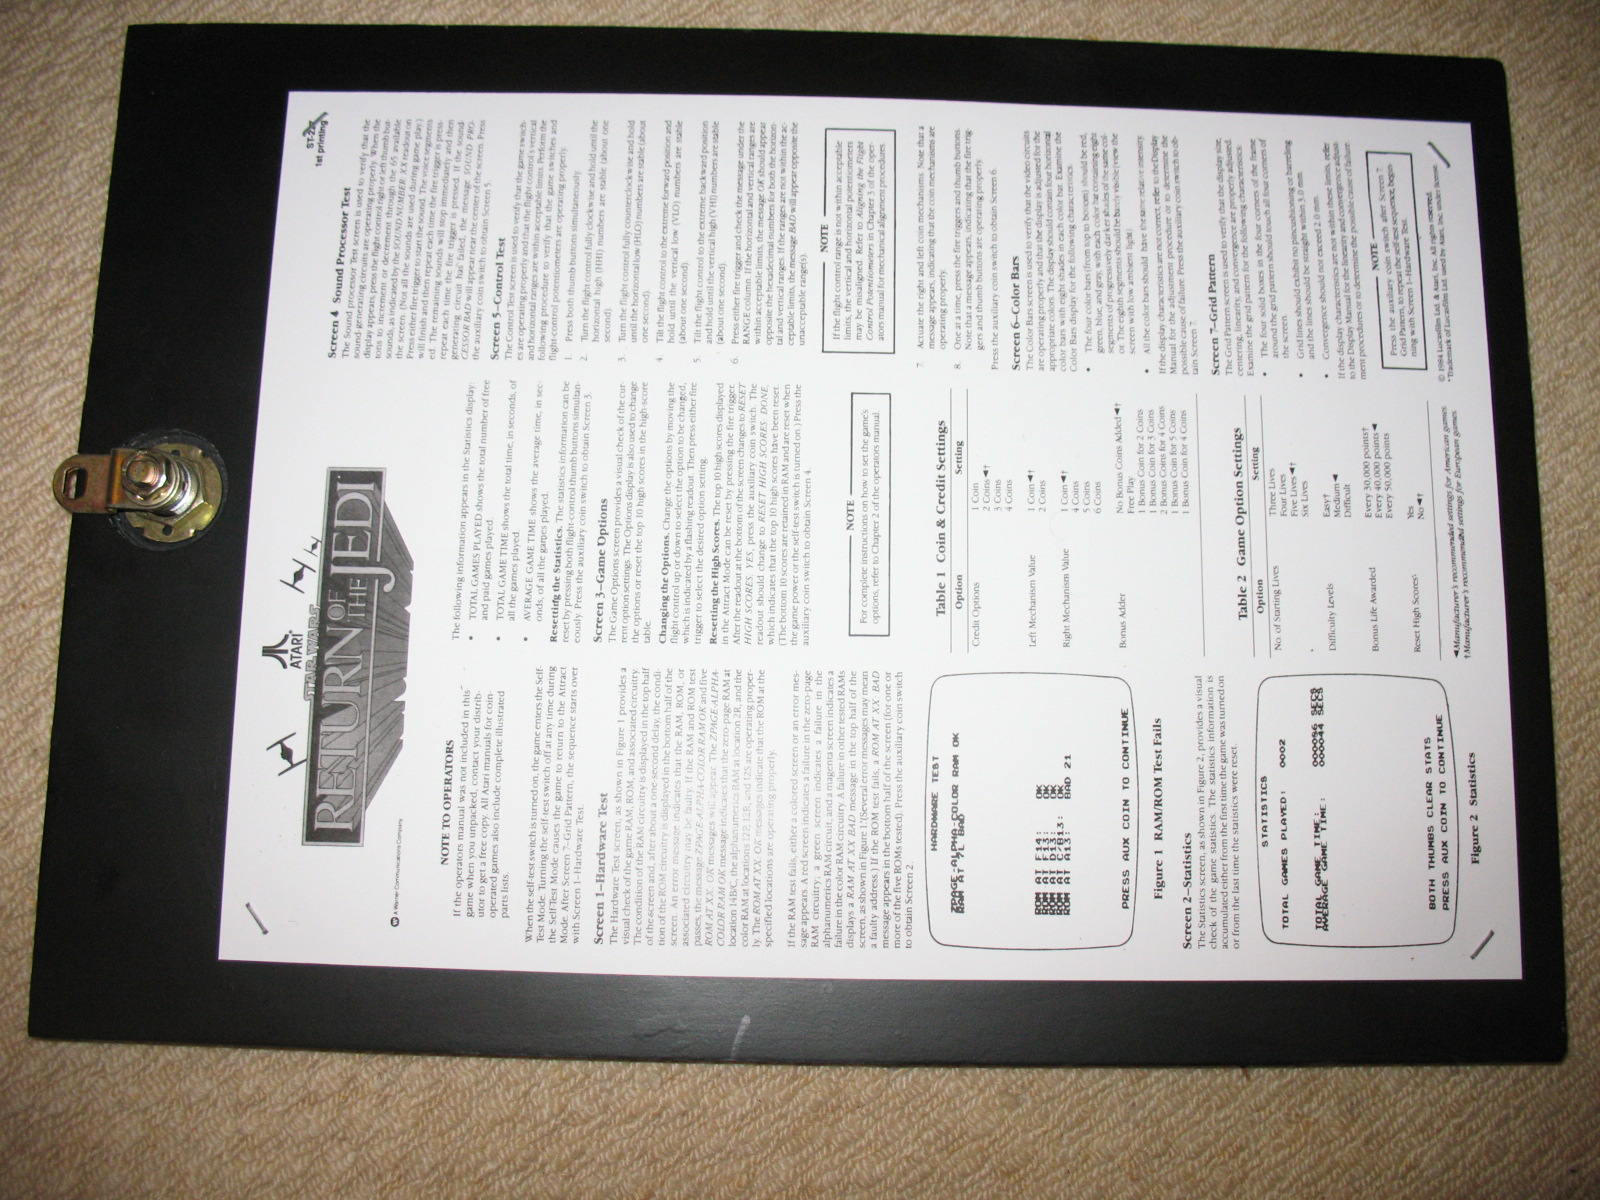
Zorg on KLOV helped me out by scanning and cleaning up the backdoor service sheet:
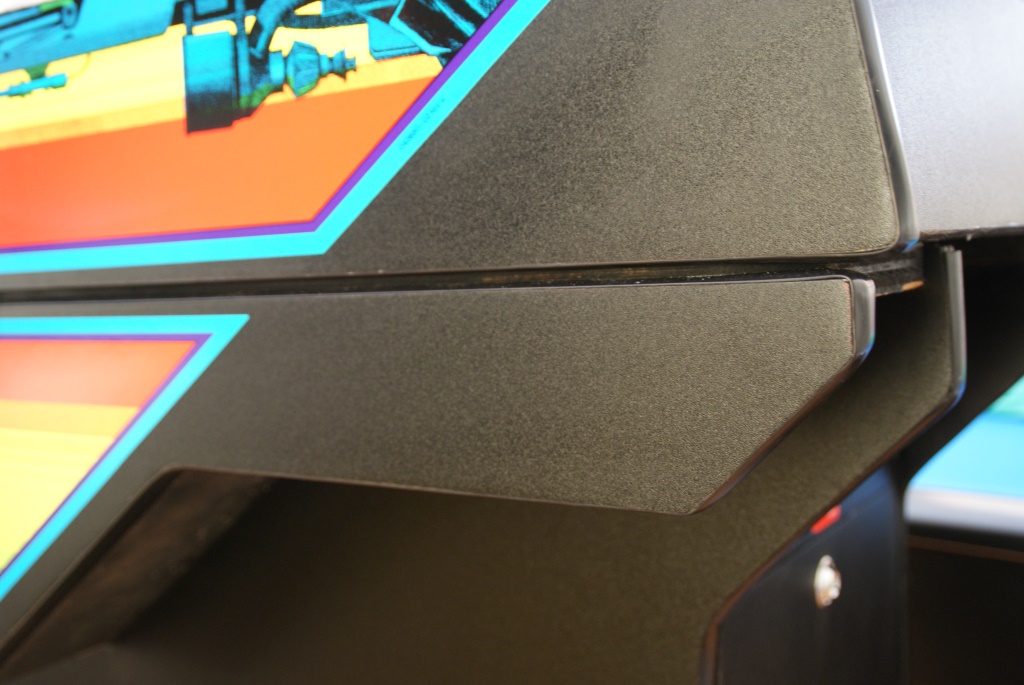
On the Jedi, there are a couple a small gaps where the panels meet:

On the original, Atari filled these gaps with silicone. Finding black silicone isn't the easiest thing to source. I find some that is made for vehicle use, but it sets to a gloss finish and that didn't look right. I then found this stuff on line and this sets to a a more fitting matt finish:

A little side note - the LED bulbs still haven't arrived from China, but I have taken delivery of an LED bulb and housing from across the pond:
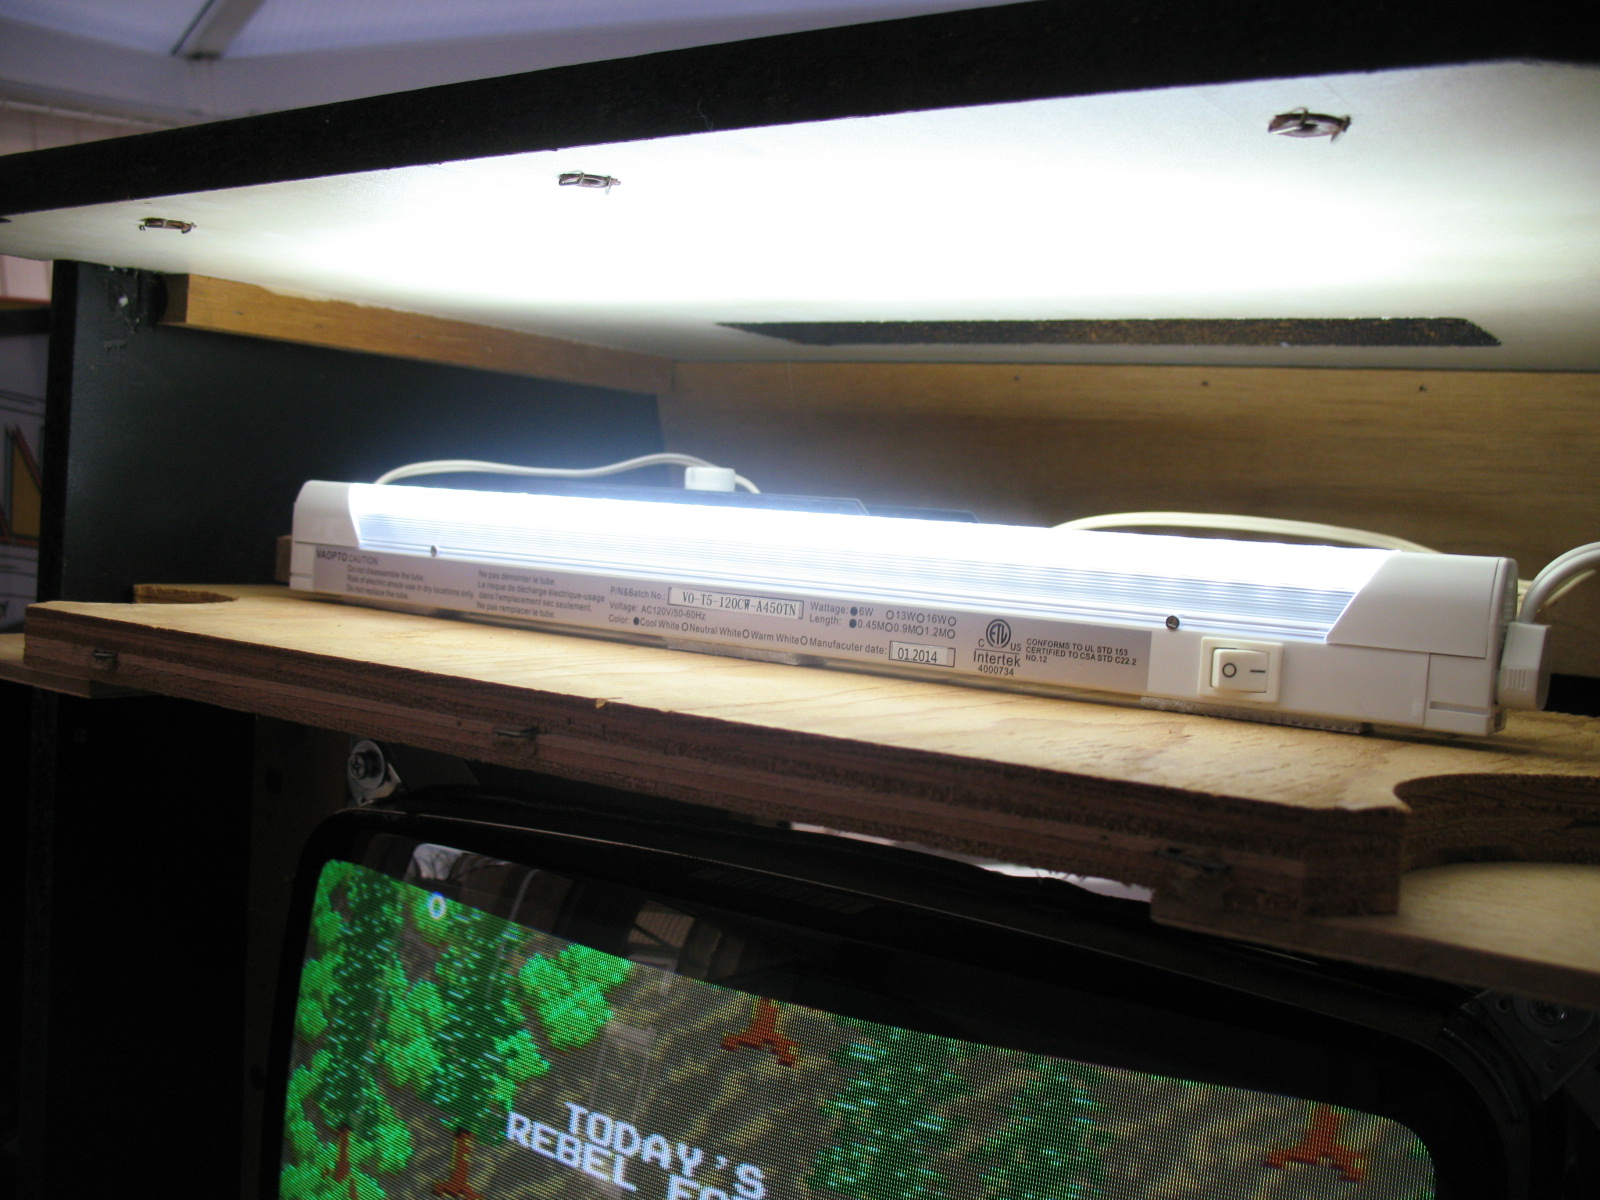
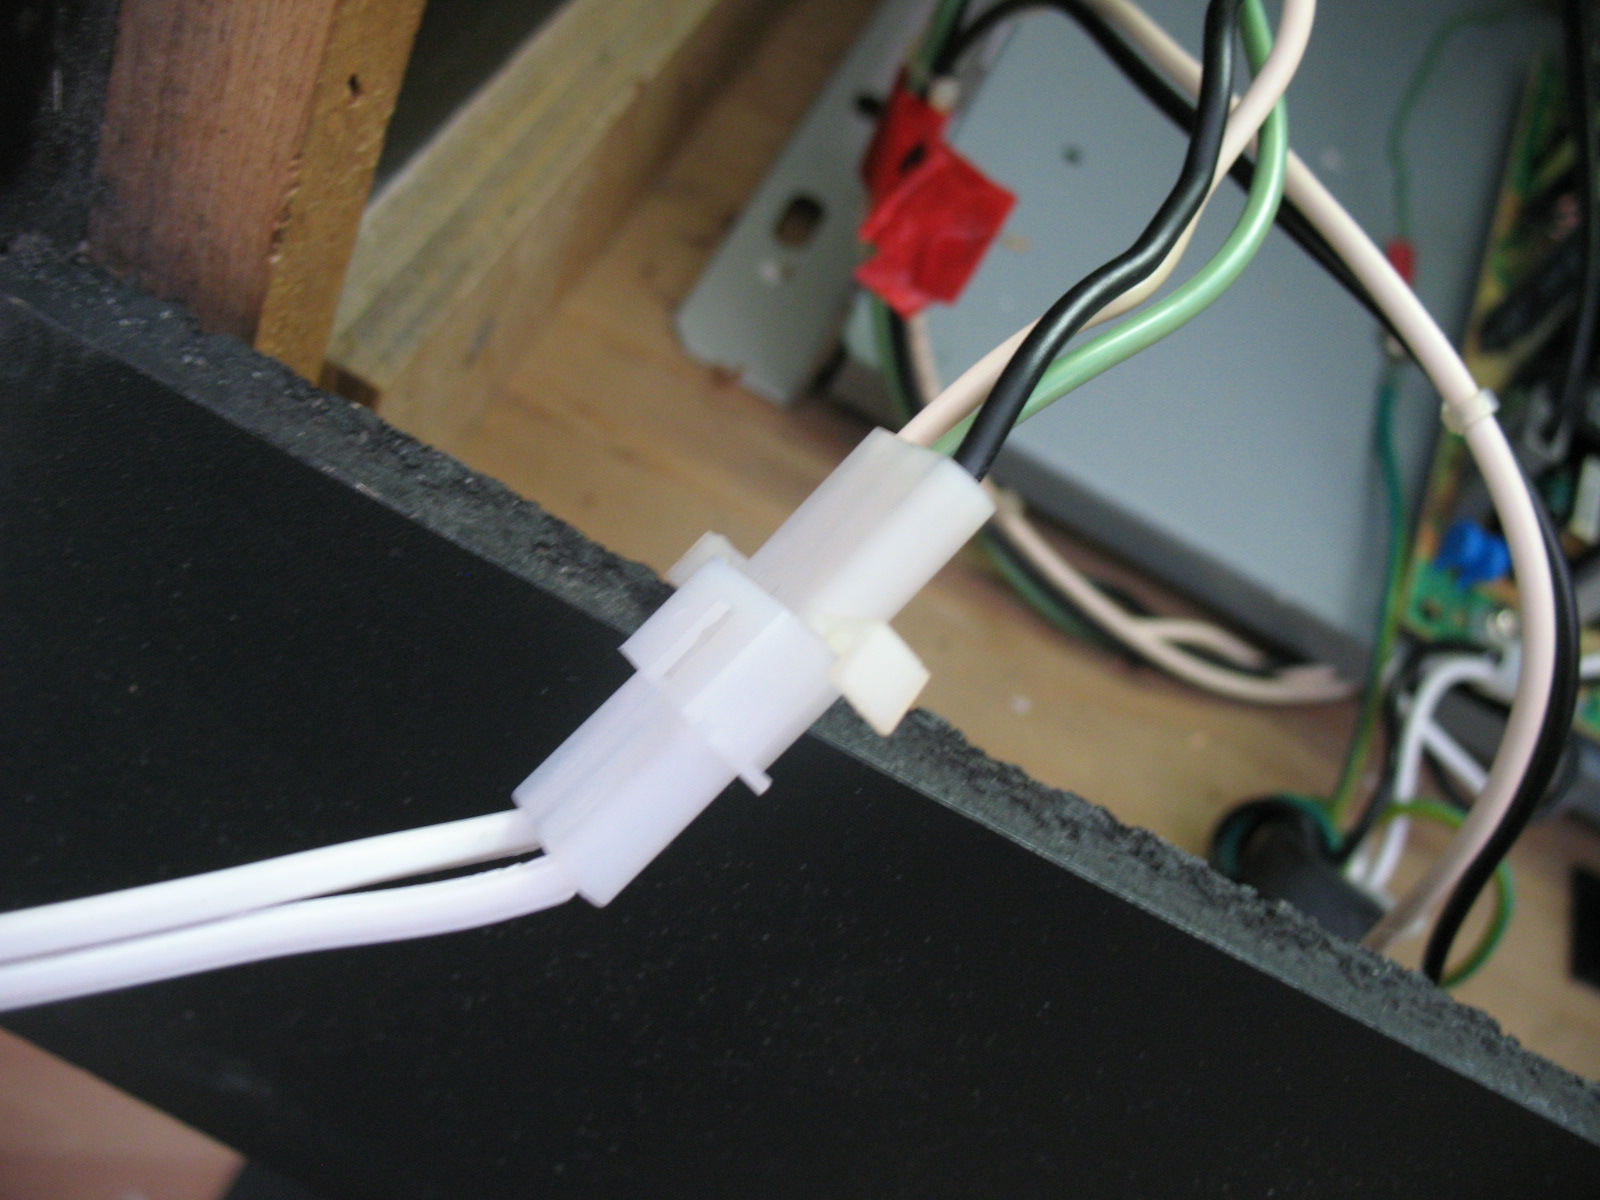
And I hate to admit it, but it's brilliant. Great light, no visible LED dots and no transformer interference.
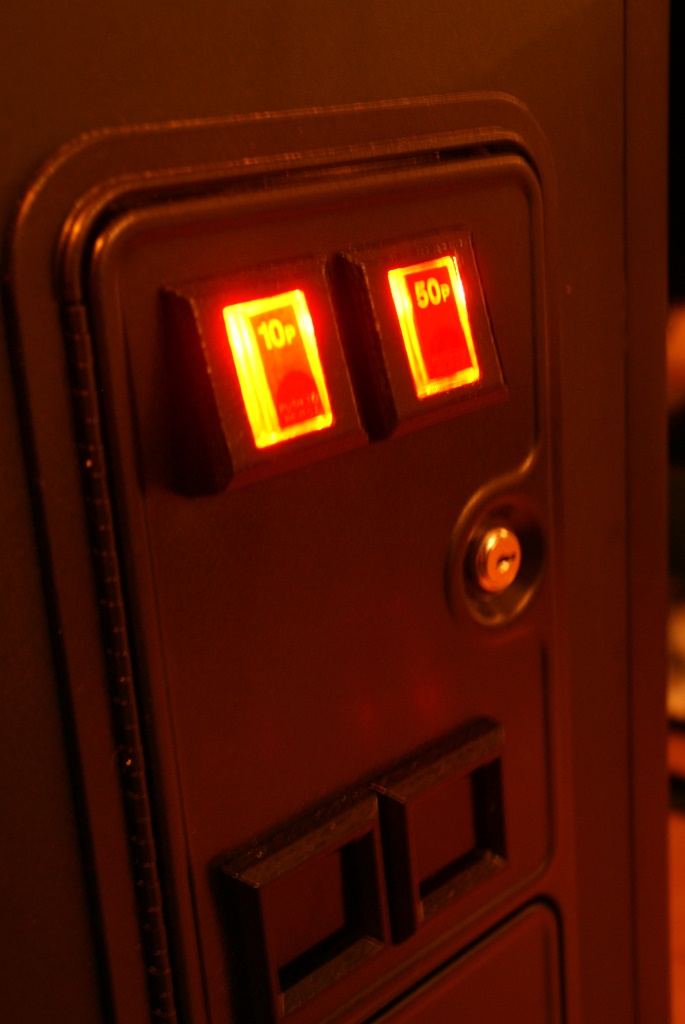
Lastly, a question... How do you know when you are becoming unhealthily obsessed with a restoration? Could it be when you start polishing your old 10ps?
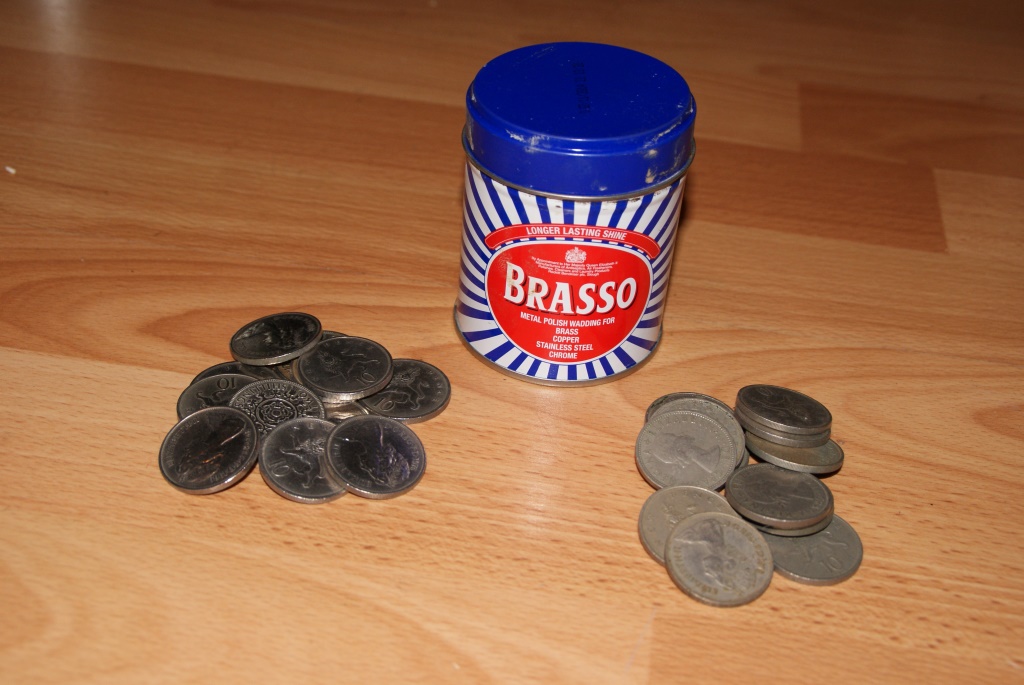
Well, I suppose it's time for the big reveal.... I think that warrants a new postingiamjimmi2015-12-21 16:36:25
Ok, back from Iceland. And forgive the obvious pun but Iceland is cool. And yes, we did see the Northern lights. Also stumbled across a little retro arcade in Reykjavik:
But back to topic…. The black border on the glass bezel was chipped in a number of places:
I masked it up and sprayed it over.
As I noted in my last posting I left the masking tape on too long and lifted the newly applied paint when I removed it.
** TIP ** When spraying glass, remove the masking tape immediately after spraying!
Really I should have used glass paint, so I might revisit this one day.
The monitor shroud had seen better days:
I sourced an instruction decal from thisoldgame and a replacement monitor shroud from joeycuda on KLOV.
The repro shrouds are great quality but I managed to screw up the application of the decal – I didn’t quite get it straight and cardboard isn’t very forgiving when it comes to repositioning a decal.
Rather than order another from the states, I used the shroud sent from joeycuda to cut one out from scratch. Cutting by hand is never going to be as neat as a machine cut, but a great tip is to use card with a black core and then you can sand the edges to get a pretty professional result.
I used a sanding block with curved edges to good affect.
** TIP ** If making a cardboard monitor shroud use black card with a black core.
The ROTJ side art has only recently become available. I sourced the side artwork from phoenixarcade who have reproduced the artwork from the original Atari films. The quality and accuracy is superb.
Blatantly stealing an idea from RGP’s visit to Play in 2014 (who got David Prowse aka Darth Vader to sign his Star Wars machine), I took the opportunity to do the same when I saw that David was appearing at Sheffield comic con:
Applying the side art was seriously stressful. But with the help of Mrs iamjimmi we got it positioned just about right.
** TIP ** When applying a decal over vinyl, do not use cleaning products on the vinyl prior to the decal application – many products can make the vinyl very slippery and your decal will not adhere.
Yoke housing next and again a fantastic decal from phoenixarcade. First class reproduction. As is my way, I screwed the first decal up by aligning the pre-cut holes with the housing screw holes. You would think this would be sensible thing to do but the decal was just a couple of mm off centre when applied. It doesn’t matter if the pre-cut holes do not align perfectly with the screw holes as the screw tops will cover up a small misalignment.
** TIP ** Wet the metal housing before applying the yoke decal – this will give you a chance to reposition it.
The control panel decals proved to bit a bit tricky to track down – nobody was reproducing them. I had fortunately picked up a set of NOS decals many years ago. I didn’t want to use these as they are so rare, but I was able to get a good scanned image to our UK decal guy muddymusic. Olly printed me a really nice set (thanks Olly) and I was all set to use these until about 3 weeks ago when I noticed that thisoldgame has produced a set. I sent off for a set to compare and finally went with thisoldgame’s set (sorry Olly). Nothing to do with the quality of muddymusic's printing (which is first rate), but the source material – it looks like the image thisoldgame have used has been given the photoshop treatment as it is marginally sharper.
I didn’t think that I would ever source the next decal– the serial number sticker. This is an aluminium sheet decal with the cabinet details imprinted into the foil. That was until I came across etienneodk on KLOV. You can send him your serial number, the machine revision, and even the correct font and he will reproduce a faithful reproduction. What an asset to this hobby… I think this might be my favourite part of the restoration!
Zorg on KLOV helped me out by scanning and cleaning up the backdoor service sheet:
On the Jedi, there are a couple a small gaps where the panels meet:
On the original, Atari filled these gaps with silicone. Finding black silicone isn't the easiest thing to source. I find some that is made for vehicle use, but it sets to a gloss finish and that didn't look right. I then found this stuff on line and this sets to a a more fitting matt finish:
A little side note - the LED bulbs still haven't arrived from China, but I have taken delivery of an LED bulb and housing from across the pond:
And I hate to admit it, but it's brilliant. Great light, no visible LED dots and no transformer interference.
Lastly, a question... How do you know when you are becoming unhealthily obsessed with a restoration? Could it be when you start polishing your old 10ps?
Well, I suppose it's time for the big reveal.... I think that warrants a new postingiamjimmi2015-12-21 16:36:25
The Gallery
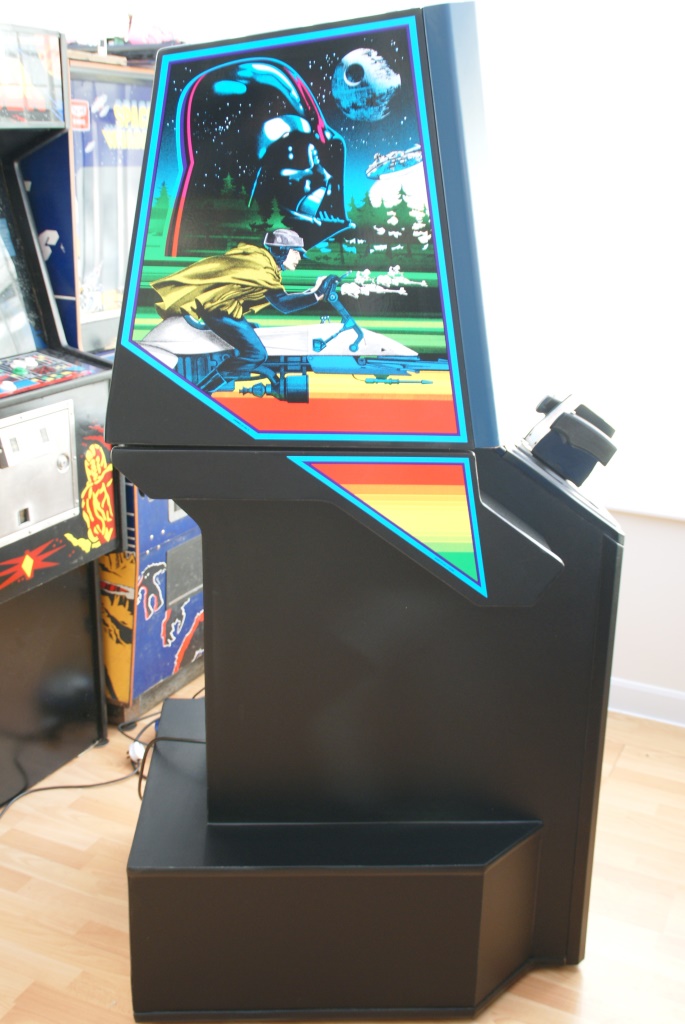

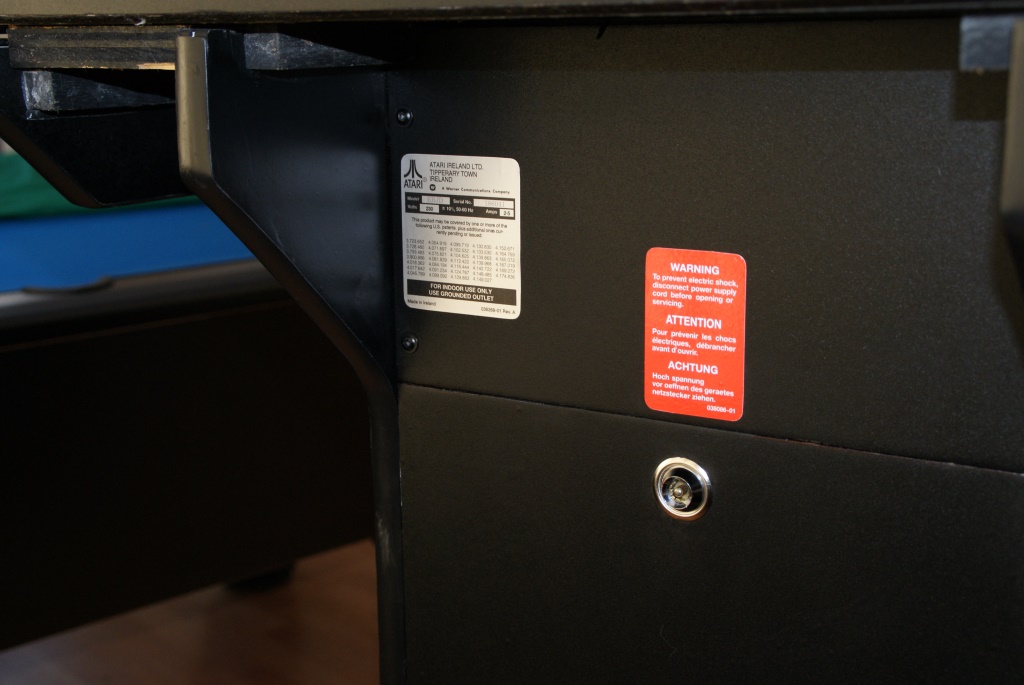
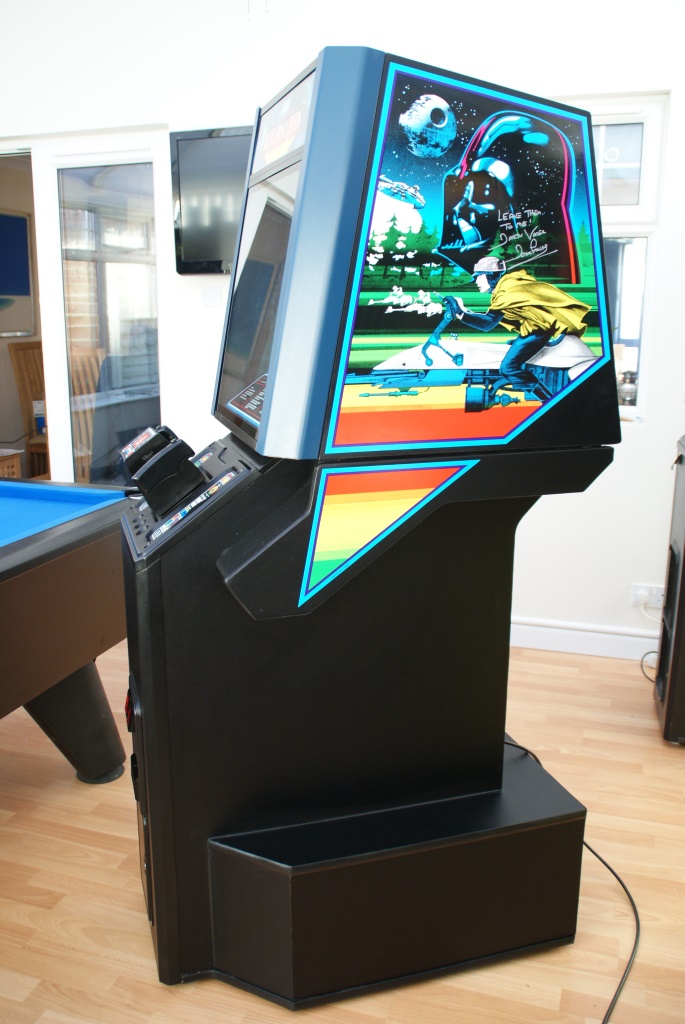
Leave them to me, I will deal with them myself...

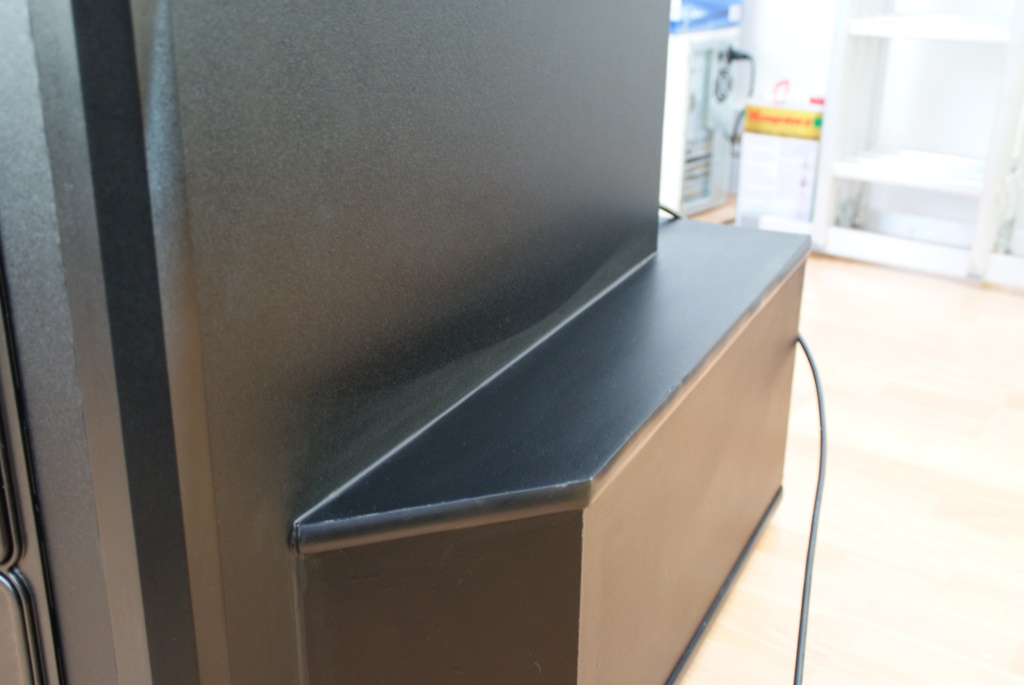
You can see the inch that I shaved off the speaker housing in this picture. The T-Molding isn't perfect around this corner, but it was a tricky corner to get around.

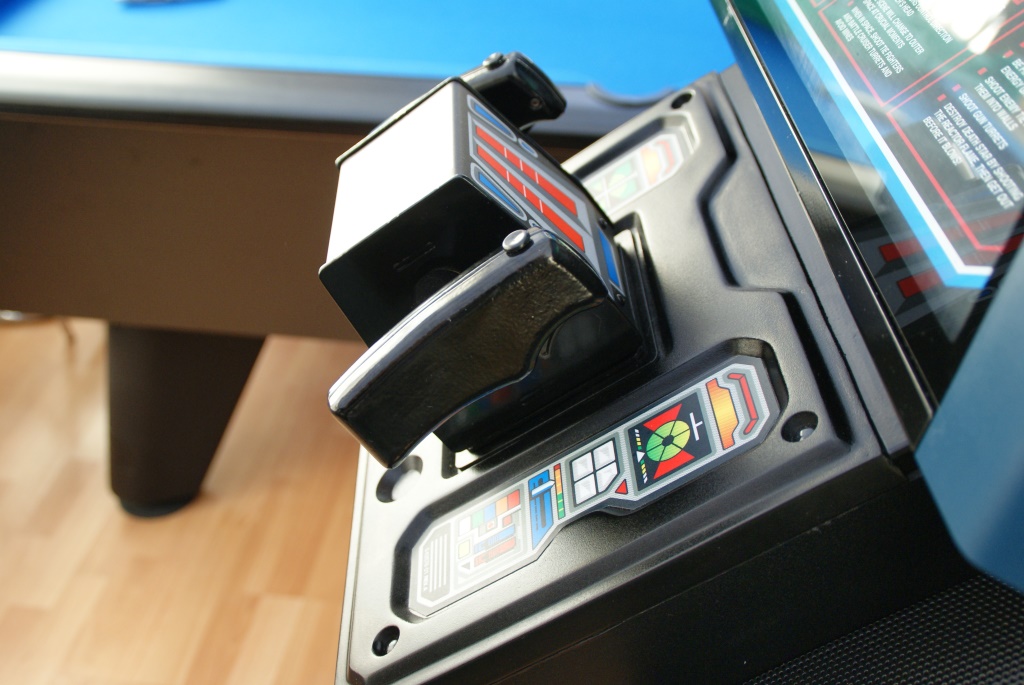
Before I made the control panel spacer, the yoke sat too low and scratched the control panel. I should be able to improve this with a black fabric ink pen.

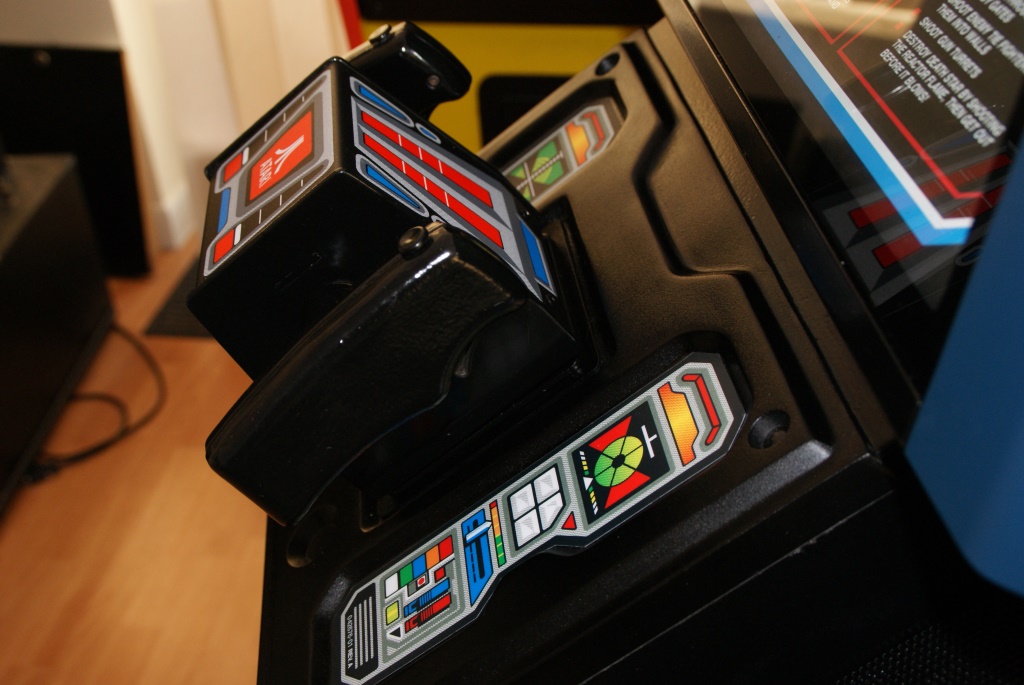
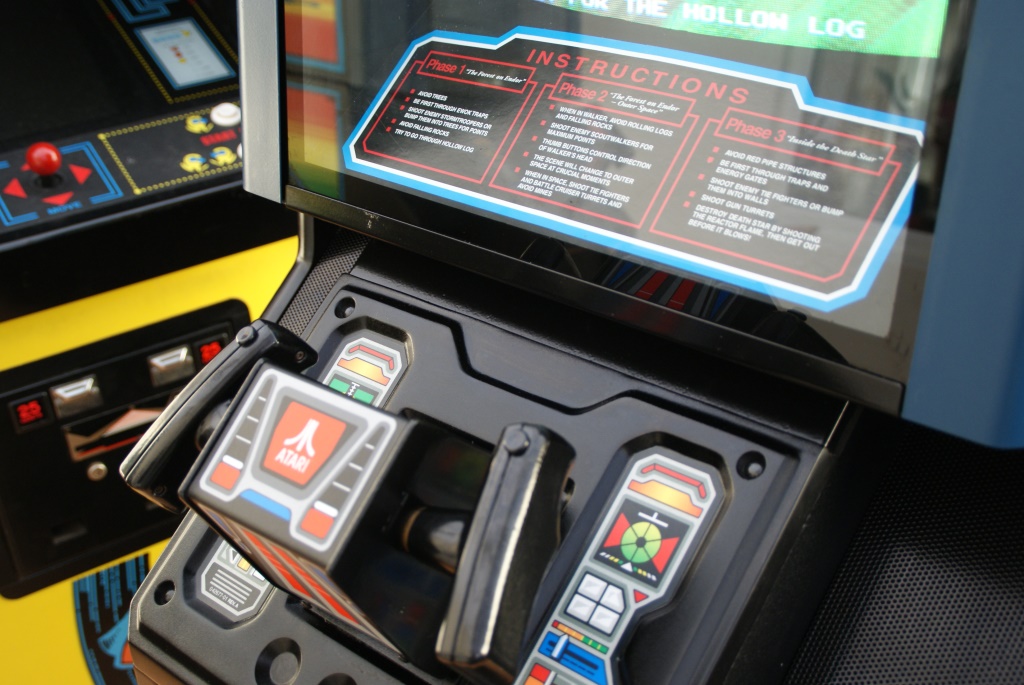
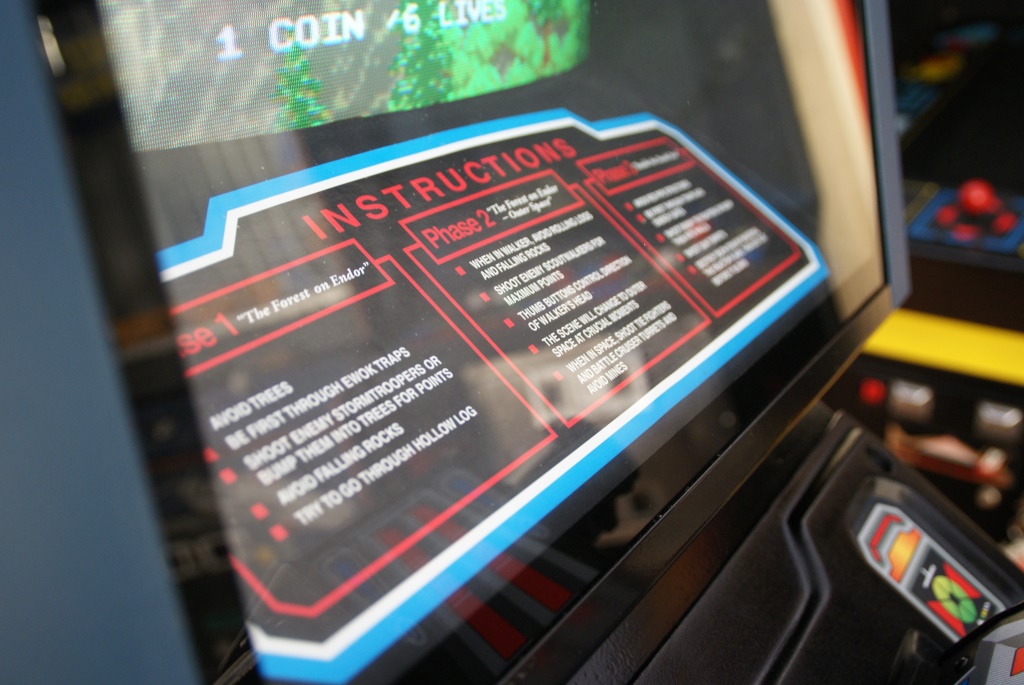
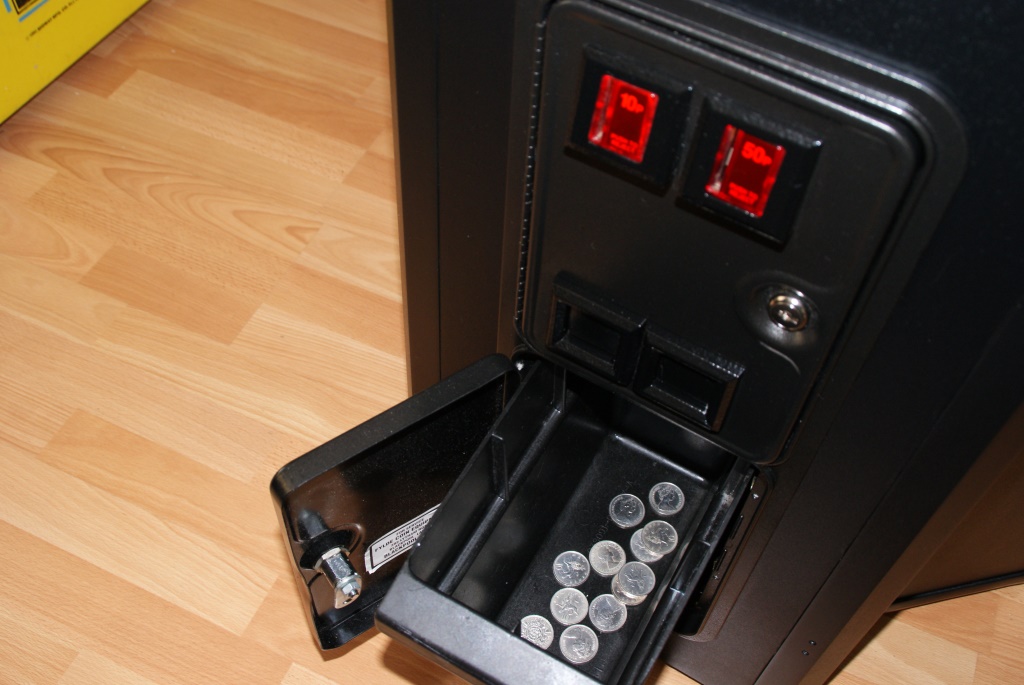
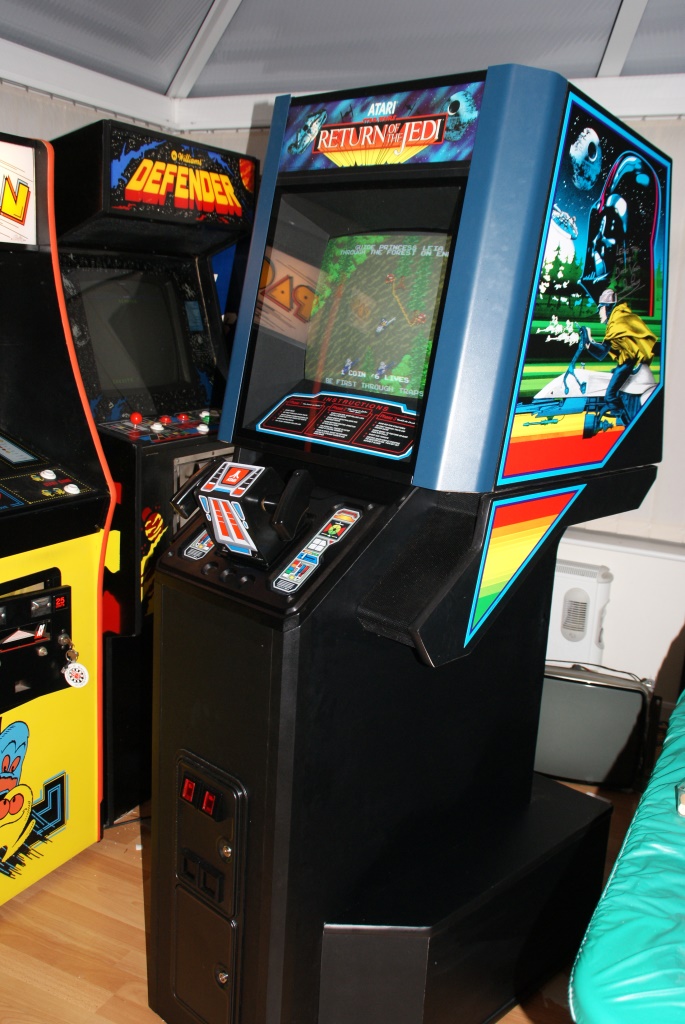
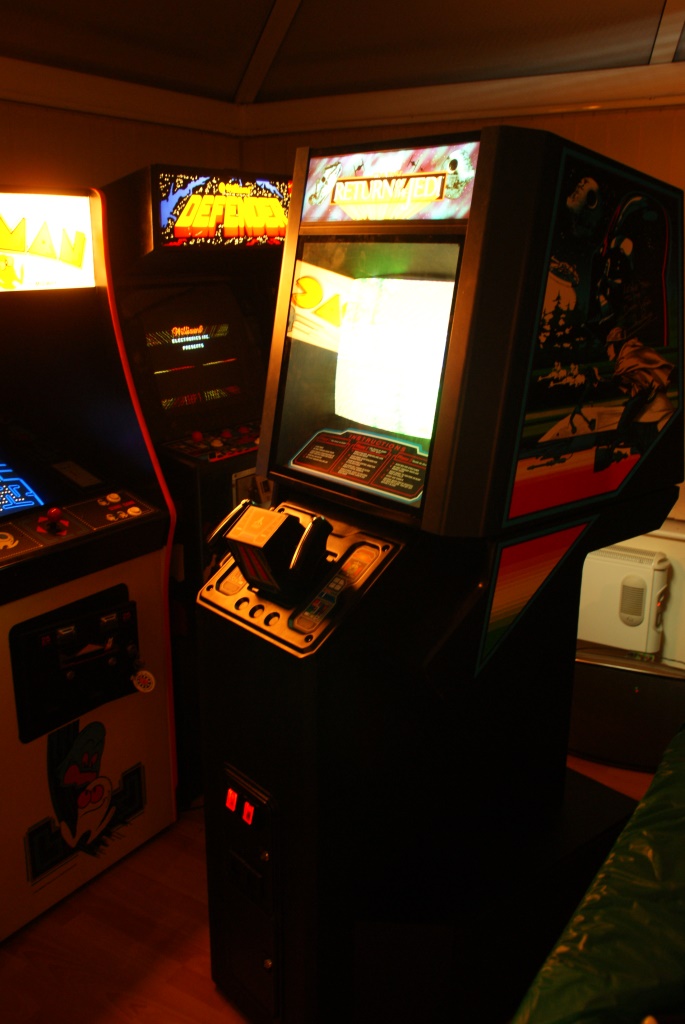

Now is a good time to summarise the key players that helped make this restoration possible and offer my thanks:
Russ J (UKVAC) – Help with Routing
Thisoldgame.com – Smooth Black Vinyl, Instruction Decals, CPO Decal
Happcontrols.com – Pica Textured Black Vinyl
MSS Morley – Powder Coating
Chris at Autobody Care Ltd, Leeds – Colour Matching and painting
RAM Controls – (Now defunct) Yoke Parts
ArcadeFixIt.com - Yoke parts
Modelfixing.co.uk – Small screws, nuts and bolts
VectorGlow (UKVAC) - PCB and Loom Repair
ThRealBobROberts – Power Brick Rebuild Parts & Speakers
Takeman (KLOV) – Repro power brick housing
Swallowam.co.uk – Bulbs and molex
T-molding.com – T molding
Joeycuda (KLOV) – Monitor Shroud
Phoenixarcade.com – Side art and Yoke Decal
Muddymusic (UKVAC) - Version 1 of the control panel decals
David Prowse – Turning me to the dark side
Etienneodk (KLOV) – Alu sticker (plus warning decals)
Maplin.co.uk – Various connectors, wires etc
Zorg (KLOV) Back door service sheet scan
RGP (UKVAC) - For the David Prowse signature idea and his really useful YouTube tech guides
Jengineer (UKVAC) - Coins mechs, new door, coin entry housing
Jedidentist (KLOV) – Inspiration! (Check out his great restore on KLOV)
In addition, thanks to this wonderful community for the various help and guides from like minded enthusiasts. Without your help on topics ranging from how to apply vinyl, to how to read a multi-meter, I would still have a garage full of dismantled Jedi parts!
And lastly my biggest thanks to Mrs iamjimmi for putting up with my ‘two month’ project’ for the last two years. Not many wives would put up with the lost weekends, the mess and the tantrums that go hand in hand with a restoration!
So what next... well you might have seen a second Jedi lurking in the background. This second Jedi is actually my keeper that I have owned since the early 90's.... it is the machine I used to play in Pleasure Pastimes in Manchester as a kid. Its condition is ok, but every panel is damaged so I think it needs the same treatment. I should have it wrapped up in a couple of months
so this resto might be for sale very soon...
But I haven't quite finished with this Jedi just yet. As you might have noted towards the start of this thread, I am a big Mame advocate if done correctly. By correctly, I mean that if you are maming a classic cab, it ought to be done sympathetically to the original cabinet design and it should be added in a non destructive way, allowing you to revert the cab back to its original state with the minimal of effort. It occurred to me some time ago that the Jedi is an excellent candidate for maming... You have a flight controller with four buttons. So basically that's a steering wheel with paddle shift gears, accelerate and brake...I'm thinking Out Run, Ridge Racer, Daytona. Of course you have Star Wars and ESB (all be it without vectors). Firefox should work really well. Even games such a Space Harrier and Gorf might work. I have a Yoke/USB interface from thisoldgame, so no need anymore to change the pots. And there is the perfect place to hide the hardware in this cab - the bottom section of the base - I believe this is where the Firefox laser disc player was located, but on a Jedi it is just an hidden empty space. I know that this wont appeal to the purists, but if you are interested in seeing how I get on - and see how mame can enhance a classic cab not ruin it, then check out the thread that I will create in the Mame section of UKVAC.
Hope you have enjoyed sharing my journey
 iamjimmi2015-12-22 01:28:33
Leave them to me, I will deal with them myself...
You can see the inch that I shaved off the speaker housing in this picture. The T-Molding isn't perfect around this corner, but it was a tricky corner to get around.
Before I made the control panel spacer, the yoke sat too low and scratched the control panel. I should be able to improve this with a black fabric ink pen.
Now is a good time to summarise the key players that helped make this restoration possible and offer my thanks:
Russ J (UKVAC) – Help with Routing
Thisoldgame.com – Smooth Black Vinyl, Instruction Decals, CPO Decal
Happcontrols.com – Pica Textured Black Vinyl
MSS Morley – Powder Coating
Chris at Autobody Care Ltd, Leeds – Colour Matching and painting
RAM Controls – (Now defunct) Yoke Parts
ArcadeFixIt.com - Yoke parts
Modelfixing.co.uk – Small screws, nuts and bolts
VectorGlow (UKVAC) - PCB and Loom Repair
ThRealBobROberts – Power Brick Rebuild Parts & Speakers
Takeman (KLOV) – Repro power brick housing
Swallowam.co.uk – Bulbs and molex
T-molding.com – T molding
Joeycuda (KLOV) – Monitor Shroud
Phoenixarcade.com – Side art and Yoke Decal
Muddymusic (UKVAC) - Version 1 of the control panel decals
David Prowse – Turning me to the dark side
Etienneodk (KLOV) – Alu sticker (plus warning decals)
Maplin.co.uk – Various connectors, wires etc
Zorg (KLOV) Back door service sheet scan
RGP (UKVAC) - For the David Prowse signature idea and his really useful YouTube tech guides
Jengineer (UKVAC) - Coins mechs, new door, coin entry housing
Jedidentist (KLOV) – Inspiration! (Check out his great restore on KLOV)
In addition, thanks to this wonderful community for the various help and guides from like minded enthusiasts. Without your help on topics ranging from how to apply vinyl, to how to read a multi-meter, I would still have a garage full of dismantled Jedi parts!
And lastly my biggest thanks to Mrs iamjimmi for putting up with my ‘two month’ project’ for the last two years. Not many wives would put up with the lost weekends, the mess and the tantrums that go hand in hand with a restoration!
So what next... well you might have seen a second Jedi lurking in the background. This second Jedi is actually my keeper that I have owned since the early 90's.... it is the machine I used to play in Pleasure Pastimes in Manchester as a kid. Its condition is ok, but every panel is damaged so I think it needs the same treatment. I should have it wrapped up in a couple of months
But I haven't quite finished with this Jedi just yet. As you might have noted towards the start of this thread, I am a big Mame advocate if done correctly. By correctly, I mean that if you are maming a classic cab, it ought to be done sympathetically to the original cabinet design and it should be added in a non destructive way, allowing you to revert the cab back to its original state with the minimal of effort. It occurred to me some time ago that the Jedi is an excellent candidate for maming... You have a flight controller with four buttons. So basically that's a steering wheel with paddle shift gears, accelerate and brake...I'm thinking Out Run, Ridge Racer, Daytona. Of course you have Star Wars and ESB (all be it without vectors). Firefox should work really well. Even games such a Space Harrier and Gorf might work. I have a Yoke/USB interface from thisoldgame, so no need anymore to change the pots. And there is the perfect place to hide the hardware in this cab - the bottom section of the base - I believe this is where the Firefox laser disc player was located, but on a Jedi it is just an hidden empty space. I know that this wont appeal to the purists, but if you are interested in seeing how I get on - and see how mame can enhance a classic cab not ruin it, then check out the thread that I will create in the Mame section of UKVAC.
Hope you have enjoyed sharing my journey


Stunning mate, top notch work


Wowsers buddy it looks incredible. I take my hat off to you for all the hard work you've put in.
Can I register my interest straight away for the surplus machine !
Got another massive atari resto planned myself already for next year and think a Jedi would go really nice alongside it.
Cheers
Danny
Can I register my interest straight away for the surplus machine !
Got another massive atari resto planned myself already for next year and think a Jedi would go really nice alongside it.
Cheers
Danny


This is surely a candidate for the restoration showcase thread.
Amazing result love how crisp everything looks,
it goes to show great results are possible with the right effort.
I feel for you regarding the mess ups but thanks for including them
Theres a lot of valuable info here for someone doing a similar job.
Its been cool watching john's i,robot resto along with this one too.
Definitely interested in seeing how you mame the cab,
I might do similar, it would be cool to play firefox etc. in this cab.
Thanks for all the posts and detail and well done on a superb restore
Amazing result love how crisp everything looks,
it goes to show great results are possible with the right effort.
I feel for you regarding the mess ups but thanks for including them
Theres a lot of valuable info here for someone doing a similar job.
Its been cool watching john's i,robot resto along with this one too.
Definitely interested in seeing how you mame the cab,
I might do similar, it would be cool to play firefox etc. in this cab.
Thanks for all the posts and detail and well done on a superb restore

Awesome thread, and real top class work there! I had quite a few of those times where you just park it for a month when i was putting the champ sprint together, a balls deep resto gets quite obsessive and heartbreaking when a something goes wrong! But its been worth the wait, its a thing of beauty!

ianski said:This is surely a candidate for the restoration showcase thread.
Amazing result love how crisp everything looks,
it goes to show great results are possible with the right effort.
I feel for you regarding the mess ups but thanks for including them
Theres a lot of valuable info here for someone doing a similar job.
Its been cool watching john's i,robot resto along with this one too.
Definitely interested in seeing how you mame the cab,
I might do similar, it would be cool to play firefox etc. in this cab.
Thanks for all the posts and detail and well done on a superb restore
Good call - we'll move it over soon!
cparsonsuk
Active member
- Credits
- 205CR
Brilliant thread and awesome result, thanks for sharing.
cNp
cNp
