Step 5 - It's electrifying
Firstly - thanks for all your kind comments - it means a lot to get feedback from like minded souls!
But there is no point having a great looking machine without a working game, so time to turn my attention to the electrics.
First item on the list was the PCB. Now that I had a Yoke with new pots, I expected the erratic control to be history. Not so... the pots hadn't made a difference
After posting some technical help on here, VectorGlow (Phil) steered me towards the voltage. Sure enough it was running a little low. I was using a switcher to test it, so I upped it up to 5V and the control was sorted. Thanks Phil!
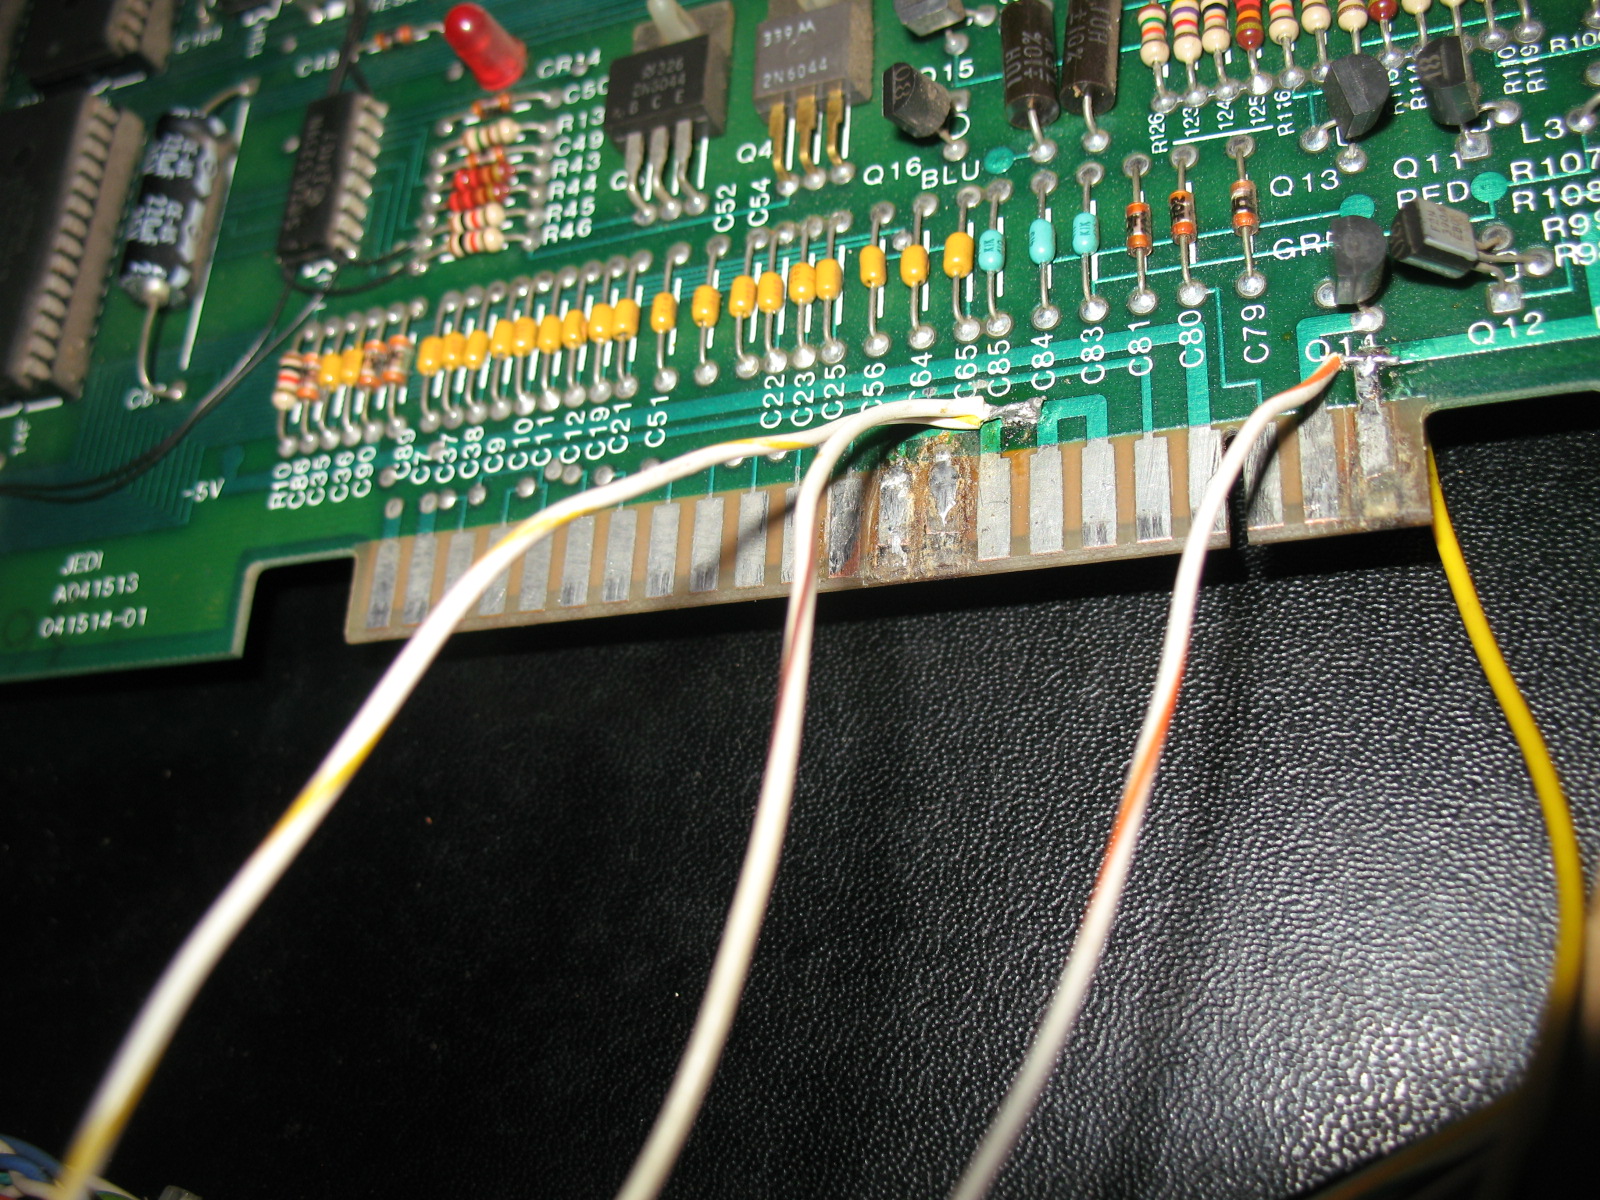
Phil also helped me out with the interconnect. In places this has been soldered directly to the PCB:
I am awful at soldering. I will have a go at switches and buttons, but there is no way I would go near a PCB - so sent this off the VectorGlow and he sorted it out for me and repaired the loom. That's another thanks Phil!
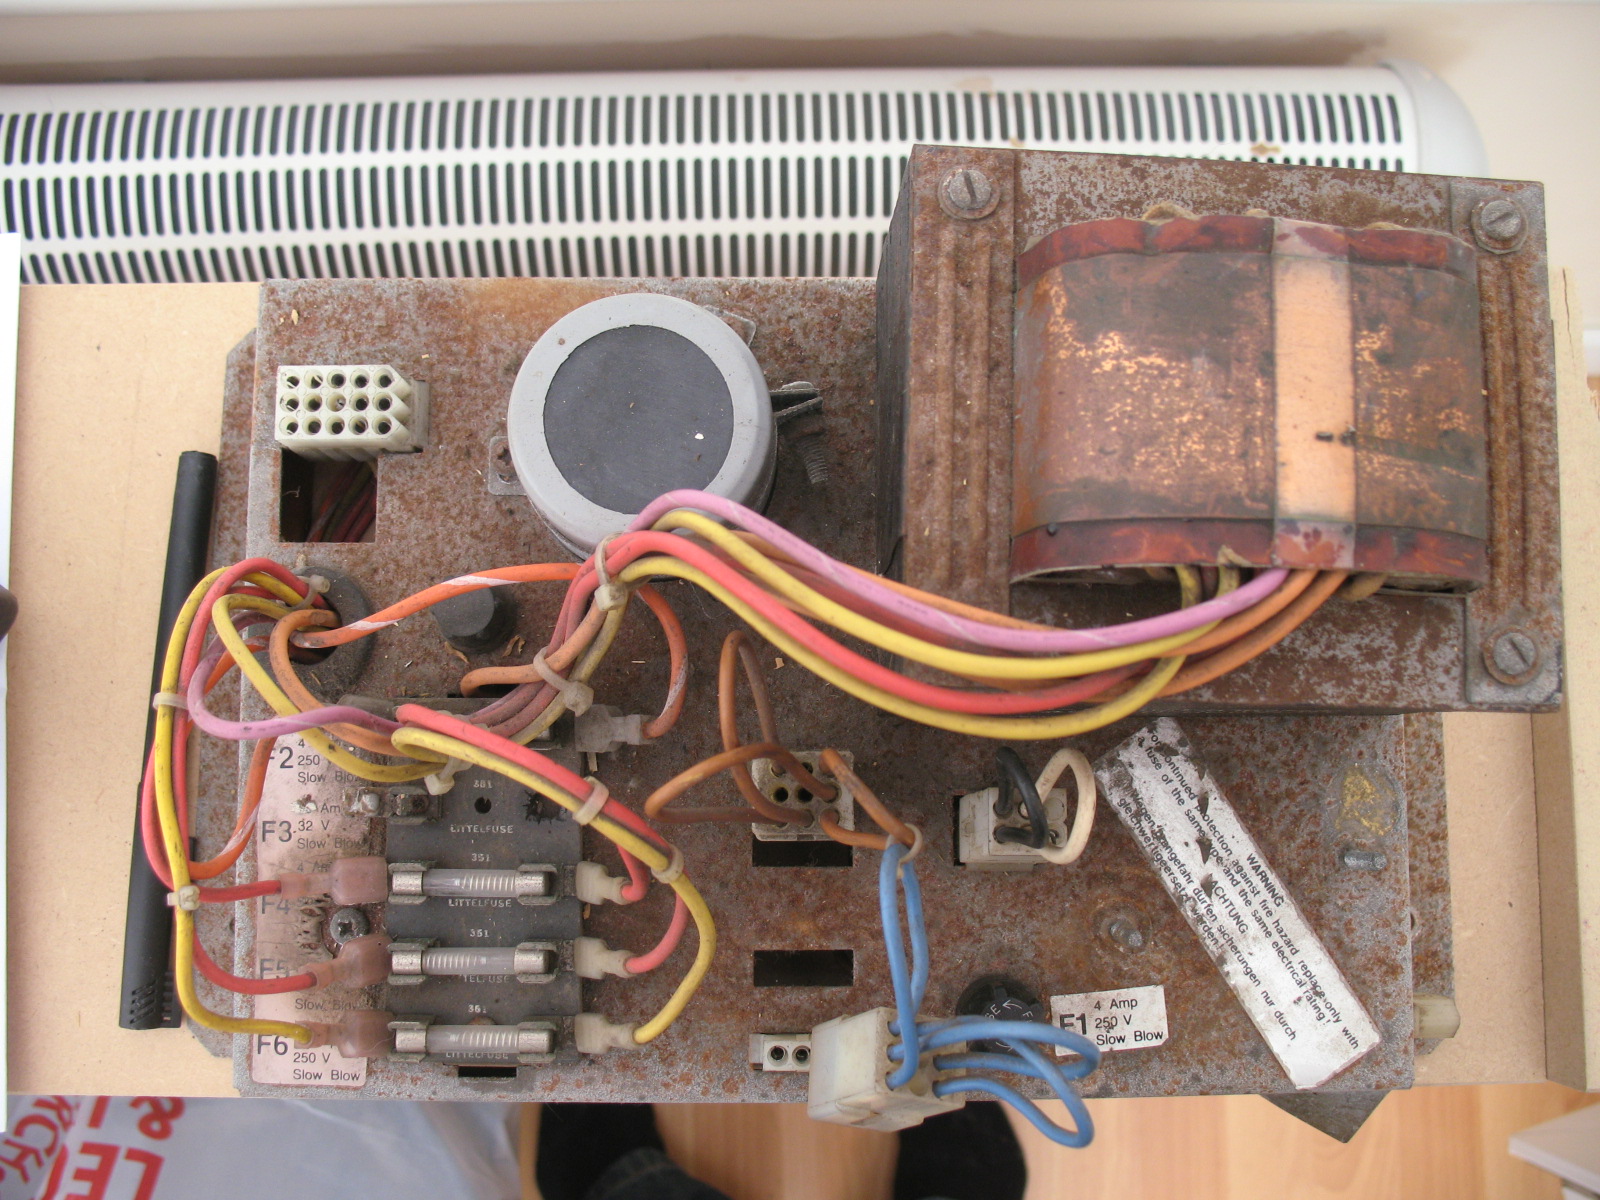
Next was that rusty hunk of a power brick. I didn't want to go down the switcher route if I could help it, so I sourced a power brick refurb kit from
Bob Roberts. I have heard that Bob is no longer mailing to the UK, but I know
ArcadeShop sell the Big Blue.
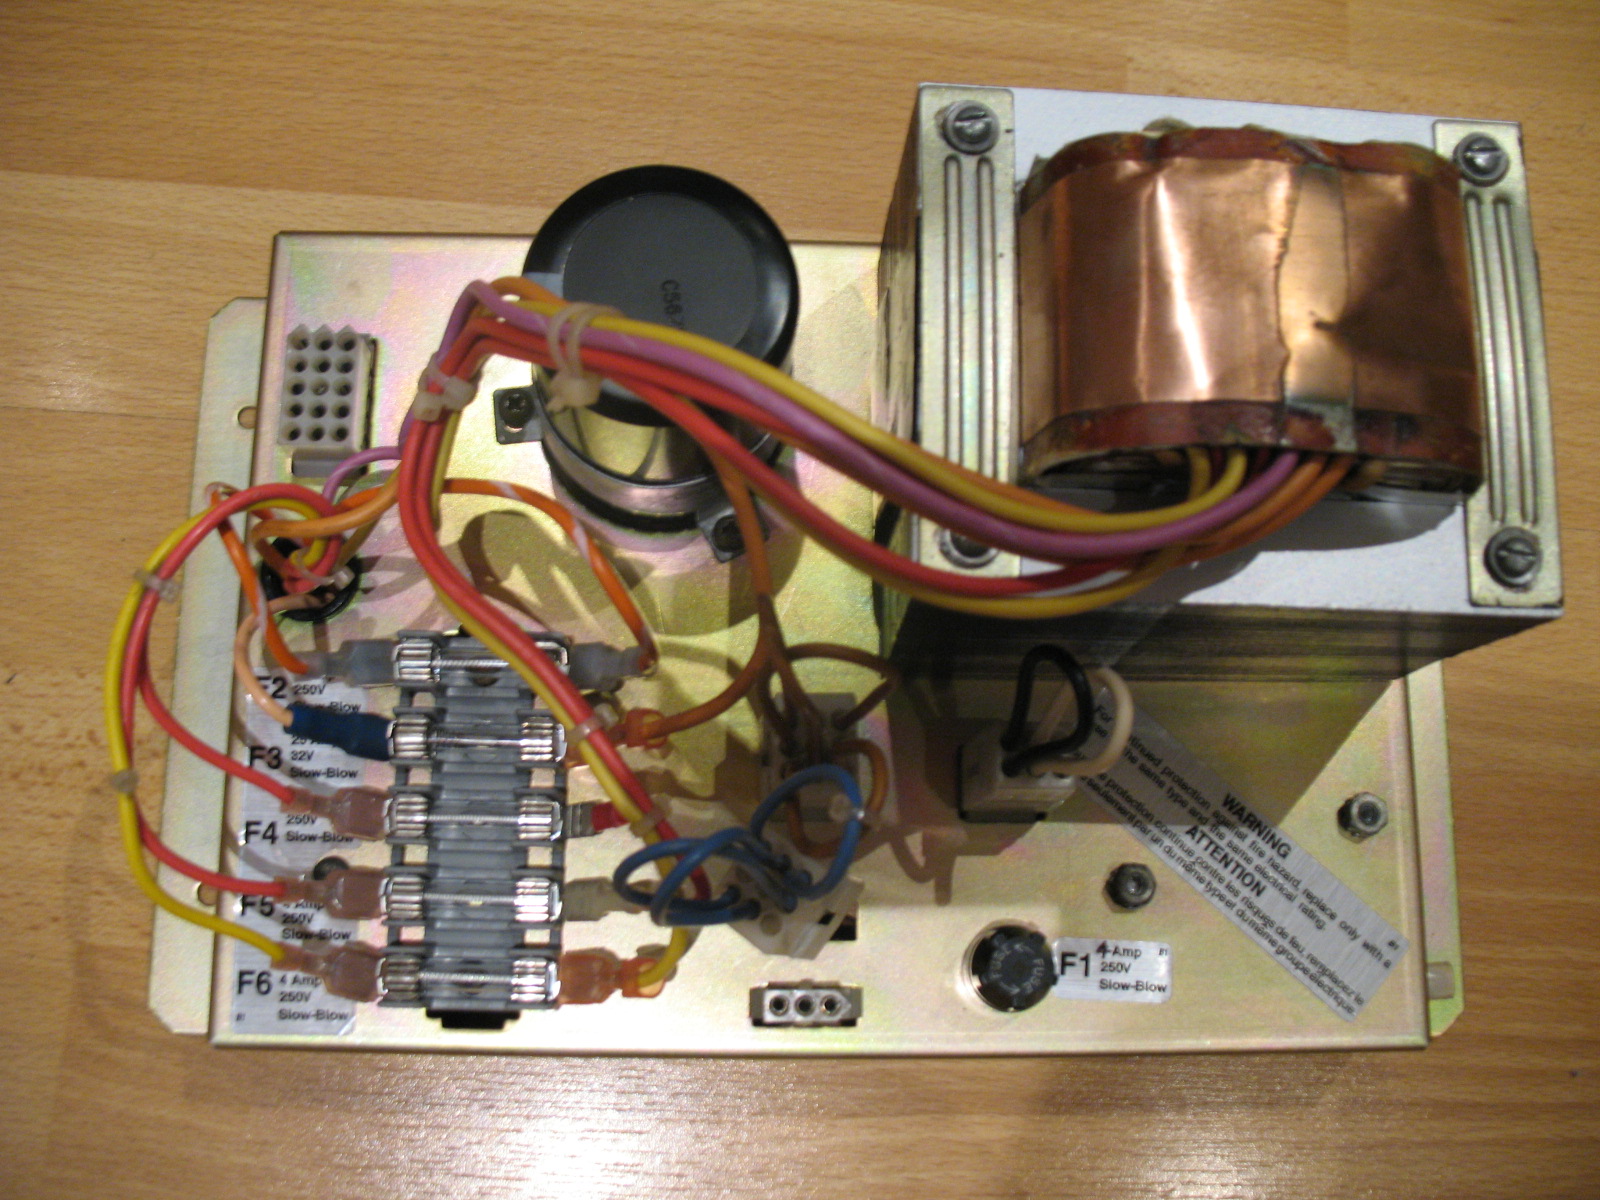
I had planned on using the power brick housing that MSS had painted silver for me, but then I came across Takeman on KLOV, who was manufacturing new housings. These are incredible, finished in the correct zinc plating of the originals and sent with decals produced by
thisoldgame. I couldn't resist getting one of these.
Put the housing and the refurb kit together and we go from this:
To this:
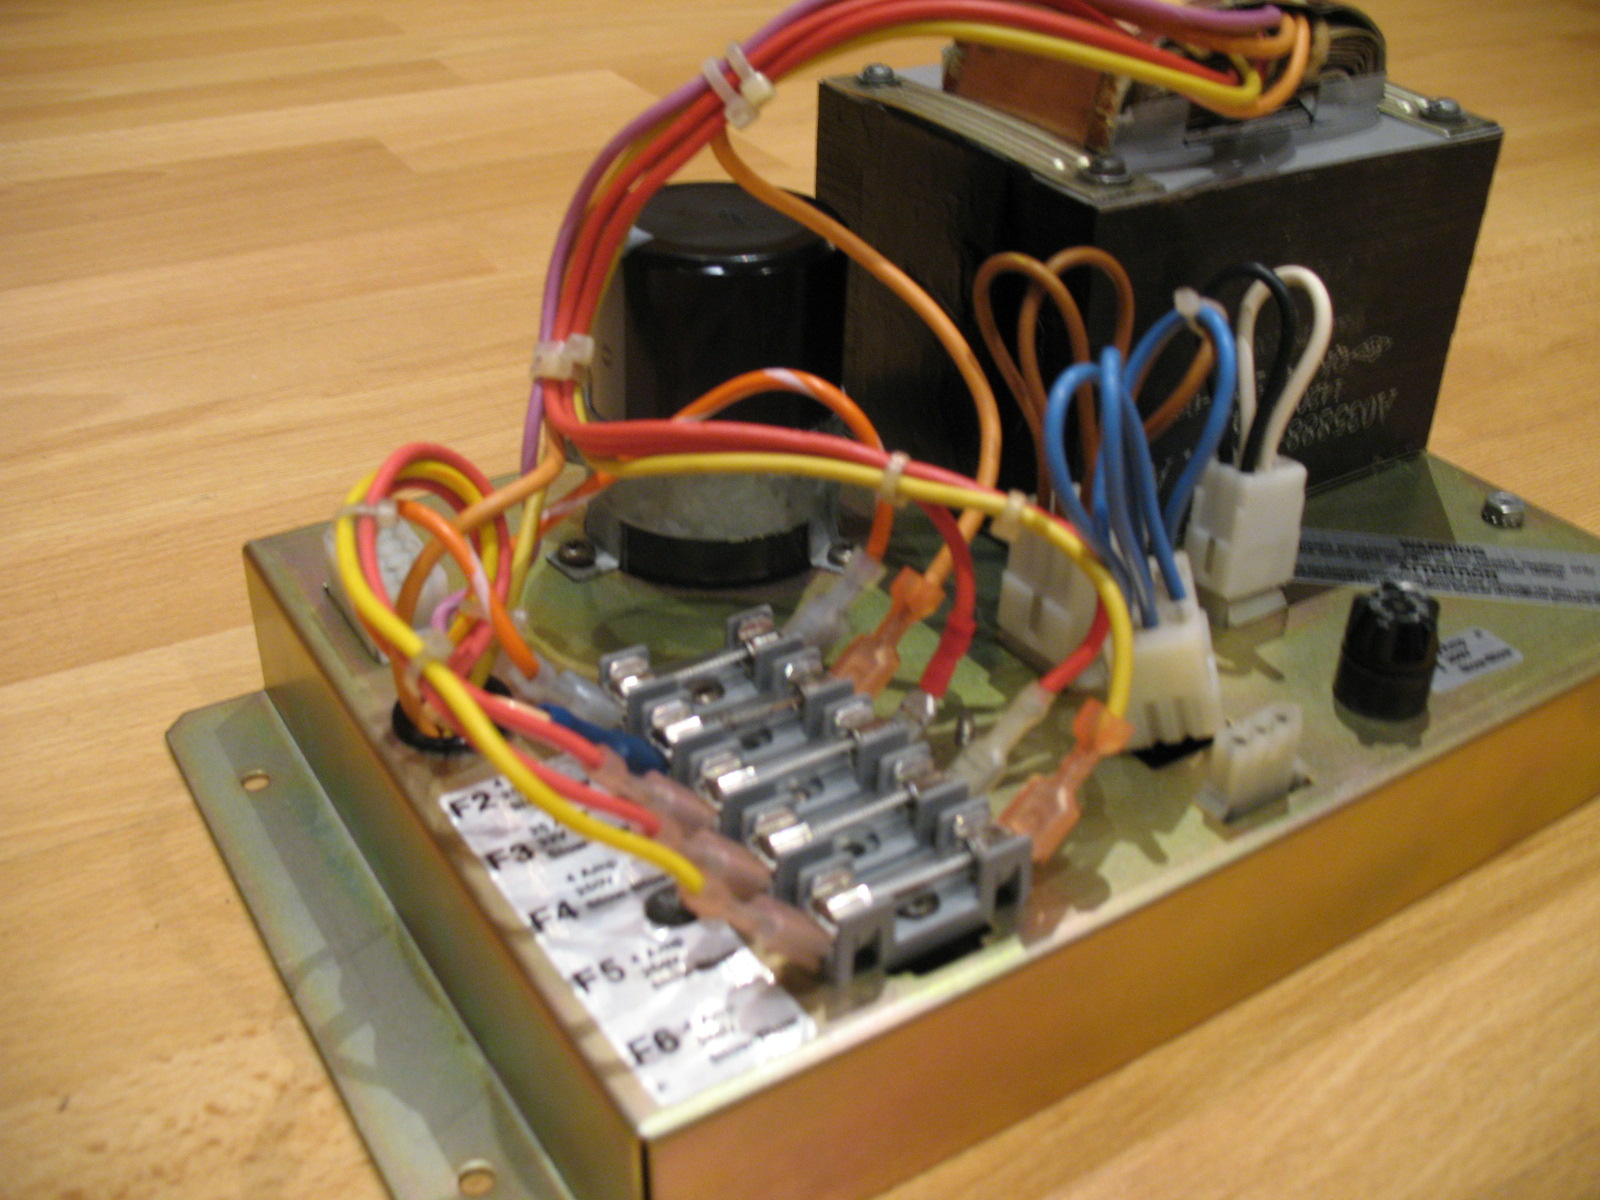
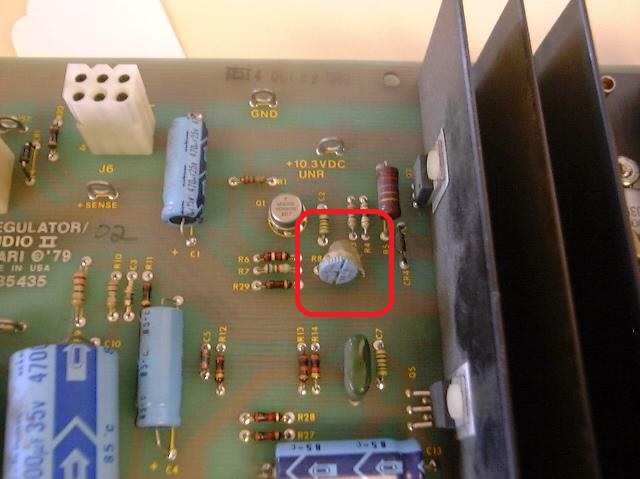
Just one problem... the 5V voltage to the board was still low. And that's when I found out you can adjust the 5V PCB voltage on the AR-II. I'm sure that's hardly news to a lot of people reading this, but it was a revelation to me:
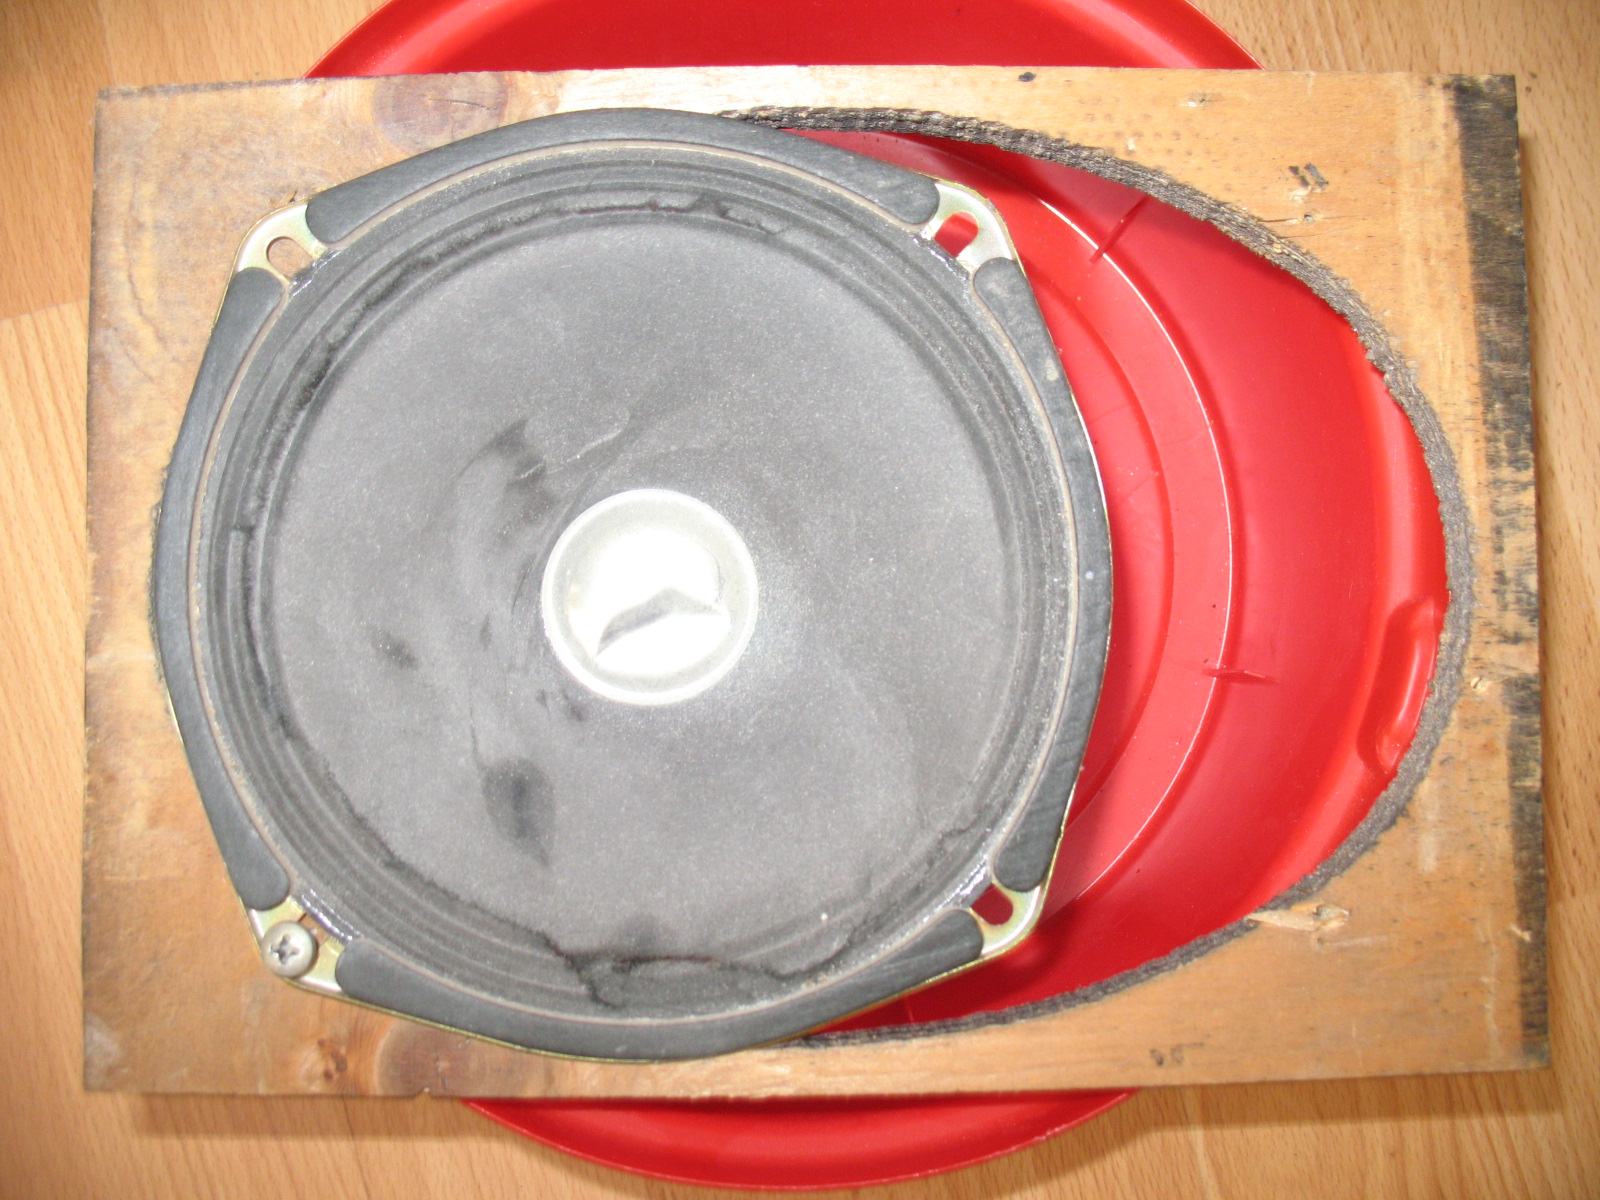
Next the speakers.... The original Atari 6x9s has been replaced with un-shielded 4x4s:
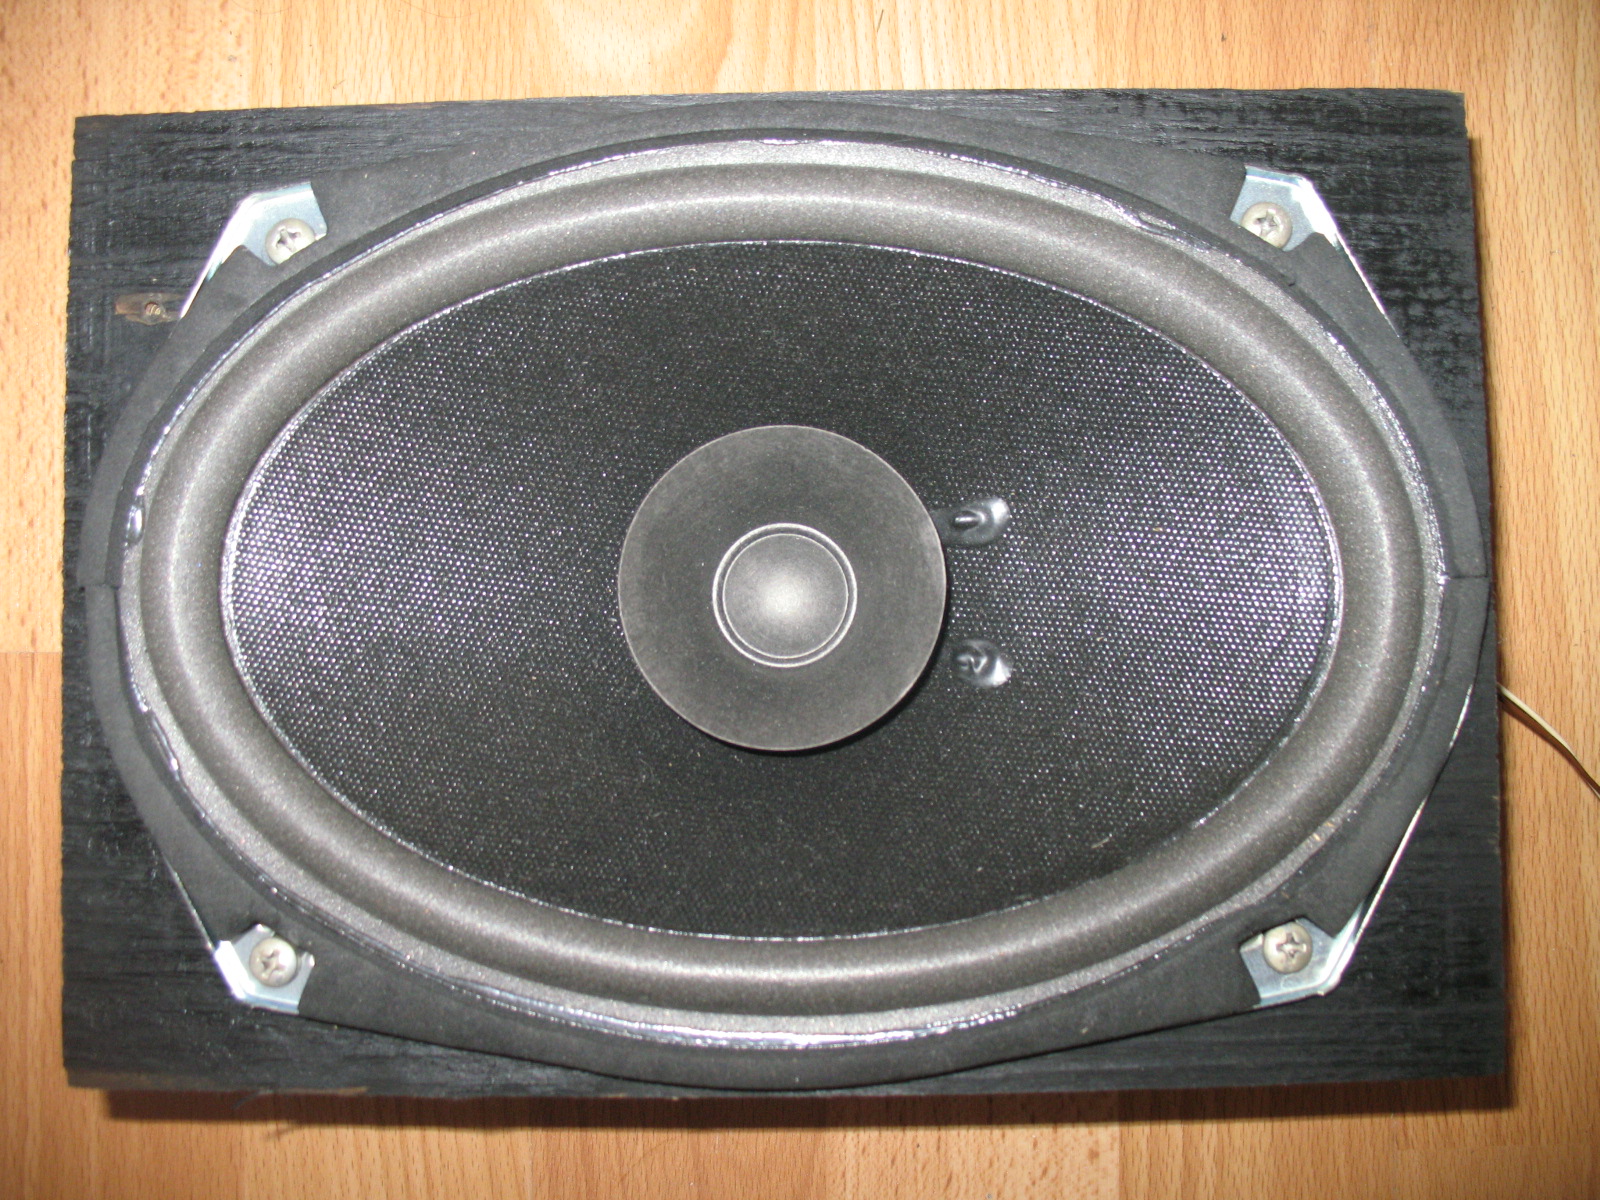
I tried a pair of 6x9 car speakers but they were too deep to fit into the spaced. Also they weren't shielded so not ideal. I struggled finding shielded 6x9s in the UK, so once again headed stateside and back to
Bob Roberts for some shielded 6x9s:
Again if Bob will not ship to the UK,
ArcadeShop stock them now.
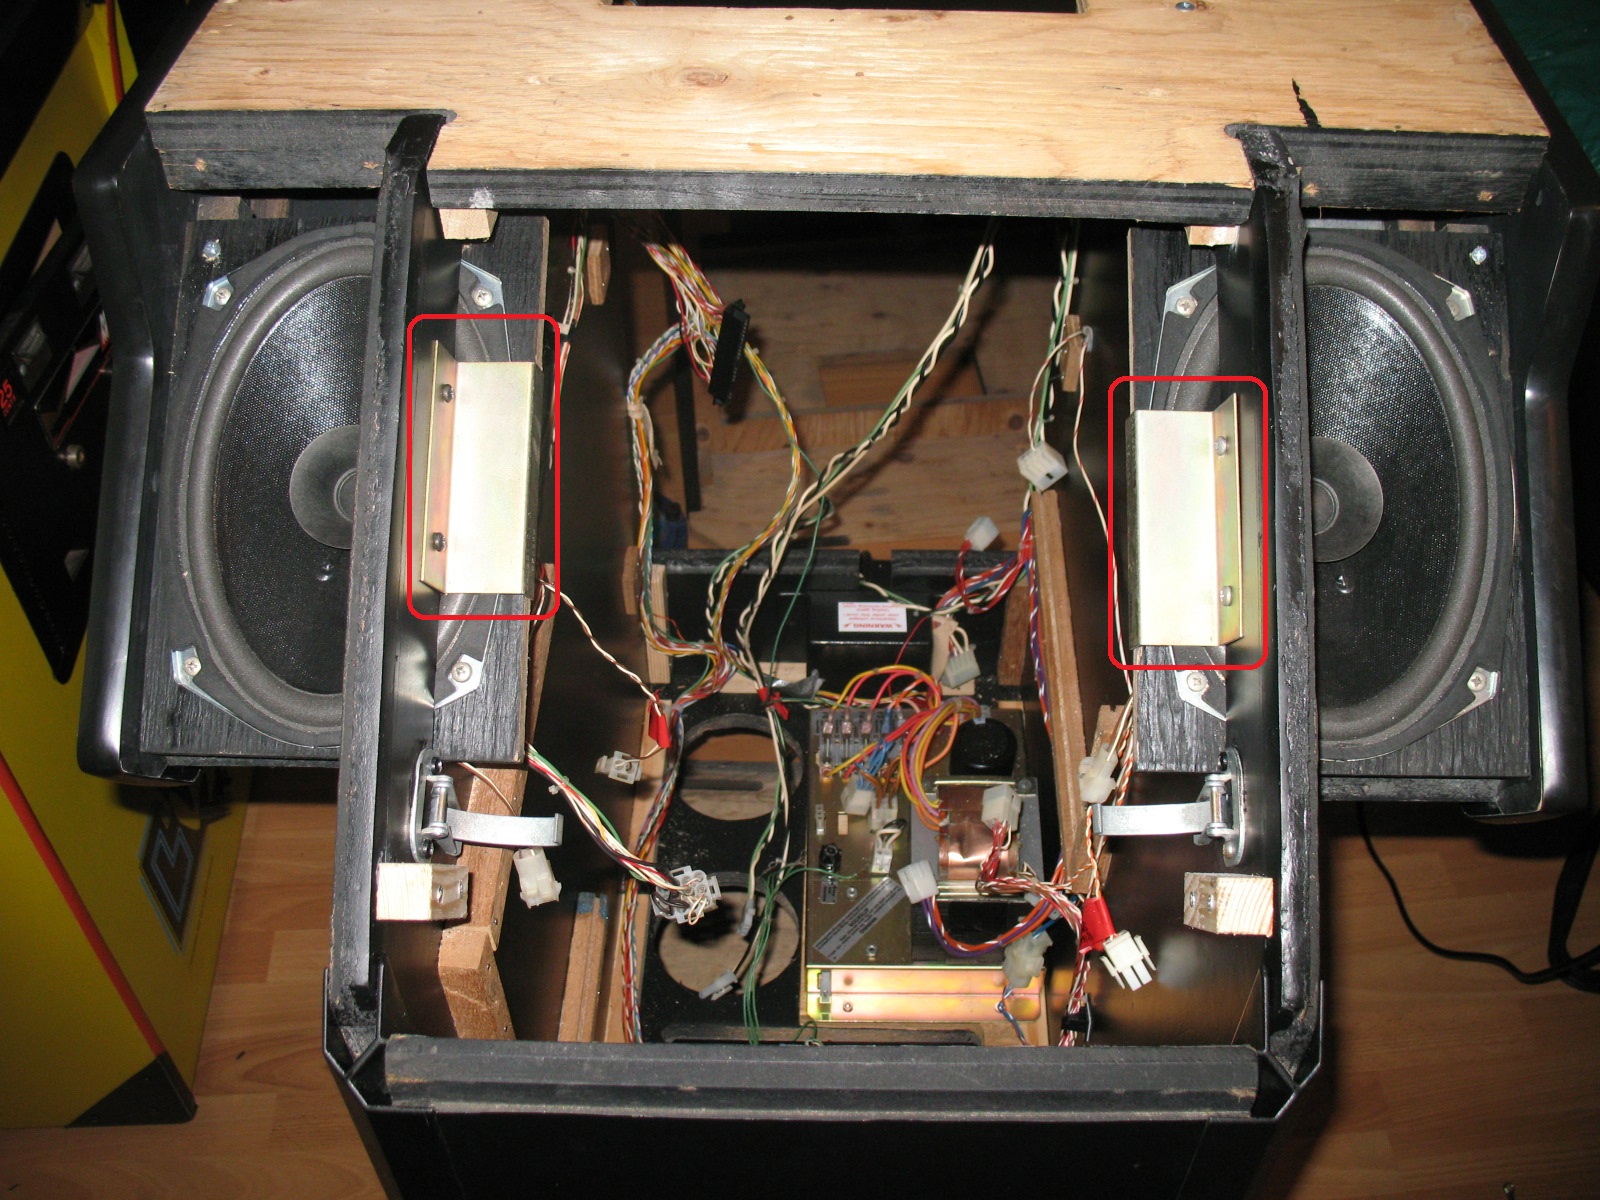
Another item missing from the cab was the speaker brackets, but
ArcadeFixIt didn't let me down with a pair of NOS brackets:
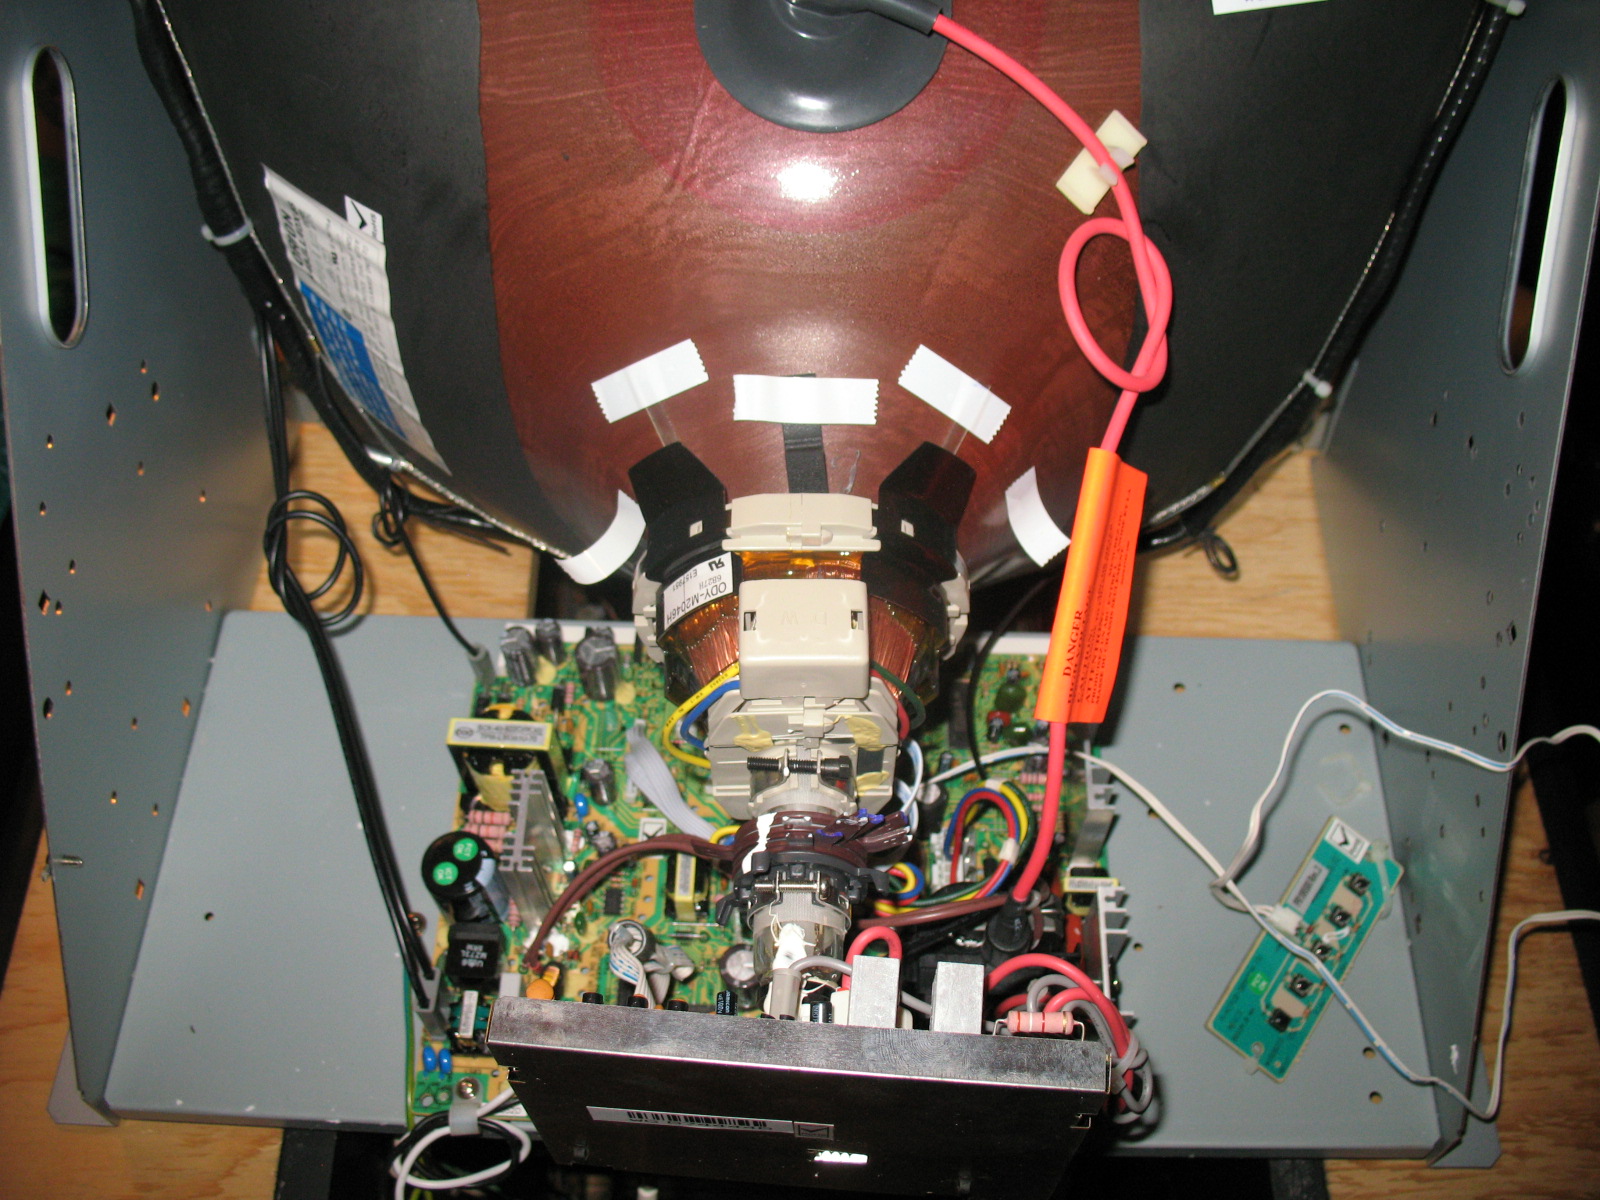
Now for my biggest score.... a BNIB (yes, I said BRAND NEW IN BOX) Well-Gardner D7700 19inch monitor. Oooh missus:
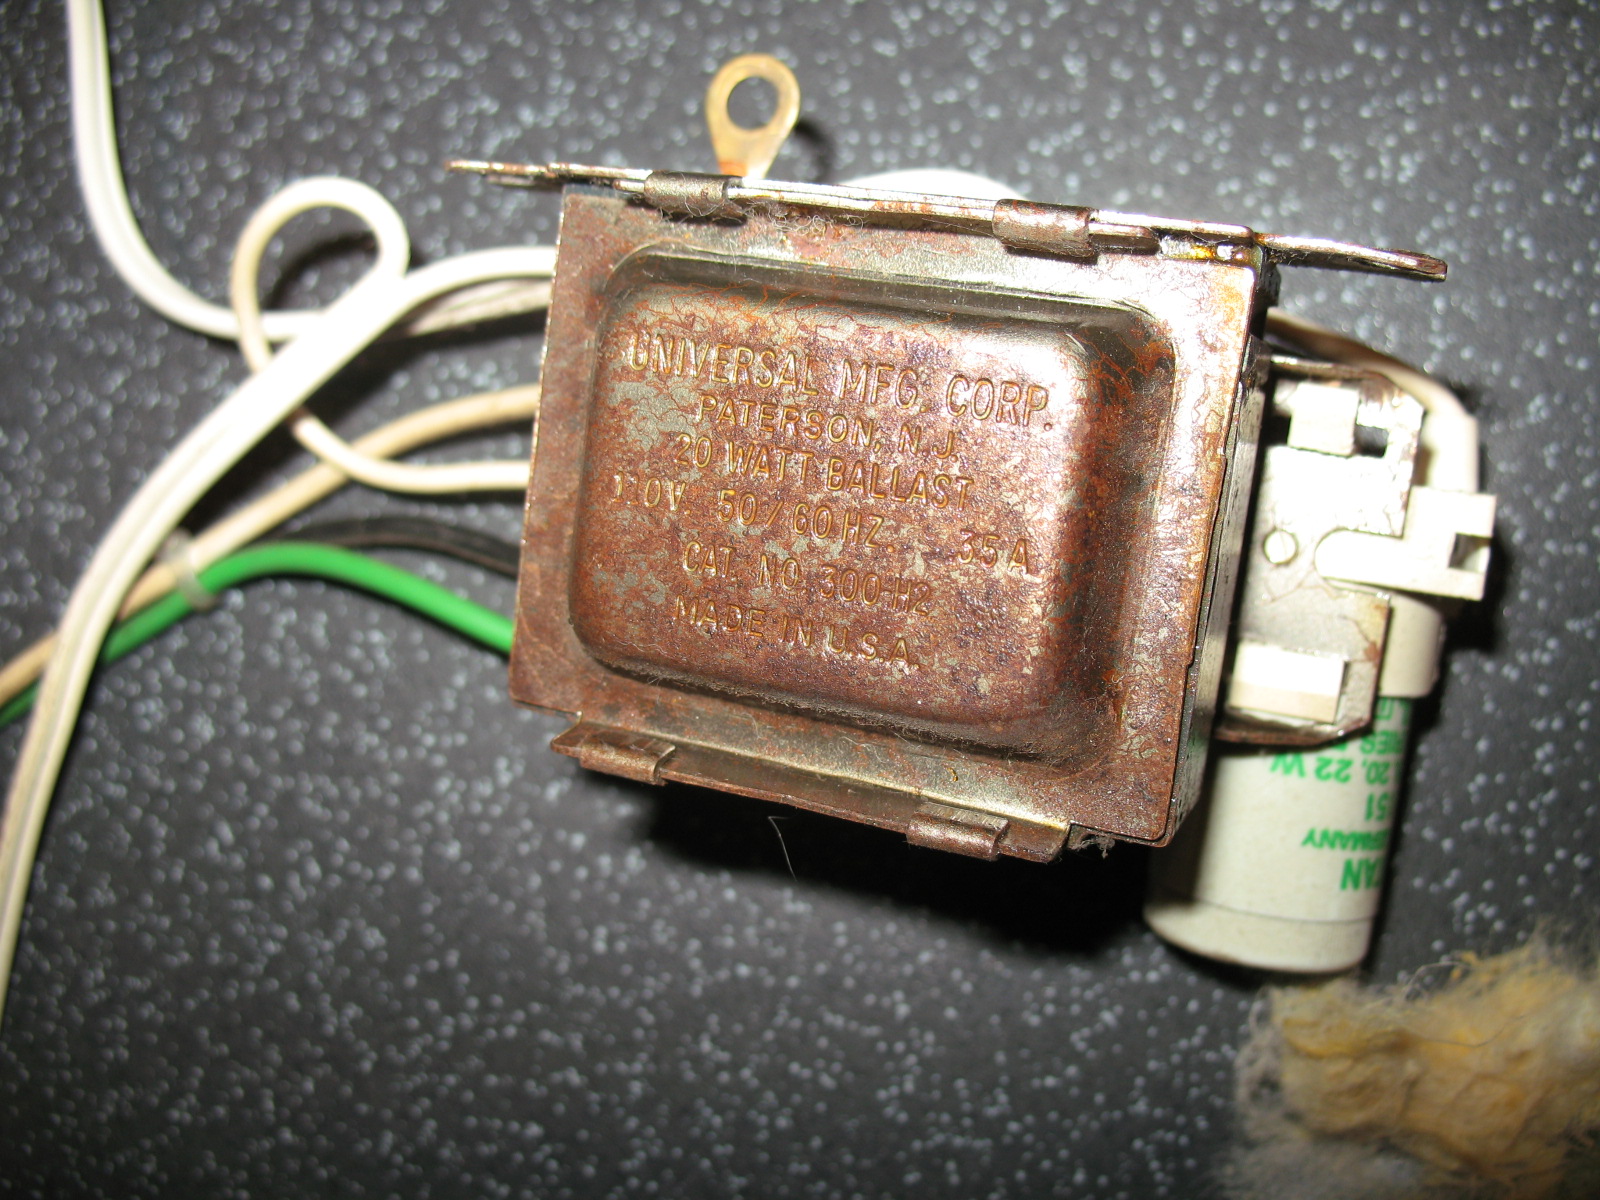
Lights next. The ballast had seen better days:
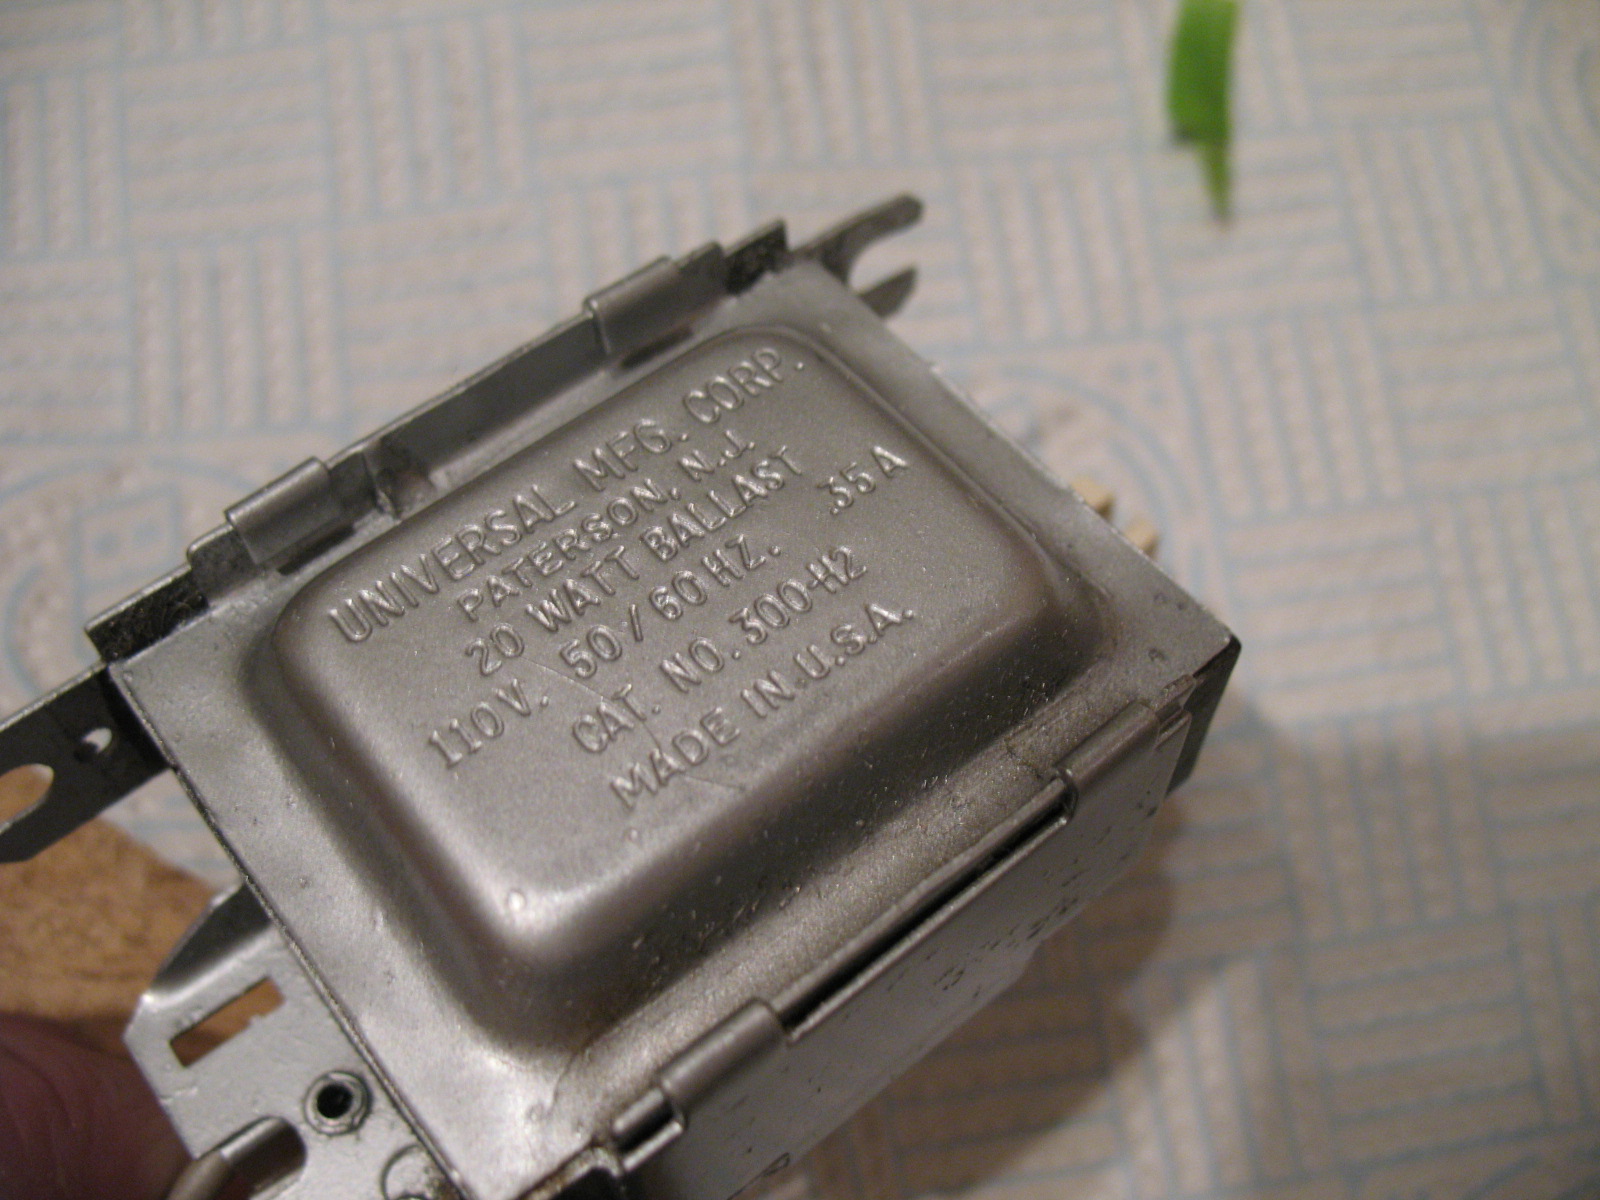
But nothing some Brasso and a bit of paint couldn't improve:
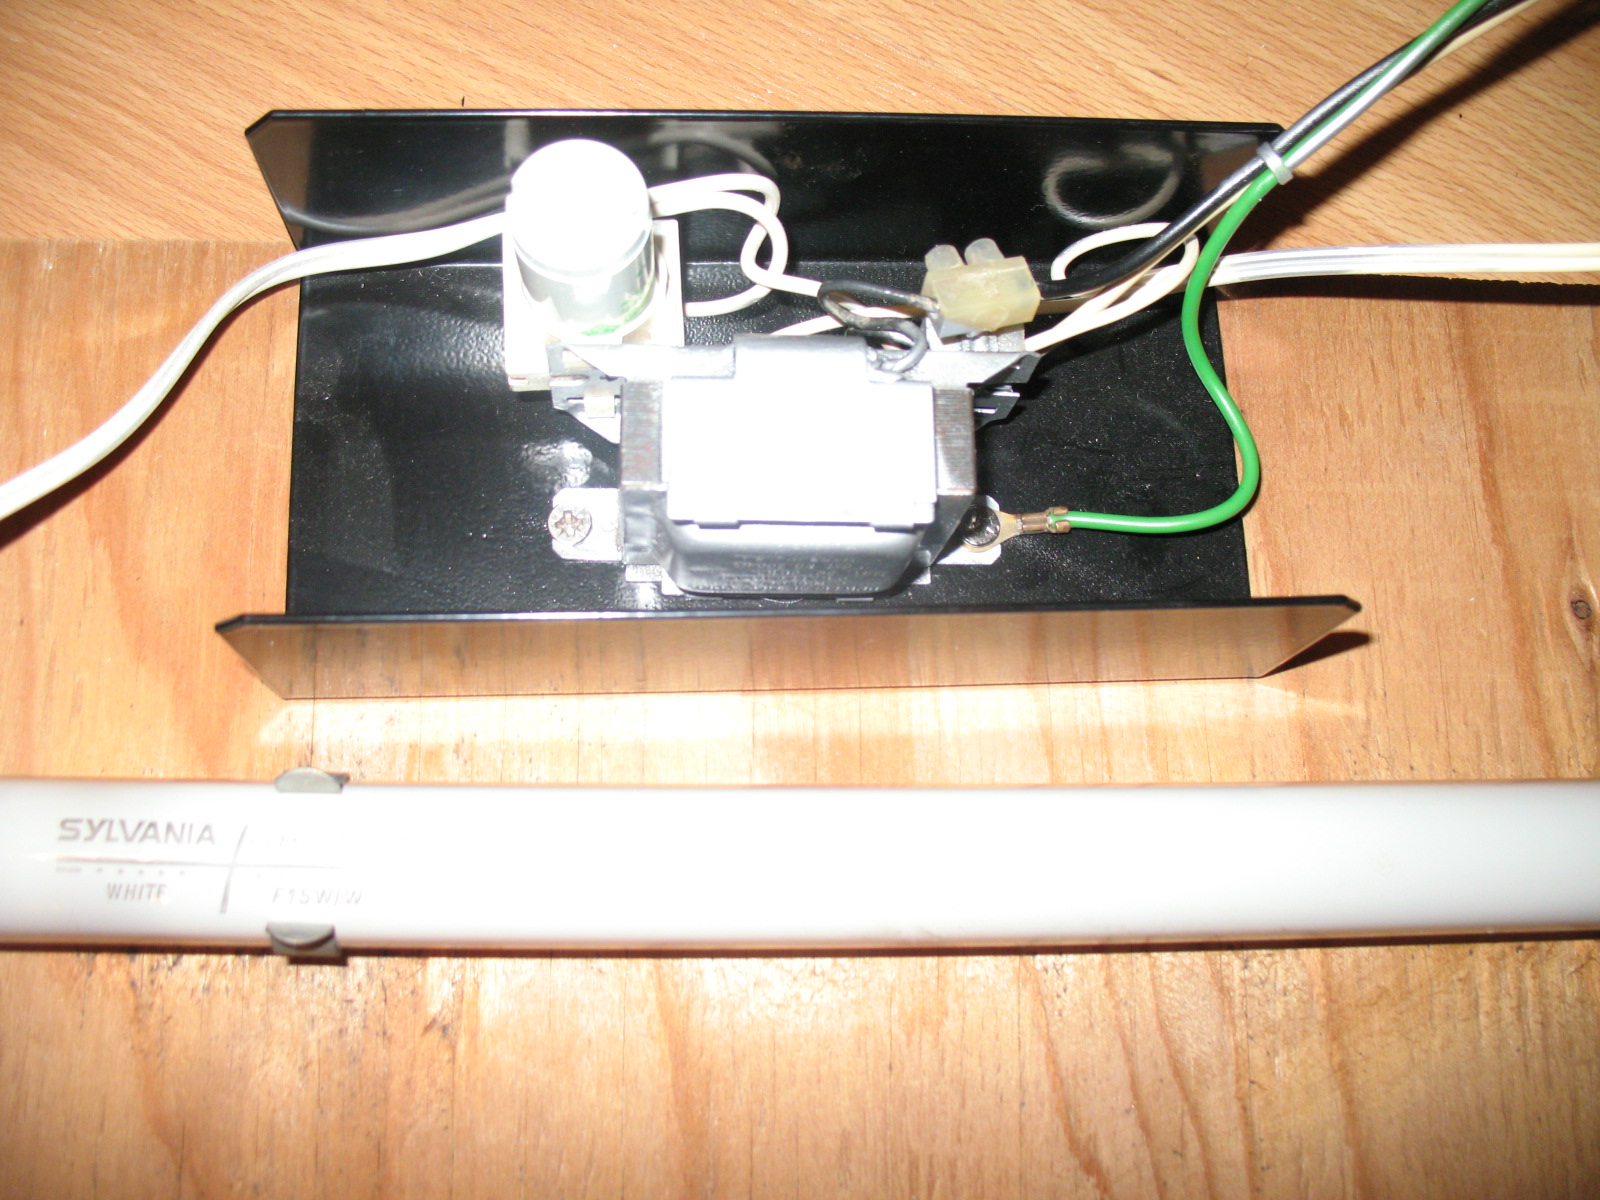
Throw in a new bulb and a starter and we have a working light:
Which was great until I positioned it above the monitor.... The magnetic field from the ballast caused the top of the picture to wobble. I tired a second ballast and exactly the same thing happened. I found a thread on UKVAC where dj_yt had the same issue. It looks like the best solution is to by-pass the ballast and go LED (aaargh!). It's not a solution I love, but these bulbs from ebay look very promising:
1FT 1.5FT T8 Led Fluorescent Replacement Tubes Light Bulb 300/450mm AC 110V-277V
Because these are 110V, I will be able to wire it direct to the existing molex feeding the lighting. I am hoping that as they are frosted, you wont see the individual LEDs through the marquee. It hasn't arrived yet, so I will update this thread when it arrives.
To finish off, I replaced the frayed power lead, the power lead's rubber grommet and the coin mech bulbs using replacements from
Swallow Amusements.
iamjimmi2015-12-09 22:58:08