You are using an out of date browser. It may not display this or other websites correctly.
You should upgrade or use an alternative browser.
You should upgrade or use an alternative browser.
Outrun Deluxe (Turbo De-conversion) Restoration
- Thread starter clarkey
- Start date
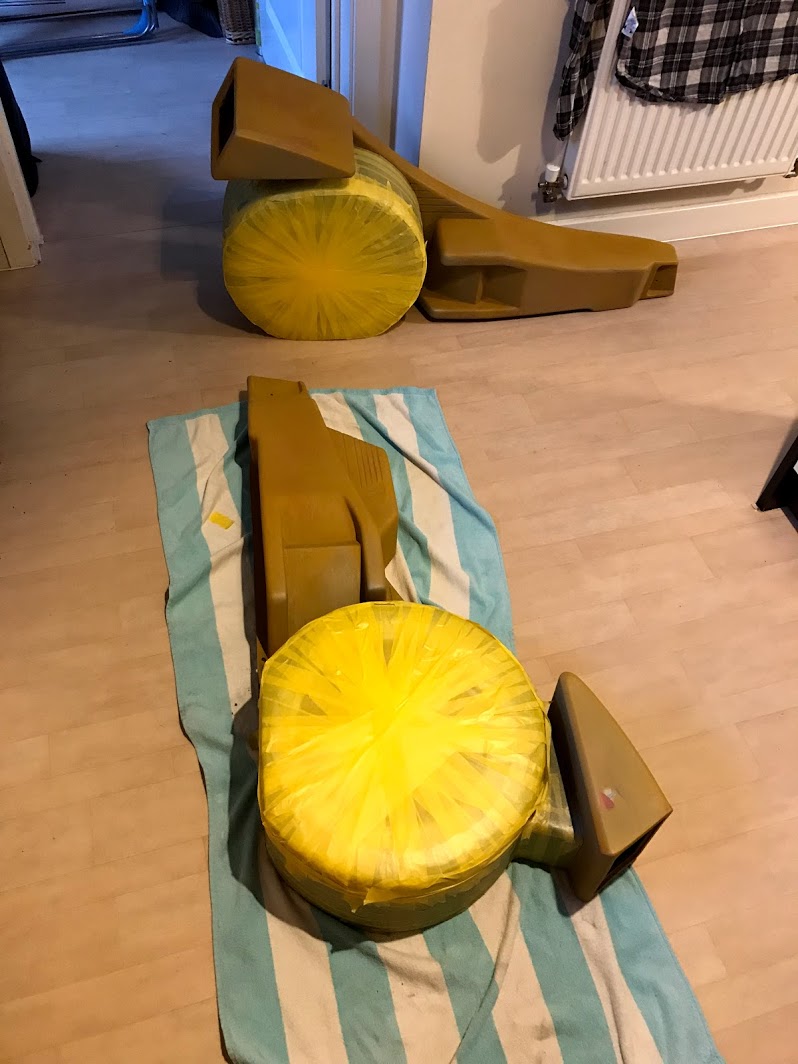
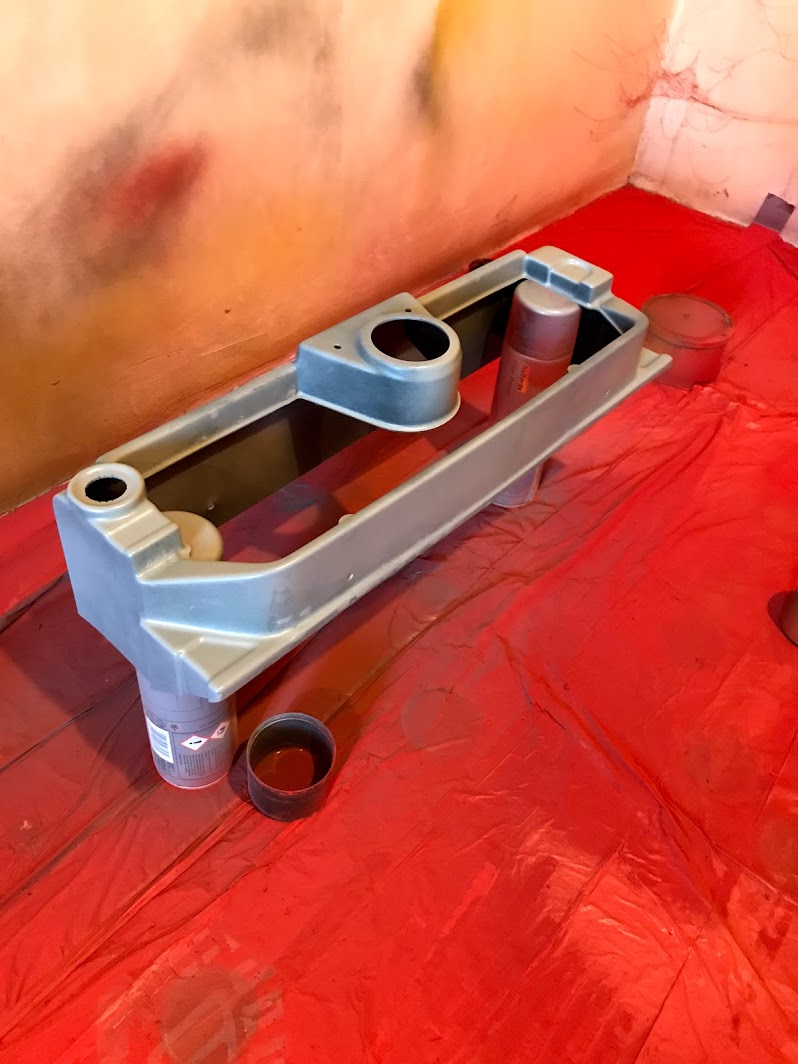
Body work continues.
Sanded down all the filler that was applied after the first round of primer.
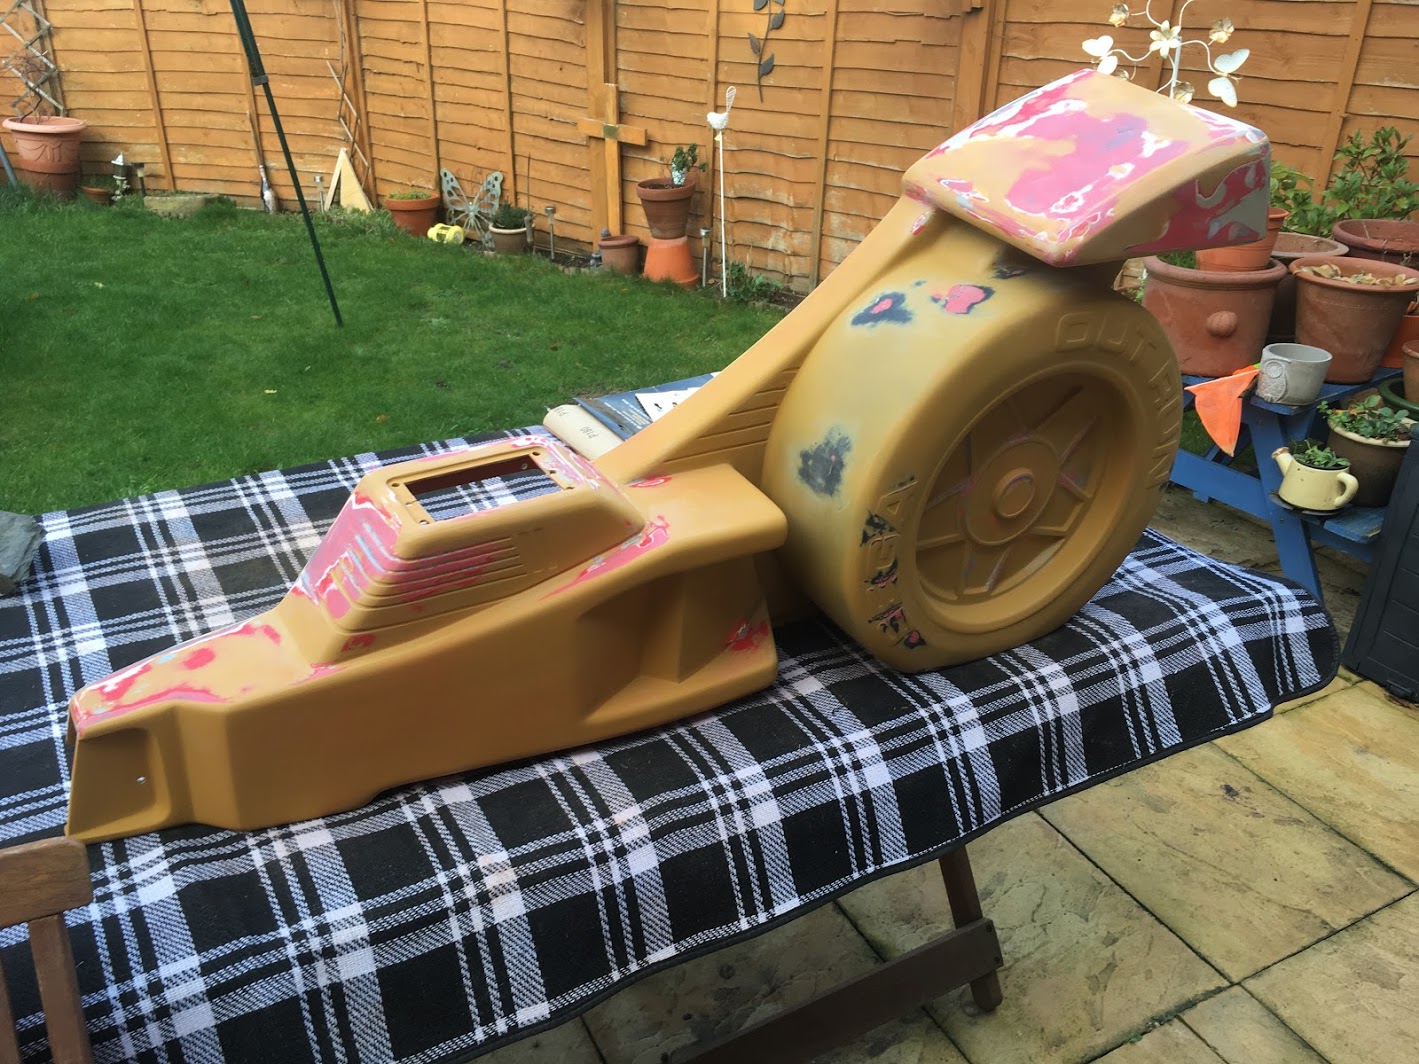

Applied more primer, then wet sanded all of it.
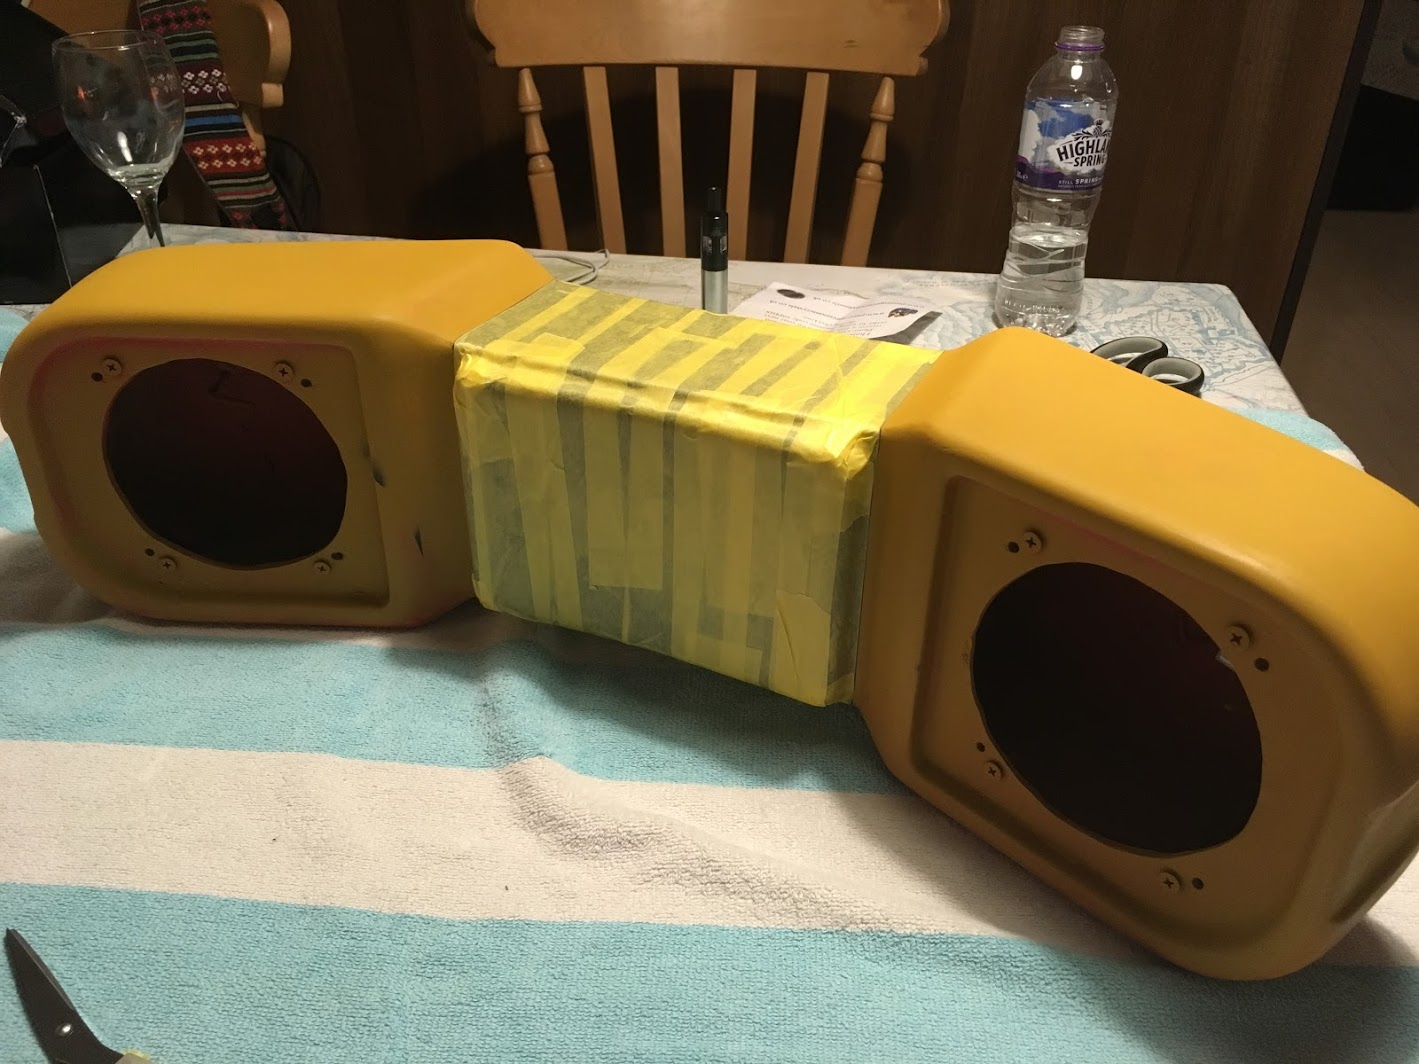
Then began masking.

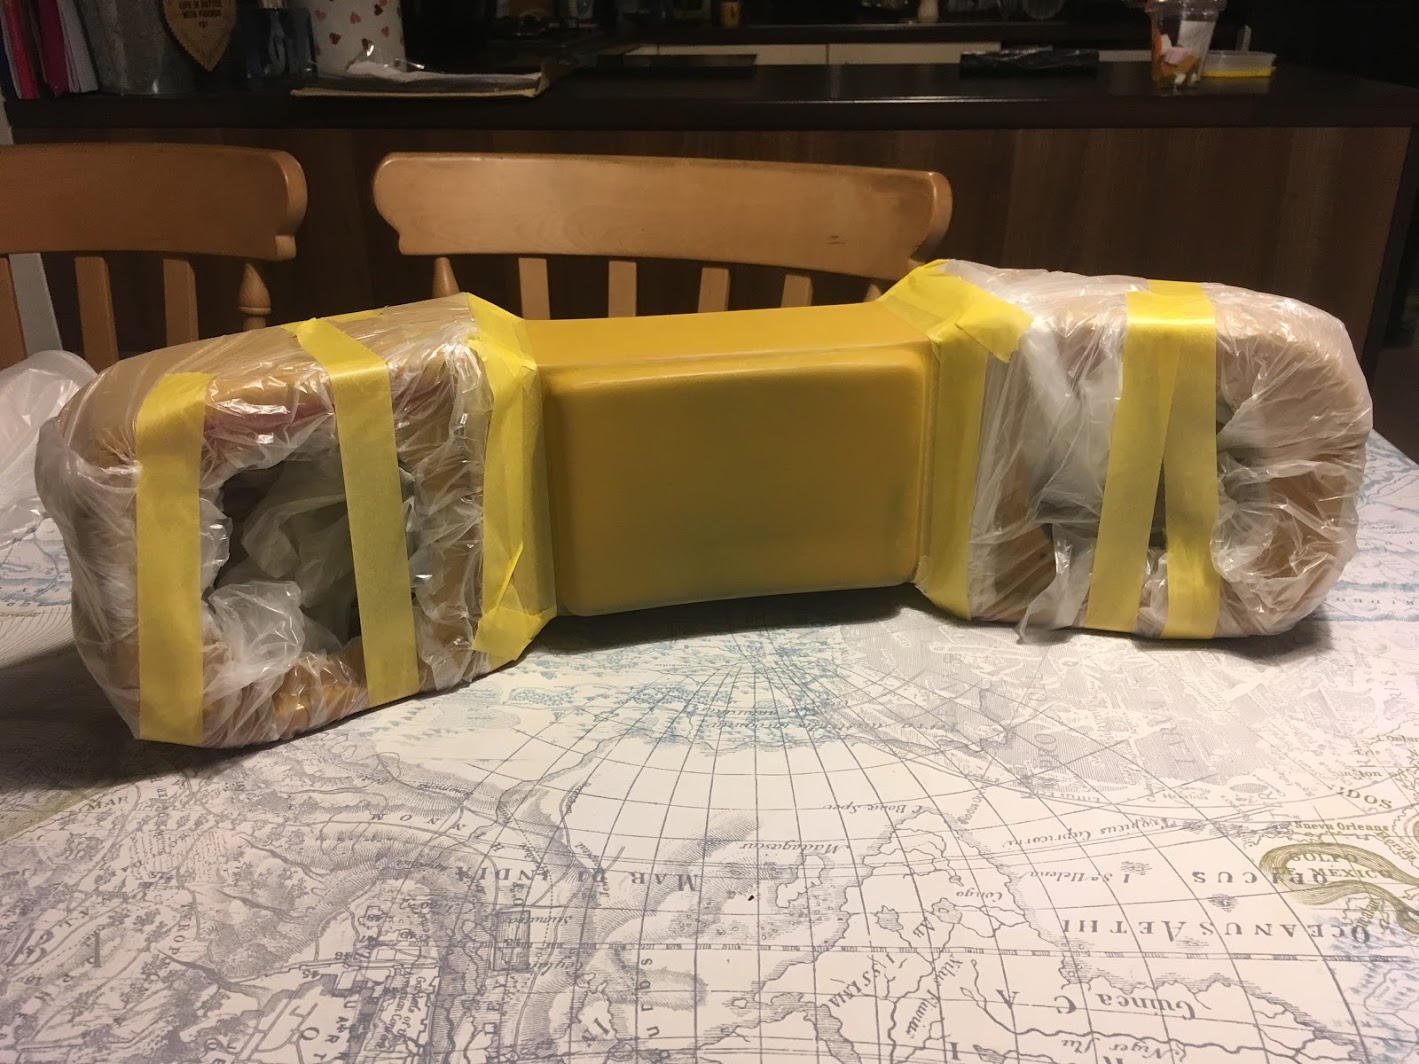
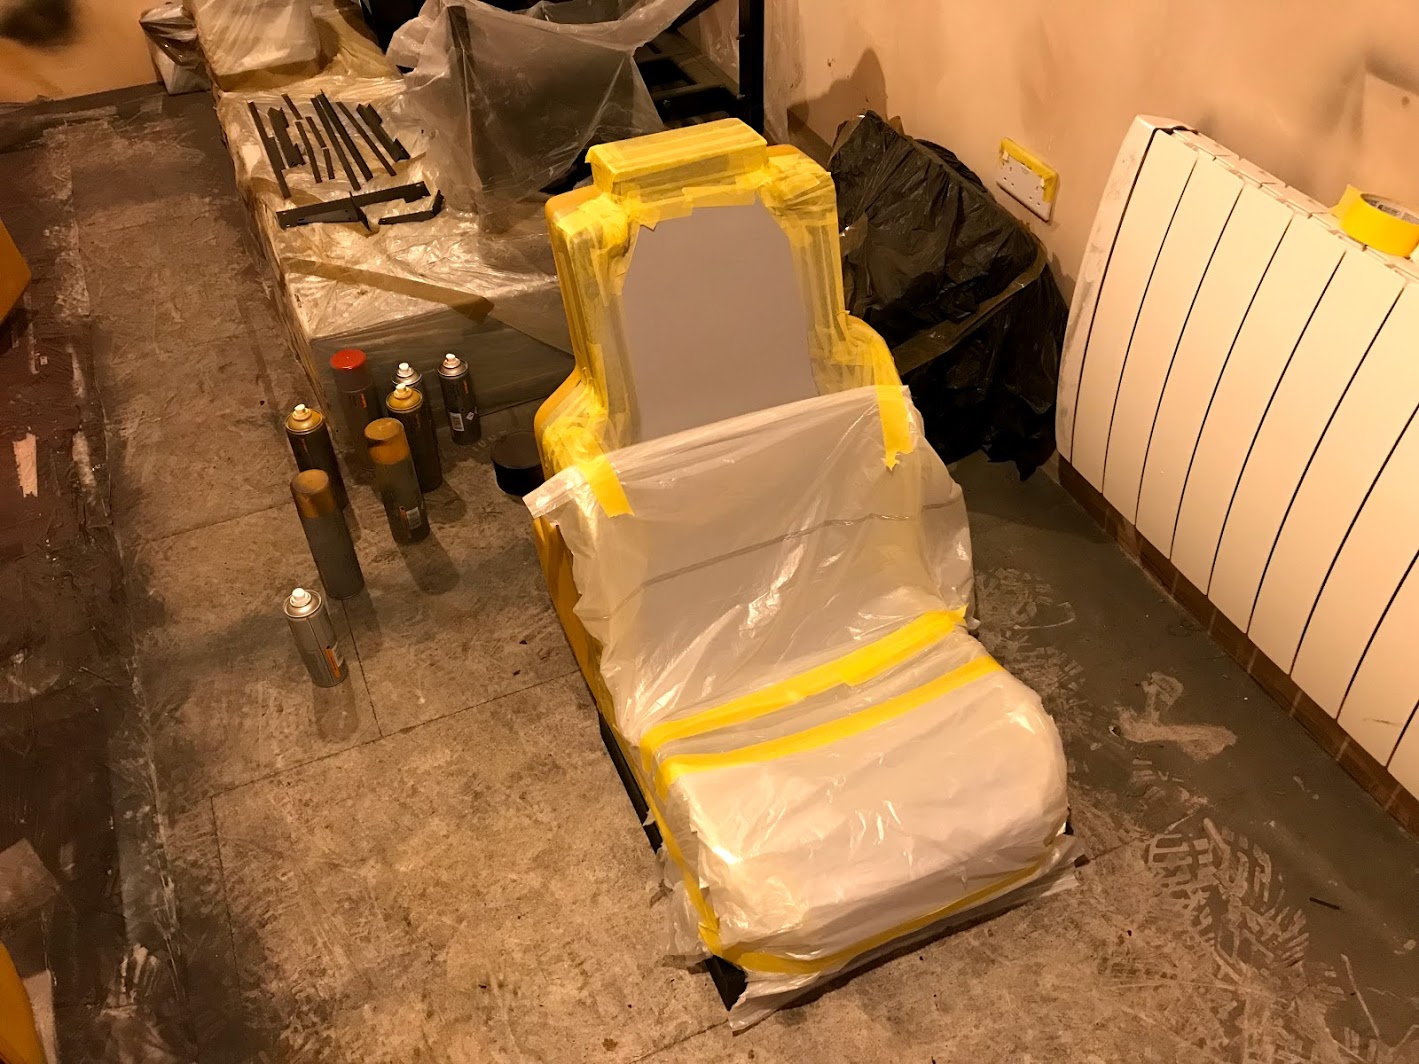
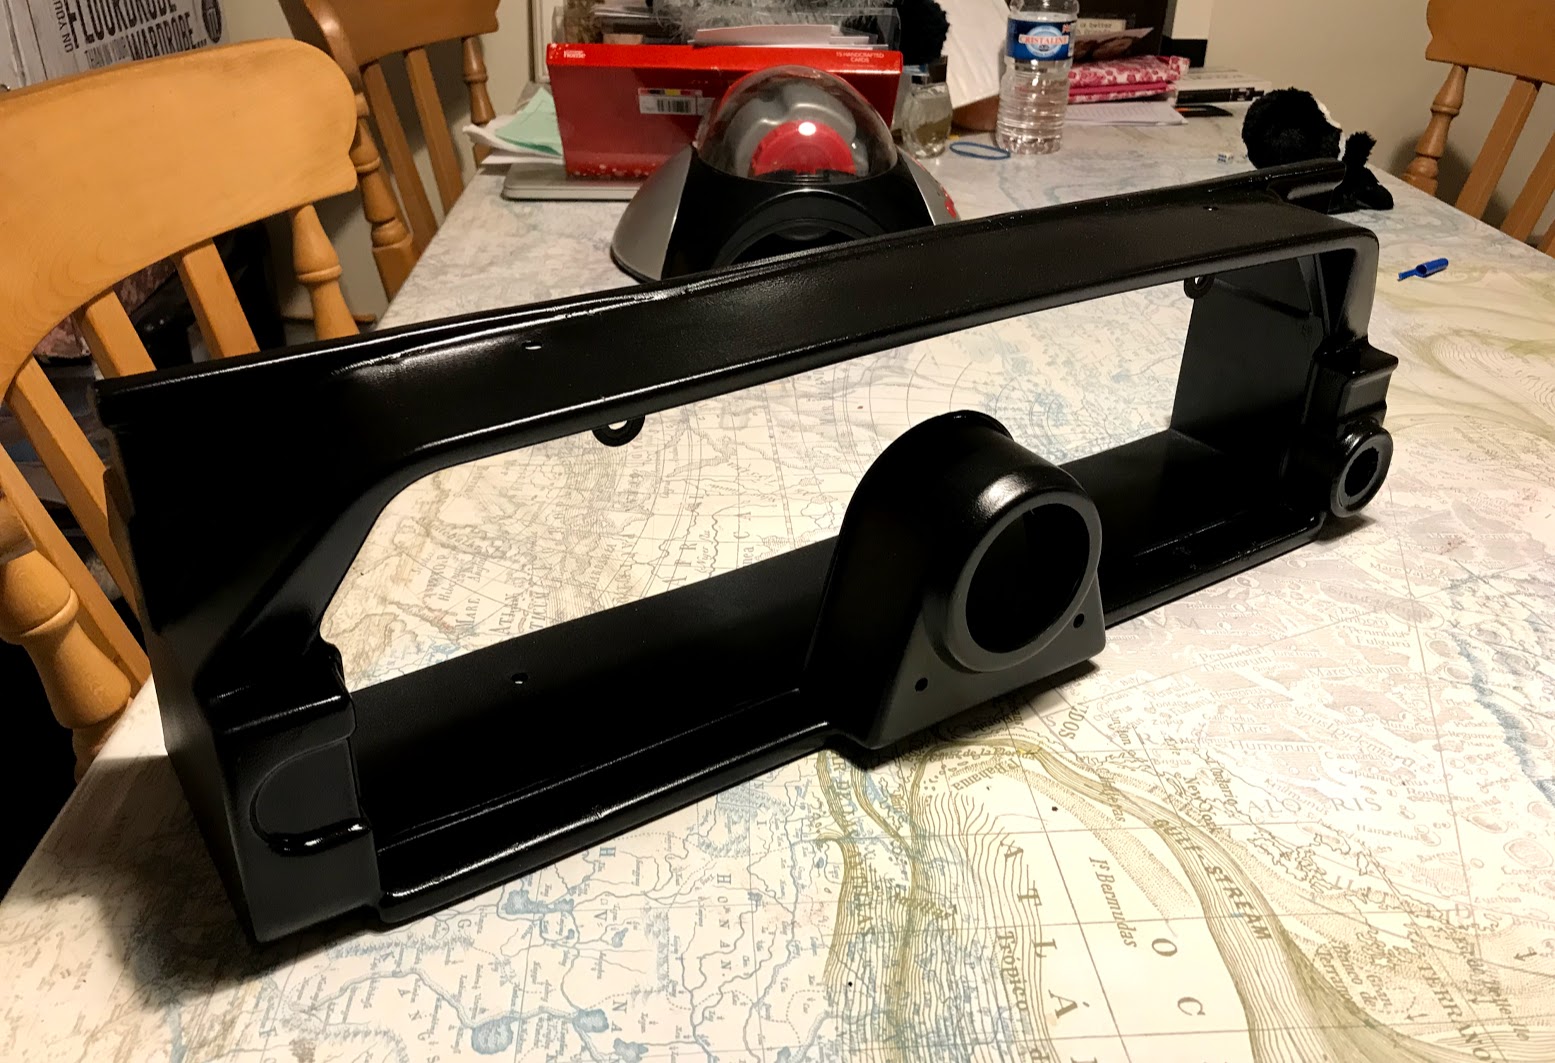
Finally applying some paint.
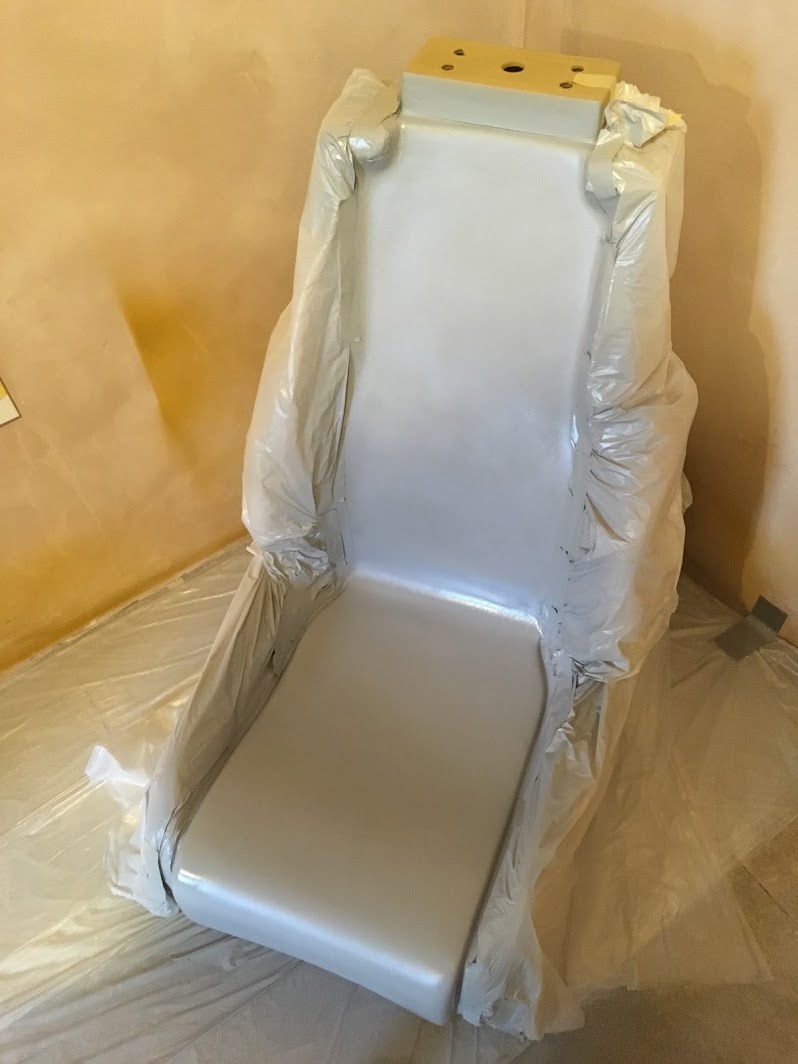
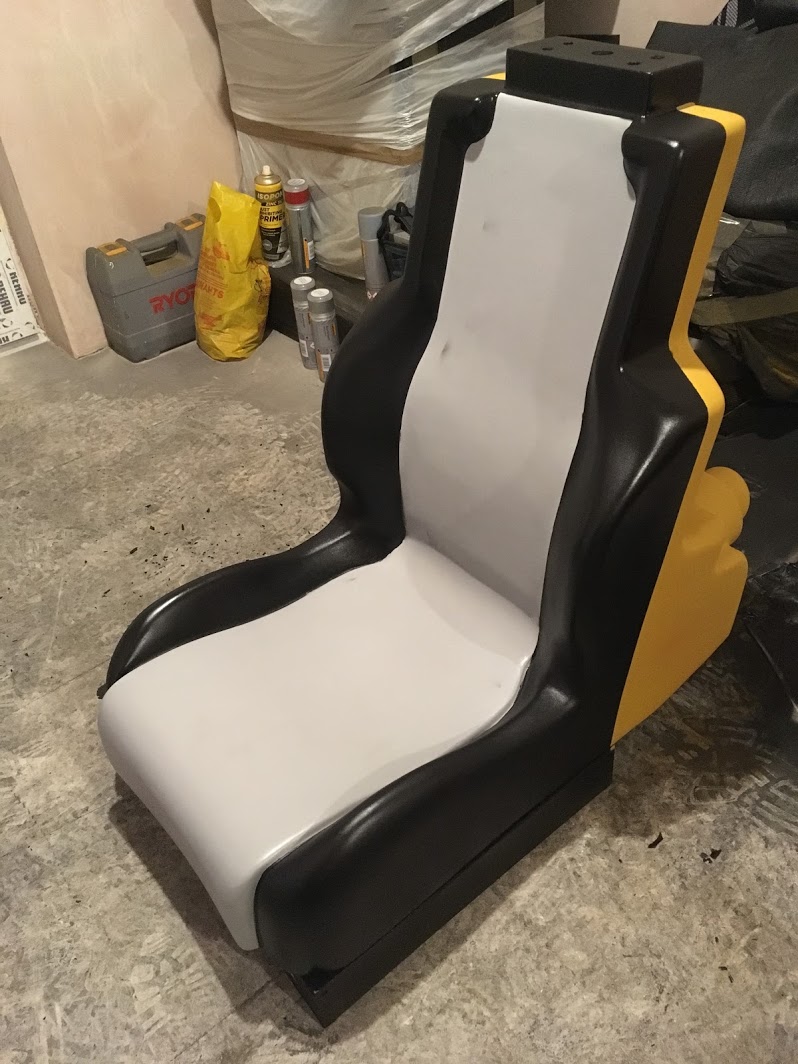
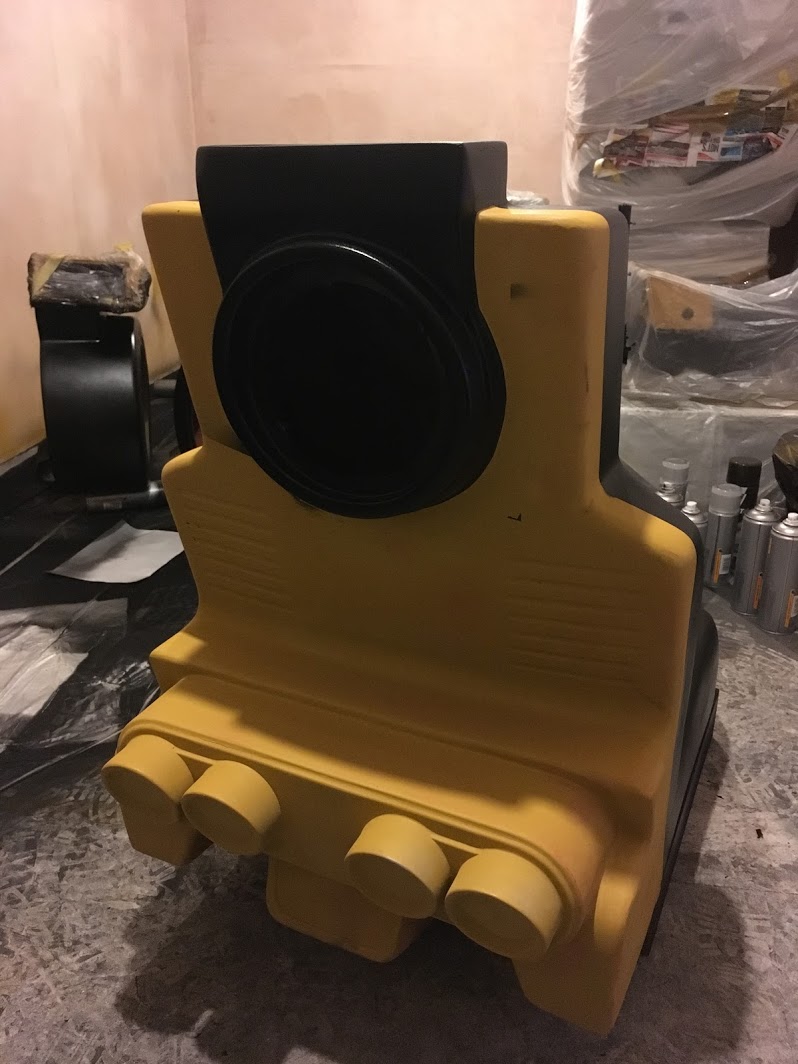
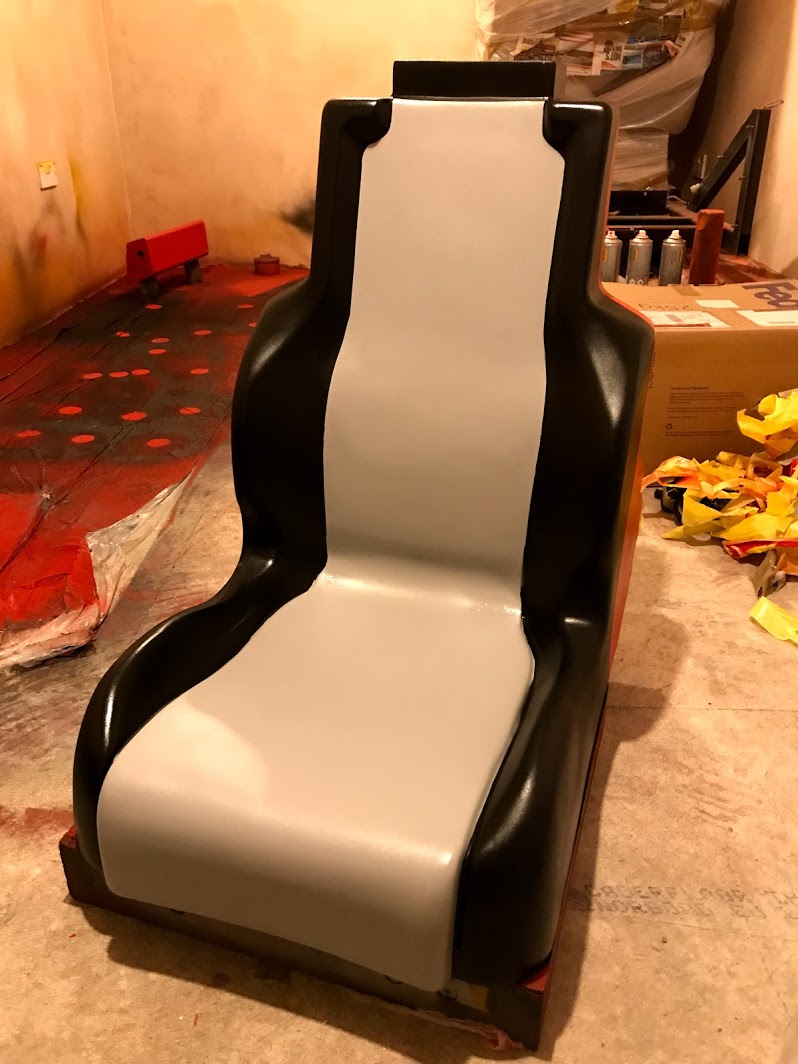
Seat grey.
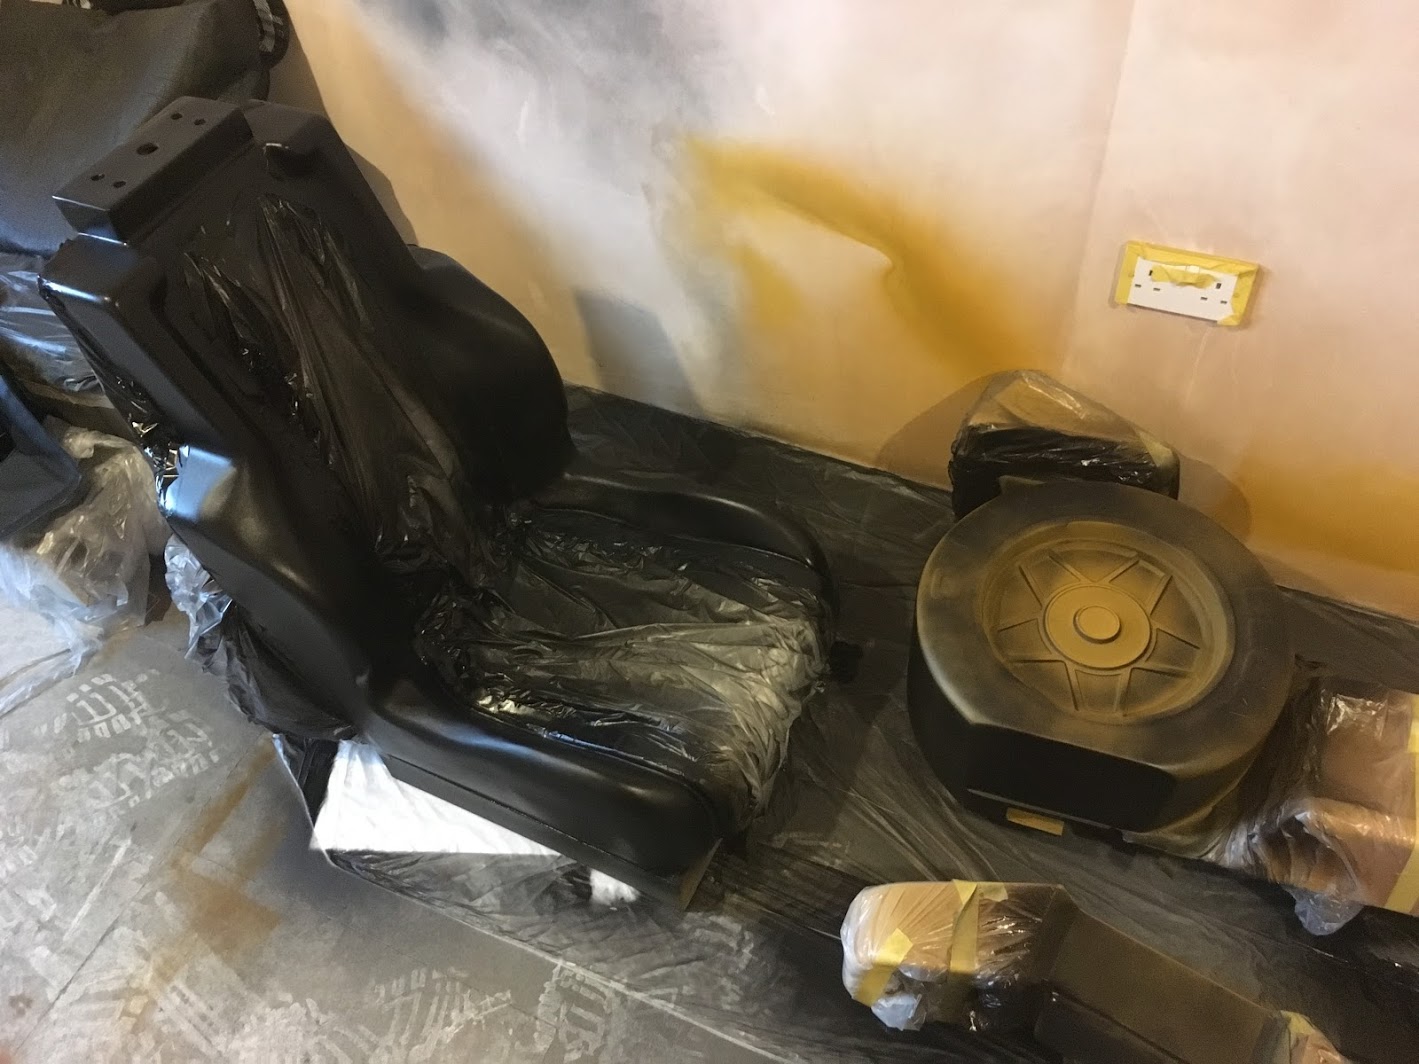
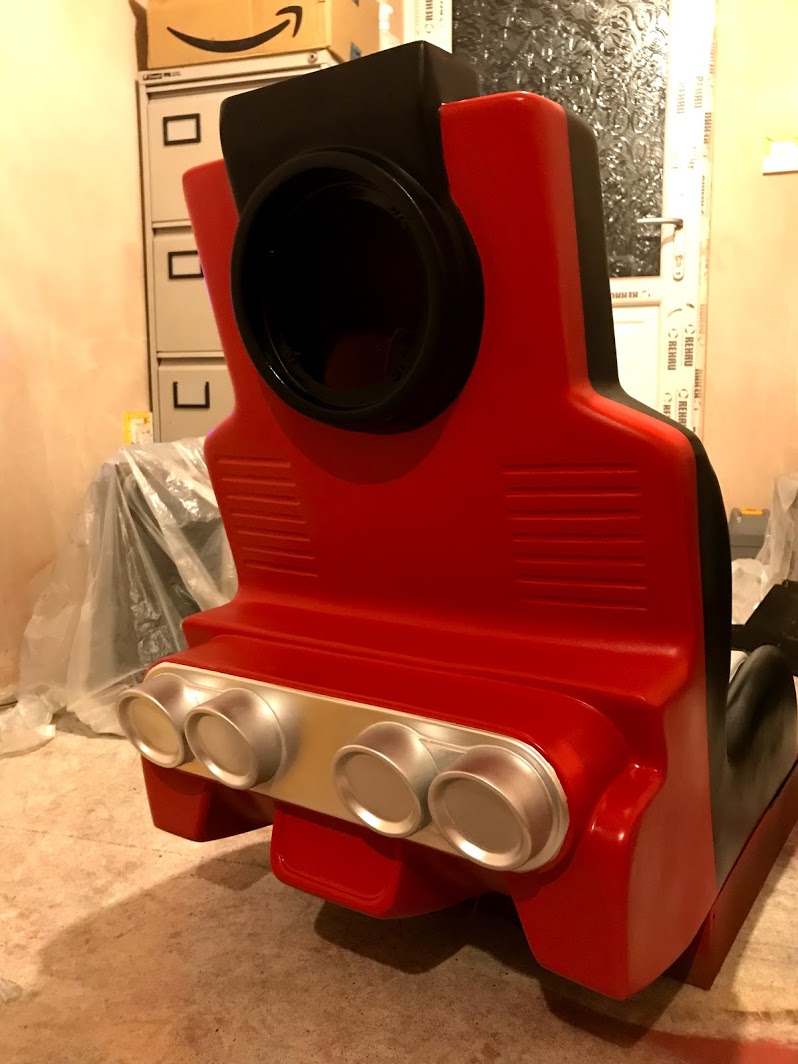
Then started on the black.
Been pottering around doing other little jobs in the evenings.
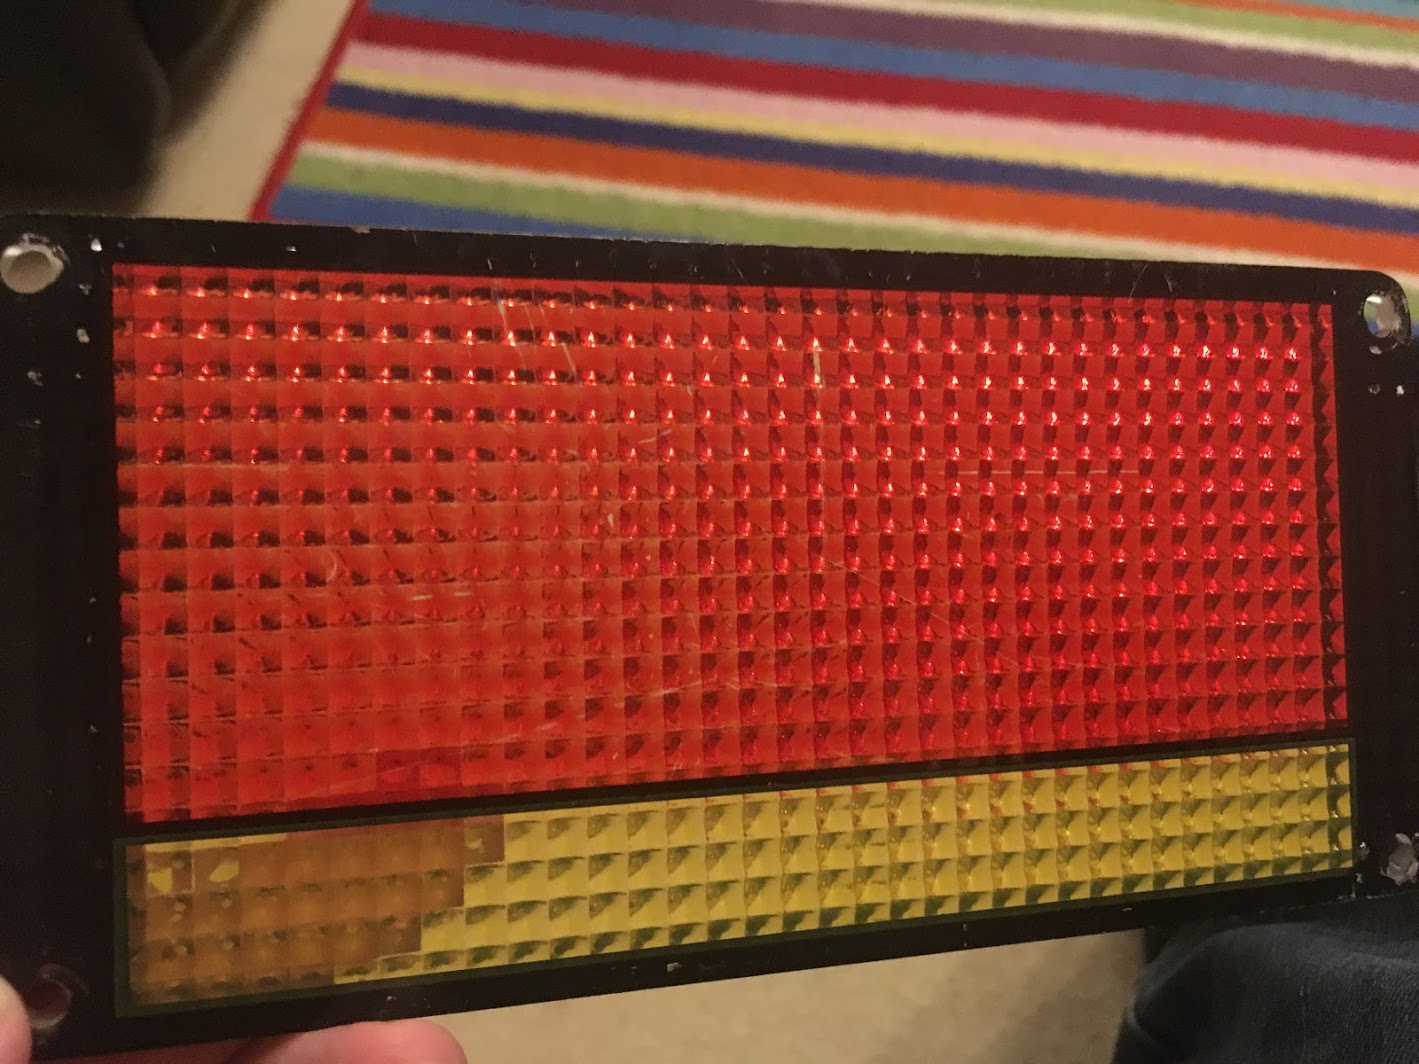
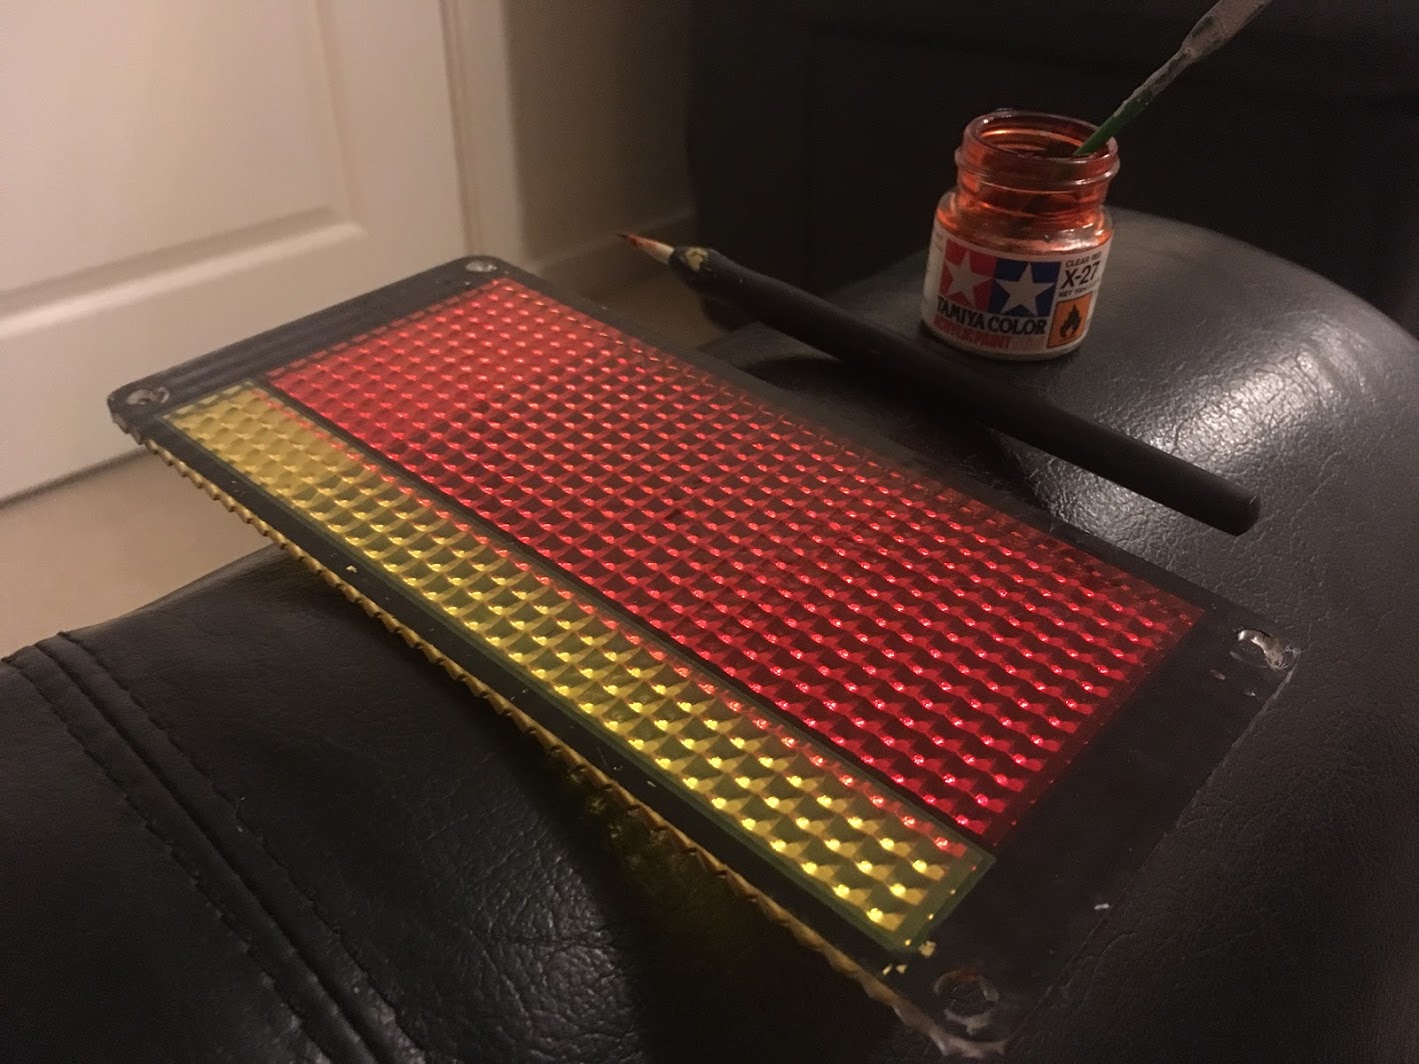
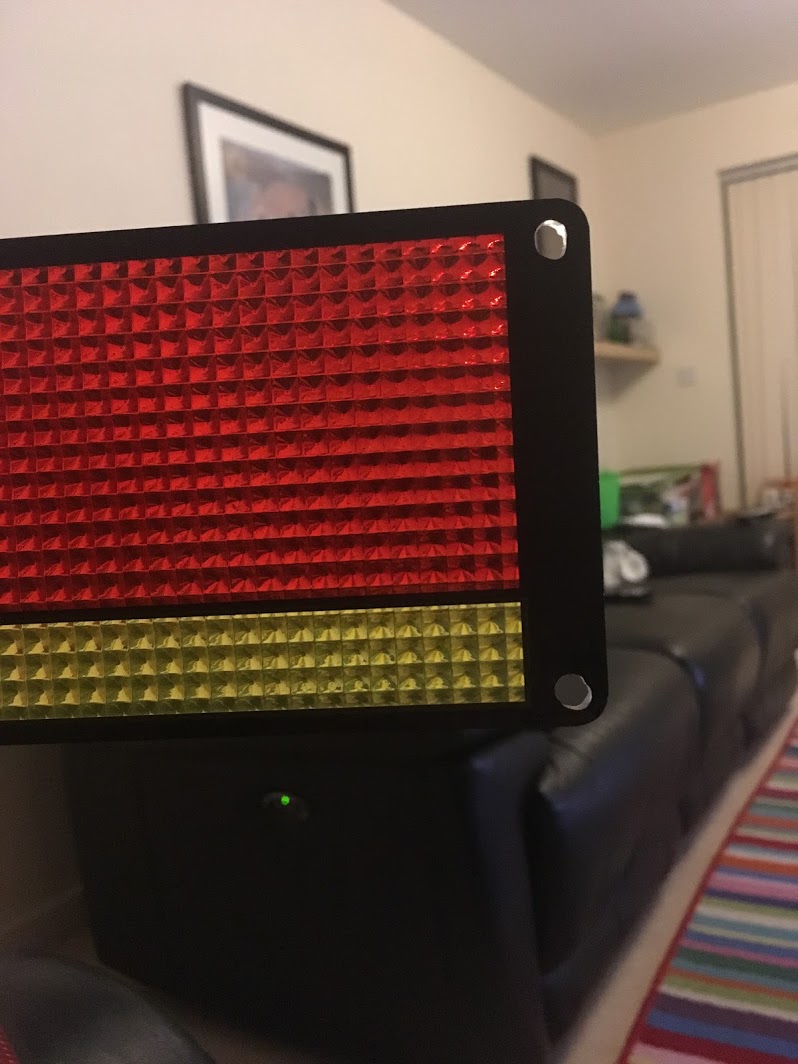
Rear lights were luckily present, however one was on inside out for years (you can see it in the pic of it on site) so was very scratched, repainted both.
Before
Paint
After
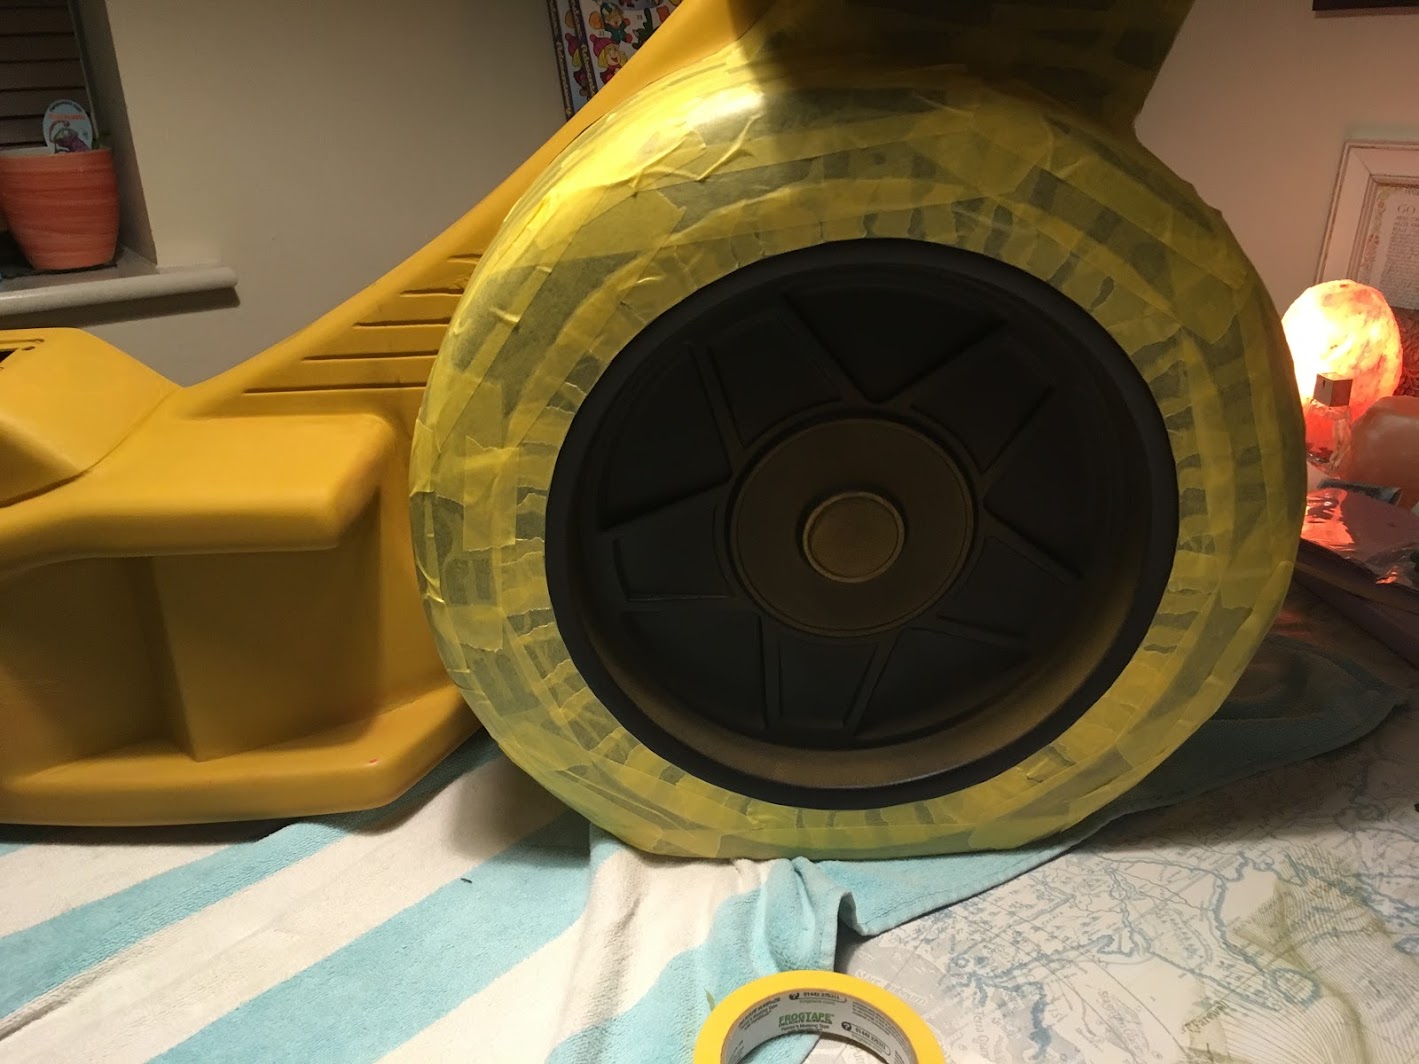
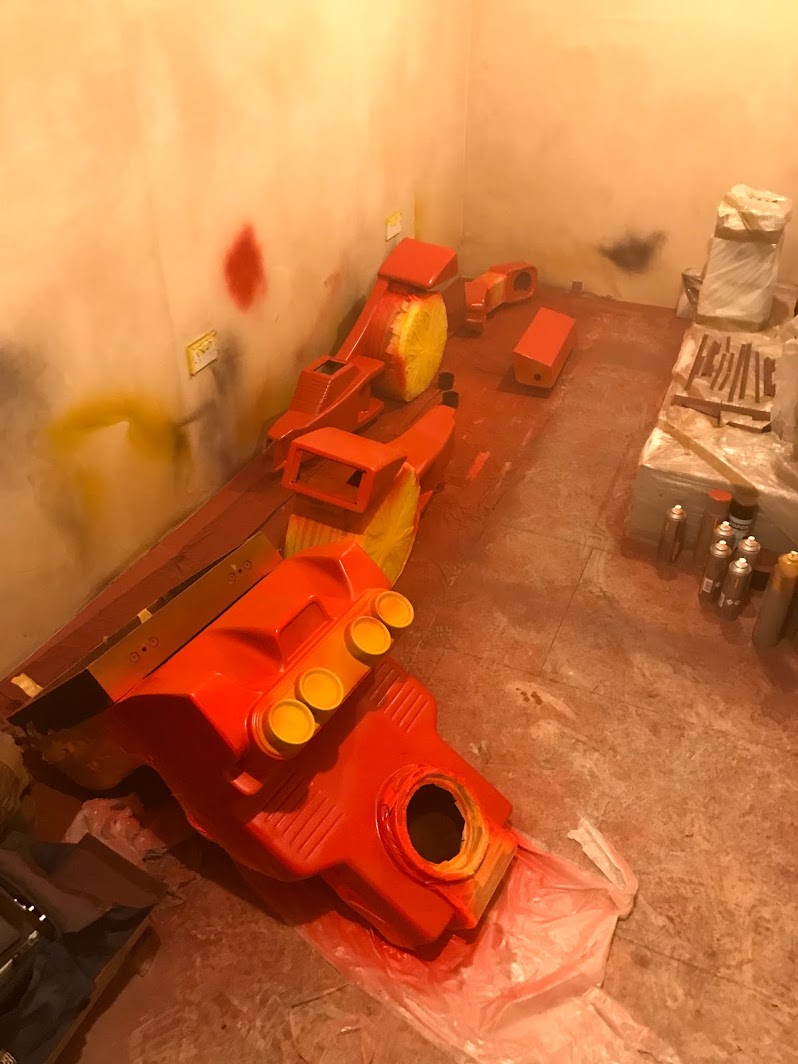
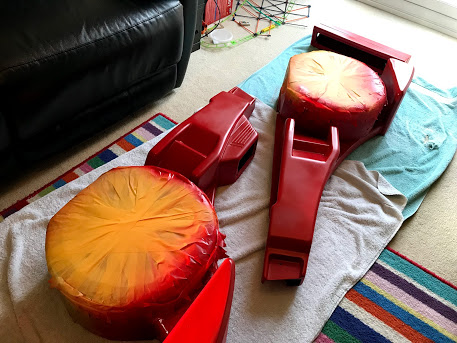
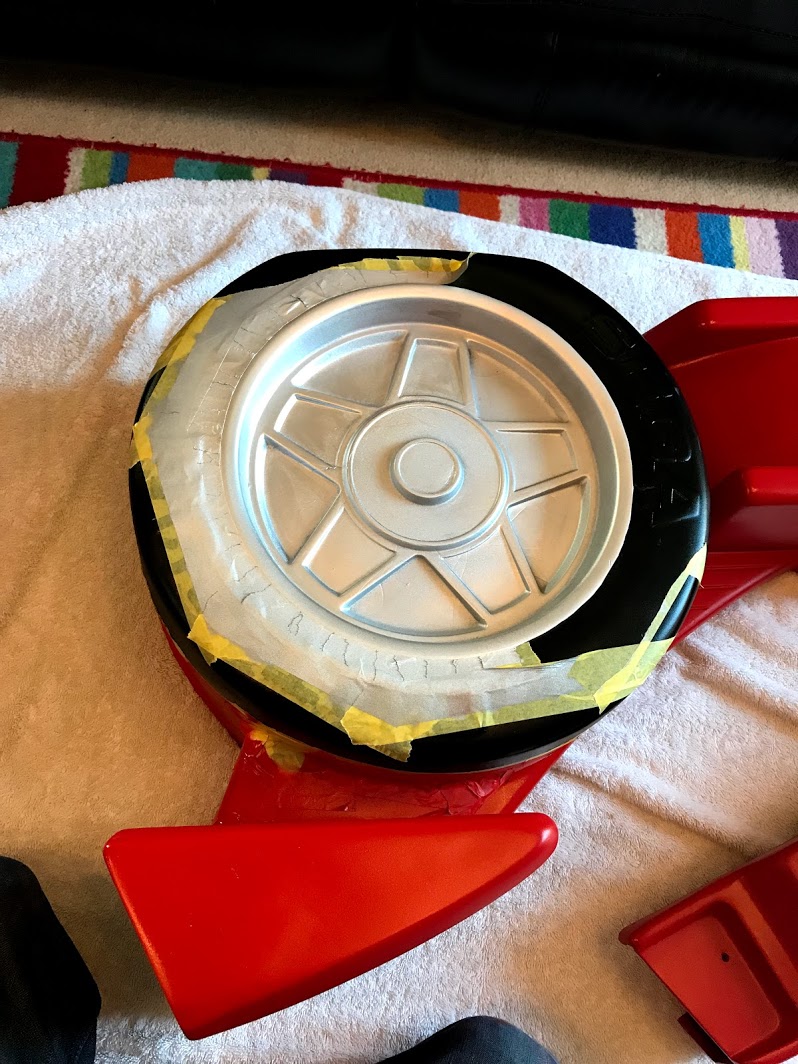
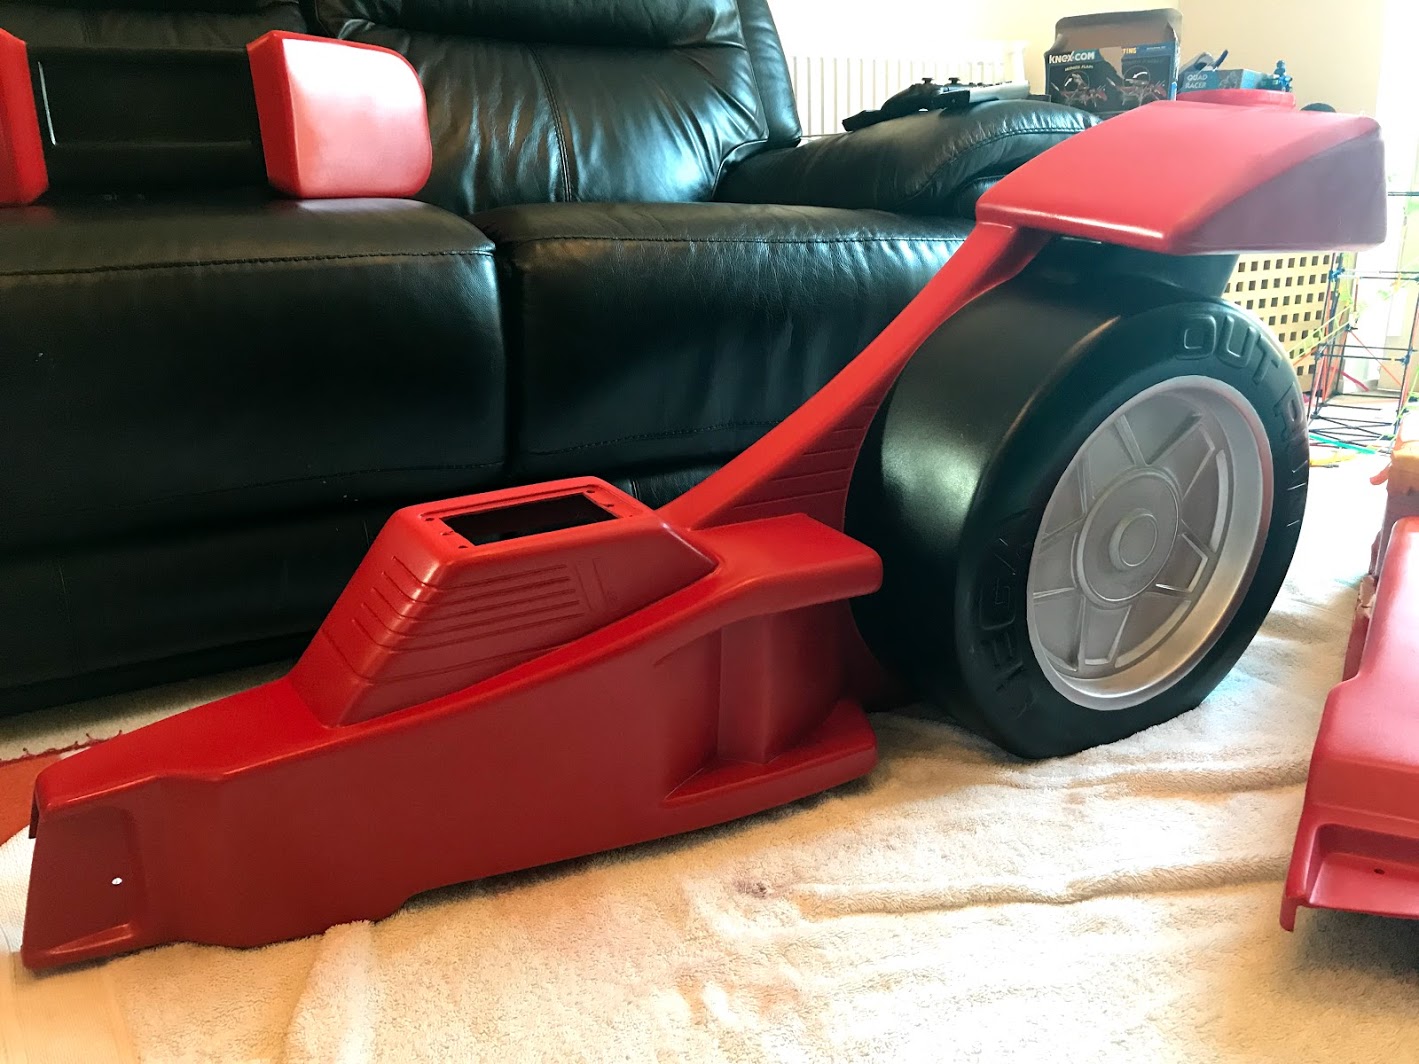
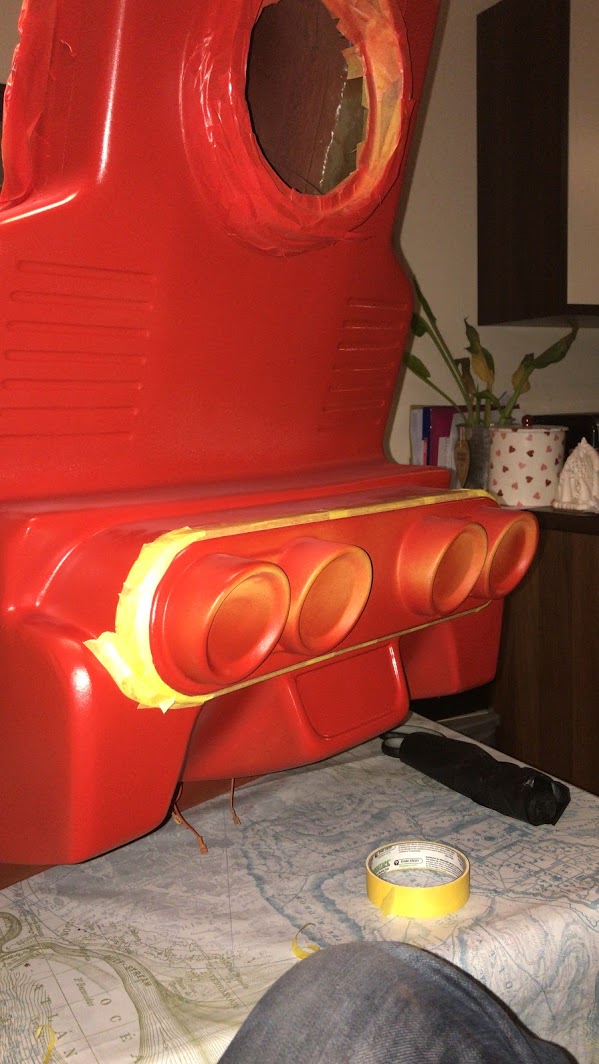
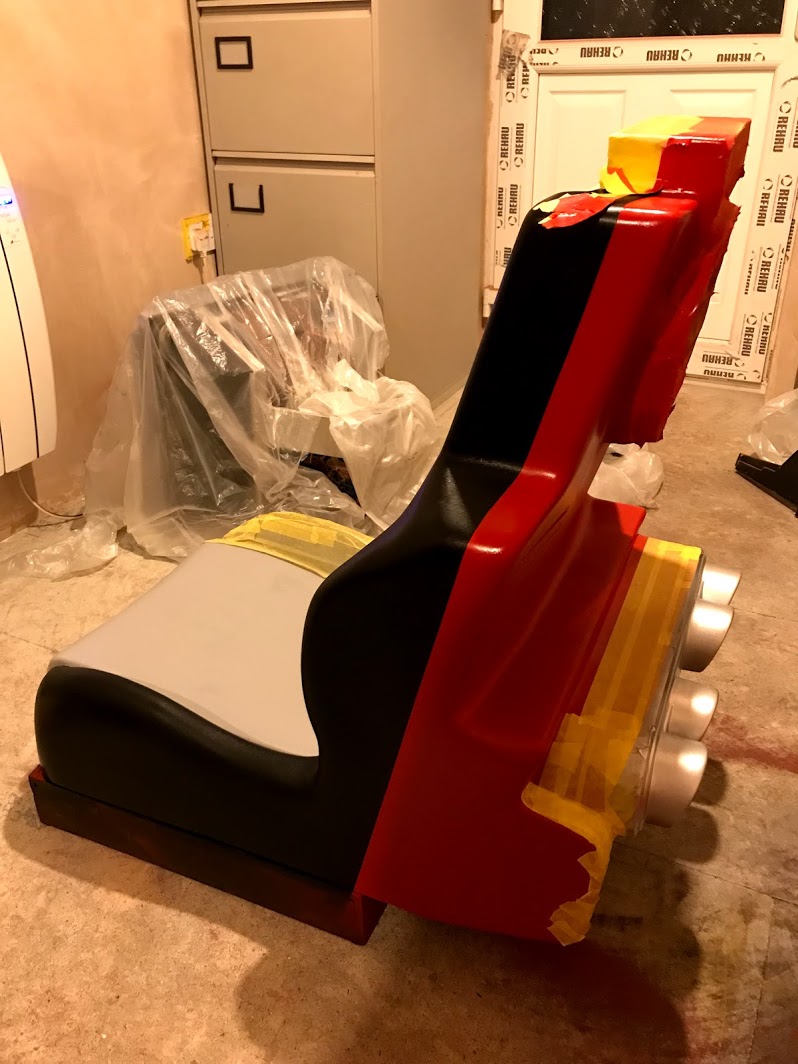
Silver paint on the wheels, then masking and all the red to do. Struggling to find a good color match for the red at the moment so going to do a few tests on some scraps.
Sanded down all the filler that was applied after the first round of primer.
Applied more primer, then wet sanded all of it.
Then began masking.
Finally applying some paint.
Seat grey.
Then started on the black.
Been pottering around doing other little jobs in the evenings.
Rear lights were luckily present, however one was on inside out for years (you can see it in the pic of it on site) so was very scratched, repainted both.
Before
Paint
After
Silver paint on the wheels, then masking and all the red to do. Struggling to find a good color match for the red at the moment so going to do a few tests on some scraps.

K1ngarth3r
Active member
Good work, it's looks great!
Thanks all, glad people approve, pleased so far for a home job.
While
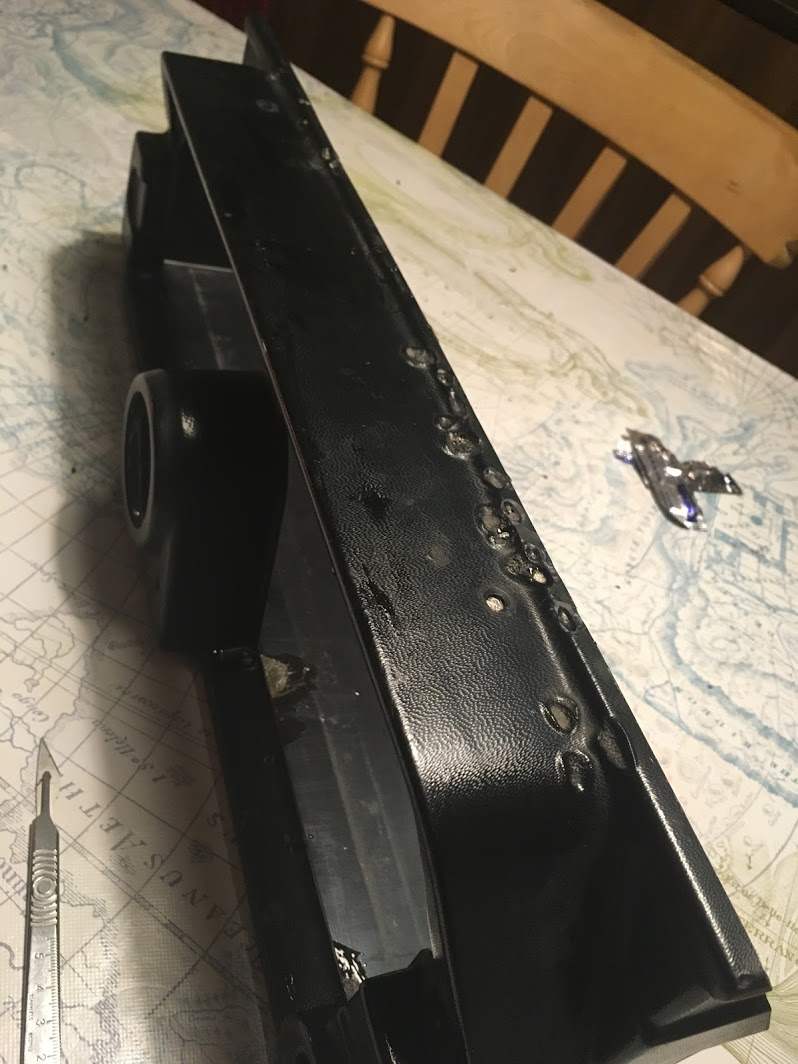
I have been painting I repaired the dash as it was badly meted and
burnt, as I have zero chance of finding a NOS one any time soon I
decided to repair it.
Before, melty.
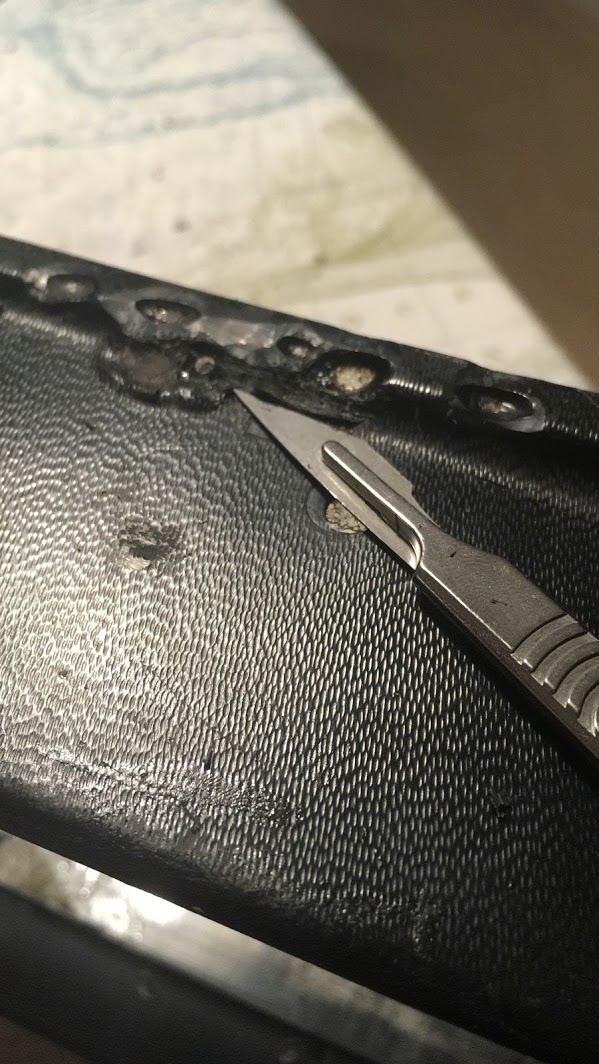
Cut off the burns with a scalpel.
Then filled the dents left behind.
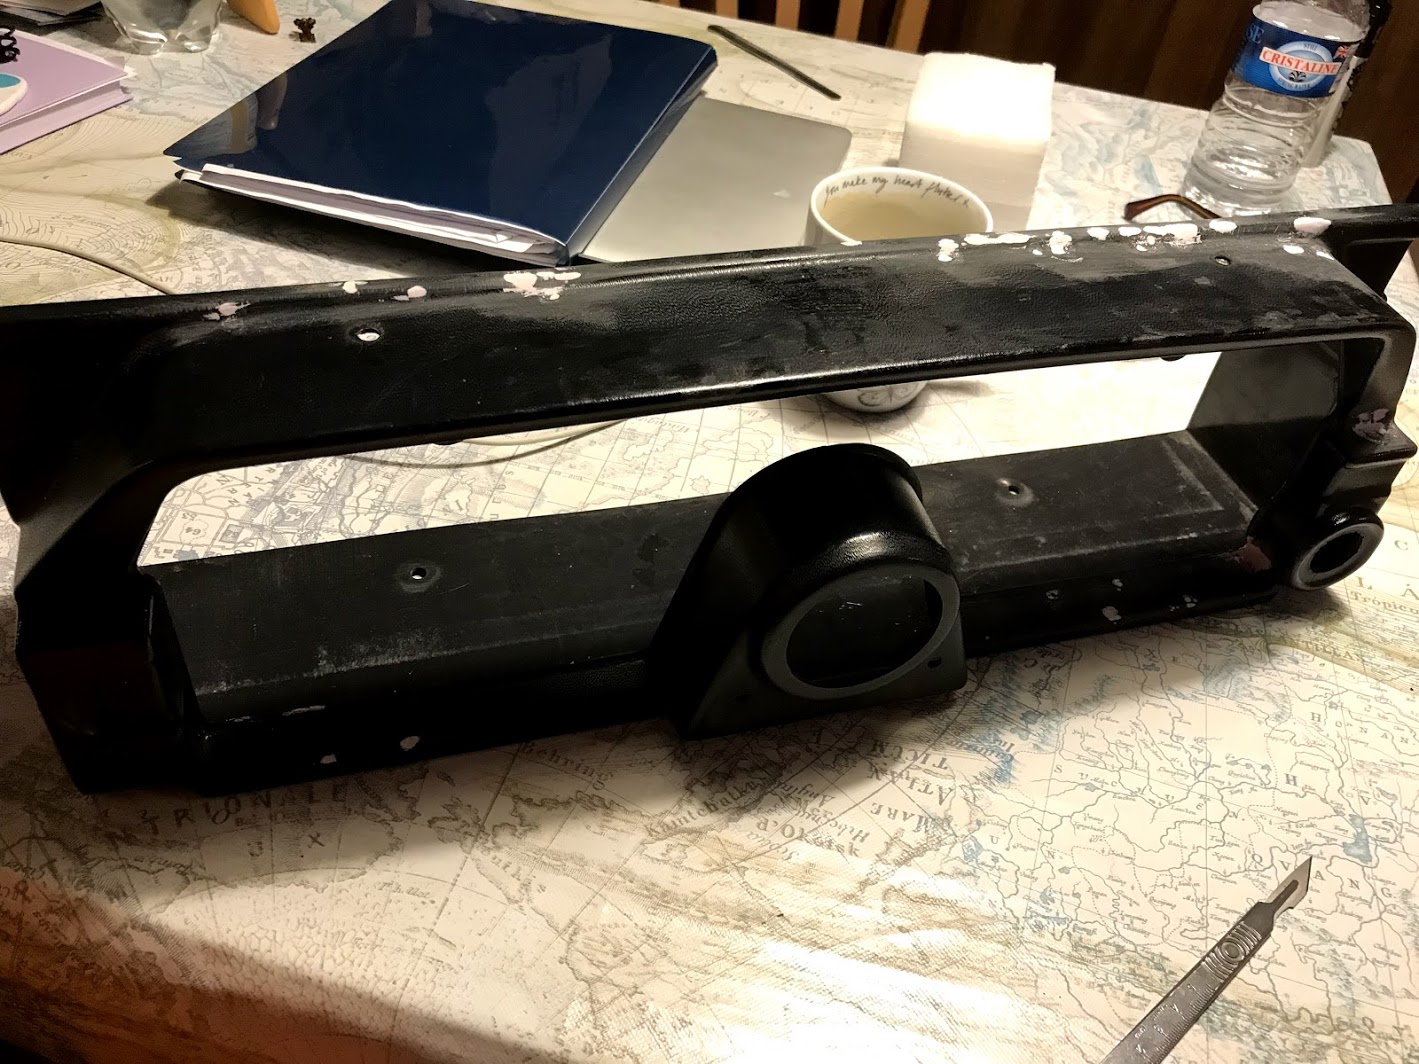
Primed (with a flexible plastic primer)
Painted, it's not 100% but it looks much better.
While
I have been painting I repaired the dash as it was badly meted and
burnt, as I have zero chance of finding a NOS one any time soon I
decided to repair it.
Before, melty.
Cut off the burns with a scalpel.
Then filled the dents left behind.
Primed (with a flexible plastic primer)
Painted, it's not 100% but it looks much better.


K1ngarth3r
Active member
Great job on the cigarette damaged area. All looks great, what clear coat are you going to use?

ataritoobin
Active member
Great work! Work I've yet to do on my OutRun DLX 
Cheers always appreciate the comments,
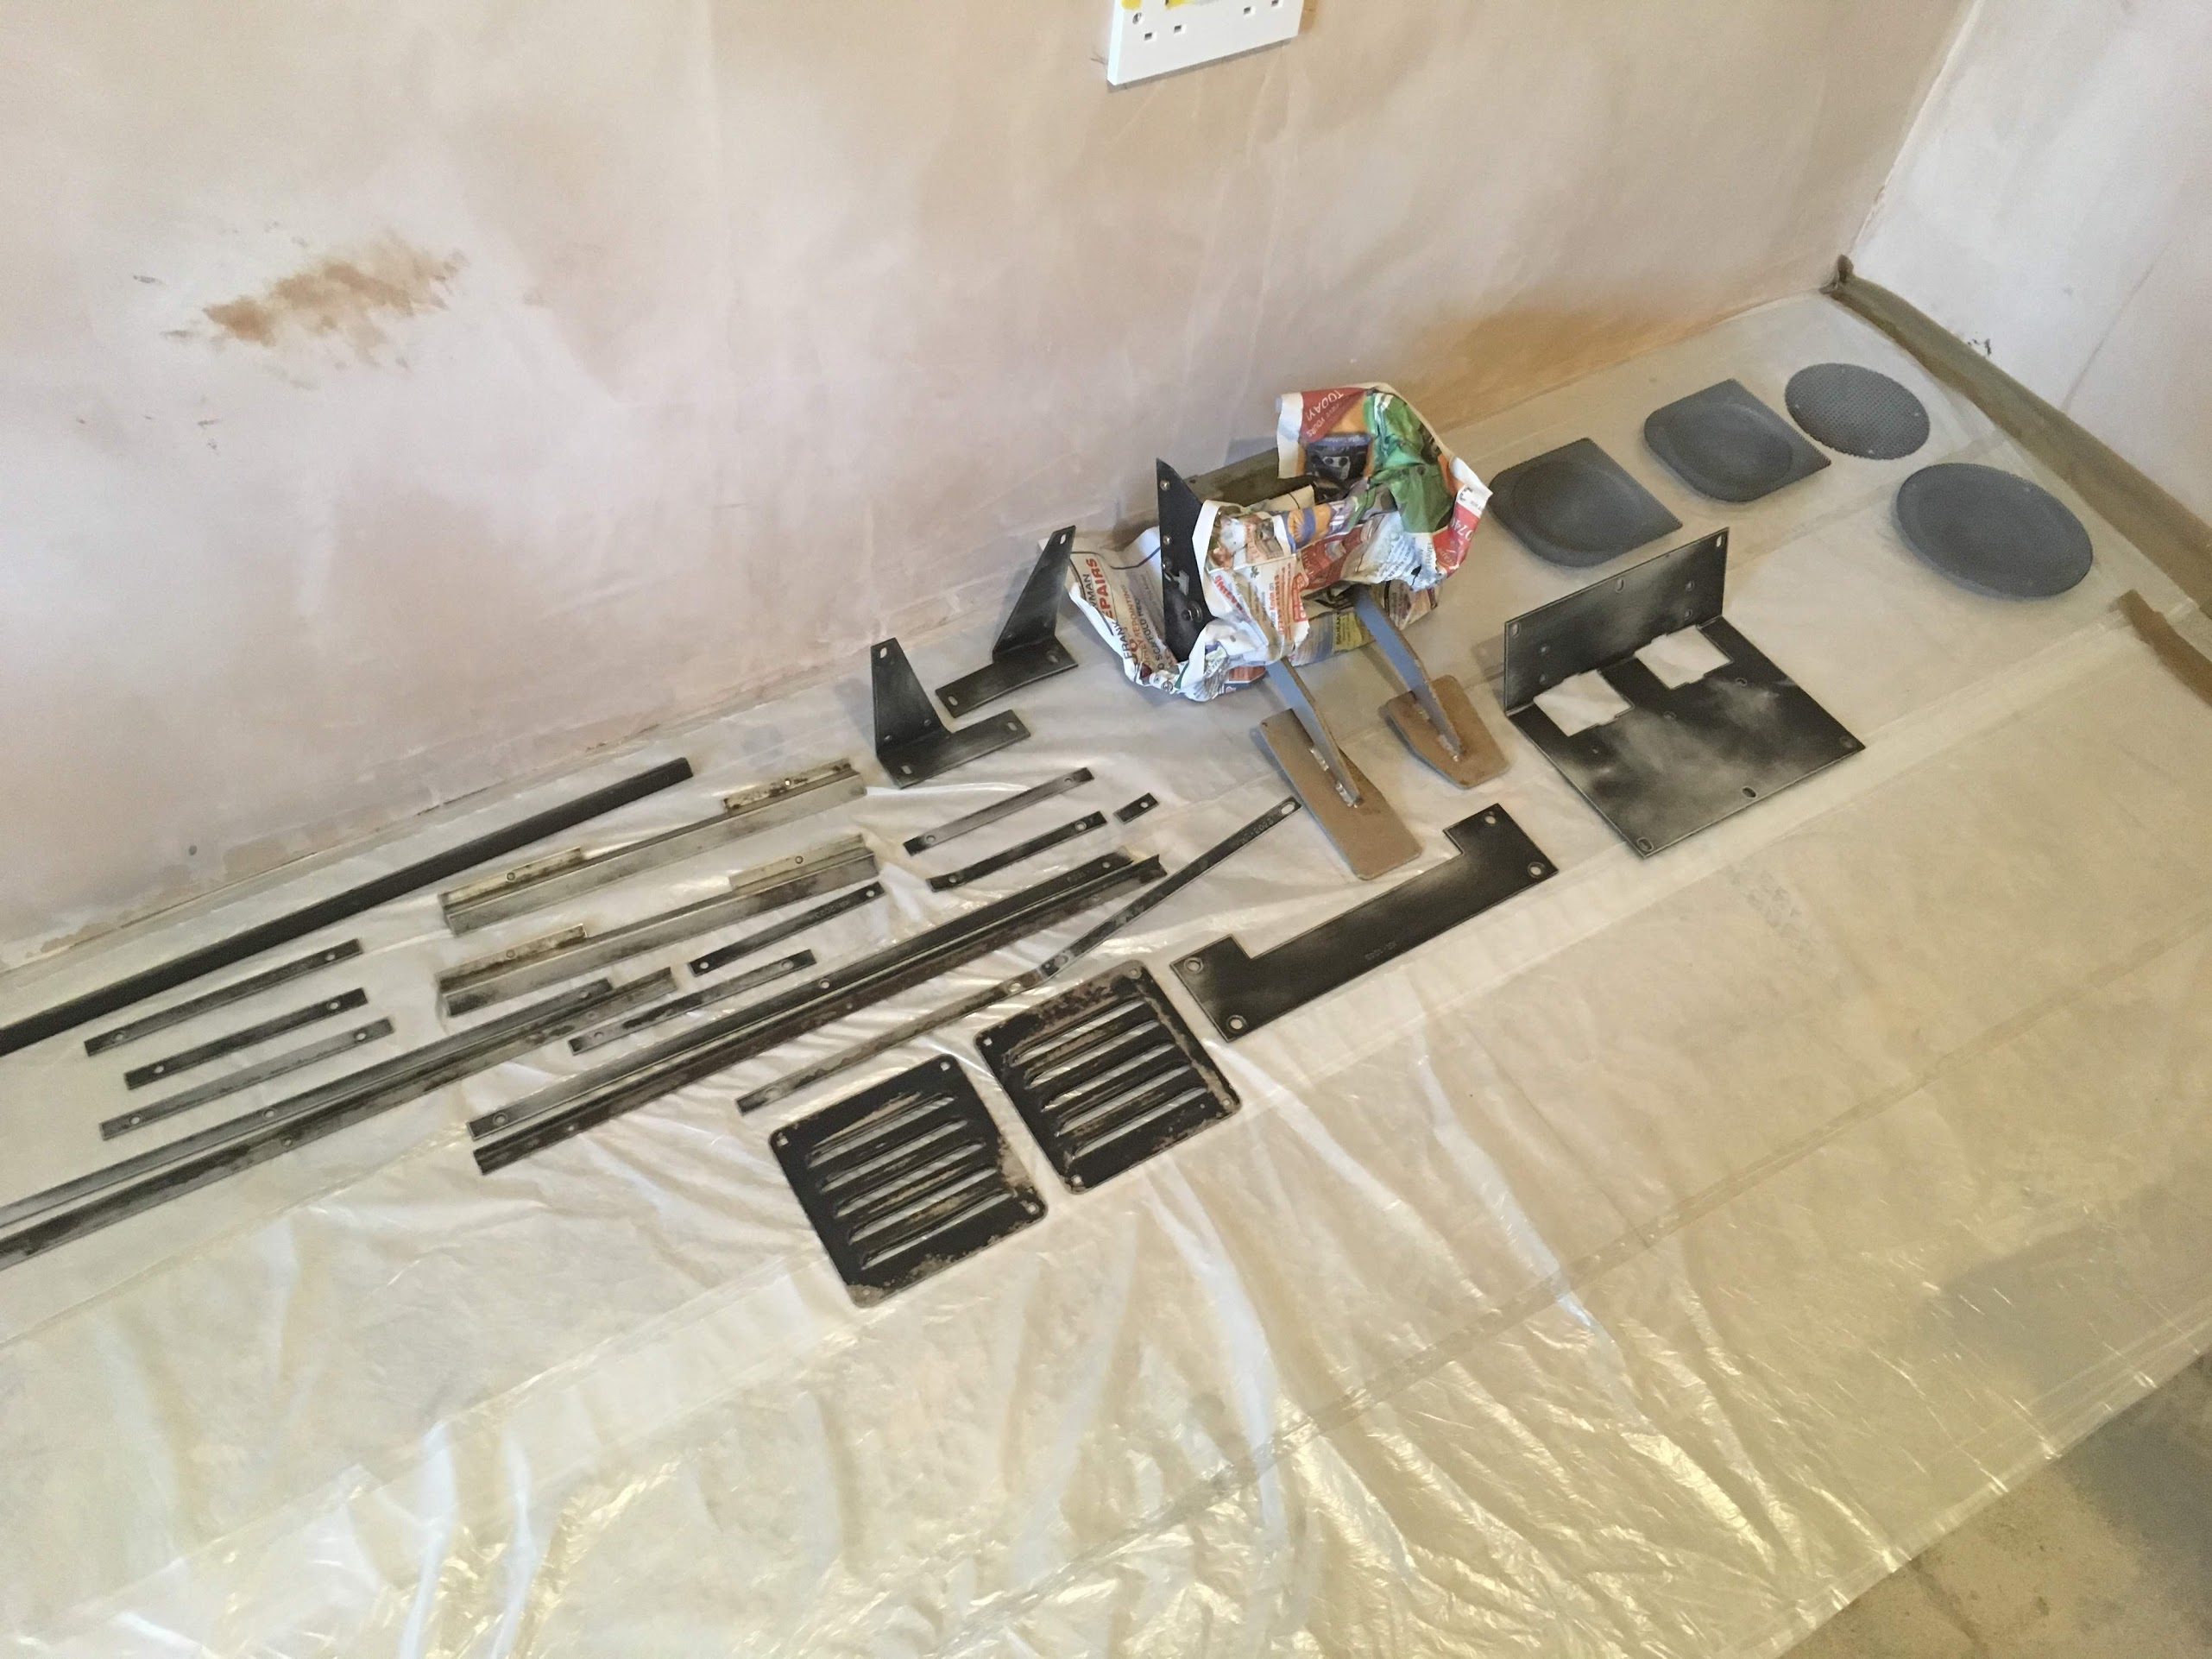
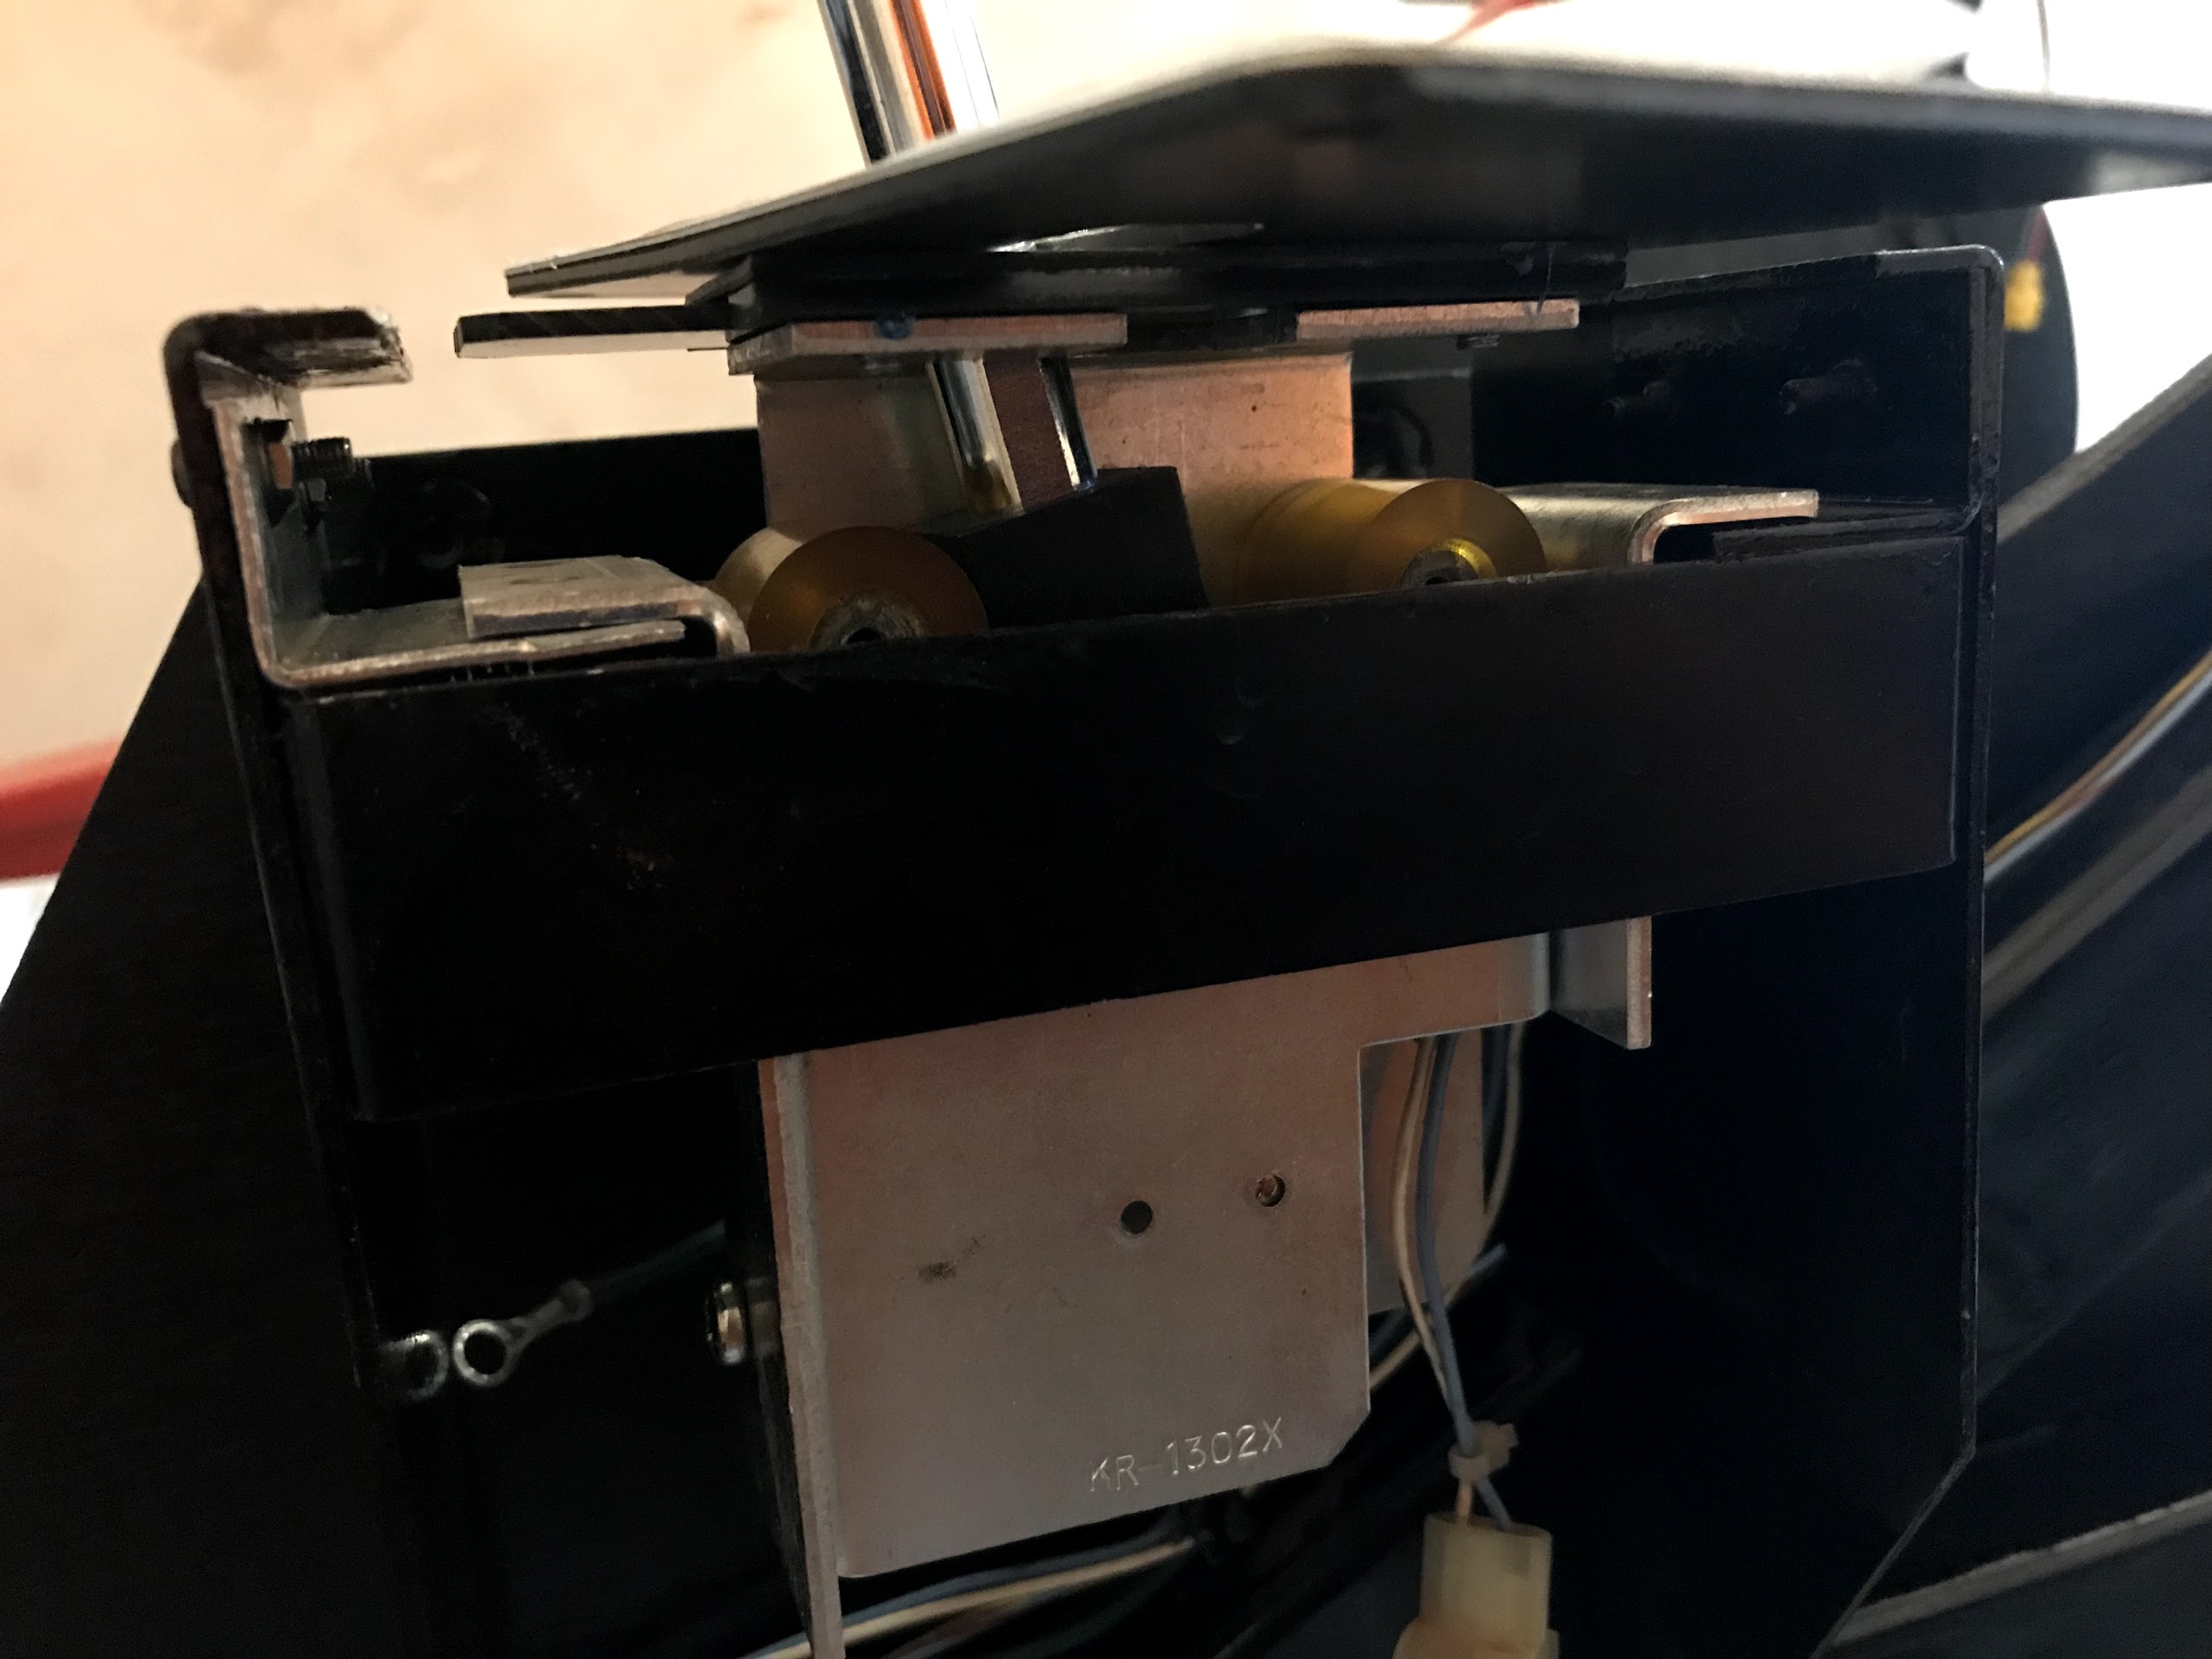
Painting fixtures and fittings, so many screws and fittings in this machine!
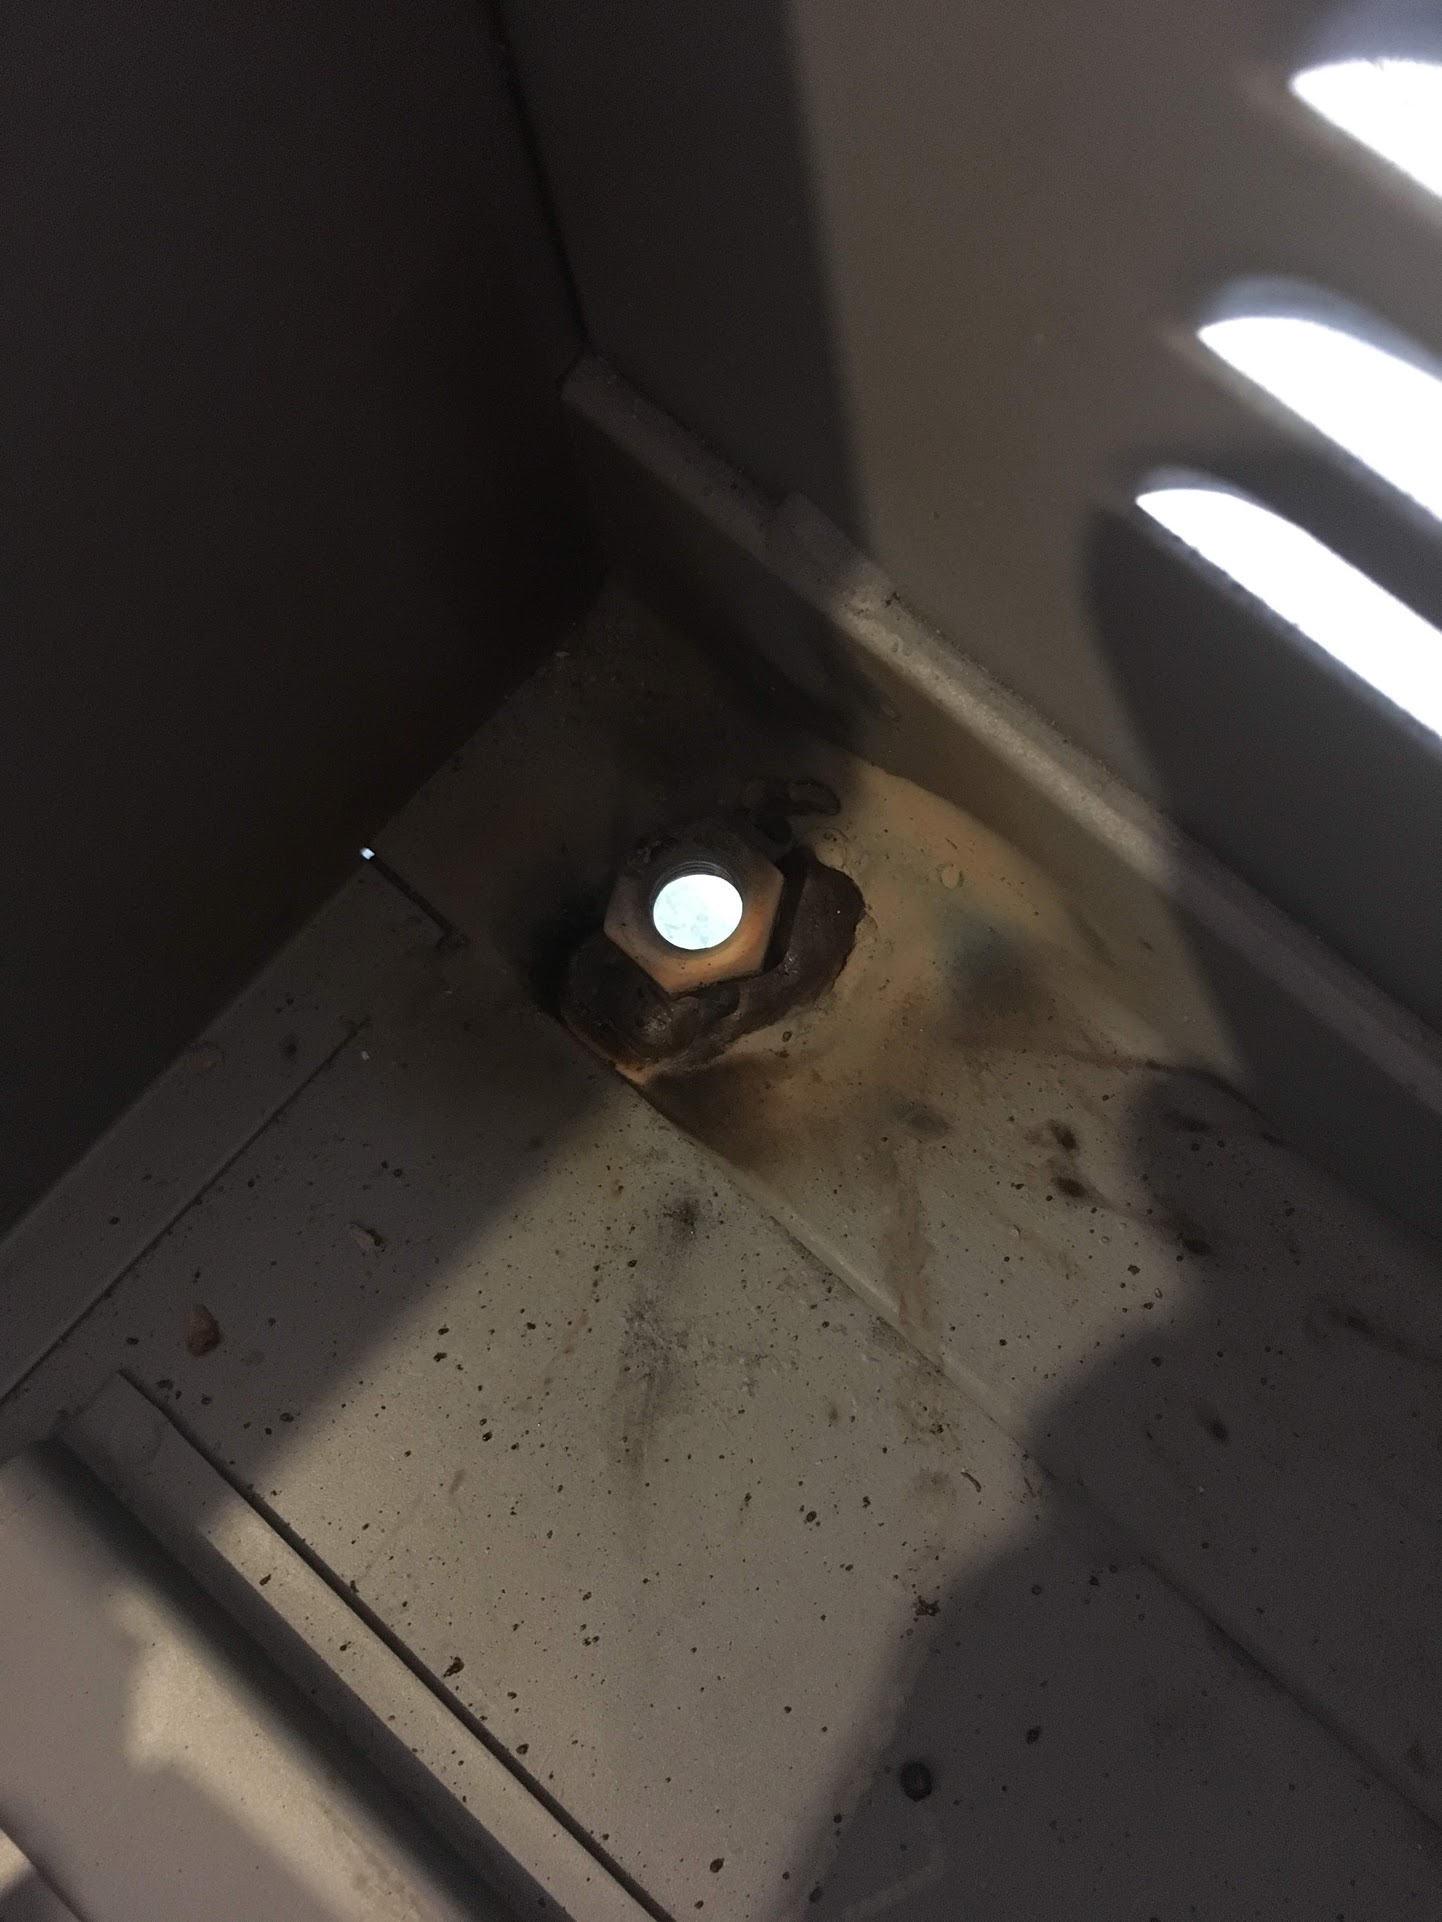
Welded in a new fitting for one of the leg levelers as the spot welds had failed.
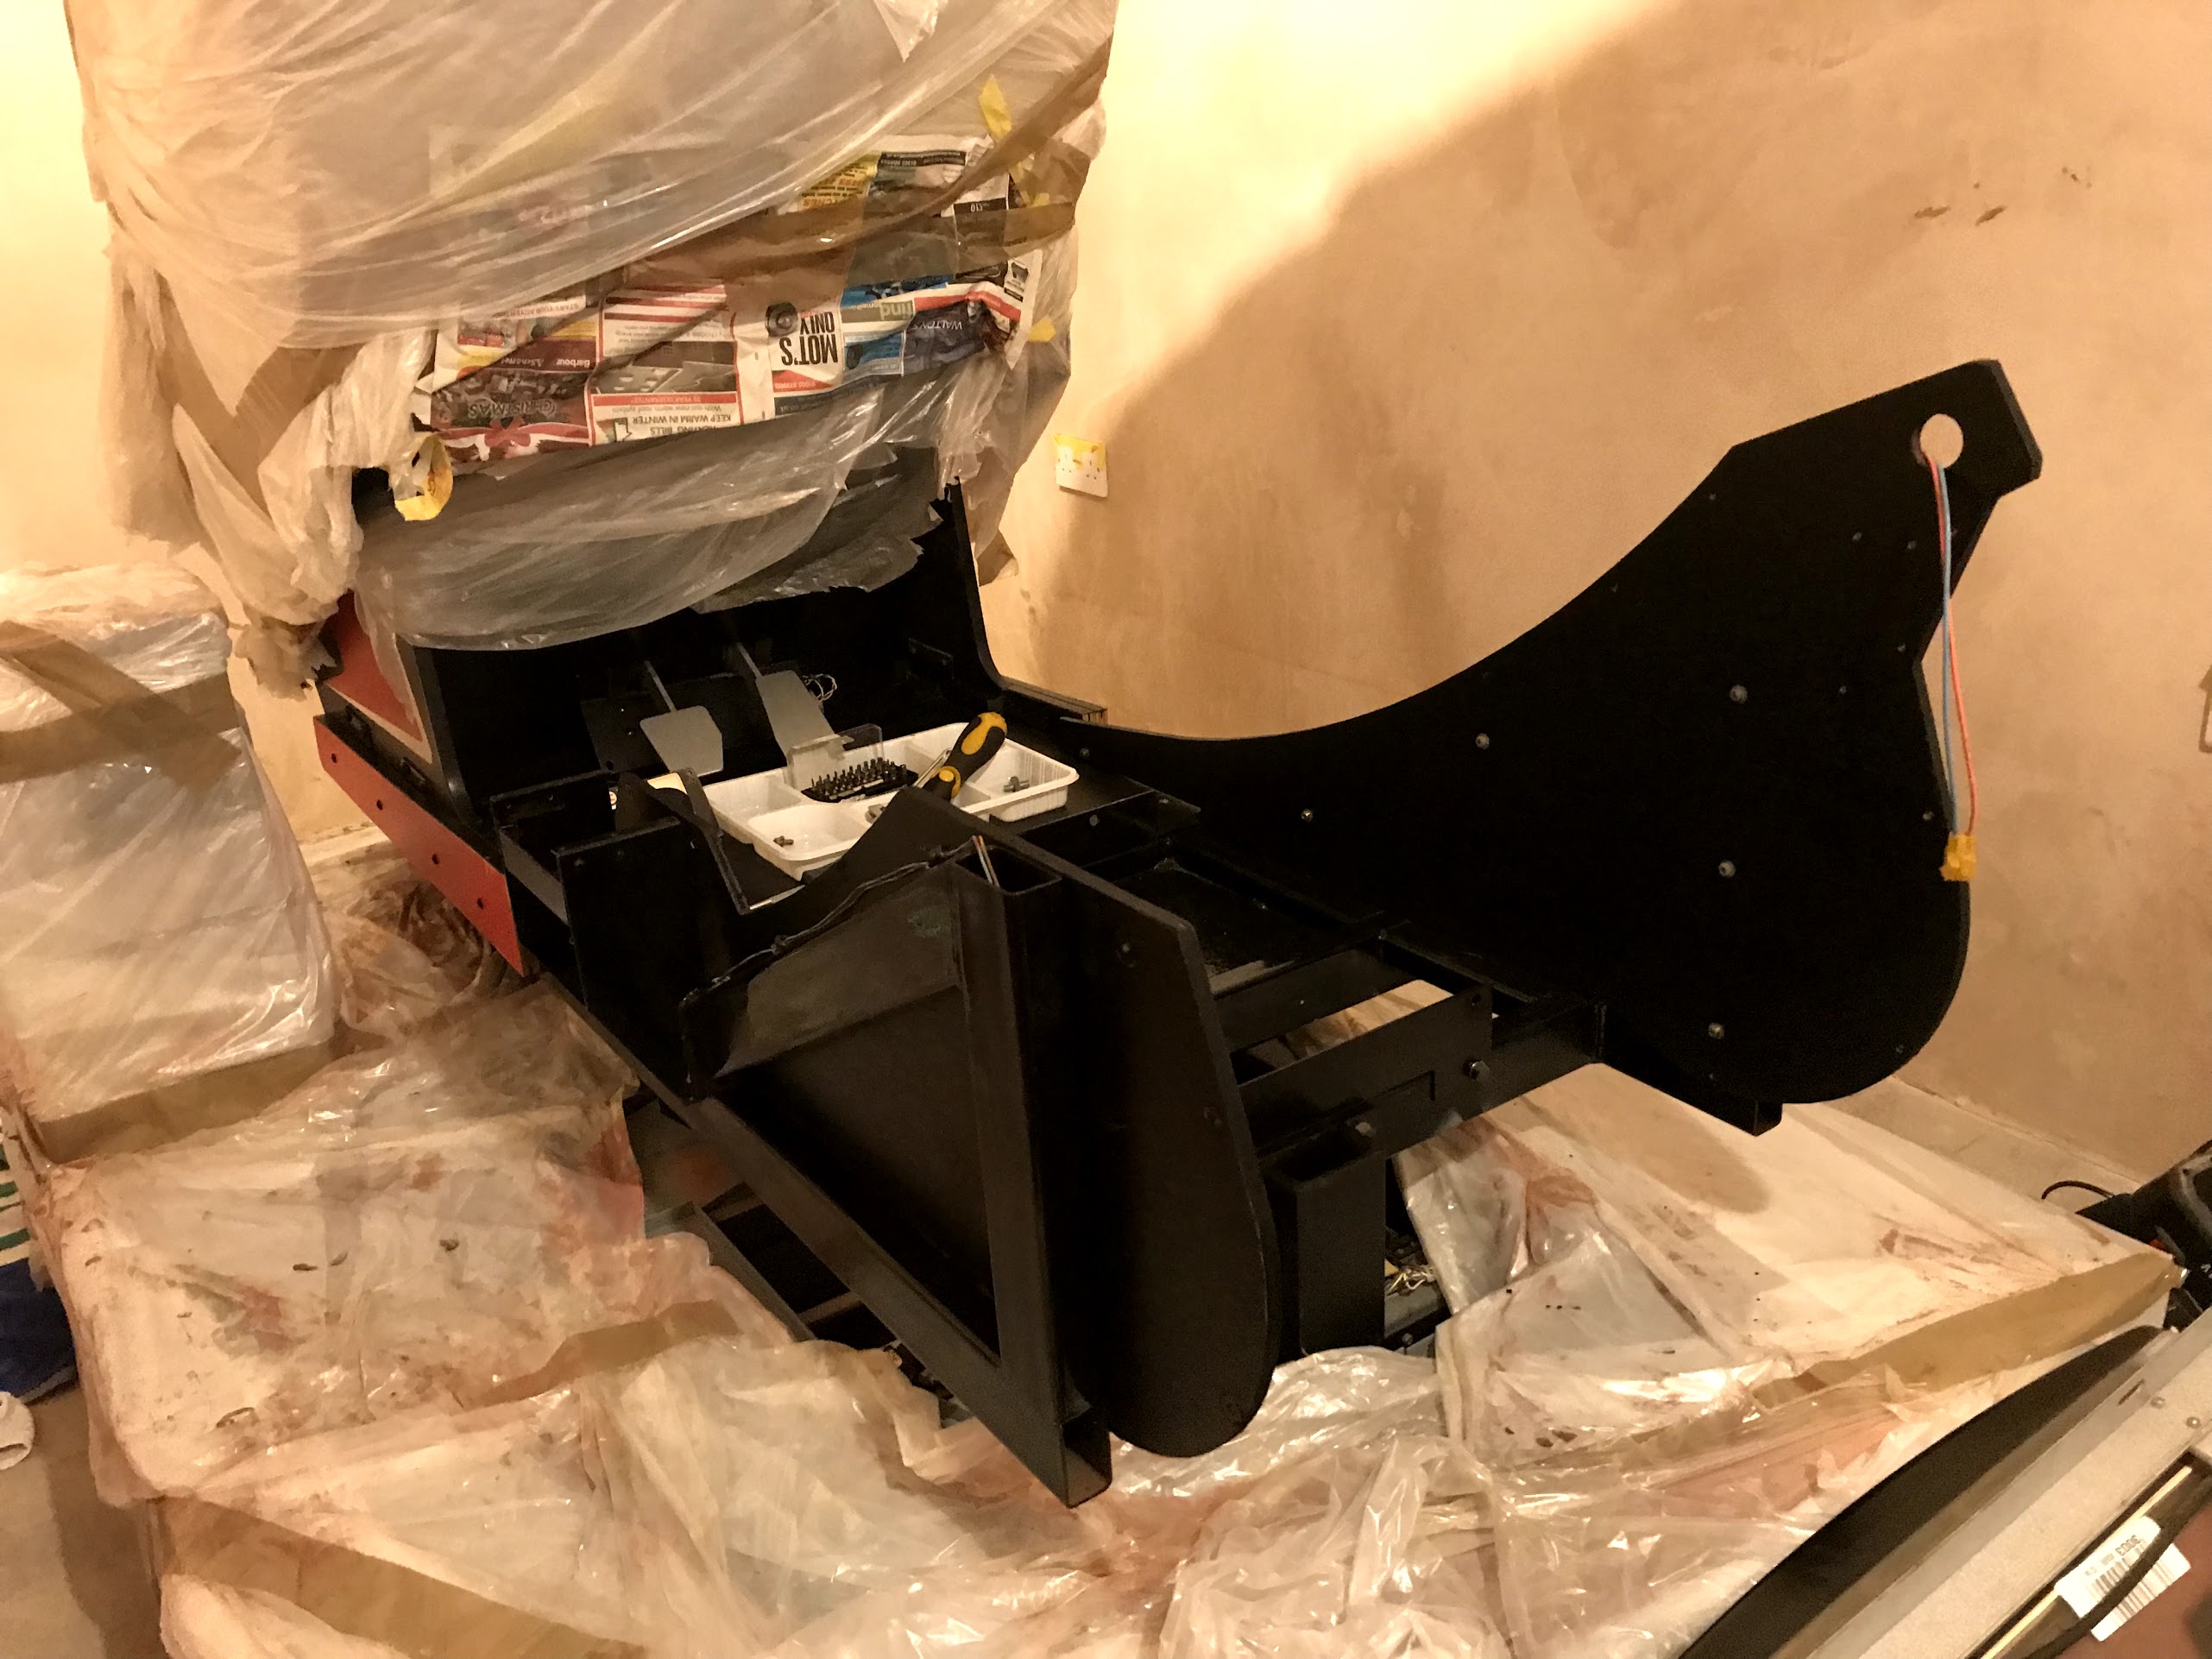
All the wood was painted and refitted.
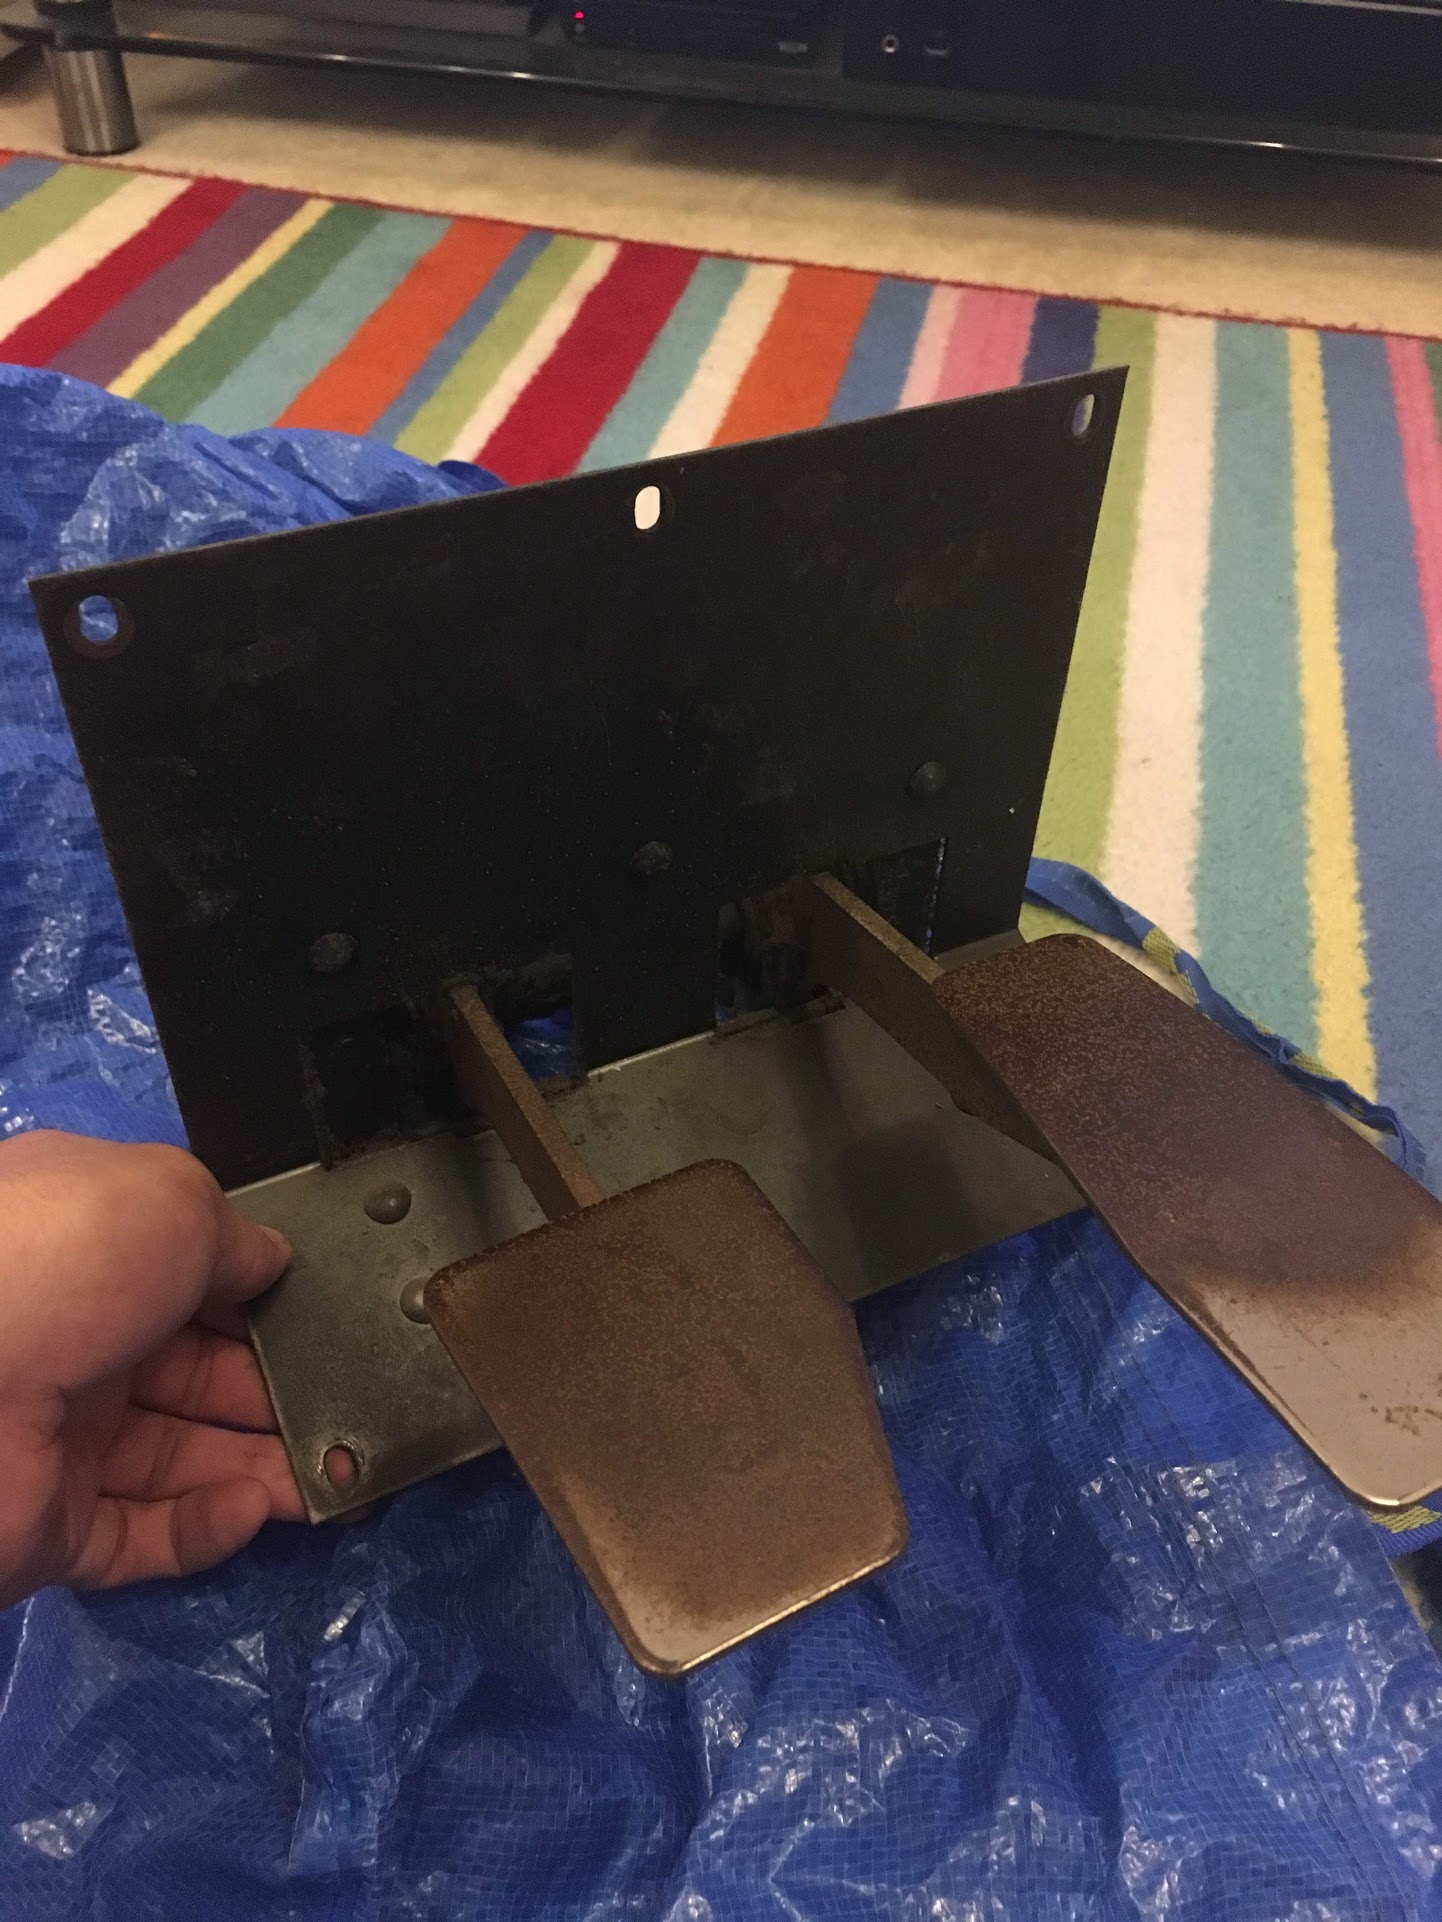
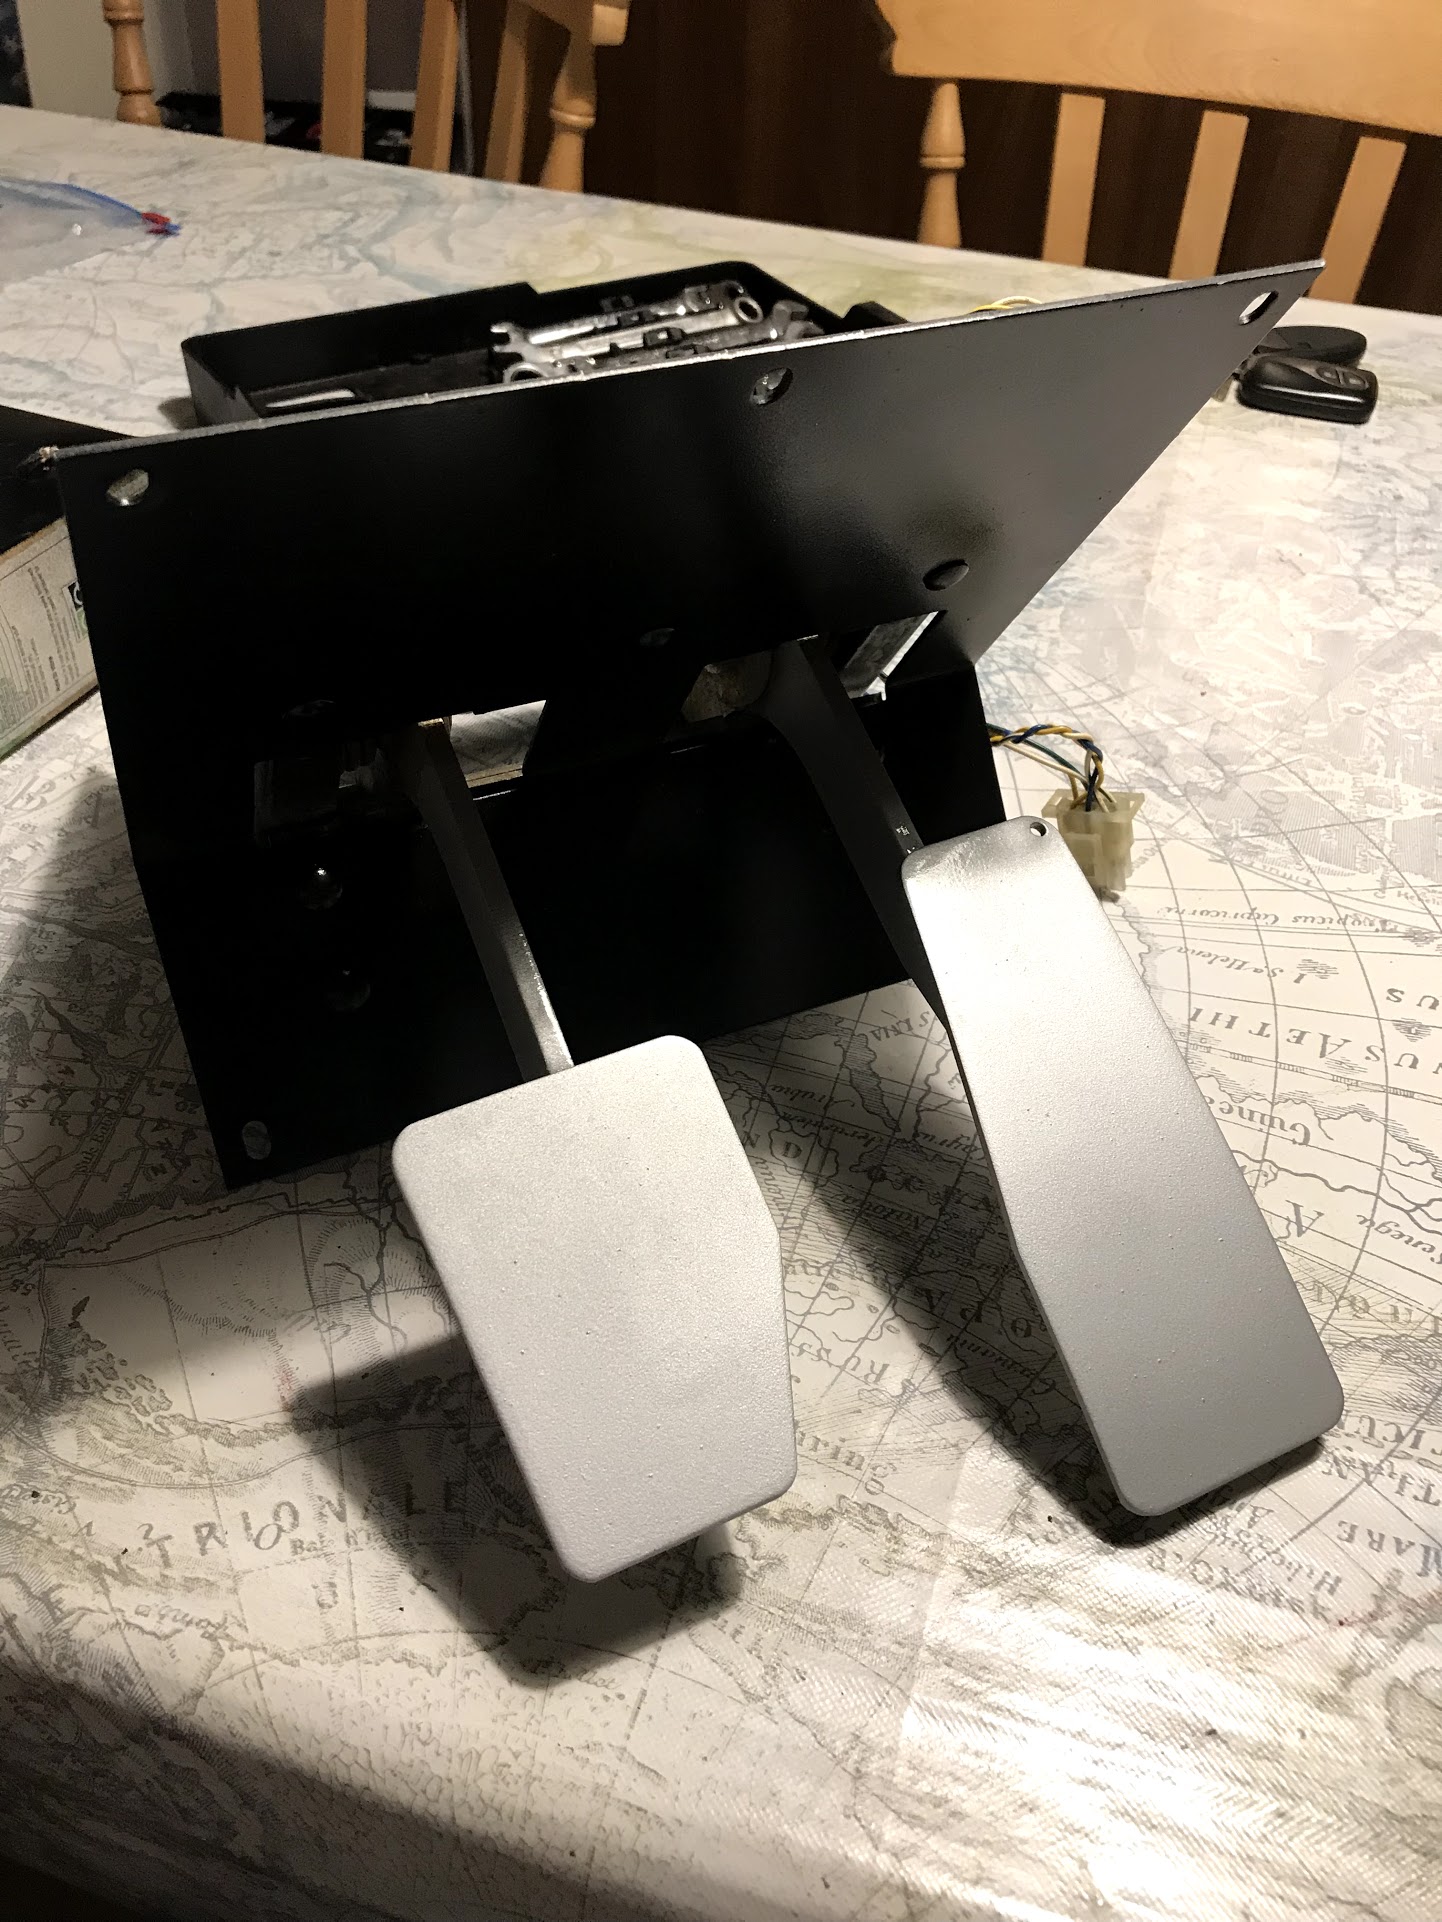
Pedals were stripped and refurbed, they have been painted for now, eventually they will be re-chromed.
Before
After
Before
After
Painting fixtures and fittings, so many screws and fittings in this machine!
Welded in a new fitting for one of the leg levelers as the spot welds had failed.
All the wood was painted and refitted.
Pedals were stripped and refurbed, they have been painted for now, eventually they will be re-chromed.
Before
After
Before
After
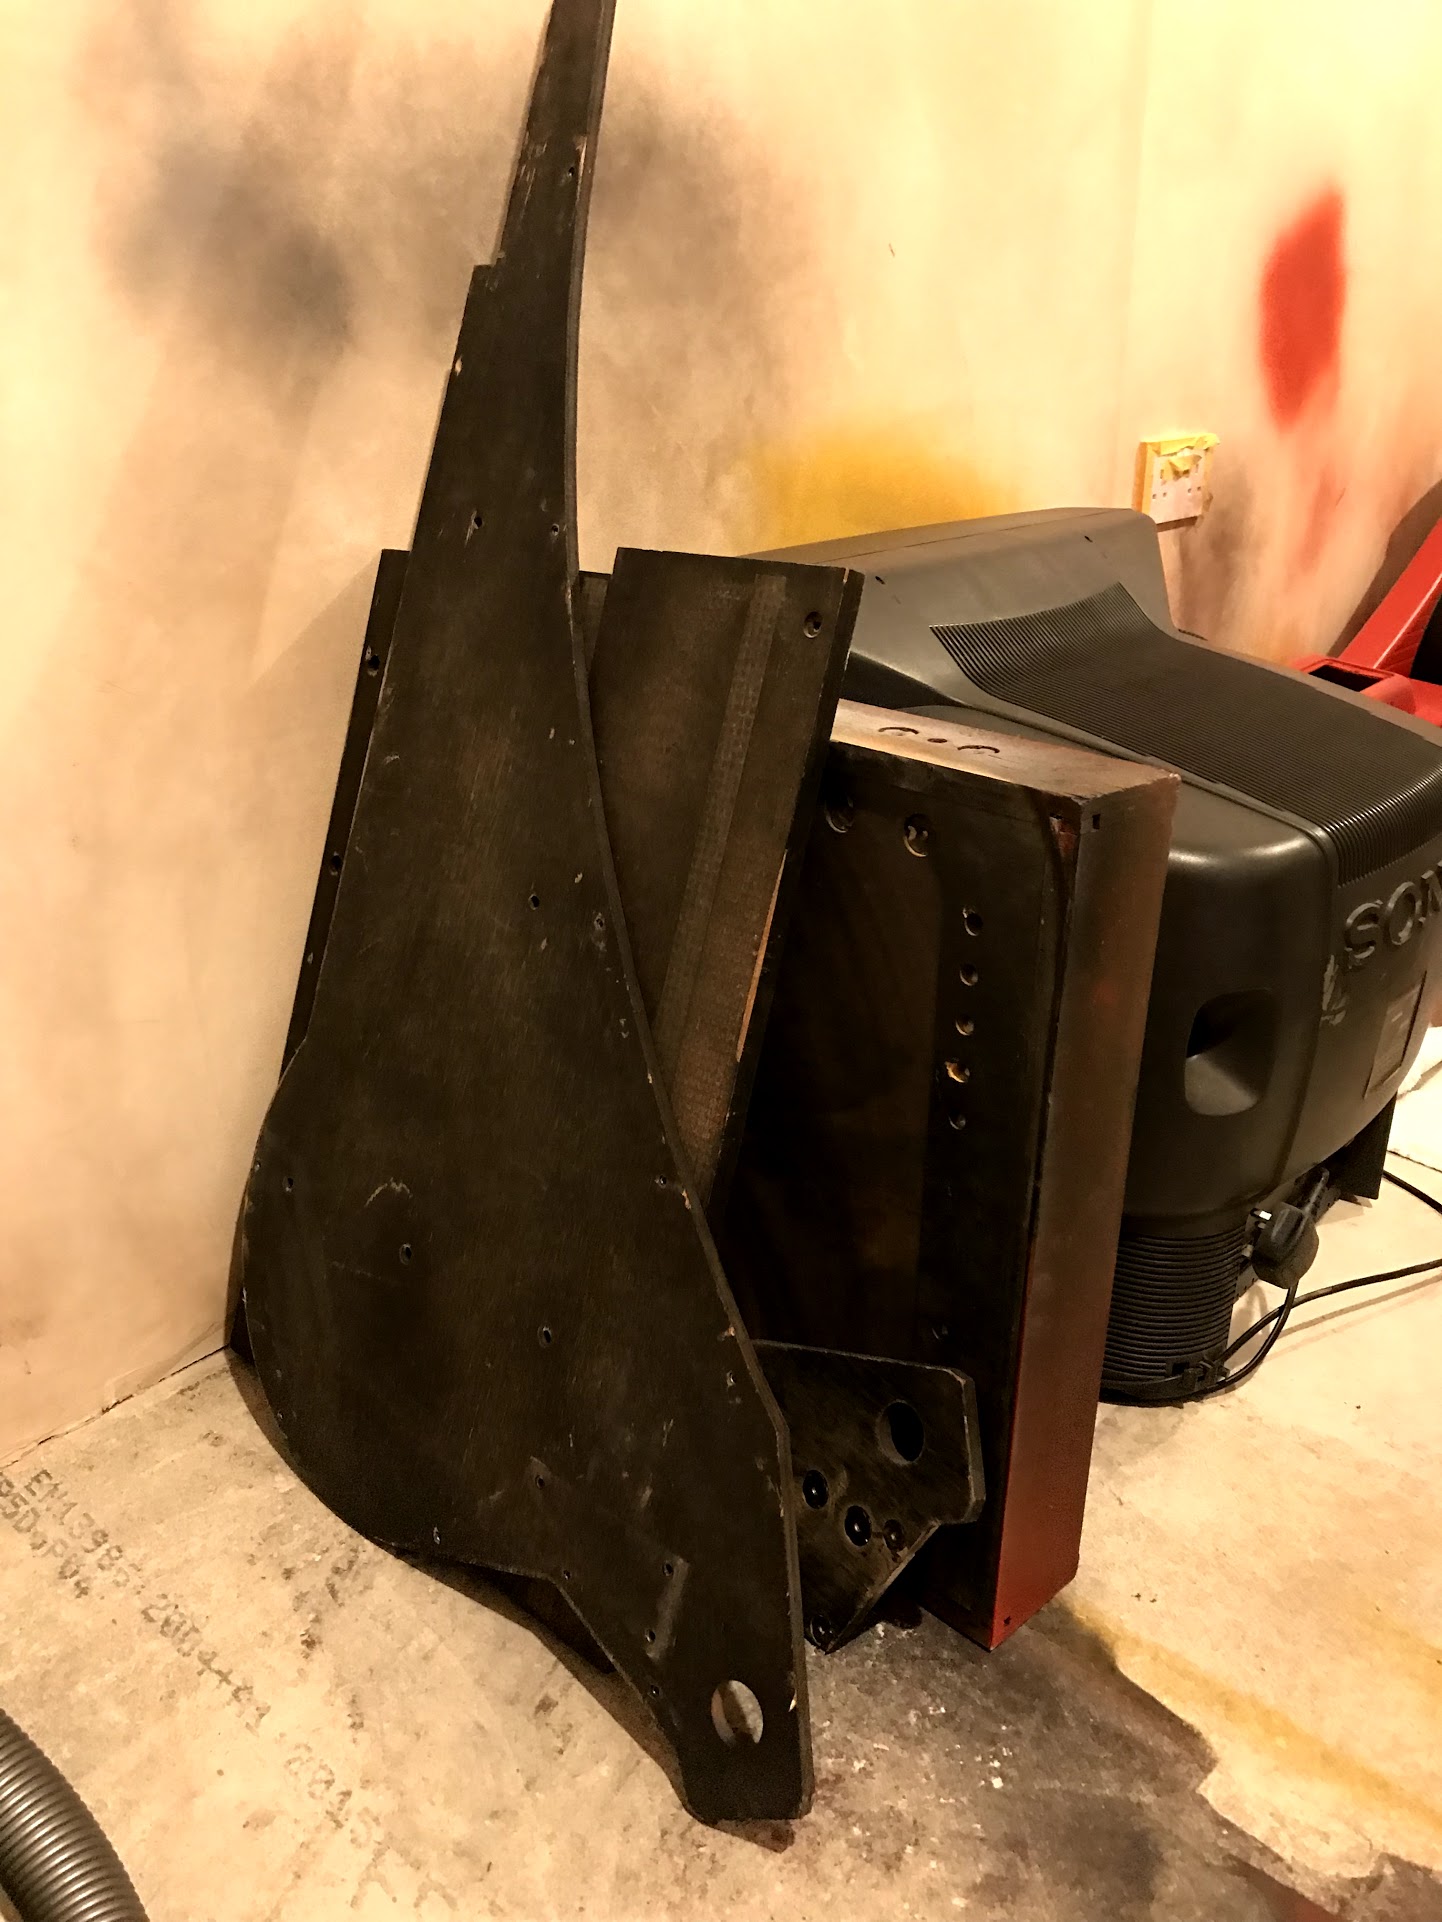
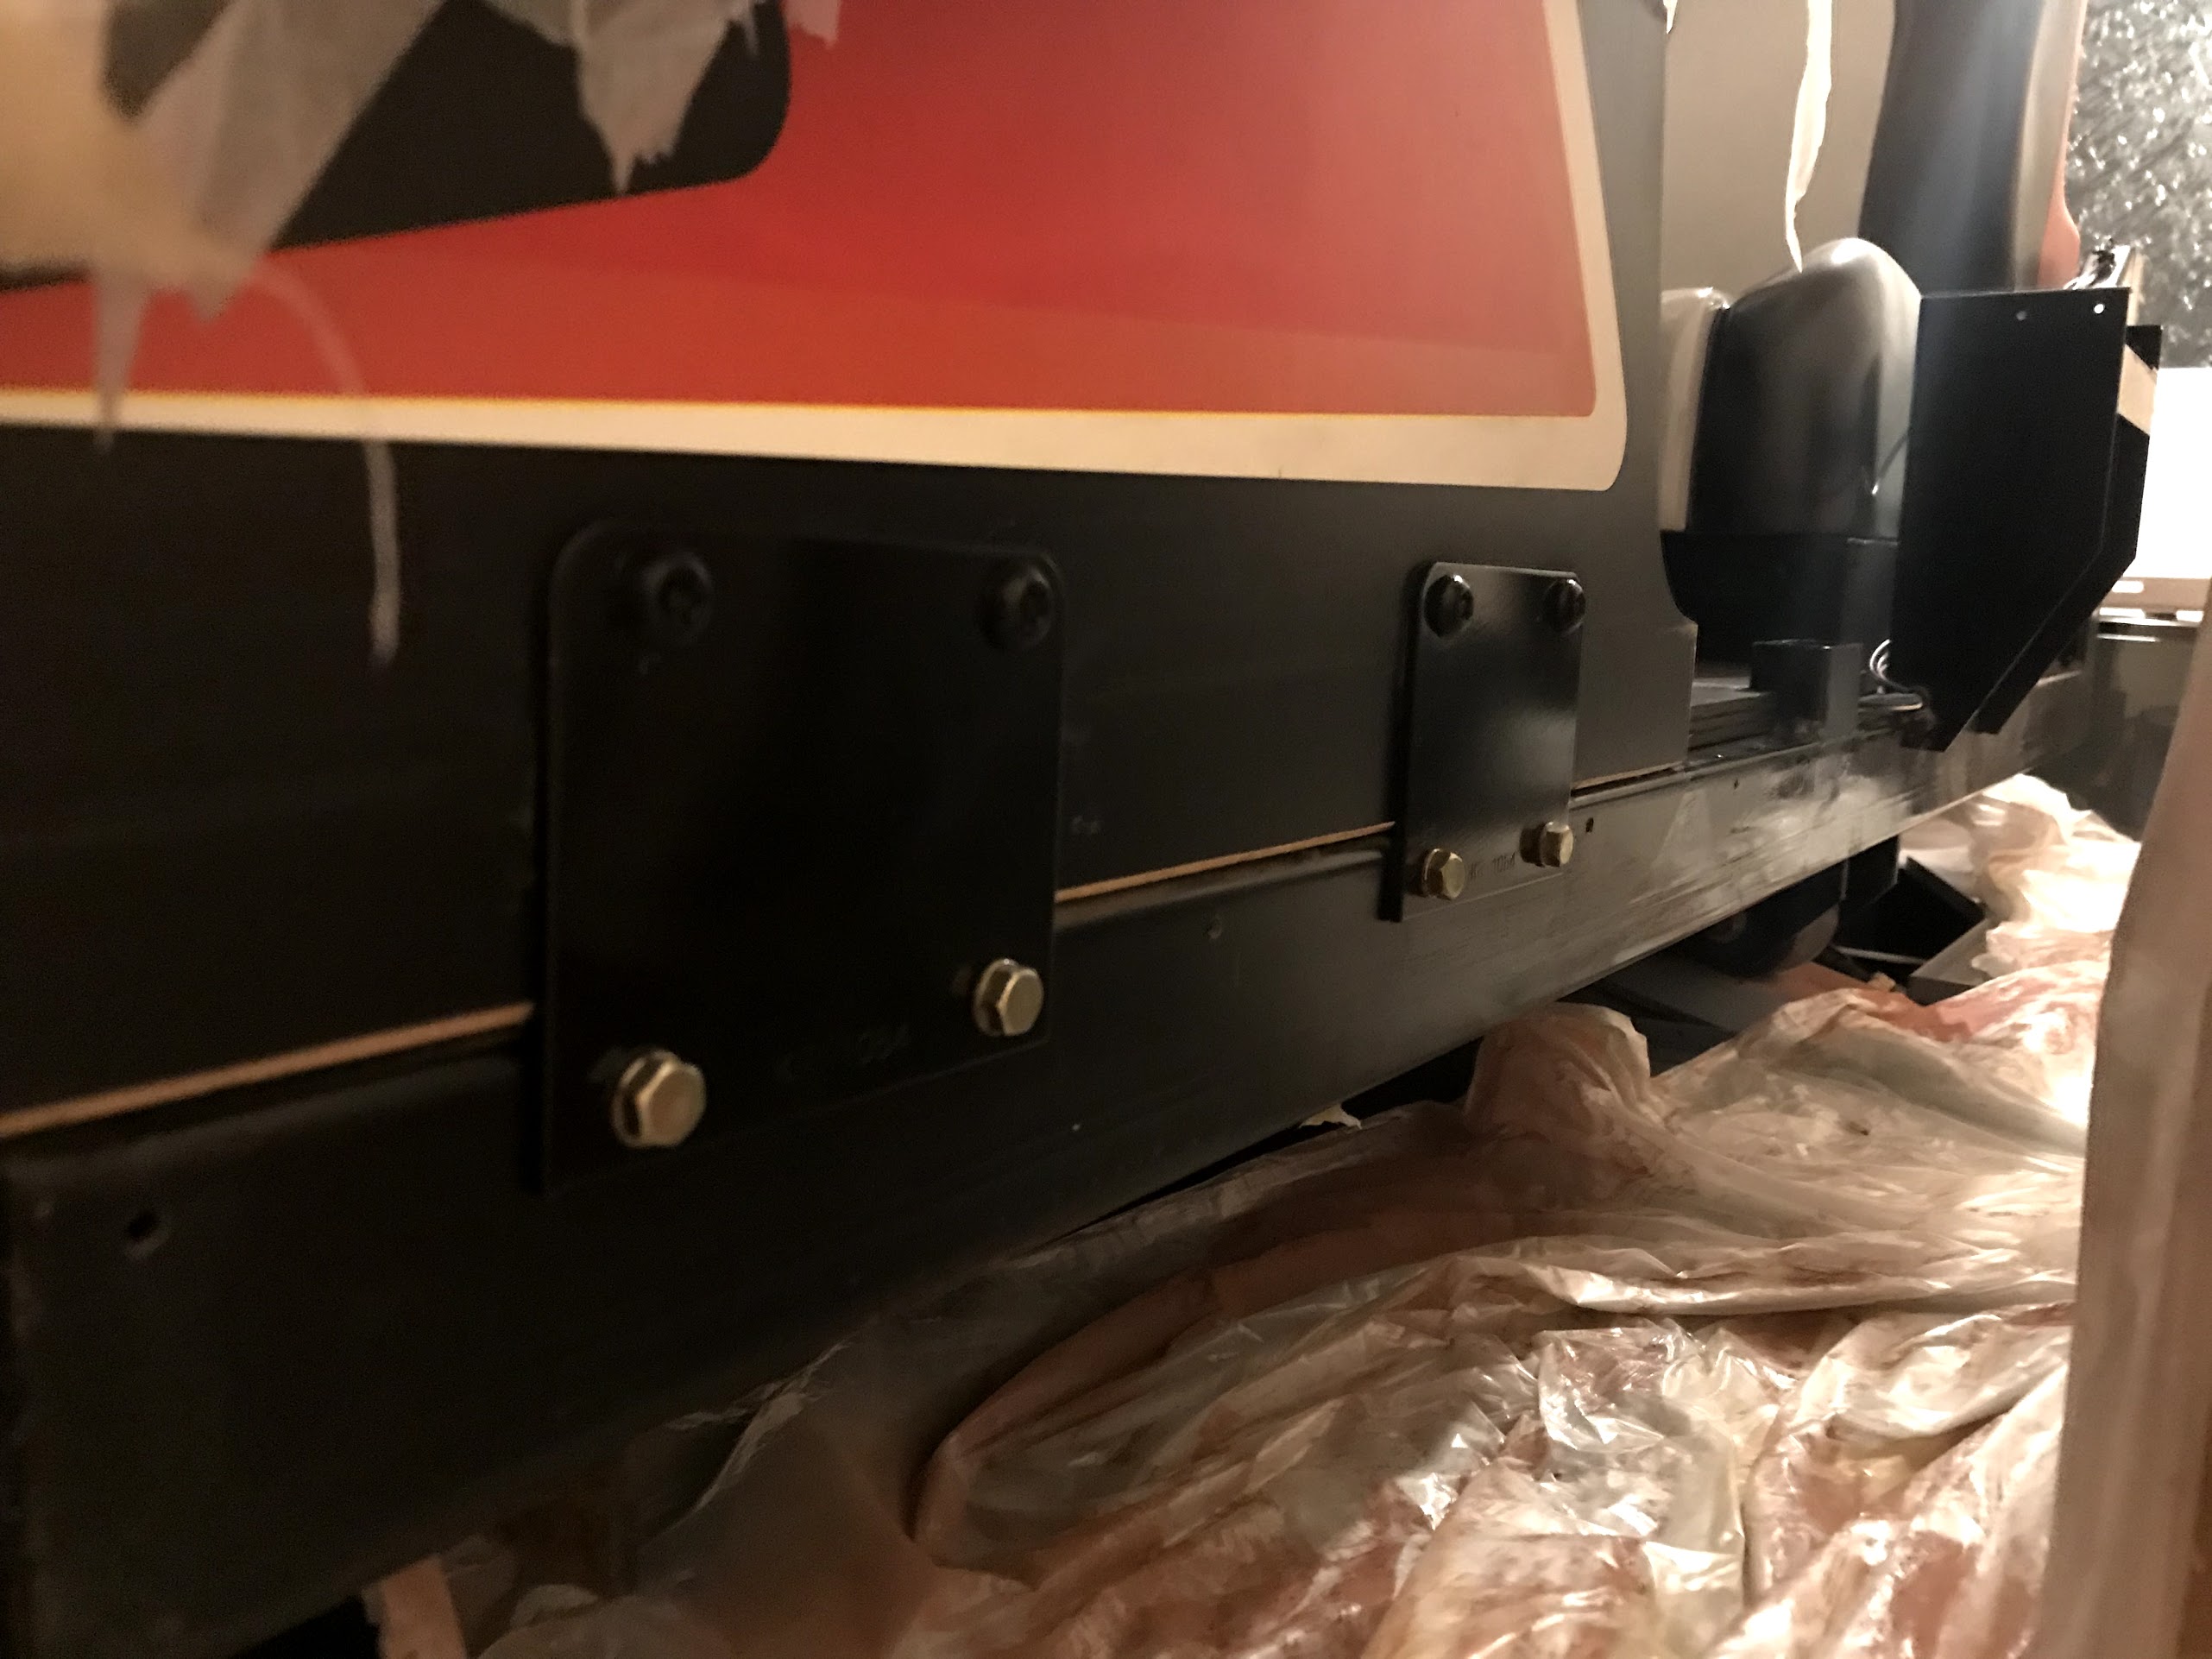
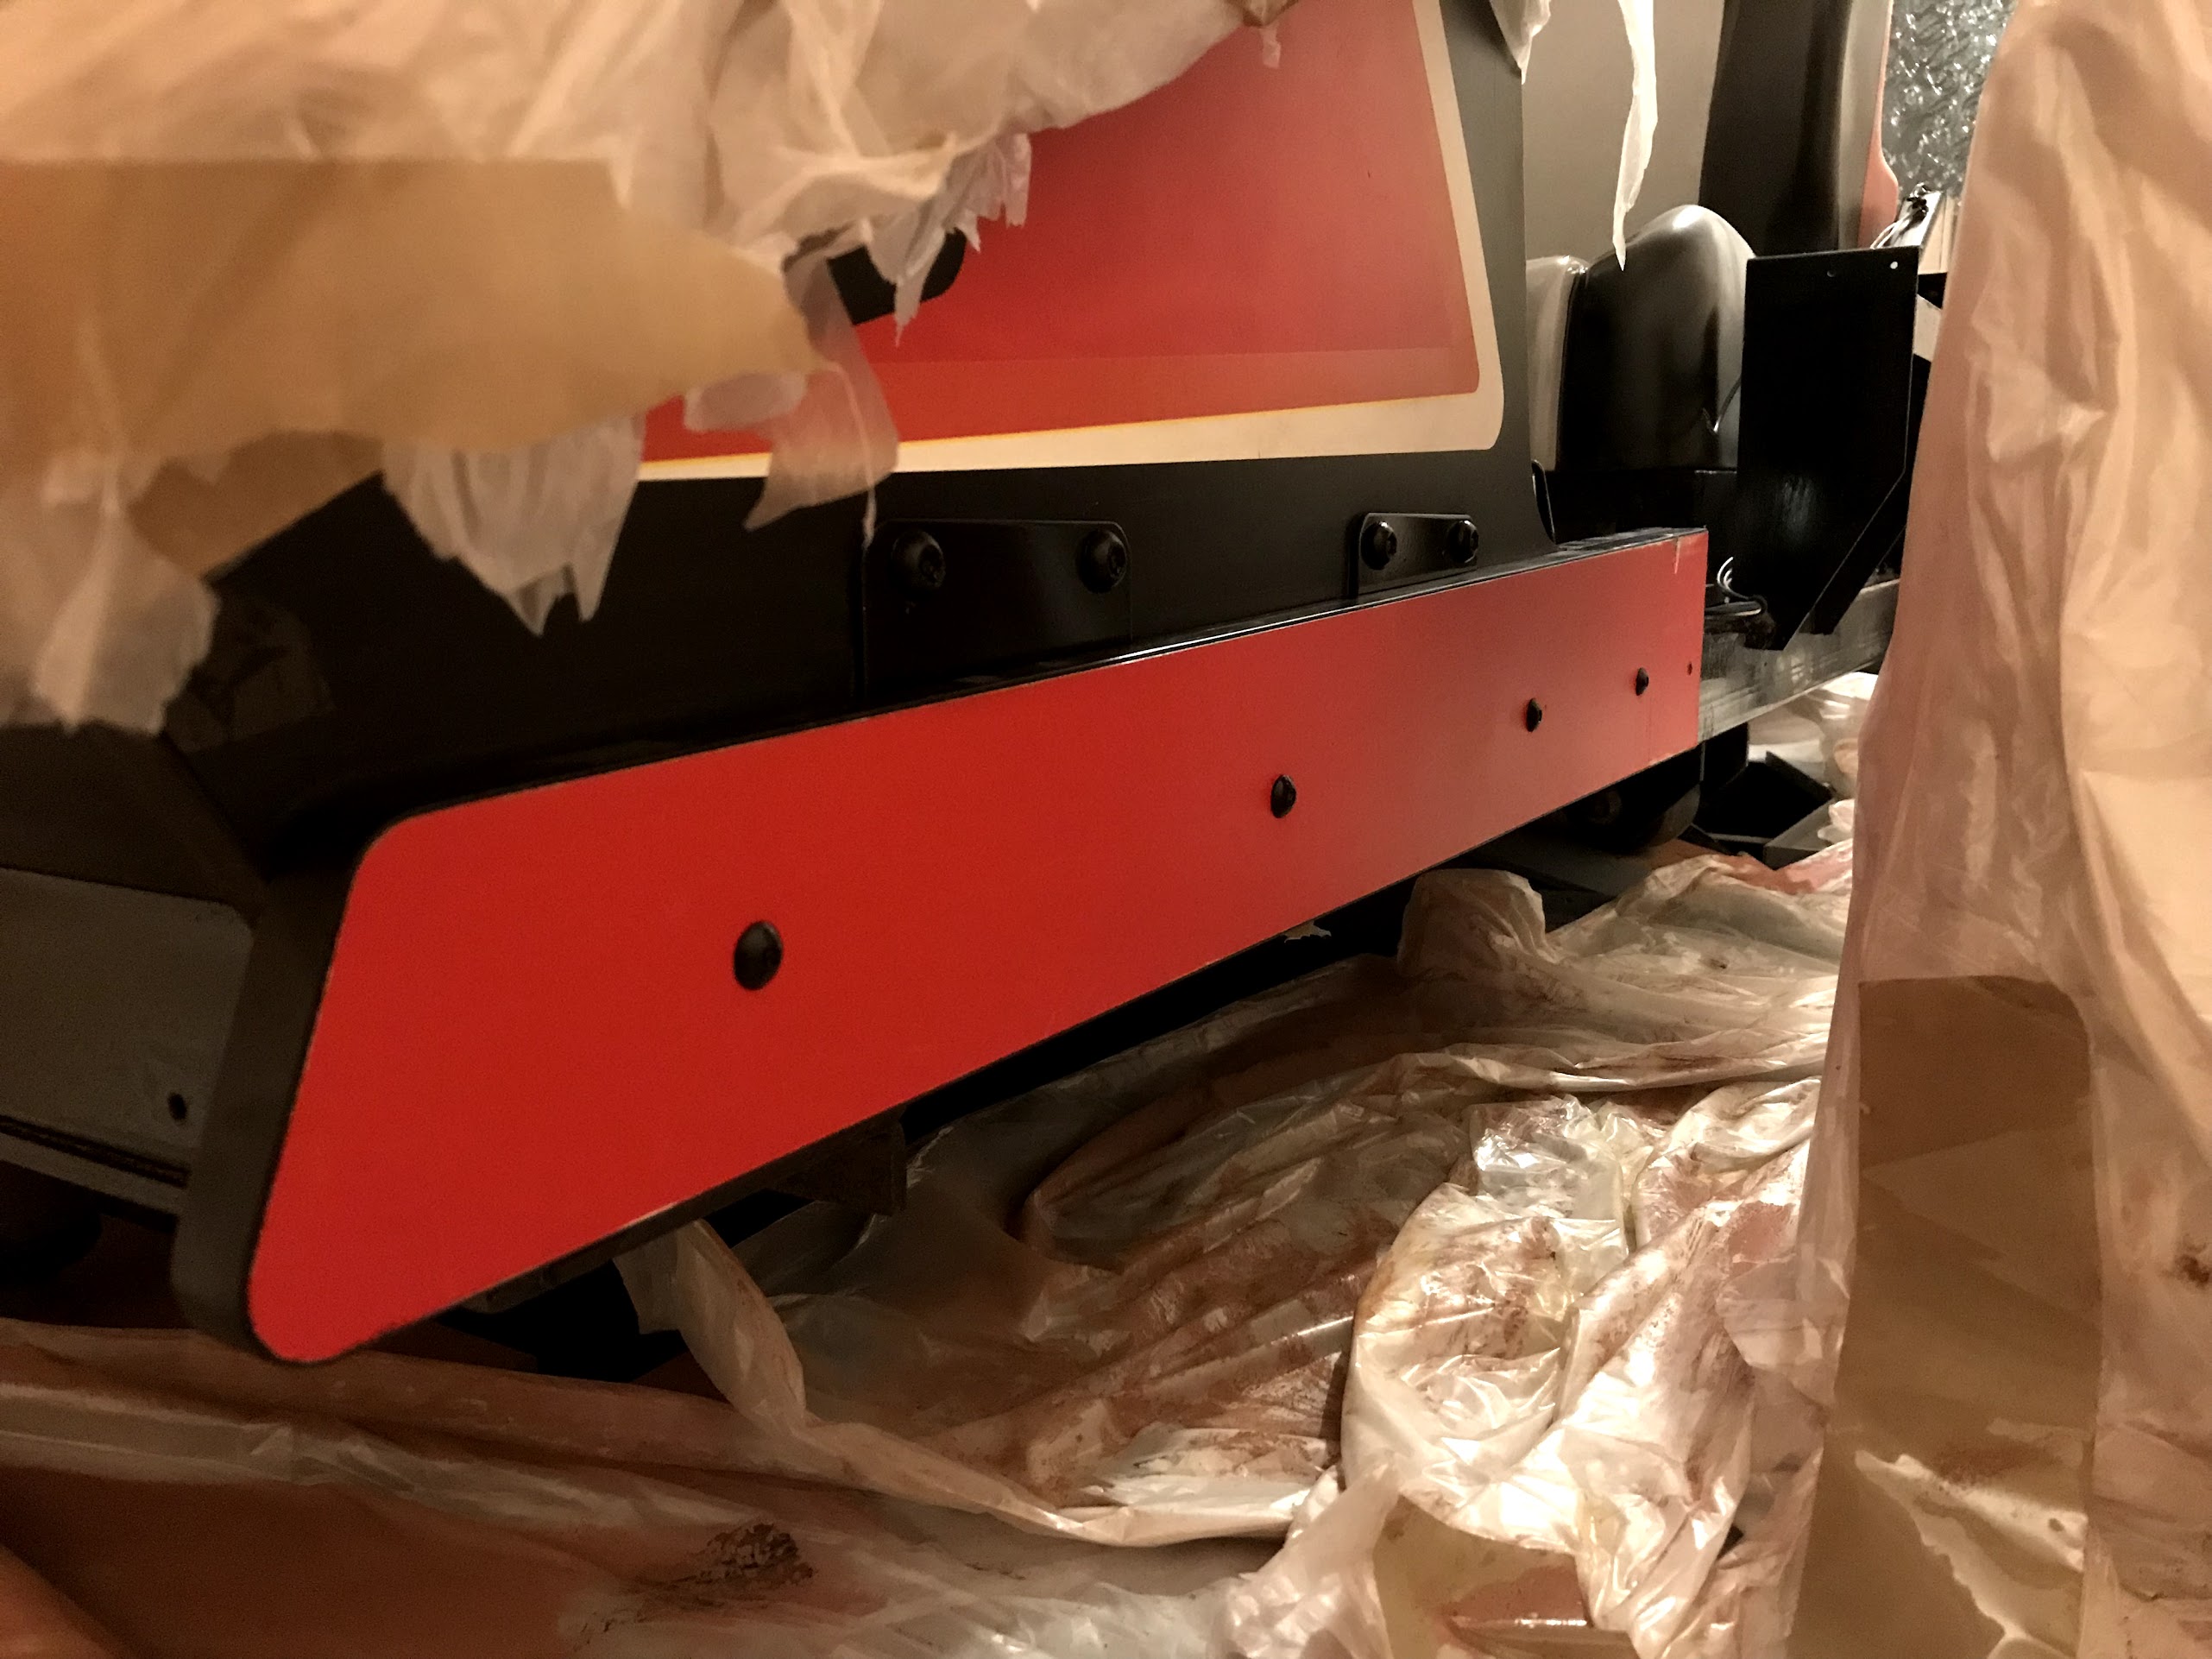
Side wood.
The brackets etc were very rusty so stripped cleaned the side wood repainted where needed and refitted.
Before
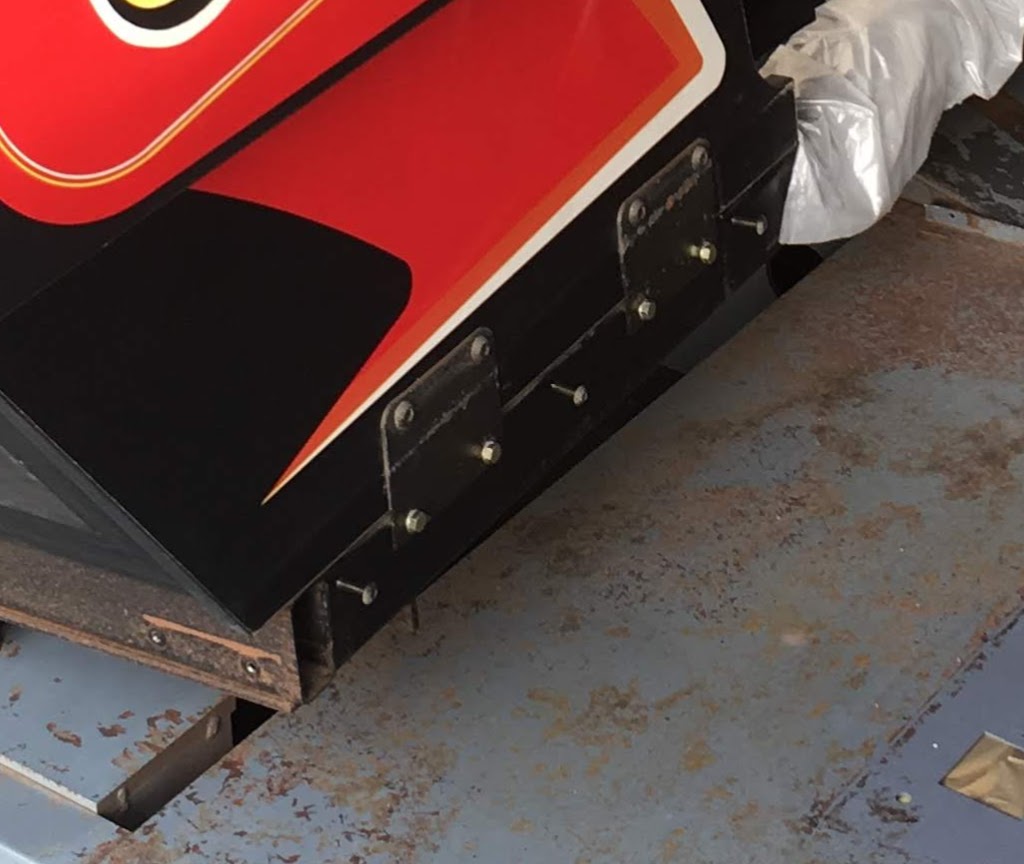
After
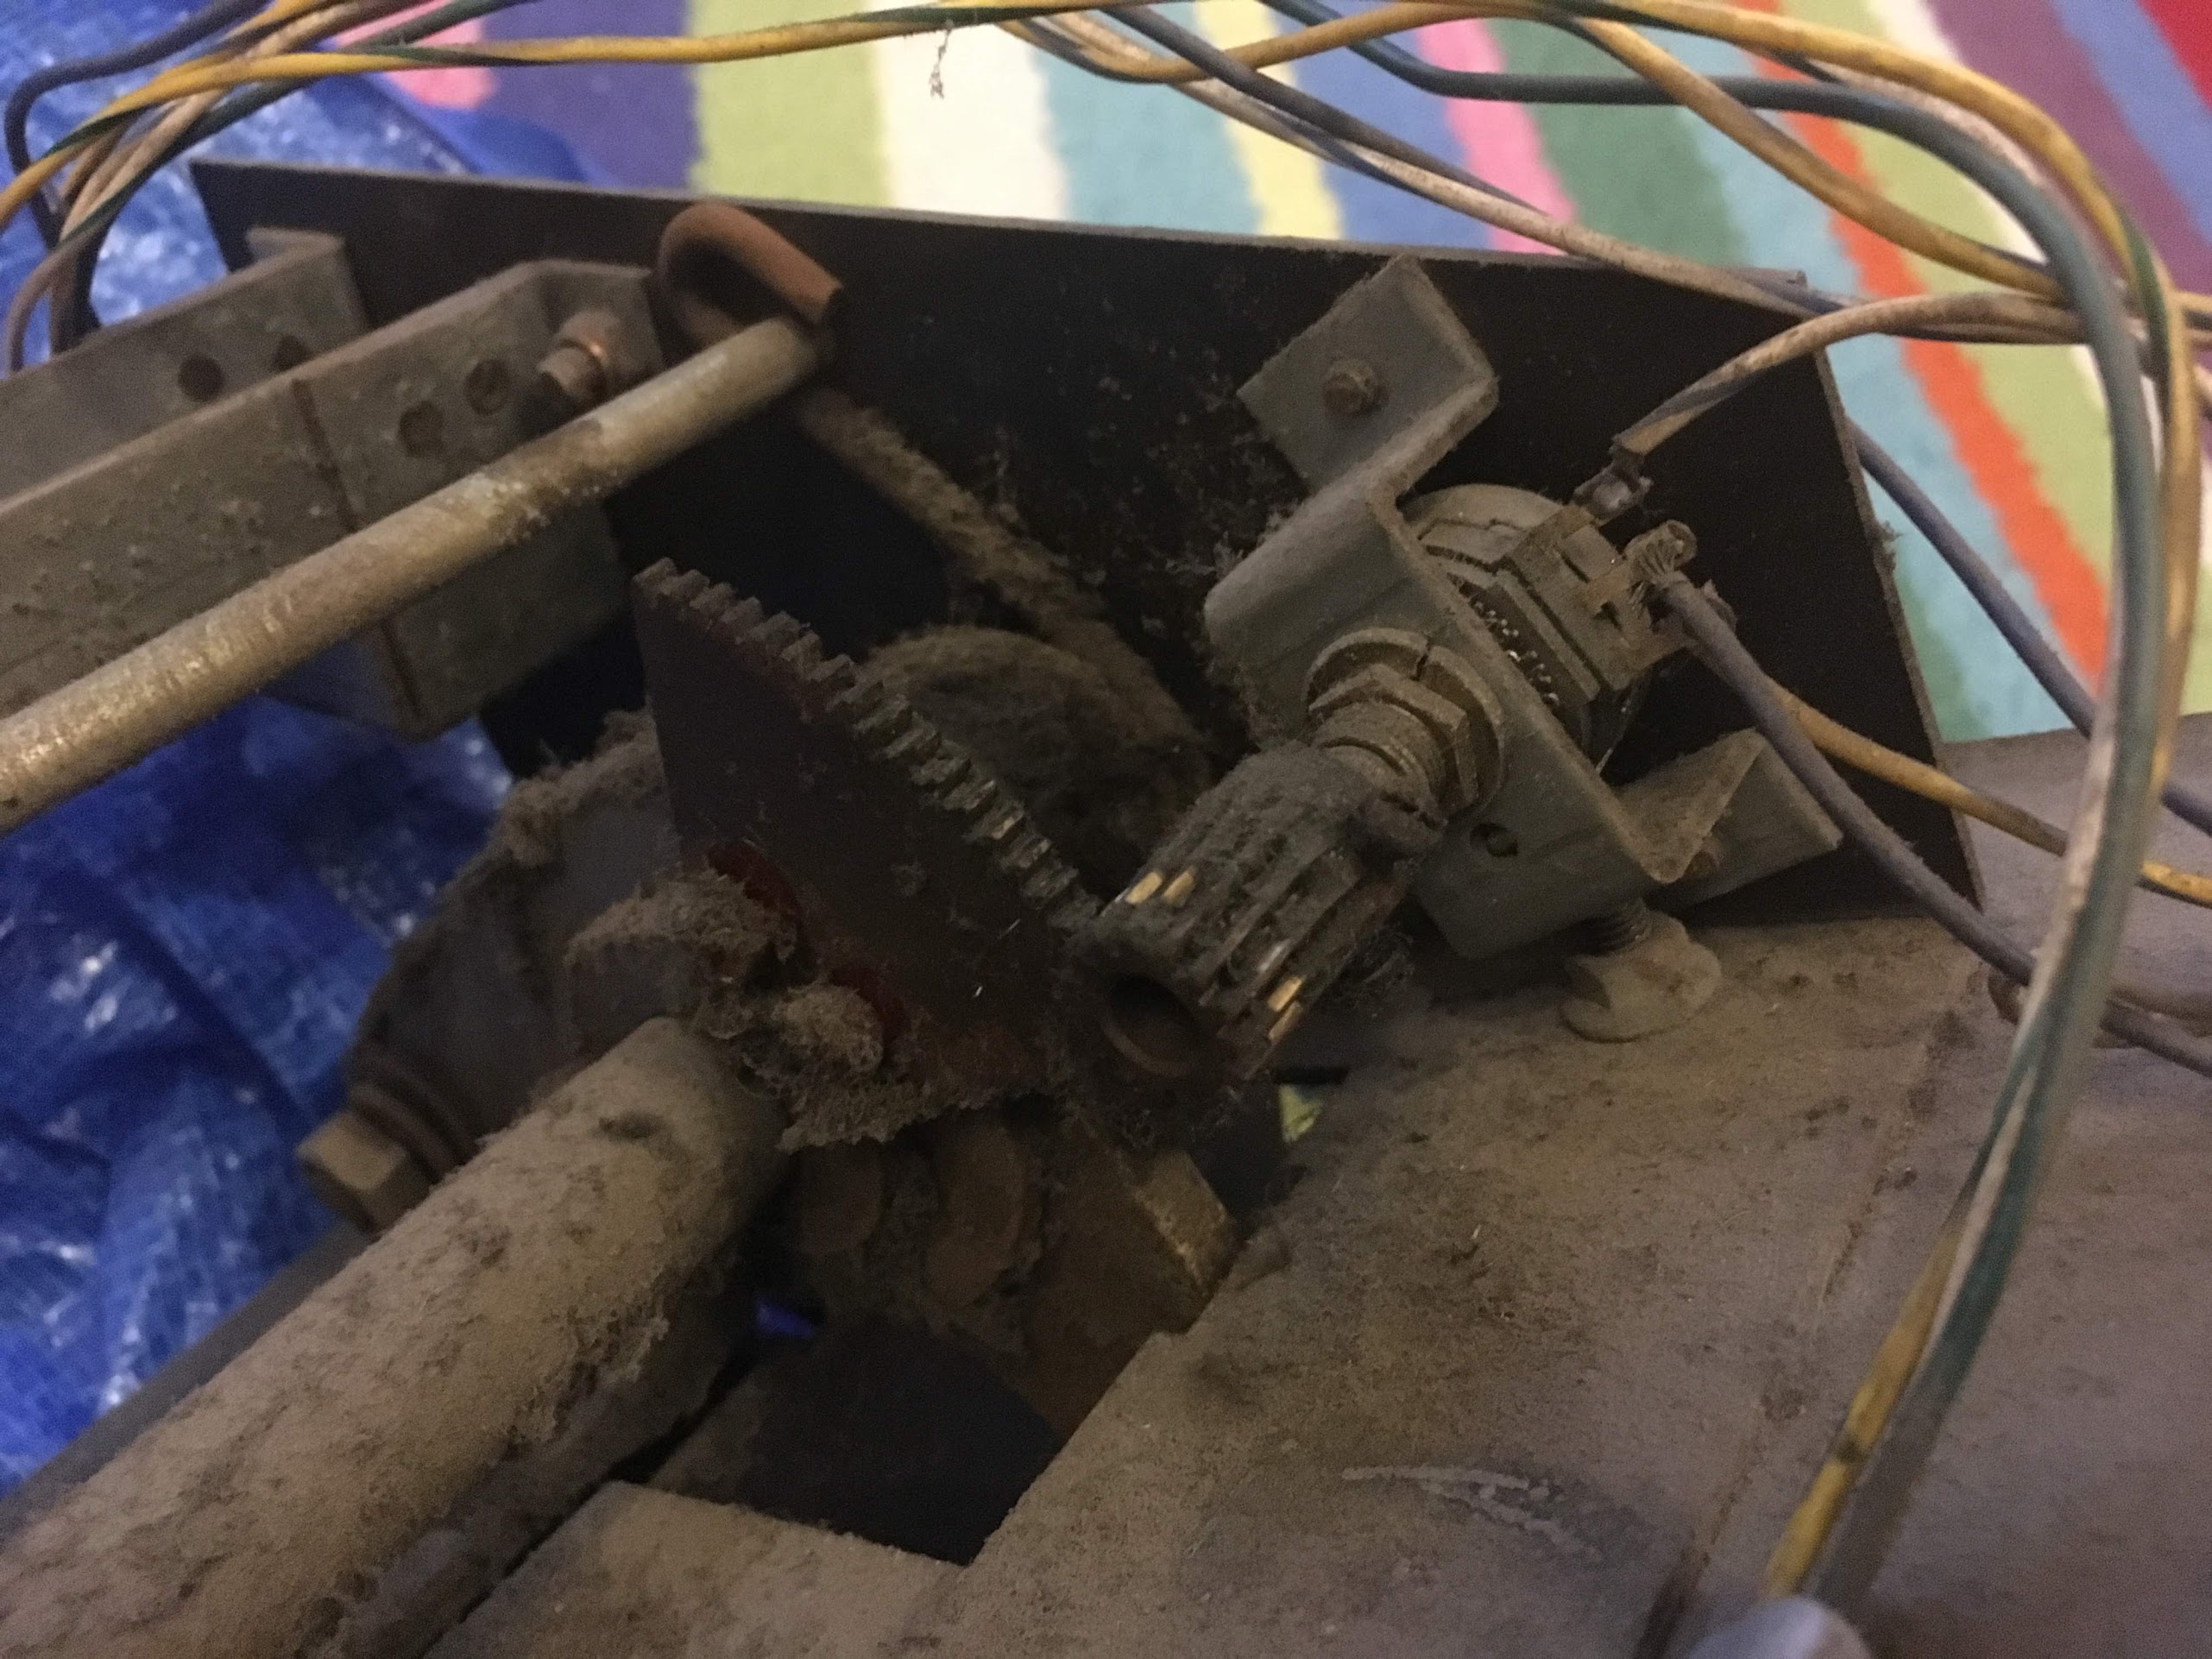
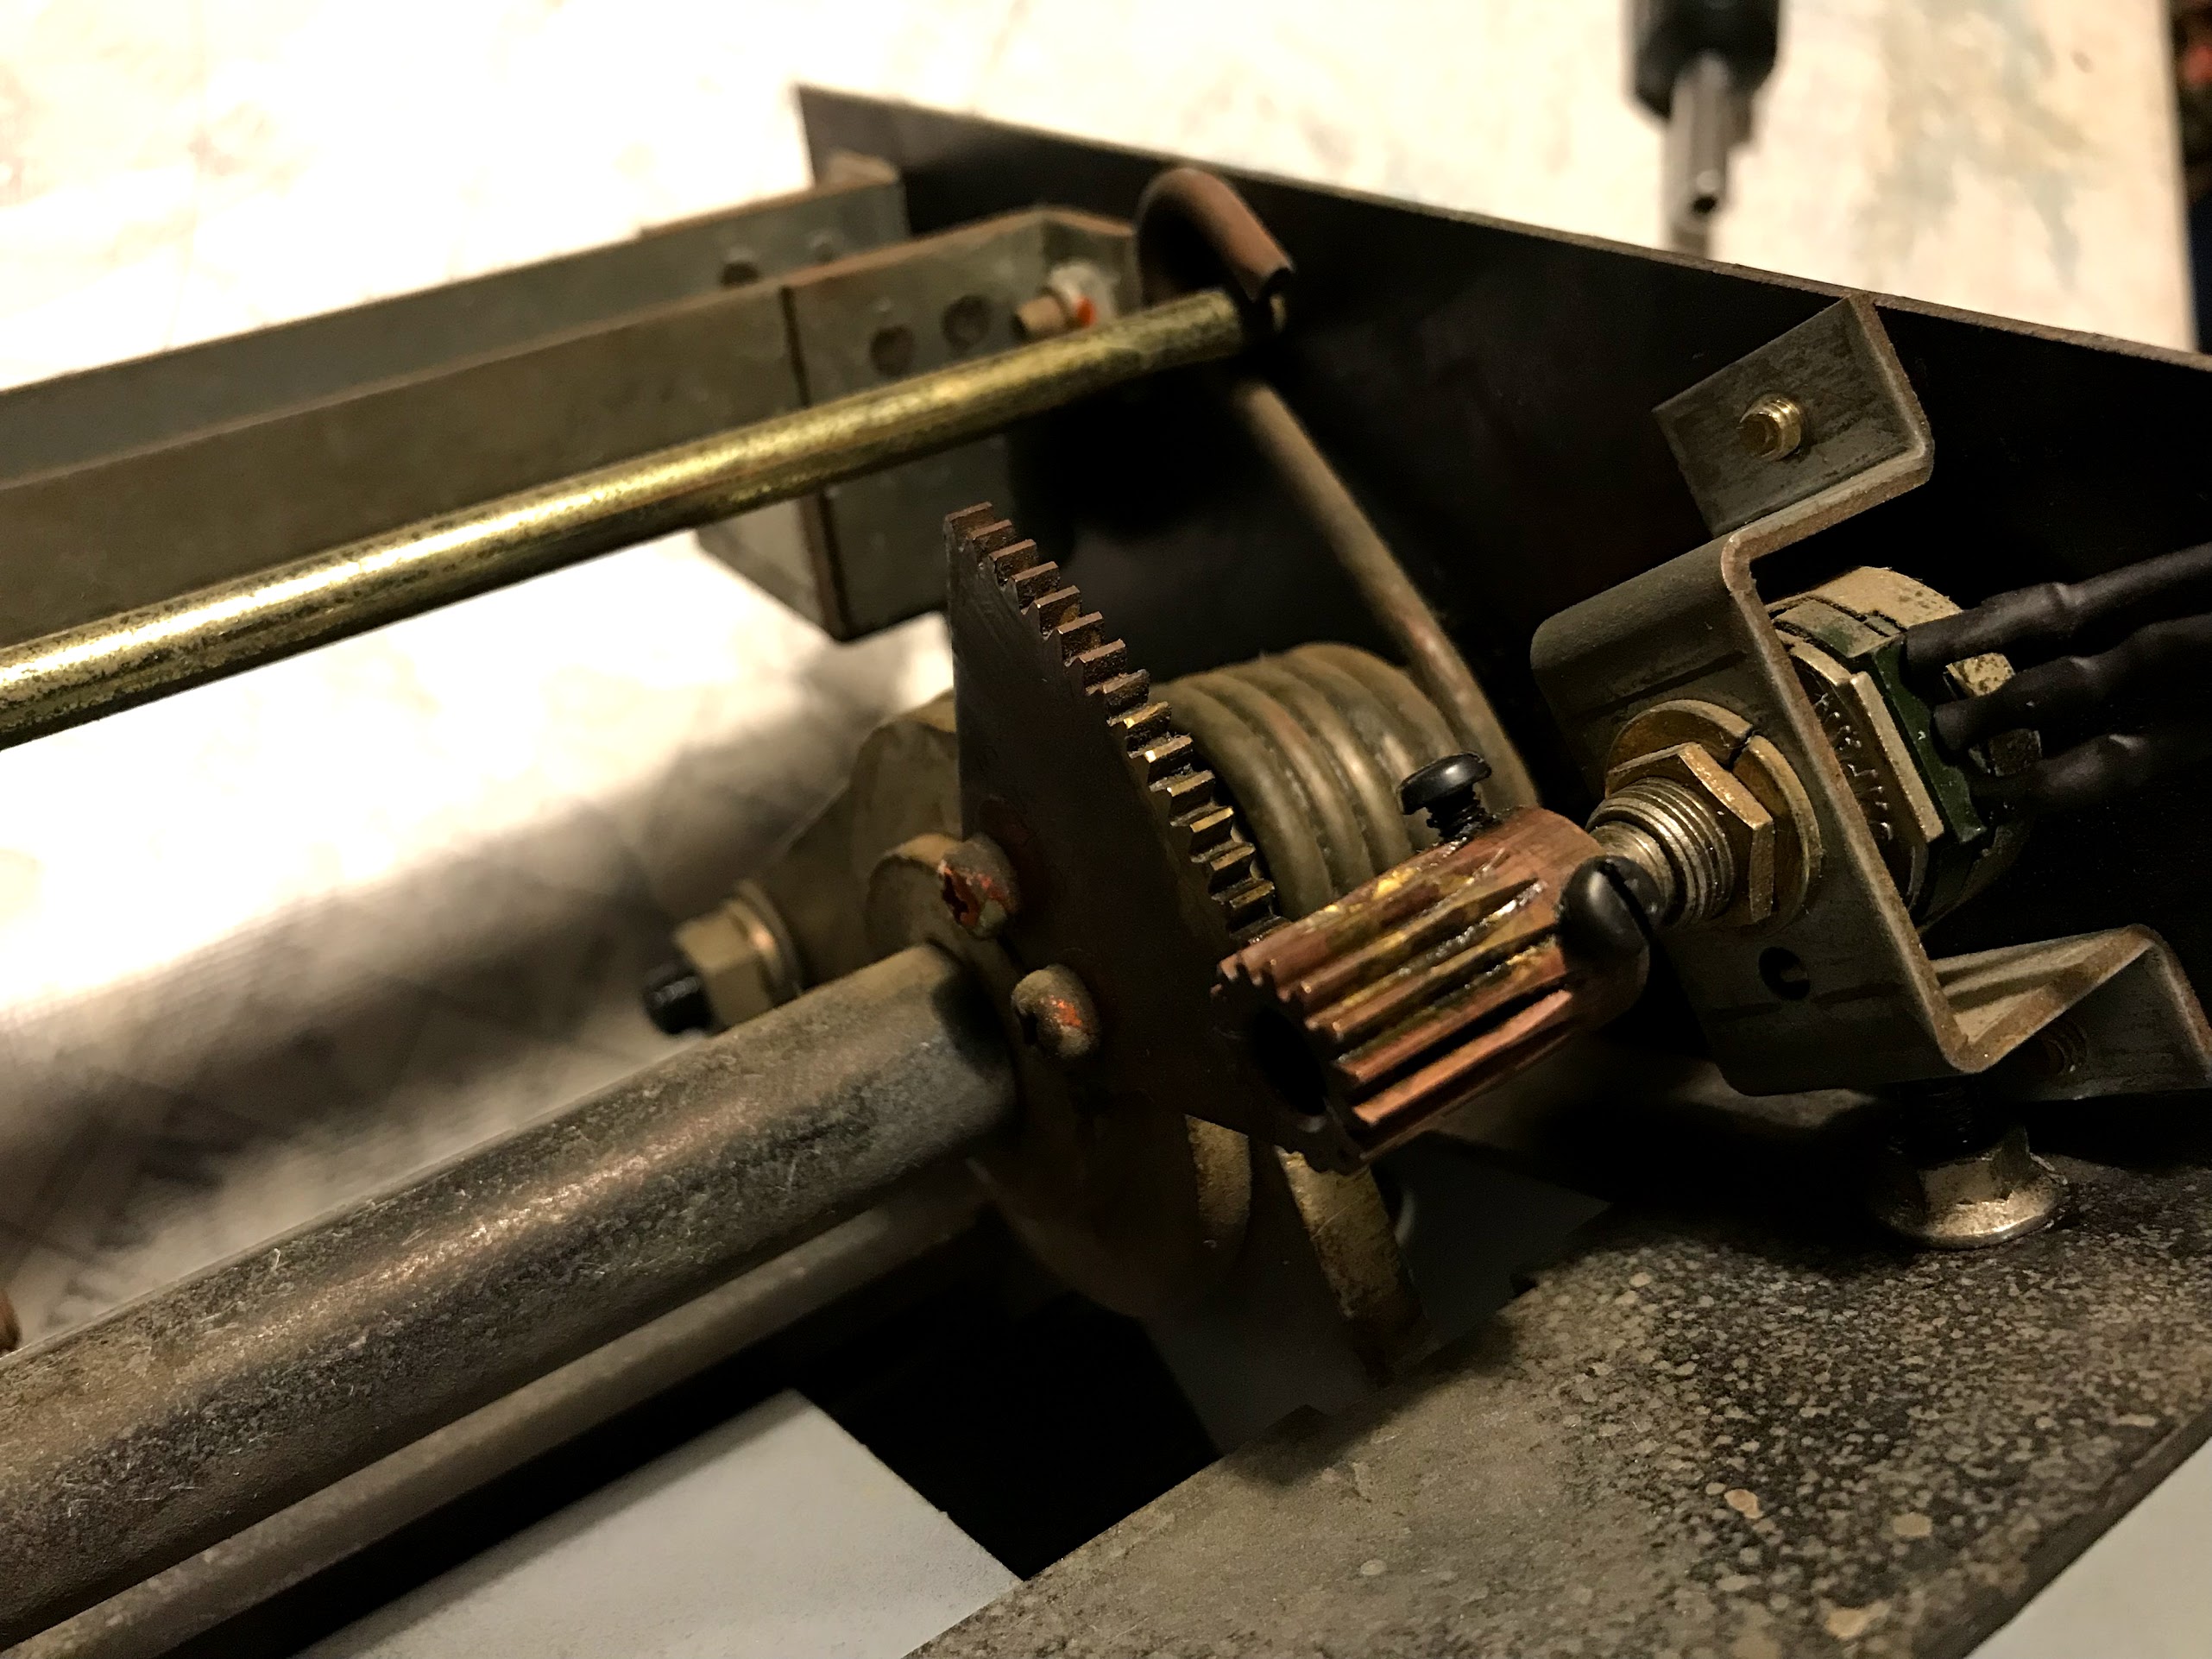
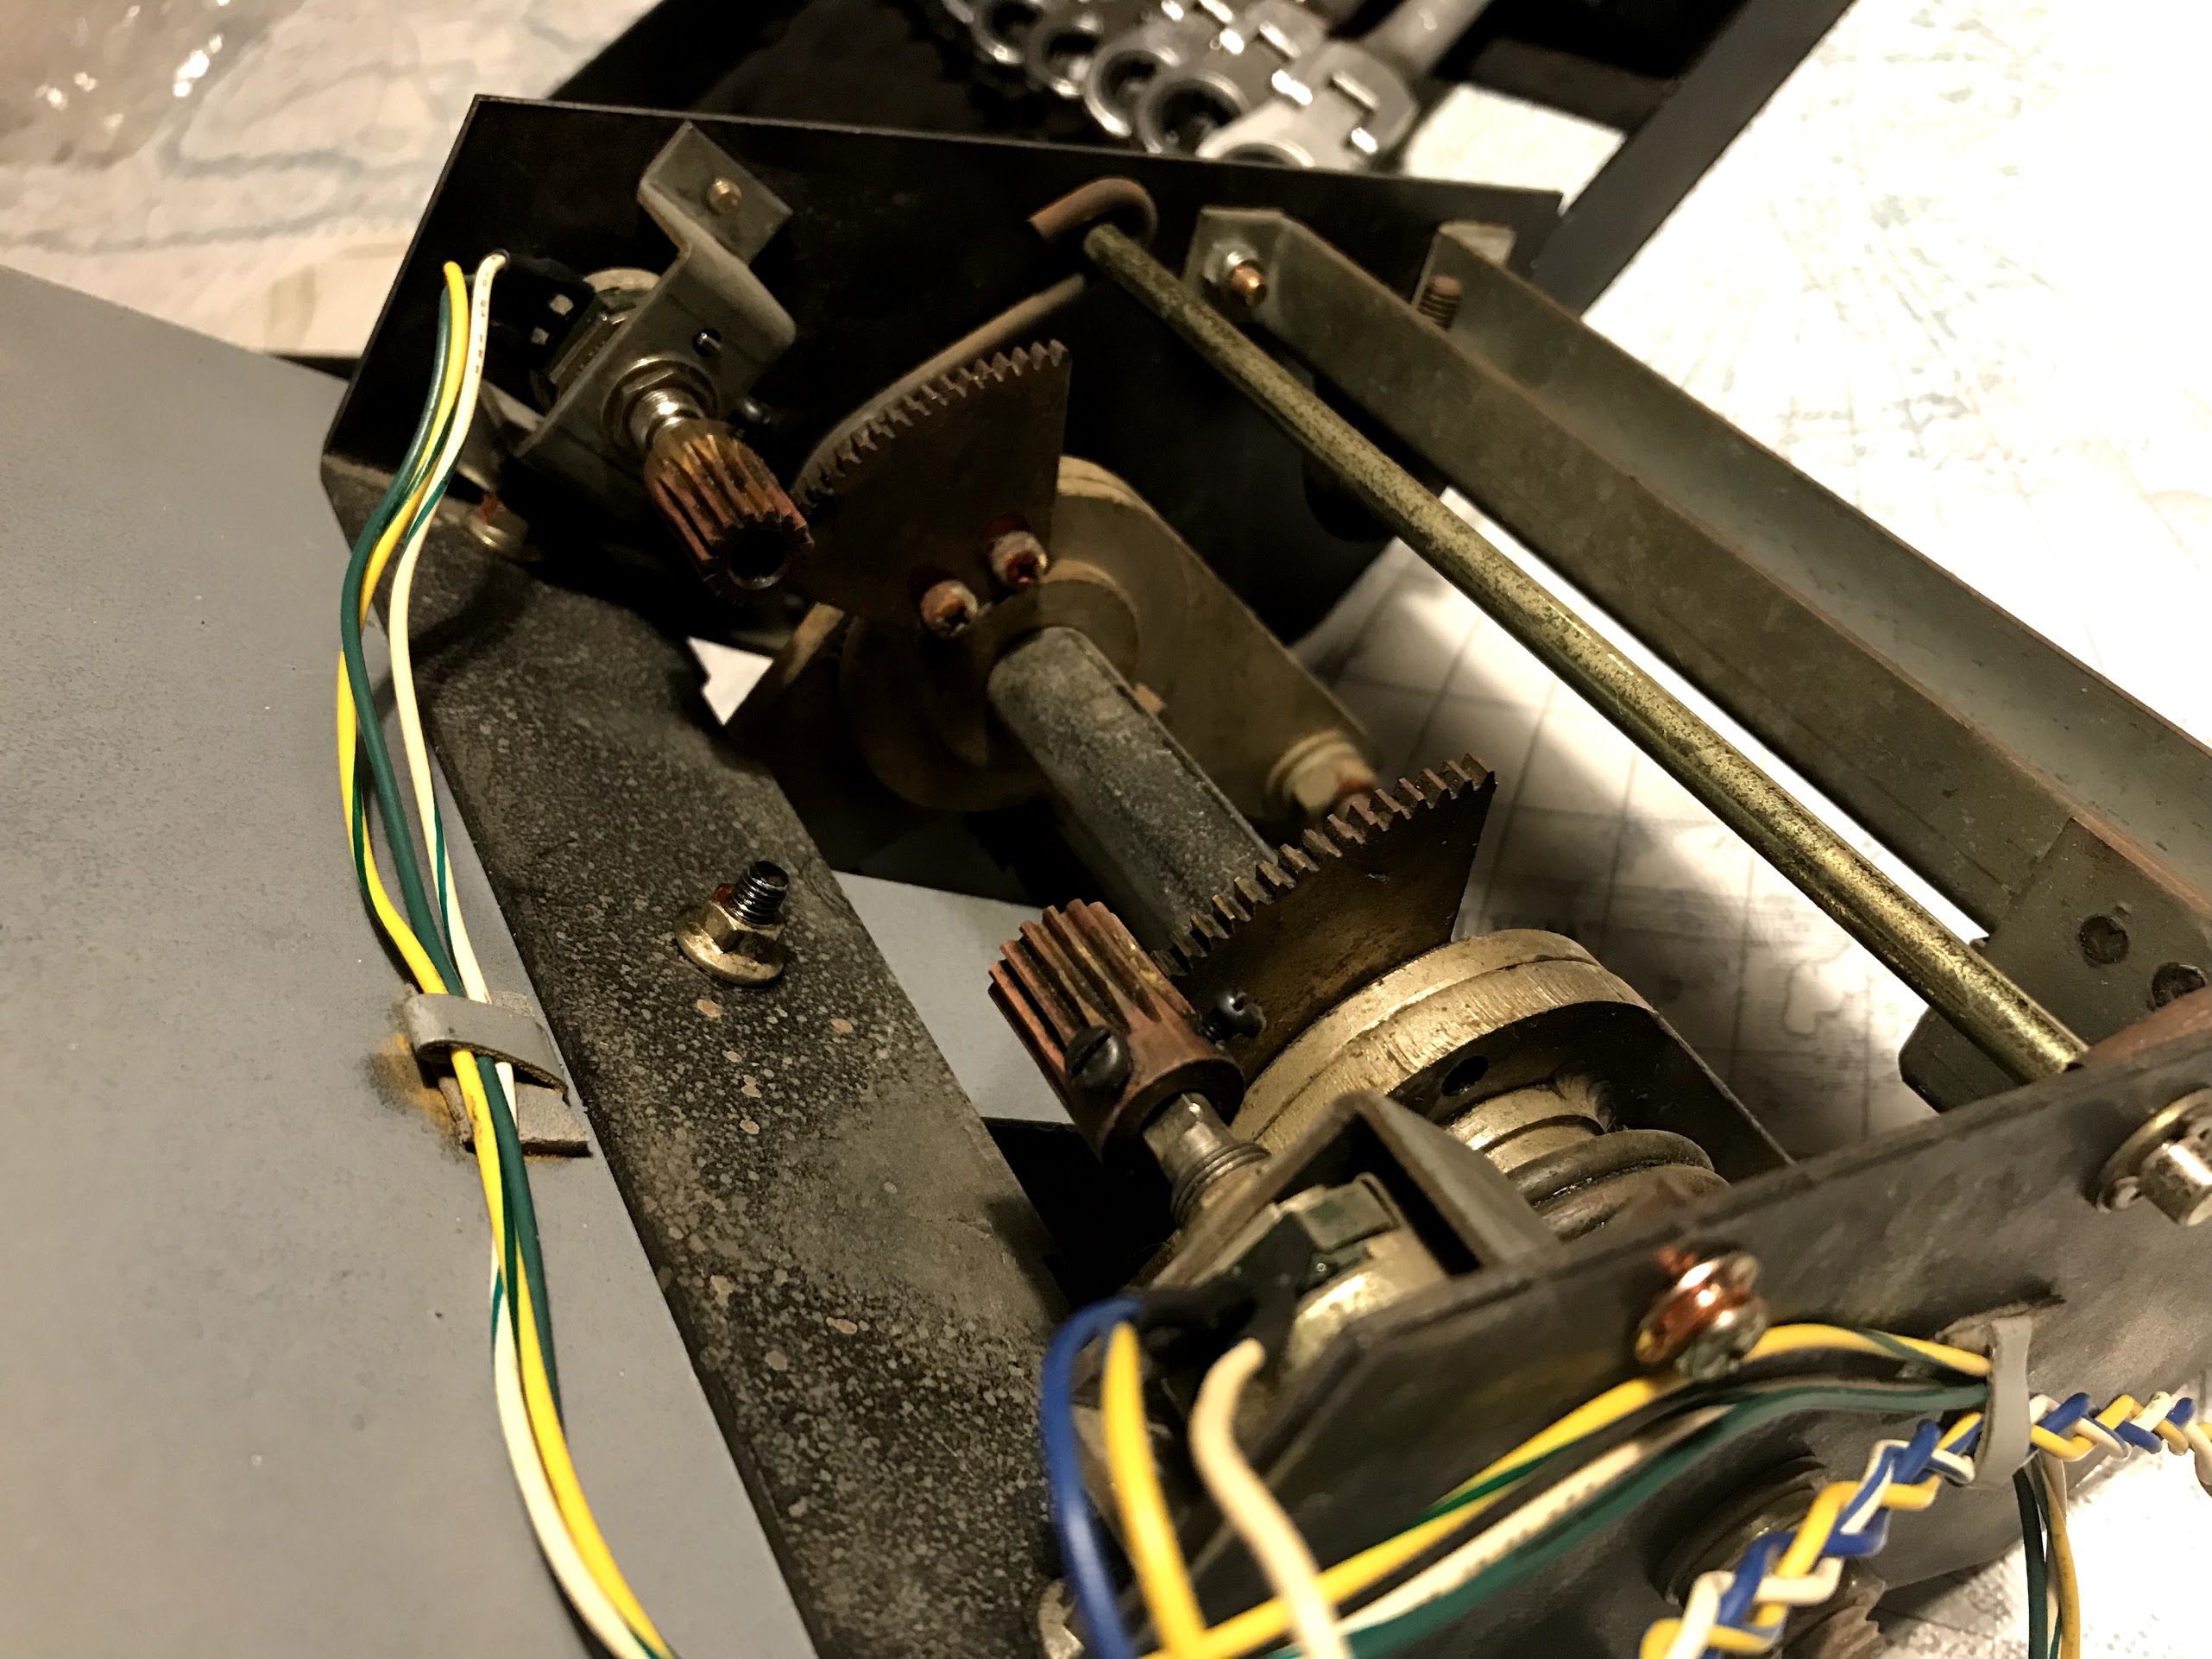
Gear lever bracket, where the gear lever had been replaced with a turbo one the bracket had been butchered. So I had to cut a new bracket from some galvanized steel bend to shape and drill and tap.
As it was.

New bracket fitted.
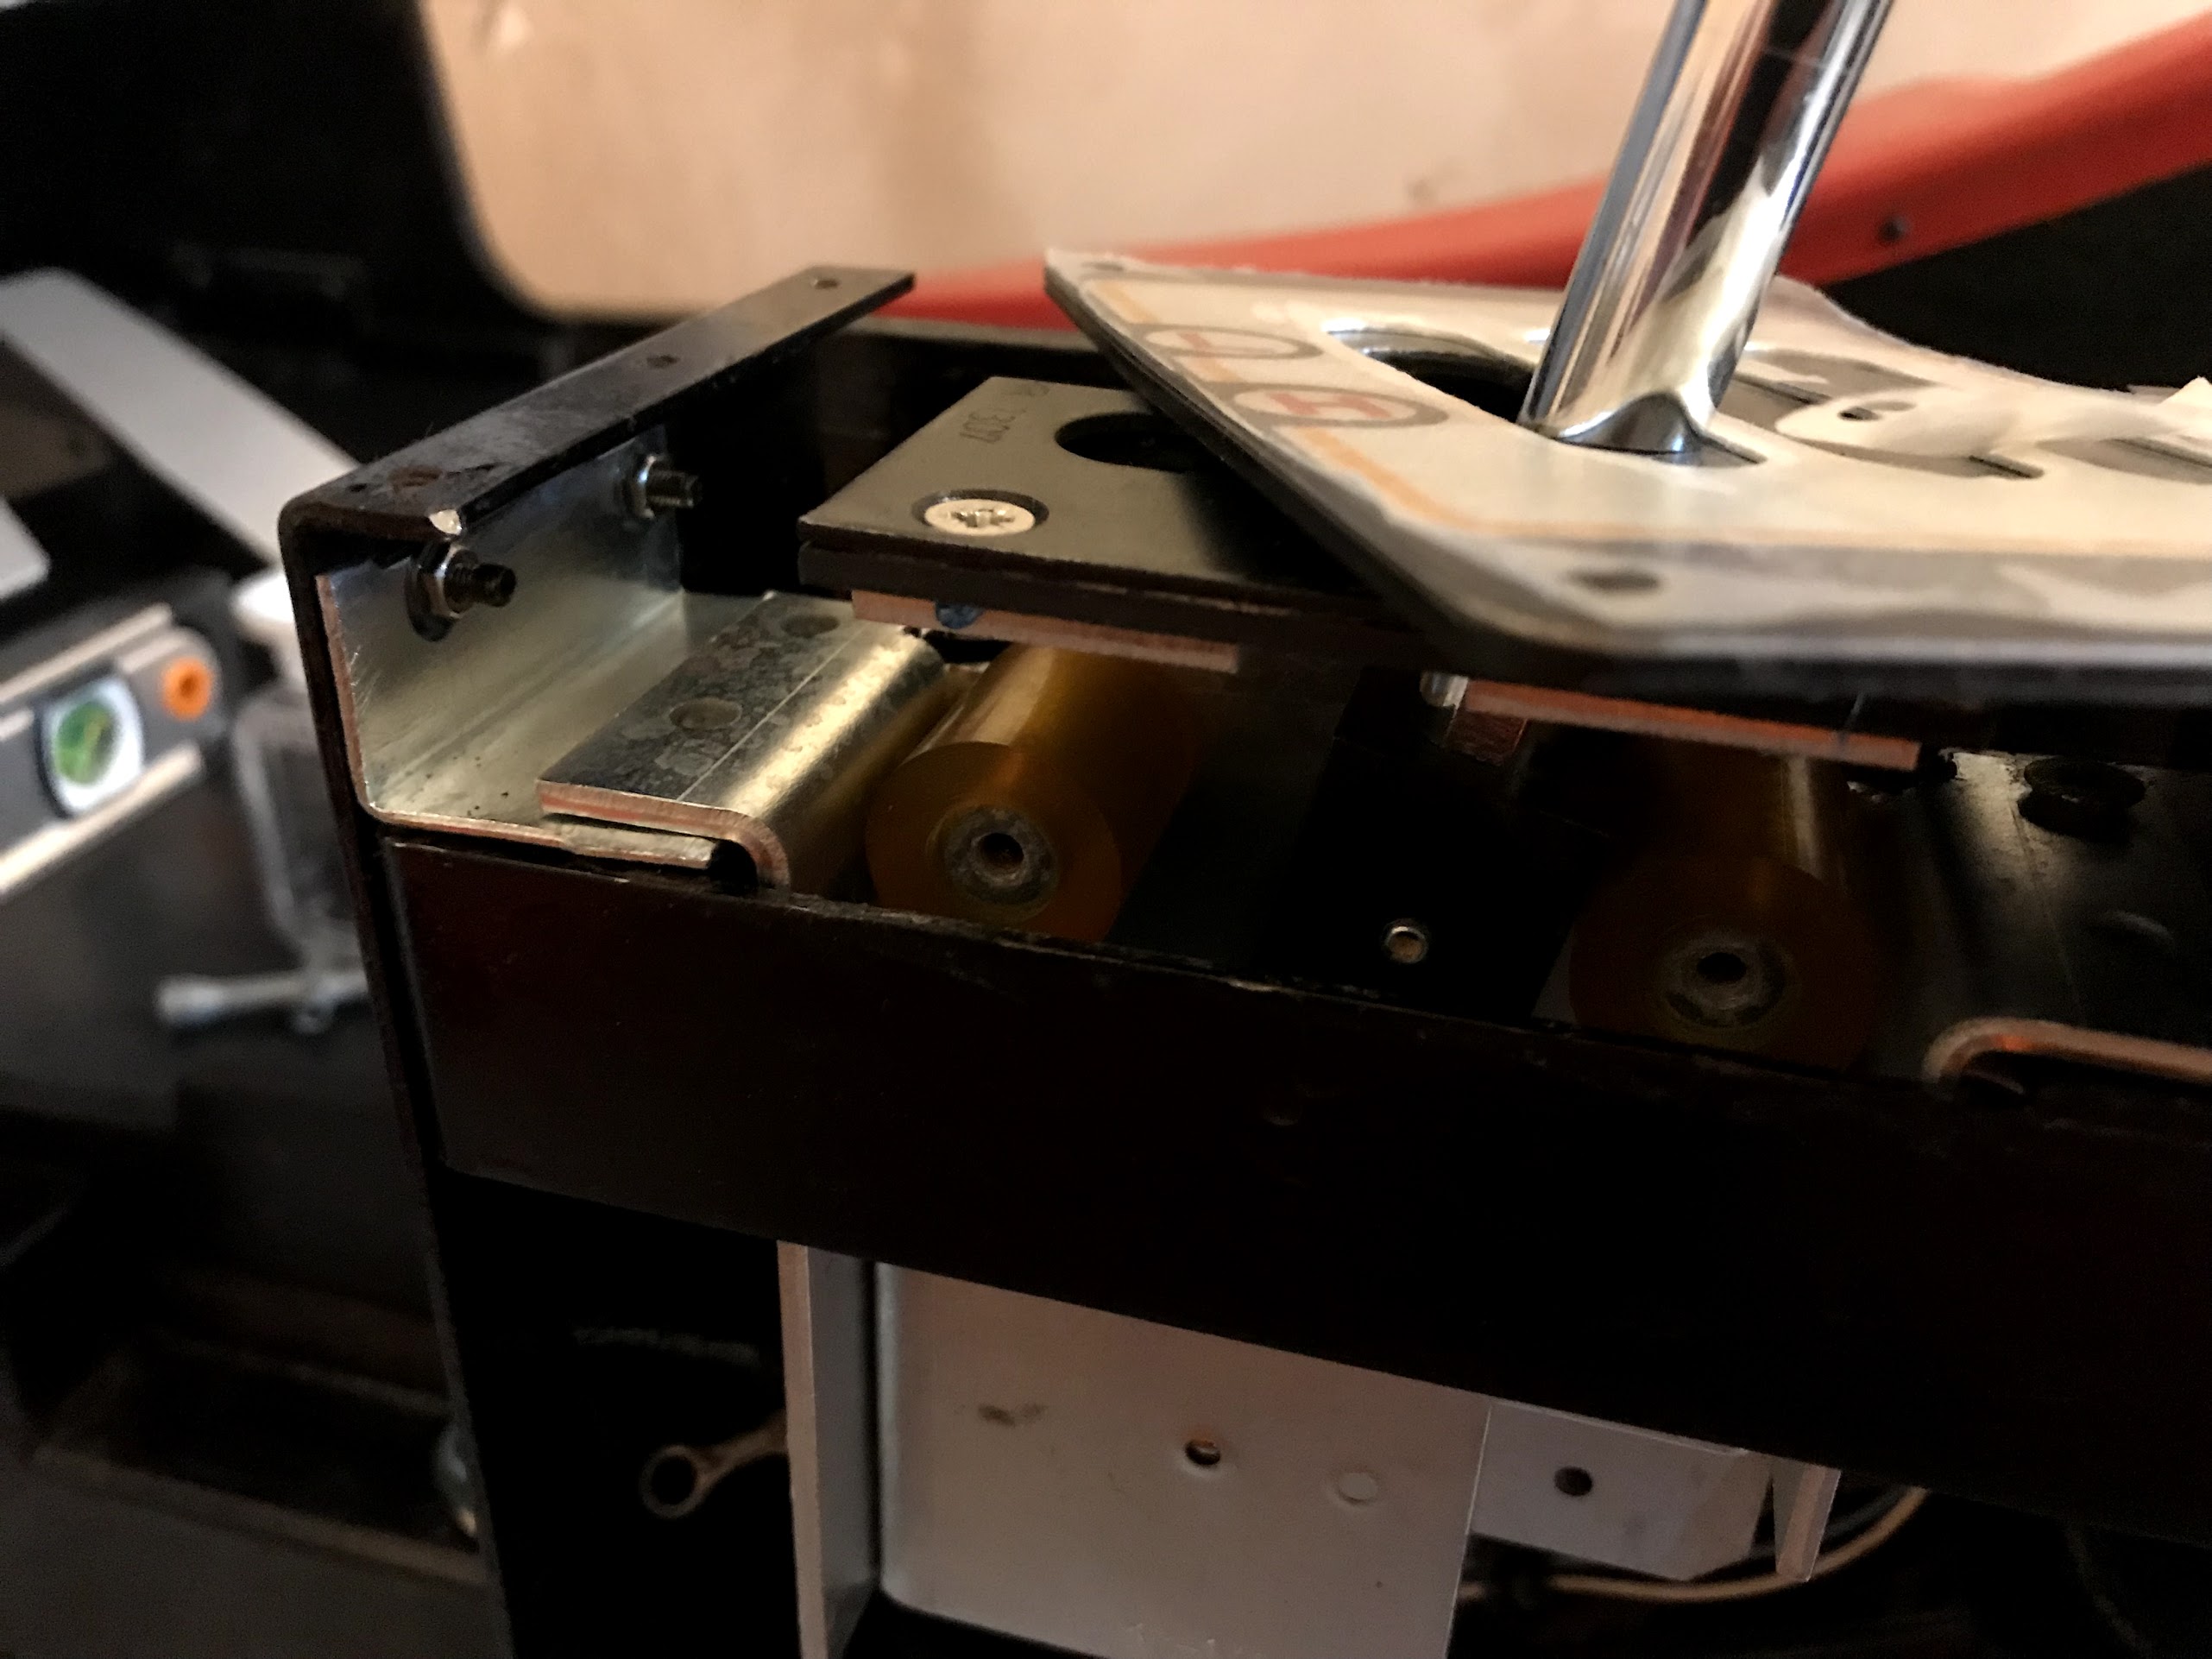
Drilled and tapped.
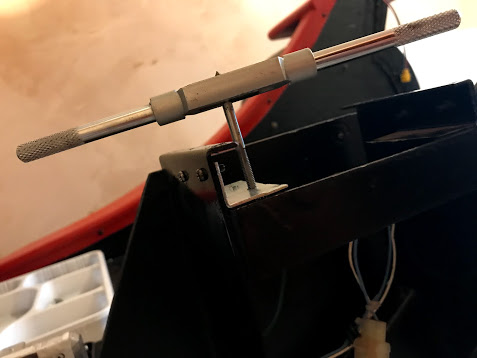
Sorted.
Meanwhile the clear coat is all done, now going to reassemble the body work.
The brackets etc were very rusty so stripped cleaned the side wood repainted where needed and refitted.
Before
After
Gear lever bracket, where the gear lever had been replaced with a turbo one the bracket had been butchered. So I had to cut a new bracket from some galvanized steel bend to shape and drill and tap.
As it was.
New bracket fitted.
Drilled and tapped.
Sorted.
Meanwhile the clear coat is all done, now going to reassemble the body work.
J69 said:Do you know what colour the pedals were painted?
Before or what I have painted them now?
clarkey2018-12-18 17:01:23


clarkey said:J69 said:Do you know what colour the pedals were painted?
Before or what I have painted them now?
Now. Is it a specific silver?